
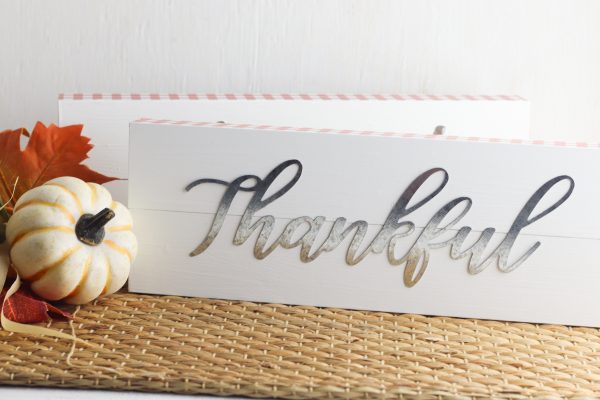
DIY Dollar Store Fall Sign Craft
Yield: 2 signs
Cost: Less than $10
Equipment
- 4 small block signs (don't worry if they have words on them, we'll paint over top)
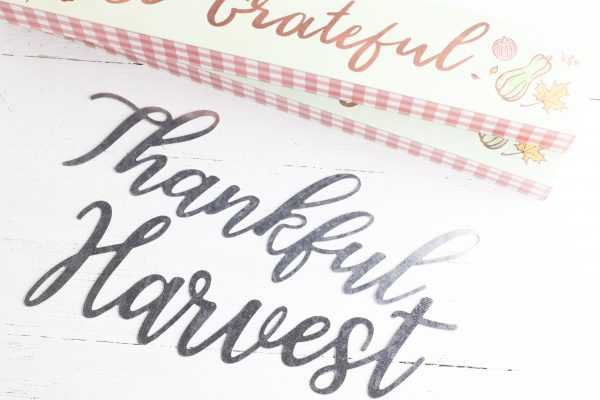
- Package of metal words
- White paint
- Super glue
- Clamps, chip clips or bulldog clips
Instructions
- Gather your materials.
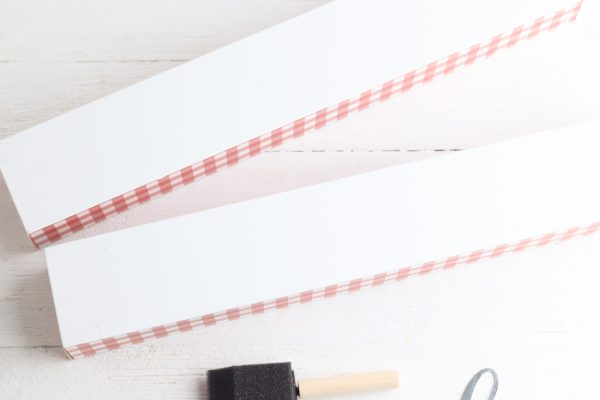
- Paint the front of each of the small block signs white to cover the words on the front.
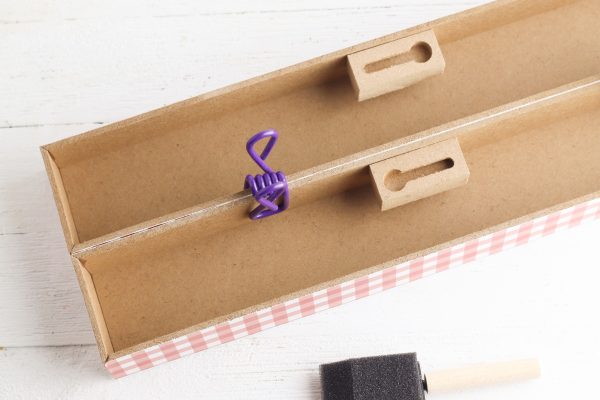
- When the paint is dry, place a few drops of glue on the top of one of the signs. Place a second sign on top of the glue. Use clips to hold the two signs together until the glue dries. Repeat the process with the second set of signs.
- When the glue has dried and the signs are stuck together, place a few drops of glue on the back of the metal word. Carefully place the word on the white side of the sign and hold in place until the glue dries.
- Repeat on the second sign with a different metal word.
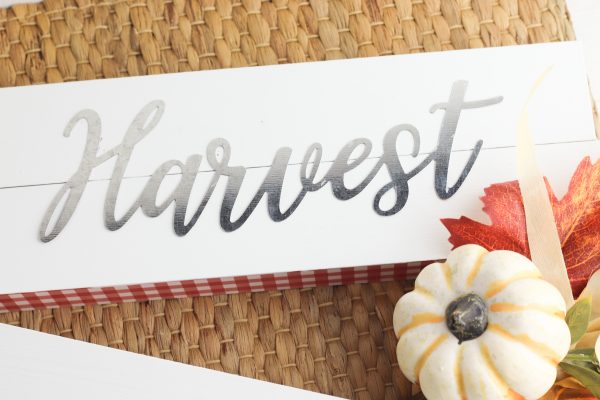
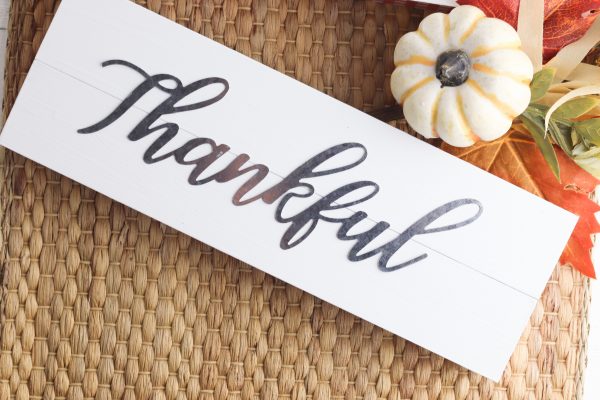
- Use your pretty signs to decorate your house for fall!
Notes
Tip: Wear gloves while gluing to prevent getting super glue on your skin.
Note: Prefer making these with vinyl cut with your Cricut instead of with metal words? Enter your name and email address in the form below and I'll send you free Thankful and Harvest cut files.