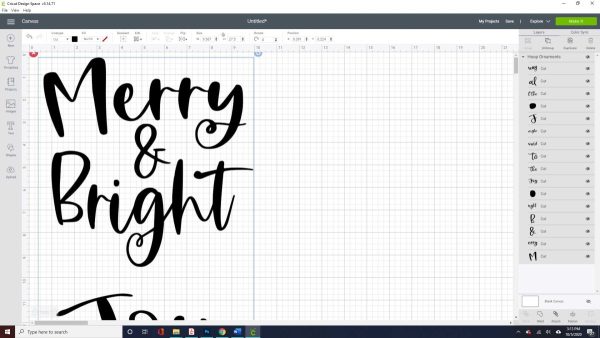
Log into Cricut Design Space and upload the cut file.
Measure the inside of the embroidery hoop and resize the cut file to fit inside the hoop.
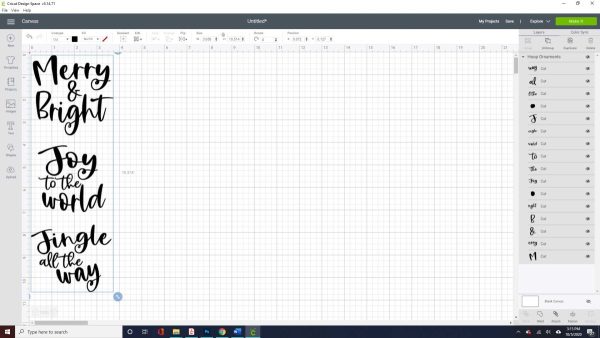
Select the file and weld the words together.
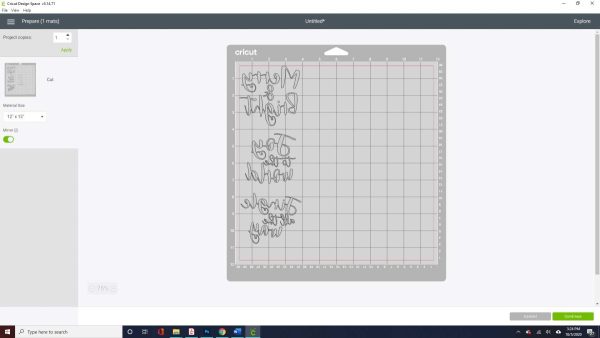
Click the Make It button and check the mirror option. Click Continue, select your cutting material, load your mat into your machine with the shiny side of your HTV facing down and click the flashing Cricut C to start cutting.
Cut a piece of flannel fabric to fit inside the embroidery hoop.
Weed your HTV removing the material from around your design, leaving just your design behind on the clear plastic backing.
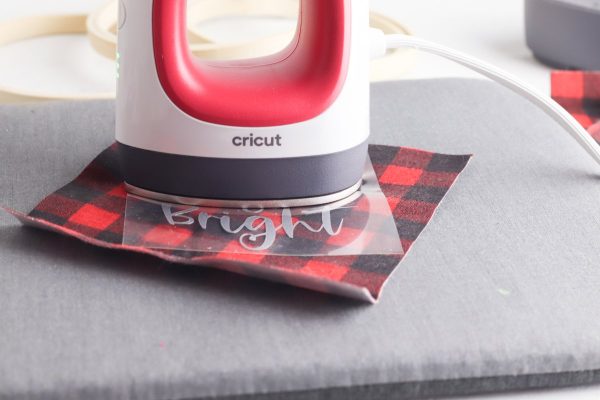
Place your design in the center of your piece of flannel fabric with the shiny plastic facing up.
Use the EasyPress or iron to transfer the vinyl to the fabric.
Allow the vinyl to cool, remove the plastic protective sheet, then place fabric inside the embroidery hoop.
Create a loop with the twine around the top of the embroidery hoop. Secure the twine with a bow. Use this as the hanger to hang your ornament with.