
Equipment
- Craft felt
- Ribbon
- Matching embroidery floss
- Poly-fil Stuffing
- Embroidery needle
- Scissors
- Hot glue gun
- Hot glue sticks
Instructions
Preparation
- Print gnome pattern pieces on heavy card stock paper.
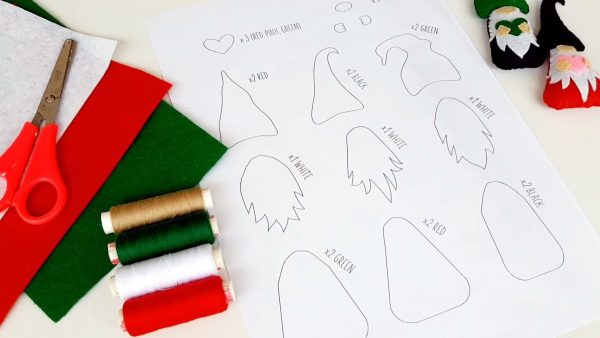
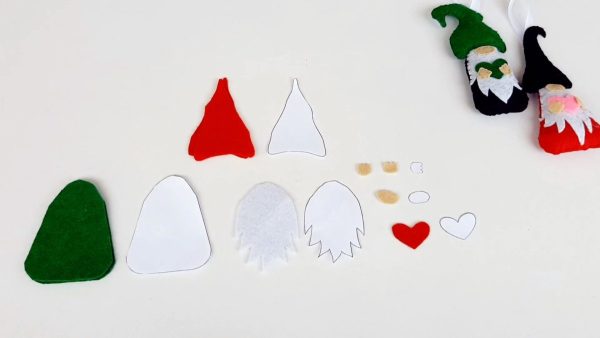
- Cut out the gnome hat pattern pieces, the gnome beard pattern pieces and the gnome body pattern pieces. Use them as templates to trace and cut out the appropriate color felt pieces as noted.
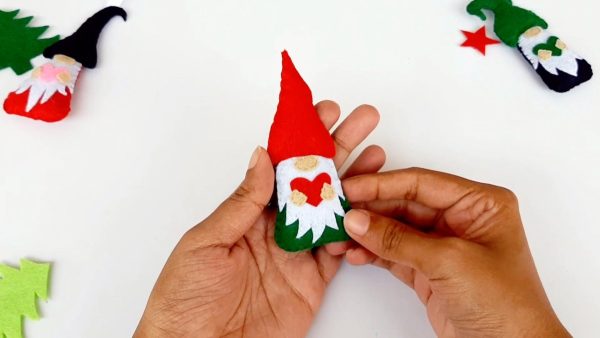
Make The Body
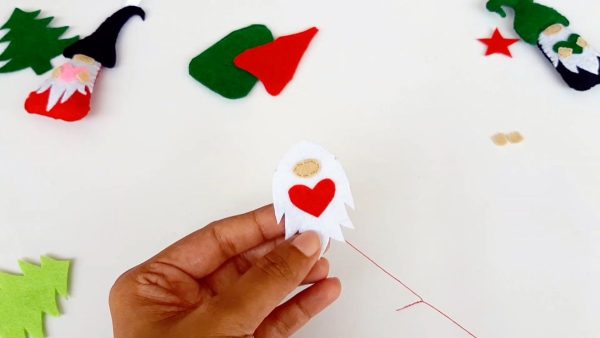
- Sew the nose, heart and hands onto the beard using embroidery floss and a running stitch.
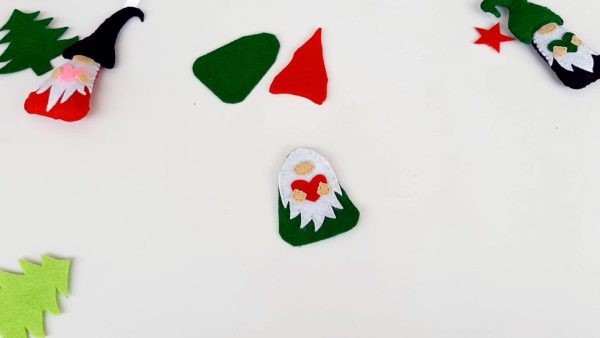
- Attach the beard to one body piece, also using a running stitch around the outer edge of the beard.
- Place the second body piece behind the first. Cut a long strand of embroidery floss and sew them together along the outside using a blanket stitch. Leave a small opening for stuffing.
- Stuff with Poly-fil. You may want to use a pencil, chopstick or small wooden dowel to make sure the poly-fil fills the gnomes body firmly. Stitch closed and finish with a tight knot.
Make the Head/Hat
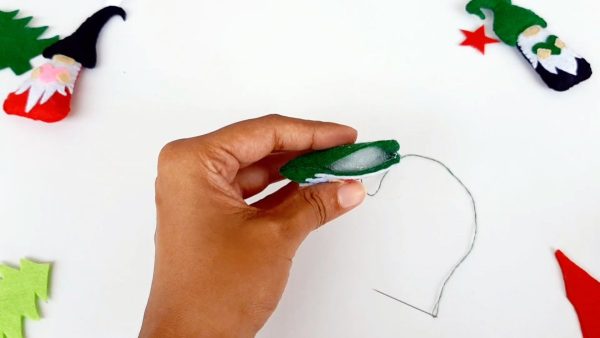
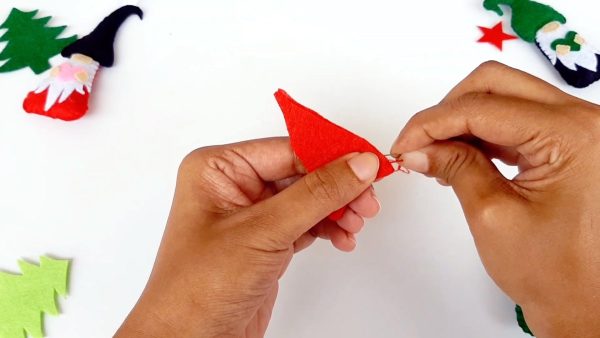
- Begin sewing the two hat pieces to form the head. Use a blanket stitch to start at one side and stop at the other side so that you leave the entire bottom (where the head goes) open.
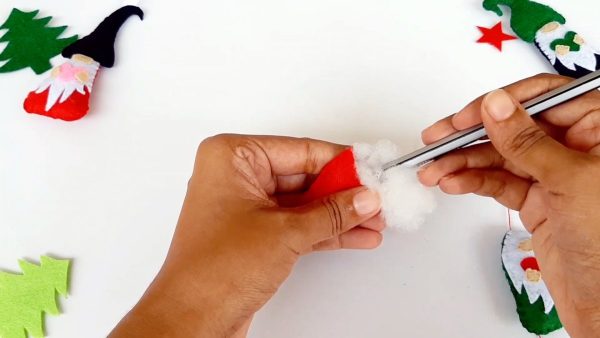
- Use the hole to stuff the head with Poly-fil.
- Place it onto the body, aligning it just above the nose.
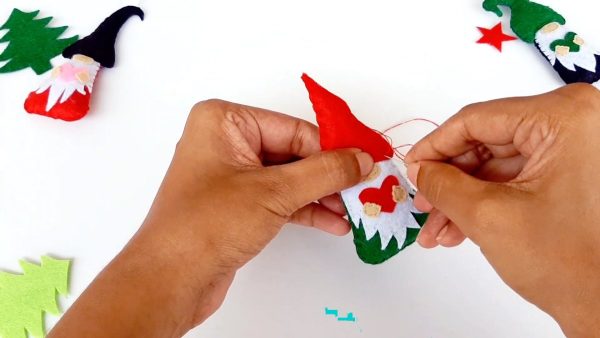
- Continue sewing across the bottom edge of the hat but now going through all pieces to attach the hat to the body. Finish off.
Finish Your Ornament
- Fold a piece of ribbon, yarn or piece of twine in half and use a hot glue gun to glue the ends to the back of the gnome’s hat near the top. *You could also sew the loop into the top of the hat by simply placing it where you would like while sewing the front and back hat pieces together.
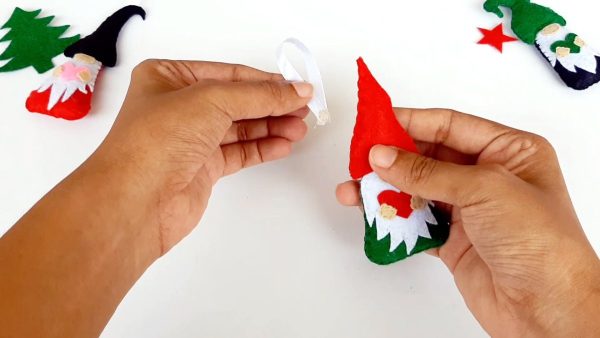
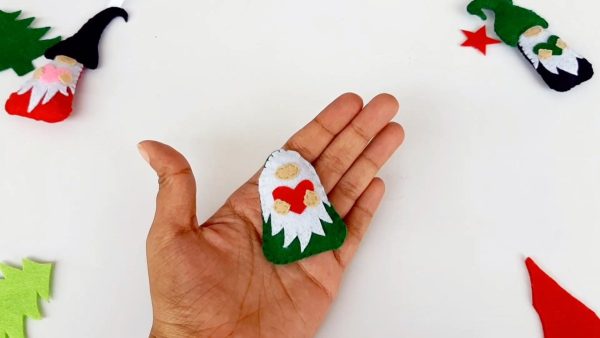
- Admire your adorable DIY Gnome Christmas Tree Ornaments.

Notes
TIP: You can tack down smaller pieces with a very small amount of glue if you find they move around on your while trying to sew.
You can also make this a no sew project simply by using a thin, solid line of glue for everything in place of stitches!