Open Cricut Design Space and either open my design from the equipment list above or open a blank canvas. (If using my design I've done most of the below steps for you, you will need to add your child's name and then skip on down to step 5.)
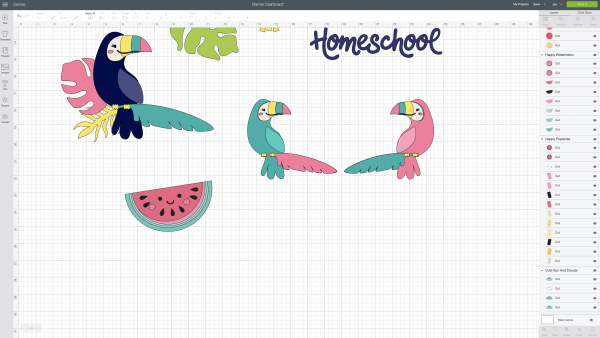
Explore the images in the Cricut image library looking for ones that appeal to your child. I like clicking a bunch that I like so that I have lots of options, and then keeping the ones I want and deleting the ones I don't as I start working on my layout.
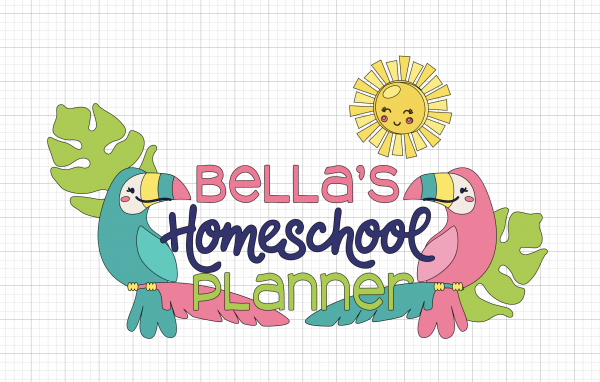
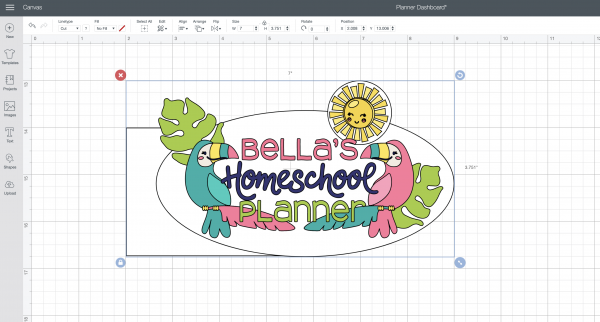
Lay them out as you would like and add the words "YOUR CHILD'S NAME Homeschool Planner", or whatever words you would like your planner dashboard to say.
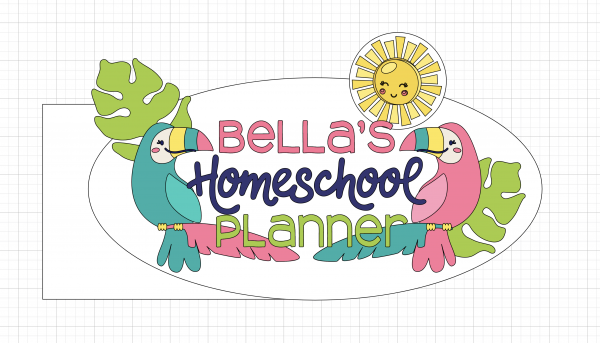
Using the shapes tool add shapes as a background for your planner dashboard. I selected a circle and stretched it into an oval for behind the toucans, a circle for behind the sun and a rectangle for the edge of the dashboard that clips into the planner. Move those pieces to the back of your stack.
Next measure your planner to see what size you want your dashboard. Select all of the pieces of your planner dashboard (I like doing this by clicking down on my mouse and dragging a rectangle over the collection) and size it appropriately.
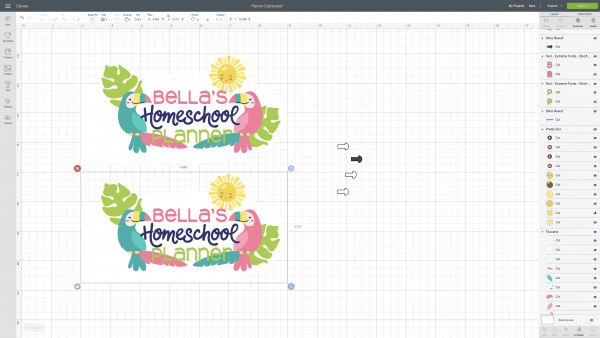
I decided to also add Happy Planner punches to mine, so I created a Happy Planner punch, laid it on top of my dashboard where I wanted it, selected both pieces and clicked slice.
Once you have all the pieces as you want them, select them all and then click flatten.
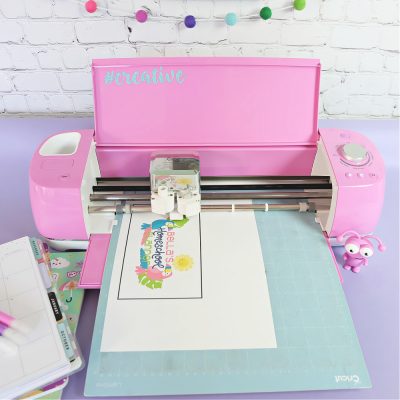
Next click "Make It" and follow the prompts on your screen. You will want to print this on cardstock. Then load it onto your fine grip cutting mat, load it into the machine and watch it cut!
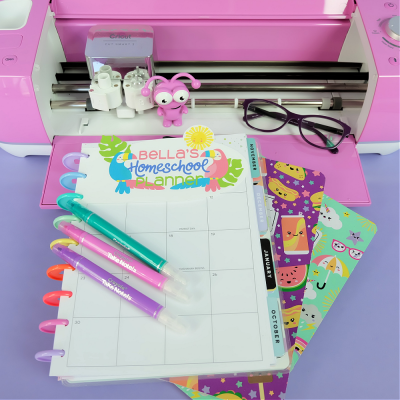
Peel your planner dashboard off of the cutting mat (If you aren't using a Happy Planner or didn't use the Happy Planner punch then punch holes in your dashboard) and pop it into your planner! Use it to mark your place in your homeschool planner!