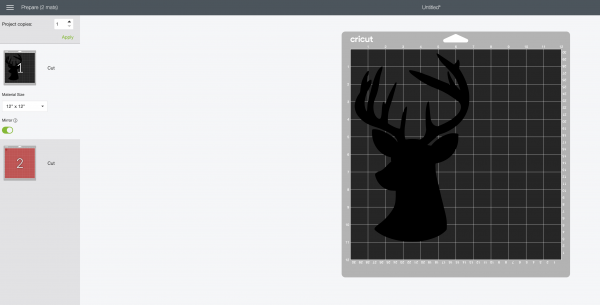
Upload the Rudolph Cut File from Cutting Machine Crafting to Cricut Design Space. Measure your shirt to see how big you want your image to be cut. Size your image accordingly by clicking on the image and using the arrow button that appears in the bottom corner to size, or by using the sizing boxes in the toolbar. Click "Make It" and follow the prompts on the screen. If you care about what direction your reindeer is facing, you will want to use the mirror slider under the cutting mat on the left hand side of the screen. You will want it facing in the opposite direction that you want it on your shirt since HTV cuts from the back.
Cut Rudolph’s body out of silver glitter heat transfer vinyl (or the color you would prefer), and Rudolph's nose out of red glitter heat transfer vinyl (or the color you would prefer).
Weed out the vinyl that isn’t part of your design leaving your design on the clear plastic backing
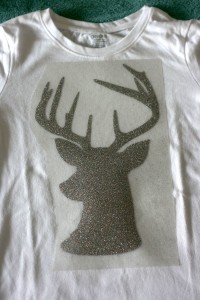
Position your design on your shirt vinyl side down (sparkle and plastic backing faced up). Use your Cricut EasyPress or Iron to adhere the HTV to your shirt using the heat settings recommended for the HTV you are using.
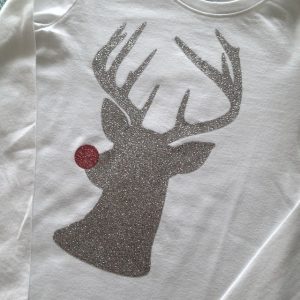
Once Rudolph's body is firmly adhered to your shirt, remove the clear plastic barrier and repeat step 4 with Rudolph's nose.