
How To Cut HTV On A Cricut Cutting Machine
Equipment
- Cricut Joy, Cricut Explore or Cricut Maker
- Cut file
- Measuring tape
- Surface that you are applying your HTV to
- HTV
- Regular grip cutting mat
- Fine-tip cutting blade
- Weeding Tools
- Cricut EasyPress, heat press or iron if you’re in a pinch
- EasyPress Mat or a towel to protect your work surface
Instructions
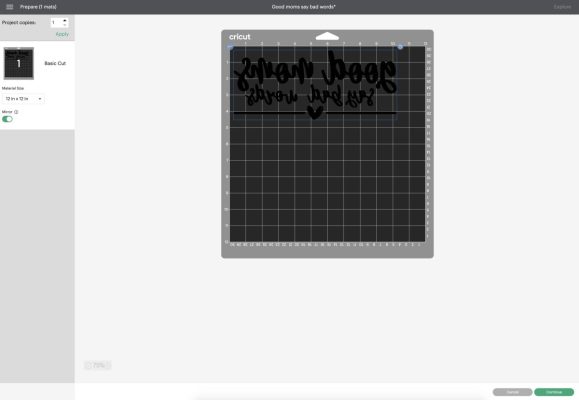
- Log into Cricut Design Space. Either select an image from the image library, or upload a cut file to Design Space.

- Measure the area where you will be applying your design using your measuring tape. Size your design by clicking on it and using either the arrow that appears in the bottom right-hand corner of the design or the Size tool in the top toolbar.

- Click Make It in the right corner of the screen. Click the mirror slider under each cutting mat on the left-hand side of the screen. Then follow the steps on the screen to connect your Cricut, choose your cutting material and other cut settings. I always keep my smart set dial set to Custom on my Explore machine so that I can choose the exact type of material that I am using.Note: When using a type of HTV that you haven’t used before you might want to do a test cut before cutting the entire design to test that you have the correct settings for that type of HTV.
- Lay your iron-on with the color/shiny side down on the cutting mat and the dull side up.
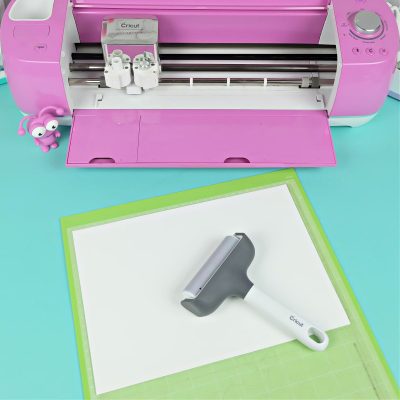
- Load your cutting mat into the machine using the arrow on the right-hand side of your Cricut. Once your mat is loaded, look for the Cricut C to start flashing, press the button, and your machine will start cutting. When your machine finished cutting, press the arrow again and your mat will unload. Repeat with each color of HTV until your design is finished cutting.
- Weed your HTV using your weeding tool, removing the excess vinyl from around your design, leaving just the design on the clear plastic backing.

- Lay your HTV on the surface you are applying it to with the shiny plastic facing up, and your weeded HTV against the surface you are applying it to.

- Follow the instructions for applying the type of HTV you’re using to the material that you are applying it to. I like using the Cricut Easy Press Temperature Guide for this.

- Carefully peel up the clear plastic liner and just like magic reveal your beautiful design below (make sure you check if the HTV you are using requires a cold peel, warm peel or hot peel).

Notes
While this tutorial is specifically for Cricut Design Space and Cricut craft cutters, the process would be very similar for other machines and design software including Silhouette Studio.