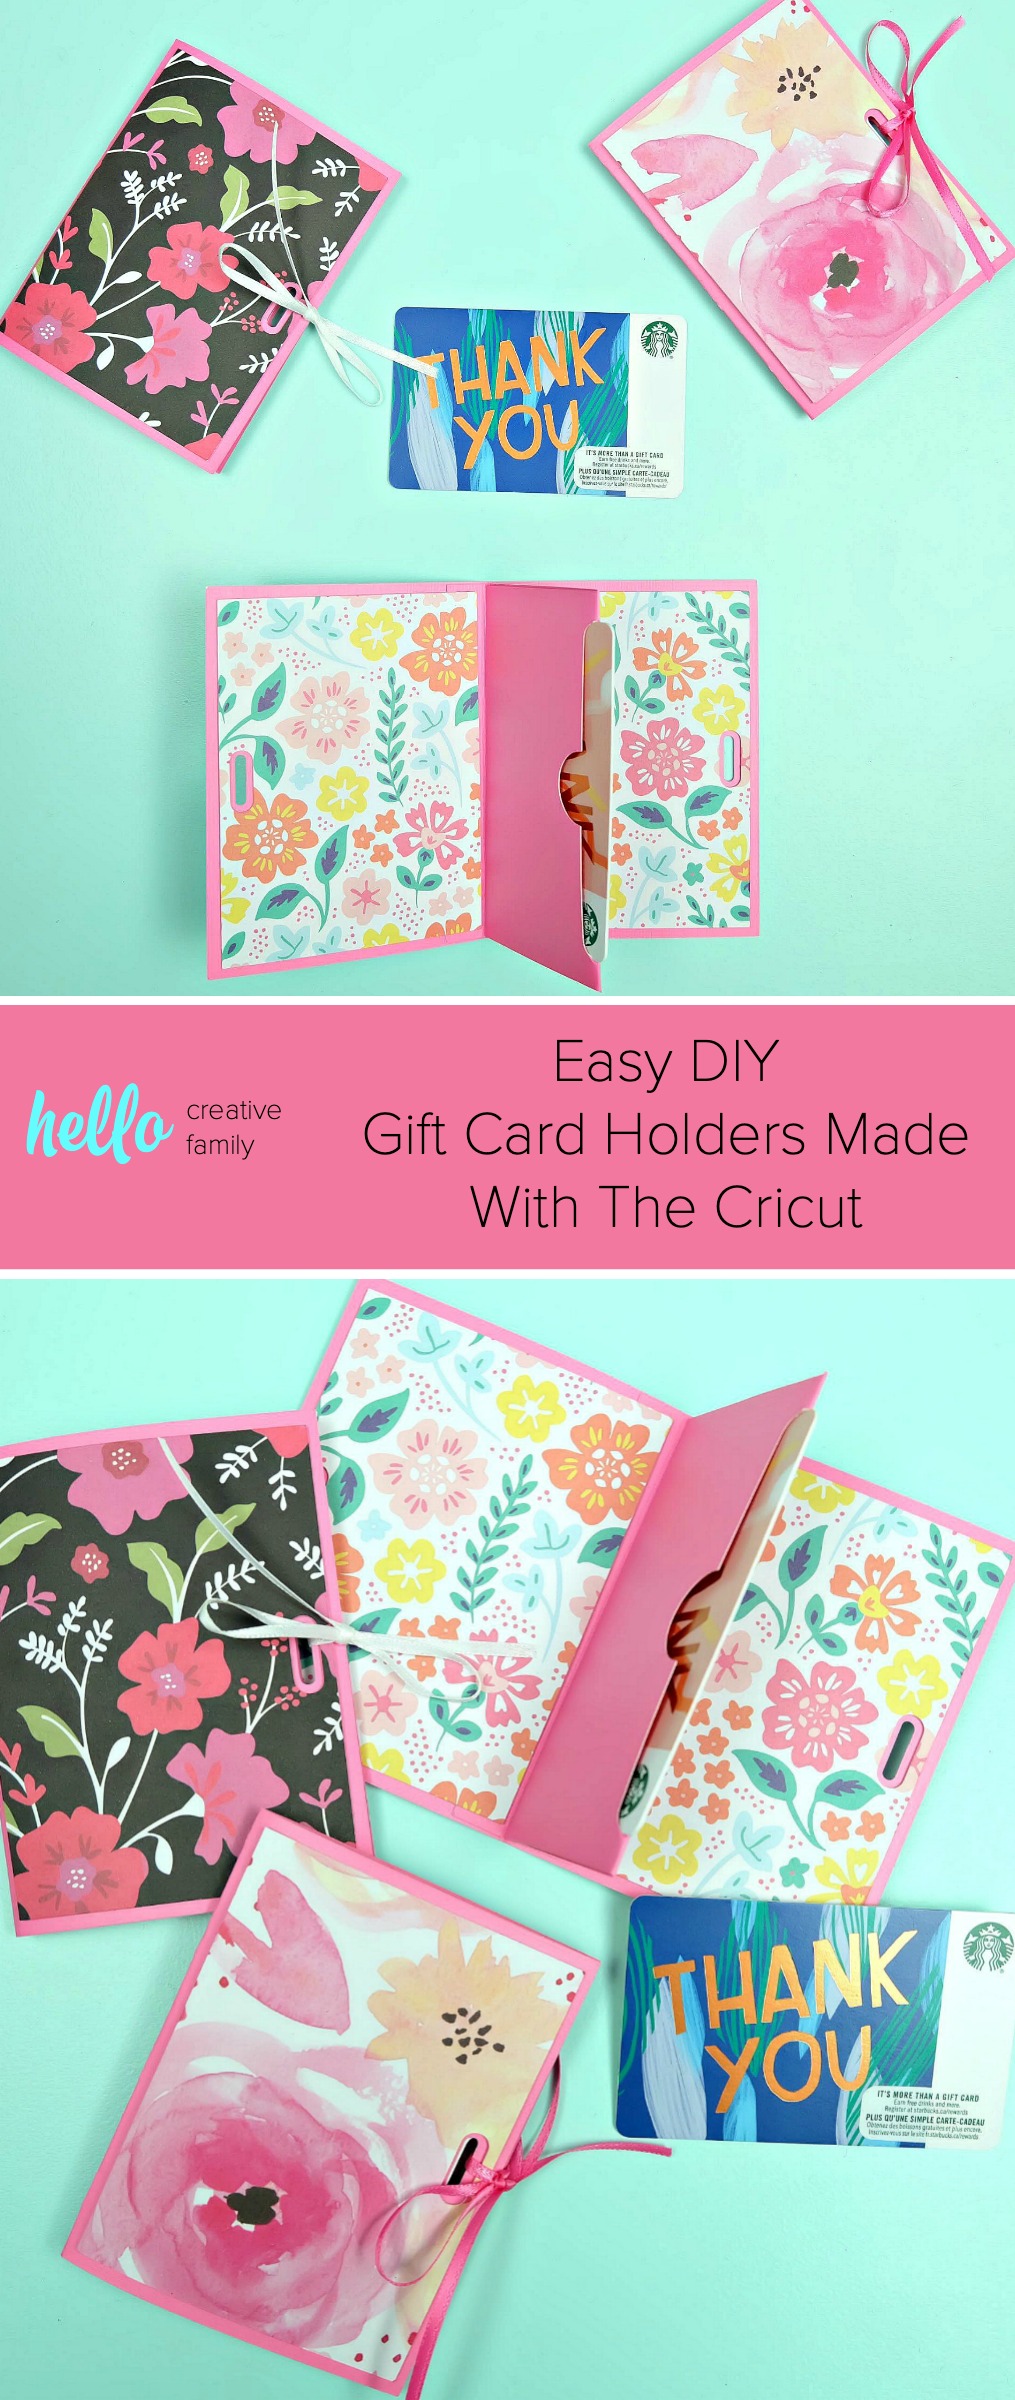
Easy DIY Gift Card Holders Made With The Cricut
This post and the photos within it may contain Amazon or other affiliate links. If you purchase something through the link, I may receive a small commission at no extra charge to you.
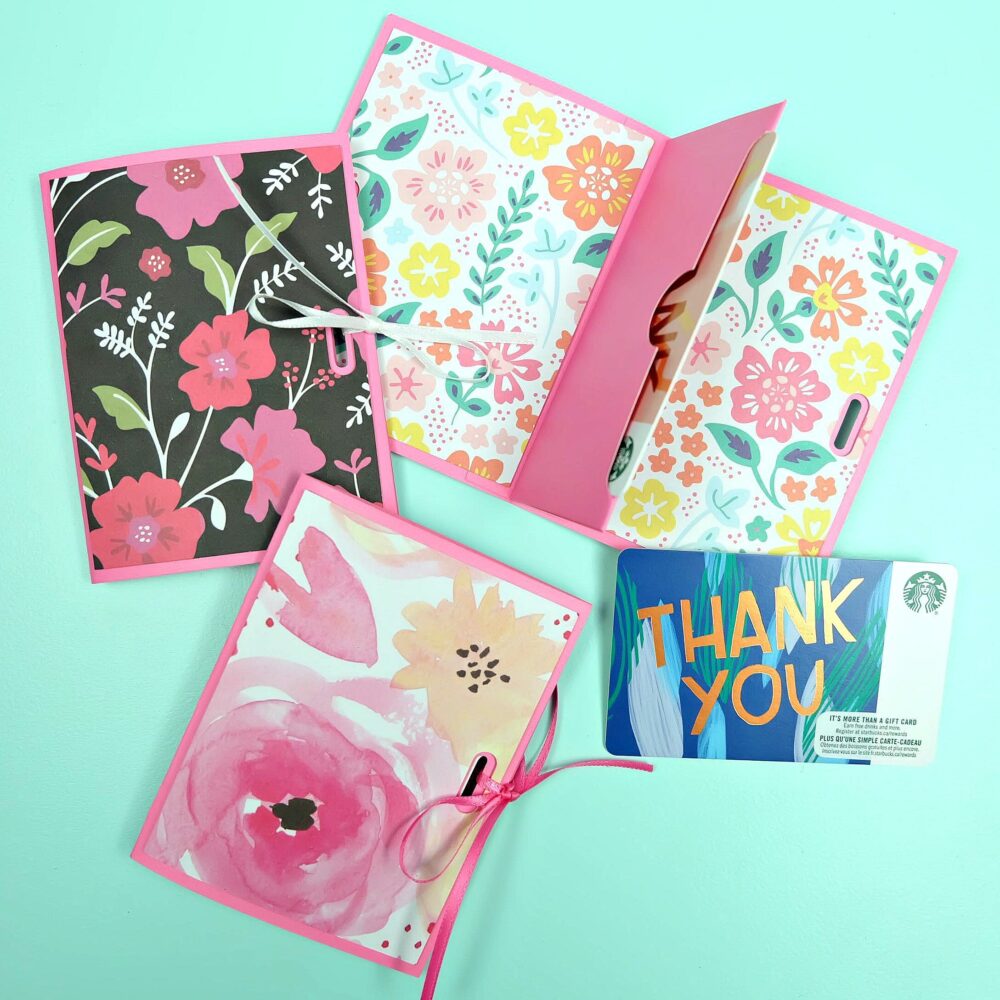
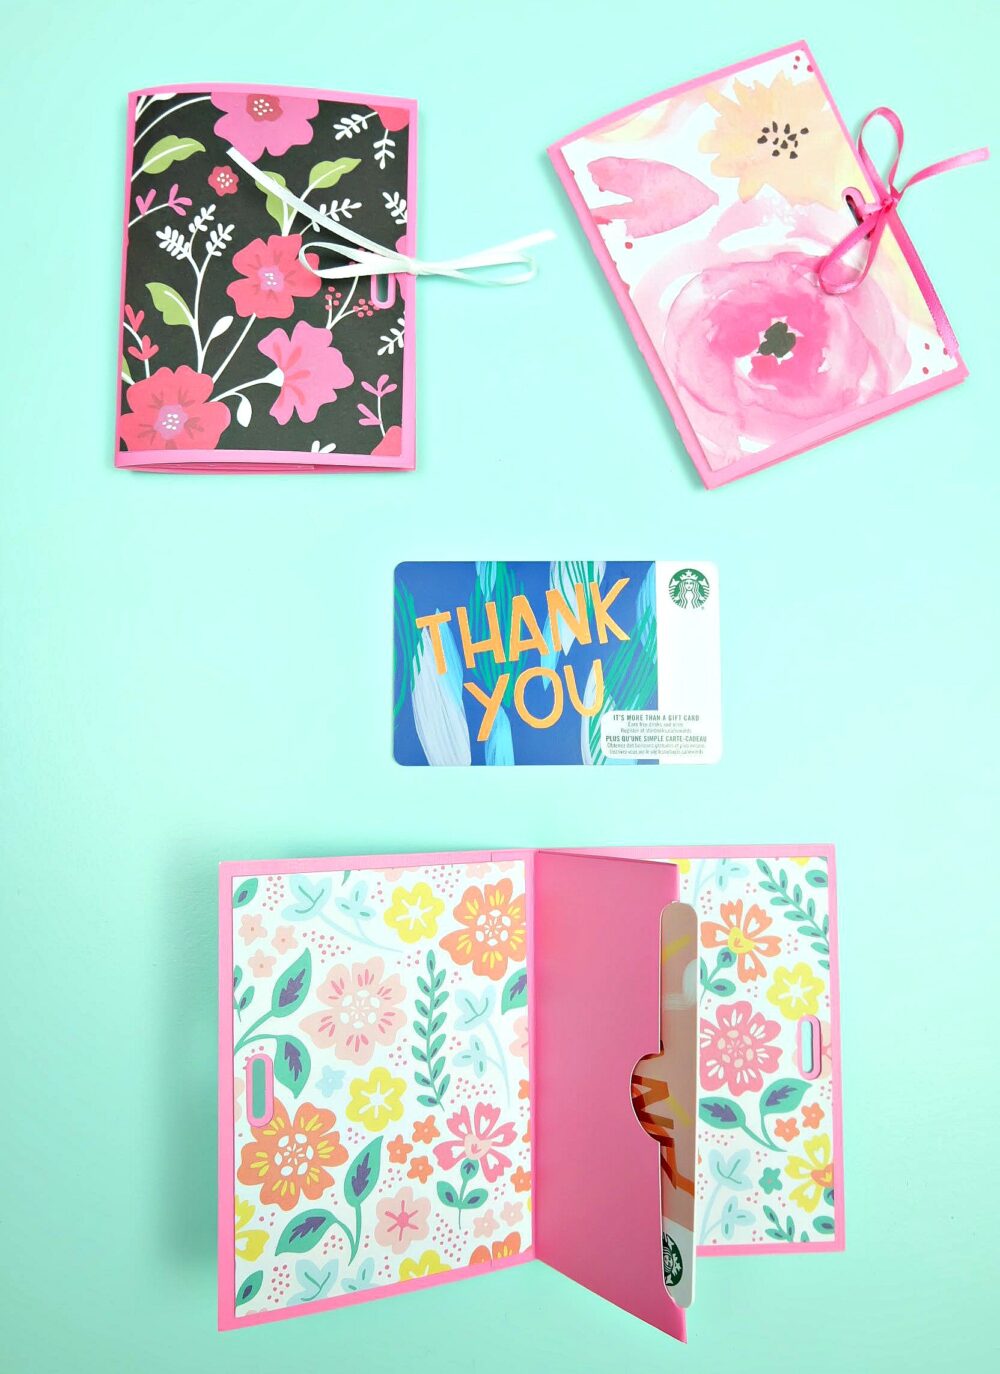
Add a handmade touch to gift cards for birthday’s, teacher gifts, shower gifts, party favors or wedding presents with these easy DIY gift card holders! Make this paper craft in minutes using your favorite scrapbook paper and your Cricut! A quick and easy handmade gift idea!
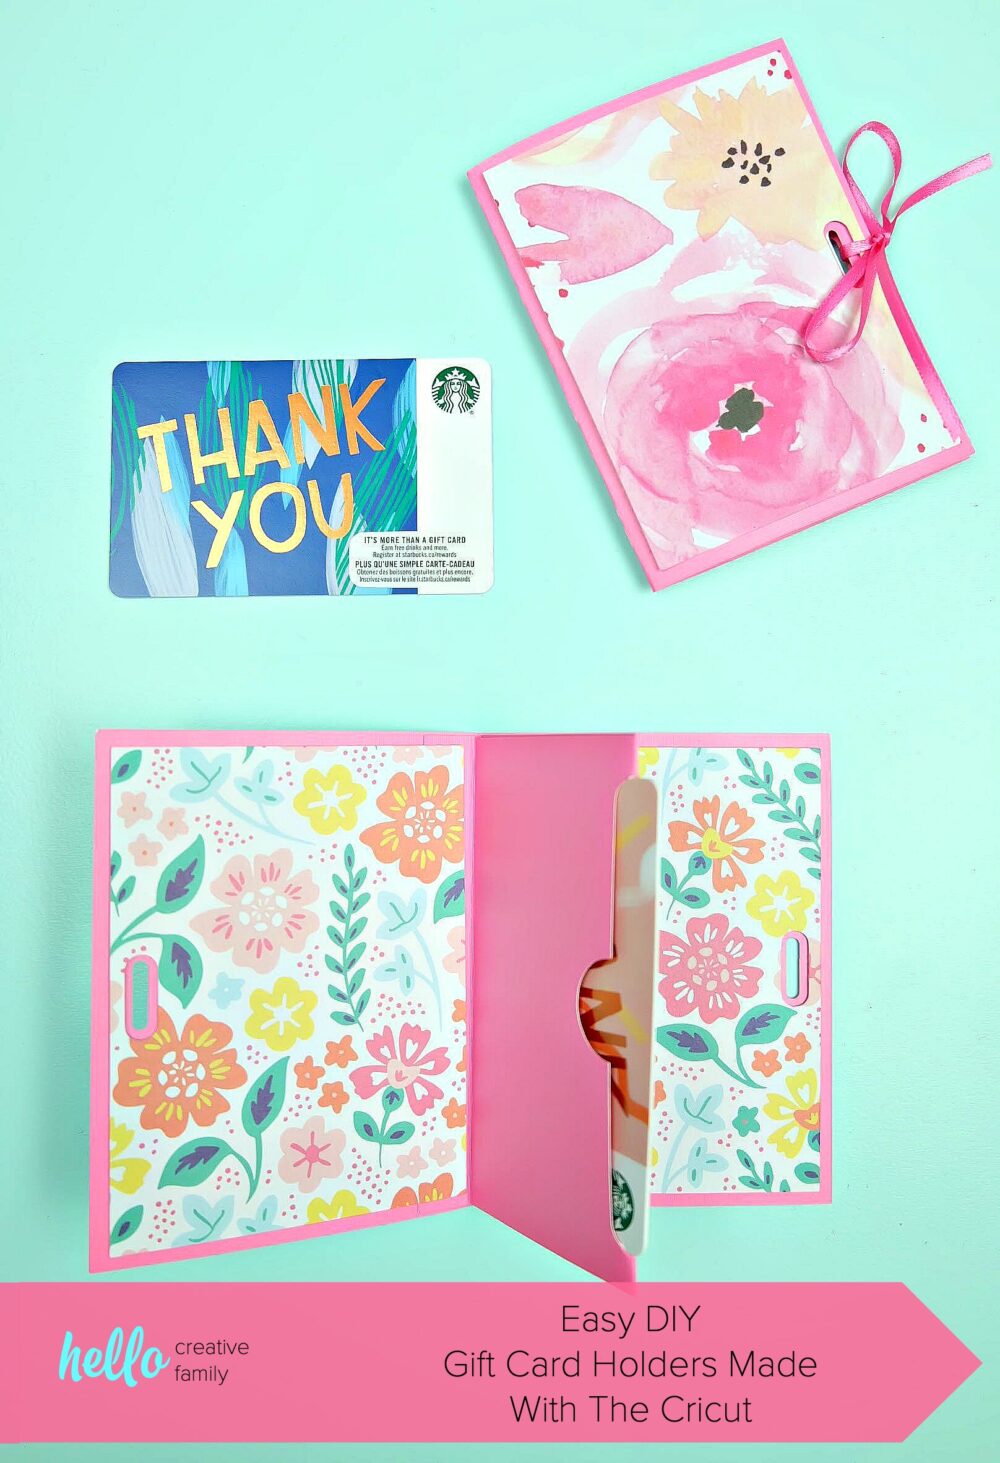
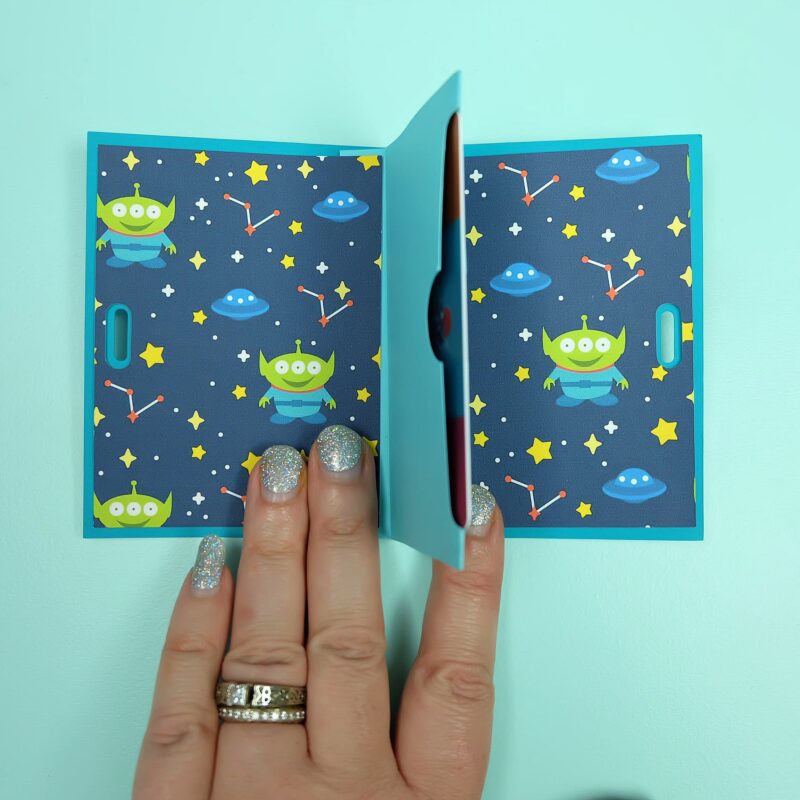
Ask me how many of these DIY Gift Card Holders I’ve made in the last 2 weeks. The answer? Too many to count! I’m obsessed. You know that feeling when you really want to give someone a gift card, but it doesn’t feel personal enough and you really want the gift to have a handmade element to it? These DIY gift card holders help solve that problem! My kids and I have made a ton of them over the past few weeks. First we gave them to one of Bean’s crafty friends who we really wanted to give a Michael’s gift card to. Next we made a bunch of them as birthday party favors and filled them with $5.oo gift certificates to Chapters. My son was having a Toy Story 4 birthday and since I couldn’t find Toy Story cardstock at the craft store I bought this Toy Story digital scrapbook paper and made my own!
This is also our final week of school and extracurricular activity so we bought a bunch of Starbucks gift cards and gave these for teacher and coach gifts.
Now as much as I wish I could say that I created this incredible cut file, I’ve got to give credit where credit is due. I found this amazing cut file while searching Pinterest for a way to add a handmade touch to a gift card and ended up on Everyday Jenny’s site. I don’t know if Jenny created the gift card file herself, or found it in Cricut Access but as hard as I searched Cricut’s image database I couldn’t find this cut file. Lucky for us, Jenny links to the cut file AND shares how to make it in her post here.
Make sure you save it to your own projects, because trust me, you’ll want to come back and cut these DIY Gift Card Holders over and over and over again!
Have these materials?
–Cricut Maker or Cricut Explore
–Scoring Wheel or Scoring Stylus
-Cardstock and/or Scrapbook Paper
-Glue or glue dots
-Ribbon
Then head on over to Everyday Jenny’s tutorial and get making!
[hr gap=”30″]Tell me… Do you give give cards often for gifts? Do you love this way of adding a handmade touch to gift cards? What design would you use for your scrapbook paper and who would you give DIY Gift Card Holders to?[hr gap=”30″]
Like these DIY Gift Card Holders? Make sure that you pin this post for later!
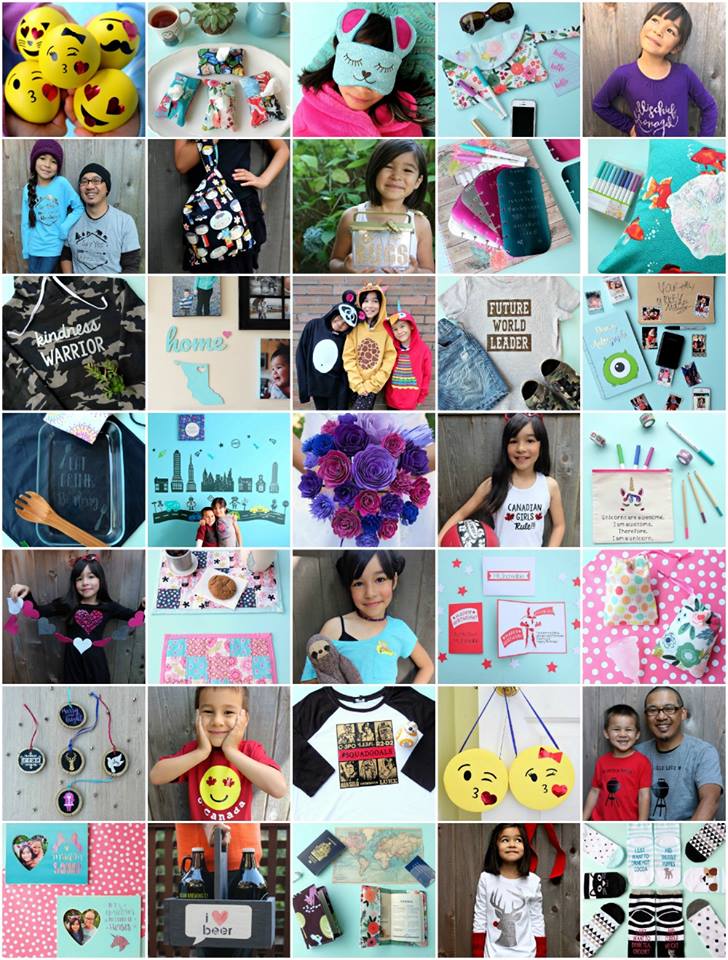
Looking for even more Cricut Ideas? We have them all in one handy place for your convenience! Find our Cricut Section Here.