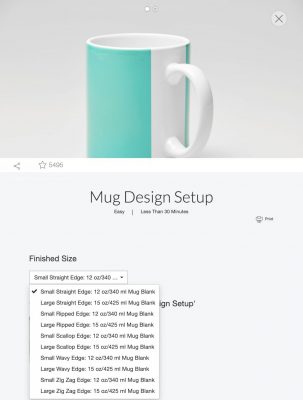
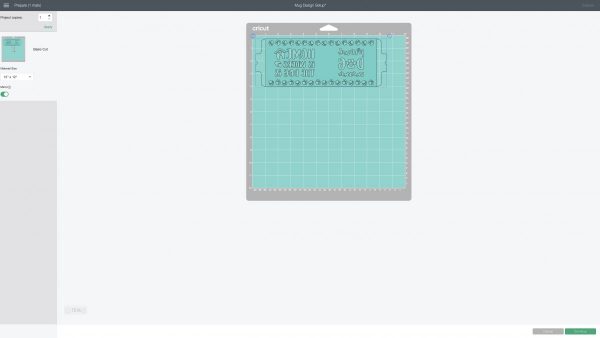
Open Cricut Design Space and search for Mug Design Setup. Select the size mug you will be using and click Customize.
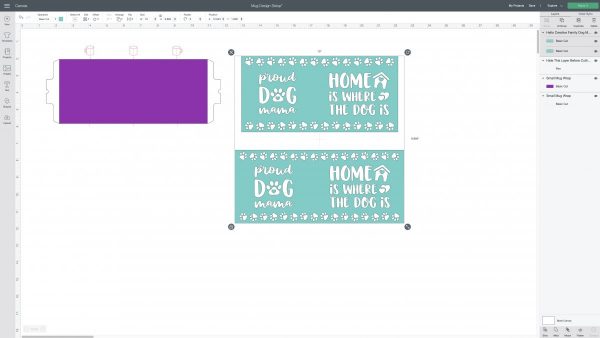
Upload the design you are using to Cricut Design Space (if you are unsure of how to upload cut files see our post on How To Upload Images To Cricut Design Space.) If you are using my "Dogs" cut file, I have provided it in two different sizes (depending on what size mug you are using.) Click on the design and then click Ungroup.
Lay your design on top of the Cricut Template and size it so that it fits just inside the template.
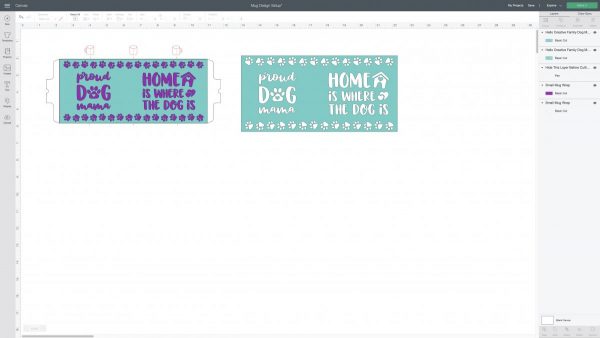
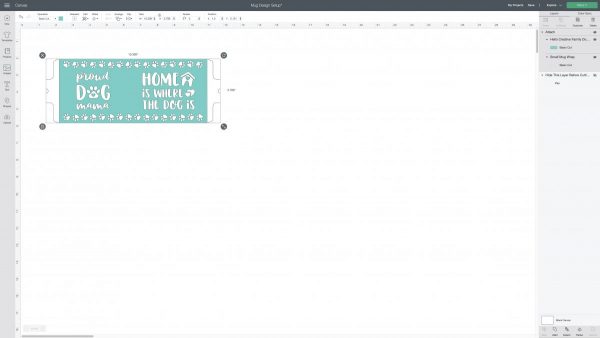
Either delete or hide the layers that you won't be using. This includes the layer that says "Hide this layer before cutting", the rectangle mug wrap piece and the extra cut file that you aren't using. With your design centered on the mug wrap piece with the notches on both sides, select your design and the mug wrap piece and click Attach.
Click Make It, then click the mirror slider under your cutting mat. Select Infusible Ink Transfer Sheet as your cutting material. Load your cutting mat with the Infusible Ink pattern side up, and then load the cutting mat into your Cricut.
Weed your Infusible Ink, removing the Infusible Ink surrounding your design, leaving just your design behind on the clear plastic backing. The mug wrap piece with the notches will make your Cricut cut through the clear plastic backing so that you can nicely lay your Infusible Ink wrap on your mug and connect the two ends inside the handle of your mug.
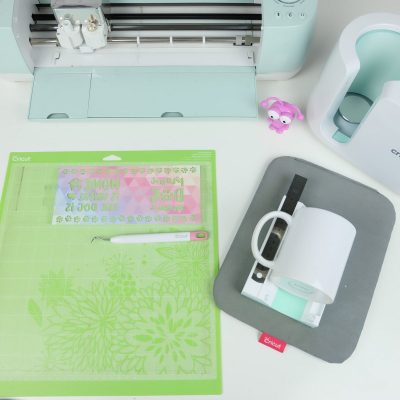
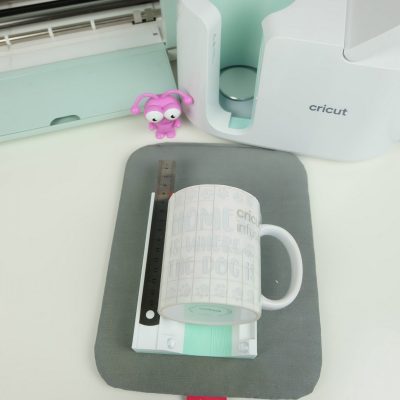
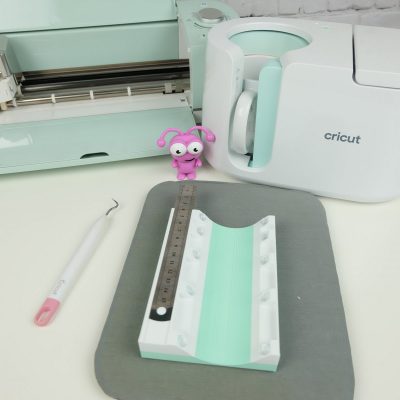
Clean your mug with either a lint free cloth or a lint roller. Carefully wrap your Infusible Ink wrap around your mug, with the clear plastic notches overlapping inside the handle. You may want to lay your mug on a secure surface like Uniquely Whynot's Tumbler Cradle. You also might want to use Heat Resistant Tape to secure your design to your mug. I try not to lay my tape overtop of the Infusible Ink as I find it effects the quality of the transfer.
Preheat your Mug Press. If this is your first time using it you will need to connect it to your computer to register it and do an update. Then you simply press the power button to turn it on. The light will turn green when it's ready to use. Gently place your mug in the mug press with the handle sticking out of the slot. Press down the lever on the top of the mug press to close the opening where the handle is sticking out and to start your press. The lights on the top of the Mug Press will show you where you are in the heat cycle and the Mug Press will beep when it's done. When your mug press beeps, lift the lever back up to open your Mug Press. Carefully set it on a heat safe surface to cool.
When your mug has completely cooled. Peel away the Infusible Ink revealing your beautiful design beneath!