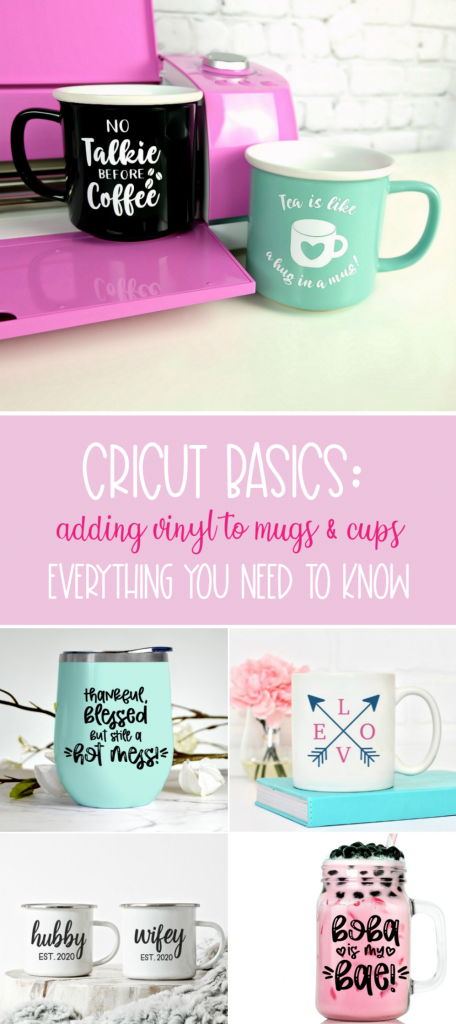
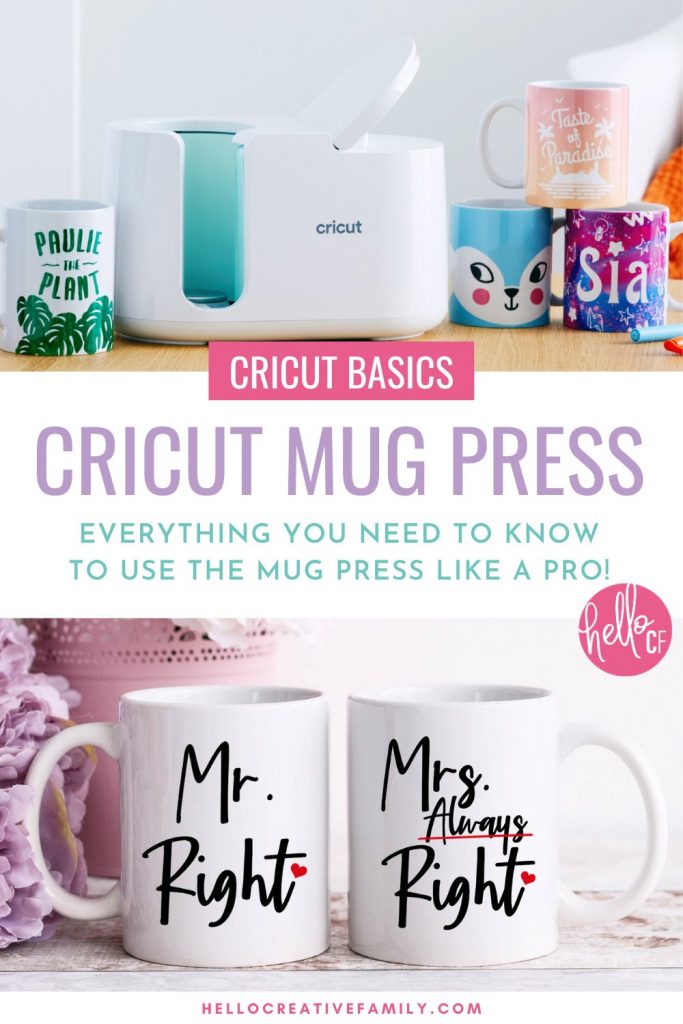
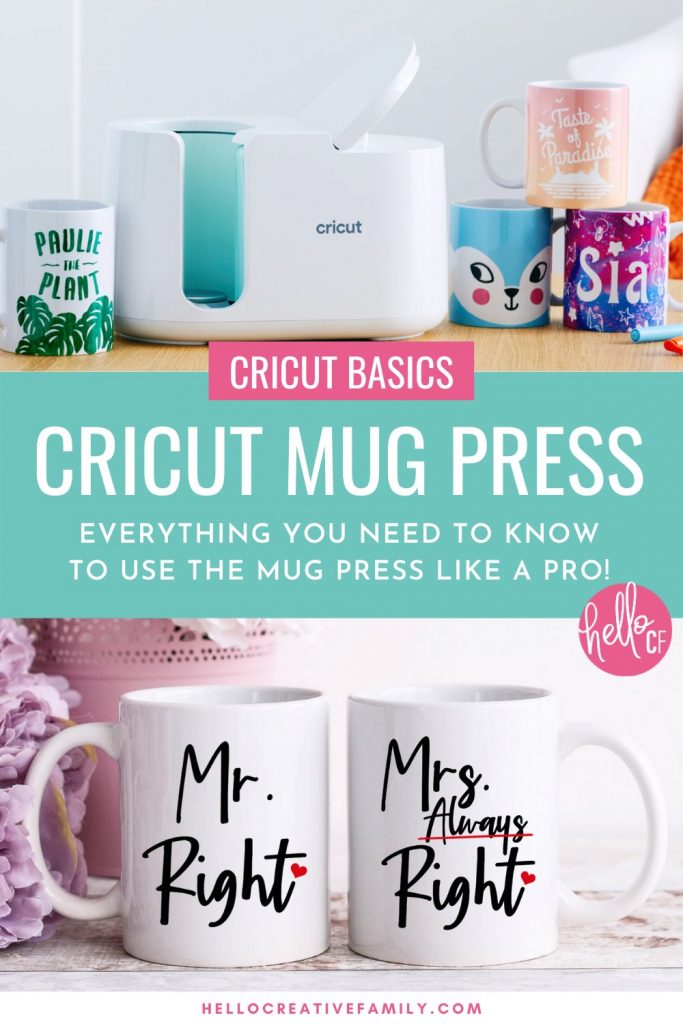
Cricut Basics: Everything You Need To Know For How To Use The Cricut Mug Press
This post and the photos within it may contain Amazon or other affiliate links. If you purchase something through the link, I may receive a small commission at no extra charge to you.

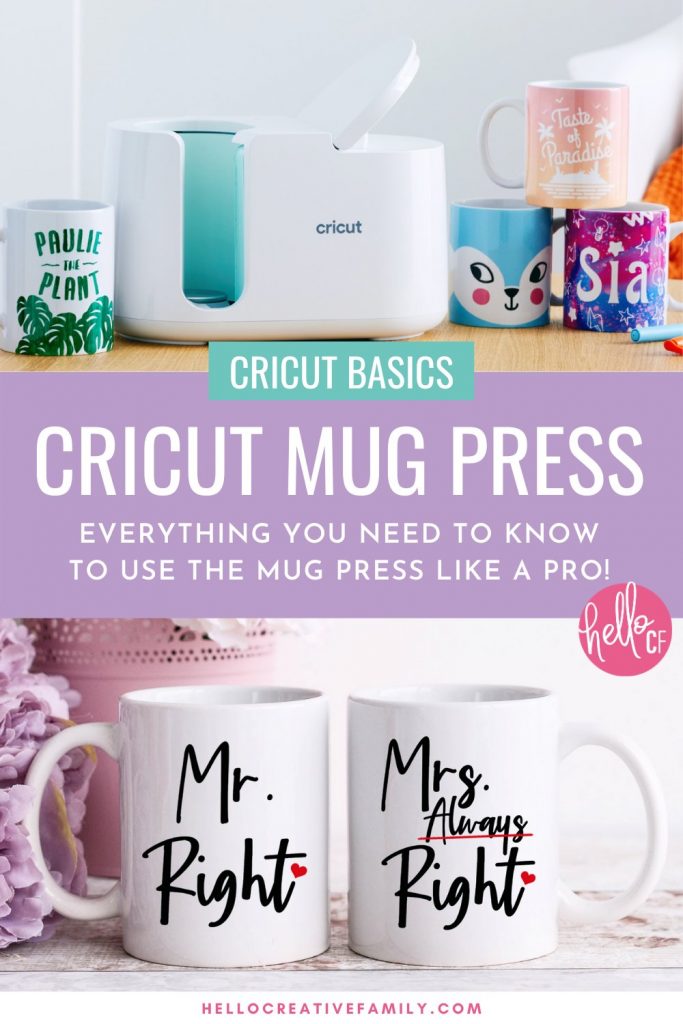
We’re sharing everything you need to know about how to use the Cricut Mug Press including free designs, step-by-step instructions and what kinds of mugs you can use with your heat press!
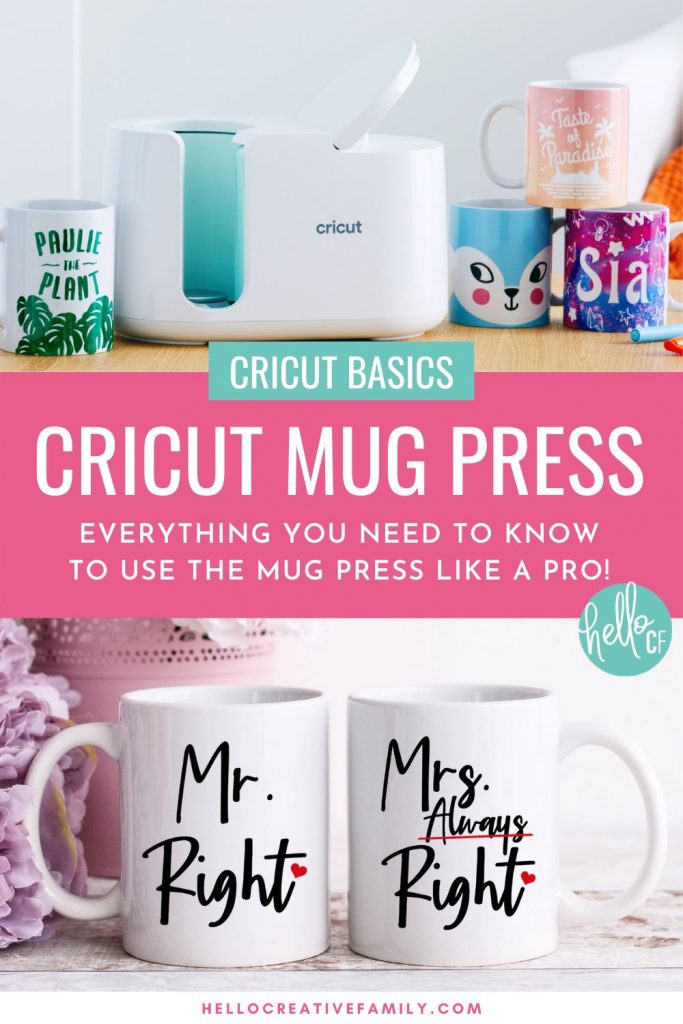
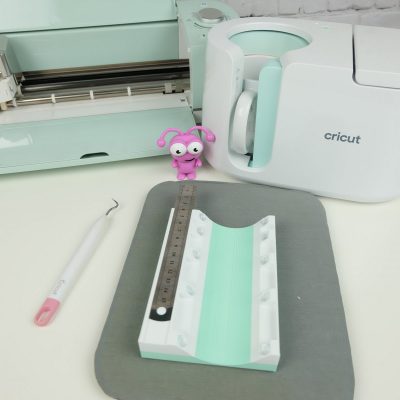
Hi crafty friends! I’m back with a brand new addition to our Cricut Basics series! Today we are going to be chatting all about the incredible Cricut Mug Press and I’m so stinking excited!
The Cricut Mug Press came out on March 11th! I stayed up late on March 10th to make sure that Cricut didn’t sell out before I had a chance to buy one, and got that order submitted the moment the clock struck midnight. I’ve now been using my mug press for just over a month and let me tell you– I’m in LOVE! Like seriously, in love.
I have this dream of one day having a big house where there is a big wall in the kitchen that is decorated with hanging mugs. When friends come over for tea, I’ll tell them to go to the wall and pick the mug that is “calling their name”.
Meanwhile, we live in a townhouse and don’t have that giant wall yet, but I keep on collecting mugs– because I love them!
What Can I Make With My Cricut Mug Press?
When the Cricut Mug Press came out I thought to myself “Is the mug press worth the money and space if you can only make coffee mugs with it?”
Then I caught some of my friend Angie from over at Country Chic Cottage’s Instagram stories and she was making all kinds of things using her Mug Press– Mugs, beer steins, mason jar cups, color changing cups, tumblers… the list went on and on!
Not only can you use the Cricut Mug Press for Cricut Infusible Ink mugs, but you can also use it with other sublimation friendly mugs using either Infusible Ink or a sublimation printer!

Here are a few of the mugs that I have made in the last month. Some of them are made using sublimation ink, and others are made using Infusible Ink. The sloth mug in the front is a color changing cup which turns from black to white when hot liquid is put inside. It is so fun.
I’m going to be writing a post in the next few weeks on how to convert a printer into a sublimation printer, so today I thought I’d share with you how to use your Cricut Mug Press to make mugs using Infusible Ink.
What Kind Of Mugs Can I Use With My Cricut Mug Press?
This is such a great question, the simple answer is that you need either a sublimation mug or a Cricut Infusible Ink Mug. That means that your average mug that you find at the dollar store won’t work for this. The good news is that as sublimation gets more and more popular, sublimation mugs are easier and easier to find!
There are a few things you’ll want to check for before buying your sublimation blanks:
- Coating- You’ll want to make sure that if you are buying mugs that aren’t Cricut branded that they are marked as sublimation mugs. This means they have a special coating on them that allows them to absorb the ink.
- Size- You’ll want to make sure that the size of your mugs are between 3.2 inches in diameter and 3.4 inches. The maximum height that the Cricut mug press can press is 4.72 inches but there are some clever ways around this. I’ve seen people press once, then flip there mugs upside down and press again. You can also use a smaller design that’s not wrapped and “floats” in the center of your mug.
- Last but not lease you’ll want to make sure that either the entire mug or a section of the mug has straight sides on it that you can press the design onto. The mug press will only work against a flat surface so if the entire mug is tapered it won’t work.
Cricut currently has 3 different types of Infusible Ink Mugs available:
Amazon Sublimation Mugs:
I’ve so far bought my sublimation blanks through Canadian wholesalers (since I live in Canada), but here are some mugs on Amazon that I’ve had my eye on. Make sure that you do your own research to make sure that these mugs will work in your press for the type of design you are using.
- Color Changing Sublimation Mugs
- Sublimation Can Cooler
- Mason Jar Tumblers
- Stainless Steel Coffee Tumbler (This tumbler is technically a bit too small for the mug press, but some people have used a silicone wrap with good success or you can see another hack here!)
How To Use The Cricut Mug Press With Infusible Ink
To make this Infusible Ink mug you are going to need a cut file. Cricut has a ton of great Cricut mug cut files available through Cricut Access. Additionally we have a bunch of SVG files that can be used on mugs here on Hello Creative Family. We’ve even done a few Mug SVG Blog Hops! Check out my Free SVG section, my Shop and Cricut Design Space for mug cut files. Here are a few ideas to get you started!


How To Use The Cricut Mug Press With Infusible Ink
Instructions
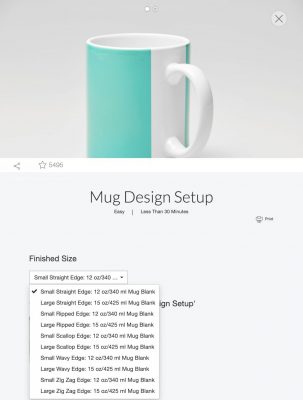
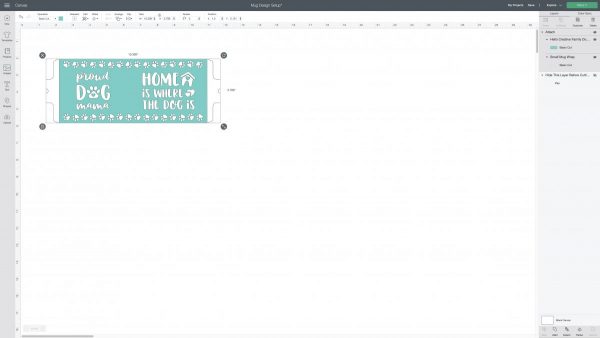
- Open Cricut Design Space and search for Mug Design Setup. Select the size mug you will be using and click Customize.

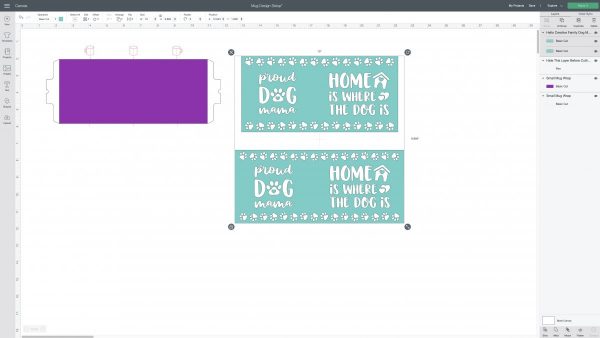
- Upload the design you are using to Cricut Design Space (if you are unsure of how to upload cut files see our post on How To Upload Images To Cricut Design Space.) If you are using my "Dogs" cut file, I have provided it in two different sizes (depending on what size mug you are using.) Click on the design and then click Ungroup.

- Lay your design on top of the Cricut Template and size it so that it fits just inside the template.
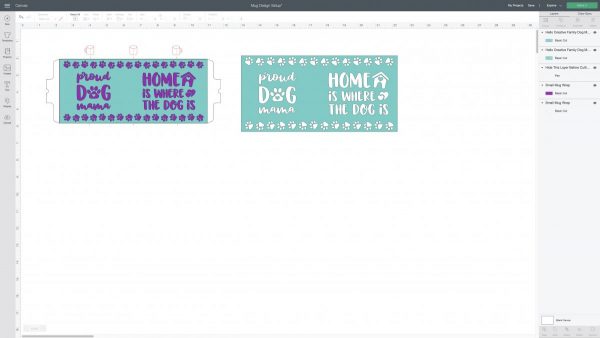
- Either delete or hide the layers that you won't be using. This includes the layer that says "Hide this layer before cutting", the rectangle mug wrap piece and the extra cut file that you aren't using. With your design centered on the mug wrap piece with the notches on both sides, select your design and the mug wrap piece and click Attach.
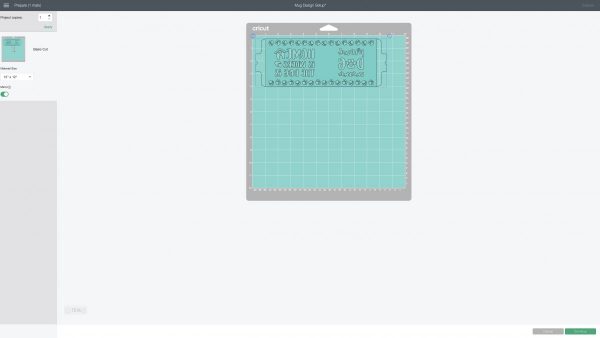
- Click Make It, then click the mirror slider under your cutting mat. Select Infusible Ink Transfer Sheet as your cutting material. Load your cutting mat with the Infusible Ink pattern side up, and then load the cutting mat into your Cricut.
- Weed your Infusible Ink, removing the Infusible Ink surrounding your design, leaving just your design behind on the clear plastic backing. The mug wrap piece with the notches will make your Cricut cut through the clear plastic backing so that you can nicely lay your Infusible Ink wrap on your mug and connect the two ends inside the handle of your mug.

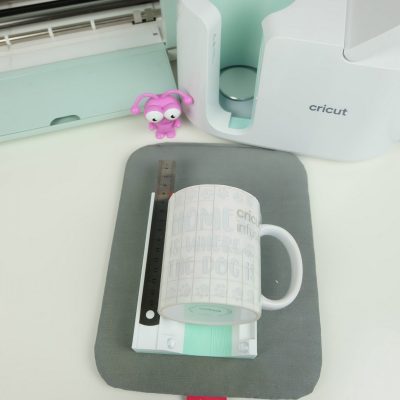
- Clean your mug with either a lint free cloth or a lint roller. Carefully wrap your Infusible Ink wrap around your mug, with the clear plastic notches overlapping inside the handle. You may want to lay your mug on a secure surface like Uniquely Whynot's Tumbler Cradle. You also might want to use Heat Resistant Tape to secure your design to your mug. I try not to lay my tape overtop of the Infusible Ink as I find it effects the quality of the transfer.
- Preheat your Mug Press. If this is your first time using it you will need to connect it to your computer to register it and do an update. Then you simply press the power button to turn it on. The light will turn green when it's ready to use. Gently place your mug in the mug press with the handle sticking out of the slot. Press down the lever on the top of the mug press to close the opening where the handle is sticking out and to start your press. The lights on the top of the Mug Press will show you where you are in the heat cycle and the Mug Press will beep when it's done. When your mug press beeps, lift the lever back up to open your Mug Press. Carefully set it on a heat safe surface to cool.
- When your mug has completely cooled. Peel away the Infusible Ink revealing your beautiful design beneath!
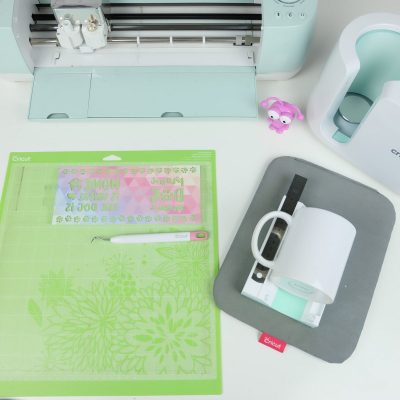

Equipment
- Heat Resistant Tape
- Infusible Ink Mugs or other sublimation mug
- Lint Roller or lint free cloth
- Optional: Uniquely Whynot Tumbler Cradle
- Cricut EasyPress Mat or heat safe surface
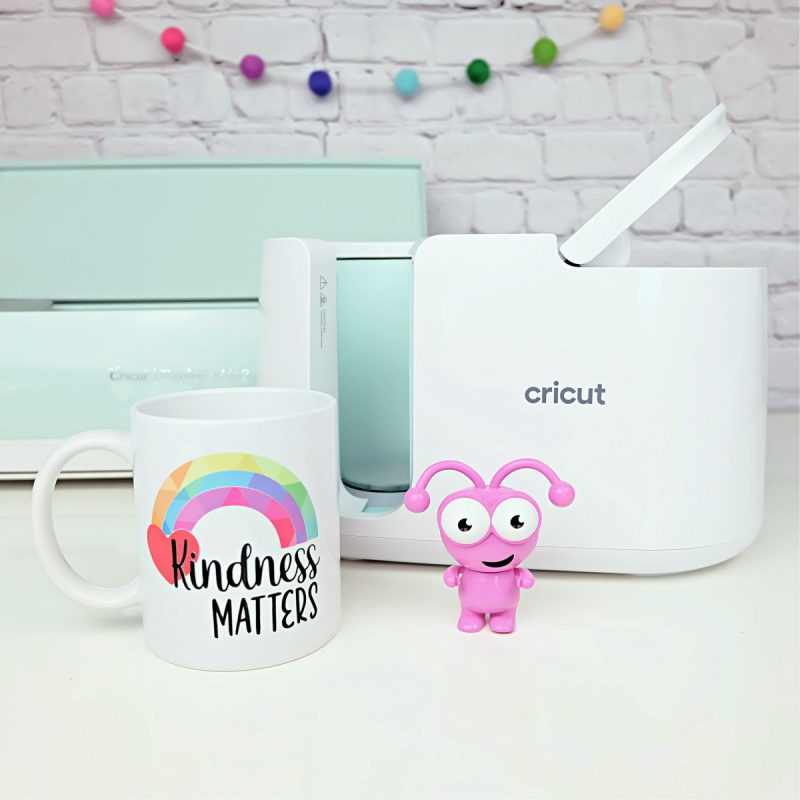
There are so many amazing cups, mugs and tumblers that you can make with your Cricut mug press! You are going to have SO MUCH FUN! Find our Kindness Matters cut file used in the below mug here.
Cricut Mug Press FAQ
Have a Cricut Mug Press question? Ask in the comments and I’ll add the question and answer to this blog post.
Q: Can you change the temperature on your Cricut Mug Press?
A: You actually can change the temperature! You may want to do this if you are getting yellowing on your mug (which means the mug press is too hot), or your transfer isn’t transferring (which means the mug press is too cold). You can find the directions for how to change the temperature on your Cricut Mug Press here.
Tell me… What kind of mug will you make with your Cricut Mug Press first? Do you have any other questions you’d like me to answer?
If you like our Cricut Basics: Everything You Need To Know For How To Use The Cricut Mug Press article I would love for you to pin it! It helps others discover our site which helps us bring you more awesome content like this!
If you like this post, make sure you check out some of our other Cricut Basics posts. Find them all here.