


How To Make A DIY Chipboard or Basswood Home Sign Using The Cricut Maker + Free Home SVG Cut File
This post and the photos within it may contain Amazon or other affiliate links. If you purchase something through the link, I may receive a small commission at no extra charge to you.
Have you used your Cricut Maker to cut chipboard or basswood yet? What are you waiting for? It’s amazing and easy! Learn tips for cutting chipboard and basswood with the Cricut Maker, how to make a gorgeous DIY Home sign for a handmade accent piece on your photo wall and grab our free Home SVG which you can cut with a Cricut or Silhouette. This would also make the cutest handmade housewarming gift!

Have I ever told you how much I love my Cricut Maker? If you spend much time here at Hello Creative Family (or with me in real life) you’re probably laughing right now. Yes I’m obsessed. Yes I use it multiple times ever week for making all the things– shirts for my kids, cards for friends and loved ones, decor for my house, sewing projects and so much more. I’ve been a part of the “Cricut Family” (aka I’ve owned a Cricut machine) over 4 years now and have been using the Cricut Maker for over a year. Until recently the reason why I loved my Cricut Maker so much was because of the rotary cutter. It’s amazing to be able to create patterns in Cricut Design Space and to have the Cricut Maker cut them out for you (if you aren’t interested in creating patterns don’t worry, Cricut has a ton of great patterns that they’ve created as well as patterns from Simplicity and Riley Blake.)
If you are interested in learning more about using your Cricut Maker for sewing I highly suggest you check out my post called If You Sew You Need The Cricut Maker- Here’s Why as well as a post that I wrote for AllFreeSewing.com called 10 Free Sewing Patterns for Cricut Maker + Tips & Tricks To Get You Using Your Cricut Maker Today.
Yes I am obsessed with my Cricut Maker because of the rotary cutter, but recently I fell even more in love with this machine for a whole knew reason– I finally got my hands on the Cricut Knife Blade! Friends it is AMAZING!!! Like seriously, amazing! Today I thought I’d share with you the very first project I made with the Cricut Maker Knife Blade, along with a free SVG file to make your own home sign, but first I thought I’d share with you a few tips for using the knife blade so that you have a ton of success with your projects too.
Cricut Maker Knife Blade Success Tips:
- First things first– make sure you calibrate your knife blade after inserting it into the machine. This just takes a minute and uses a piece of paper. Definitely worth the time to have the precision cutting. To do this, log into Cricut Design Space. In the upper left hand corner you’ll see a square made of three lines. Click the square and a pop up menu will appear with calibration listed. Click on calibration and follow the prompts.
- Make sure you size your design so that no area is thinner than a pencil eraser. This will help avoid the pieces breaking.
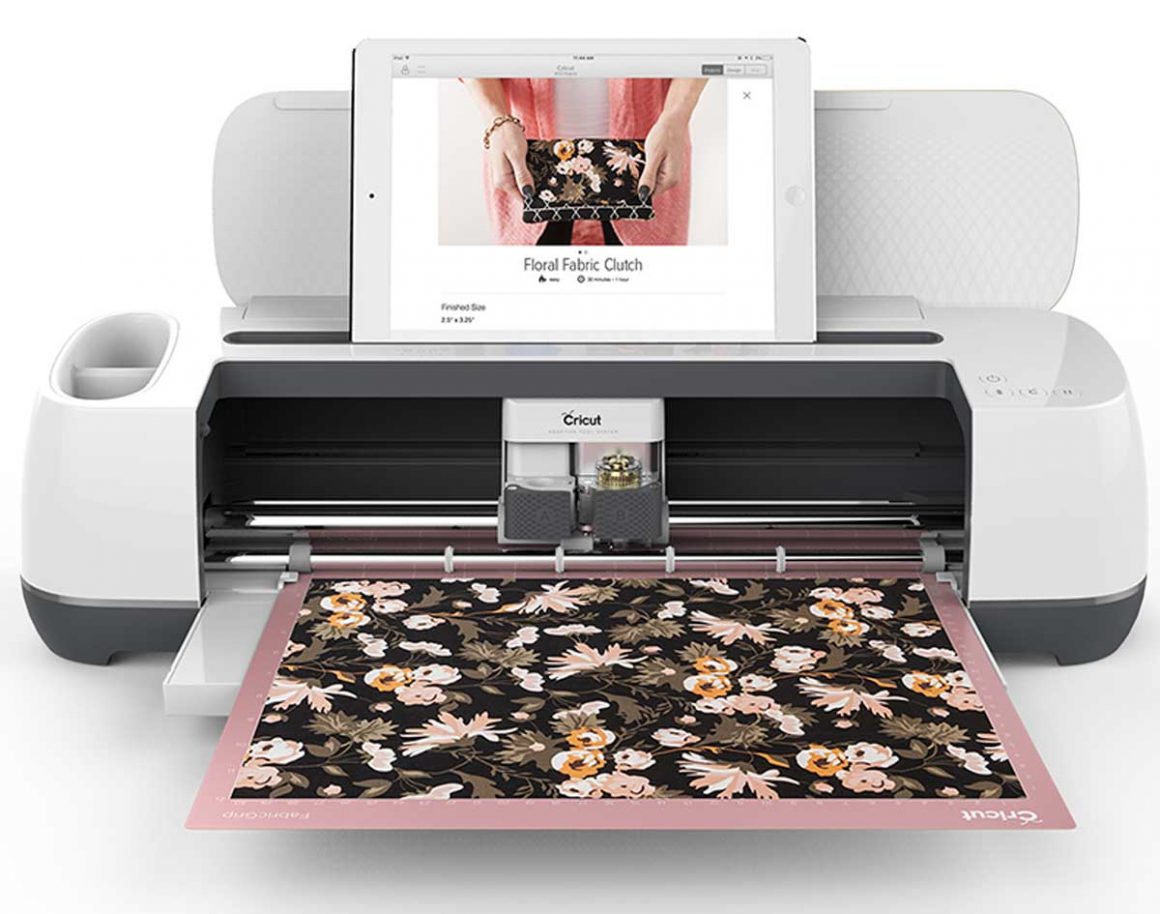
- Make sure you move all 4 of your white star wheels all the way to the right hand side of your machine. The white star wheels can be found on the metal roller rod that your mat goes under at the front of the machine. You can see them evenly spaced in the image below. Push those bad boys all the way to the right.

- Make sure that your cutting material is a maximum width of 11 inches wide.
- Position your chipboard (or other cutting material) in the upper left hand corner of your mat.
- Tape your cutting material to the mat using masking tape or painters tape.
- Make sure you set aside time to complete your project. The knife blade works by making multiple cuts until it cuts all the way through the material. Depending on how big/complex your project is it could possibly take hours for your machine to cut.
- Speaking of time, you probably won’t want to set your machine and leave it. I highly suggest that you make sure you check your work every few cuts/do not leave your machine unattended. When your machine starts cutting, on the Cricut Design Space screen it will say something like “3 out of 12 cuts completed, 2o minutes remain”. I was using a brand new knife blade for my project. I paused my machine at cut #6, peeled back the bottom tape and checked my work. The knife blade was so sharp that it had already cut all the way through my chipboard and I could see the shape I cut out in the mat. If I had left it for all 12 passes I’m sure it would have cut through the mat. You can check your work by using the pause button on the Cricut Maker machine.
- Have fun! There are so many incredible projects that you could make with your Maker. The sky and your imagination is the limit!
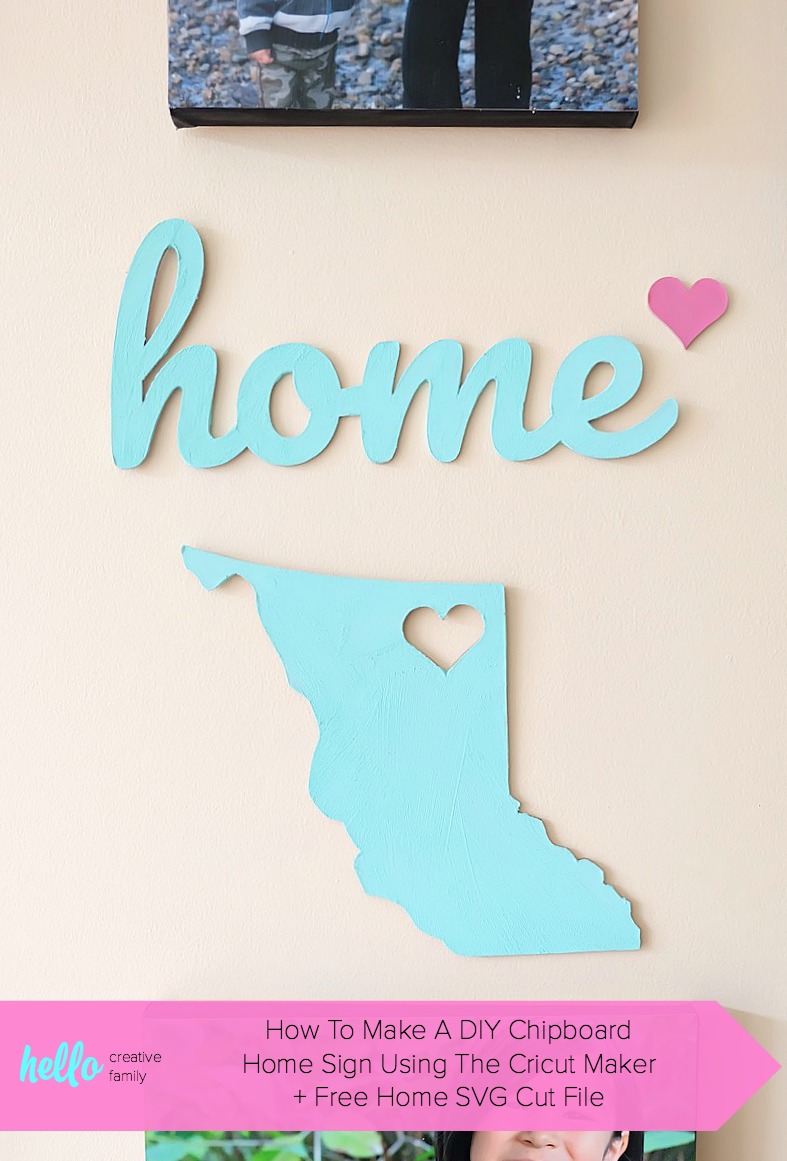
We have a family photo wall in our house. I’ve always wanted to have a home sign on the wall with a cutout of the province that we live in. I’ve seen them in Etsy stores and at craft fairs but always held off buying them because I just had this feeling that one day I would be able to make my own. When my knife blade arrived in the mail I knew it was the first thing that I wanted to make. I picked a font that I thought would cut nicely, created an SVG file and got started making it.

Find Your Free Home SVG File Here
Ready to learn how to make my DIY Chipboard Home Sign? Read on!
[hr gap=”30″]DIY Chipboard Home Sign[hr gap=”30″]

Materials:
-Cricut Chipboard or Cricut Basswood

Directions:
Step 1: Upload our Home SVG file (found at bottom of materials list above) to Cricut Design Space. Change the size to how big you would like for it to cut. Place your chipboard on the cutting mat with the upper left hand corner of the chipboard lining up with the upper left hand corner of the sticky part of your mat. Use masking tape to tape down the chipboard. Move your star wheels to the right hand side of your machine (see instructions in point 3 of Cricut Maker Knife Blade Success Tips above). Select Chipboard as your cutting material in Cricut Design Space, load machine and start cutting. Make sure to keep an eye on your machine, pausing it ever few cuts to see how close the knife blade is to cutting through your material. When your chipboard is cut through, remove the mat from the machine, remove the tape and chipboard and gently pop out your cut pieces.
Step 2: Apply a thin layer of mod podge to your chipboard home sign to act as a primer. Allow to dry and then paint with your favorite color of paint.
Step 3: Apply Command Strips to the back of your home sign and hang on the wall.
Enjoy!
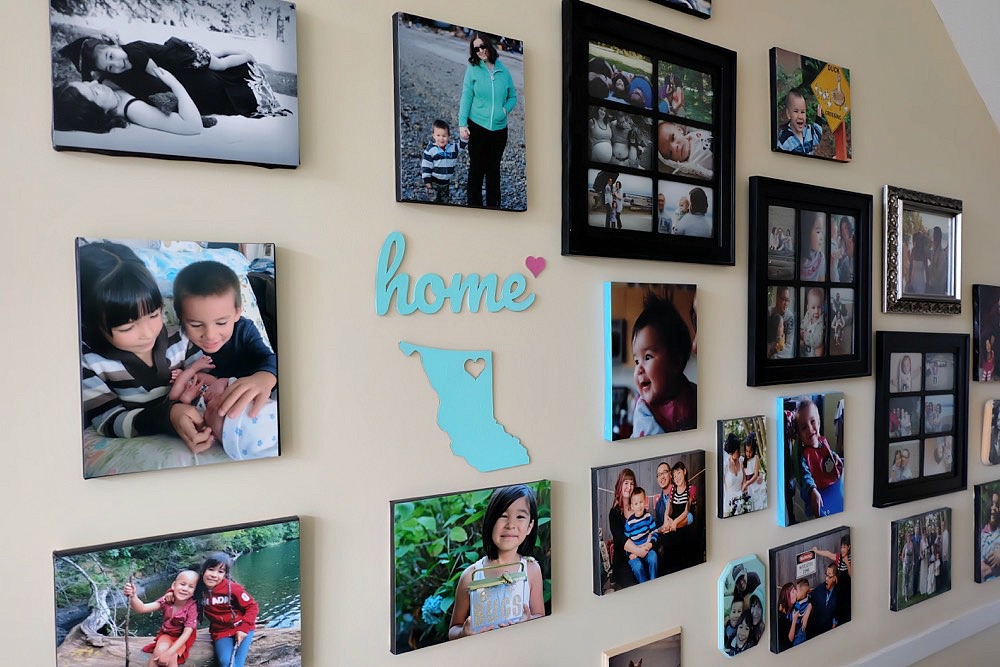
Voila! You have a gorgeous handmade accent piece for your wall! I ended up finding a image of my home province of BC and cutting that out too! This home sign would also make an awesome handmade gift and would be perfect for a housewarming gift!
[hr gap=”30″]Tell me… Do you own a Cricut Maker? If so, what’s your favorite thing that you’ve made on it? If not, what is the first thing you’d make with your Cricut Maker?[hr gap=”30″]
Like this post? We’d love for you to pin it for later!


This is great info, thanks! I was recommended to ask my cricut question here. So I’m wanting to cut some individual letters out for banner making/selling. The letters will probably be about 3″ tall. Would you recommend using chipboard? Or should I try balsa wood or basswood instead? I’m completely new to the cricut world! Also, can you tell me where you get your chipboard from? I’ve read a lot of mixed reviews about the cricut brand. Thanks so much for the help!
Hi Abby,
Thank you so much for stopping by. I’ve been using a Cricut for about 4 years and the Cricut Maker for just over a year but just recently started playing with the knife blade. I love it so far. I’ve only used my knife blade to cut Cricut chipboard so far, though I can’t wait to try it for balsa wood too. My suggestion, especially if your long term plan is to start selling, is to try out a variety of different materials from different companies and see which ones you have the best results with. 🙂 I used to sell appliqued shirts for kids on Etsy and it took me a few months of experimenting with different fusible webbing to find one that I loved the results of every single time…. It cost more than other brands but for me it was so worth it. 🙂
I hope that this helps! Have you tried making anything with your knife blade yet? I’d love for you to keep me updated.
Best Wishes,
Crystal
This is such a great idea and I love the idea of placing it in the bedroom!
I absolutely love this idea!! I can’t wait to try it out. Thanks
What a beautiful collage!
Love this Home project! Where can I find the individual state files?
Hi Cherry!
Thanks so much for visiting. For my province I did a google image search and then uploaded an image I found to design space. Cricut does have design sets for each state though and the designs are SO CUTE! Just search your state name and see what comes up.
Best Wishes,
Crystal