


15 Minute Envelope Pillow Sewing Tutorial & Fabric Stencilling with Royal Design Studios
This post and the photos within it may contain Amazon or other affiliate links. If you purchase something through the link, I may receive a small commission at no extra charge to you.
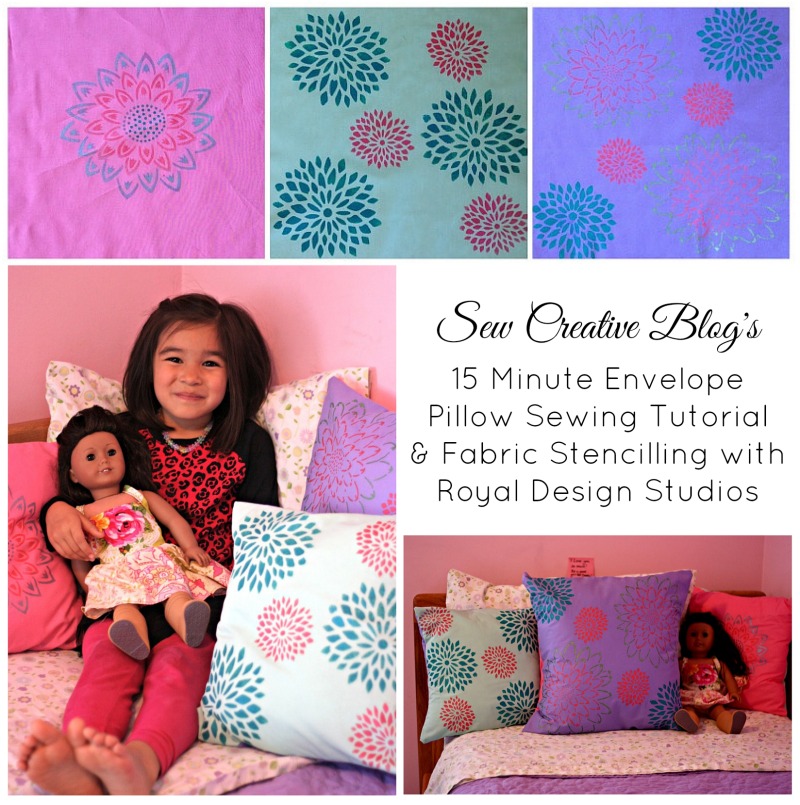 What’s a great way to update a room and give it a quick makeover with low budget and not much time? Make yourself some throw pillows! Today I’m going to share with you how you can make one of a kind statement pillows using Royal Design Studio stencils, a bit of fabric and my 15 Minute Envelope Pillow Sewing Tutorial. I’ll have you turning your beautiful stencilled fabric into a one of a kind throw pillow in minutes! Let’s get started!
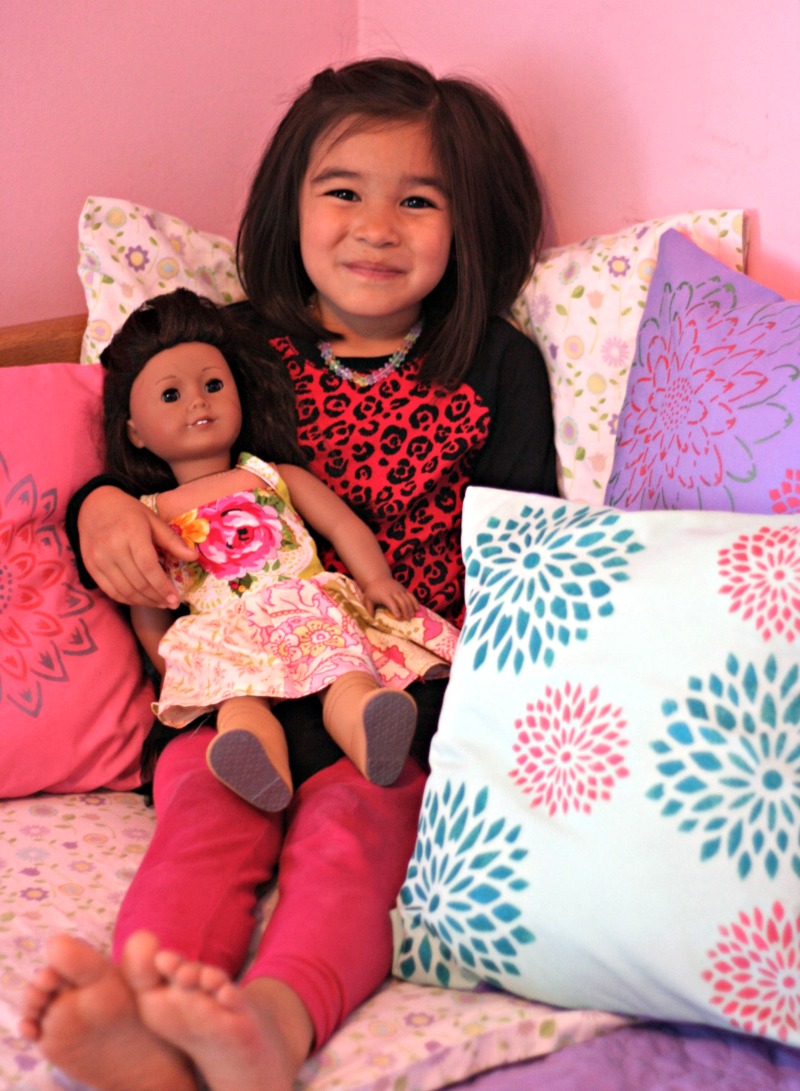
Bean is a mama’s girl. She is at the age where she thinks that I’m the most amazing person in the whole world. When I make her something handmade it becomes her most treasured item. She loves having my handmade items around her and cherishes them. She has said to me, while holding something that I made “Mama, love made this. Right?”
Could a DIY and craft blogger ask for a better kid? I don’t think so.
Bean’s room is a work in progress. I have dreams of doing all kinds of beautiful things with it… if only time would allow. In April I met Royal Design Studios and Wallternatives at SNAP and immediately fell in love with their lines. Their stencils and wall decals are the perfect way to make any room 100% custom and special… just the way Bean likes it.
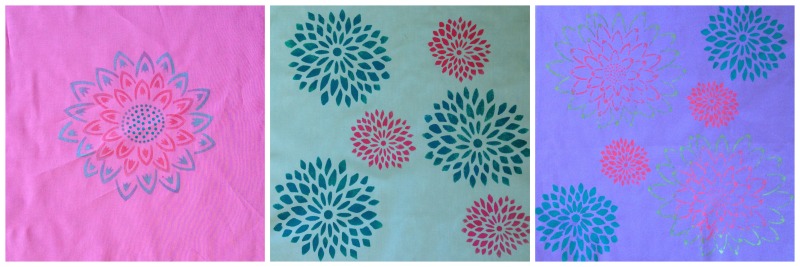
My friends at Royal Design Studios recently sent me the Japanese Flower Gardens Stencils along with creme paints and a brush so that I could do some fabric stencilling.
What I used for this project:
From Royal Design Studios:
- Japanese Flower Garden B Stencil from the Japanese Stencils Collection
- Frosted Lilac Stencil Crème
- Lime Shine Stencil Creme
- Shimmer Pink Stencil Crème
- Peacock Fancy Stencil Creme
- 1” Stencil Brush
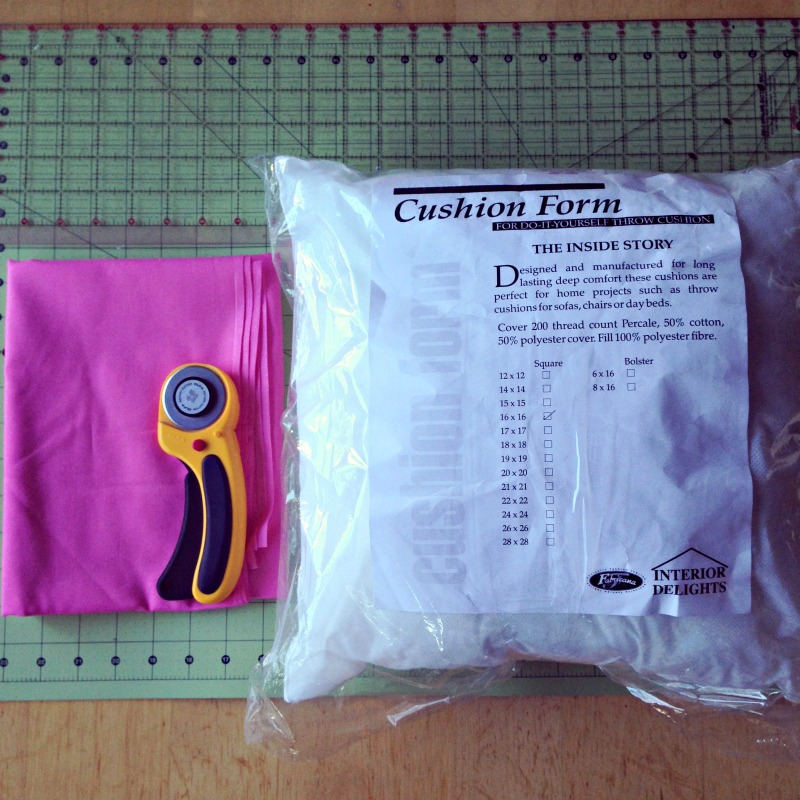
Other supplies:
- 3 Pillow forms: 1- 20″X20″ 2- 16″X16″
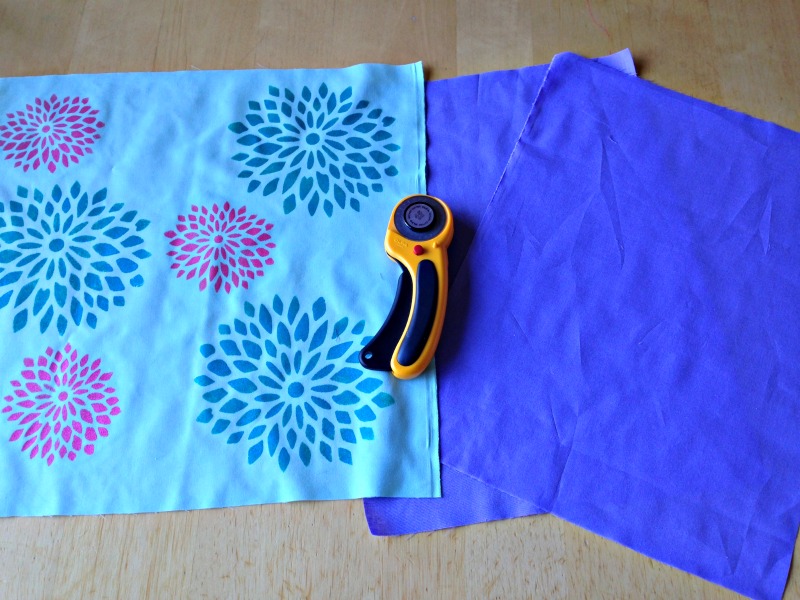
- Cotton Fabric: I bought one yard of Kona Cotton in 3 different colors and had fabric left over for other small projects
- Thread in coordinating colors
- Cutting mat and rotary cutter (you could also use scissors)
- Sewing machine
- Iron
Directions:
-Cut your fabric: You will need 1 front piece and 2 back pieces. The front piece should be cut to the same size as your pillow. For the second and third pieces of fabric you want to overlap to create that envelope style. To do this, you cut one side of the fabric the same length as the width of the pillow, then the other side should be cut with an overlap of 3-5 inches. To figure this out calculate the length of your pillow, divided by two, plus a 3, 4 or 5 inch overlap.
Piece 1- The same length and height of your pillow
Piece 2 & 3- Length of pillow for one side, other side Height of pillow, divided by 2, plus 3, 4 or 5 inches.
Here is a handy chart to give you sizing for different size pillows:
10″ pillow- 1 piece 10″X10″, 2 pieces 10″X8″
12″ pillow- 1 piece 12″X12″, 2 pieces 12″X9″
14″ pillow- 1 piece 14″X14″, 2 pieces 14″X10″
16″ pillow- 1 piece 16″X16″, 2 pieces 16″X12″
20″ pillow- 1 piece 20″X20″, 2 pieces 20″X14″
24″ pillow- 1 piece 24″X24″, 2 pieces 24″X17″
Rectangular pillow example:
12″X20″ pillow- 1 piece 12″X20″ , 2 pieces 12″X14″
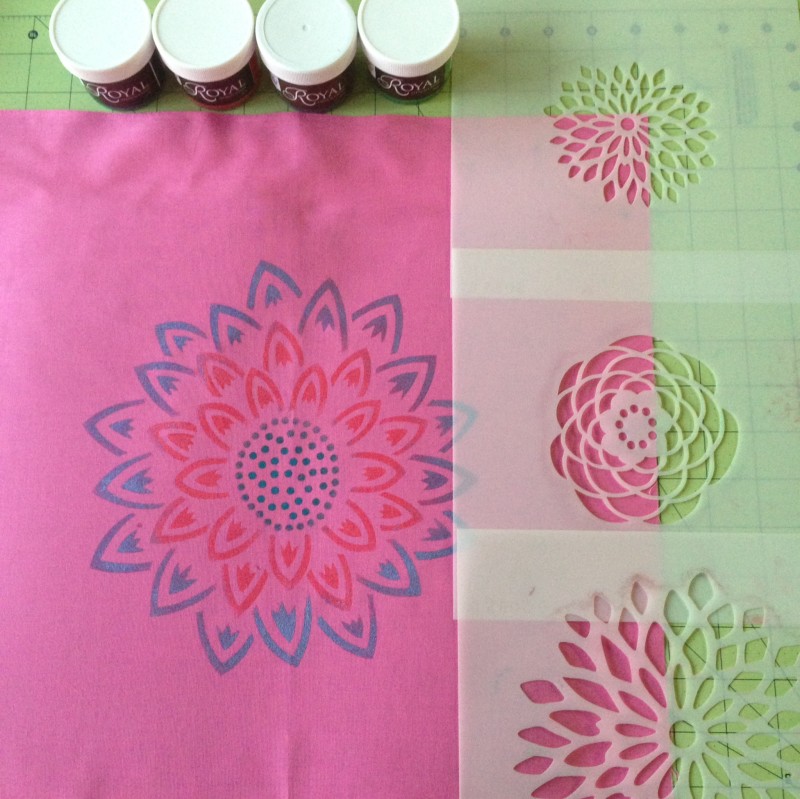
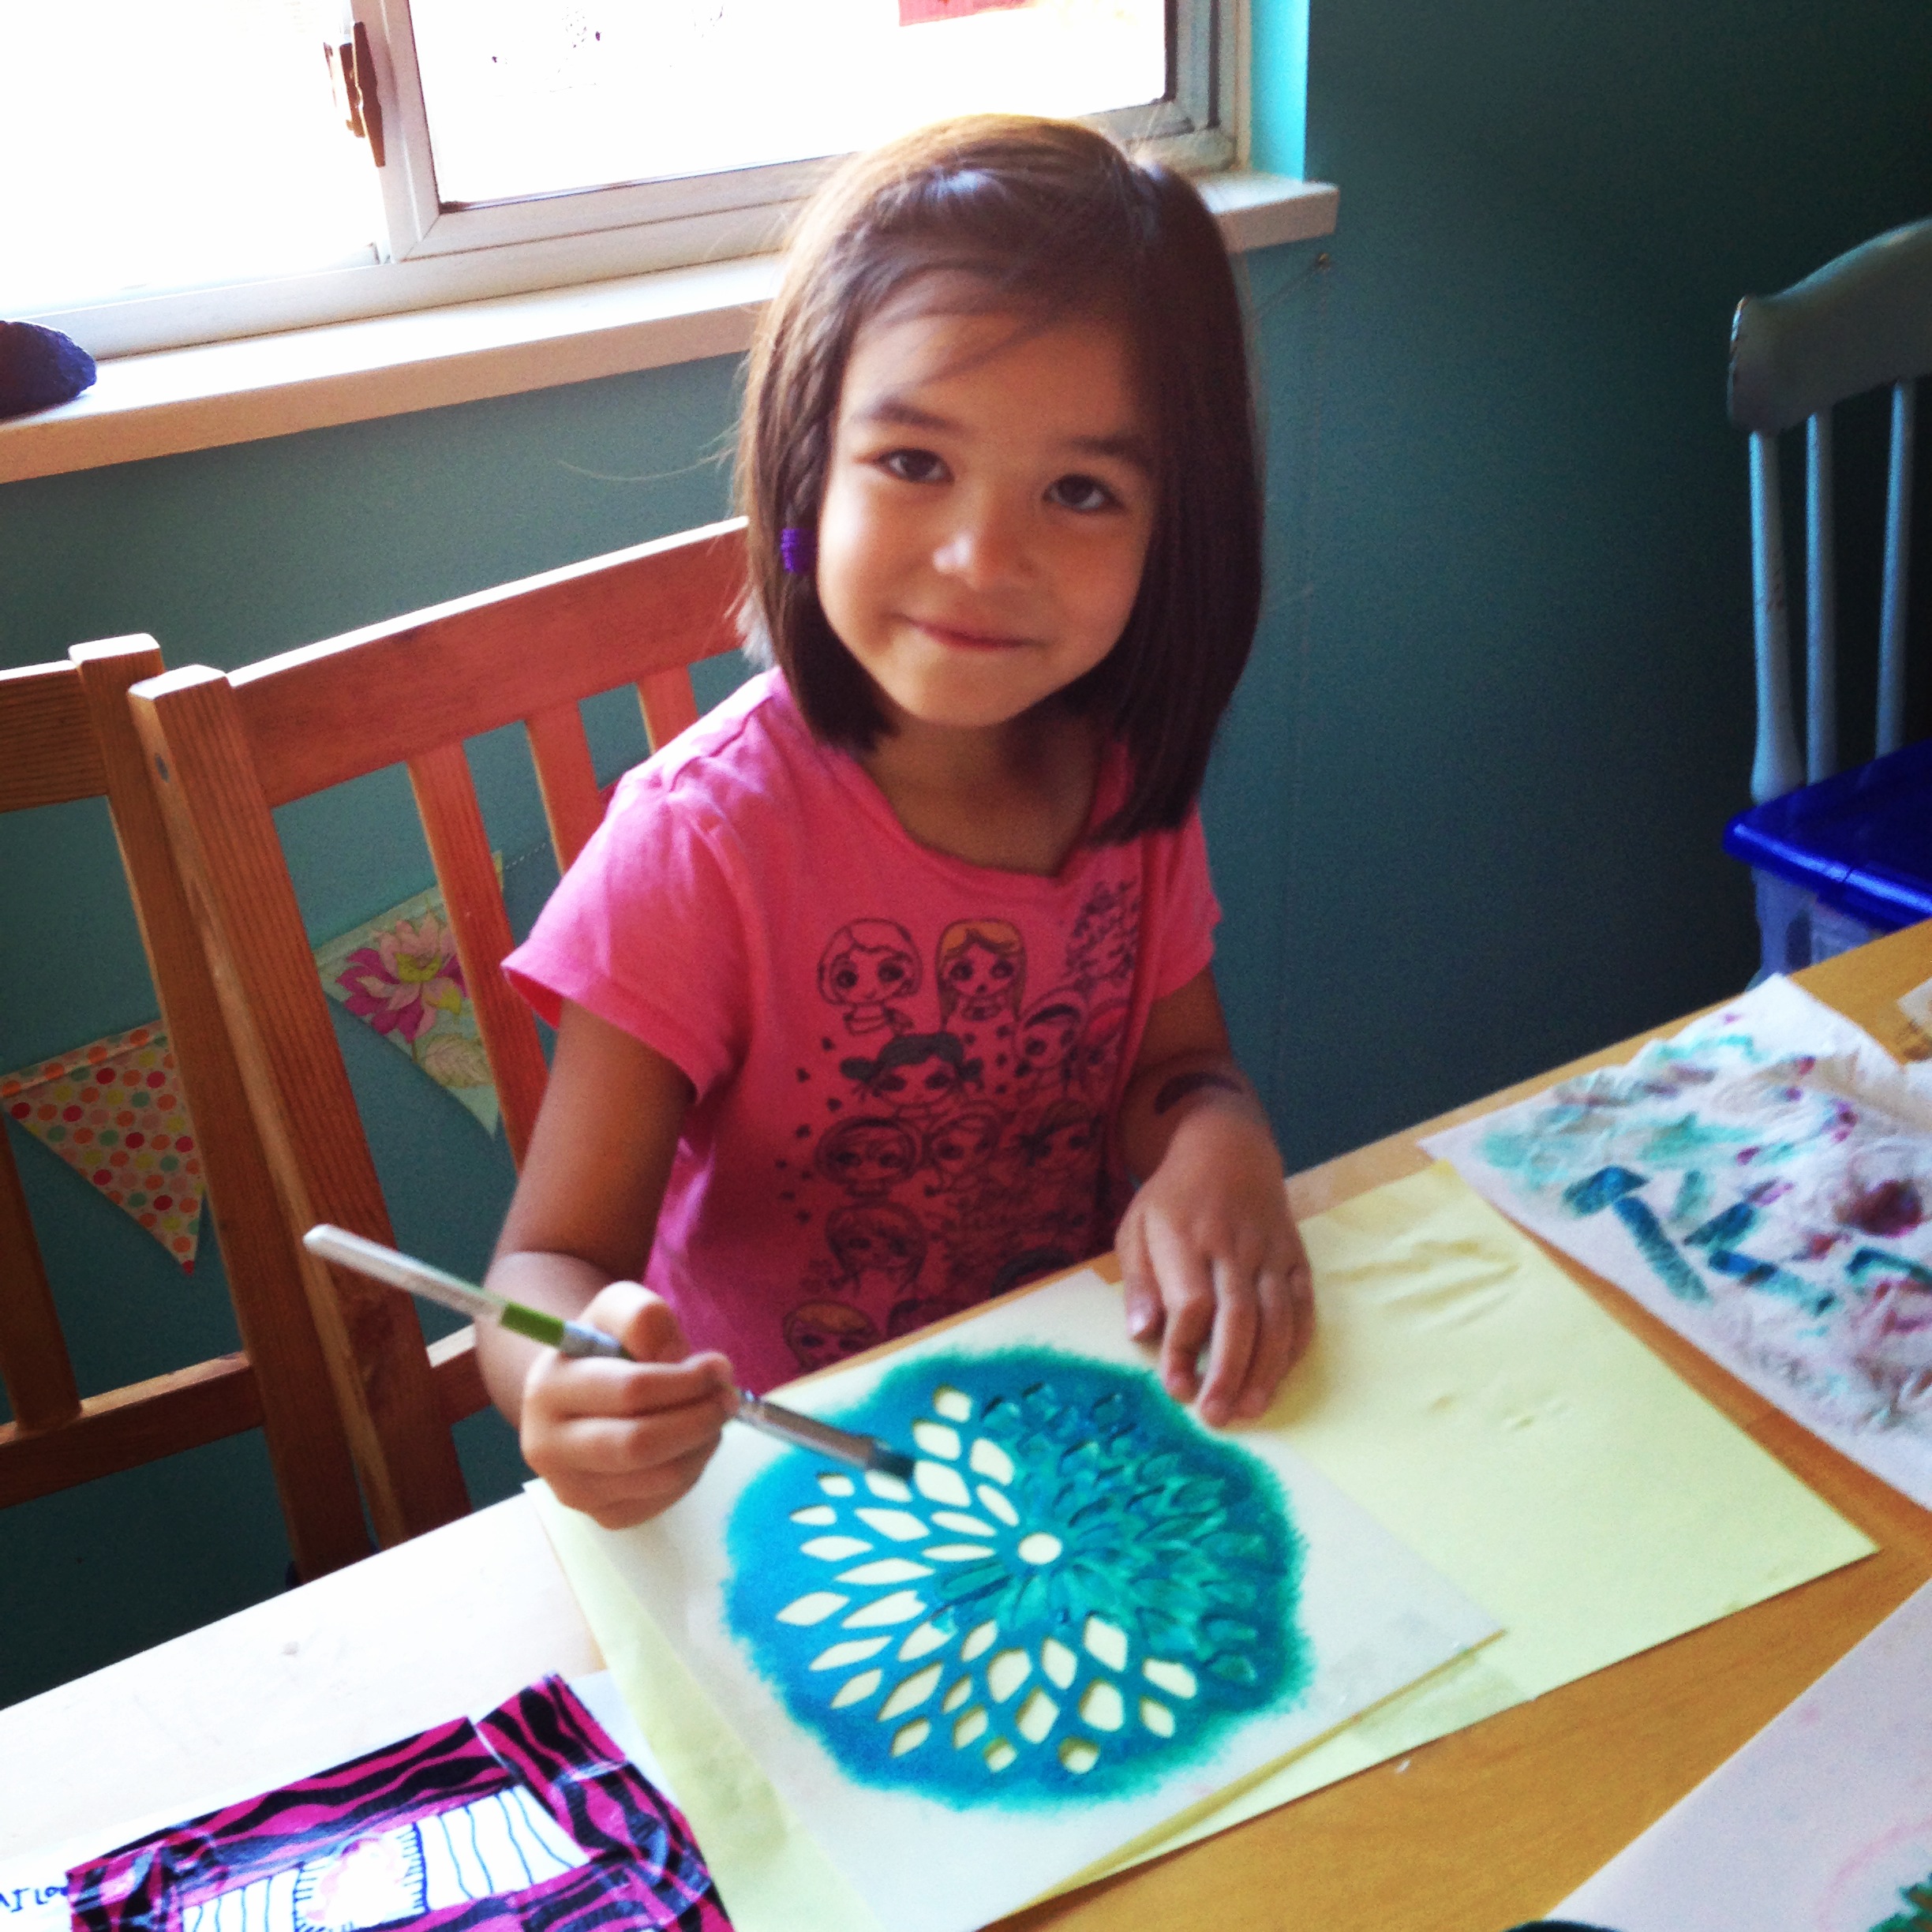
-Stencil your fabric: This is the most fun part of the project. It’s when you can really let your creativity shine. Bean wanted to get involved in this step of the process as well. I gave her some cardstock and let her make flower stencil cards while I stencilled on the fabric. I’ve tried stencilling before and haven’t had much luck. I think the trick is using a really great brush, like the brushes that Royal Design Studios sells (my next purchase from them I’m going to invest in a complete set) and the proper paint. I LOVE Royal Design Studios Creme paints.
My process for fabric painting is: Lightly dip your brush in the paint, dab the brush on the lid to remove excess, dab your brush on the paper towel to make sure that you like the amount of paint you have on your brush for the fabric, stencil on the fabric dabbing your brush in an up and down motion.
-Let your fabric dry: This is probably the most challenging part of the project. Why? Because your fabric is going to look so pretty that you’ll want to make something with it right away!
Sewing, start the countdown timer! Your first pillow is 15 minutes away!
-Press your fabric: Iron your fabric to get any creases out. (Obviously I didn’t do a very good job at this.)
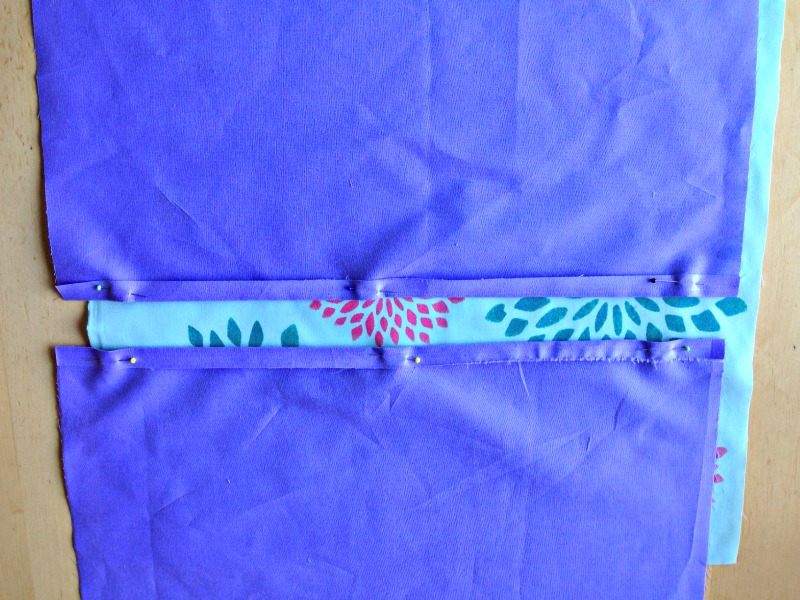
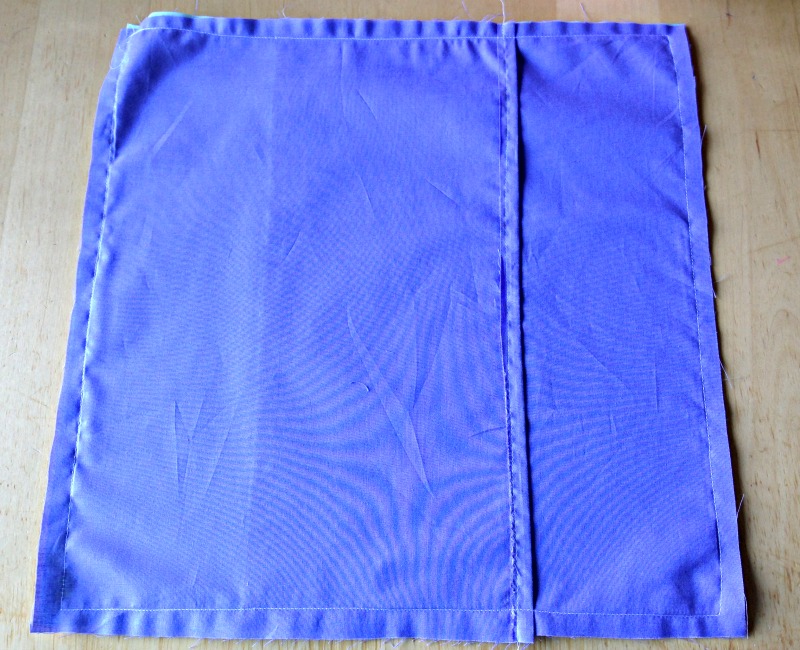
-Press your seams: Take your two back pieces of your pillow and lay them on your ironing board so that the wrong side is facing up. Fold over your fabric along the long side of the fabric by half an inch, making a 1/2″ hem. Do this on one side of each back piece of panel.
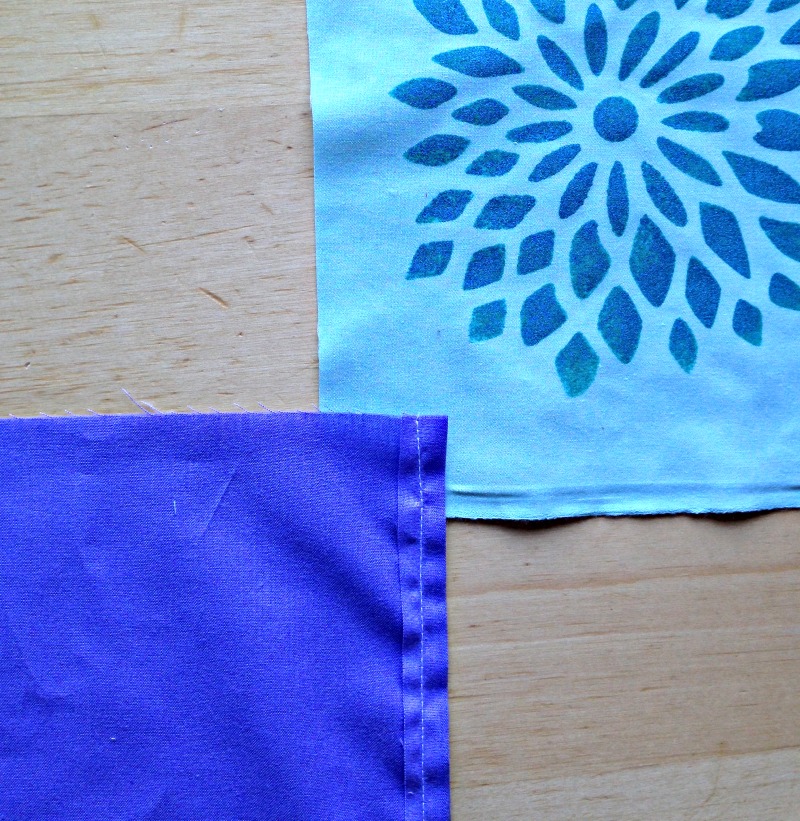
-Pin and sew: Pin your hem in place and sew a straight line along the fold using a 1/4″ seam allowance. Do this on both pieces of the back panel.
-Sew all the way around your pillow: Your almost done! Are you excited? Sew around all four outside edges of the pillow leaving a 1/2″ seam allowance.
-Flip right side out and insert your pillow: It’s that time! Your timer should be nearing the 15 minute mark! Flip your pillow case right side out, push your corners out (you can use either your fingers or a chopstick), press with an iron and then insert your pillow!
Ta da! You have your finished, one of a kind, stencilled pillow! Are you so excited?
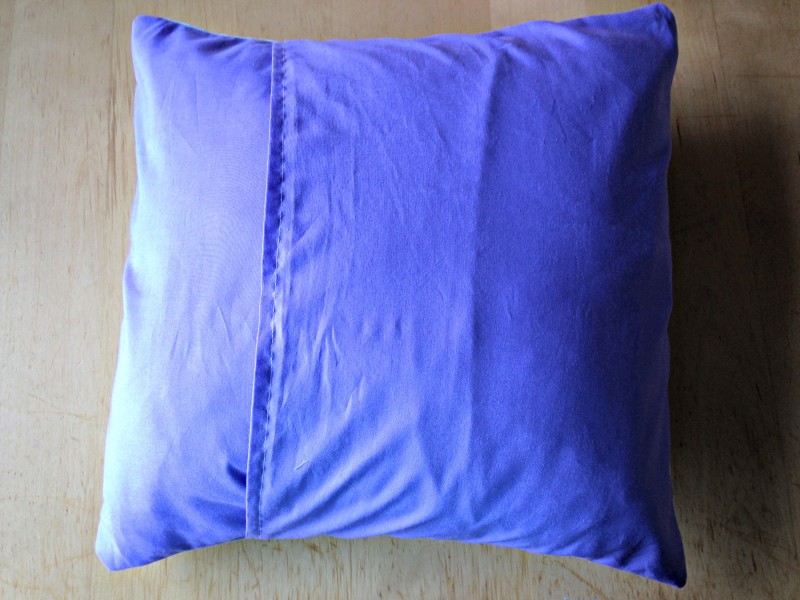
This is what the back of your pillow looks like!
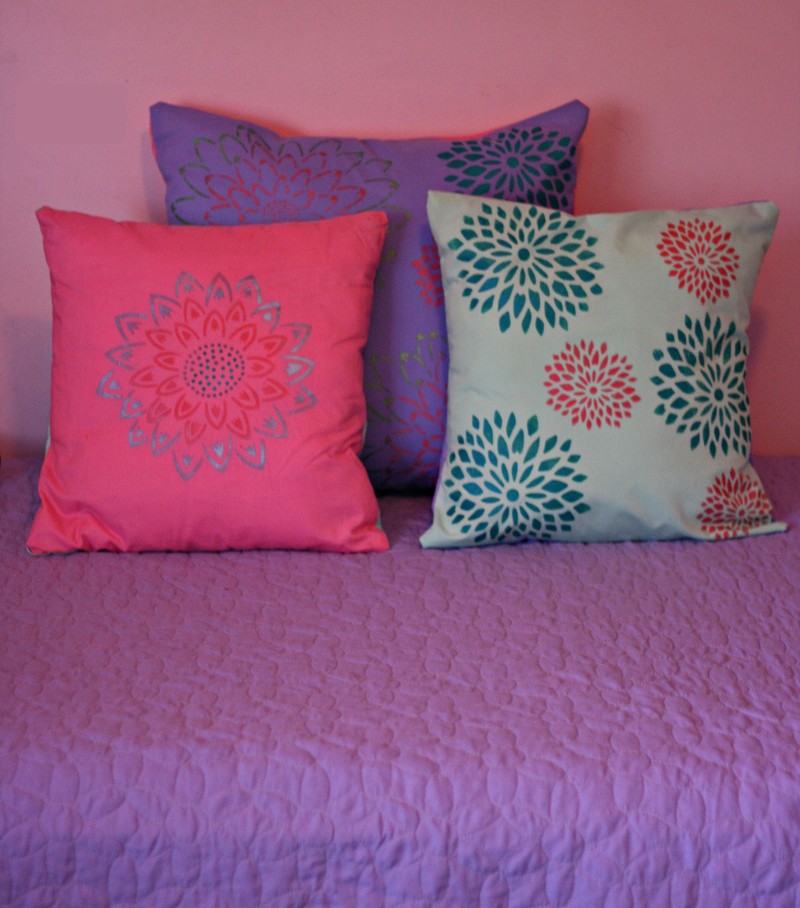
And this is the front! I bought this floral bedding at Target a few years ago when Bella got her big girl bed. This was my bed when I was a kid so it’s extra special. The bedding was pretty but it was a little bit generic. I love how it’s now more personalized with the new pillows.
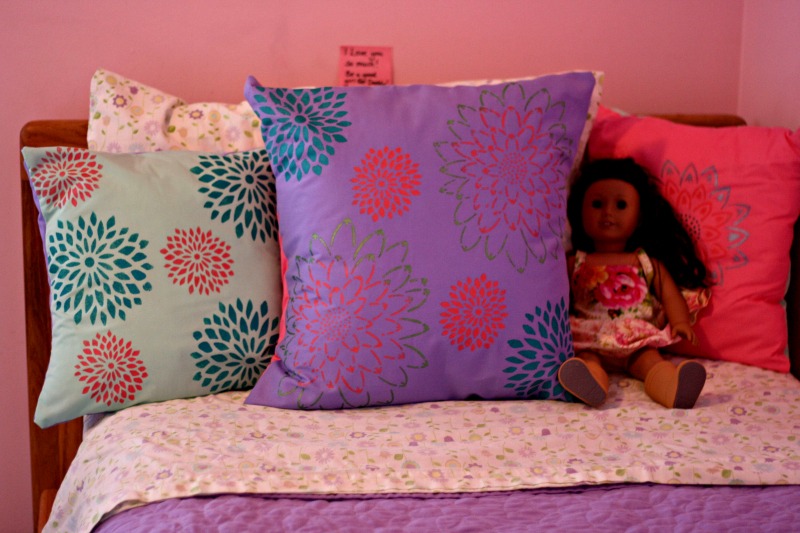
And does Bella like her new pillow? Nope, she LOVES them… because they are made with love and we made memories stencilling together!
 Tell me… Do you make handmade gifts for your kids? What is your child’s most prized handmade item?
Thank you to Royal Design Studios for sending me stencils, paint and a brush. I had so much fun working with your products. All thoughts and opinions are 100% my own!


Wow those look lovely! I wish I had a sewing machine. Of course, I’m kind of uncrafty so they’d probably look like heck anyway. But you’re clearly more skilled than I am 😉
wow, thanks, very impressive and lovely step by step instructions!! 🙂 pinning!