


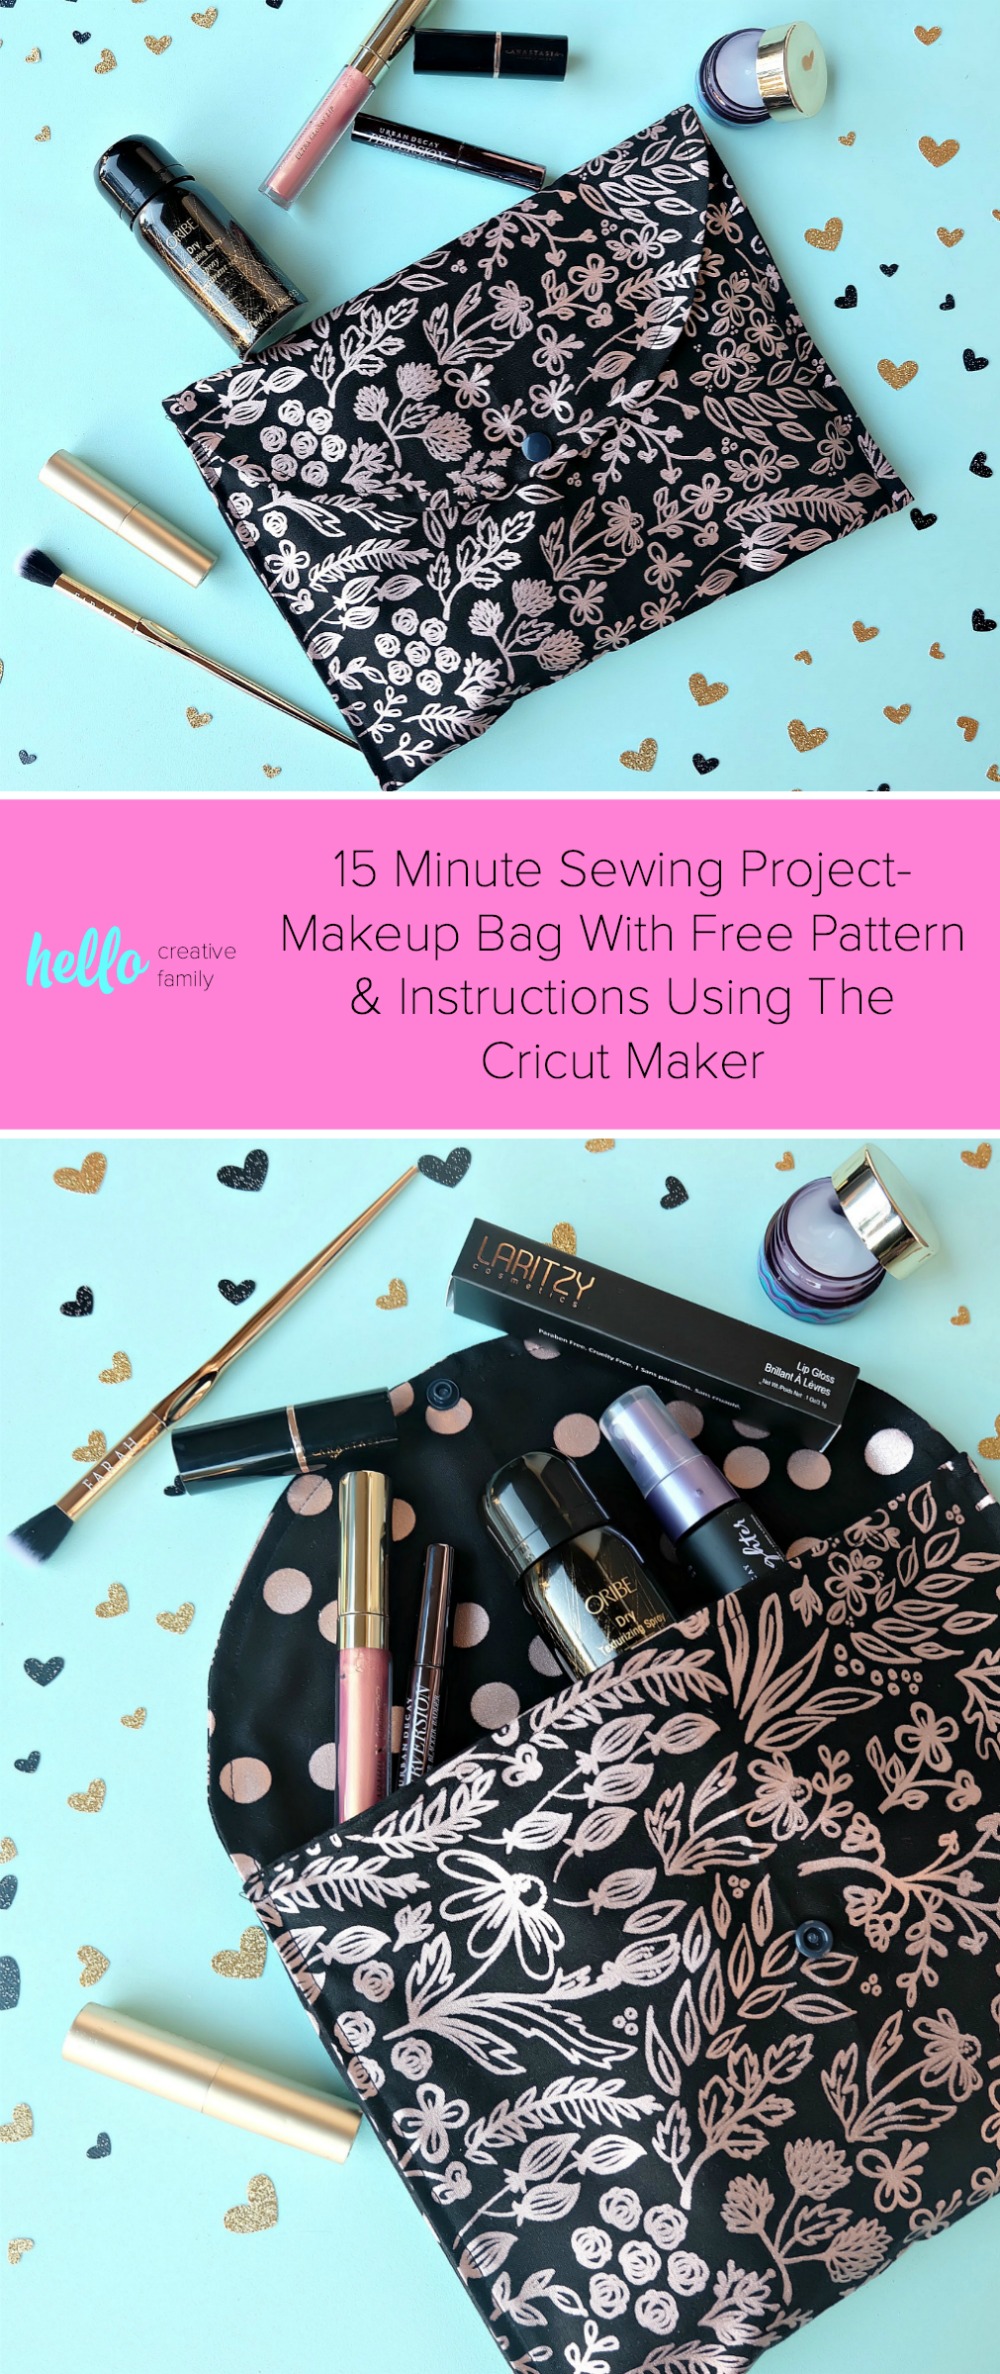
15 Minute Sewing Project- DIY Makeup Bag With Free Pattern and Instructions Using The Cricut Maker
This post and the photos within it may contain Amazon or other affiliate links. If you purchase something through the link, I may receive a small commission at no extra charge to you.
This 15 minutes sewing project is going to rock your socks off! Learn how to make a gorgeous DIY Makeup Bag (which would also make the cutest envelope purse). This is an easy Cricut Maker sewing project that is perfect for beginners.


This is a sponsored conversation written by me on behalf of Cricut. The opinions and text are all mine.
My sewing machine and Cricut Maker are best buddies. Both of them have a permanent spot on my craft room table and I find myself using them hand in hand on a consistent basis. I’ve always been a bit rogue when it comes to sewing. I’ve never been able to understand paper sewing patterns and instead prefer to figure out how to make something on my own. You’ll often find me turning things made with fabric inside out, examining the seams and trying to figure out how it’s made. I love designing my own projects and putting my own unique fingerprint on what I make. When I found out that the Cricut Maker was going to have a rotary blade as part of the adaptive tool set it opened a whole new world for me! Suddenly I had a way to design my own patterns through Cricut Design Space that I could quickly and easily cut again and again AND be able to share the pattern with all of my readers.
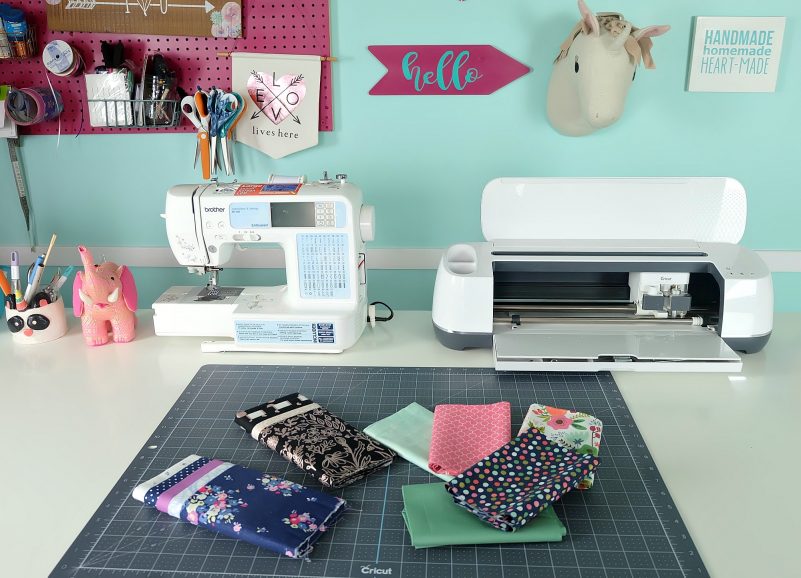
I LOVE cutting fabric with myCricut Maker. I haven’t found a type of fabric yet that the Rotary Blade doesn’t cut through like butter. I’ve cut leather, quilting cotton, felt, canvas, denim and more (the rotary blade can cut through over 100 types of material) and I love how I get clean, professional cut lines every single time. I also love how nicely all of my pattern pieces lay now. All of the edges always line up which wasn’t the case when I was cutting by hand. I always had the hardest time getting precise results when cutting with scissors or with a rotary cutter and straight edge. The precision with which the Cricut Maker and rotary blade cuts my fabric has taken my sewing up a level. My sewing results are so much more consistent which is great for whether I’m sewing items for my family, as gifts or to sell!
The rotary blade can also be used to cut crepe paper which is next on my “crafting bucket list”. I’ve seen some incredible crepe paper flowers made using the Cricut Maker.
There are hundreds of sewing and quilting projects available in Cricut Design Space (see some of my favorites here) and today I’m going to give you one more project to make! My 15 minute DIY Makeup Bag Pattern! This was actually one of the very first sewing patterns that I created in Design Space. It’s a pattern that I had been cutting by hand for quite a few years (I love giving this adorable bag as a handmade gift). Every time I would make it I would have to pull out a compass to create my cut lines for the rounded top of the bag, which was such a pain in the butt. Now, I get to lay a bit of fabric on a cutting mat, click make, hit a button and sit back and enjoy a cup of tea while my fabric cuts out for me! Pretty awesome right?
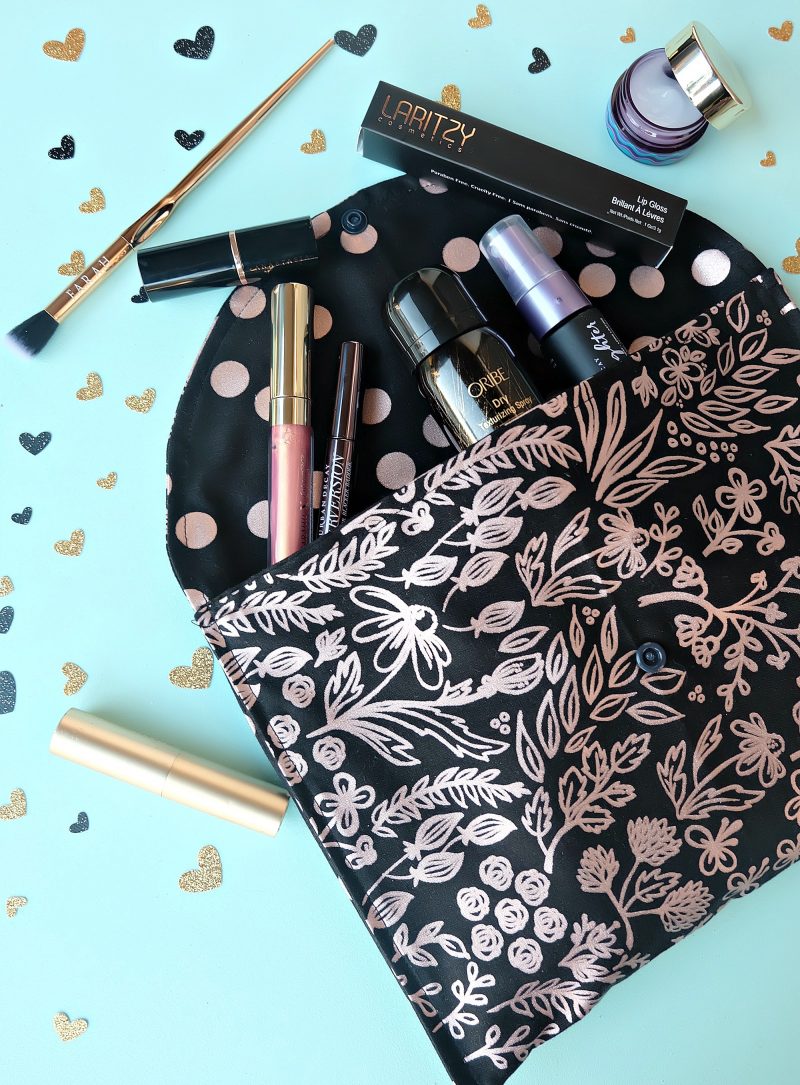
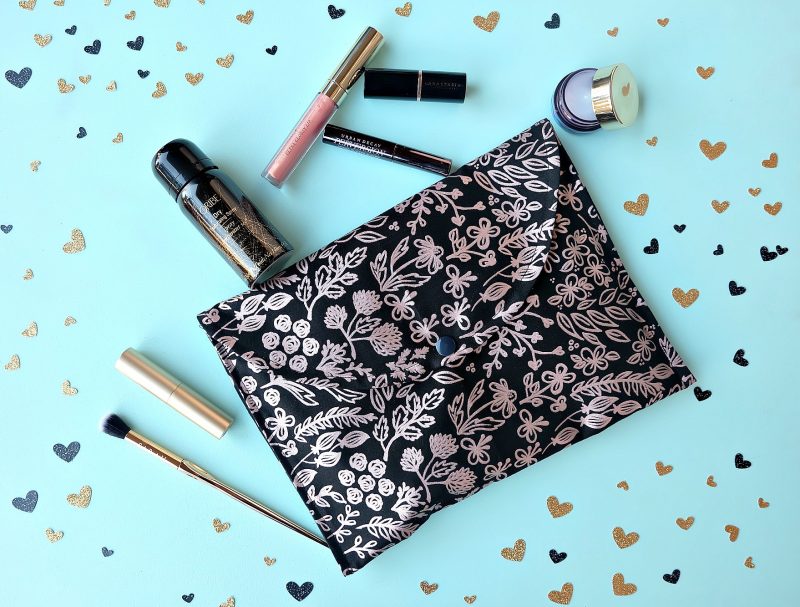
This project is so quick and easy to sew up. You are going to LOVE it! It’s just about as cute as can be, and fits a ton of makeup. I think it would also make a really beautiful envelope purse (especially in the Yes Please fabric I used in this project). If you plan on using this for a purse I might suggest cutting one more pattern piece that’s the same as the other two, out of fusible fleece to give the bag a bit more structure.
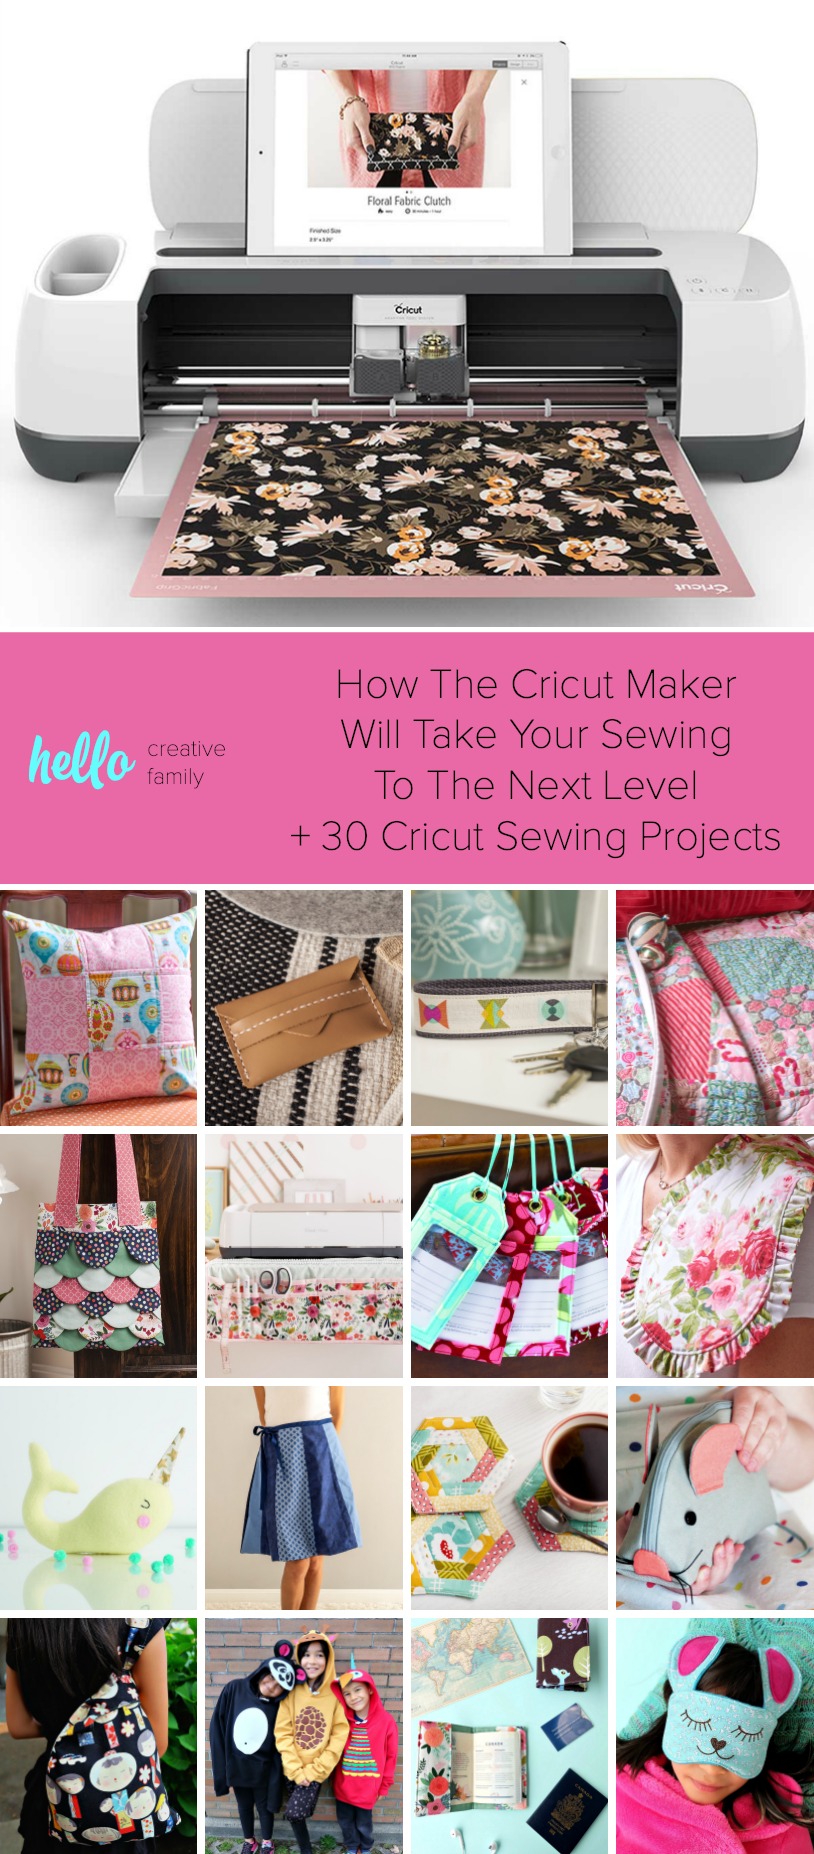
For more info about why the Cricut Maker with the Rotary Blade is so awesome check out my post How The Cricut Maker Will Take Your Sewing To The Next Level + 30 Cricut Sewing Projects.
Cricut Quick Links (Easy Links In One Place For Cricut Sewing Supplies)
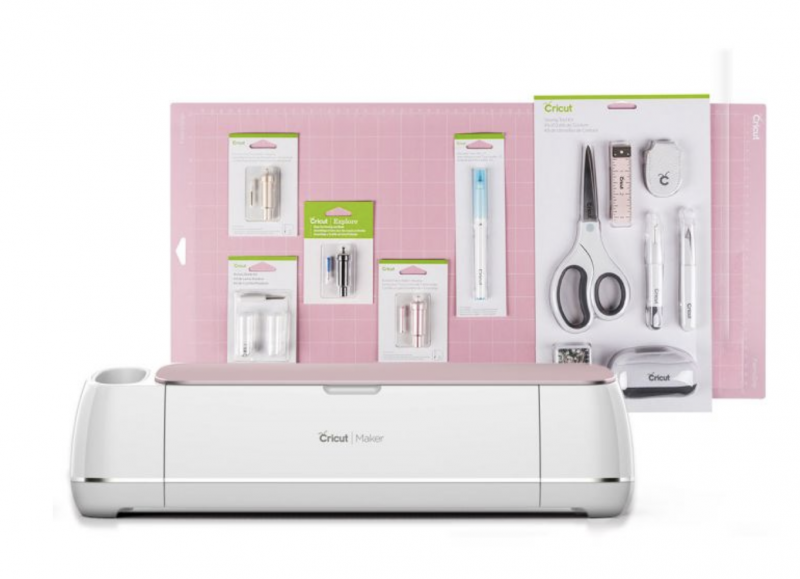
Cricut Maker Essentials Bundle
Cricut Rotary Blade Replacement Kit (replace your rotary blade when you notice uncut threads or when the material settings in Design Space™ no longer seem accurate. )
Cricut Mat 12″X24″ Variety Pack
Cricut EasyPress (I use this in place of an iron)
Read on for my 15 Minute Sewing Project- DIY Makeup Bag With Free Pattern and Instructions Using The Cricut Maker.
[hr gap=”30″]15 Minute Sewing Project- DIY Makeup Bag With Free Pattern and Instructions Using The Cricut Maker[hr gap=”30″]
Materials:
–Hello Creative Family 15 Minute Makeup Bag Cut File
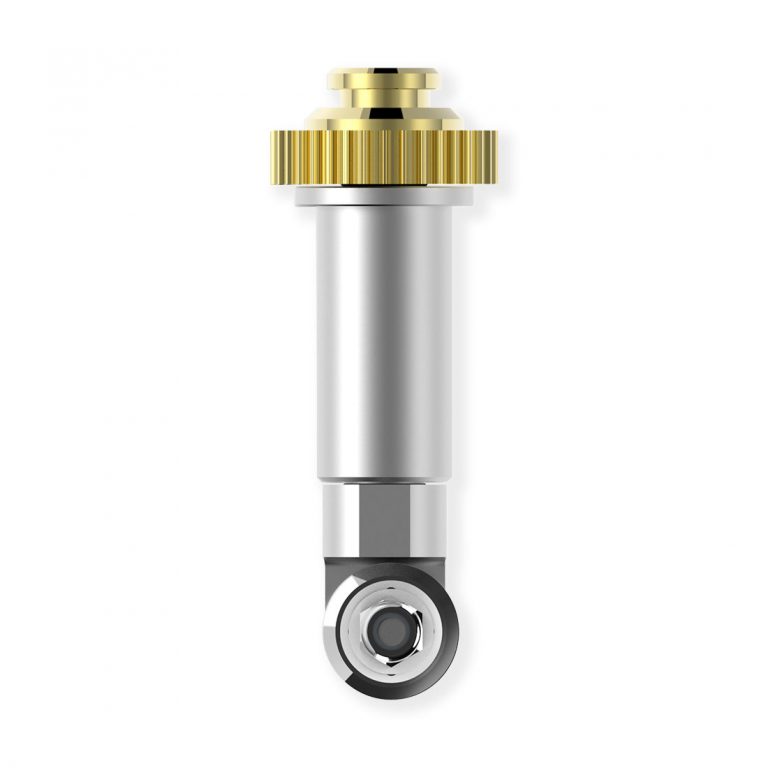
–Cricut Rotary Blade (can only be used with the Cricut Maker. Is not compatible with the Cricut Explore or Cricut Explore Air 2)
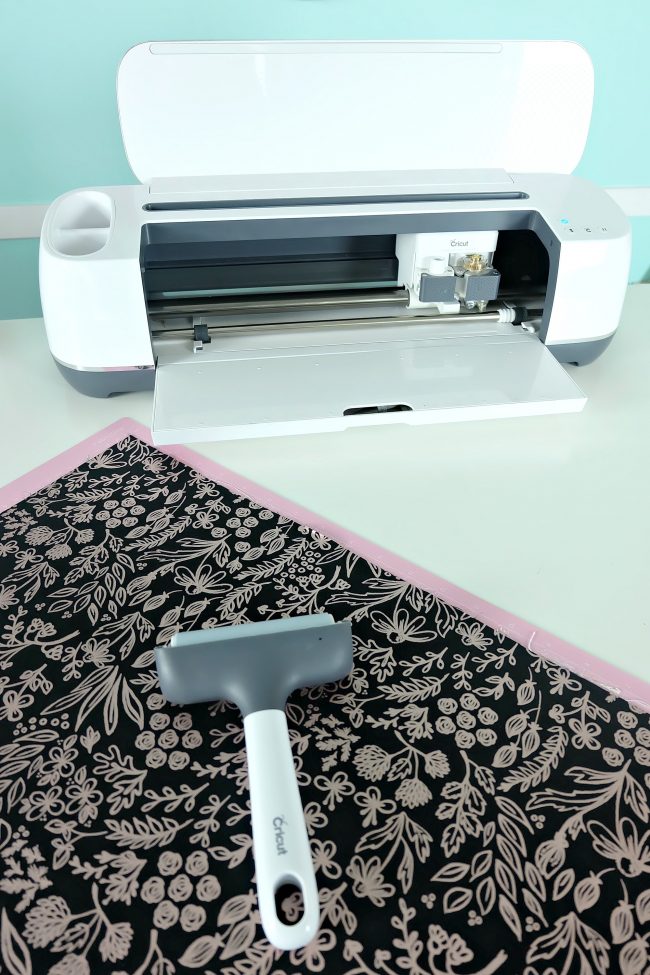
-2 pieces of 12″x22″ fabric (I used Rose Gold Main Black for the outer part of my bag and Rose Gold Hearts Black for the liner from the Cricut Fabric Sampler Pack- Yes Please in Black. I love that the fabrics in the Cricut Fabric Sampler Packs are precut to 12″x26″ pieces that fit perfectly on my cutting mats.)
-Pins and pin cushion or Wonder Clips
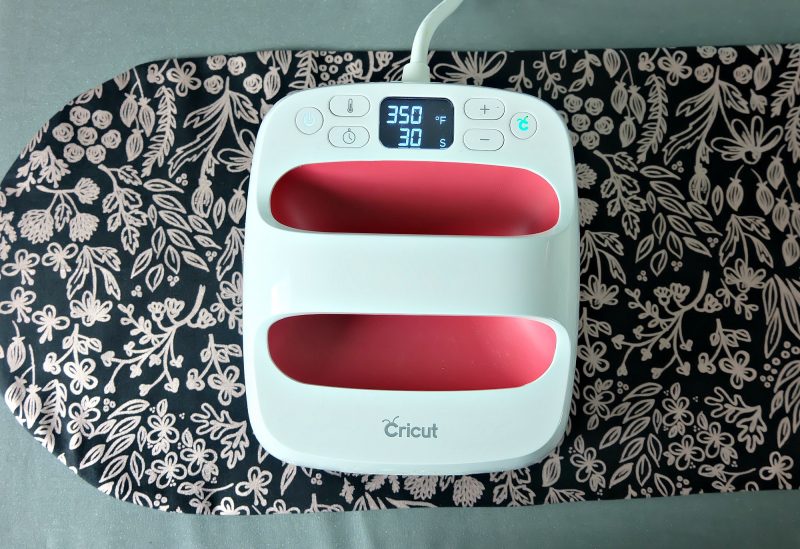
-Iron or Cricut EasyPress
-Sewing Machine (this is the one I have)
-Thread in coordinating colors (this is one of my favorite brands)
-Snap press and coordinating snaps or velcro (I use Kam Snap Press Pliers and Snaps) Alternatively you can use velcro.
Directions:
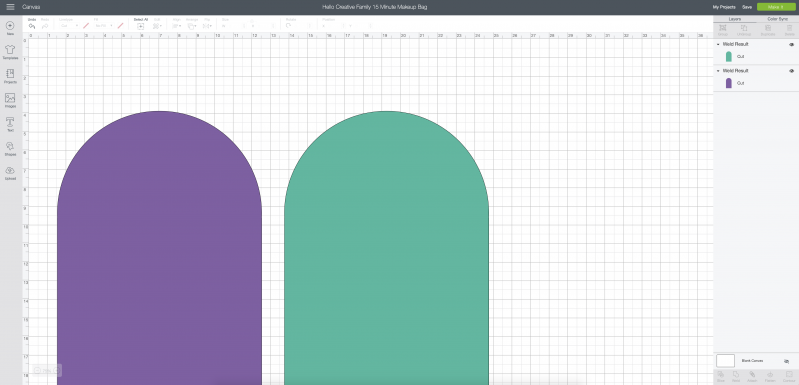
Step 1: Login to Cricut Design Space and then open the our Hello Creative Family 15 Minute Makeup Bag Cut File. Click “Make It” in the upper right hand corner.
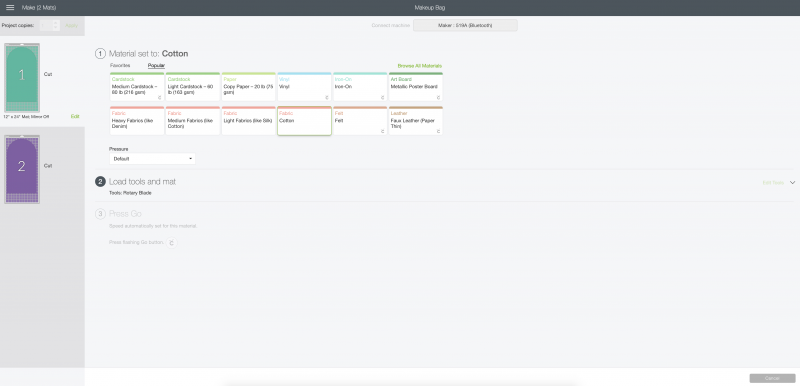
Click “Continue” on the following screen. On the next screen select your Cricut Maker from the drop down menu. Then select the material that you are cutting.
Place your fabric on your cutting mat. I love using the Cricut Brayer at this point to really smooth my fabric down on the mat and make sure there is no shifting during cutting.
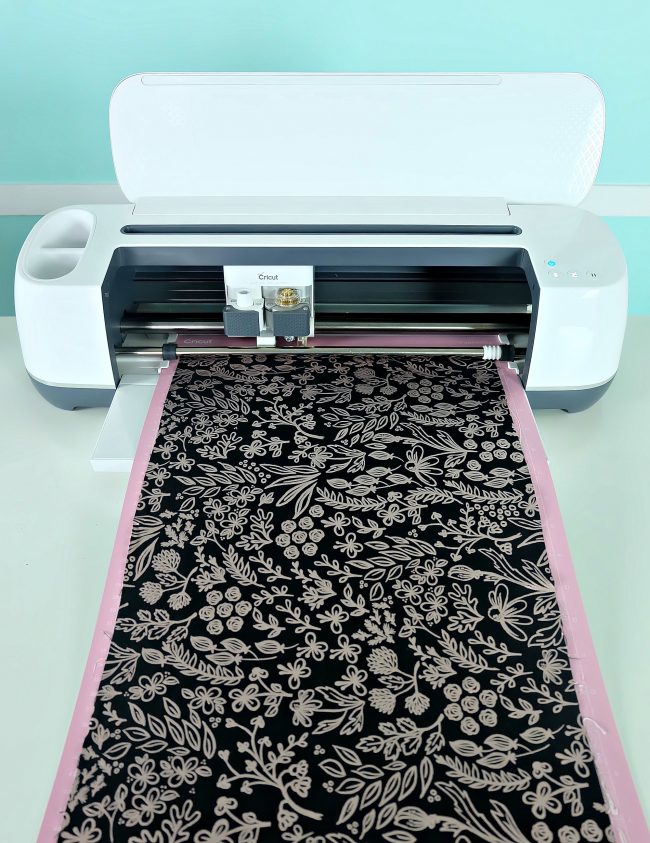
Load the fabric mat into your Cricut Maker and then press the cute flashing little Cricut C on your Cricut Maker to start cutting. Note: If using directional fabric make sure that you pay attention to the way the fabric is facing and how you want your finished project to look. Since the top rounded part folds over to close the bag, if using a directional fabric I usually cut the outside piece “upside down” so that the fabric is in the right direction when the straight edge is facing up instead of the curved edge.
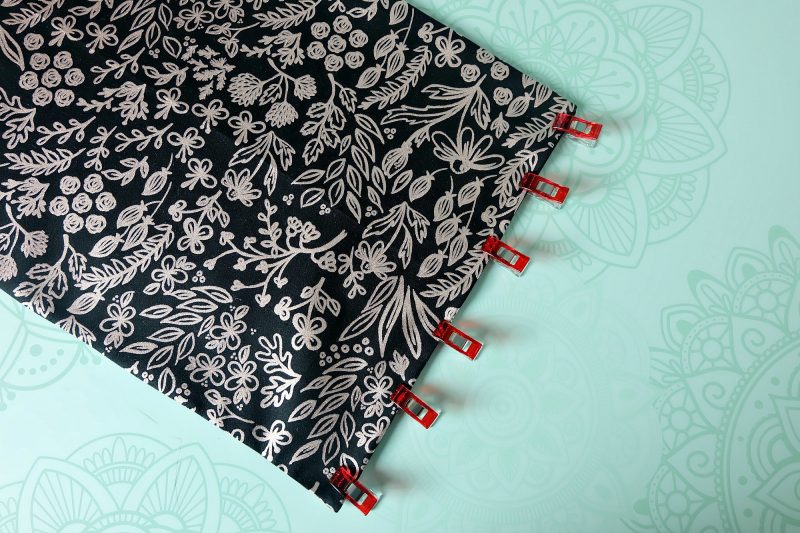
Step 2: Lay your two pieces of fabric on top of each other so that the printed sides of the fabrics is sandwiched in the middle. Line up all your edges and pin or wonder clip in place.
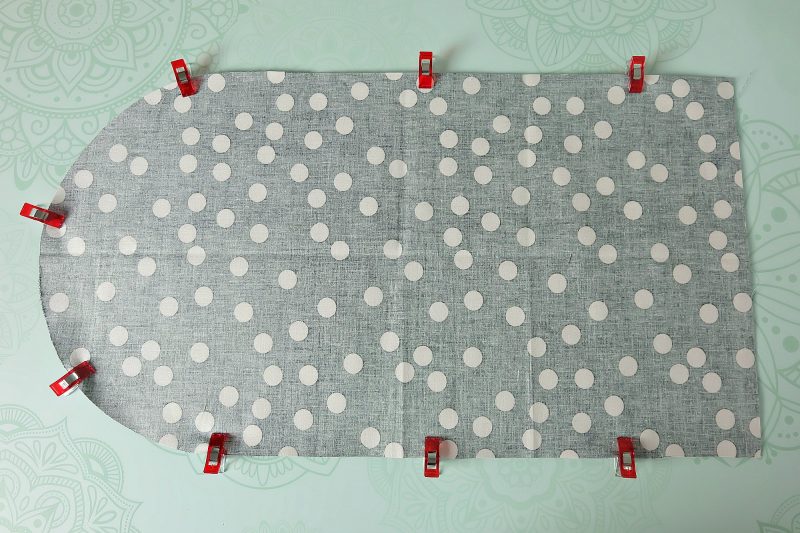
Step 3: Using a 1/4 inch seam allowance, sew up one side of the fabric, around the curve and back down the other side of the fabric, leaving the entire length of the bottom straight edge open.
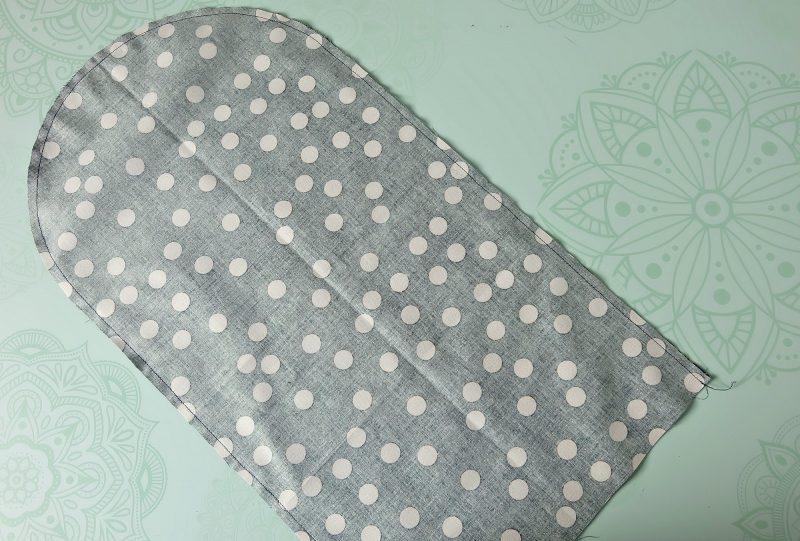
Step 4: Flip your fabric so the design is right side out. Use your EasyPress or iron and press your fabric, making sure to push the push the seams out to get your bag nice and flat. I use a chopstick to push at the seams of the bag from the inside as I press.
Step 5: Take the bottom, open area of your bag (right hand side of the below photo) and fold the edges in by 1/2 inch, leaving a finished edge. Press in place with your iron and pin or wonder clip into place.
Step 6: Sew along this pressed seam to close the bottom of the bag, using a 1/4 inch seam allowance.

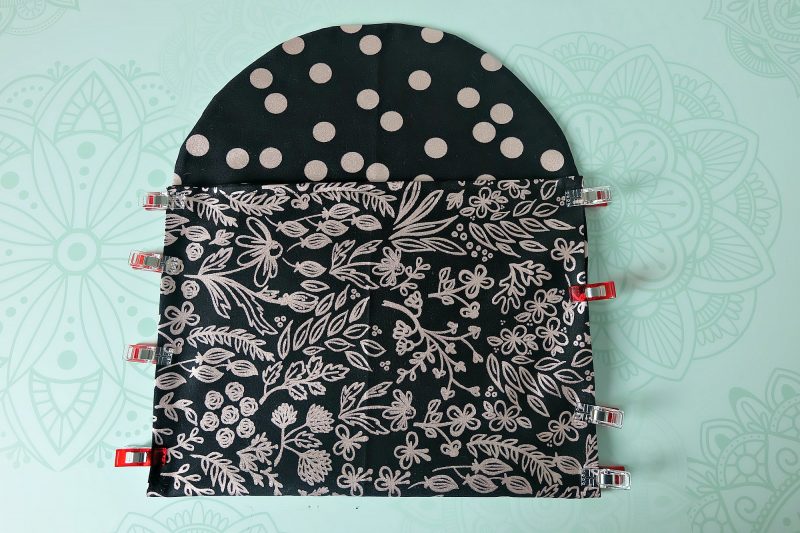
Step 7: We’re almost there! This is where your bag really comes to life! With the right side of the fabric facing out, fold the bottom part of your bag up so it lines up with where the curved part of the top of the bag starts. Pin or wonder clip into place.
Note: I designed this bag with the seams showing on the outer edges. Using coordinating thread, I think it’s a cute look. If you prefer to have your seams on the inside of the bag, simply follow the same instructions as above but have the liner of your bag facing out, then flip your bag right side out after step 8.)
Step 8: Using a 1/4 inch seam allowance, sew up one side of the bag, around the curve, and down the other side of the bag.

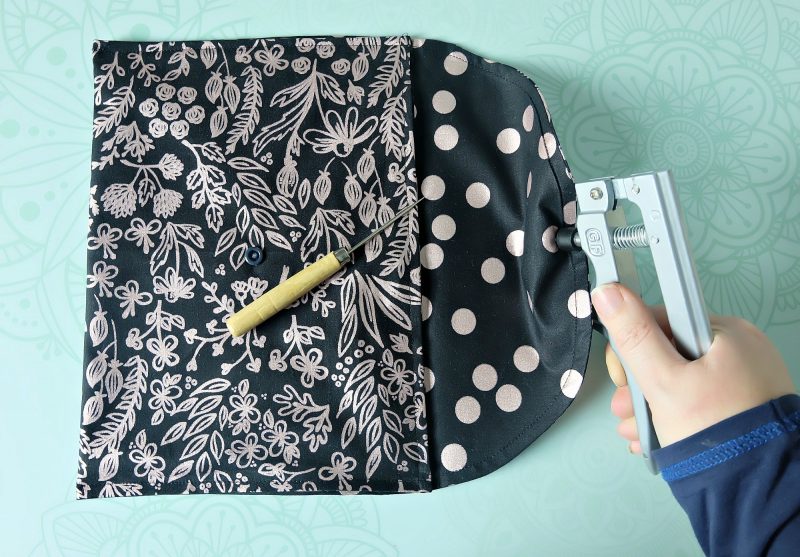
Step 9: Now it’s time to finish the bag! Pick out coordinating snaps for your bag!
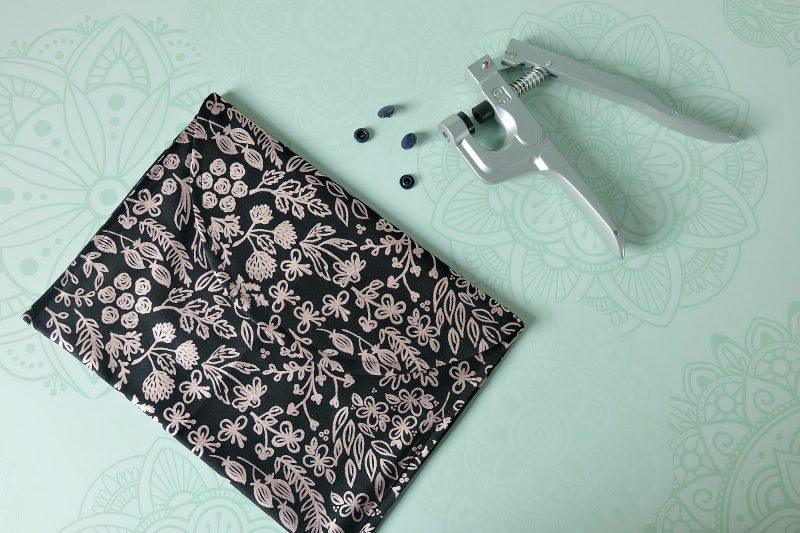
Use your snap pliers and add snaps to your bag so you are able to close it. Alternatively you can apply velcro to keep your bag closed.
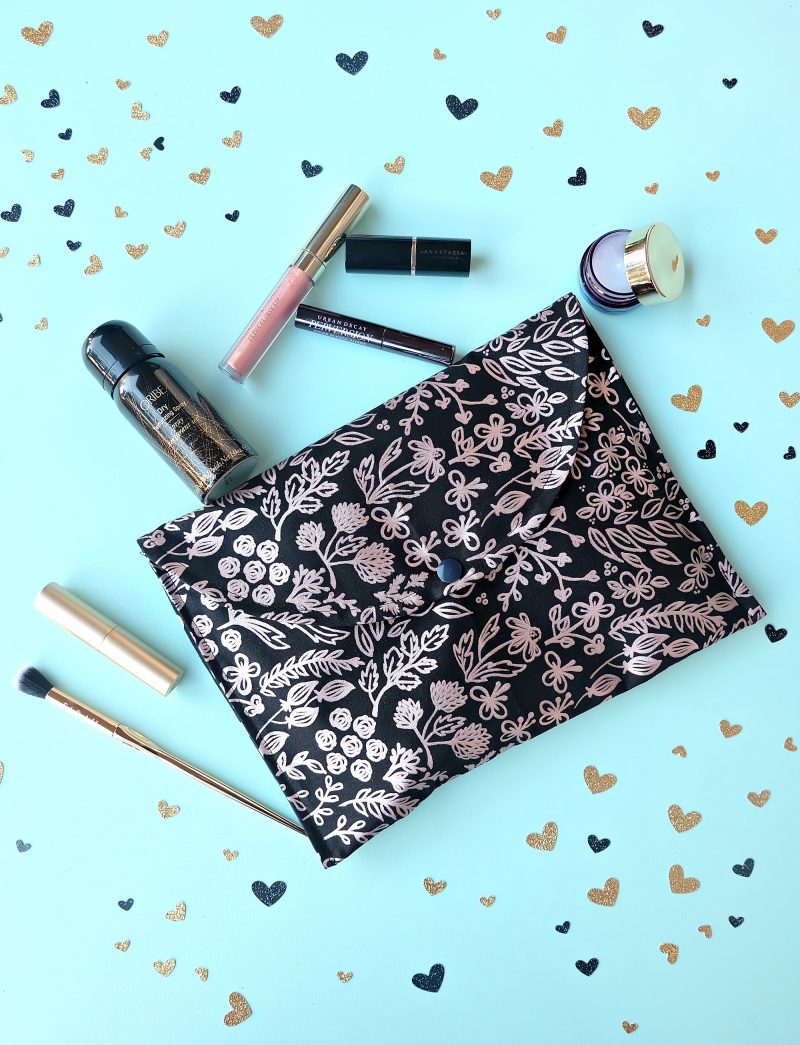
Voila! you have a beautiful DIY makeup bag!
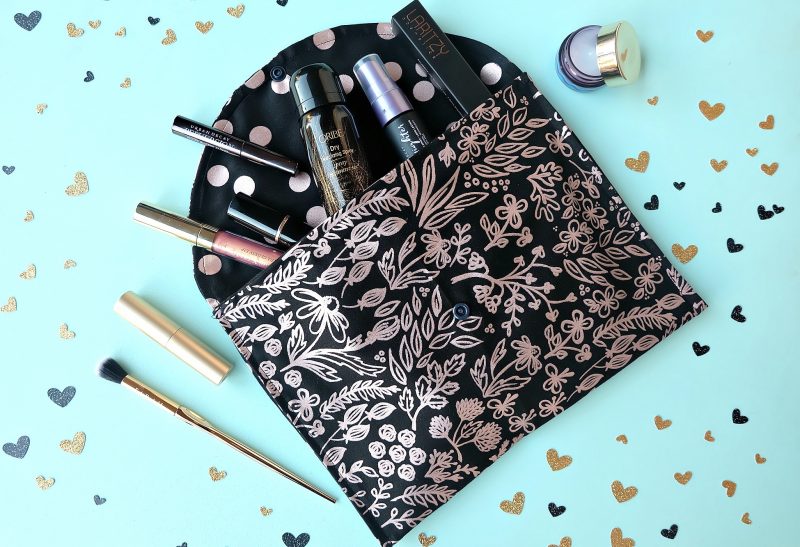
In just 15 minutes you’ve completed this awesome DIY Makeup Bag with no need to cut your fabric by hand! Pack your bag full of your makeup, travel essentials, or even use it as an envelope purse! These little bags make great gifts for the women in your life and would make lovely gifts for Mother’s Day, Teacher Appreciation, Christmas, and bridal shower gifts!
[hr gap=”30″]Tell me… Do you own a Cricut Maker? Do you have one on your wish list? What is the first thing you would cut with your Cricut Maker Rotary Blade?[hr gap=”30″]
Like this post? We’d love for you to pin it for later!
Check out our Cricut section for more projects that we made with our rotary blade…

and with other Cricut compatible blades!
Disclosure: Thank you to Cricut for working with me on this post. As with all articles on Hello Creative Family all thoughts and opinions are our own. We only share things we love, and we really love our Cricut Maker!


Hi! I would like to get a copy of the instructions for this really adorable 15 minute make up bag. Please send me the link to print this pattern. I don’t have cricut so these instructions would not work for me. Thank you for this little bag and I look forward to making this bag for my granddaughter. Thanks again.
Hi Cindy,
Thank you so much for your message and for visiting Hello Creative Family. I have another version of this makeup bag that is cut by hand. You can find it here: https://hellocreativefamily.com/20-minute-makeup-bag-sewing-tutorial/
Best Wishes,
Crystal