


2 Minute Project- DIY Fabric Scrap Ponytail Holders
This post and the photos within it may contain Amazon or other affiliate links. If you purchase something through the link, I may receive a small commission at no extra charge to you.
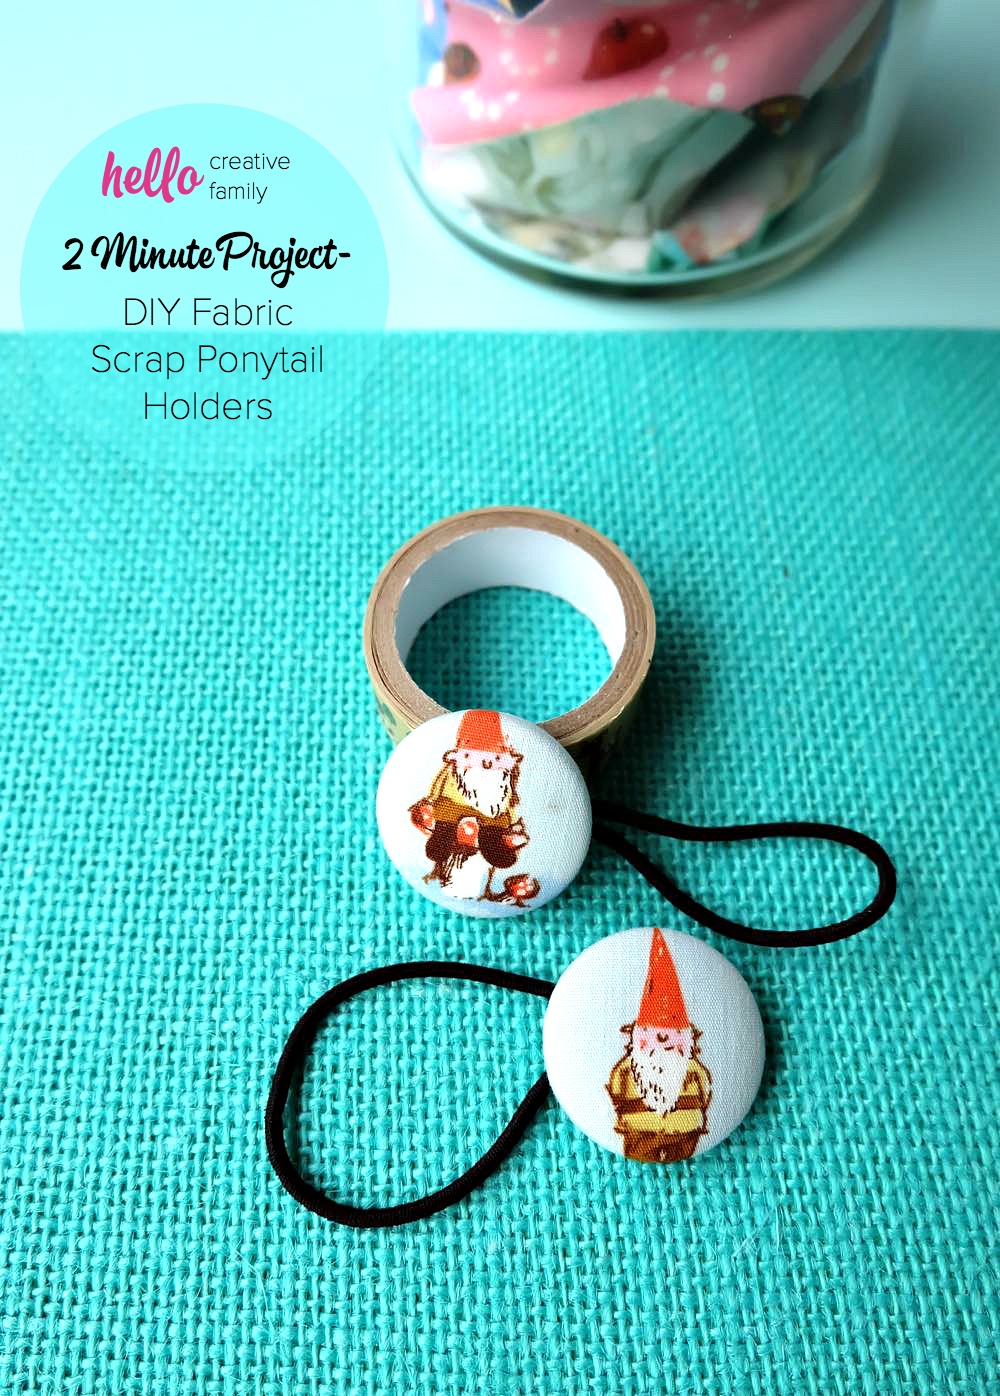

If you have been hoarding tiny fabric scraps, waiting for the perfect project, then today I am going to become your new best friend! Dig out your fabric scrap bag because today we are going to have some fun! Today I’m going to teach you how to make DIY Fabric Scrap Ponytail Holders. This project couldn’t be easier. The hardest part is picking out what fabric scraps you want to use for each ponytail holder! It takes approximately 2 minutes to make two of these ponytail holders– start to finish.
I love having one of a kind accessories. I also love my kiddos wearing clothing and accessories that I make for them. I love it when someone compliments my kids on something that they are wearing that I made for them. One of my favorite phrases to hear my kids say is “Thank you! My mommy made it for me!”

I used to have an Etsy store called Lilikoi Lane where I sold appliqued shirts for kids. In my shop I used to sell ponytail holders custom made to match the shirts that I sold. I have a huge stash of fabric from my Etsy days, and I often let Bean sift through my fabrics and scraps to pick fabric to make ponytail holders with. Bean’s hair is down to her bum now, and she usually wears it pulled back, so our ponytail holders get a lot of use out of them.
Another fun use for these ponytail holders is as a decoration on a birthday present. I attach them to the bow on the package or tie them on with a ribbon. It’s a nice way to add a handmade element to a gift, that takes just minutes to make and is fairly inexpensive to make.
I buy my fabric cover buttons in bulk on Etsy. I usually buy 100 of them at a time in size 45, bringing each button in at around 20 cents. Add in hair elastics and for a set of two ponytail holders you are looking at approximately 50 cents for a set of two. Round up in case you buy less at a time or your hair elastics are more expensive than mine and at the most you are looking at $1.00 for a set of 2 ponytail holders. I think that’s a pretty great deal!
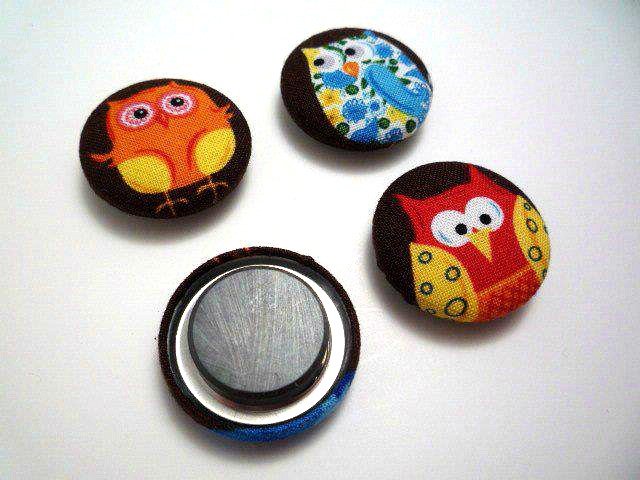
I have also bought flat back cover buttons and glued a magnet on the back to make one of a kind fridge magnets and bought larger size 60 fabric cover buttons and glued a brooch pin back onto the back of it to make a one of a kind brooch. I usually use E6000 glue to make both of these projects.
There are so many fun uses for fabric cover buttons! I definitely recommend having some in your craft stash! You never know when they are going to come in handy!
Ready to get started making your DIY Fabric Scrap Ponytail Holders? Read on for this fun 2 minute project!
2 Minute Project- DIY Fabric Scrap Ponytail Holders
Materials:
-Aluminum Wire Back Fabric Cover Buttons (I use Size 45 Fabric Cover Buttons for this project)
-Fabric Cover Button Tool (Usually when you buy a Fabric Cover Button Kit it comes with one of the tools, so check this before you purchase. Each size of button has a different size tool, so the first time buying each size you will want to get a kit instead of just the refills.)
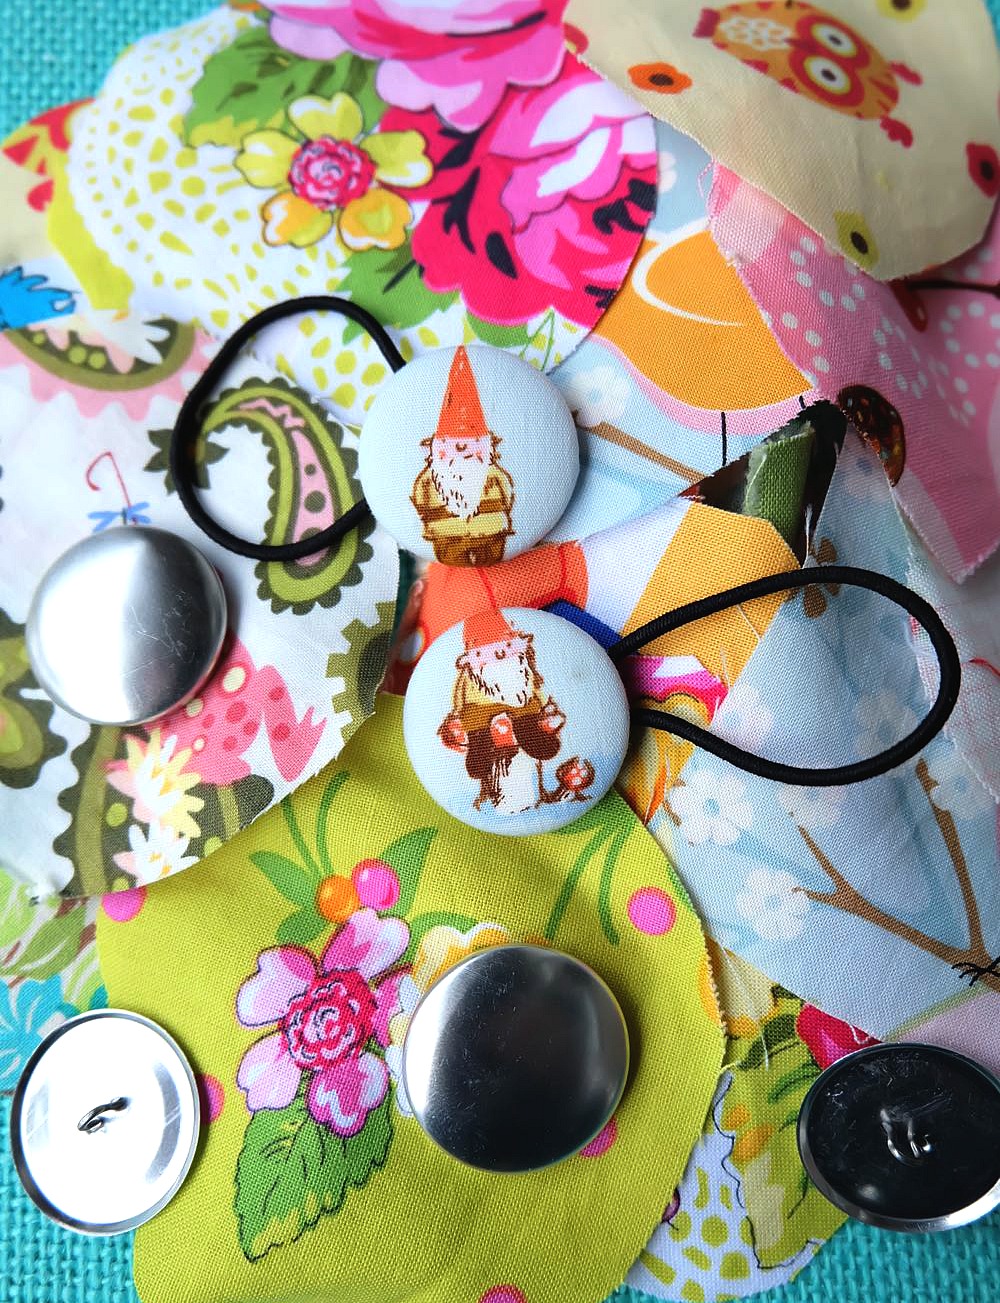
-Fabric Scraps (You’ll want them to be approximately 2 inches by 2 inches in diameter.)
-Hair elastics
-Scissors
-Iron
Directions:
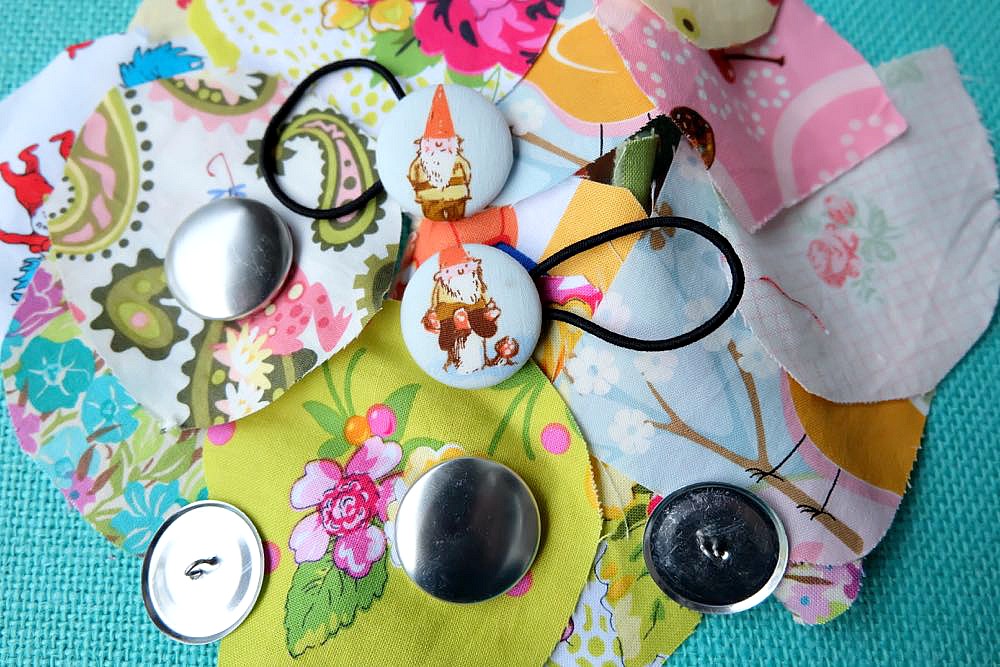
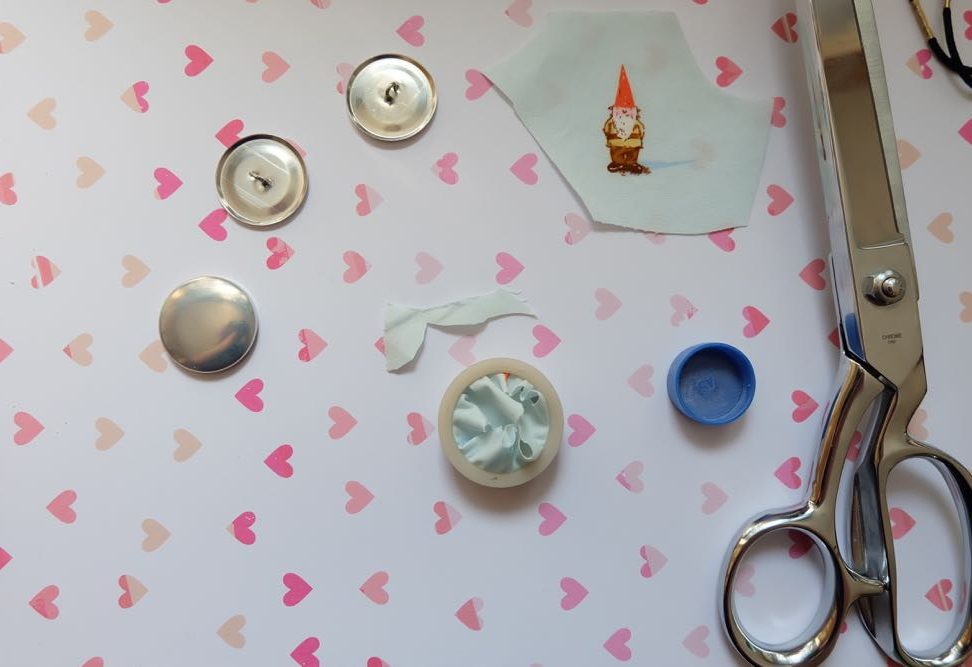
Step 1: Gather your supplies, pick your fabric, and make sure that your fabric scraps are ironed so you don’t have wrinkles in your finished ponytail holders.

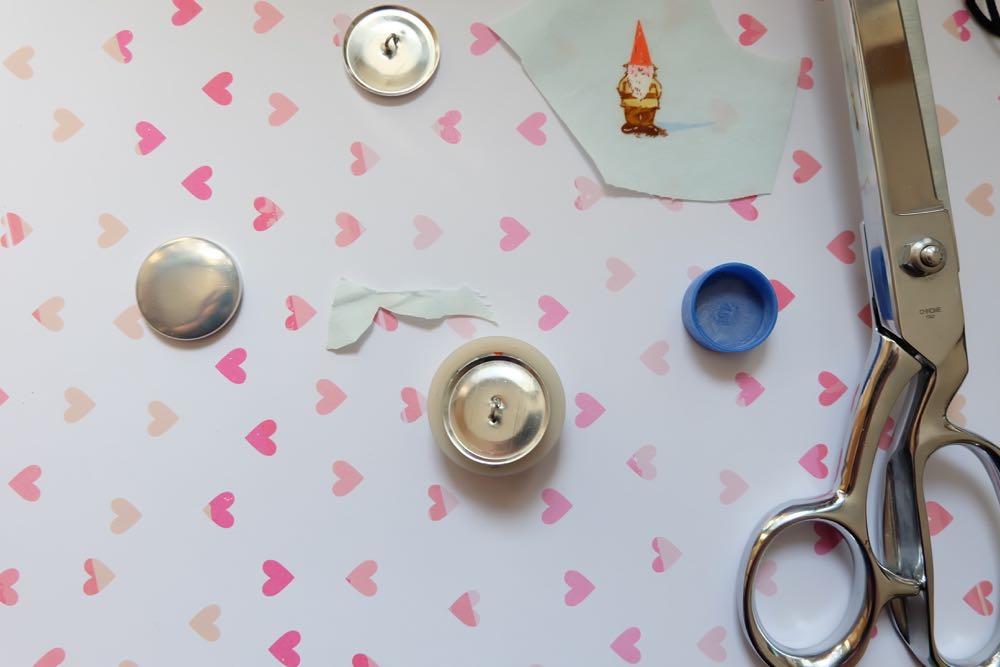
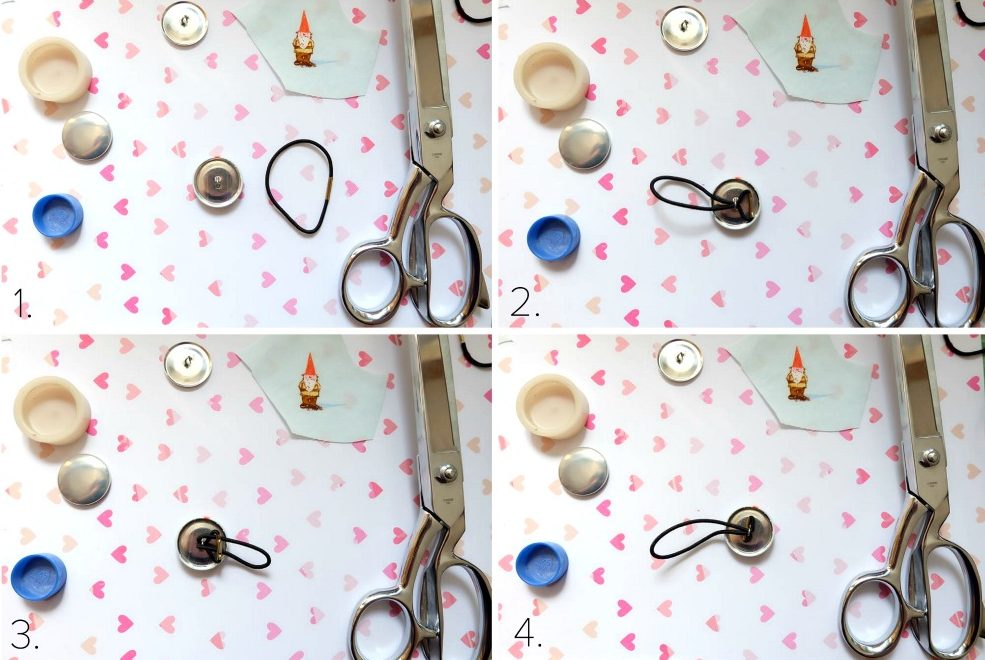
Step 2: Lay your fabric over the rounded part of the button front. Make sure the design is where you would like it to be. Push the button and the fabric into the large circle of the covered button tool.
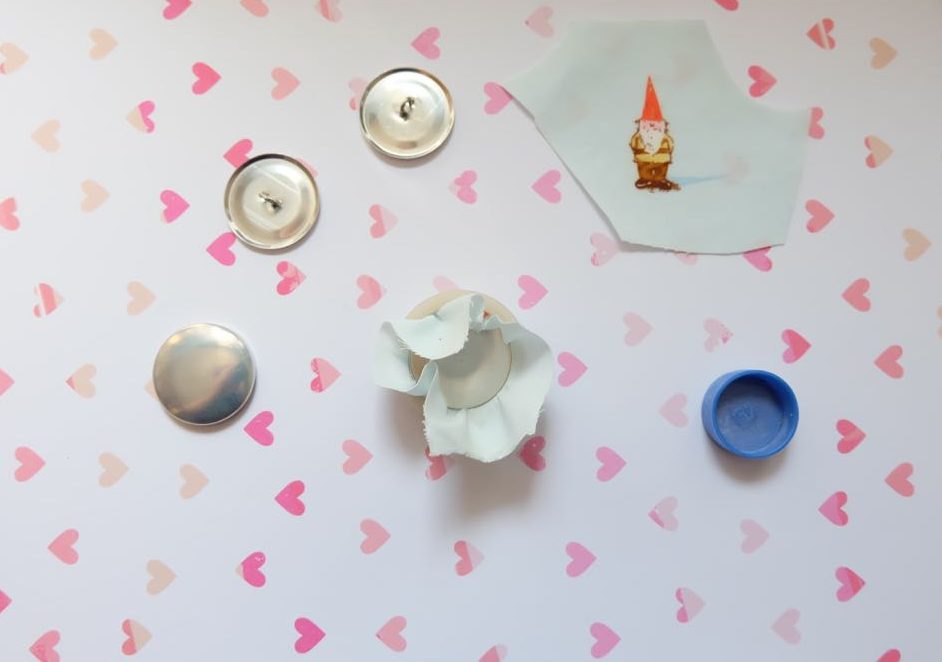
Step 3: Trim excess fabric. You want for the fabric to lay neatly and smoothly under the fabric button back.
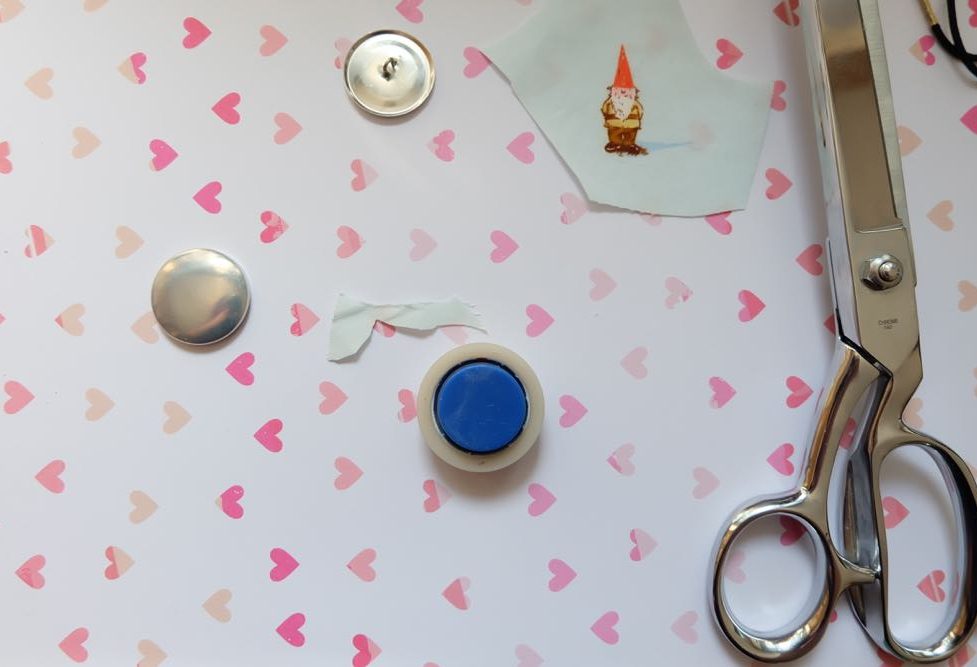
Step 4: Lay the wire back on top of the back of your button. Position the wire ring of the back so that it’s in the desired direction for the way you want your ponytail holders to lay. I like lining mine up so that it’s laying vertical in the same direction as the up and down of the fabric design.
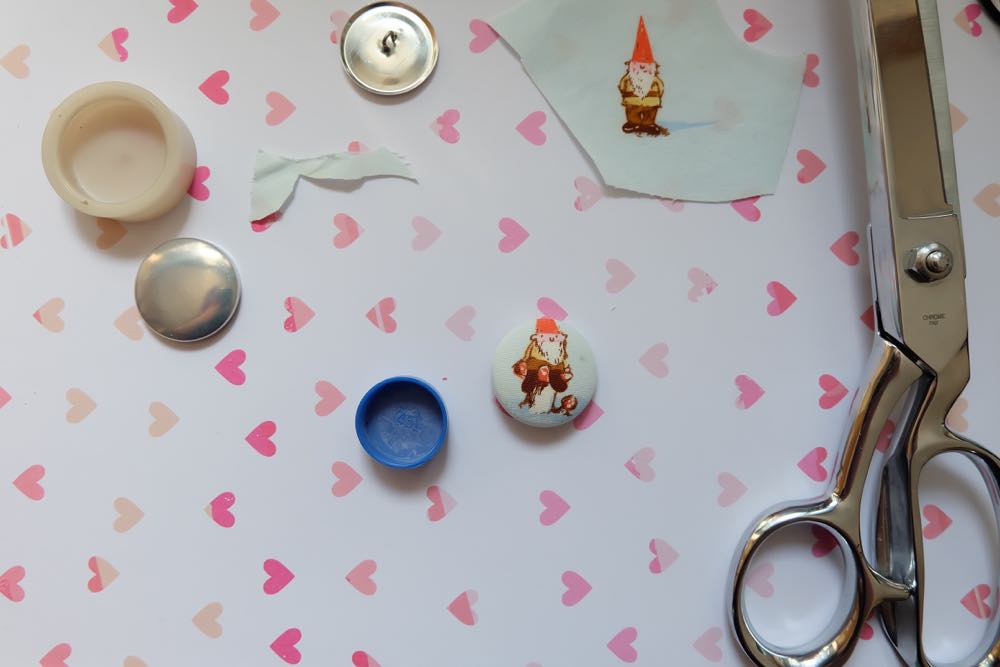
Step 5: Take the smaller circular part of the button tool and use it to push the wire back into the button front. You should feel a slight pop when the back pops securely into place.
Step 6: Pop the button out of the tool. Admire your handy work. Get ready to put the hair elastic into the back.
Step 7: Pinch your hair elastic and feed one edge of the circle through the wire back loop. Pull it 3/4 of the way through, and then pull the end of the hair elastic that you have just pulled through, through the loop of the ponytail holder that is left on the other side of the wire. Pull until ponytail holder is secure.
Step 8: Repeat with your second scrap of fabric so you have a coordinating set of ponytail holders. Viola! You are all done!
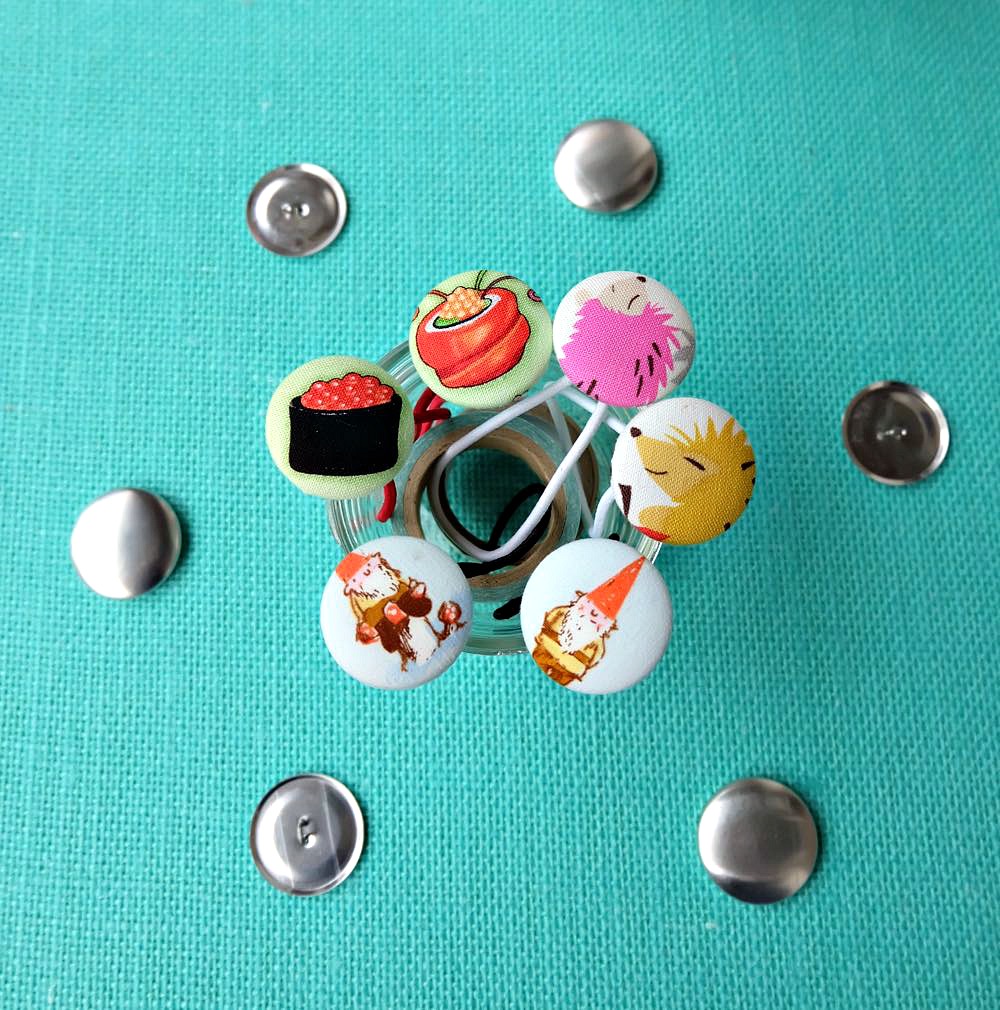
Have fun playing with all of your different fabric scraps to make fun and unique hair accessories!
Like this project? Pin it for later!


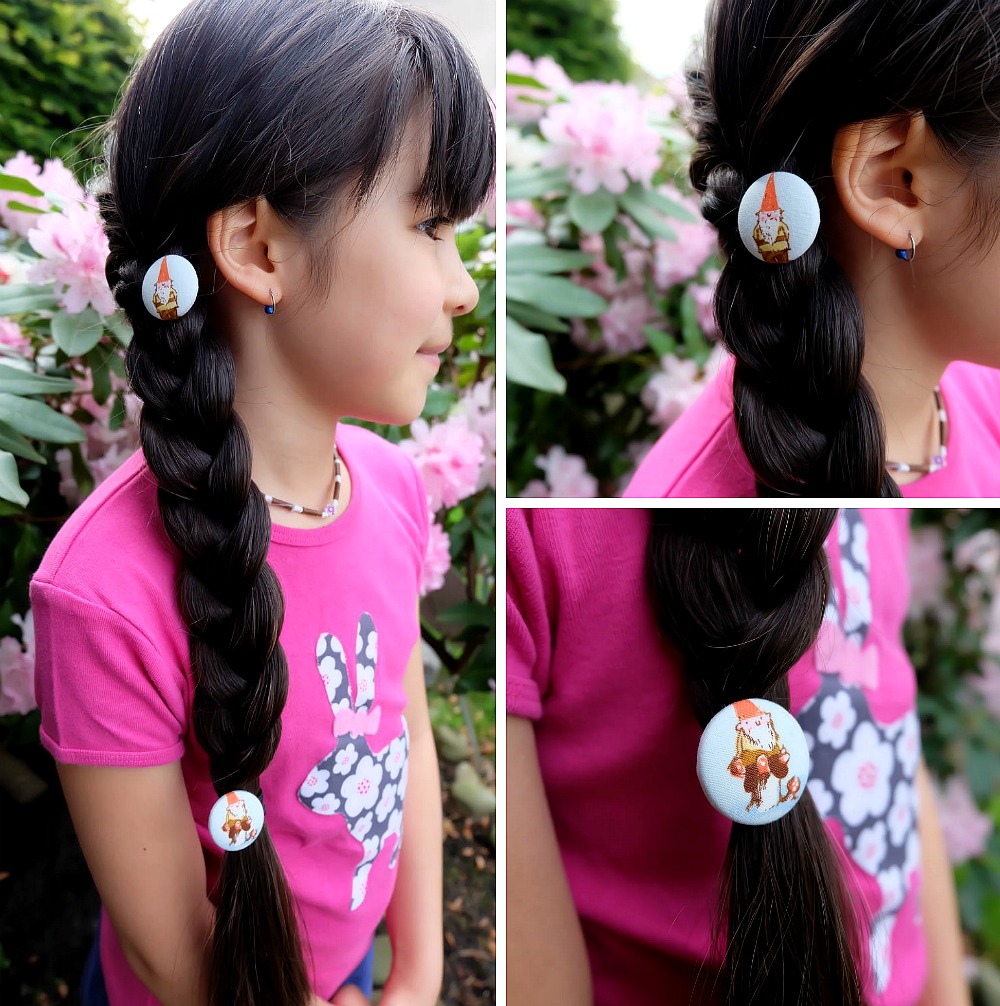
Those are the cutest pony tail holders and the possibilities are endless!!!! Thank you! The Kiddos are so adorable and I love the one of your daughter in the purple shirt looking up!!!
Super cute! Love how oversized they are. Visiting from Inspire Me Monday party.
I am always looking fro ways o use up tiny scraps, I love the idea of not wasting them. This is really cute (plus the idea of your kids proudly telling people their mum made their stuff – that is super cute too!)
I love making covered buttons. I’ll have to get this larger size and make some of these. So cute!
What a cute idea! I have so many fabric scraps!
These are sooo cute!! Showed the Grangirlie..and we plan to go thru my scraps & make some!! Fun prodject to do together! Thanks for ideas! 🙂
I happen to have a few of the buttons here in rough shape, these would be great to remake for my girl!