


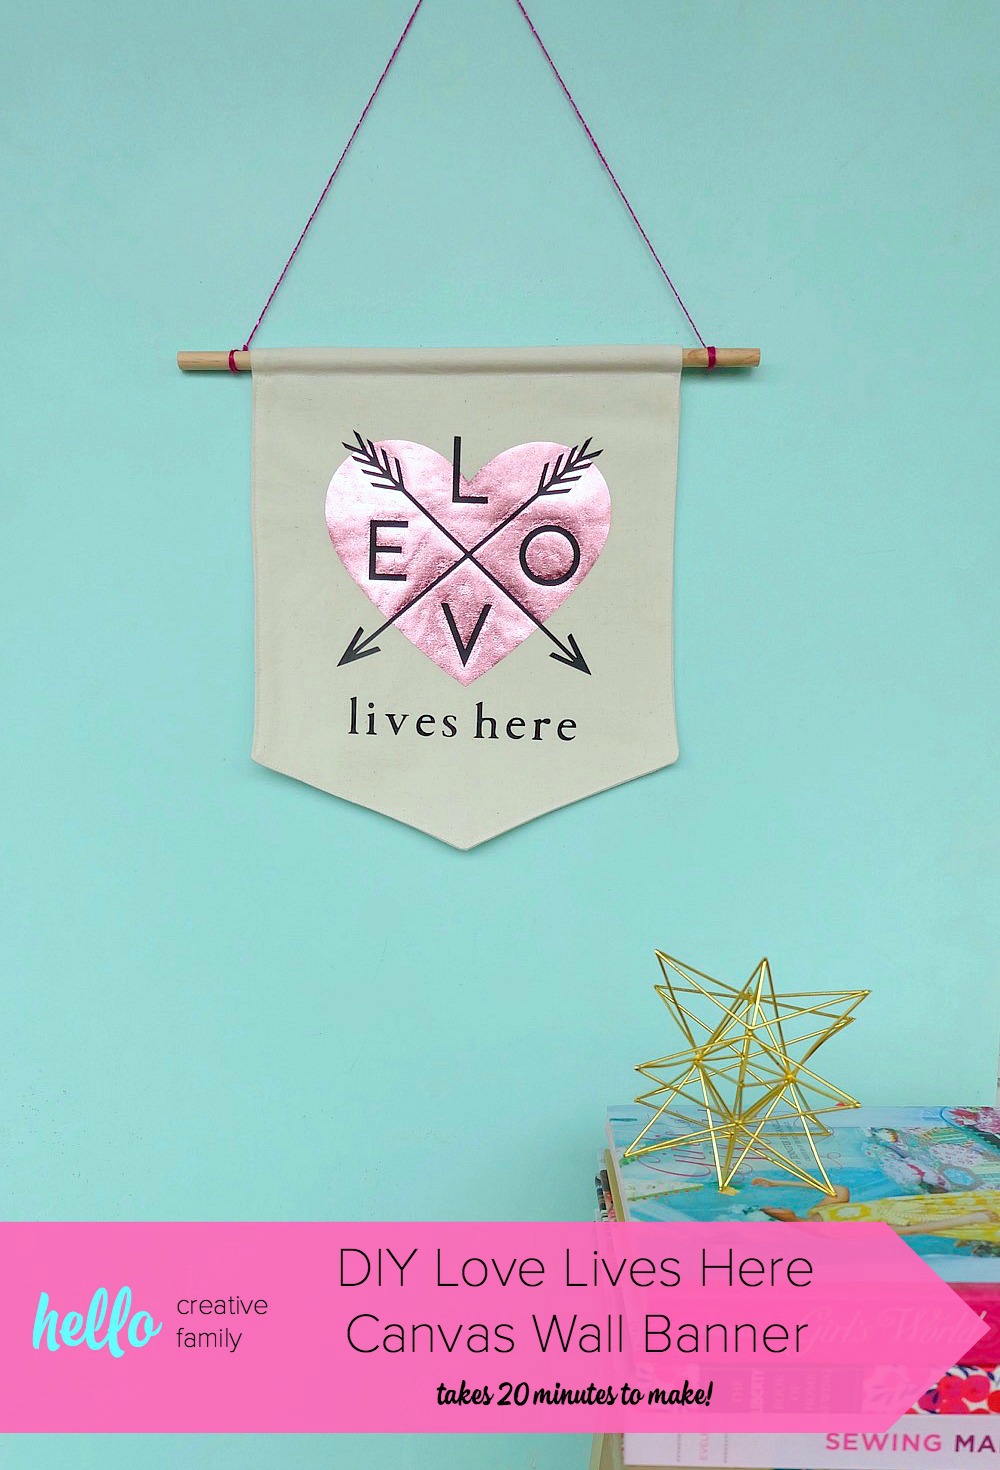
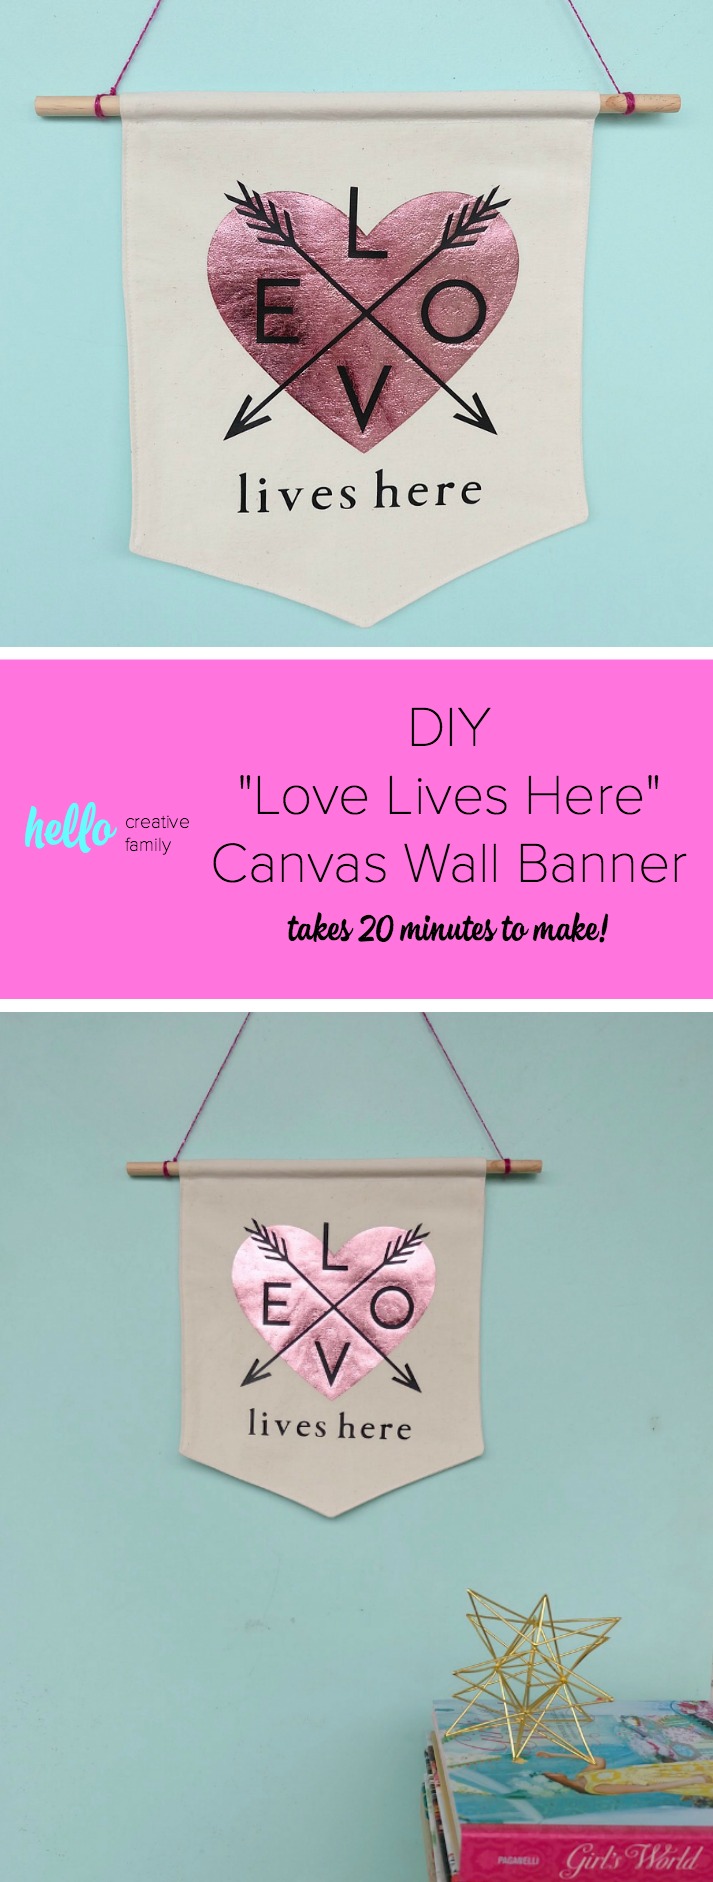
20 Minute Love Lives Here DIY Canvas Wall Banner- Sewing Tutorial + Cricut Cut File
This post and the photos within it may contain Amazon or other affiliate links. If you purchase something through the link, I may receive a small commission at no extra charge to you.

How often do you walk through a store, see something on the shelf and think to yourself “I could TOTALLY make that!” It happens to me all the time. Sometimes I may be thinking just a bit to highly of my DIY and crafting abilities, but often I’m able to pull off my own version pretty flawlessly. These kinds of thoughts come to me quite often while I’m browsing the aisles of craft stores. I love visiting the “decorating” aisles for a bit of inspiration and then heading to the supply aisles to get everything I need to make them myself.
One thing I’ve been seeing a lot lately that I knew I had the ability to make is those pretty canvas wall banners. They have been on my “To Do” list for a long time and I finally sat down to figure out the logistics for DIYing one myself. I decided to go with a Valentine’s Day/Love theme for my banner (since V-Day is just around the corner) but I also wanted a design that wasn’t too holiday themed so that if I wanted to I could keep it up all year long.
This banner could just as easily be hung from your front door as from a wall inside your house. I decided to sew my banner, instead of going with a no-sew version so that it would be durable and last for the long haul without the edges fraying. If sewing isn’t your thing, you can definitely just leave the edges raw.
I’m so pleased with how my finished banner turned out. I think I’m going to hang it on our front door for awhile, then move it to our family photo wall, and it may even see a few appearances on my craft room wall! Now that I’ve made one, I can’t wait to get started designing my next banner!
Ready to make a 20 Minute DIY Canvas Wall Banner of your own? Read on for my sewing tutorial and Cricut Cut File!
20 Minute DIY Canvas Wall Banner- Sewing Tutorial + Cricut Cut File
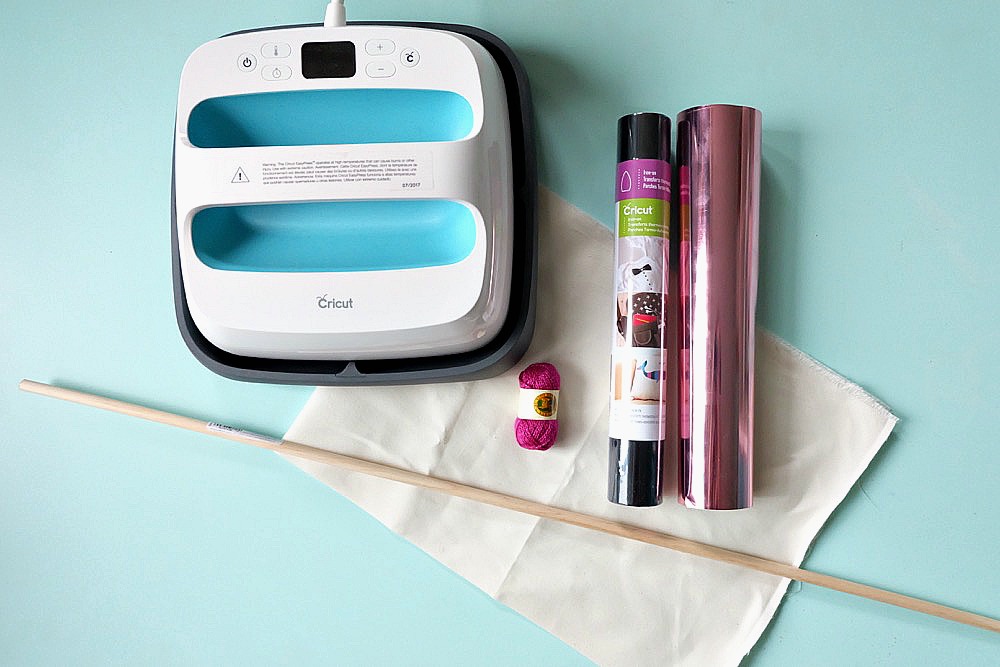
Materials:
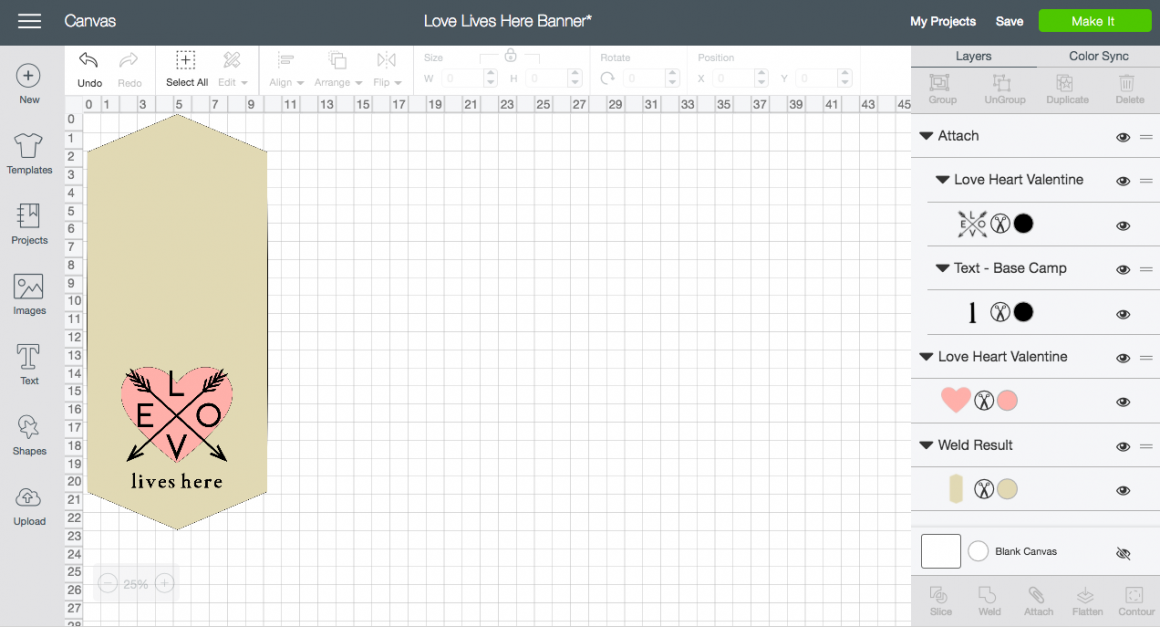
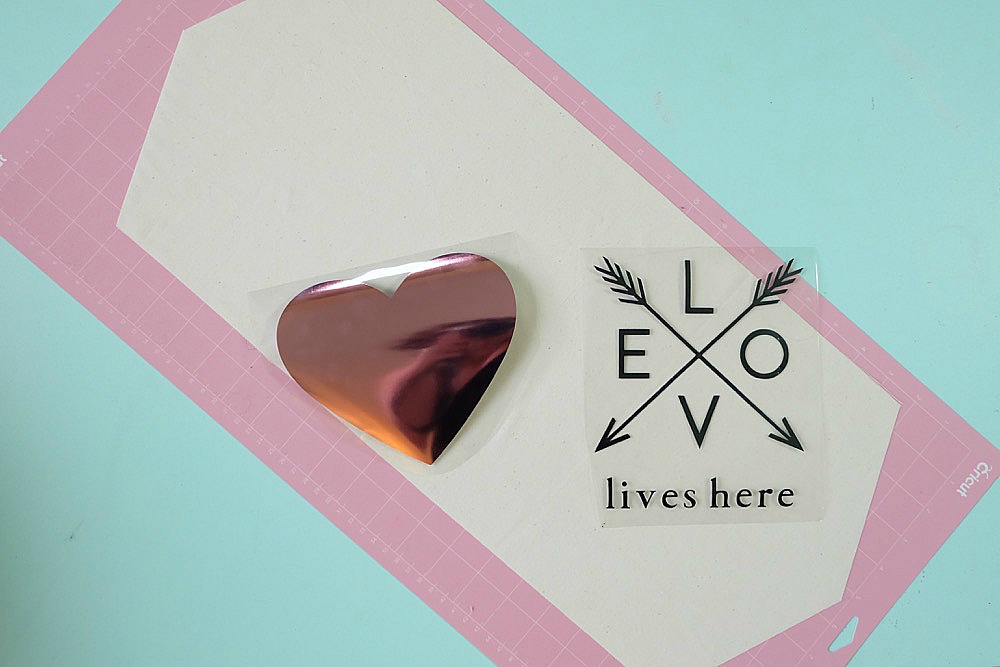
- My Love Lives Here Banner File (Find it here)
- Cricut Maker or Cricut Explore (if using the Explore you will need to cut a banner shape by hand. You can do this by having your Explore cut the banner shape out of a large piece of paper and then using it as your template to cut your canvas)
- Iron on Vinyl (I used pink foil iron on and black iron on lite for this project)
- 12×24 inch piece of canvas or duck cloth
- 12×24 inch Cricut Fabric Grip Adhesive Cutting Mat
- Regular Grip Cutting Mat
- Sewing Machine (this is the one I have)
- Thread in coordinating colors
- Fabric Scissors, pins or wonder clips and pin cushion (You’ll love this sewing kit from Cricut that has all the tools you need to start sewing)
- Iron or Cricut Easy Press
- Yarn or twine
- A dowel that is 12″ long or longer
- Optional: Cricut Bright Pad for weeding, Cricut Iron On Protective Sheet, Cricut Brayer Tool
Directions:
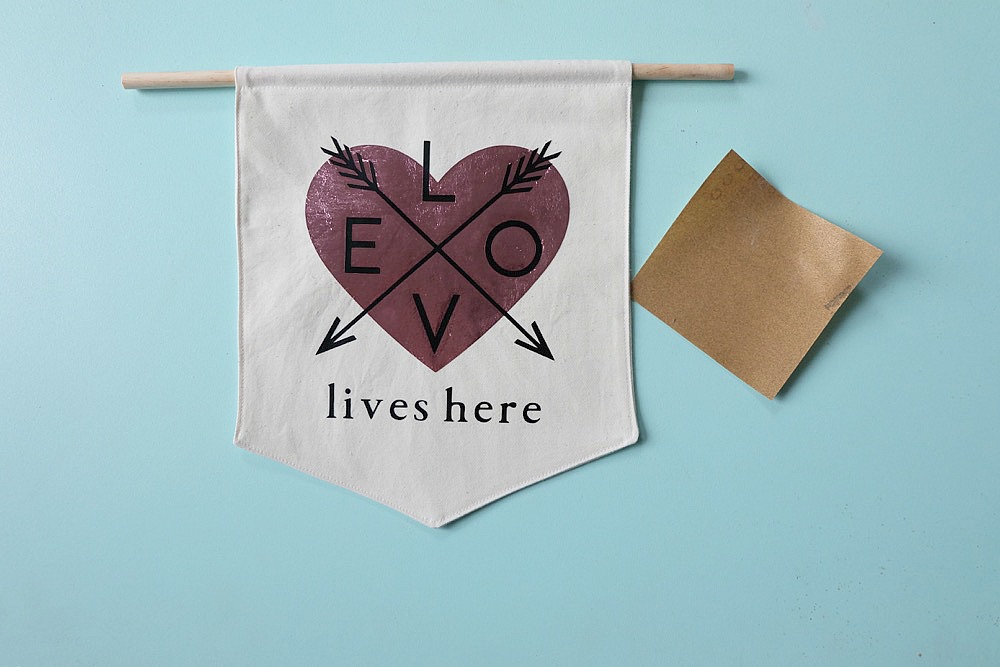
Step 1: Open my Love Lives Here Banner File and cut your banner, heart and words.
Step 2: Weed your vinyl and fabric leaving your cut pieces behind.
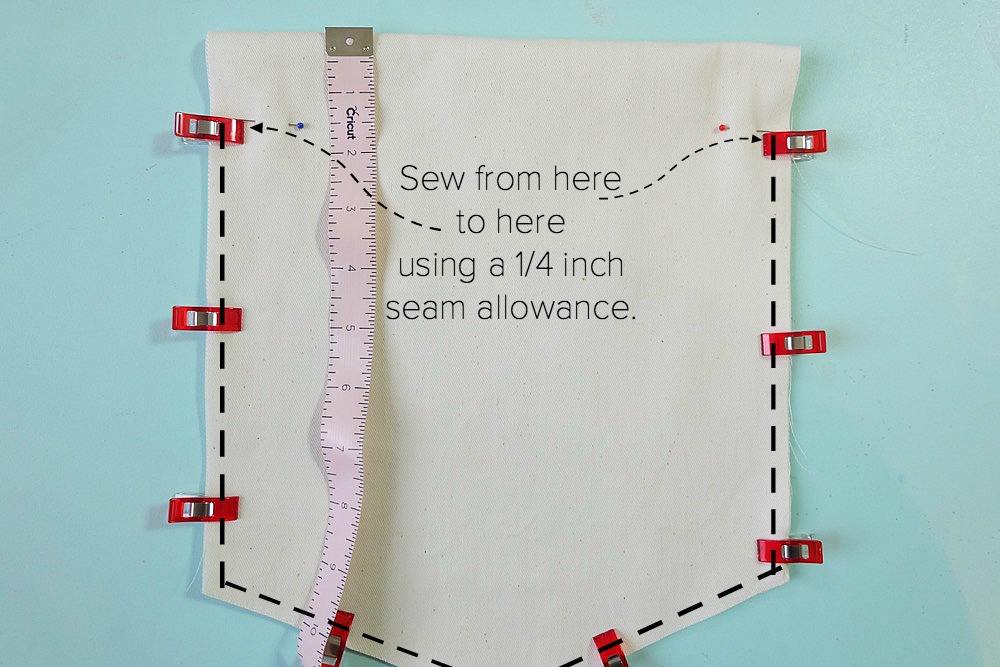
Step 3: Fold your canvas in half so that the two tips of the banner are lined up. Measure down 1.5 inches from your folded edge on each side and mark with a straight pin. Pin or wonder clip the rest of your banner in place. Using a 1/4 inch seam allowance, sew from the straight pin on the right that you used to measure 1.5 inches down, down around and back up to the second straight pin that you used to measure 1.5 inches down. See photo below.
Step 4: Using one of the gaps where you didn’t sew, flip your banner right side out. Push out your corners and edges and press into place.

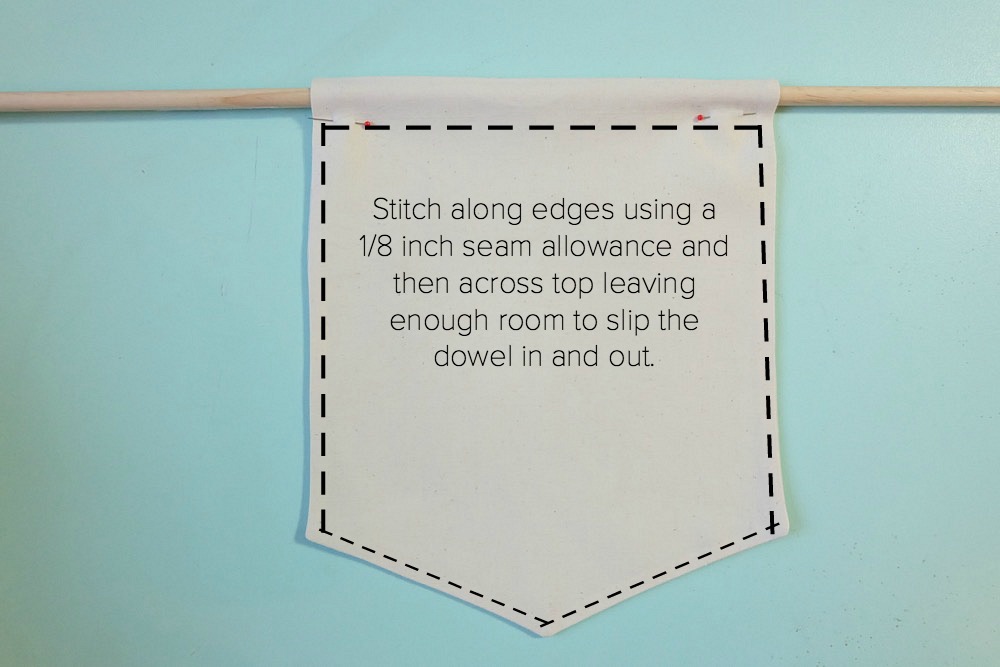
Step 5: Slip your dowel into the top of your banner. Place a straight pin on one side slightly below where the dowel is so there is enough room for the dowel to slide in and out of the banner. Measure how far down your pin is and measure and pin the same distance on the opposite side. Remove your dowel and it’s time for the last sewing step! To give your banner a finished look, stitch along each of the edges of the banner using a 1/8 inch seam allowance and then across the top of the banner using your pins as a guide for where to stitch. (See photo below.)
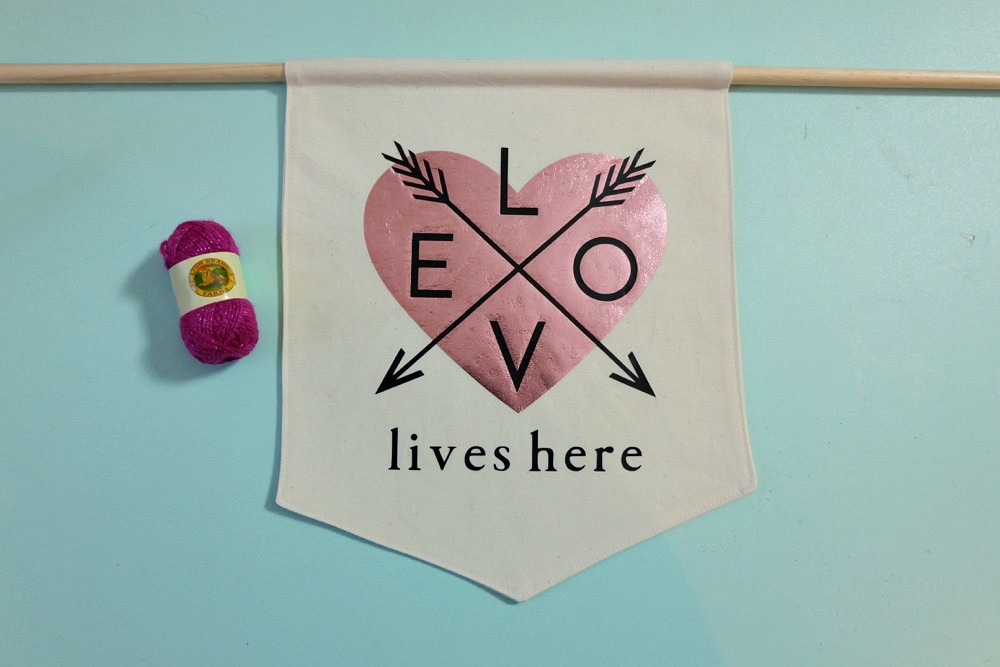
Step 6: Using the instructions on your iron on packaging or your Easy Press, press your heart onto your banner.

And then your words onto your banner.
Step 7: If your dowel is too long, trim your dowel to the desired length. You can use sandpaper to smooth out the ends.
Step 8: Tie twine or yarn on either side of the dowel to hang your banner by.

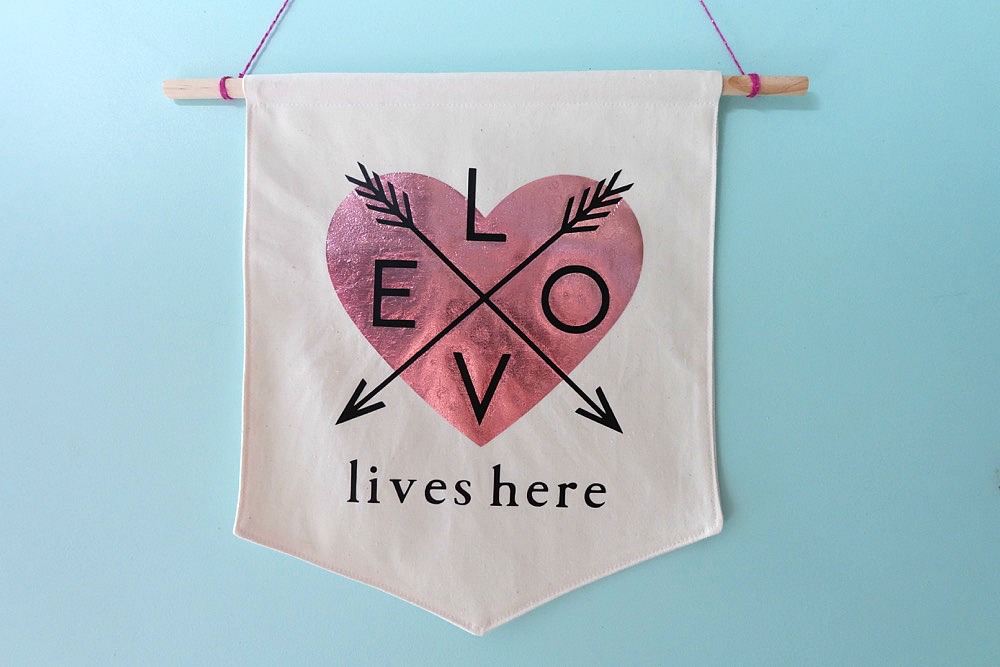
Viola! You have a beautiful DIY Canvas Wall Banner!
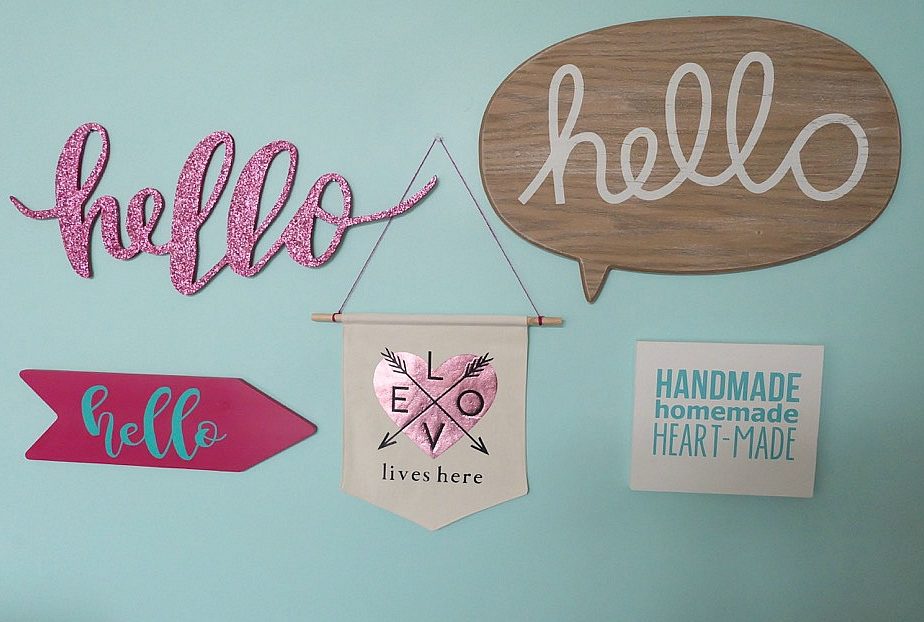
Add it to a wall with a collection of art pieces.
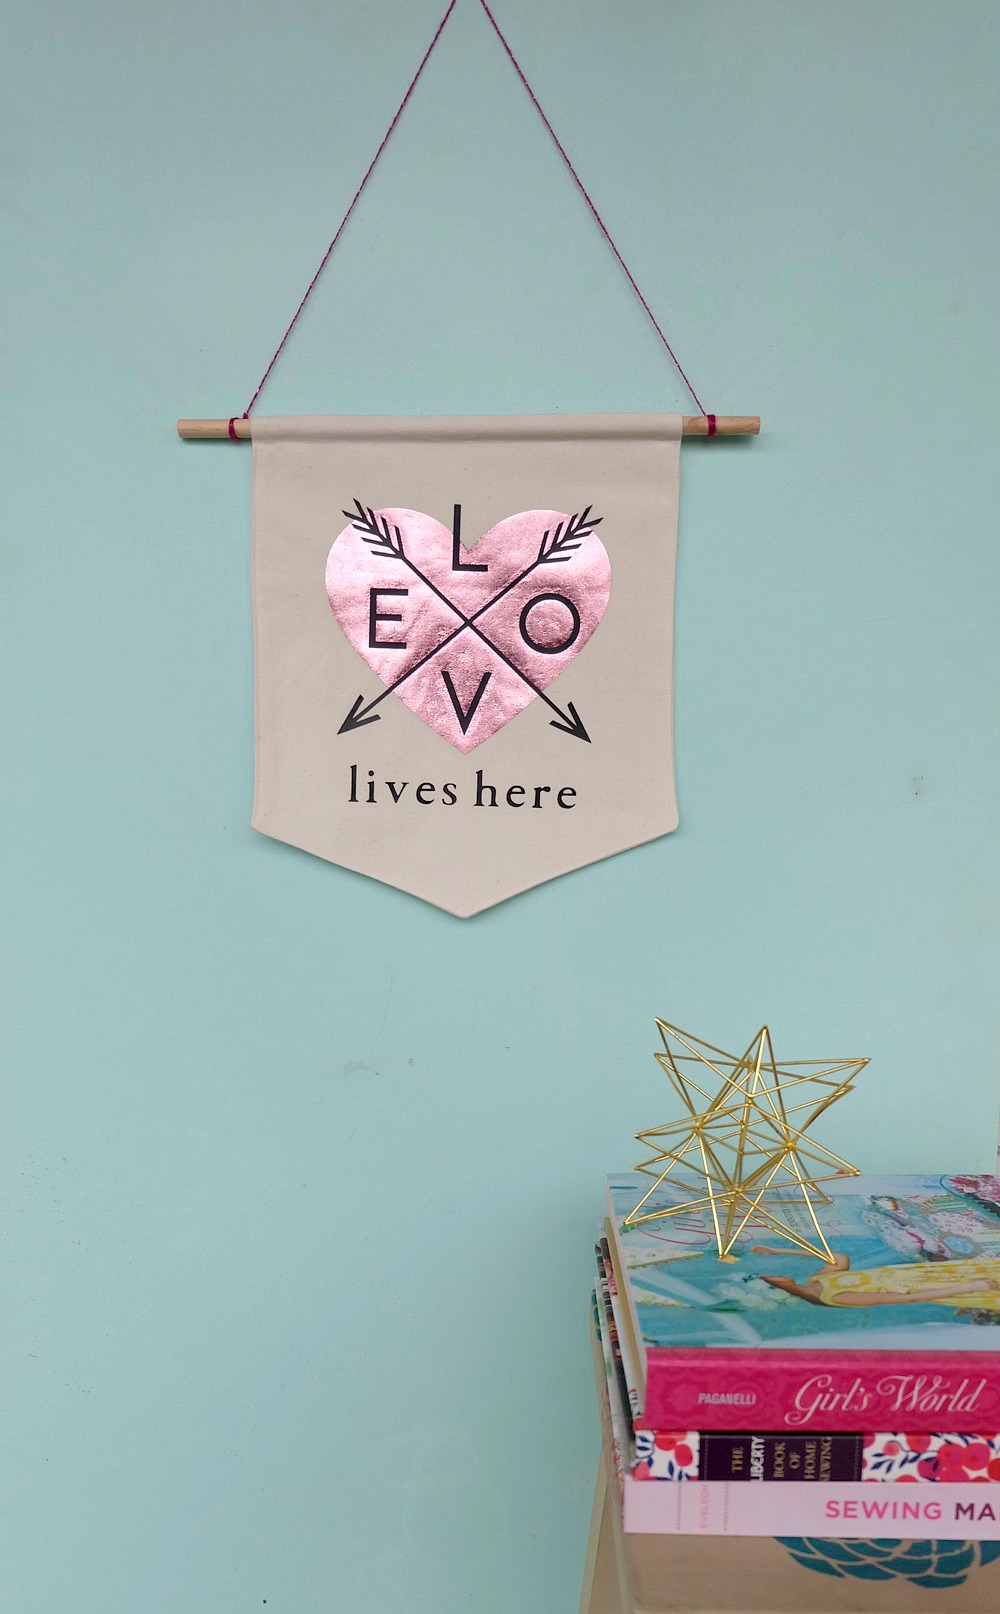
Or to a wall as a solo statement piece!
[hr gap=”30″]Tell me… Have you seen Canvas Wall Banners in stores before? Should I design more of these? What would you like to see on our next banner?[hr gap=”30″]
Like this post? Pin it for later!
Check out our Cricut Category for tons of fun Cricut Projects!


Very cute and perfect for year-round decor. Visiting from Style Showcase.
Such a cute idea! And I love that it can be versatile, too. ❤️