


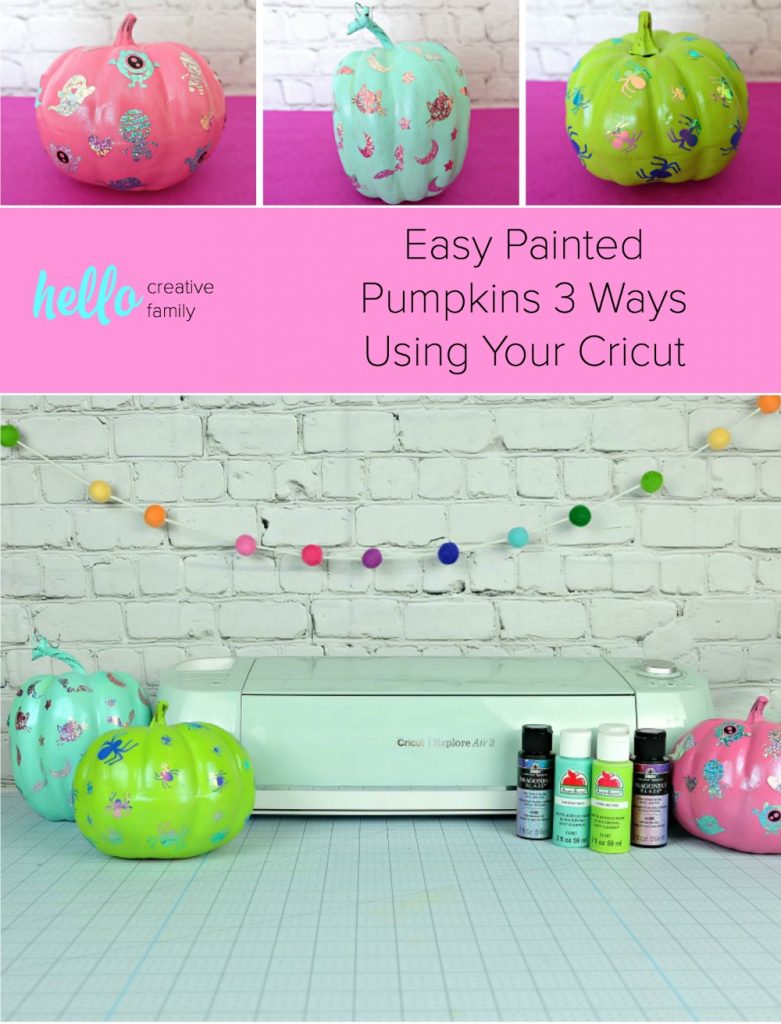
Easy Painted Pumpkins 3 Ways Using Your Cricut
This post and the photos within it may contain Amazon or other affiliate links. If you purchase something through the link, I may receive a small commission at no extra charge to you.
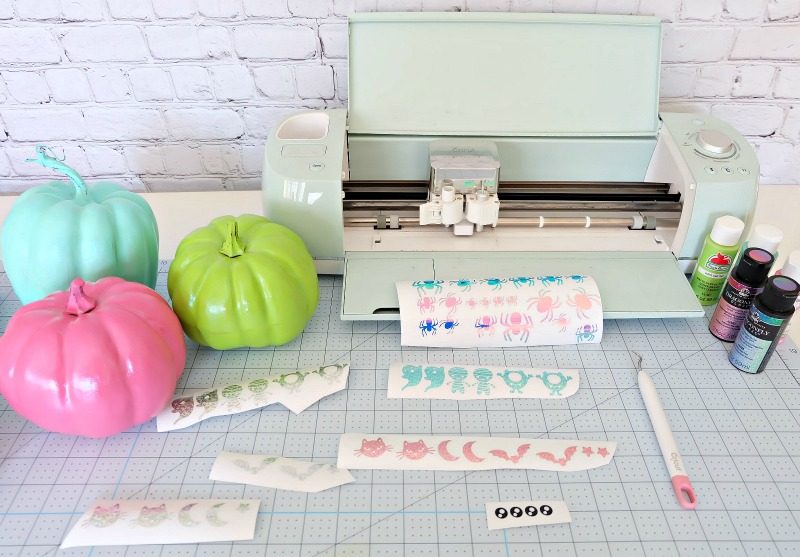
Add some flare to dollar store craft pumpkins with our easy painted pumpkins tutorial using acrylic paint and Halloween stickers you cut with your Cricut!


I can’t believe that Halloween is so close! October has slipped away from me! I was recently perusing the seasonal aisle of my local dollar store and stumbled upon plastic pumpkins! My instagram feed has been filled with adorable painted pumpkins recently and I have a box full of speciality paints from Plaid that I’ve been wanting to dig into, so it seemed like the perfect opportunity to paint some pumpkins!
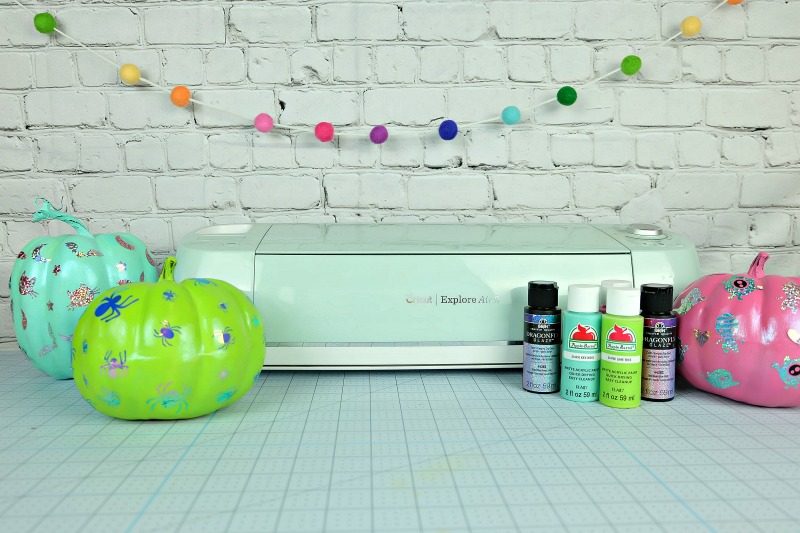
I’ve had a few bottles of Dragonfly Glaze for awhile now that I’ve been looking for the perfect project for. I am heart eyes for all things holographic right now and these pumpkins seemed like the perfect project to test it on!
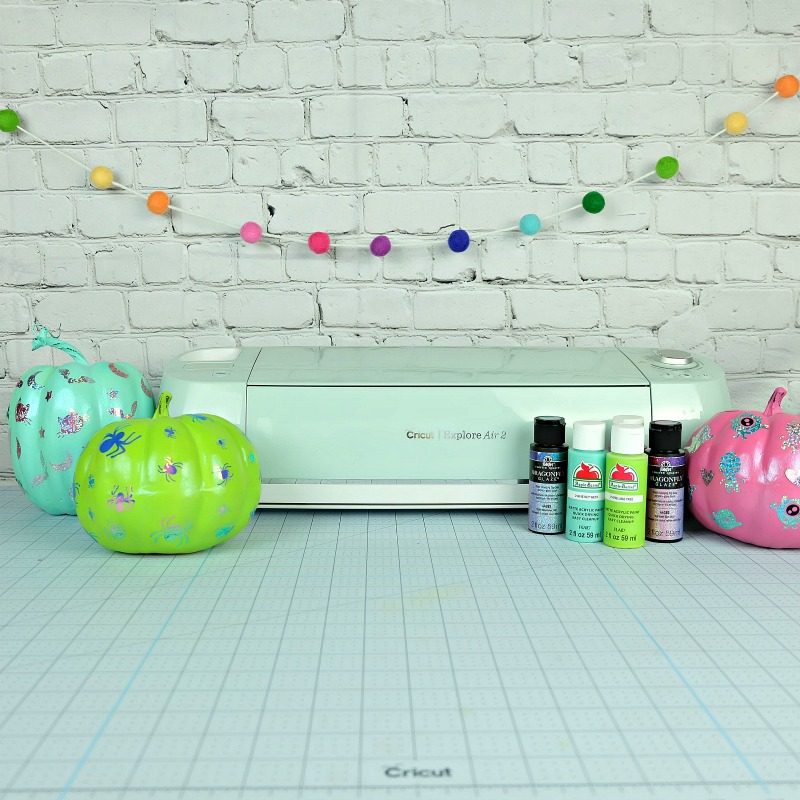
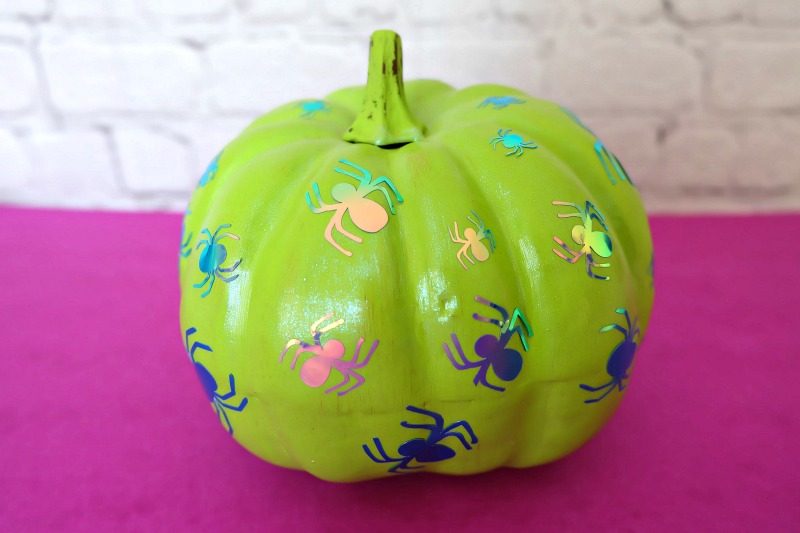
I added vinyl stickers on top of my painted pumpkins that I cut out using my Cricut Explore Air 2.
I did three themes of pumpkins:
-Spiders
-Cats and bats
-Spooky cute monsters.
Read on for all the details of how I made these easy painted pumpkins including the cut files that you can cut using your Cricut!
Easy Painted Pumpkins 3 Ways Using Your Cricut
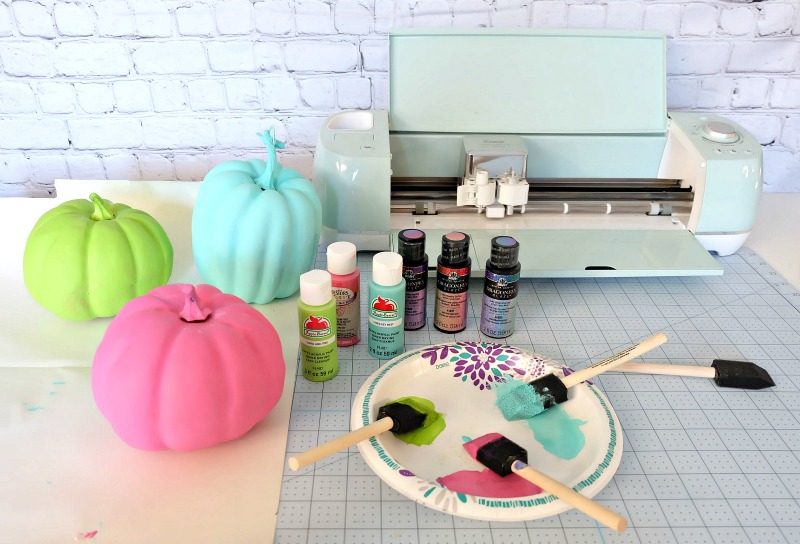
Materials:
-A palette or paper plate
–Acrylic paint in your favorite colors
–Cricut Maker or Cricut Explore
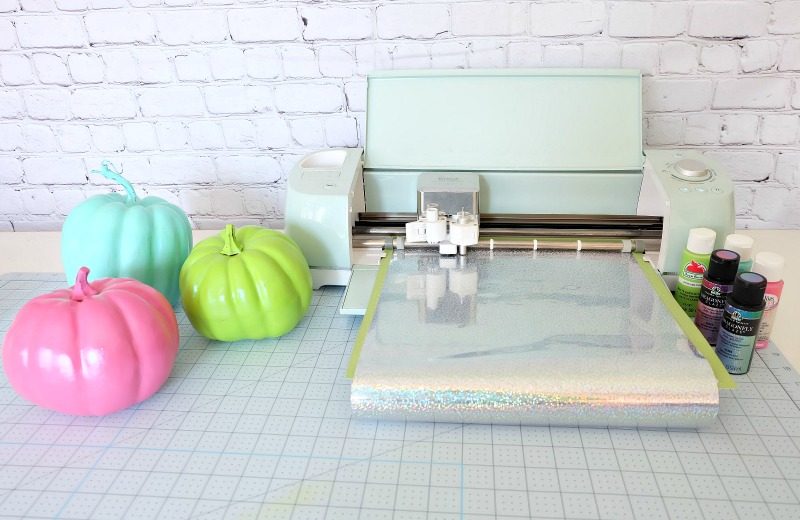
–Cricut Vinyl (I used Holographic Sparkle Vinyl and regular Holographic Vinyl. The Holographic Sparkle was so pretty but I found that it didn’t like sticking to the glaze. The regular Holographic Vinyl stuck great!)

Directions:
Step 1: Paint your pumpkins with your favorite cover of acrylic paint. Let each coat dry before adding the next coat. I applied 3-4 coats of paint on each of my pumpkins to get the finish I desired.
Step 2: Apply a layer of Dragonfly Glaze to your pumpkins. Allow to dry and then add a second layer if desired. The Dragonfly Glaze is a glaze (not a paint) so it gives a sheen to the pumpkins with a slight color flip to them that you can see from different angles.

Step 3: While your pumpkins are drying, log into Cricut Design Space and then open My Pumpkin Cut File.
Step 4: Lay vinyl on cutting mat with the color side facing up. Load cutting mat into machine and cut your vinyl.
Step 5: Weed away the vinyl surrounding your designs leaving just your designs left on the white paper backing.
Step 6: Transfer your vinyl designs to your pumpkins using either transfer tape or your fingers. I used transfer tape for my mummies but used my fingers to transfer the other designs.
Voila! You’ve got three awesome pumpkins to decorate your house or front porch with!
Tell me… Have you ever decorated craft pumpkins before? How would you decorate your pumpkin?
Like our Easy Painted Pumpkins 3 Ways post? We’d love for you to pin it for later!
Looking for even more Cricut Ideas? We have them all in one handy place for your convenience! Find our Cricut Section Here.

Looking for more ideas for decorating you pumpkins? We think you’ll love this post!


Those are so pretty! I love that they are no mess!