


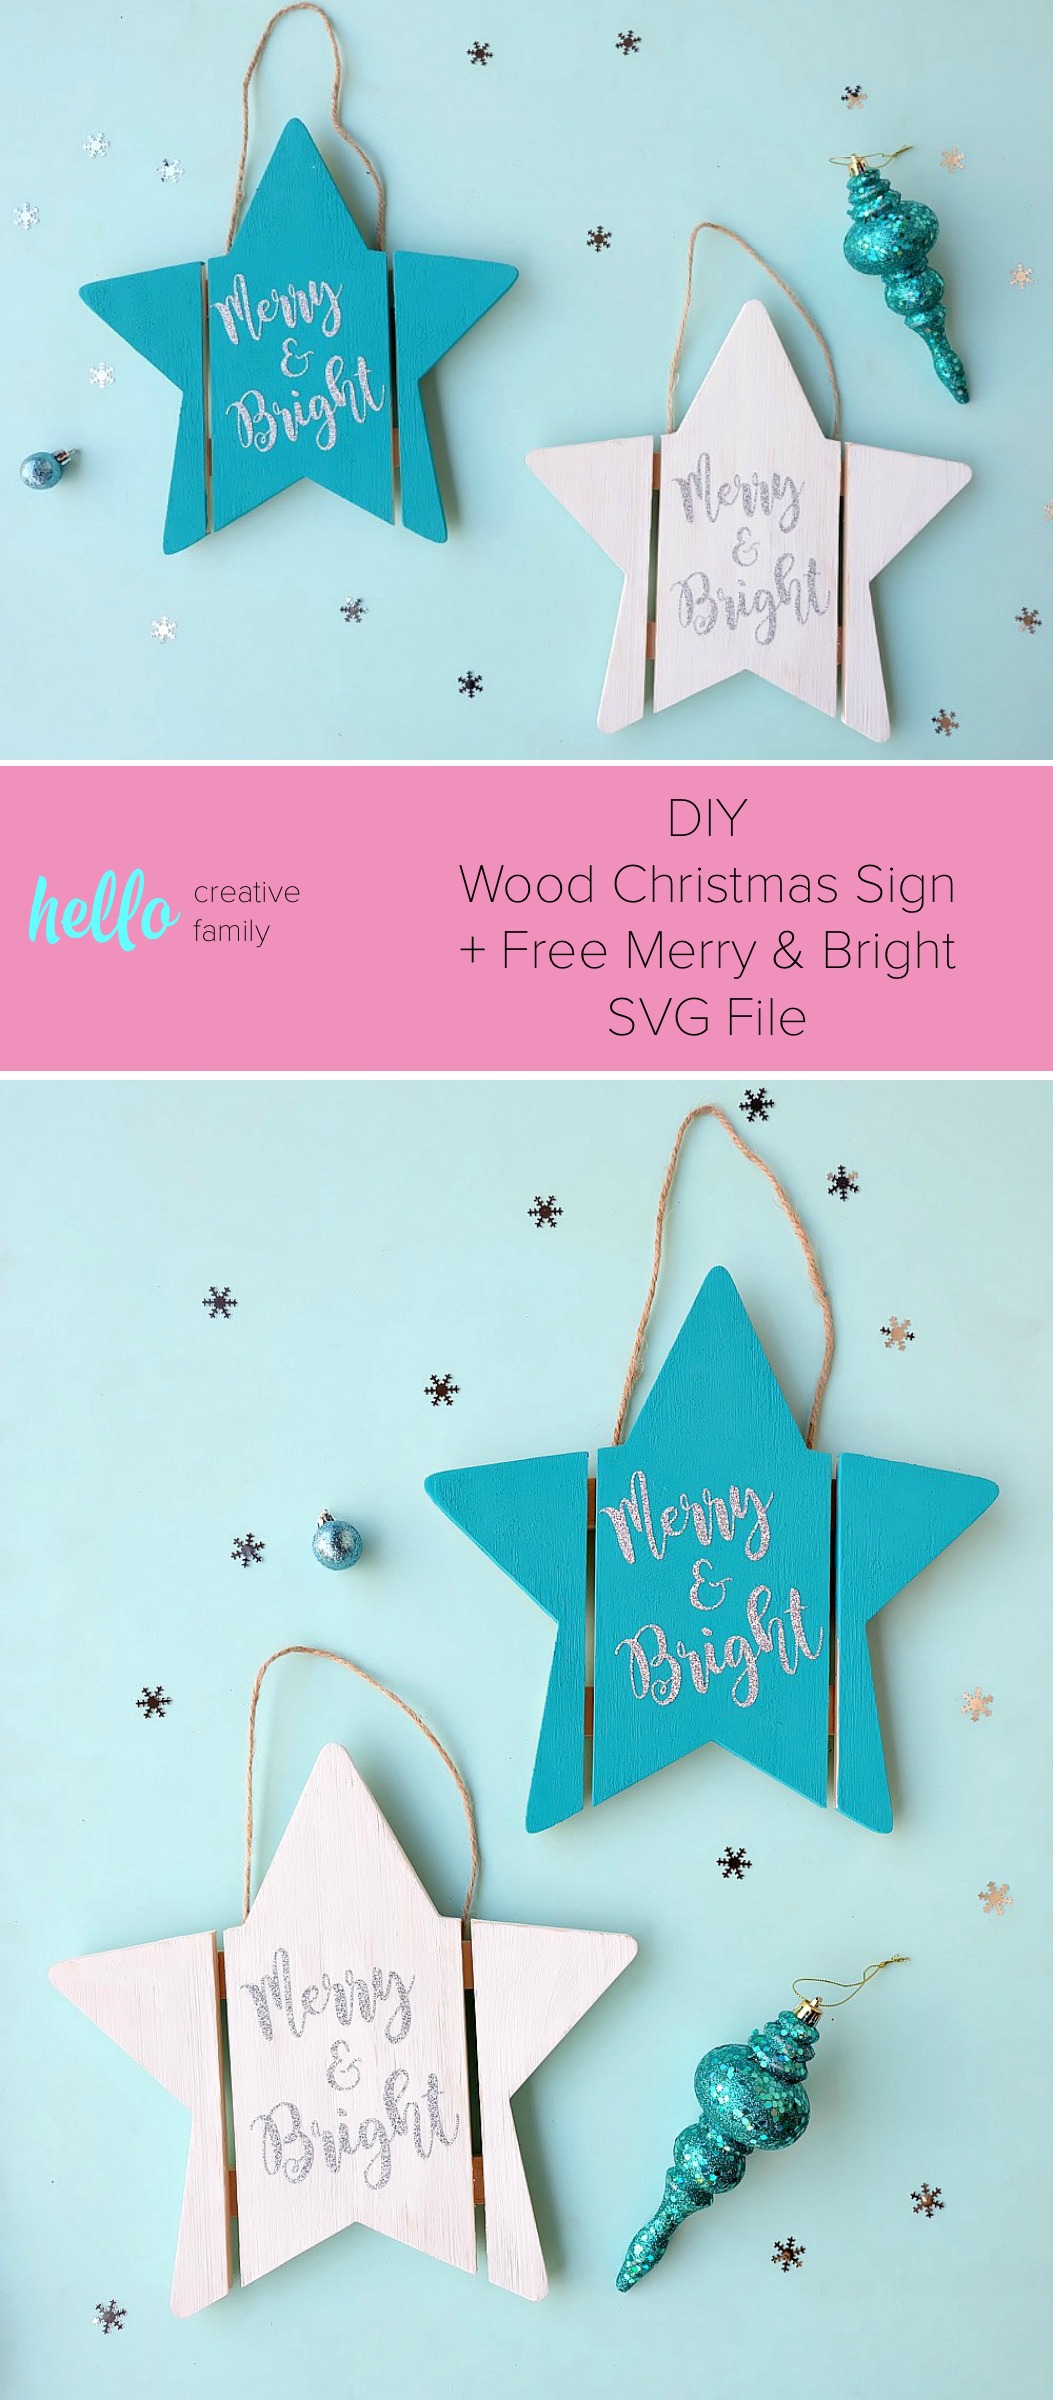
DIY Wood Christmas Sign + Free Merry and Bright SVG File
This post and the photos within it may contain Amazon or other affiliate links. If you purchase something through the link, I may receive a small commission at no extra charge to you.
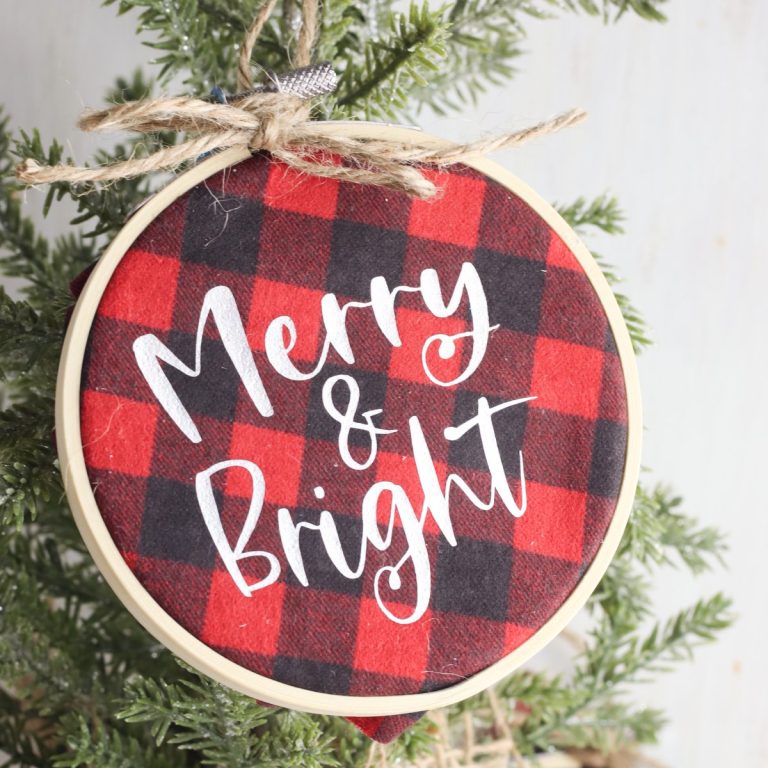
Find out how easy it is to turn an unfinished wood sign into a DIY Wood Christmas Sign with this awesome step by step tutorial. Includes a free Merry and Bright Christmas SVG file that you can cut using your Cricut or Silhouette to to make this beautiful quick handmade gift idea!


We’re back today with another quick and easy handmade gift idea that the recipient is sure to love. Whenever I am out and about shopping I always keep an eye out for “blank canvases” anything that I can dress up with my own designs– whether that’s wood signs, shirt, sweatshirt, mugs or literal canvas! I love little wood signs and there always seems to be such a great collection of them at the craft store and the dollar store.
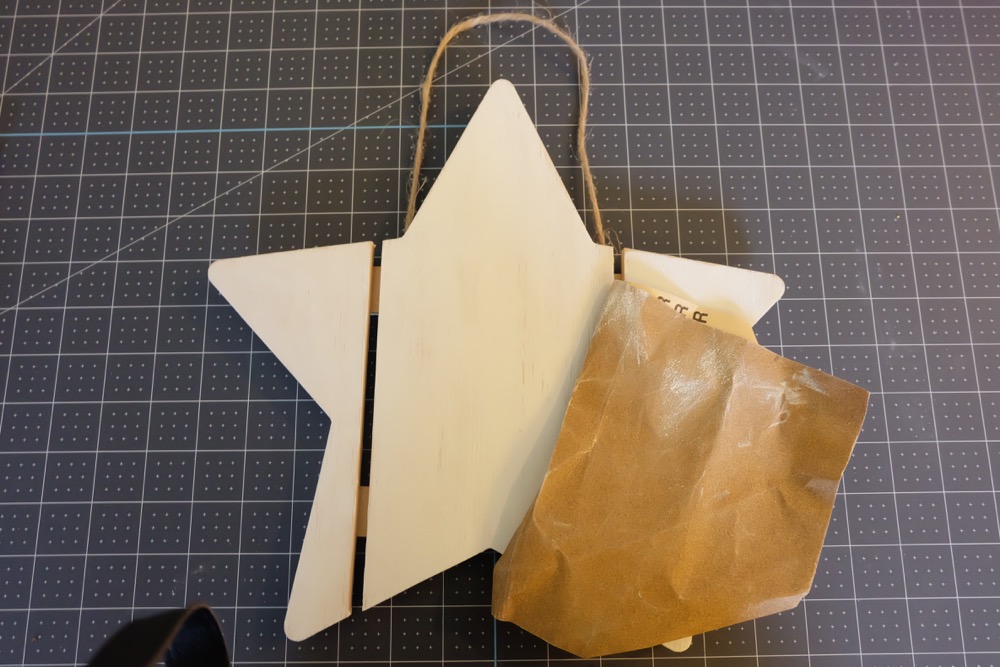
I was recently out craft supply shopping with my friend Tracy, looking for things that we could “Cricut” for Christmas gifts and we came across some adorable wood star signs. Made of unfinished wood, it seemed like the perfect little sign to paint, apply htv to, and hang on the front door or a doorknob within a house. I thought that they would make great handmade Christmas gifts so I grabbed a few.
If you visit the craft store, or even the dollar store you are sure to find a ton of different options of unfinished wood shapes. My local Michaels has a whole aisle of them. Today I’m going to share with you just how easy it is to take one of these signs and turn it into a gorgeous handmade gift. I’m also going to give you a free Merry and Bright SVG file for making this project! Read on and enjoy!
[hr gap=”30″]DIY Wood Christmas Sign + Free Merry and Bright SVG File[hr gap=”30″]

Materials:
-Wood Sign
–Cricut Maker or Cricut Explore (prefer shopping on Amazon? Find the Cricut Maker here and the Cricut Explore here) You can cut this file with a Silhouette Cameo too
–Cricut EasyPress 2 or an iron
-Paint (We used FolkArt Coastal Texture Paint in Sea Salt and Ocean)
–My Merry and Bright Cut File (find it here)
-Optional: Sand Paper

Directions:
Step 1: Open my Merry and Bright SVG file and cut it out of heat transfer vinyl using your favorite cutting machine. Don’t forget to mirror the image and cut it with the shiny side of the htv facing down on the mat. Weed your htv leaving the words behind on the clear plastic and removing all of the excess htv.
Step 2: Paint your star sign and let it dry. Optional: Once your sign has dried use sandpaper to smooth out the paint and “rough it up a bit” to give it a more weathered look.
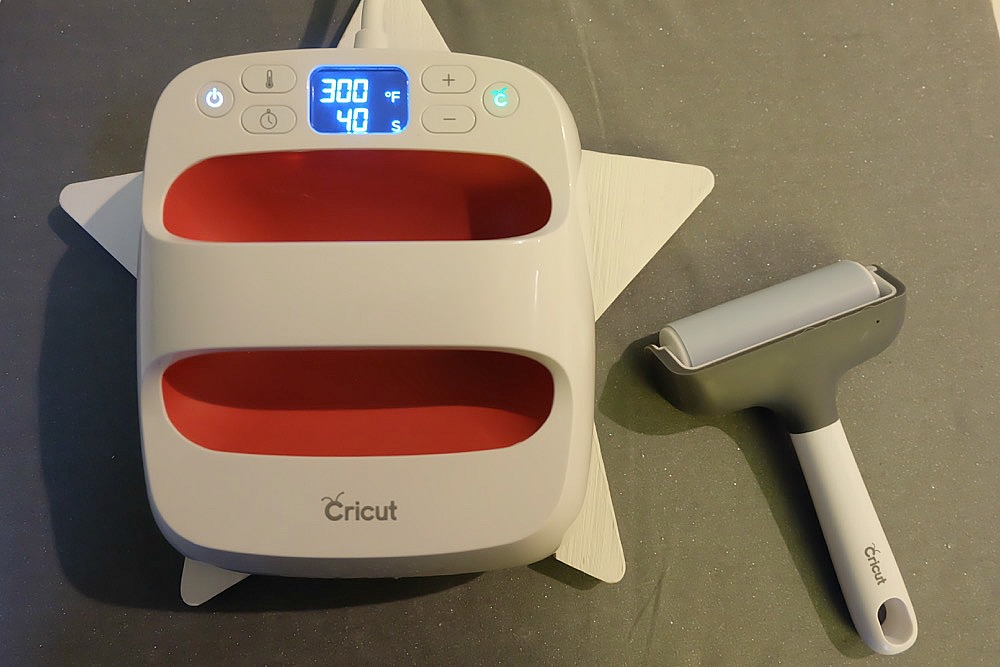
Step 3: Preheat your Cricut EasyPress to 300F. Preheat your wood for 5 seconds. position your “Merry and Bright” htv.

Press for 40 seconds using your easy press and then do a warm peel. If htv isn’t firmly adhered to the wood press again.
BTW Cricut has an interactive guide where you can select what kind of iron-on you are using and what you are applying it to. It will tell you what temperature to set your EasyPress to, how long to preheat for, how long to press and whether you should hot peel, warm peel or cold peel. Find it here and bookmark it for future use.
And that’s it! Easy right? Voila! You have a gorgeous DIY Merry and Bright Christmas Decoration!

[hr gap=”30″]Tell me… Have you ever tried using HTV on wood? I LOVE this technique. Do you make handmade gifts for Christmas? Where in your home would you put this Christmas sign if you made it or who would you gift it to?[hr gap=”30″]
Like this post? We’d love for you to pin it for later!
Make sure you visit our Handmade Gifts Facebook group for ideas, inspiration and craft support!

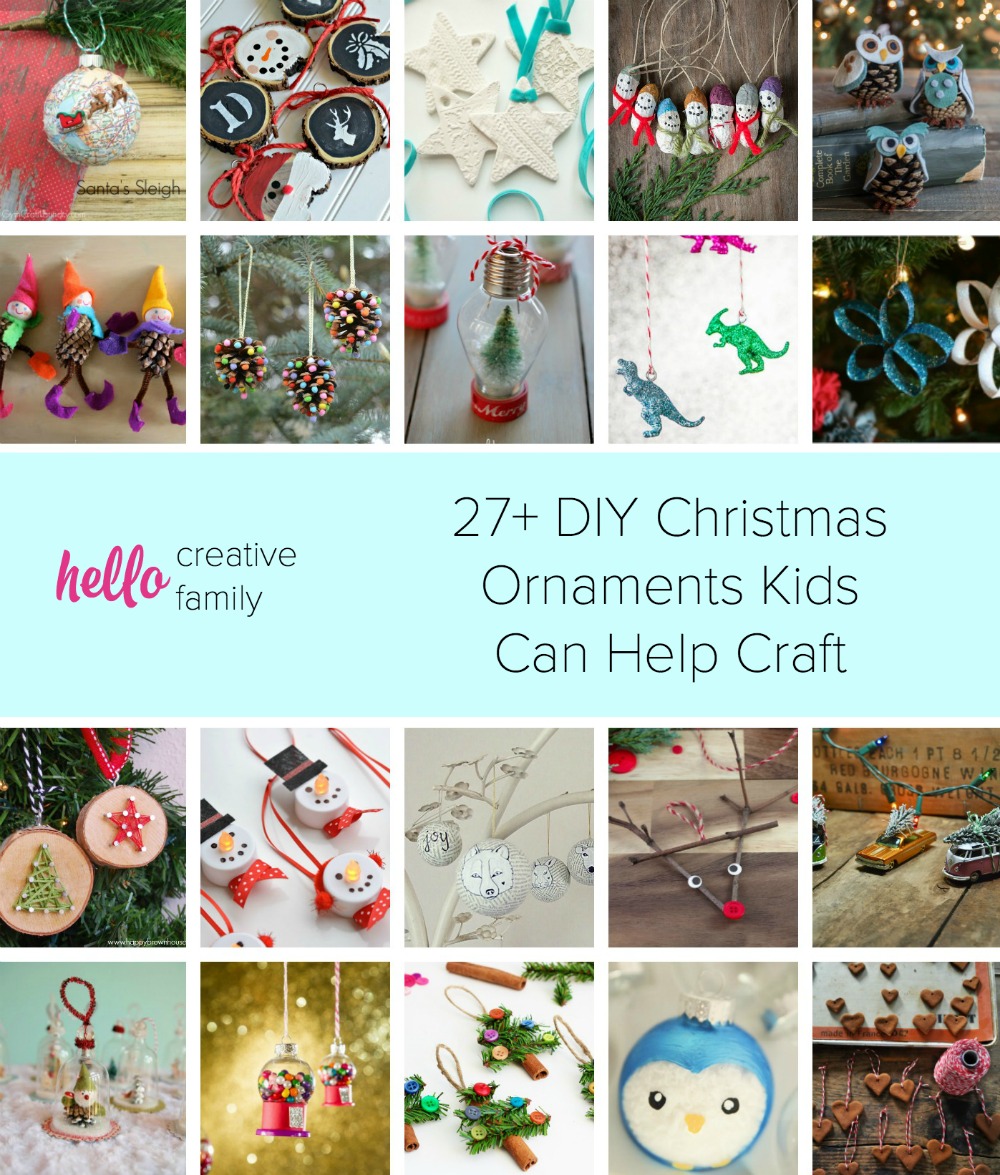
Looking for more great handmade gift ideas? We think you’ll love these ideas!

50 Last Minute Handmade Gift Ideas You Can DIY in 60 Minutes or Less

50 More Quick & Easy Handmade Gift Ideas

37+ Handmade Gift Ideas for Dads, many of which take an hour or less to make!


These are beautiful!
Fabulous DIY!
I’d like to put it
in my craft room.
Carla from Utah