


How To Make DIY Planner Stickers With Your Cricut- Step By Step
This post and the photos within it may contain Amazon or other affiliate links. If you purchase something through the link, I may receive a small commission at no extra charge to you.
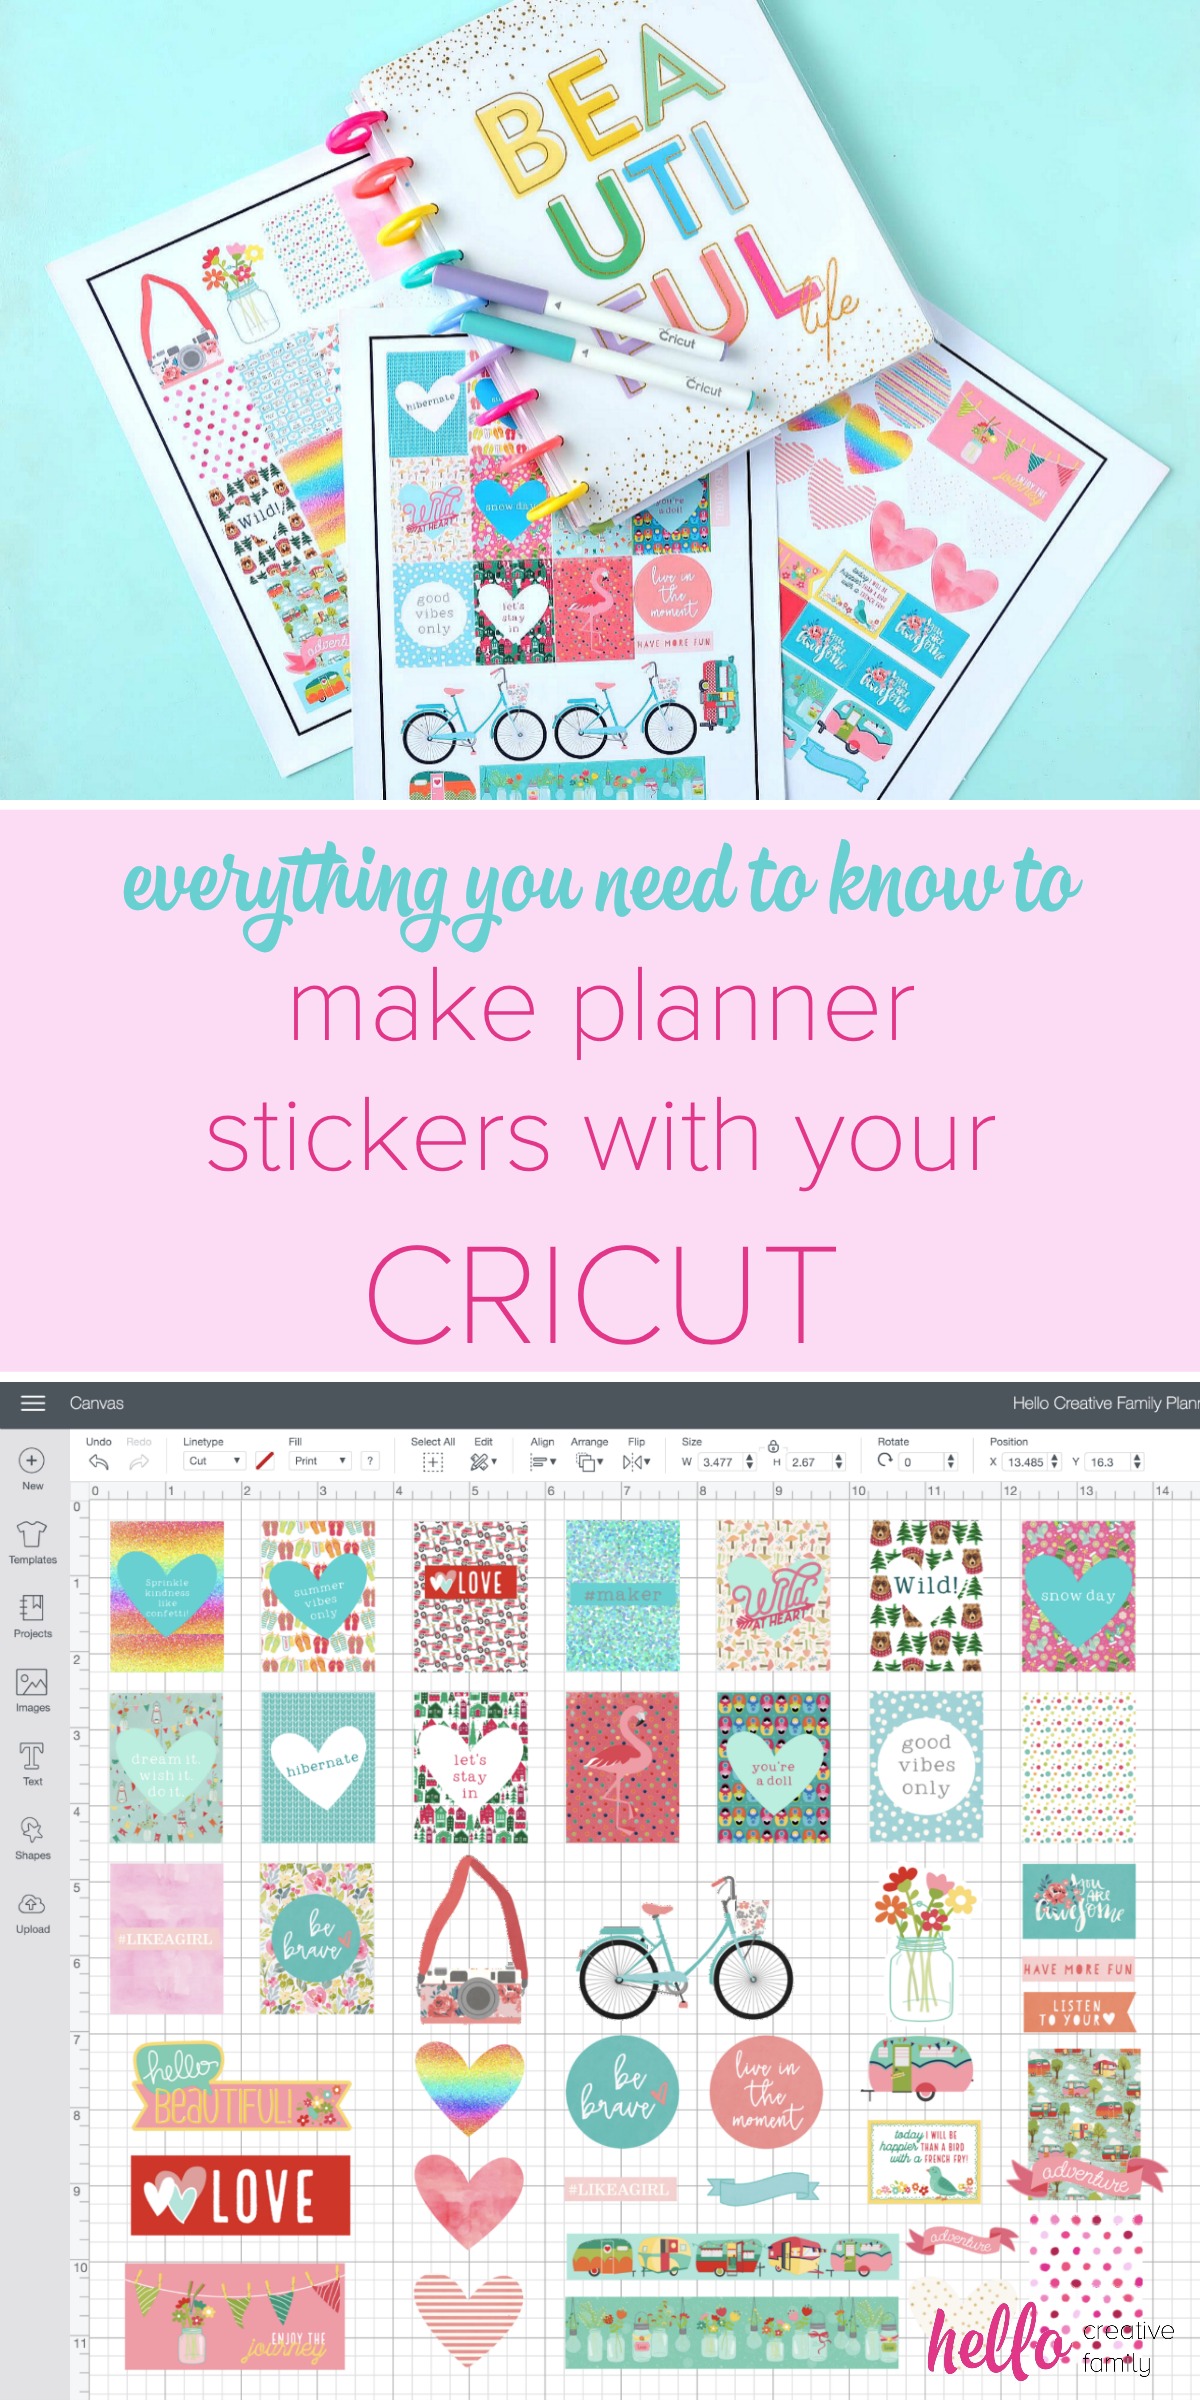
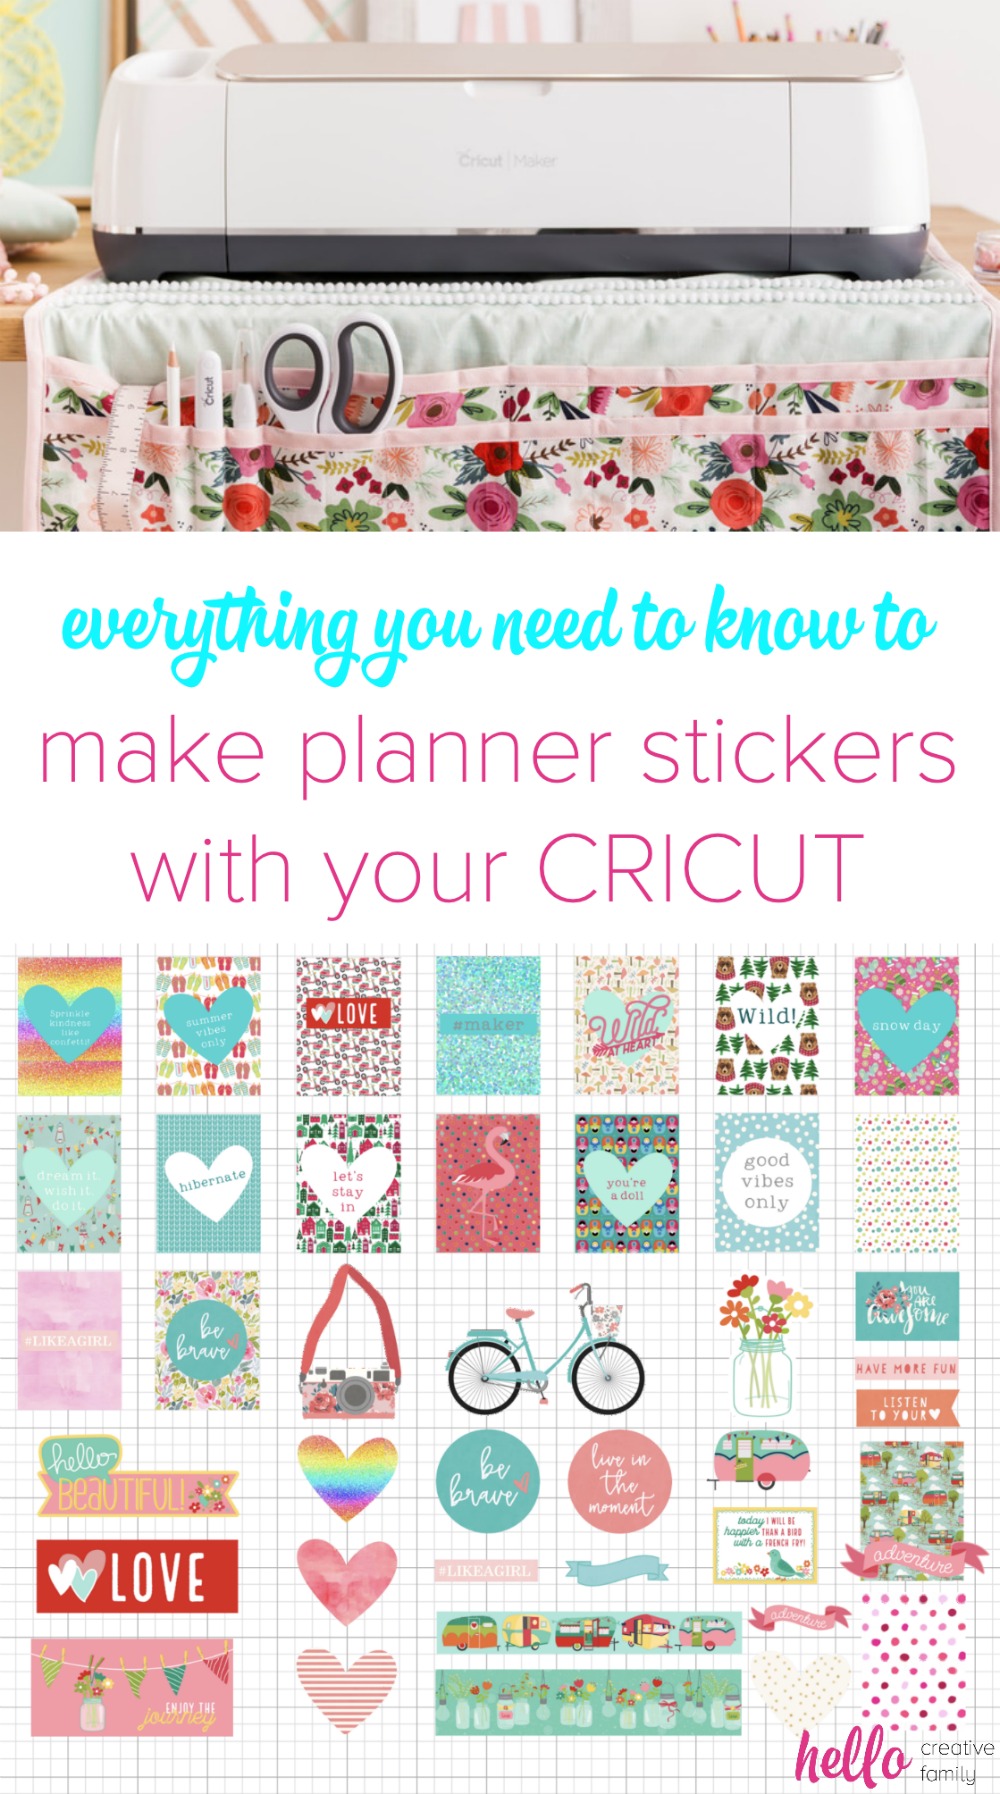
Love planners? Have a Cricut? We’re sharing everything you need to know to make DIY planner stickers with your Cricut in this step by step tutorial!

There was a time when I just couldn’t get into using a paper planner. I would buy one with the best of intentions to use it, stick with it for a couple of weeks or even a month, and then it would end up collecting dust on my desk. Then the Happy Planner came into my life. Not only was it a think of beauty, it was also practical. It was easy to add pages to and customize so that it was 100% my own. I remember my first Happy Planner was an 18 month planner that started in June. I got it in April and spent the two months until my planner started going down the “Happy Planner Rabbit Hole” looking on Pinterest and Instagram at all of the beautiful things that people do with their planners. Then June came around and I froze. I couldn’t get myself to write in it. All of the inspiration that I had seen for Happy Planners was SO BEAUTIFUL. It felt really, really intimidating to start writing in it… because I knew that I wouldn’t live up to the greatness.

It took me a good month to finally write in my planner for the first time. And here’s the truth… my planning is not gorgeous like all of the “instagram planners” I drool over. My planner itself is gorgeous (because Happy Planner makes GORGEOUS planners) but my weekly spreads are much more practical than beautiful. And honestly, I’m ok with that. It’s functional for me. I use it mostly to keep track of my daily “to dos” and it does that perfectly. This year I’m also trying something new where I use my Polaroid Zip Printer to print out 1 or 2 photo memories from the week to add to my planner. I love the idea of it being a memory keeper in addition to a planner.
Don’t laugh… but here’s an average week in my planner. Very practical but all the prettiness comes from the planner… and stickers.

Call me an 80’s baby… but I’m crazy for my stickers! I mean I LOVE them. When I was a kid I had multiple sticker books filled with puffy stickers, scratch and sniff stickers, googly eyed stickers and more. I would spend hours organizing them, flipping through them and thinking about what stickers I needed to find to add to my collection. I never USED my stickers, I just collected them.
I feel like this mentality has transferred to my adult sticker love too. I could spend hours looking at stickers at the craft store, but when it comes time to take the stickers out of the book and put it onto my planner page I freeze. I almost get a hoarder mentality and since there is usually only one or two of each sticker of each design I feel like I have to wait for a special occasion to use my favorite stickers.
That’s why I LOVE making my own DIY planner stickers, and having a Cricut and Cricut Access makes that process SO EASY. There’s no need to hoard stickers when you make your own, because you can always make more!
Today I’m going to walk you through how to make custom DIY planner stickers using your Cricut. I love using the print and cut function in Cricut Design Space and have recently discovered the patterns section in Design Space and am OBSESSED! Ready to get started? Read on!
[hr gap=”30″]Everything You Need To Know- How to Make Gorgeous Custom DIY Planner Stickers Using Your Cricut[hr gap=”30″]

Materials:
–Cricut Maker or Cricut Explore (prefer shopping on Amazon? Find the Cricut Maker here and the Cricut Explore here.)
–Cricut Printable Vinyl (you could also use Cricut Printable Sticker Paper, but I find that the sticker paper is a lot thicker than the vinyl. I love how easy the vinyl is to reposition if you don’t put it in your planner exactly right too. Prefer shopping on Amazon? Find Printable Vinyl here.)
If you would like my cut files for printing the stickers that are shown in the photos you can find them here.
Step 1: Open Cricut Design Space. Start playing. LOL. Sounds silly but that’s my favorite way to make stickers. To just get into Cricut Design Space and start playing. Follow the next steps for the basics that you need to know when creating DIY Planner Stickers though.
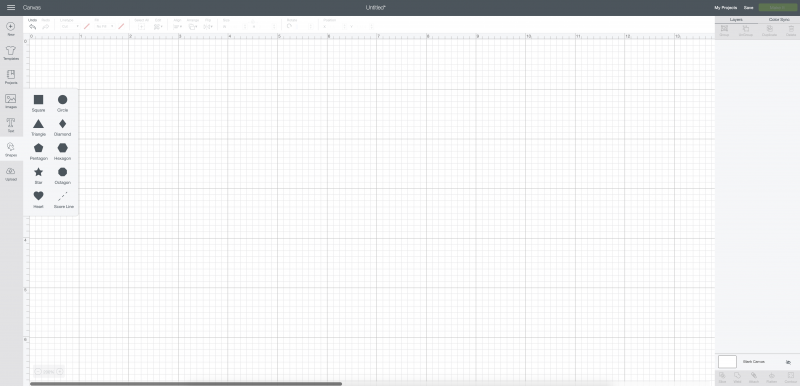
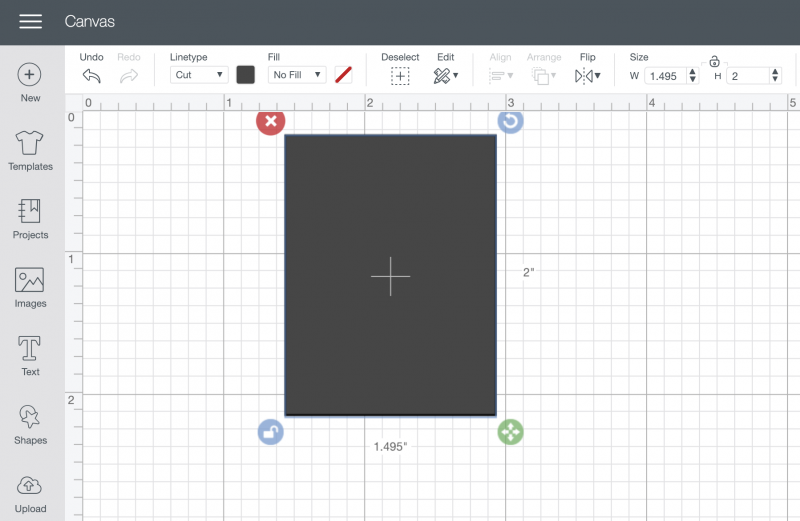
Step 2: Pick a shape. You can do this from the shapes button on the left hand side of your tool bar. I decided to start with rectangles that fit the top boxes for each day on my weekly spreads, so I made them 1.49″ x 2″. To do this, select a square from the shapes section. Press the lock button to unlock the dimensions and either use the arrows to size it to your desired size or use the size boxes in the top toolbar.
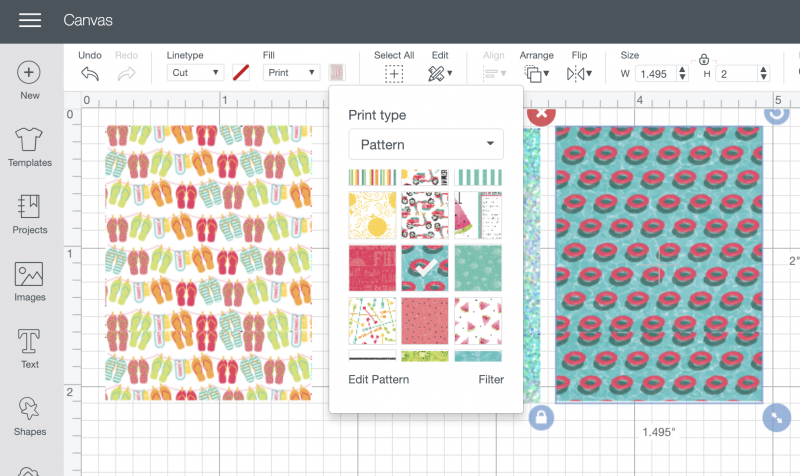
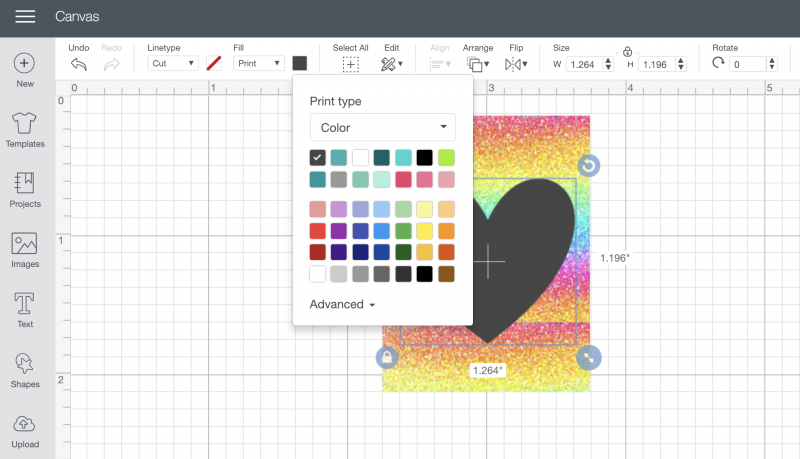
Step 3: Click on the fill box in the top toolbar. Select print.
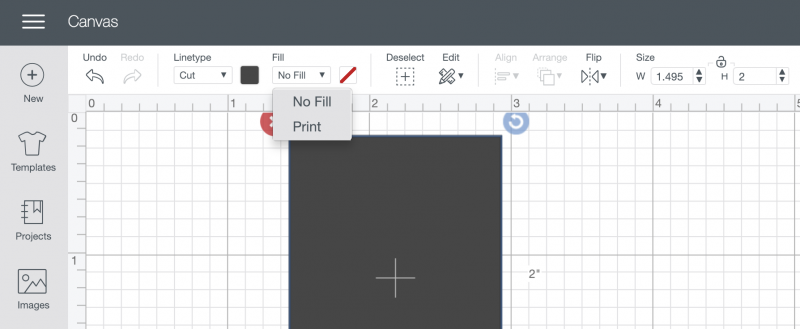
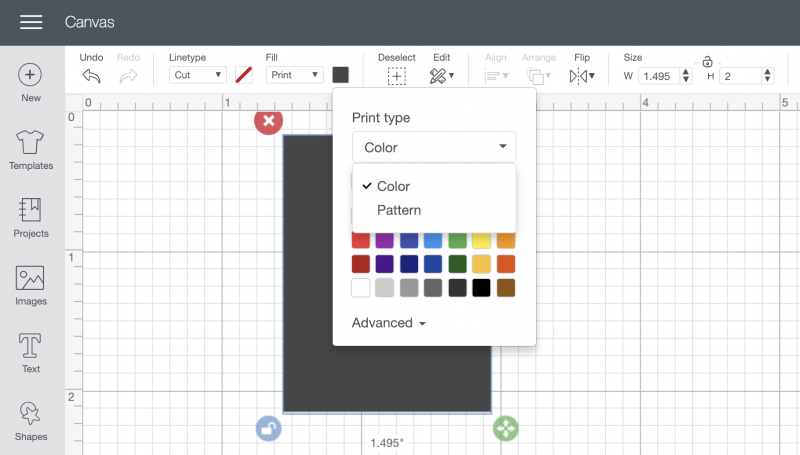
A box will pop up with the options of using color or pattern. You can do either, but I’m going to share what happens when you select pattern.
When you select pattern a box will pop up with a bunch of different pattern options. Pick your favorite.
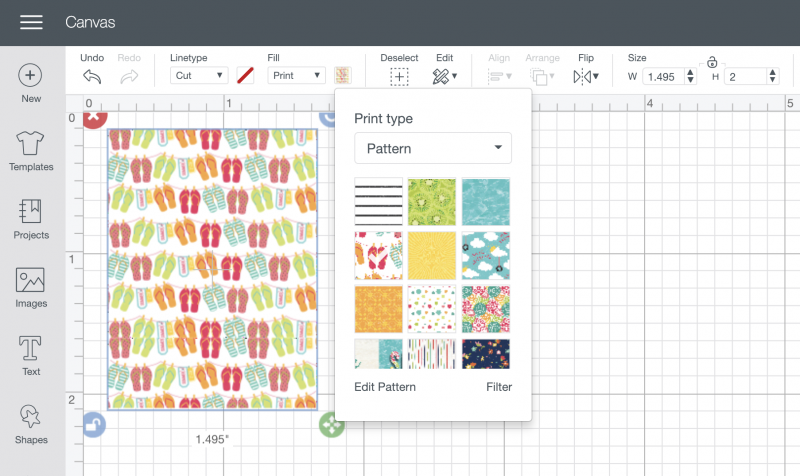
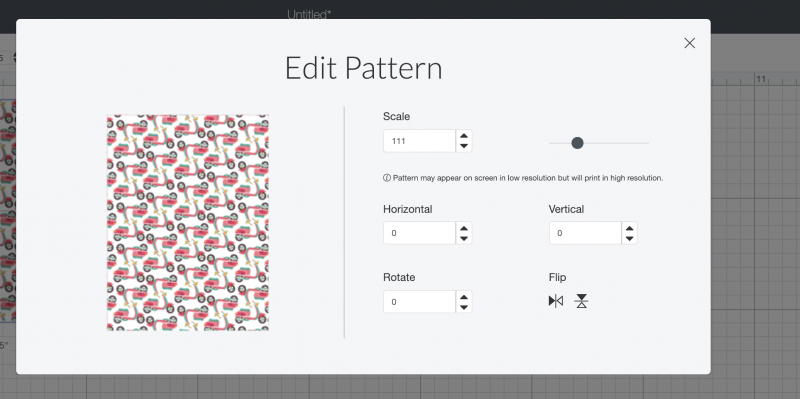
If the print is too small and you would like it to be bigger on your sticker click the Edit Pattern button which is at the bottom of the print type box. Play with the scale until it gets to your desired size.
Repeat this process until you have stickers in all the designs that you would like.
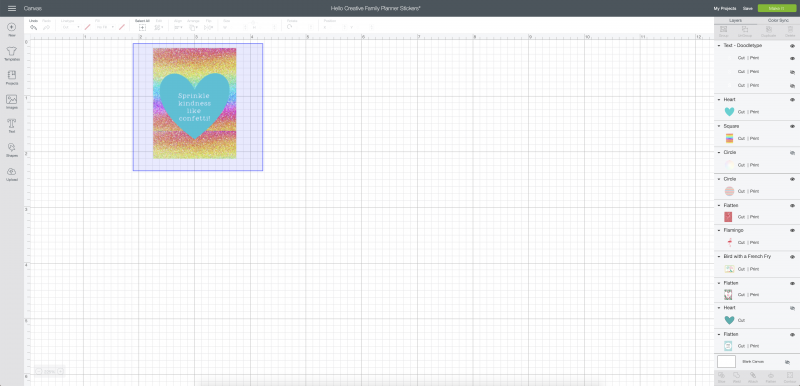
Step 4: Now you might like to add an overlay and some words to your stickers. In my books this is where the real fun kicks in and you can let your creativity soar. Pick what shape you would like for your sticker overlay. In this case I chose a heart from the shapes menu, though you can also choose shapes from the images section. I love looking up different label shapes and using them for overlays.
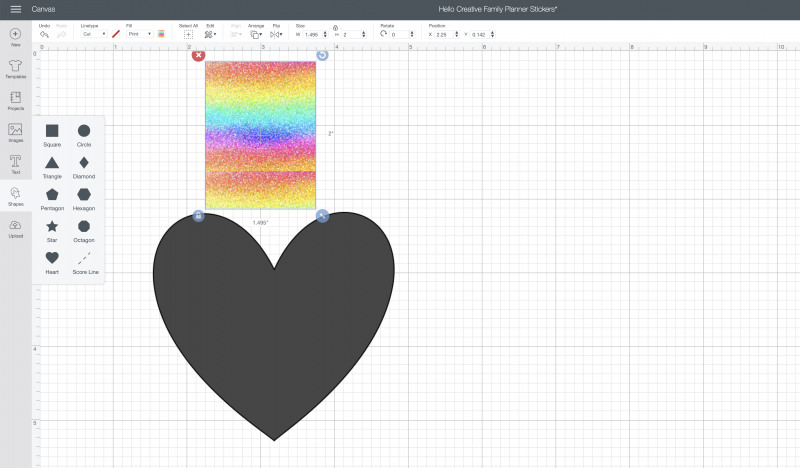
Click on your shape (in this case the heart) and use the arrow button in the corner to resize the shape to the size you would like it for your planner sticker.
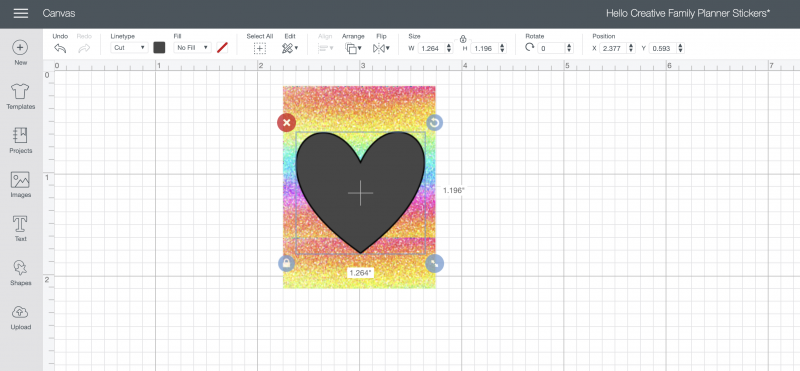
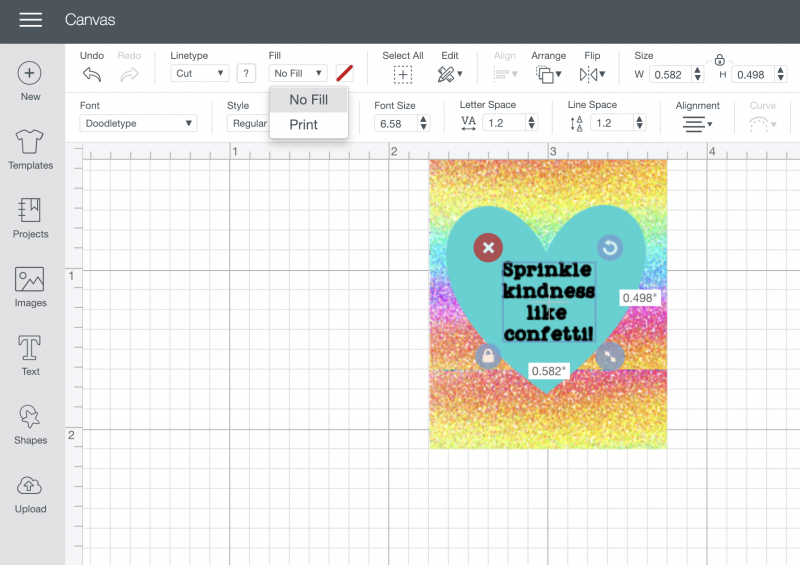
With your heart selected click on the “fill” button in the top toolbar and select print.
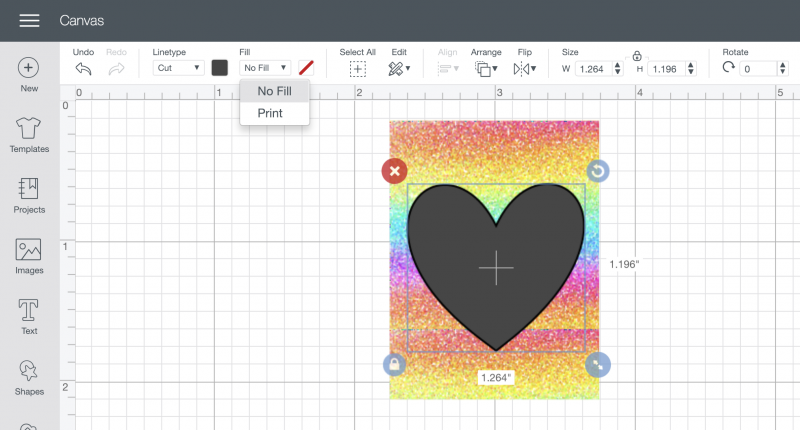
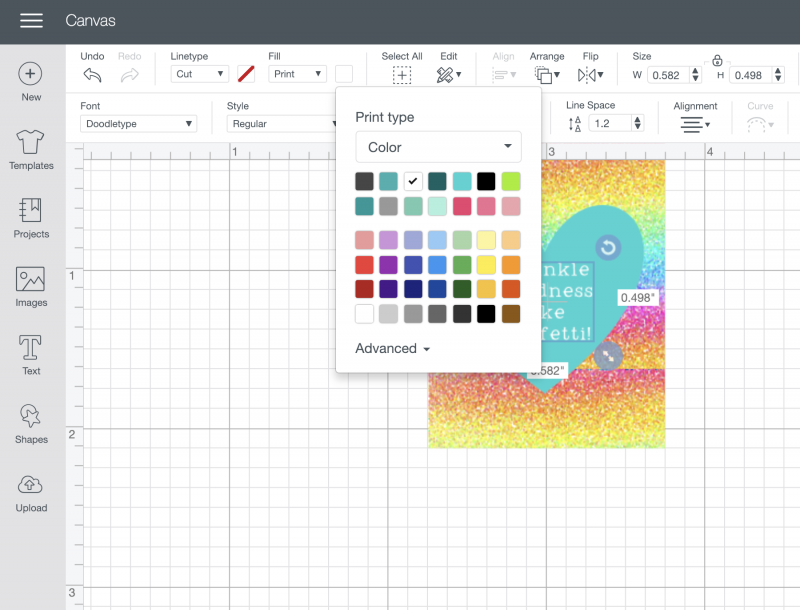
Click on the little colored box next to the fill box and pick a color that you would like for your heart to be (alternatively you can also click the drop down box and pick another pattern).
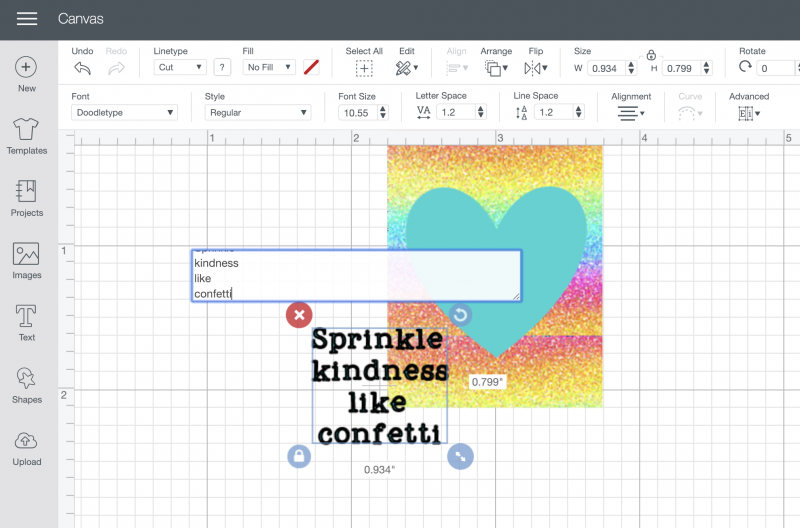
Next you’ll probably want to add words. Click on the text button in the left hand toolbar. Type in the words that you would like on your sticker (I used Doodletype for my font) and use the arrow to size the text to the size you want it. You may also want to center the text which you can do in the second line of the top toolbar near the right hand side.
With your text selected, click the fill box in the top toolbar.
Select print and then click the small square next to the fill box and select the color that you want your text to be.
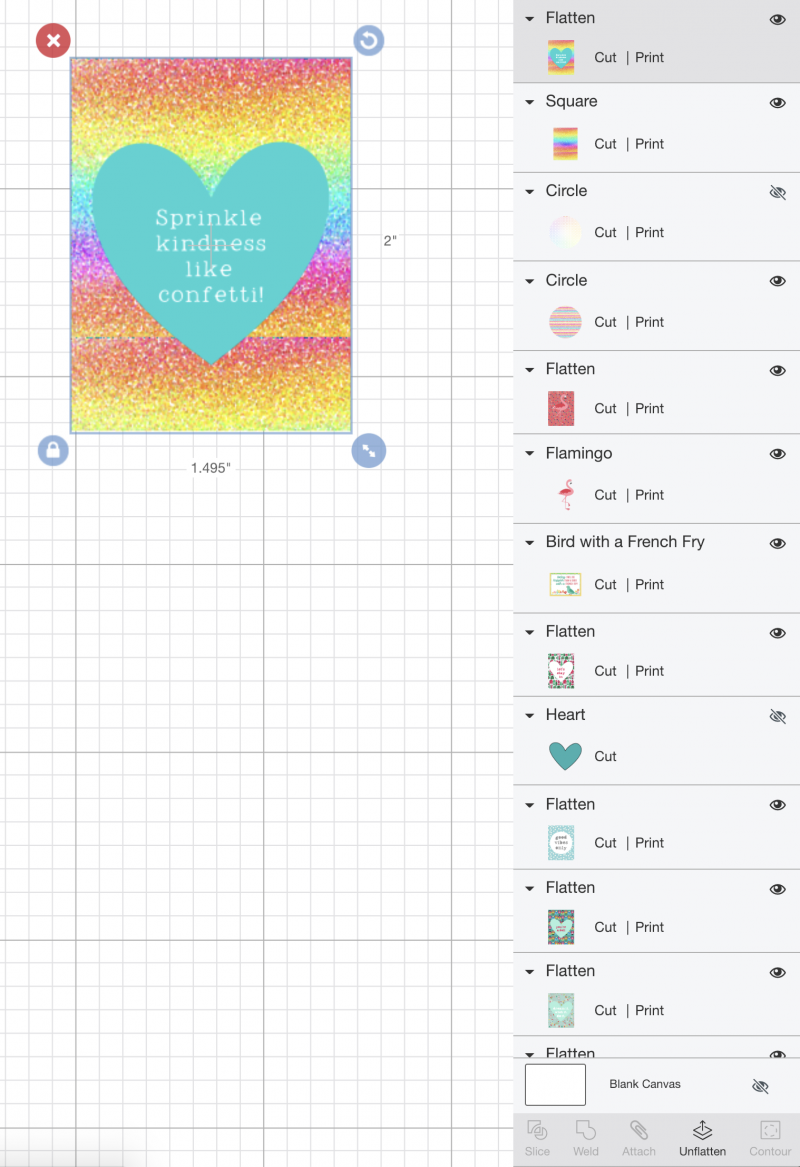
Get all 3 pieces (rectangle, heart and text) aligned the way you want them to be (you can do this by hand or by using the align box in the top toolbar. Then you are onto the final step which will make this print and cut as one piece instead of as three individual pieces. YOU DO NOT WANT TO MISS THIS STEP!!! 🙂 Make sure you have all three pieces selected (you can do this easily by clicking just outside of your design and holding down your mouse and dragging it creating a blue box that surrounds your design and selects all the pieces. See below photo.)
Then click the flatten button in the bottom right hand side toolbar. This is what is going to tell Design Space to send this design to your printer and then to have the Cricut cut out around your rectangle. Once you have done this your sticker will show up saying Flattened with “Cut | Print” next to it in your design bar. And where it said Flatten it will now say Unflatten. If you decide you would like to add anything to your design you can click Unflatten, add to it and then Flatten it again.
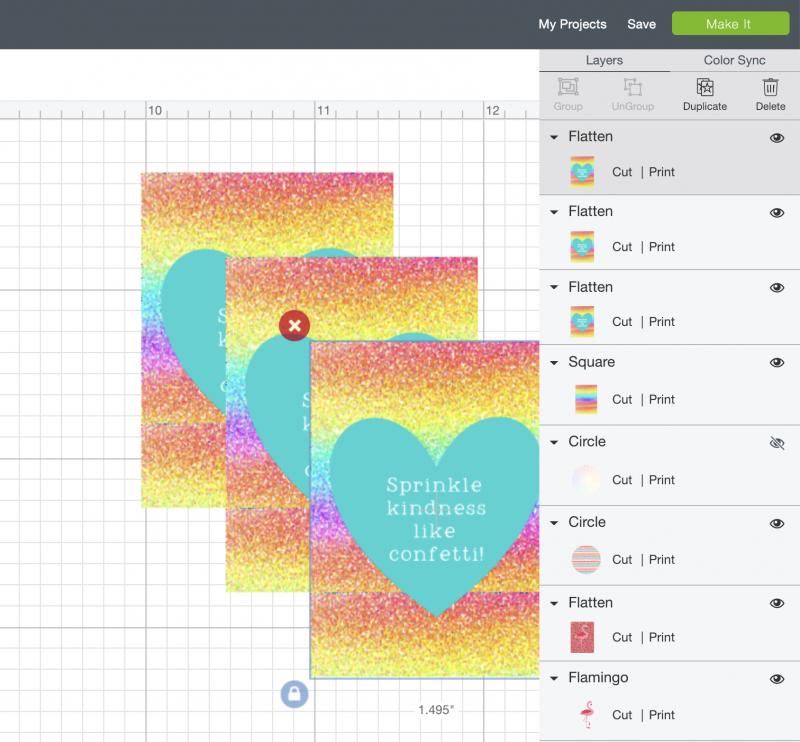
If you would like multiples of this same sticker you can click the duplicate button in the upper right hand side toolbar.
That’s everything you need to know to design your DIY planner stickers! The most important thing to remember is that every time you want to change a design to be print and cut just select it and then press the flatten button and it will change it to print and cut.
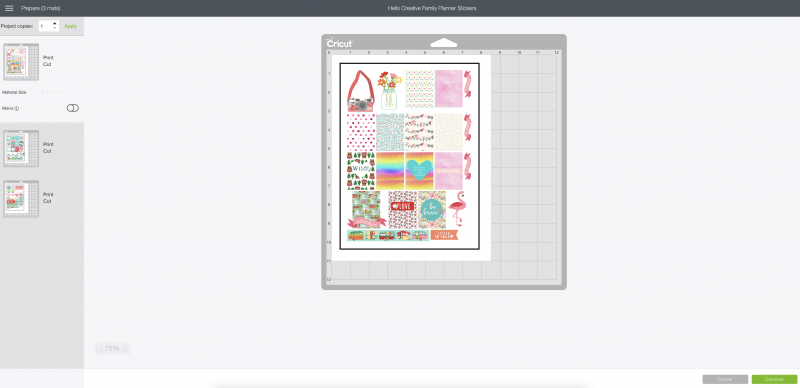
Step 5: Ready to bring your DIY planner stickers from the screen to real life? Click the green Make It Button in the upper right hand corner.
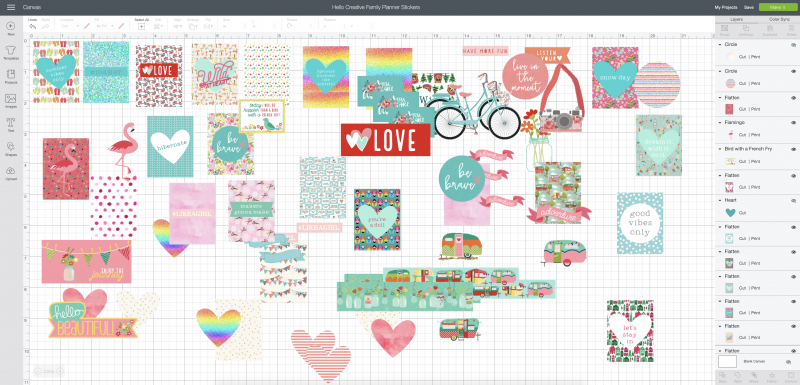
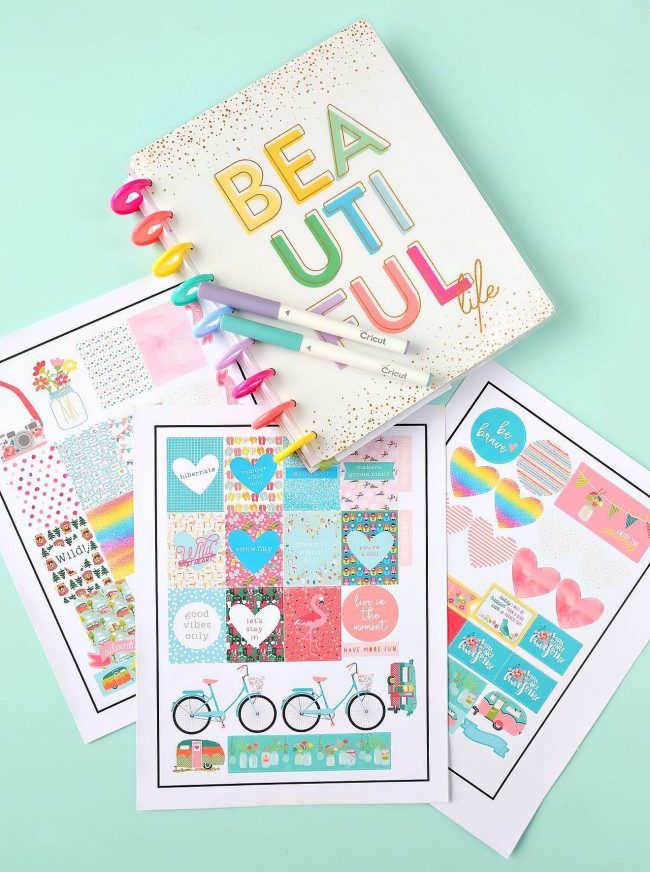
Take a look at how your stickers are laid out on the sheet. Sometimes if it looks like I can fit more stickers in I’ll go back and duplicate a couple of my designs and then click Make It again to see how the pages look and then go back and delete or add as necessary to get the most stickers out of each page. The designs in my sticker design file fill 3 printable vinyl pages. When you are satisfied click Continue.
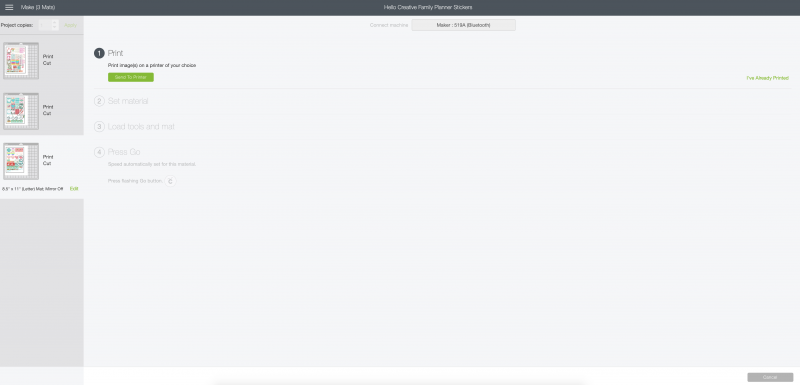
Select your Cricut from the drop down menu and then send your design to the printer.
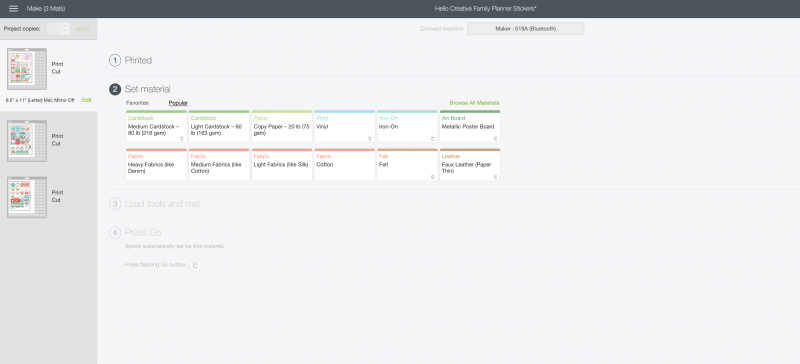
Once printed, select your material from the material options. To do this I clicked Browse All Materials and picked Printable Vinyl.
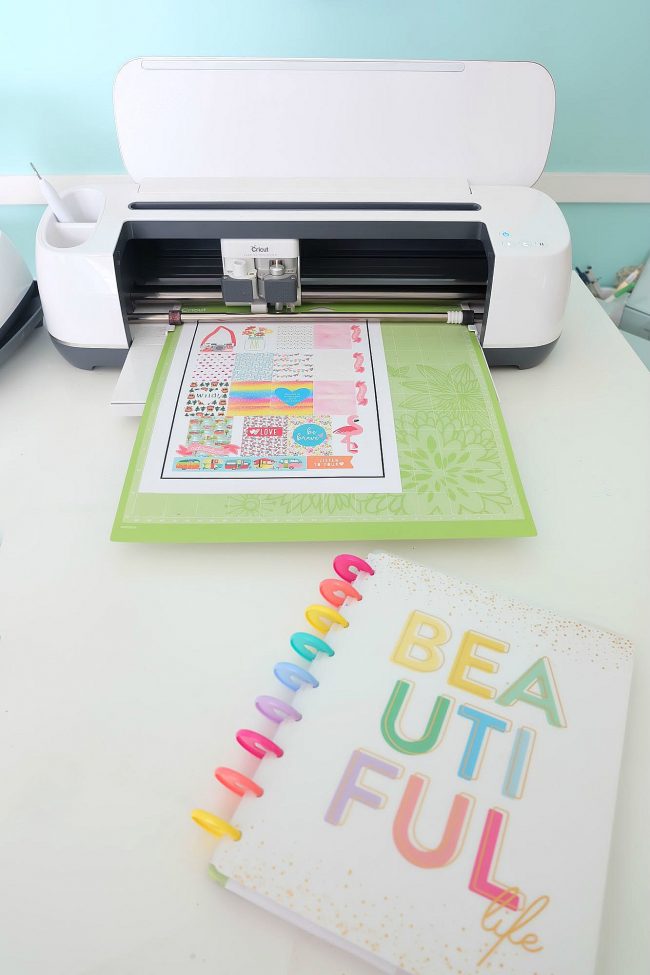
Grab your page from the printer and load it on your cutting mat. Load your mat into the machine using the arrow button on your machine and then press the flashing Cricut C.
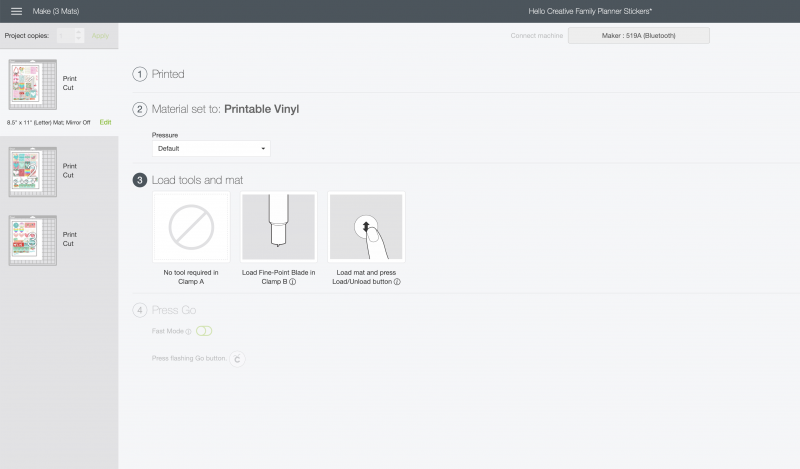
Your machine will do the rest! Cutting all of your beautiful stickers for you!
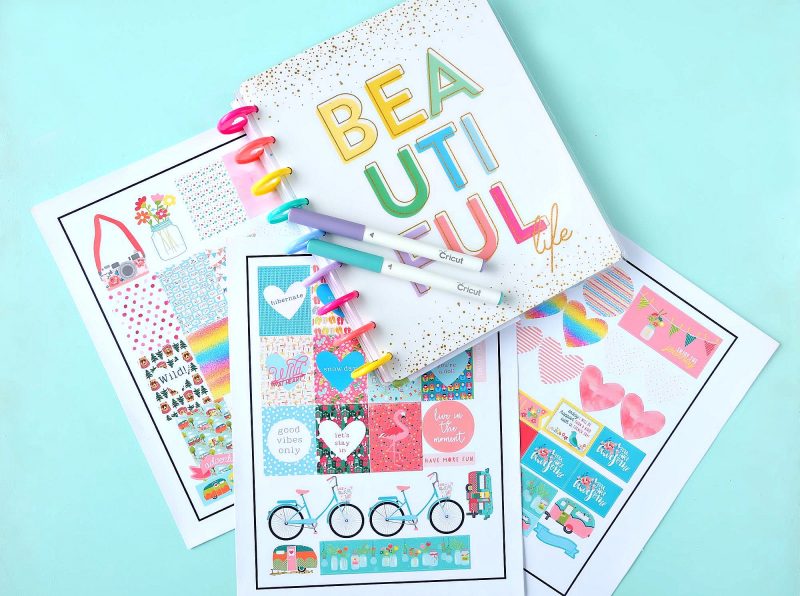
Voila! You have beautiful DIY planner stickers! Now all you have to do is figure out where in your planner you are going to put them! If you would like my cut files for printing the stickers that are shown in the photos you can find them here.
I hope this tutorial is a lot of help to you and helps you create beautiful things. Please let me know what other in depth Cricut tutorials you would like to see on Hello Creative Family!
[hr gap=”30″]Tell me… Do you have a planner? What kind of planner do you use? Have you ever DIY’d planner stickers before?[hr gap=”30″]
Like this post? We’d love for you to pin it for later!
We think you might also like these other planner posts!
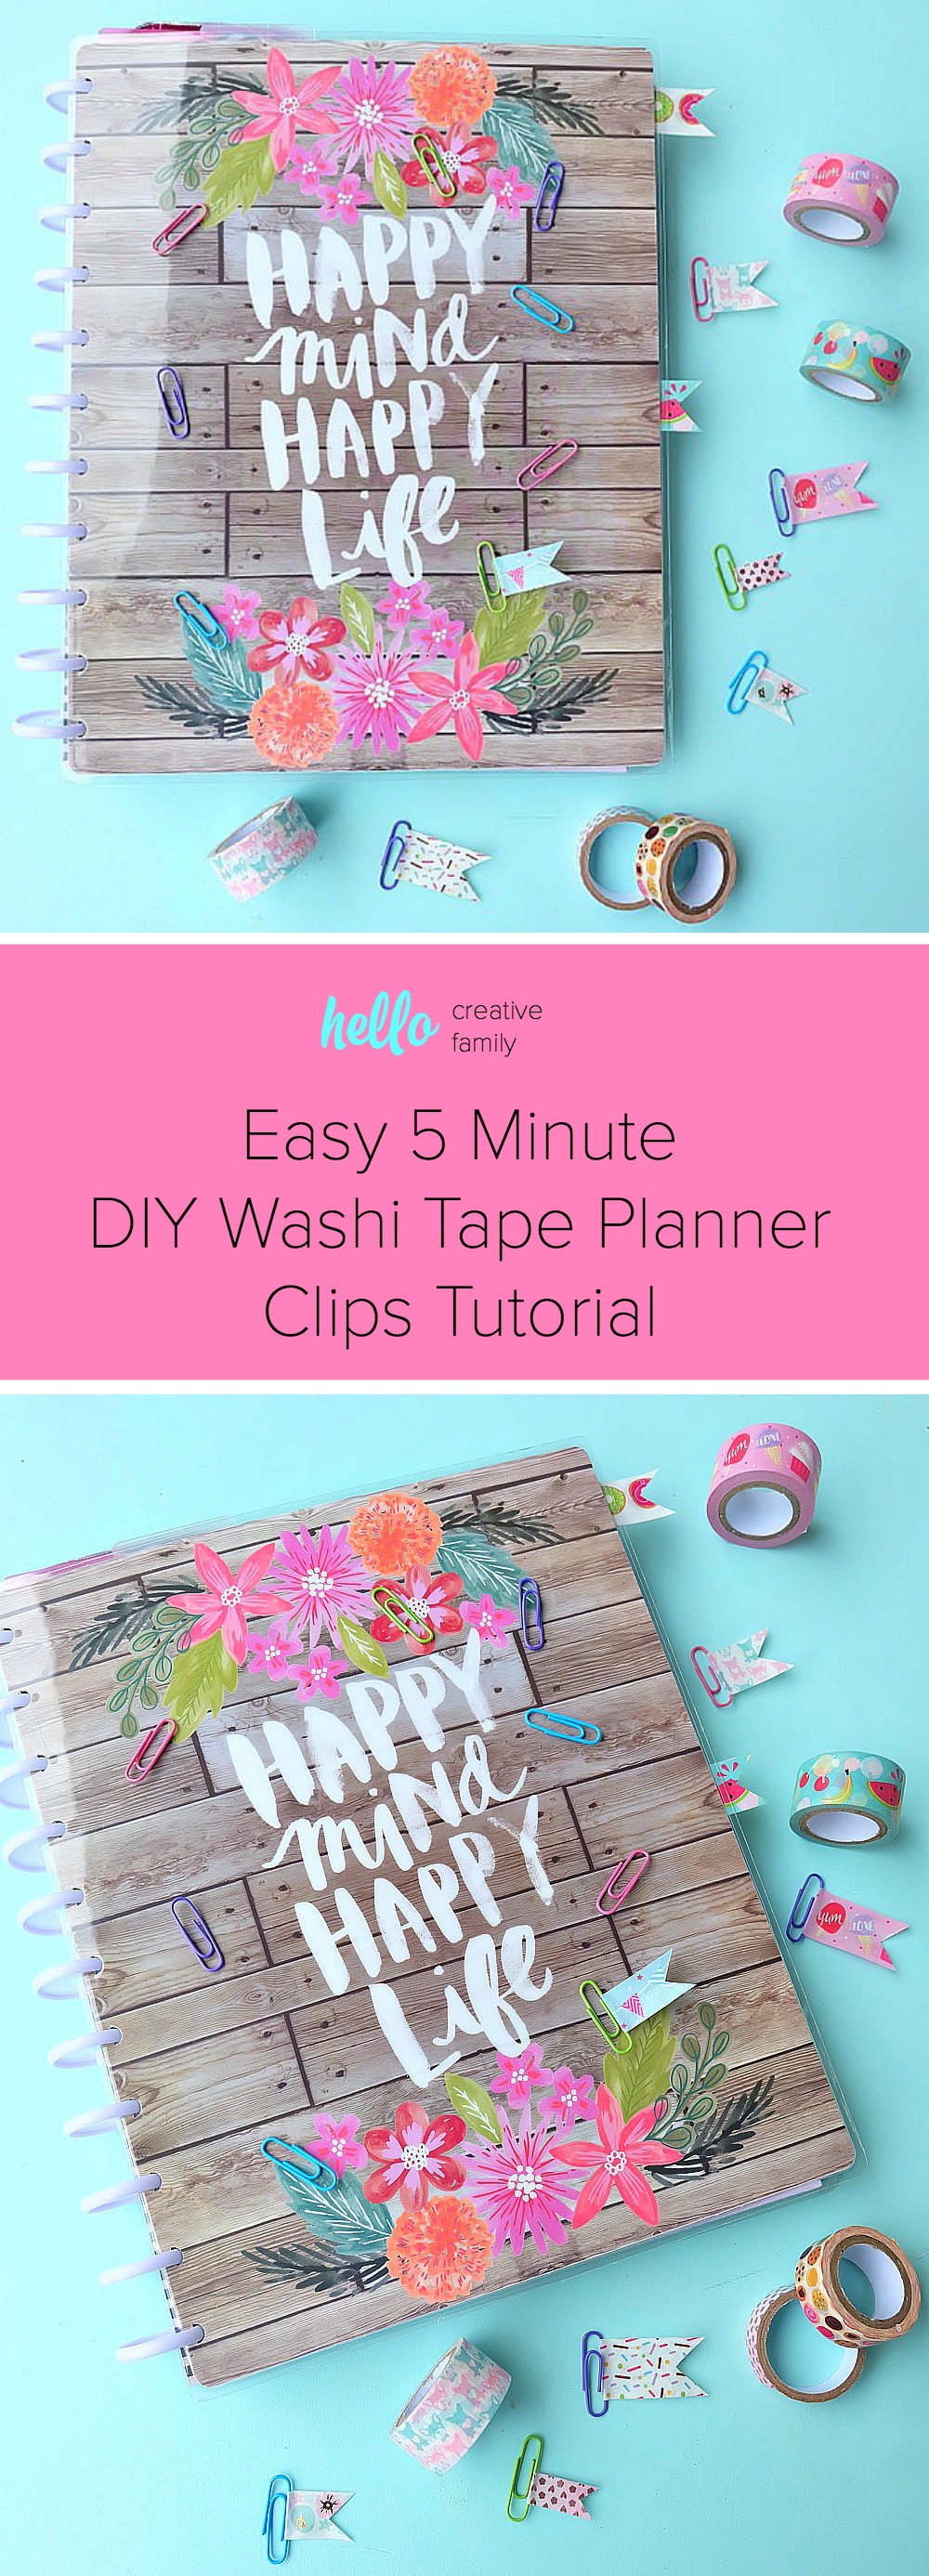
5 Minute Washi Tape Planner Clips
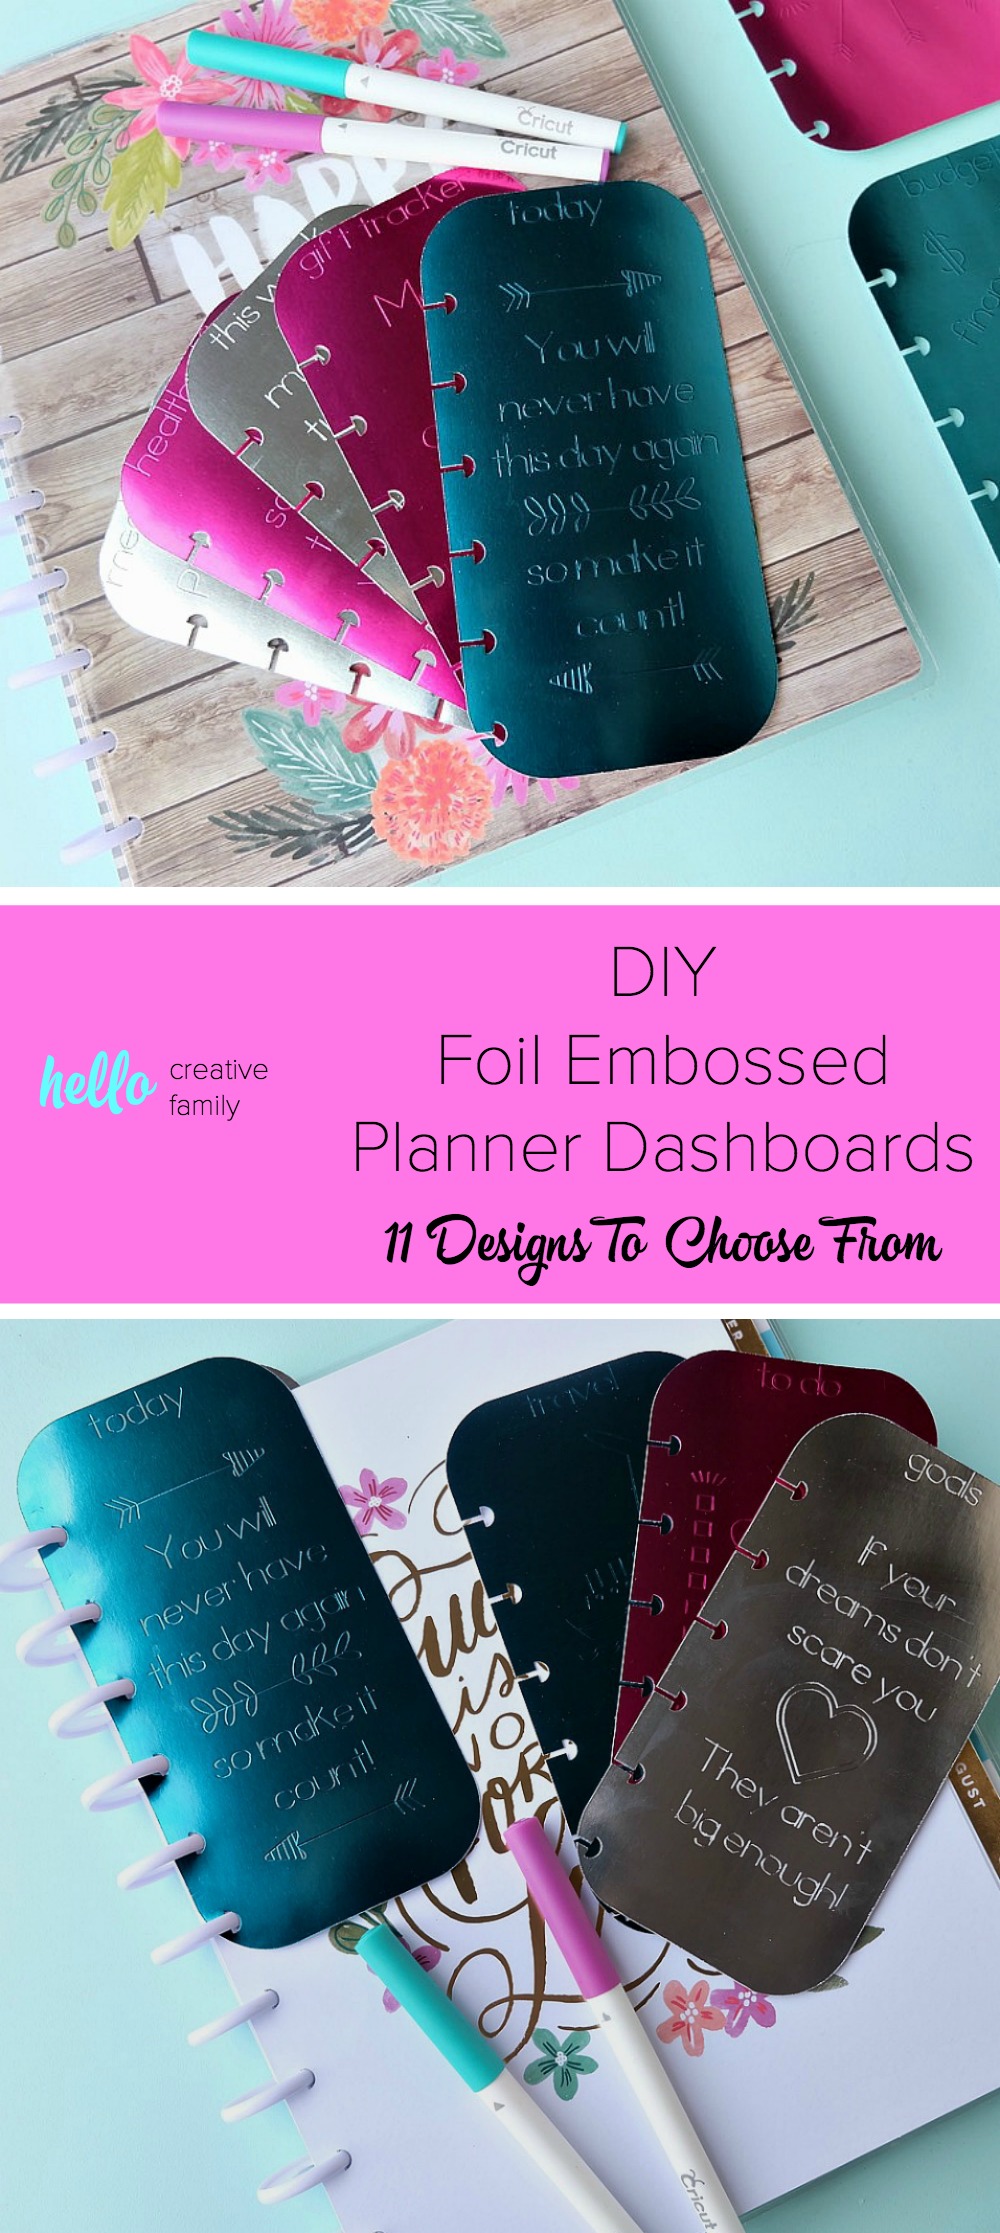
DIY Foil Embossed Planner Dashboards
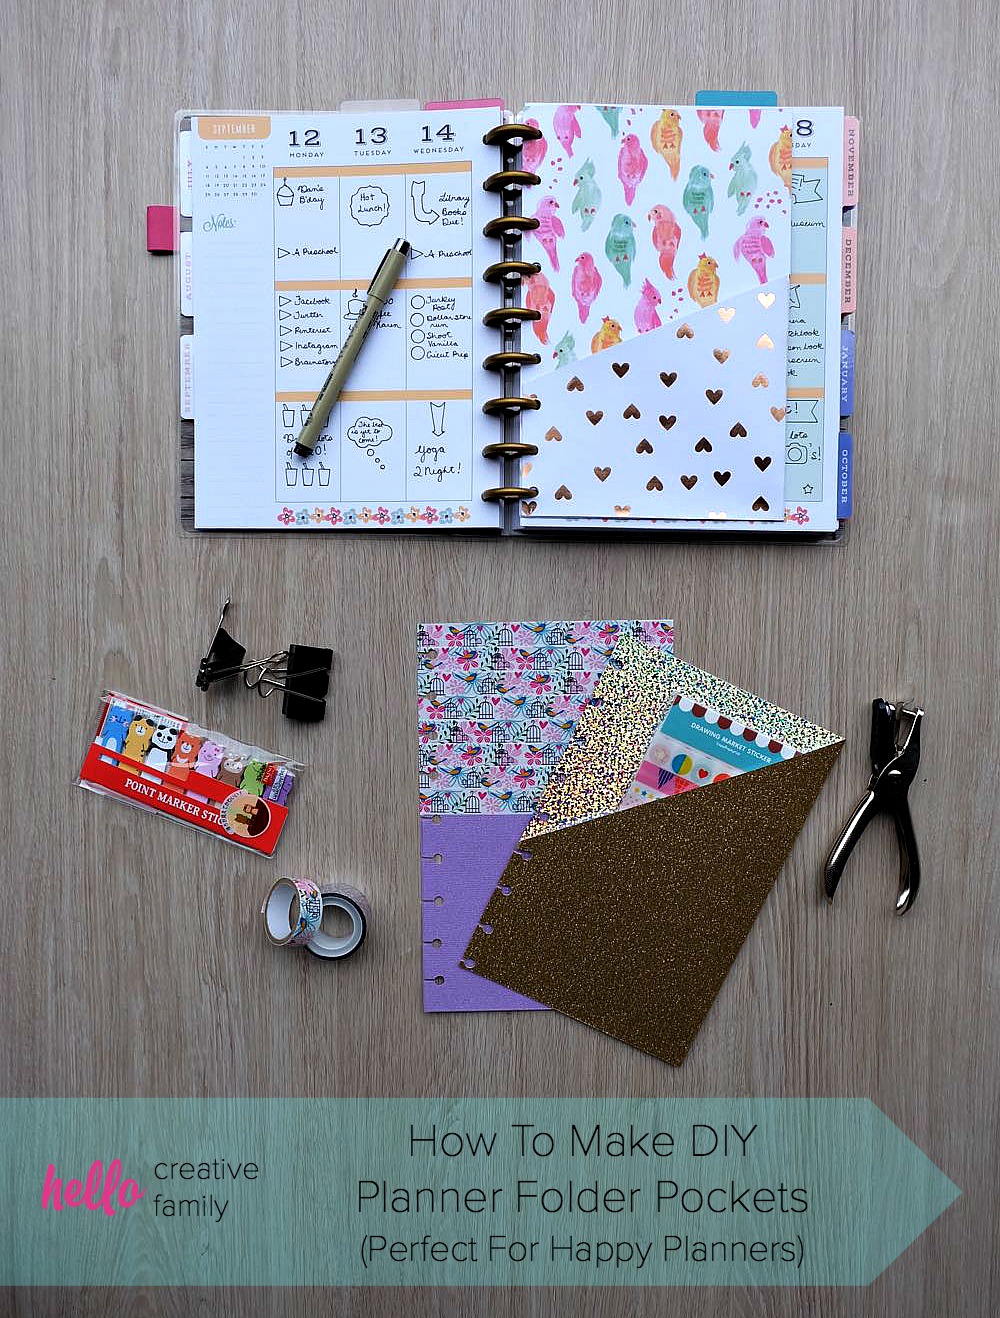
How To Make Planner Folder Pockets


I love my Happy Planner too, and I am obsessed with stickers. I am still deciding between a Cricut and a Silhouette. I think I’ll probably go with Cricut though because it looks like it’s better for designing. I really want to get to the point where I’m making my own stickers. But I struggle with making things pretty too, and I rely very heavily on the prettiness of the Happy Planner and other sticker collections that I’ve acquired.
Hi Ani,
Thank you so much for visiting! I LOVE my Cricut. I find that it is very user friendly and intuitive. I watched a few YouTube videos while I waited for it to arrive and was able to start using it within minutes of unboxing it. I’ve definitely come a long way in the past 4 years with how I’m able to use Cricut Design Space to design, but planner stickers are super simple to make! Please let me know if you ever have any Cricut questions. I love chatting about Cricut!
Best Wishes,
Crystal
Hello! I am having trouble when I go to cut the stickers. My cricut maker wants to cut out each letter and or whole that is on the sticker. Does anyone know how to stop this?
Thank you!
Hi Misty,
Thank you for visiting and for your question. Are you finding this on the cut file that I shared or your own cut file? Each sticker should be flattened so that it cuts around the sticker not around each letter. I just double checked my file and each sticker is flattened when I view it. Let me know if you mean my file or yours. Either way though you want to select each component of the sticker and then press the flatten button.
Best Wishes,
Crystal
This is a great tutorial, thank you! I’d also like to make mini planner stickers (eg little dots and icons) with my Cricut but find the software gets slower and slower as the number of items increases, until it’s just unusable. I’ve also tried designing in Illustrator and importing but gave the same problem. Do you have any tips for making sheets of small stickers, or suggestions for the most efficient workflow for sticker design? Thanks!
Hi Laura,
Great question. One thing that I’ve started doing with my stickers is creating them in Procreate on my ipad. I’ll create a whole 8.5X11 sheet of them and then remove the background and save as a PNG. Then I import it as a print and cut file into Design Space. If you find it’s going slow you can do each page as it’s own project in Cricut. I did 3 pages of images like that last night and didn’t experience any slowdown. Let me know if you have any questions.
Best Wishes,
Crystal
Hi, just curious on how you print and cut full 8 1/2 by 11 sheets of these stickers? I thought Cricut Design Space was only able to print and cut 6.75 by 9.25 (or something like that). Unfortunately that way wastes a good chunk of my sticker paper. 😬 I would love to be able to do it this way!
Hi Bren,
Great question. All of my stickers are individual stickers (as opposed to being one design with all the stickers in one design). Design Space fits as many stickers as it possibly can into the 6.75X9.25 box, but then it needs the black box around it for the Cricut to be able to scan and know where to cut. So what you are seeing is a 6.75 by 9.25 area of stickers, printed onto the 8.5X11 printable vinyl. As you can see you can get a lot of stickers into that Print and Cut box so I still feel like it’s a pretty good value for the money. I hope this helps!
Best Wishes,
Crystal
Thank you for such a great tutorial! I just started with all the planner stuff and I love that I can make my own stickers!!
I am having trouble cutting your file. when i go to “make it” my screen loads and at the top it has a yellow banner that says “This item is not for sale “Doodletype font””
Hi Samantha,
I’m so sorry about this. It looks like one of the Design Space fonts I used is no longer available I will look into trying to get this fixed.
Best Wishes,
Crystal
I wish you had a printable version of the instructions to refer to when you are working on a project.
I just subscribed to your list. Can’t wait to read more
Thank you so much for visiting LW and for that feedback! I have actually started doing that on my newer posts and hope to one day go back through all the old posts and add a printing option. I just wish there were more hours in the day! Thank you so much for subscribing! I hope that the site inspires you to create beautiful things.
Best Wishes,
Crystal