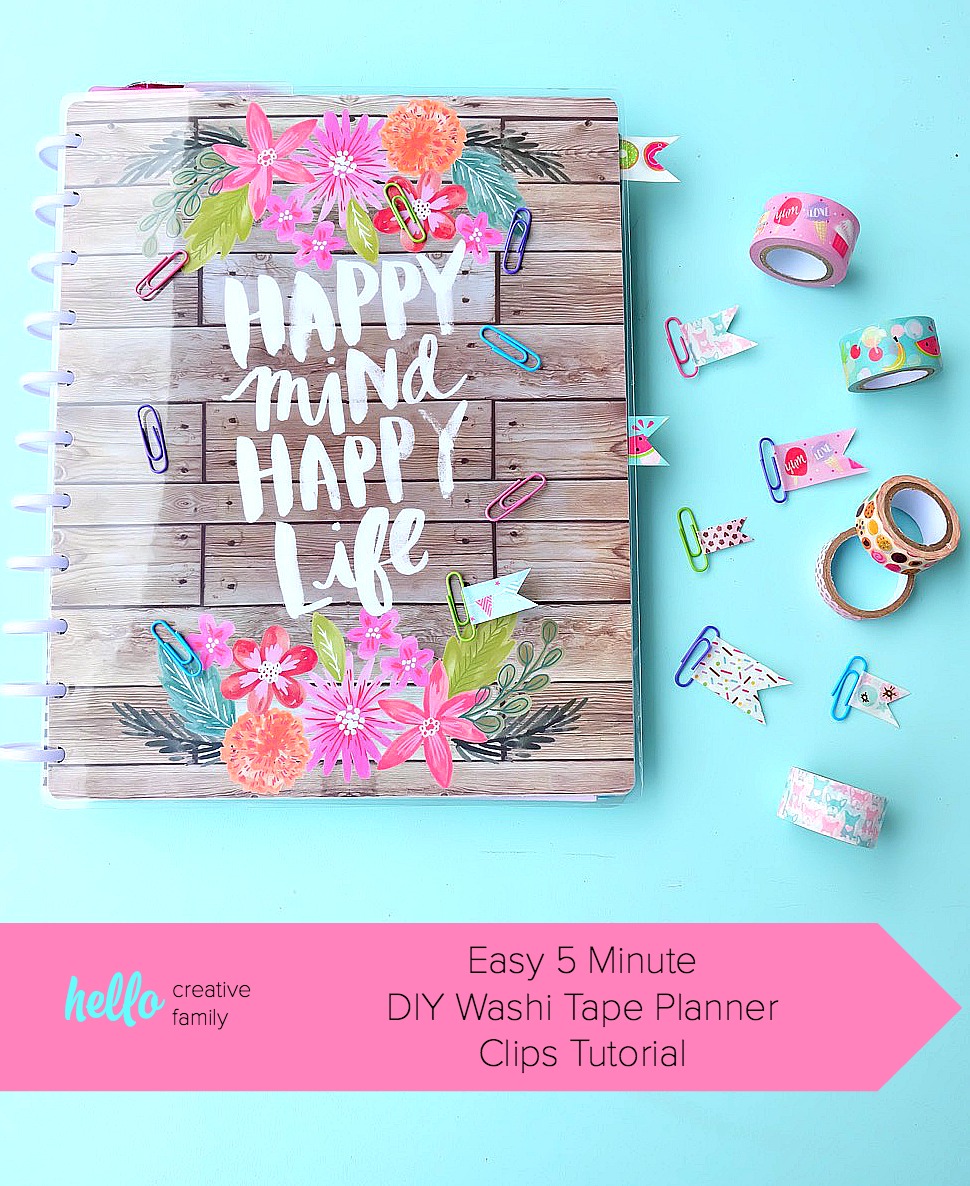
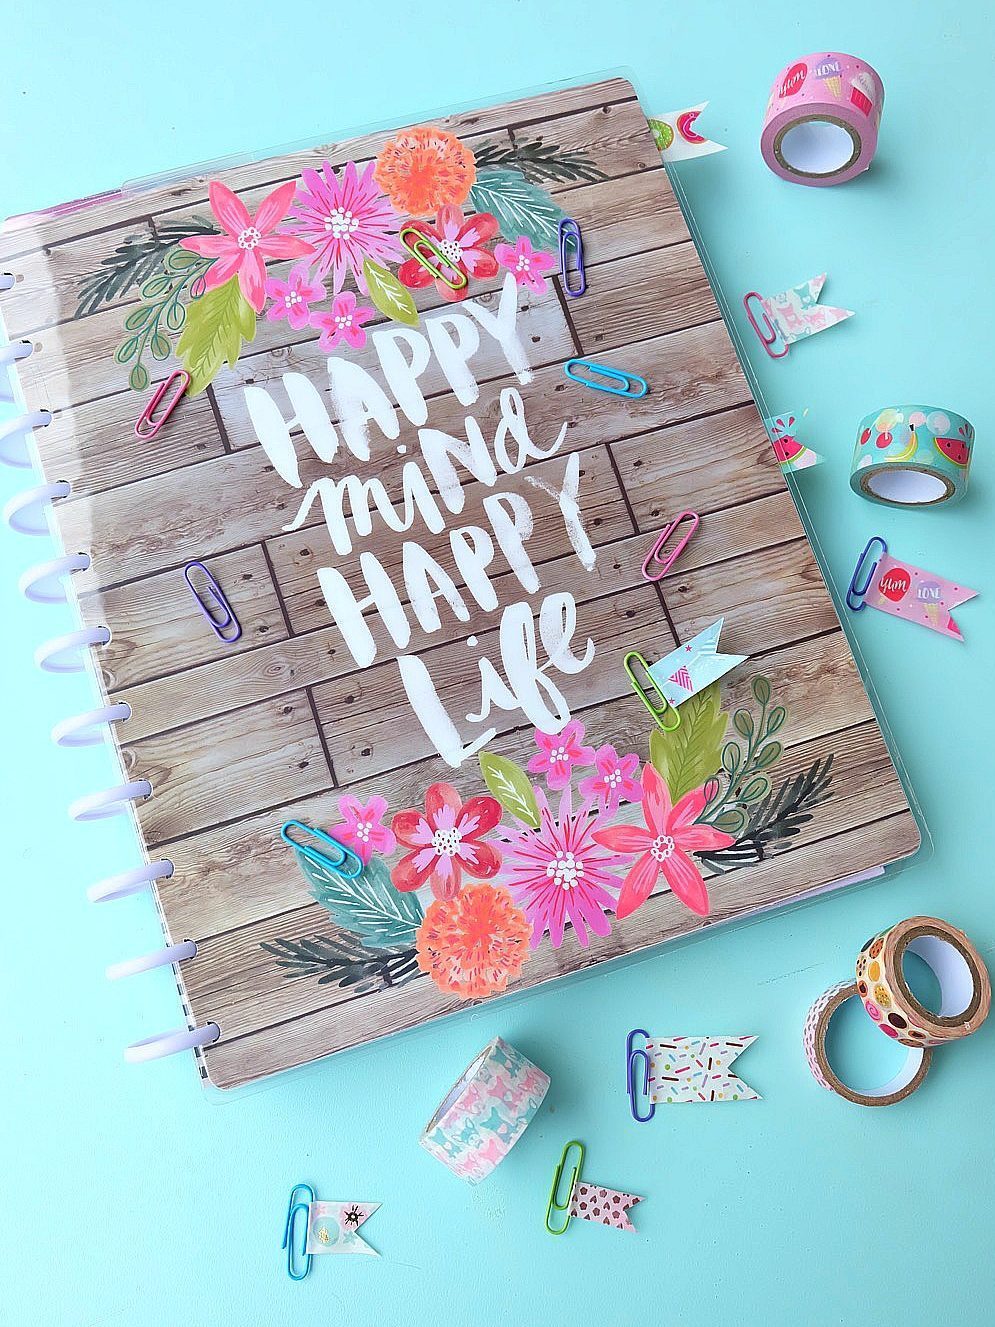
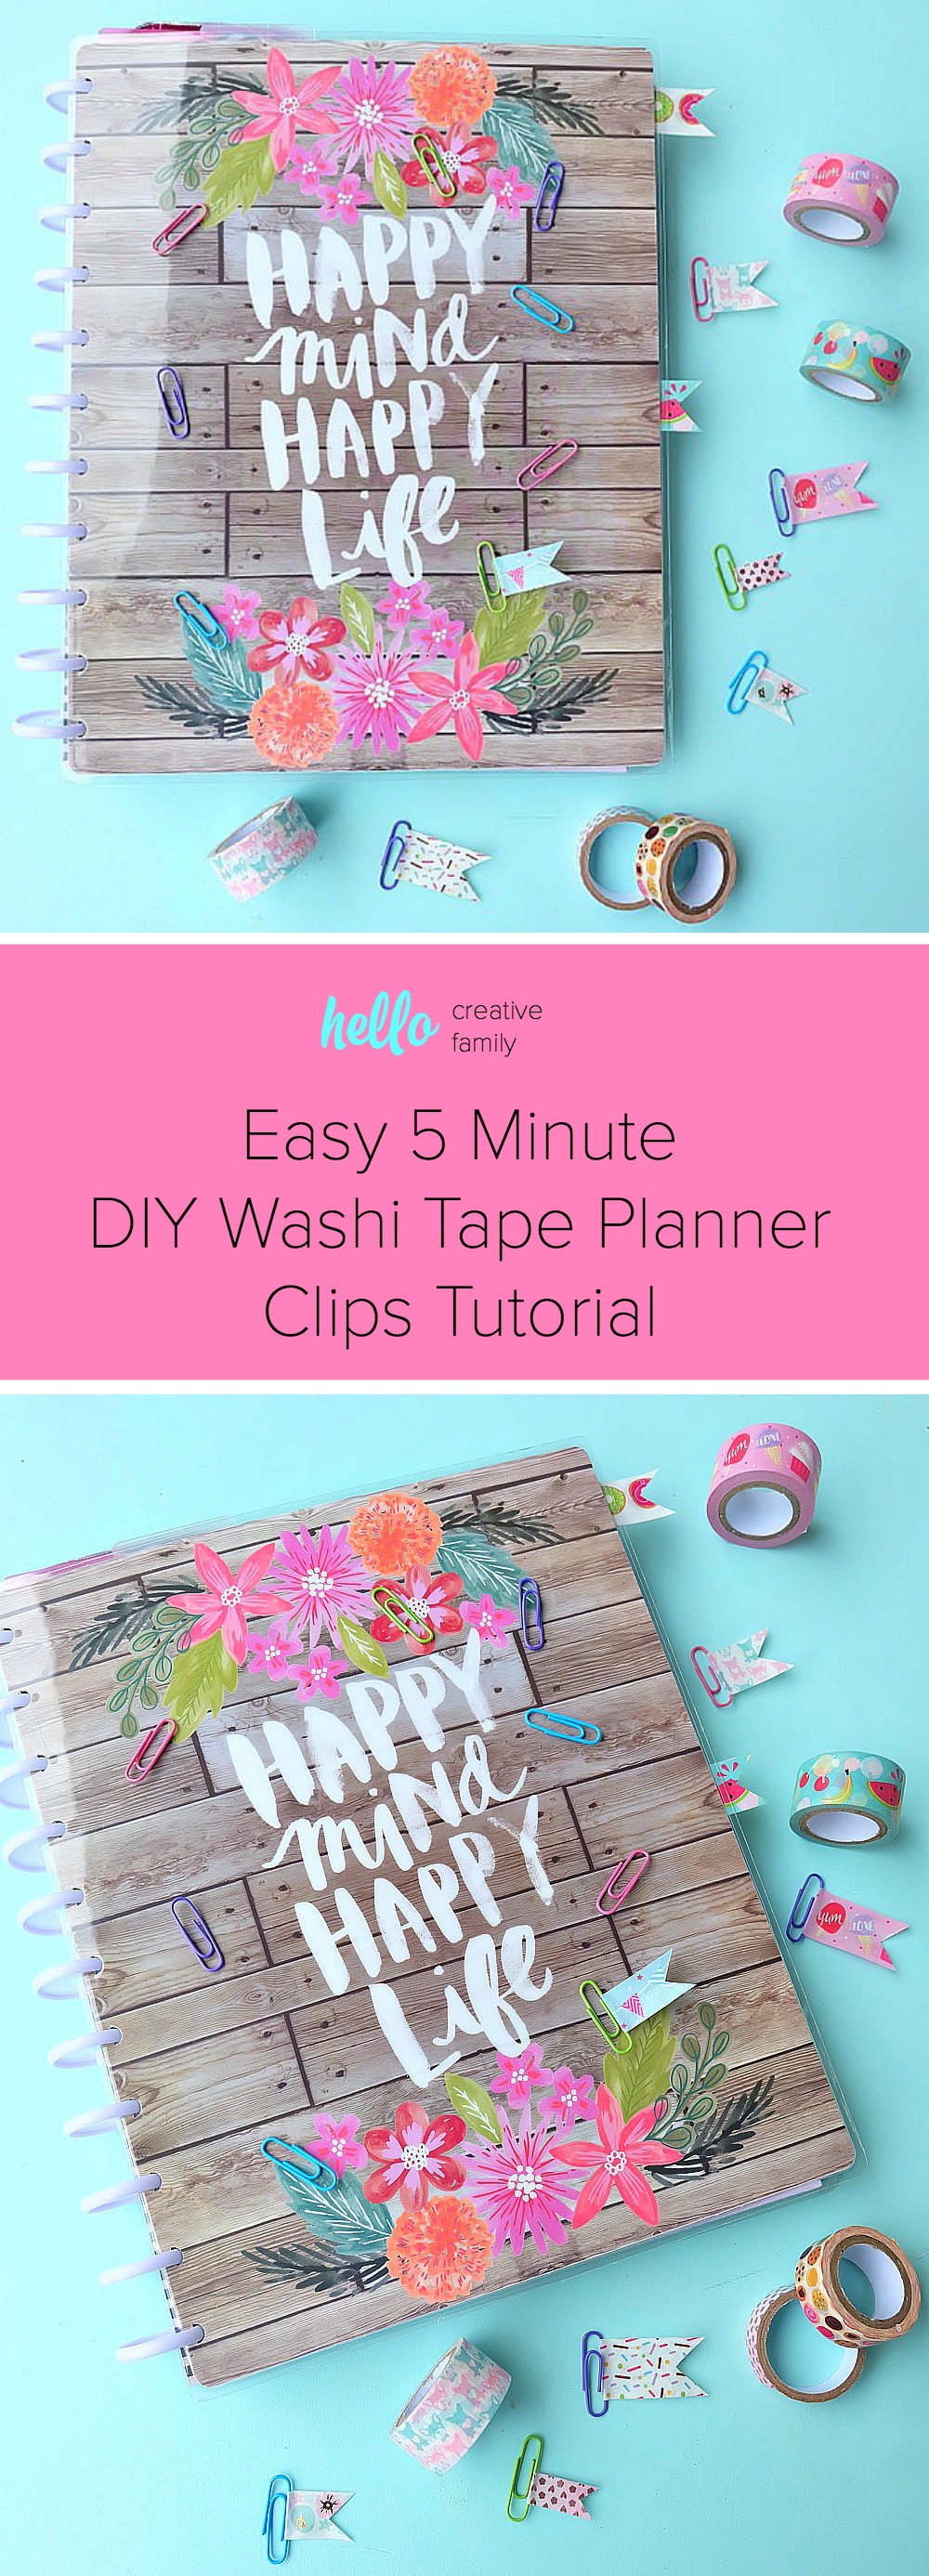
Easy 5 Minute DIY Washi Tape Planner Clips Tutorial
This post and the photos within it may contain Amazon or other affiliate links. If you purchase something through the link, I may receive a small commission at no extra charge to you.
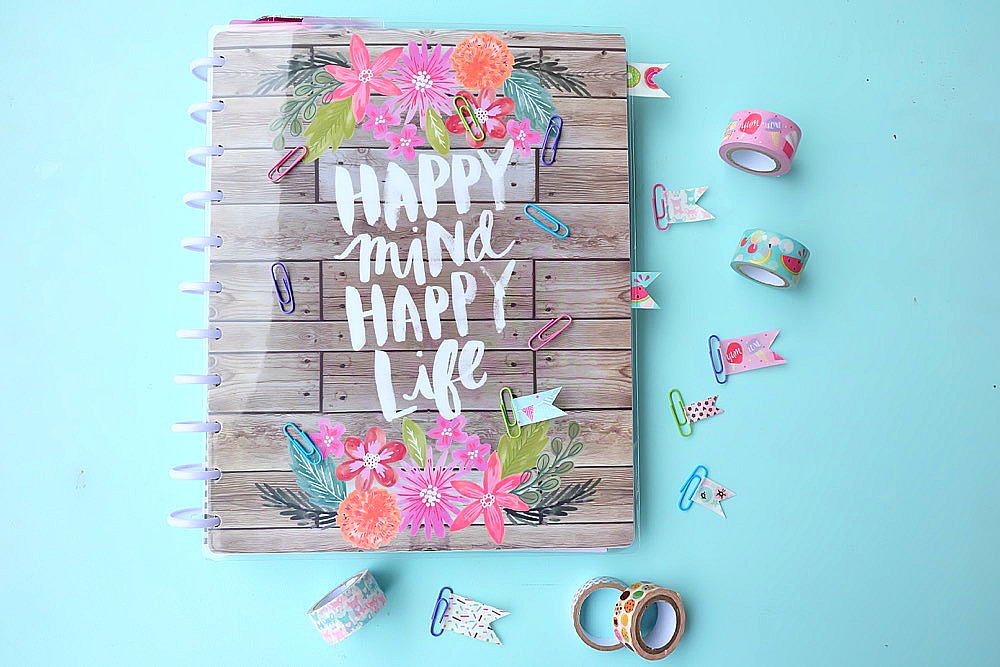
Planner addicts unite with this adorable and easy 5 minute DIY Washi Tape Planner Clips Tutorial. Turn paper clips and washi tape into adorable bookmarks to decorate your Happy Planner or bullet journal. You will love this fun craft project with simple step by step photos!
I love washi tape. The washi tape aisle is always the first aisle that I check out when I go to the craft store. The second aisle? The Happy Planner aisle. I seem to have passed my love for washi tape along to my kids. My daughter just spent her own money buying llama themed washi at Michael’s last week. I know you all love planners and washi tape too, so I decided to combine the two into one fun project– Easy 5 Minute DIY Washi Tape Planner Clips.
Do you ever have a strong urge to make something, but don’t have a ton of time or brain space to take on a big project? As a mom that happens to me all of the time. I just got back from Snap Conference and am trying my very hardest to catch up with the million and one emails and tasks that are on my “to do list”. Sometimes when I’m feeling so overwhelmed the best thing for me to do is take a quick break to create. It leaves me feeling refreshed and lets the creative side of my brain feel accomplished.

I also love making new pretty little things for my Happy Planner because it’s something I use every day, and having a pretty Happy Planner makes me… well, happy!
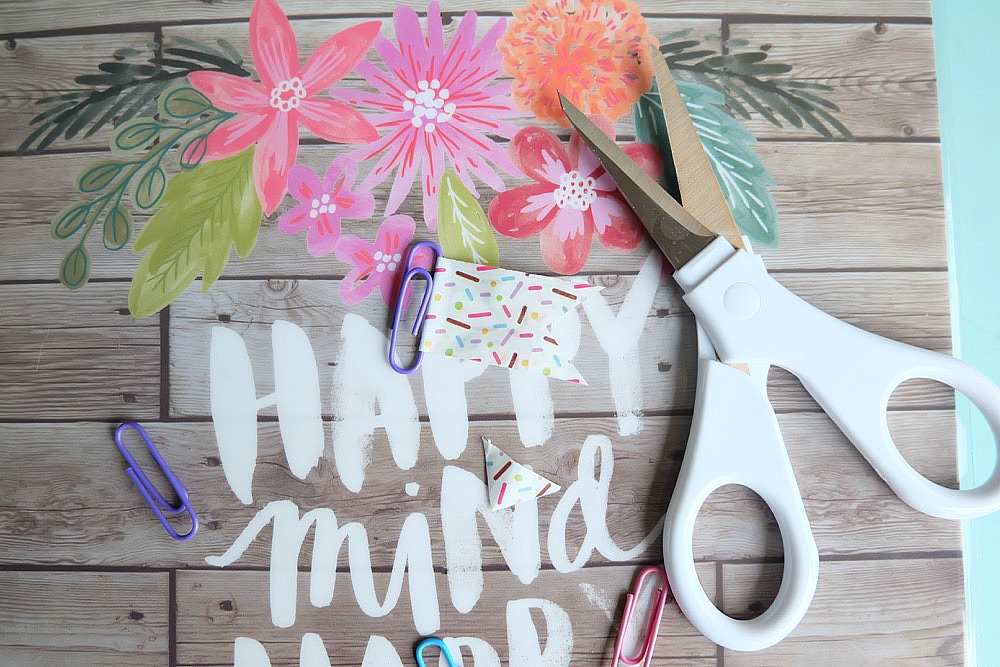
This project is a so quick and easy to make and chances are you already have all the materials you need to make it at home. It literally takes seconds to make one of these clips. You can probably make a set of 10 or more of them in 5 minutes. So pull out the washi tape, scissors and paperclips and get crafting!
Read on for my Easy 5 Minute DIY Washi Tape Planner Clips Tutorial!
Easy 5 Minute DIY Washi Tape Planner Clips Tutorial
Materials:
-Washi tape (You’ll find cute designs here and here)
-Paper clips (I love using colorful ones like these)
Directions:
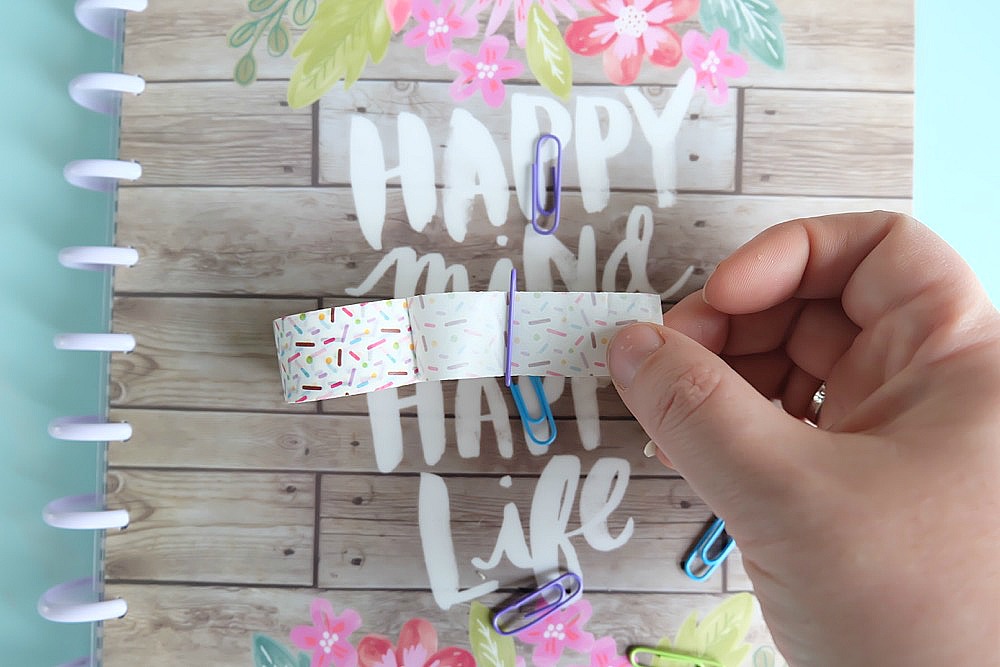
Choose which color of paperclip you want to use with each design of washi tape. Feed your washi tape through the side of the paper clip.
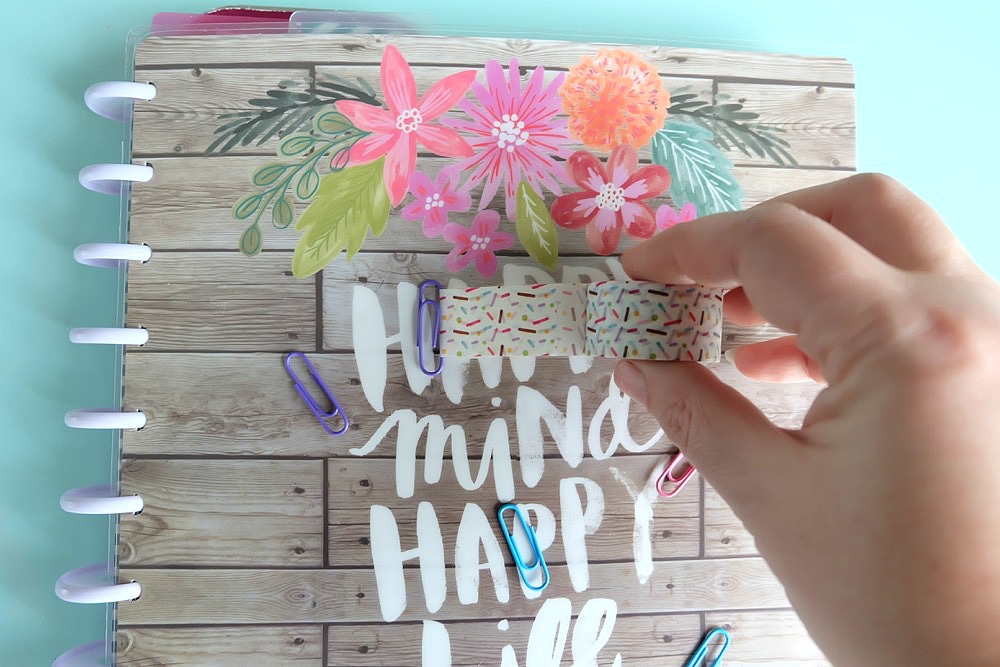
Fold your washi tape over so that the sticky sides are touching with the edges lined up creating a little washi tape sandwich. I like for the two pieces to overlap for about 1 inch so I have lots of room to cut my flag.
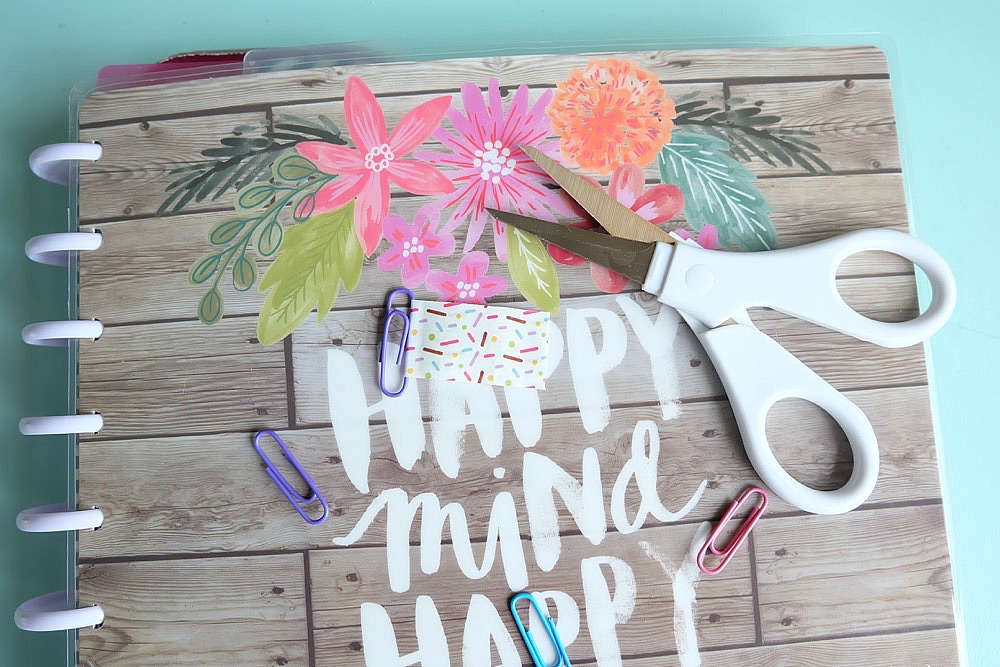
Cut your washi tape off of the roll. Leave the end of your washi tape straight or cut it so it looks like a flag, banner or with whatever design you would like.
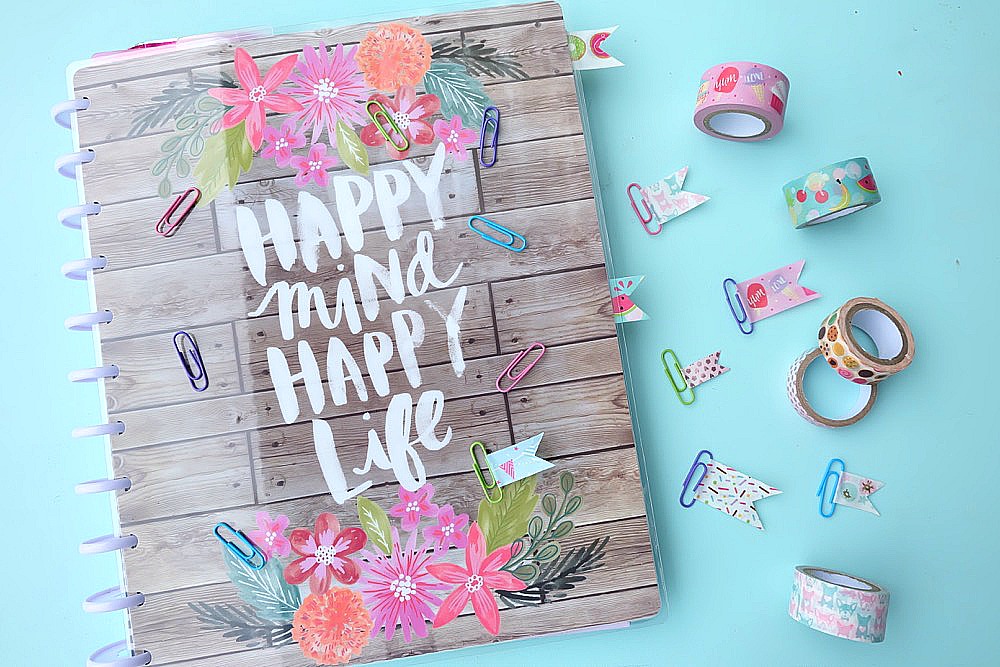
Viola! You have adorable DIY Washi Tape Planner Clips! Use them to decorate your planner or give as a sweet little “just because” gift.
Tell me… What crafts do you do when you need a super fast creative break. Do you use a planner? What kind do you use? Do you love washi tape like I do?
Like this post? We’d love for you to pin it for later!
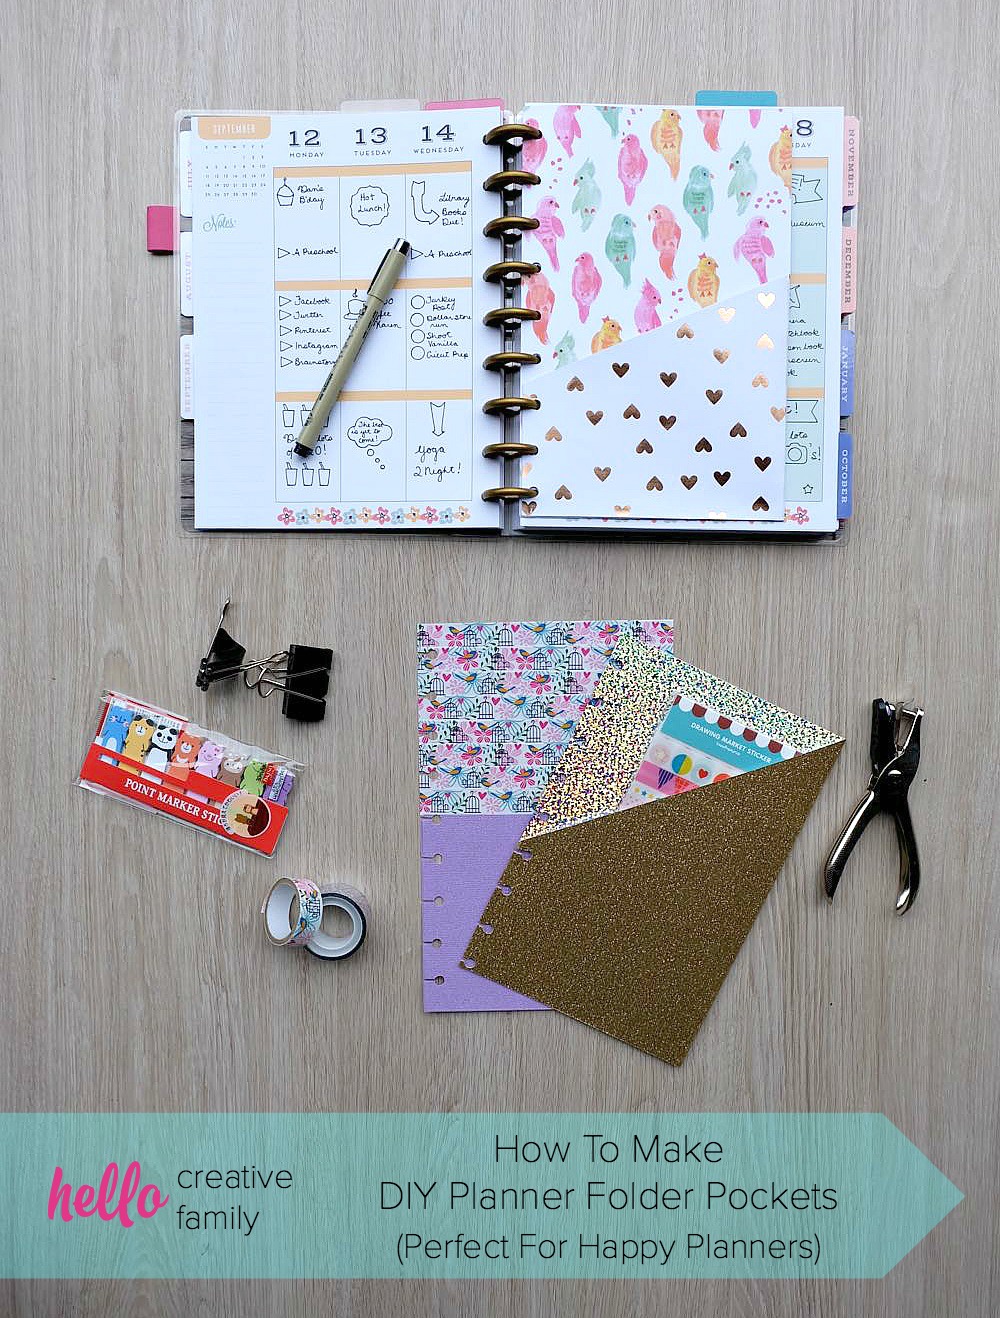
Like this post? Make sure you check out these other Happy Planner ideas!
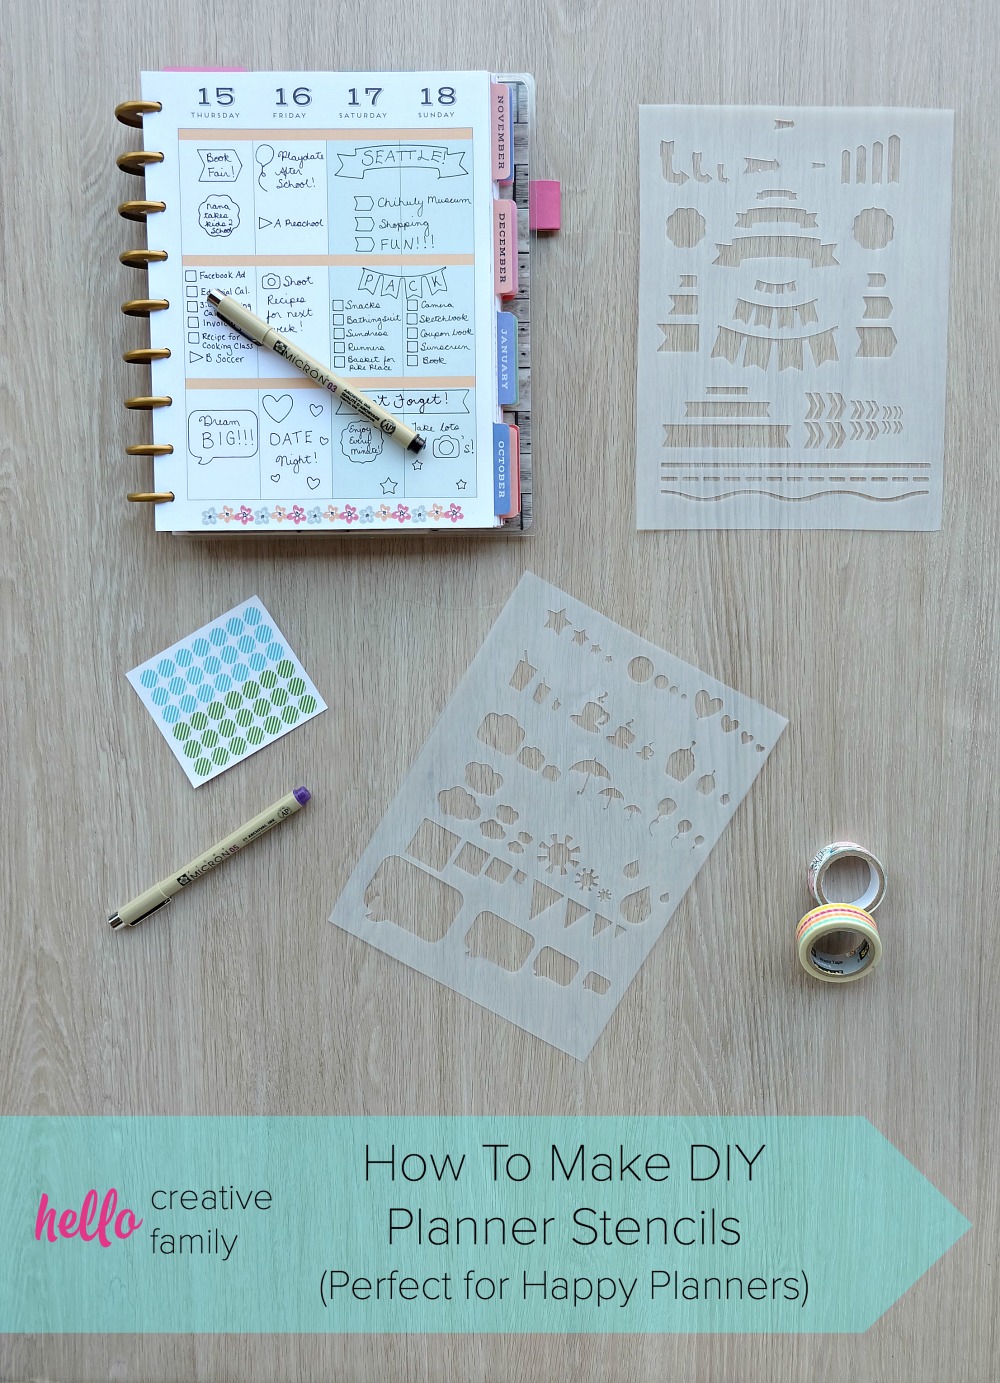
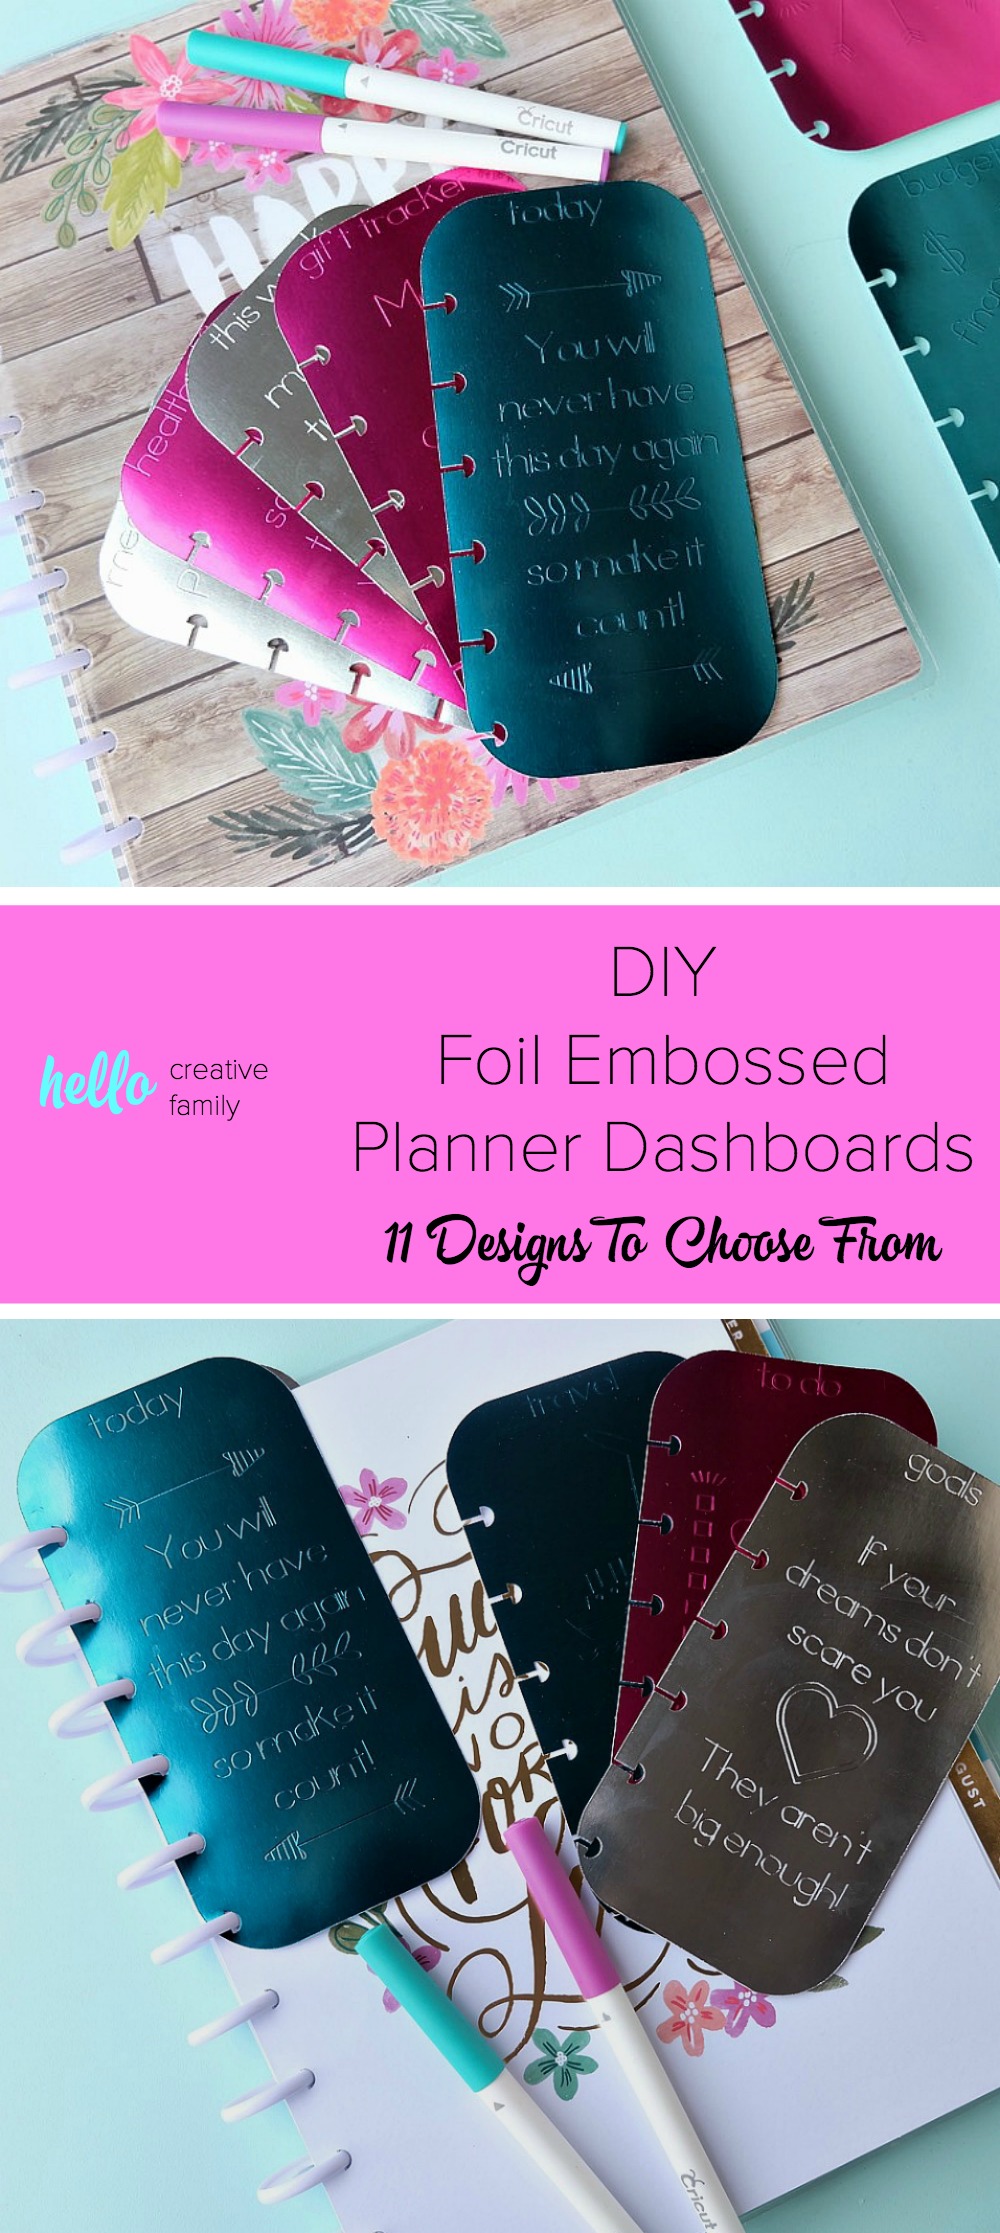
DIY Foil Embossed Planner Dashboards
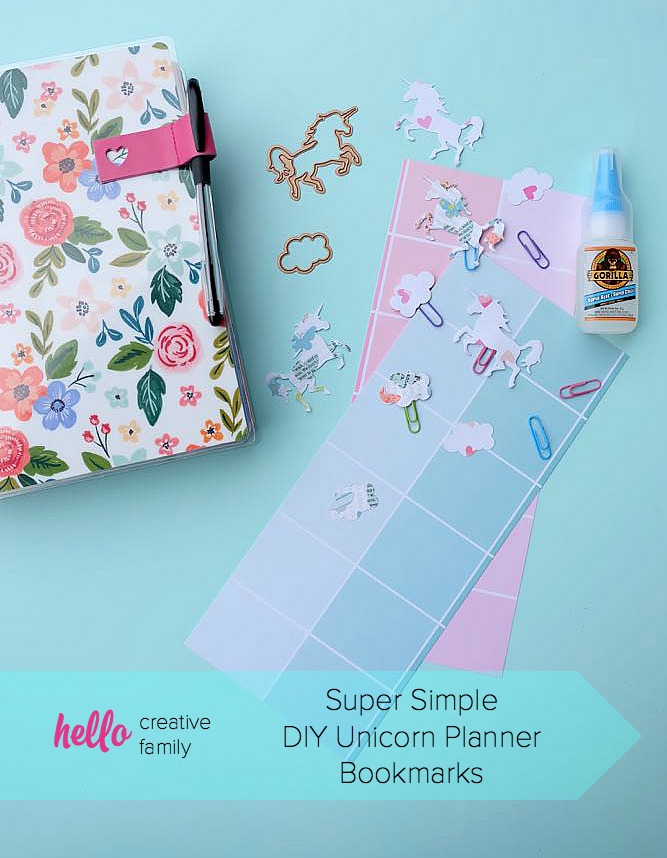
Super Simple DIY Unicorn Planner Bookmarks
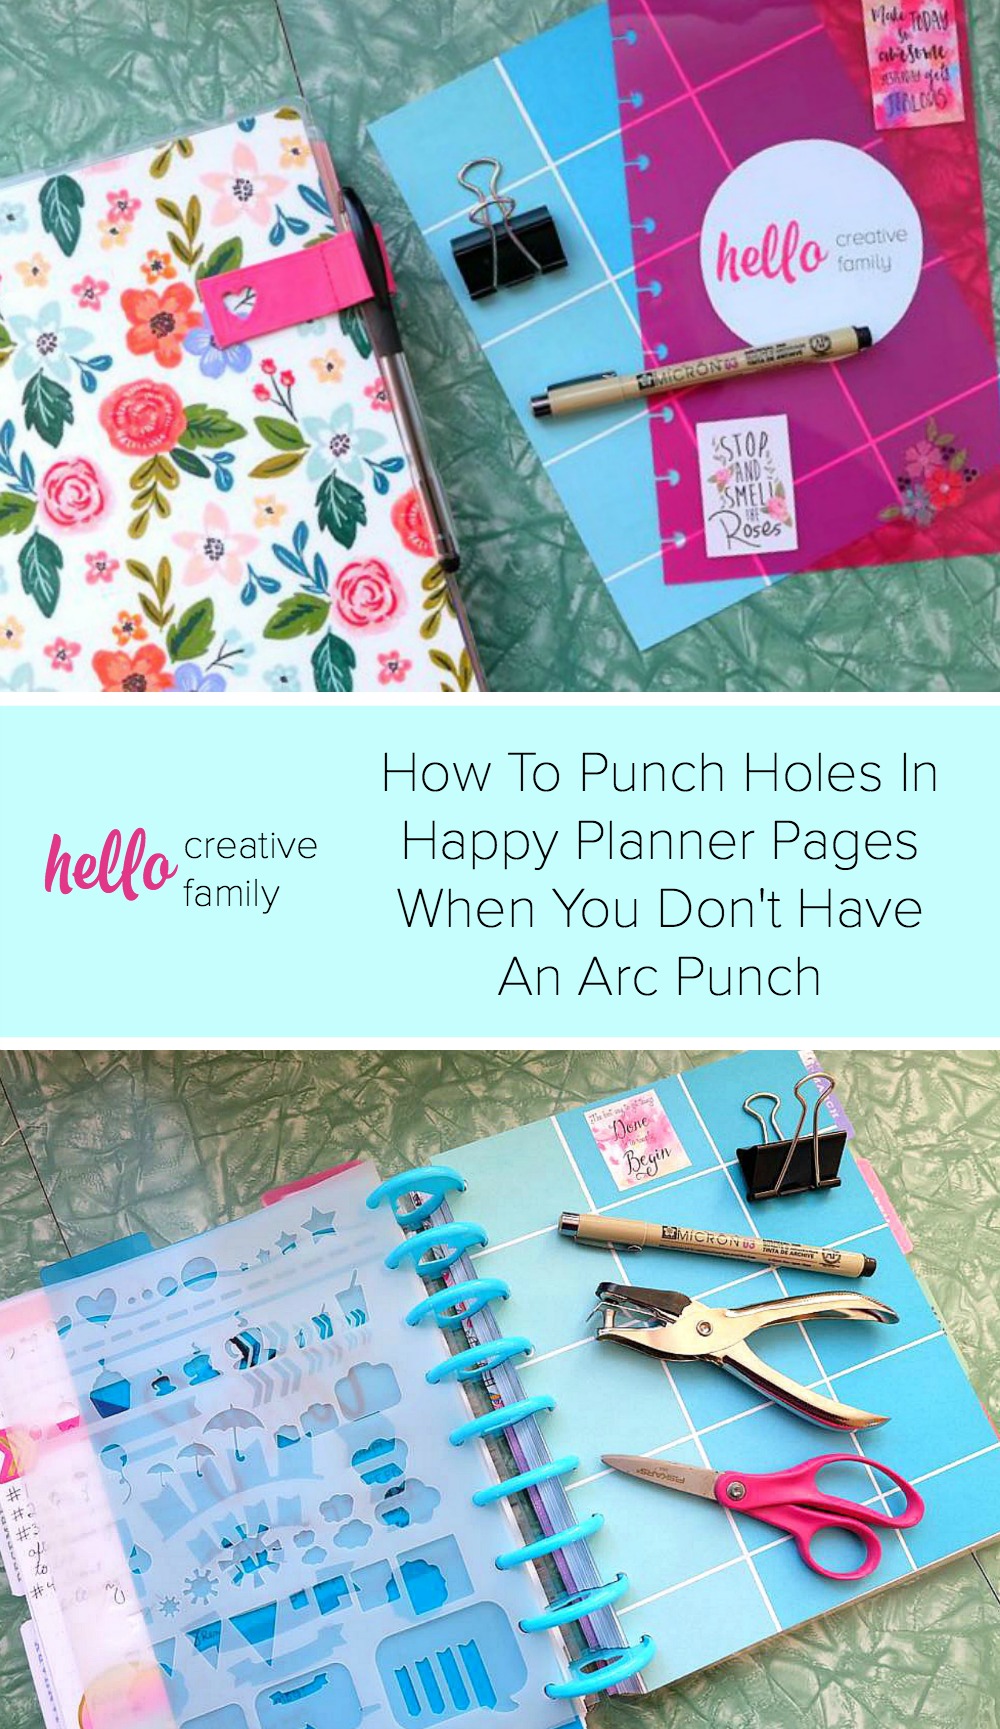
How to Punch Holes In Your Happy Planner Without The Arc Punch