


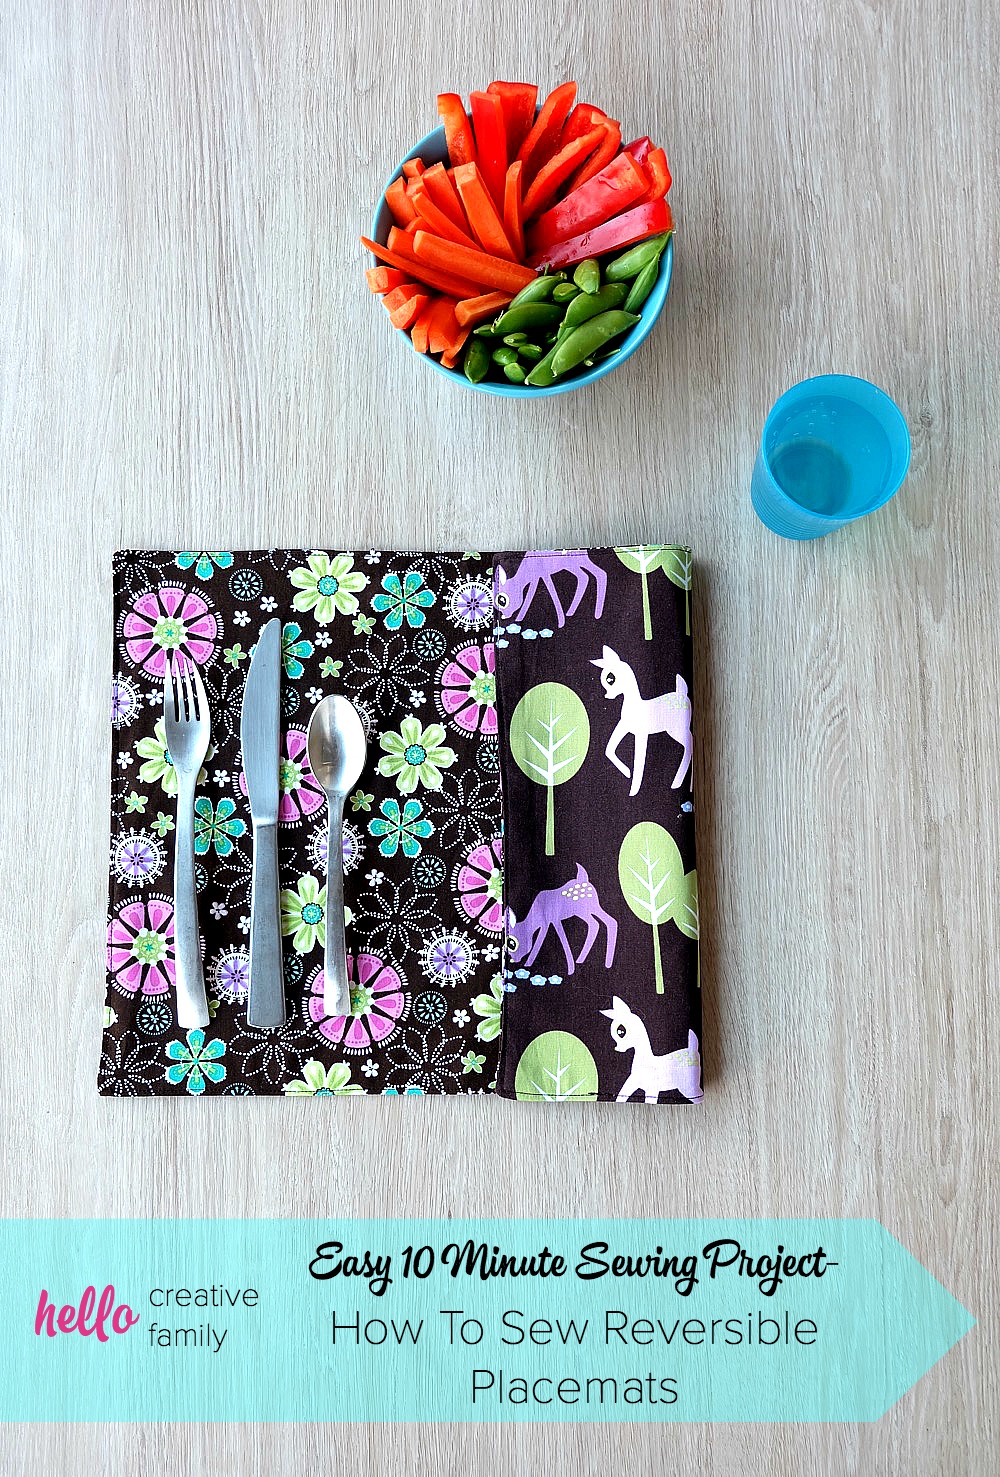
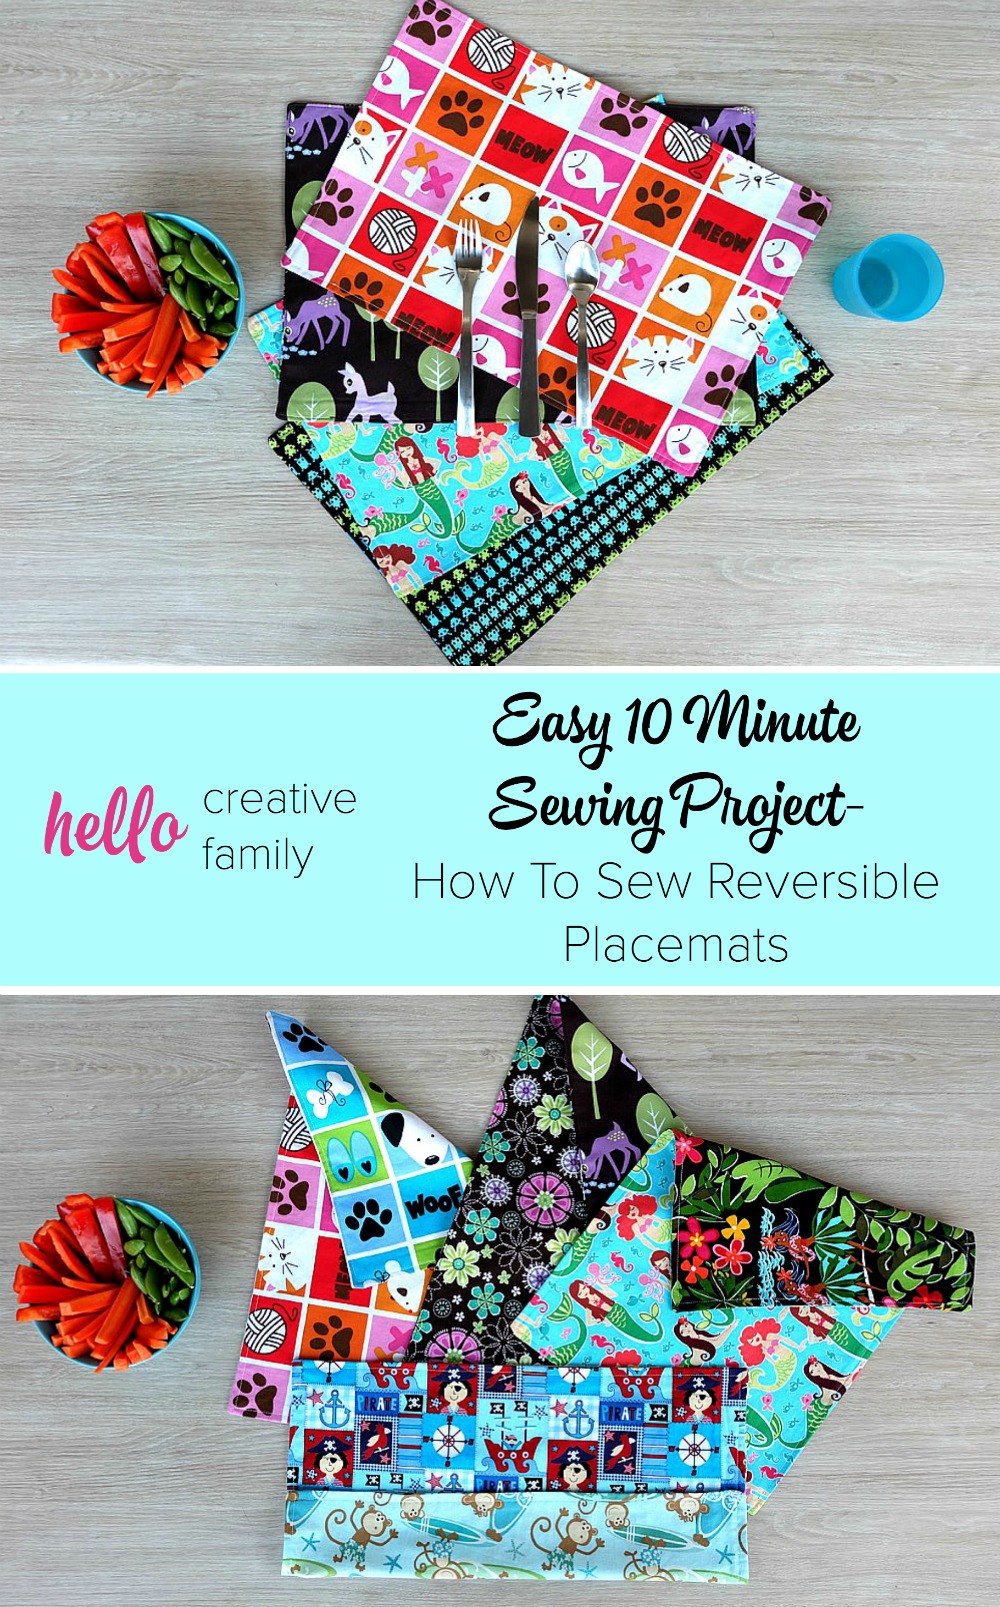
Easy 10 Minute Sewing Project- How To Sew Reversible Placemats Tutorial
This post and the photos within it may contain Amazon or other affiliate links. If you purchase something through the link, I may receive a small commission at no extra charge to you.
Over the weekend my friend, Auntie T, came over for a visit and we had another epic DIY night. In one evening we made homemade fruit leather, mochi and reversible placemats! While we were DIYing upstairs, The Hubs was in the garage working on a vinyl record holder/record table that he’s making for a friend. I had one of those moments where I stopped and thought how awesome it is that we’re such a DIY family and that we are showing our kids what it means to live a handmade, homemade, heart-made life!
Auntie T recently bought a new table for her dining room. She was feeling like their old table was too big and taking up too much room, so they decided to downsize. The problem is, since their table is thinner, the placemats and table runner they previously used don’t fit anymore! We were at the hardware store last week and Auntie T said she wanted to look to see if they had placemats and a table runner in the home decor section. I may have looked at her like she was crazy and said “Don’t do that! Let’s make them!”
So make it we did! Placemats are probably the easiest sewing project you could ever conquer. All you have to be able to do is cut two rectangles of fabric and sew straight lines! This is the perfect beginner sewing project. They also make fantastic DIY handmade gifts. I sewed up 5 of them for Valentine’s Day gifts for my family in less than an hour, and that included taking step by step photos of what you need to do for this post!
Ready? Set your timer and get started with this 10 minute sewing project!
Read on for this easy 10 minute sewing project for how to sew reversible placemats!

Easy 10 Minute Sewing Project- How To Sew Reversible Placemats
Materials:
-2 pieces of fabric cut into rectangles (you can decide if you want the patterns to be different or the same.)
-Scissors
-Sewing machine
-Coordinating colored thread
-Iron
Directions:

Step 1: Cut your fabric to the size that you would like for your placemats. My fabric was cut to 17.5 inches by 12 inches, but if you would like to make a different size, decide what size you want your finished placemat to be and add 1 inch in length and 1 inch in width to allow for 1/2 inch seam allowances on each side.

Step 2: Lay your fabric, one on top of the other, with the printed sides of the fabric in the center. Pin into place.
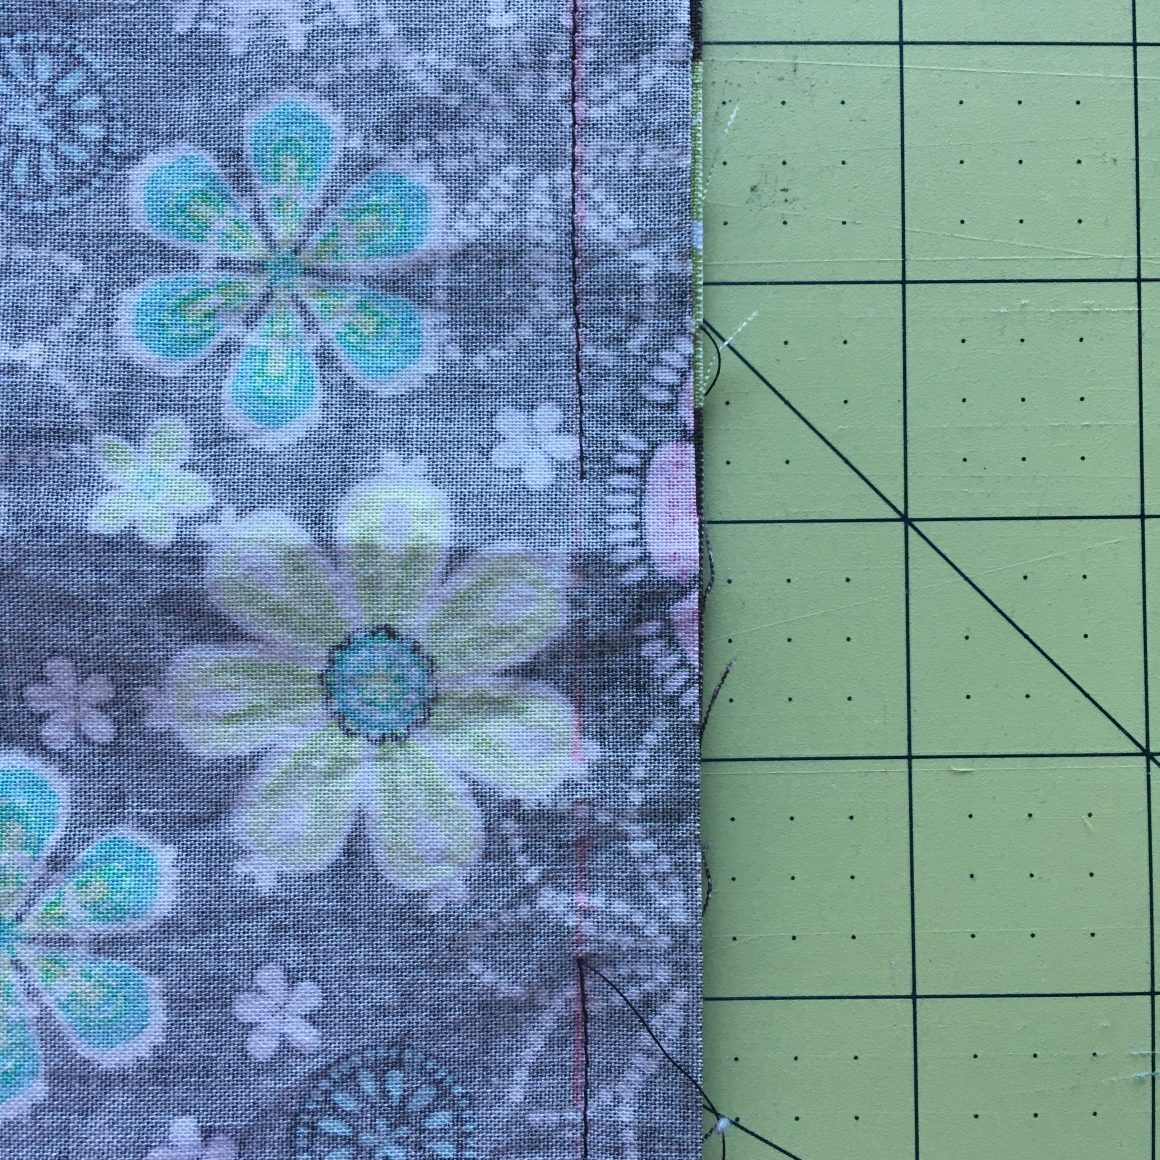
Step 3: Sew around all 4 edges of your placemats using a 1/2 inch seam allowance. Make sure to leave a 2 to 3 inch gap where you don’t sew so that you can flip your placemat the right way out.

Step 4: Snip each corner of the placemat so that your corners will lie flatter when you flip your placemat right side out.

Step 5: Flip your placemat the right side out. Make sure to push out all of your corners and your seams. Iron flat making sure to pay close attention to the edges and the opening where you flipped your placemat right side out.

Step 6: Sew along all 4 edges of your placemat with a coordinating colored thread, using a 1/4 inch seam allowance. This will close the hole that was left unsewn and give your placemat a more finished look.
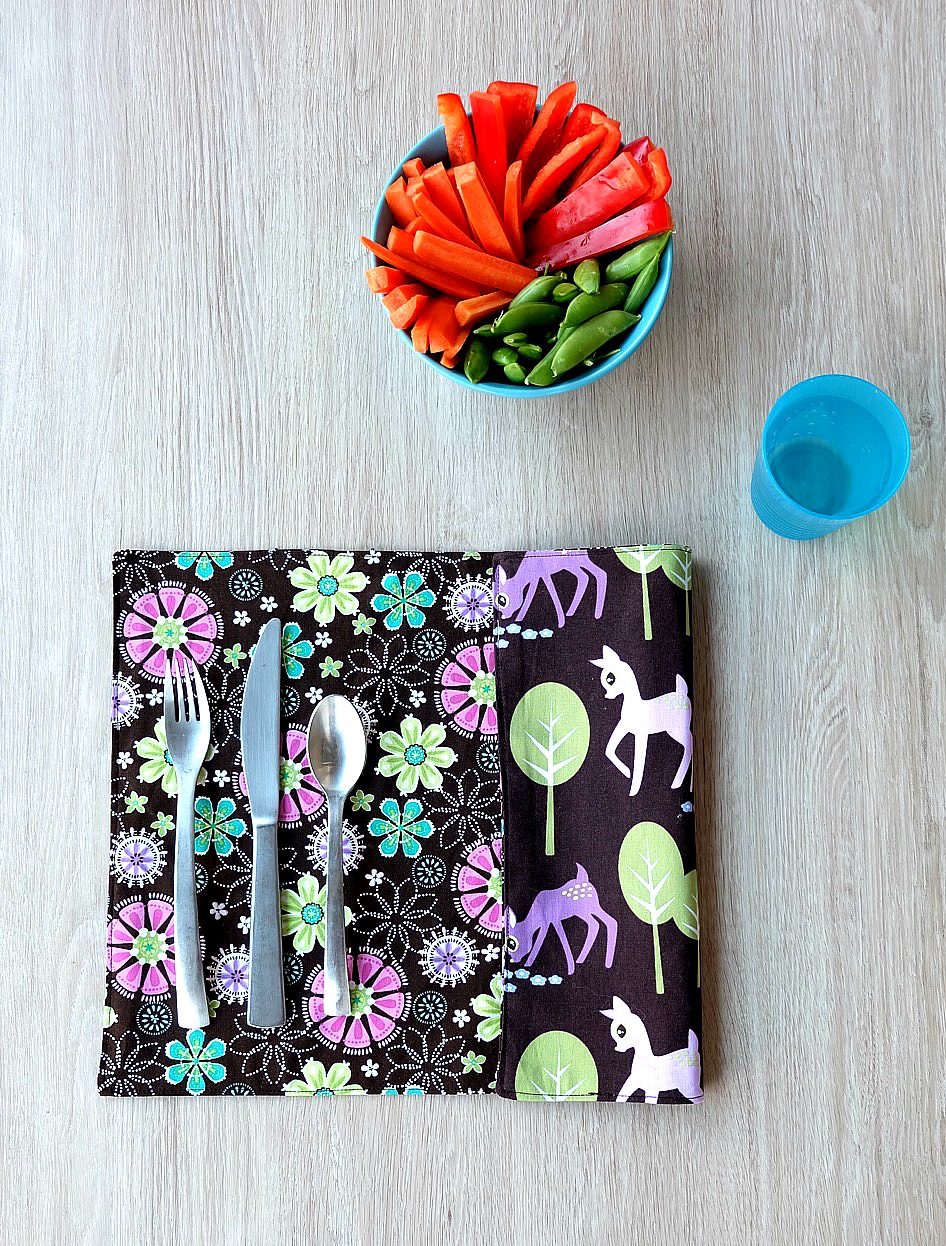
Viola! You are all done! Enjoy your new placemat!
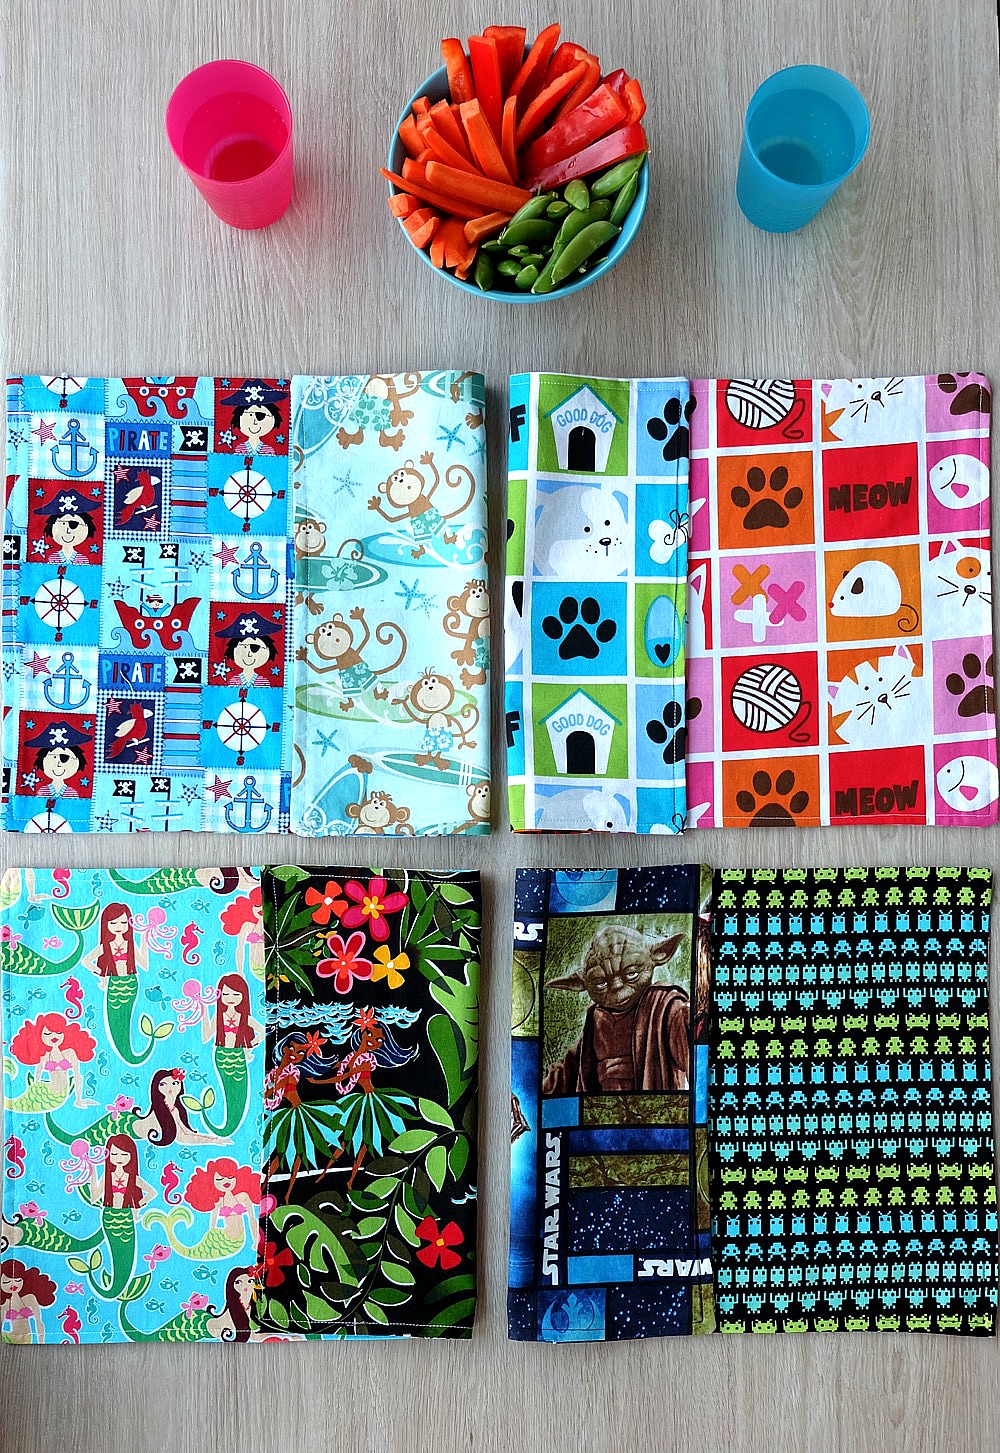
I had so much fun coming up with unique fabric combinations for my family!
For The Hubs- Star Wars and Space Invaders
For Bean- Cats and Dogs
For Turtle- Pirates and Surfing Monkeys
For Auntie T- The Flowers and Deer used in this tutorial
For me- Luau Girls and Mermaids
I hope you loved this 10 minute sewing project!
Tell me… What types of fabric would you use for your placemats and who would you give them to?
Like this post? Pin it for later!
If this project left you feeling inspired, make sure to check out our sewing section for lots of other easy sewing projects that take 60 minutes or less to make!


I just bought a sewing machine over the holidays after being without one for a couple of years. The first thing I started making was cloth napkins and place mats.
I love the bold and fun patterns you used to make the place mats for your family. I bet the kids love them!
Hi Arlene,
Thank you so much for visiting! I used to have an Etsy shop where I made appliqued shirts for kids so I have a ton of bright, bold and fun fabric at home. These definitely wouldn’t be the right style for all homes, but they are family friendly for sure. My kids love them, and my husband is pretty smitten with his Star Wars/Space Invaders placemat too.
Happy sewing!
Best Wishes,
Crystal
Hi Arlene, what could you use in the placemats to give them more body? Thanks, Patti
Hi Pattie,
I have used fusible fleece in other projects that would be great if you wanted to make these a bit thicker. Hope that helps.
Best Wishes,
Crystal
I’m using Pellon Decor-Bond interfacing in mine. I wanted stability without thickness.
Great idea Heather! Thanks so much for visiting!
Best Wishes,
Crystal
I love your choice of fabrics – so colorful and pretty.
I just love how easy it is to sit down and sew some placemats! This post is Featured at this weeks Merry Monday party. Pinned. Thanks for sharing with us.
Fun way to add some color to a table top! I’ve got a Craft Gossip post scheduled for tomorrow morning that features your tutorial: http://sewing.craftgossip.com/?p=92752 –Anne
Thank you so much for sharing Anne! I really appreciate it. <3
Best Wishes,
Crystal
I cant wait to sew this placement mats for my kids, i am sorry but i have to steal your fabric idea. I am new to sewing and knitting, just been 7 months since i am learning sewing by taking online classes and by reading books. so far i am able to sew small items. This is really a nice idea to try my hands on. Thanks for giving this idea. I will catch you back with my placement mats. Have subscribed to your blog to get more ideas like this. Keep going
Brilliant! Making them reversible would let me get more wear out of my kids’ placemats!
I love these! Do you not need interfacing?
Hi Annemarie,
Thank you so much for visiting! That’s a great question. I didn’t use interfacing in these and they’ve held up just great. If I made them again and wanted them a bit thicker I would probably use some fusible fleece in between the layers. 🙂
If you make some I’d love to see a picture! Happy Sewing!
Best Wishes,
Crystal
I started making my own placemats and I used a piece of solid color flannel fabric in between the outer fabrics, I feel this helps to protect the table when having hot foods. I pre-wash all my fabrics first to make sure one doesn’t shrink more then the other. I love some of the fun prints . I think I was to make some for summer patio meals that are festive for the summer….bright fun colors!
I love how fast and easy these look. I just wish I could sew. My straight lines never come out.