


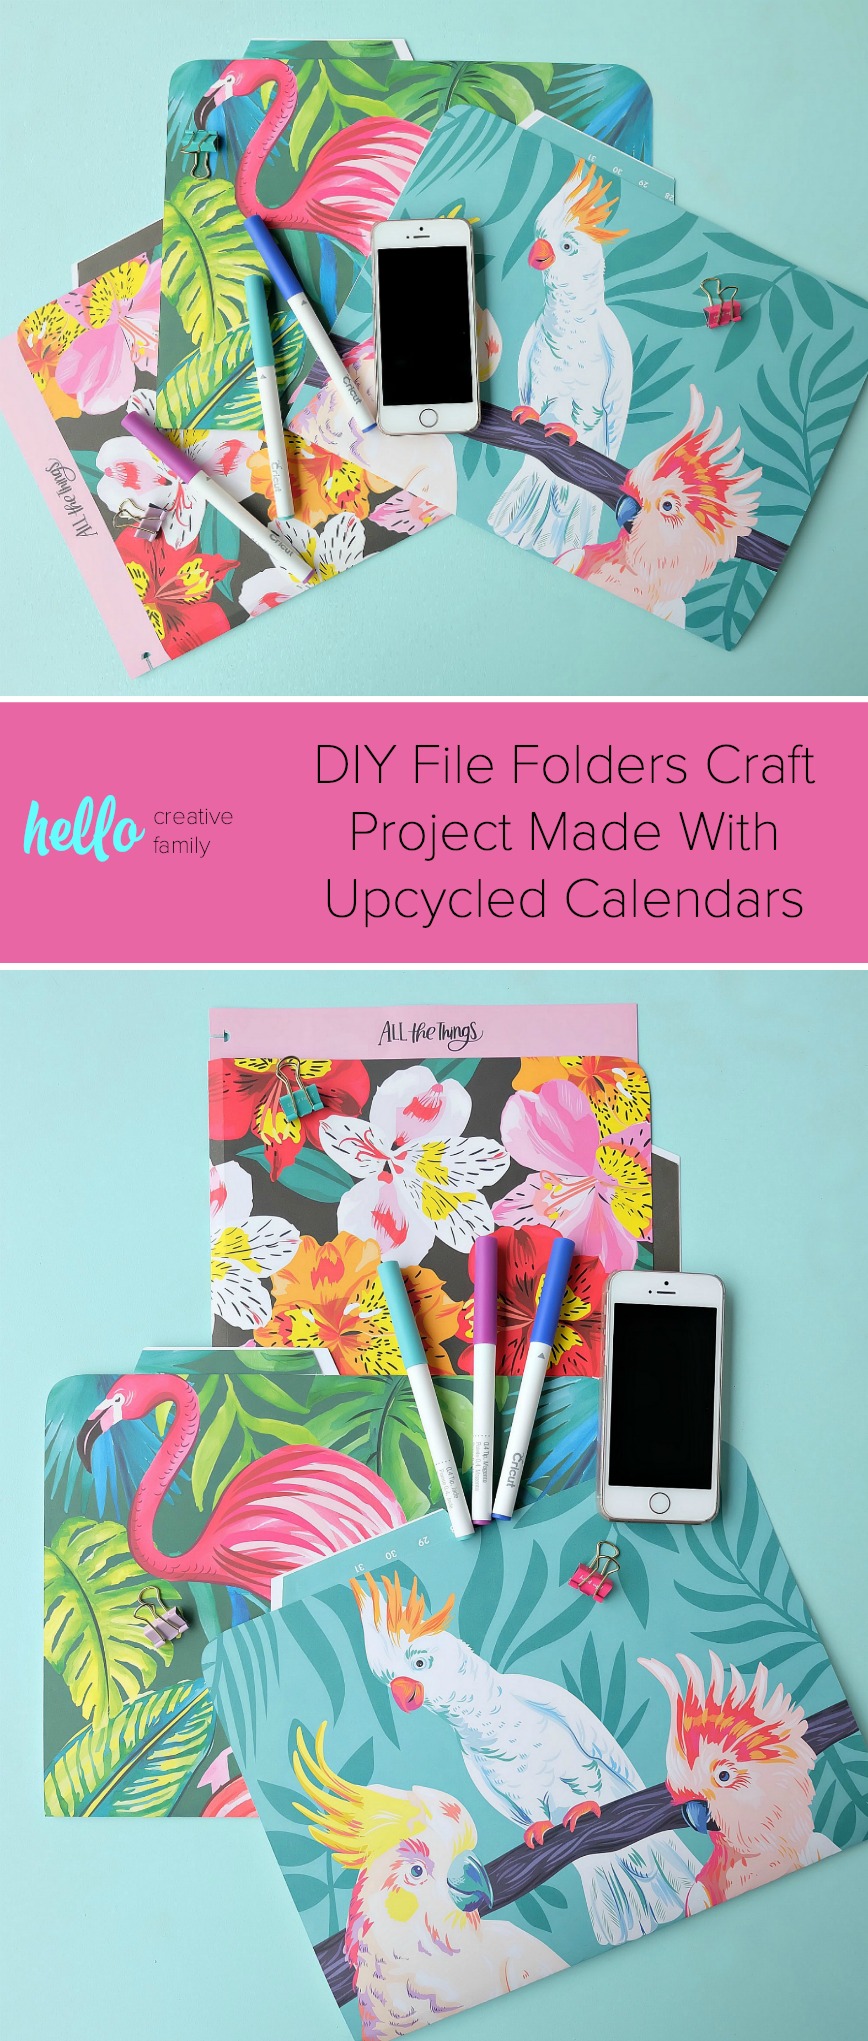
DIY File Folders Craft Project Made With Upcycled Calendars
This post and the photos within it may contain Amazon or other affiliate links. If you purchase something through the link, I may receive a small commission at no extra charge to you.
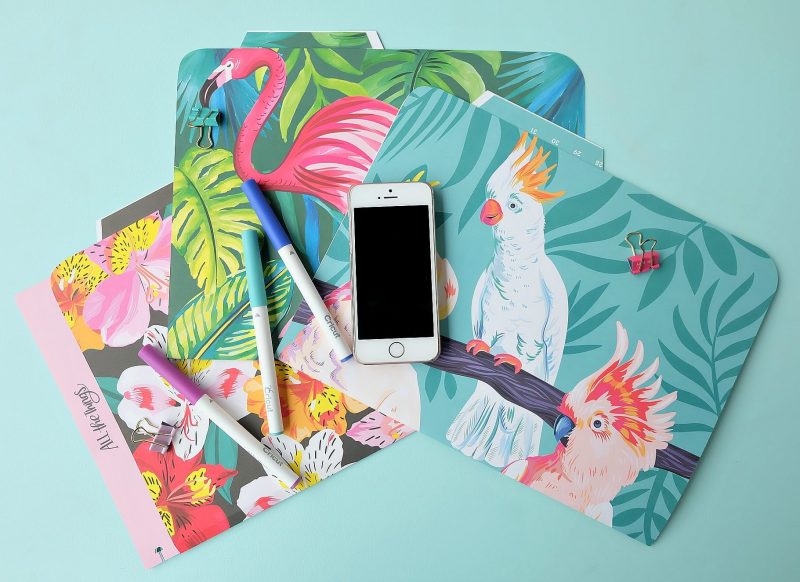
Use your Cricut Maker, Cricut Explore or a pair of scissors and get your paper craft on with this quick & easy project! Learn how to upcycle an old calendar into awesome DIY File Folders! You’ll have the fanciest custom office supplies in town!


When it comes to crafting supplies I have a bit of a hoarding problem. “Reduce, reuse, recycle!” I say to my husband as he shakes his head as I rescue a piece of cardboard with a cool pattern out of the recycling bin. The truth is that you never know when inspiration is going to hit and if you already have all the crafting supplies you need without hitting up the craft store then you’re golden! I love a good “upcycled” project and that’s just what I’m going to share with you today.
For the past few years my darling sister has been giving me the most incredible calendar for Christmas. It’s the Paper Source Wall Art Calendar and not only is it filled with the most beautiful images that you have ever seen, it also encourages you to make craft projects with each page after that month is over. It comes with templates printed on the back of each page to make file folders, pillow boxes, note cards, gift tags, bookmarks and more.
The calendar has given me a great reminder to take a closer look at the things that I’m sending to the recycling depot (or landfill) and try to find alternative things to do with them. I hope that this post will help you do the same thing!
So let’s make some DIY file folders together, shall we?
[hr gap=”30″]DIY File Folders Craft Project Made With Upcycled Calendars[hr gap=”30″]
Note: To make things easy for all of you crafty people with Cricuts, I’ve created a Cricut cut file for making these file folders. If you don’t have a Cricut, grab a pair of scissors and an old file folder to use as a template.
Materials:
-12×19 inch wall calendar with images you like
If using a Cricut:
–My Cricut File Folder Cut File
–Cricut Maker or Cricut Explore (prefer shopping on Amazon? Find the Cricut Maker here and the Cricut Explore here)
–Cricut Light Grip 12×24 Cutting Mat
–Cricut Scoring Wheel or Scoring Stylus
If not using a Cricut:
-Scissors
-Pencil
-File Folder To Use As A Template
Directions:
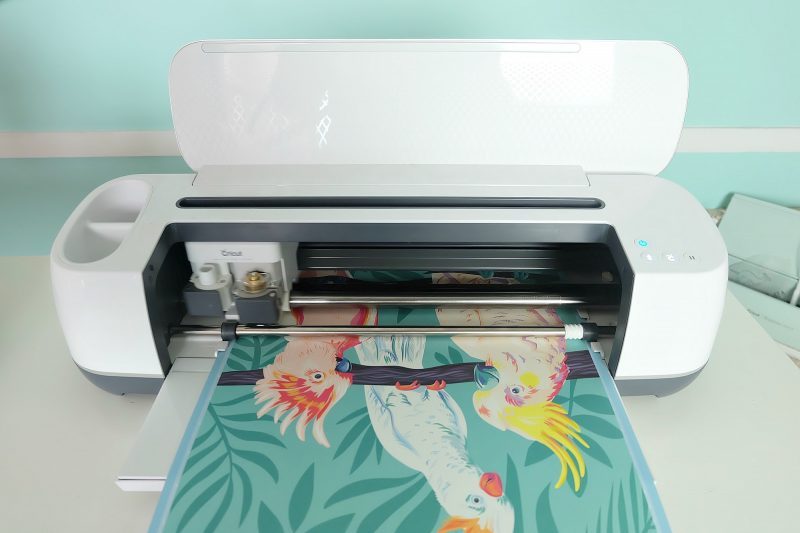
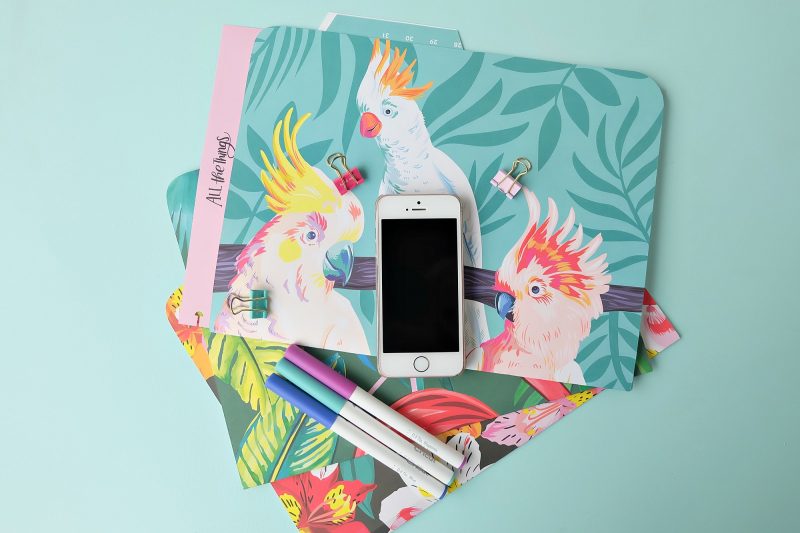
If using a Cricut: Log into Cricut design space then open my cut file from the materials list above. Lay your calendar onto the cutting mat, paying attention to the direction that you want the design to appear on your finished file folder. Click “Make” select your cutting material (I chose Kraft Cardstock) and cut your file folder. Voila! You have a beautiful file folder.
If using scissors: Using a file folder as a template, trace the shape on the back of your calendar page. Cut out using scissors. Fold in half and voila! You have a beautiful file folder!
This is the kind of project I love! Quick, easy, practical and upcycled! I hope that this inspires you to fish something out of the garbage or recycling bin!
[hr gap=”30″]Tell me… Do you hoard craft supplies? Do you have any old calendars sitting around that you could turn into file folders?[hr gap=”30″]


Very pretty! These would probably keep me organized, LOL.
Excellent idea! I always hate throwing those beautiful calendar pictures away.
Absolutely loved this post. This is so cool. I’m truly excited to share this with my friends.