


Easy DIY Washi Tape Dispenser Project from Washi Tape Crafts by Amy Anderson
This post and the photos within it may contain Amazon or other affiliate links. If you purchase something through the link, I may receive a small commission at no extra charge to you.
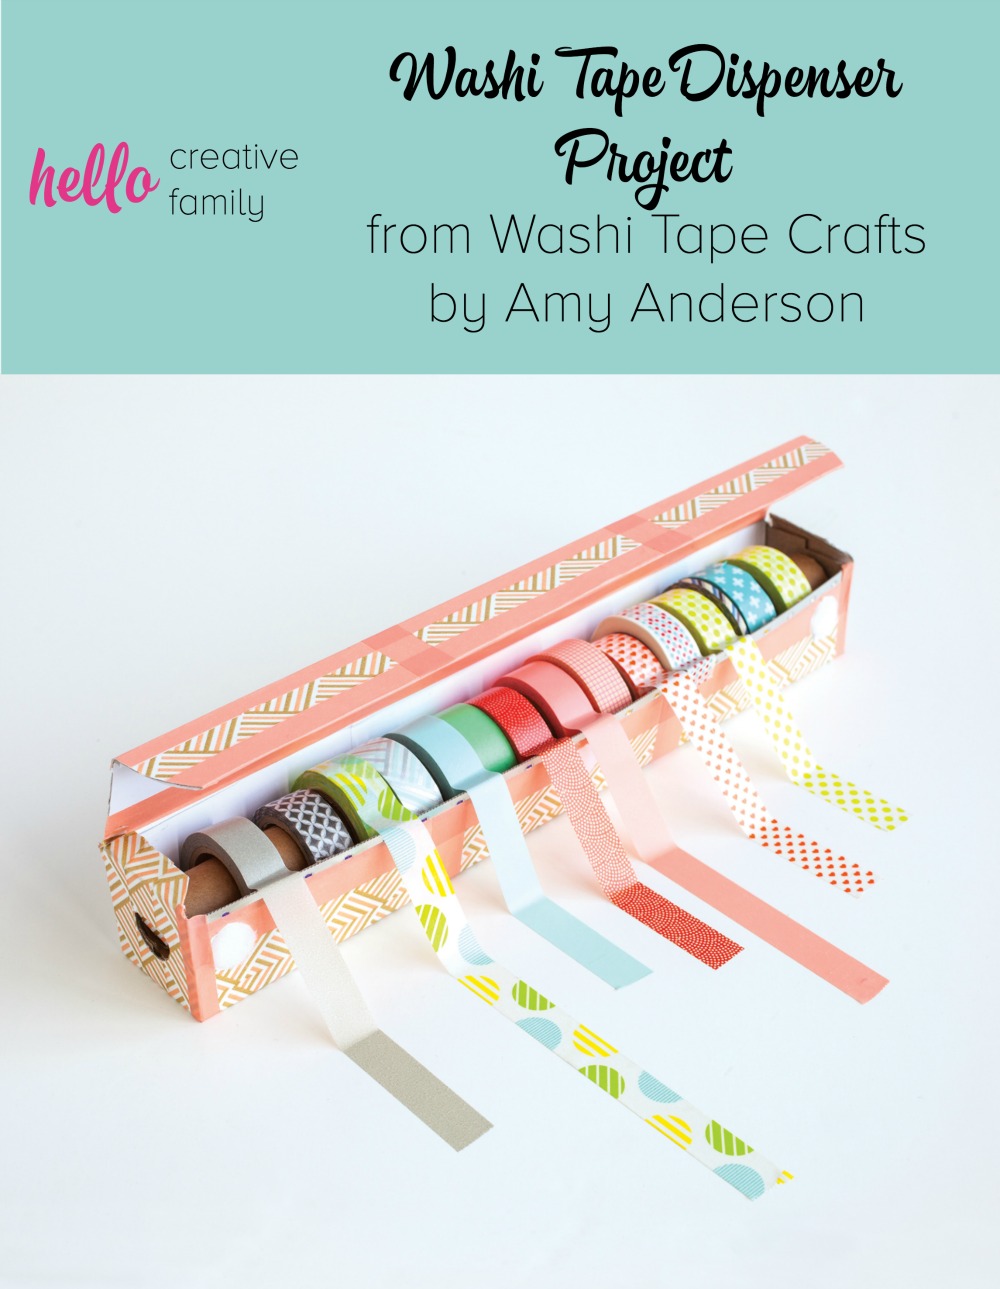
Easy DIY Washi Tape Dispenser Project
If you’re crazy for crafts, chances are that you’ve probably heard of Amy Anderson. She’s the powerhouse crafter/blogger/entrepreneur behind the popular websites Mod Podge Rocks, DIY Candy and Washi Tape Crafts. She’s on my top 5 list of blogger crushes and I pretty much adore everything she does. The first person to ever comment on a post on my site (who wasn’t related to me) was Amy Anderson. I’d been a fan of hers for awhile, so having her comment on one of my posts basically made my life. I hope that one day I’ll have the opportunity to meet Amy in real life and tell her just how much I adore her and everything that she has done to help promote and grow other craft bloggers around the world.
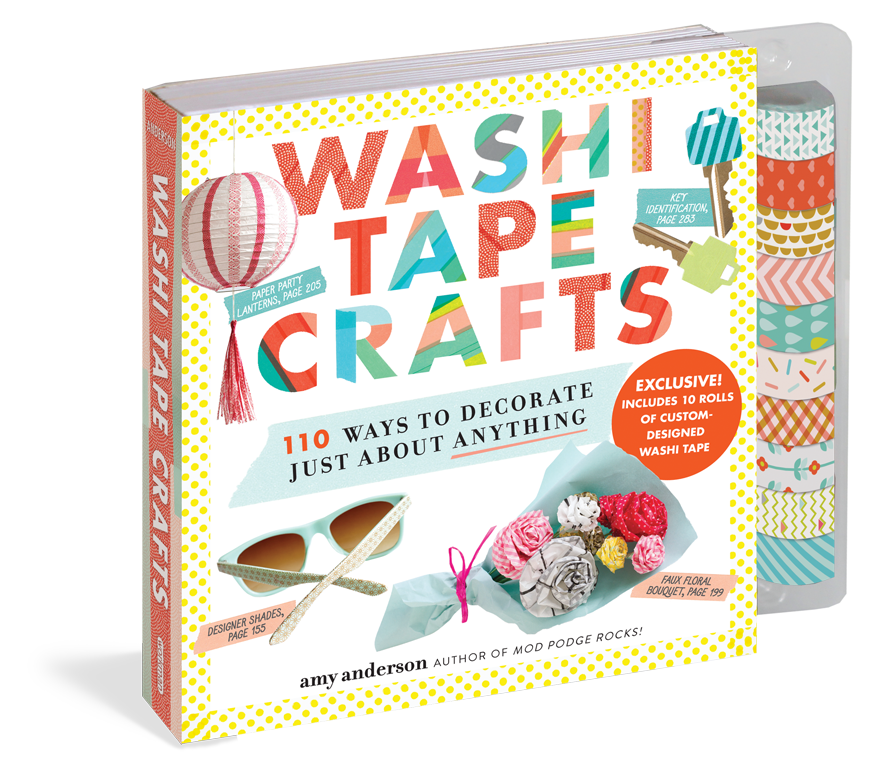
Amy’s latest book, Washi Tape Crafts, recently landed on my desk. It’s pretty much the best thing that has ever happened to washi tape (minus Amy’s site Washi Tape Crafts). Filled with 110 washi tape projects, the book is a dream come true for anyone who is looking for a creative way to play with washi tape, or for an inexpensive way to decorate just about anything in their house. Plus it comes with 10 rolls of washi tape! Perfect for those who are new to washi tape to start your collection, or for those of us who have been collecting for awhile, to feed our addiction!
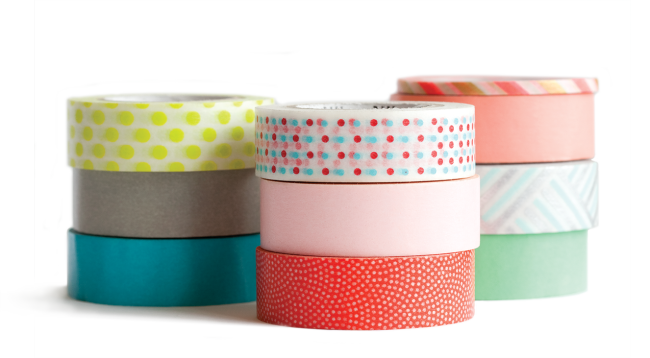
For those of you who are unfamiliar with washi tape… Washi tape is a decorative tape, made from rice paper, that originated in Japan. Washi tape seems to be slightly less adhesive than other types of tape, which makes it easy to peel up and reposition. If you are working on a washi project that you want to be permanent, you can seal the tape with a variety of different types of sealers including mod podge and clear nail polish. Over the past few years, washi has become very popular with crafters, because of the wide variety of designs that it’s offered in, because it’s a fairly inexpensive way to make a big impact and because its so gosh darn fun! (LOL… did I really just say gosh darn???)
Once you get hooked on washi tape, you often REALLY get hooked. The different designs are fun to collect, and it seems like every time you hit up the craft store their are new fun designs to check out.
Amy and her publishers at Workman were kind enough to let me share one of the projects from the book for you. Because I know many crafters have a ton of washi tape floating around their craft rooms, I decided to share Amy’s Washi Tape Dispenser project. It’s the perfect way to organize your washi tape for all of us who have set a new year’s resolution to keep our craft rooms more clean, and for those who want a pretty way to showcase their washi collection.
Read on for instructions for the Washi Tape Dispenser project from Washi Tape Crafts: 110 Ways to Decorate Just About Anything by Amy Anderson.
Washi Tape Dispenser Project
My washi tape collection was previously not organized at all. I’d have to dig out a tape roll from a large drawer and then fumble with it to find the end of the tape. This dispenser solves both of those problems. You can store your washi and easily tear off a piece—oh, and the storage looks great on a desktop. -Amy Anderson
Supplies:
-An empty plastic wrap or aluminum foil box and tube
-Paintbrushes
-Acrylic paint
-Washi tape (find a ton of fun tape options here)
-Scissors
-Decoupage medium (At Hello Creative Family we love Mod Podge)
-Adhesive Velcro dots
Directions:
1. Paint the entire box, inside and out. Let it dry.
2. Press strips of washi tape vertically or horizontally across the outside of the box, covering it completely.
3. Use scissors to trim the ends of the tape at the edges of the box.
4. Paint two coats of decoupage medium over the box, then let it dry.
5. Apply three evenly spaced adhesive Velcro dots across the inside of the box flap, with their matches aligned below the serrated edge to close the box.
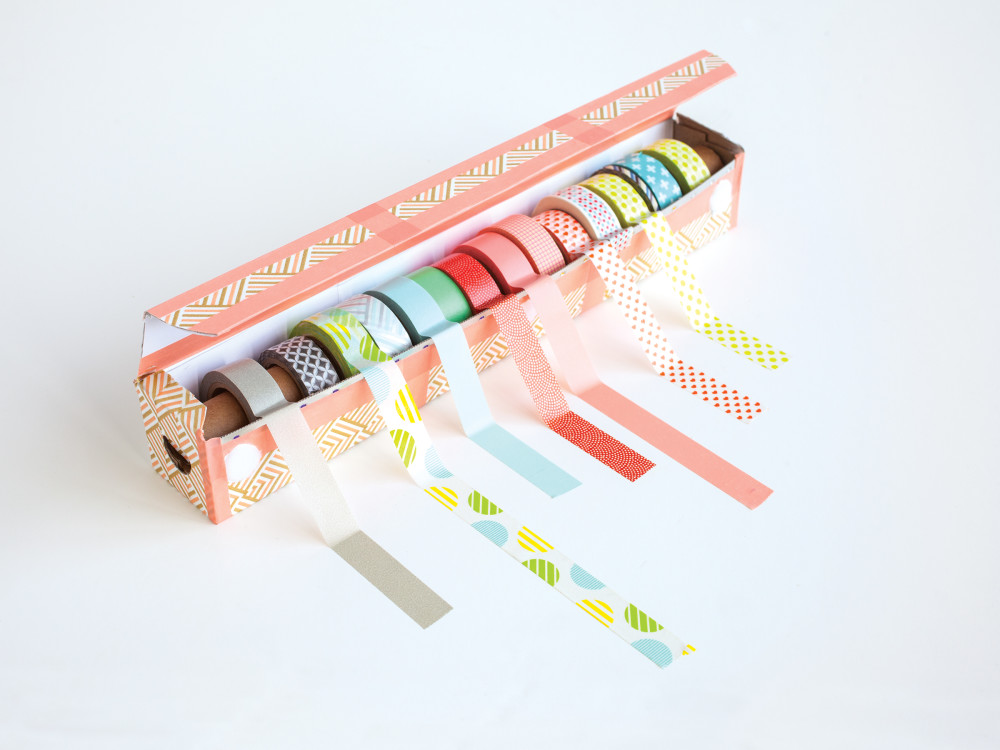
6. Slide the washi tape rolls onto the empty tube and store them inside the box. Pull the washi tape out and fold it over the serrated lip, so you can trim the tape as you dispense it.
Print or save it for later:

Washi Tape Dispenser
Ingredients
- An empty plastic wrap or aluminum foil box and tube
- Paintbrushes
- Acrylic paint
- Washi tape
- Scissors
- Decoupage medium
- Adhesive Velcro dots
Instructions
- Paint the entire box, inside and out. Let it dry.
- Press strips of washi tape vertically or horizontally across the outside of the box, covering it completely.
- Use scissors to trim the ends of the tape at the edges of the box.
- Paint two coats of decoupage medium over the box, then let it dry.
- Apply three evenly spaced adhesive Velcro dots across the inside of the box flap, with their matches aligned below the serrated edge to close the box.
- Slide the washi tape rolls onto the empty tube and store them inside the box. Pull the washi tape out and fold it over the serrated lip, so you can trim the tape as you dispense it.
Article contains affiliate links. Thank you for helping to support our site by purchasing through our affiliate partners.


This is such an ingenious idea! I’ve pinned and tweeted!
Have a great week!
Kate | TheOrganizedDream.com
I need one of these today! I was just going through my washi tape stash last weekend and what a mess!
If you have time, I would love for you to come and share this post over at the Really Crafty link party that is live right now! (http://keepingitrreal.blogspot.com.es/2016/01/the-really-crafty-link-party-3-is-live.html).
Thank you for linking up this week! Pinned!
This looks so awesome I love this idea, thanks for sharing on Keep It Simple.
Brilliant!!! And so pretty too.
This is the best idea that I have seen in a long time. I swear I have washi tape roles just about everywhere, Im going to have to make one of these asap!
I need to make one of these for all my washi tape. I might have an addiction 🙂
I need to make this, I have so many washi tapes its silly! I just discovered your lovely blog via the Home Work link up!
http://www.hellonancy.co.uk
What a brilliant way to use what you have (and we all know we have too much washi tape laying round at least I do!!). Pinning!
Awesome idea:-) Love it:-)
Wow, what a great idea!!I love this!! Perfect for recycling the package and storing the tape! Would love to see you at my craft party which is new Thursdays at 7pm EST. I pin every instruction post! Have a great rest of the week!
What a pretty upgrade to the heeeeeedeous original packaging. I will definitely be making this! 🙂
I loved Amy’s book and YOUR dispenser box is over the top cute! And what a great way to organize washi tape too!
Thanks so much for sharing your creativity with us at Project Inspire{d}!
Oh my gosh! I buy my vitamins from Andrew Lessman and they come in a huge plastic container which is where I store my Washi Tape. This is a much better way to store all of them and we are almost out of aluminum foil so I can use the box. Now they won’t be one on top of another! Great idea!
Wow, what a great idea! This post was so popular at our Wonderful Wednesday party last week that it will be featured on the next one (we go live Tues evenings 7pm ET) Congrats! ♥
New follower here 🙂
Sinea♥
Washi Tape Dispenser,now thats the neatest idea ever.Thanks
I love Amy’s book! So many great ideas in there. I have been wanting to try this project for my most used washi tapes. Thanks for linking up to The Creative Exchange link party. We are featuring your project this week!
xo,
Laura
Thank you so much for featuring the project Laura! I agree, Amy is AMAZING. Love her!
Best Wishes,
Crystal