


How To Use a We R Memory Keepers Foil Quill With Your Cricut
This post and the photos within it may contain Amazon or other affiliate links. If you purchase something through the link, I may receive a small commission at no extra charge to you.
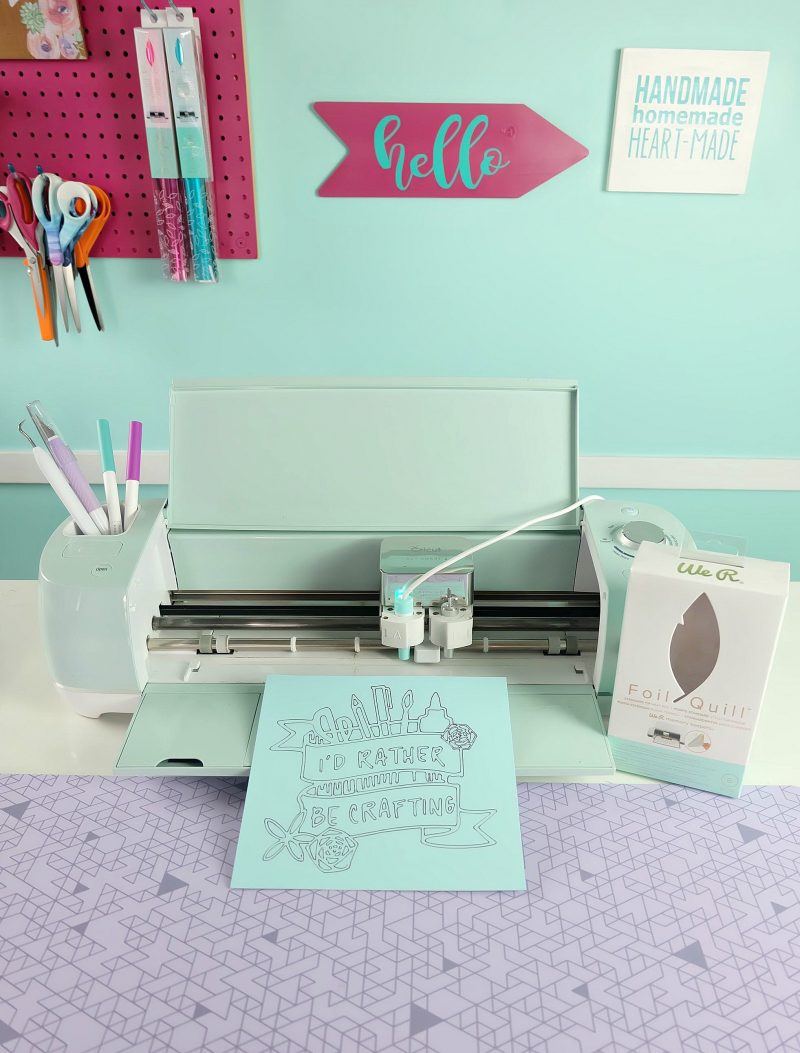
We’re sharing how to use a We R Memory Keeps Foil Quill with your Cricut! In this post you’ll find step-by-step photos and instructions from unboxing, to setup, to completing your first Foil Quill project! It’s foiling made easy!
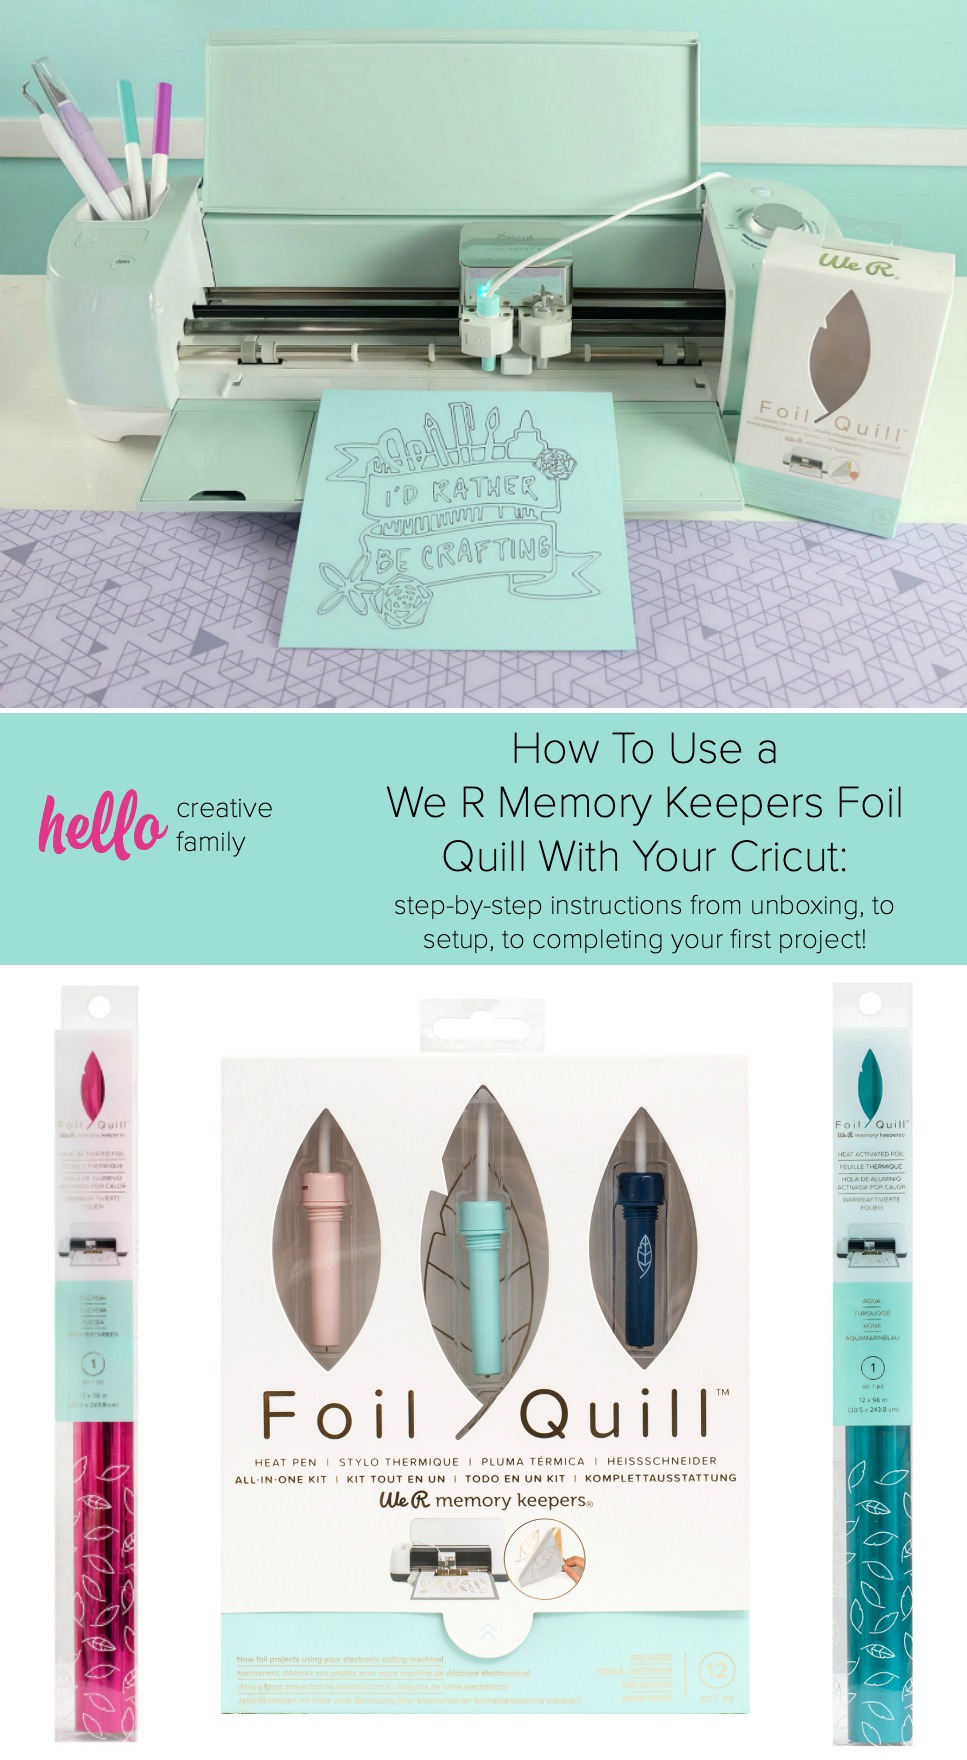

If you love crafting and spend as much time on Instagram stories as I do, chances are that you have seen the new We R Memory Keepers Foil Quill. This amazing little tool turns your Cricut (or other cutting machine) into a foiling machine! I have yet to see the Foil Quill in a Canadian craft store, so last weekend I convinced The Hubs that we needed to take a trip “down south” and I hit up the closest Joann store.
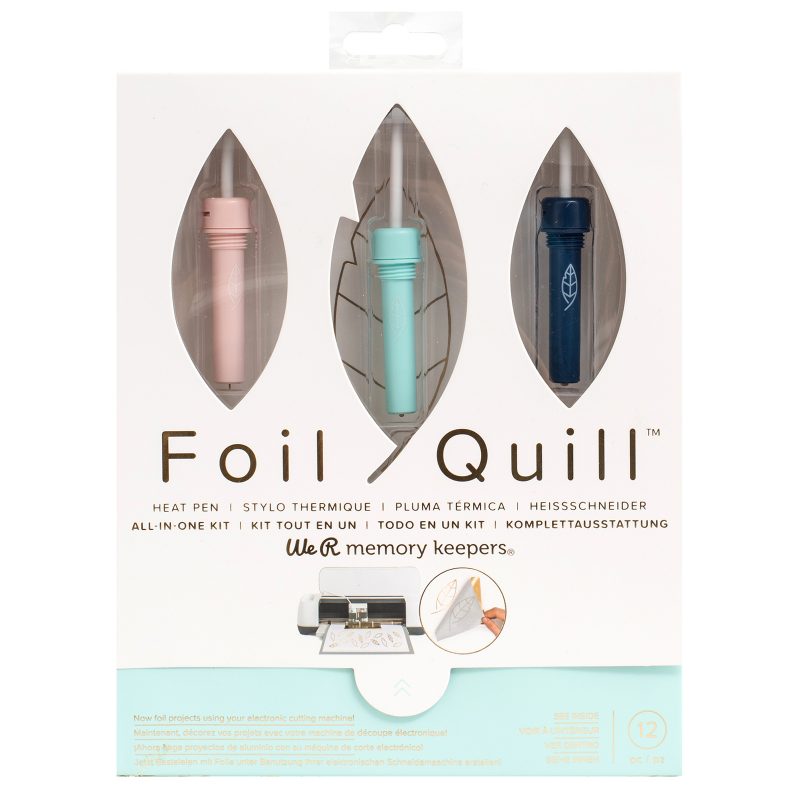
The Foil Quill comes in three options, a fine tip, a standard tip, a bold tip and there is also an option of getting all three tips in an “All In One Kit” which also comes with 3 rolls of foil.
UPDATE NEW CRICUT FOIL TRANSFER TOOL:
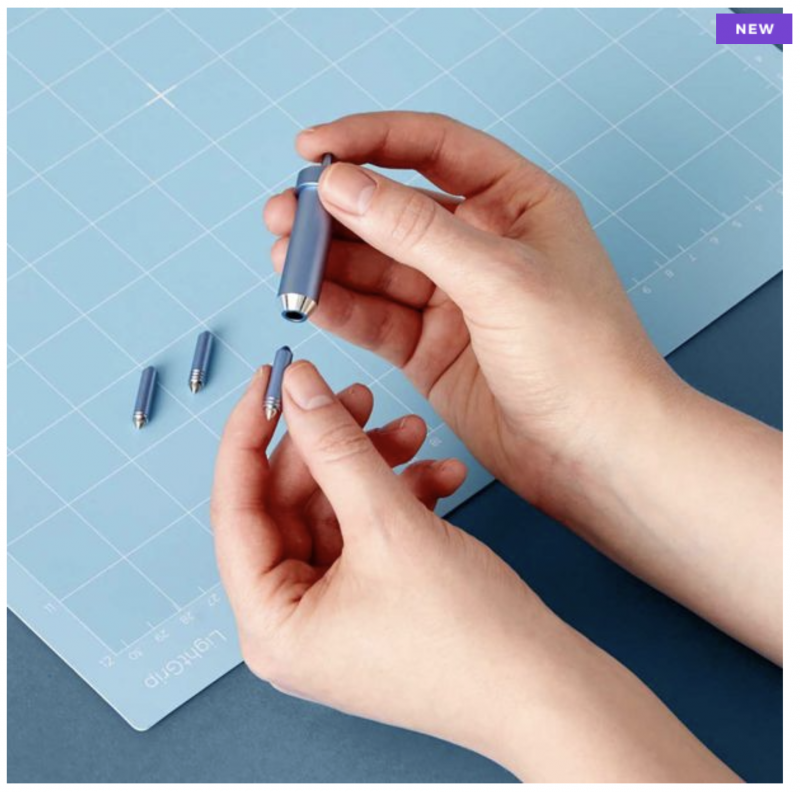
Cricut just launched their very own Foil Transfer Tool that works with both the Cricut Maker and the Cricut Explore! Yay! Their tool used pressure instead of heat. It comes with a housing and three interchangeable tips– Fine, Medium and Bold. I haven’t had a chance to play with it yet (once I do I’ll do an updated post), but my friends who have used it say that it works beautifully. At just $39.99 it’s a great deal. You can find the Cricut Foil Transfer Tool here.
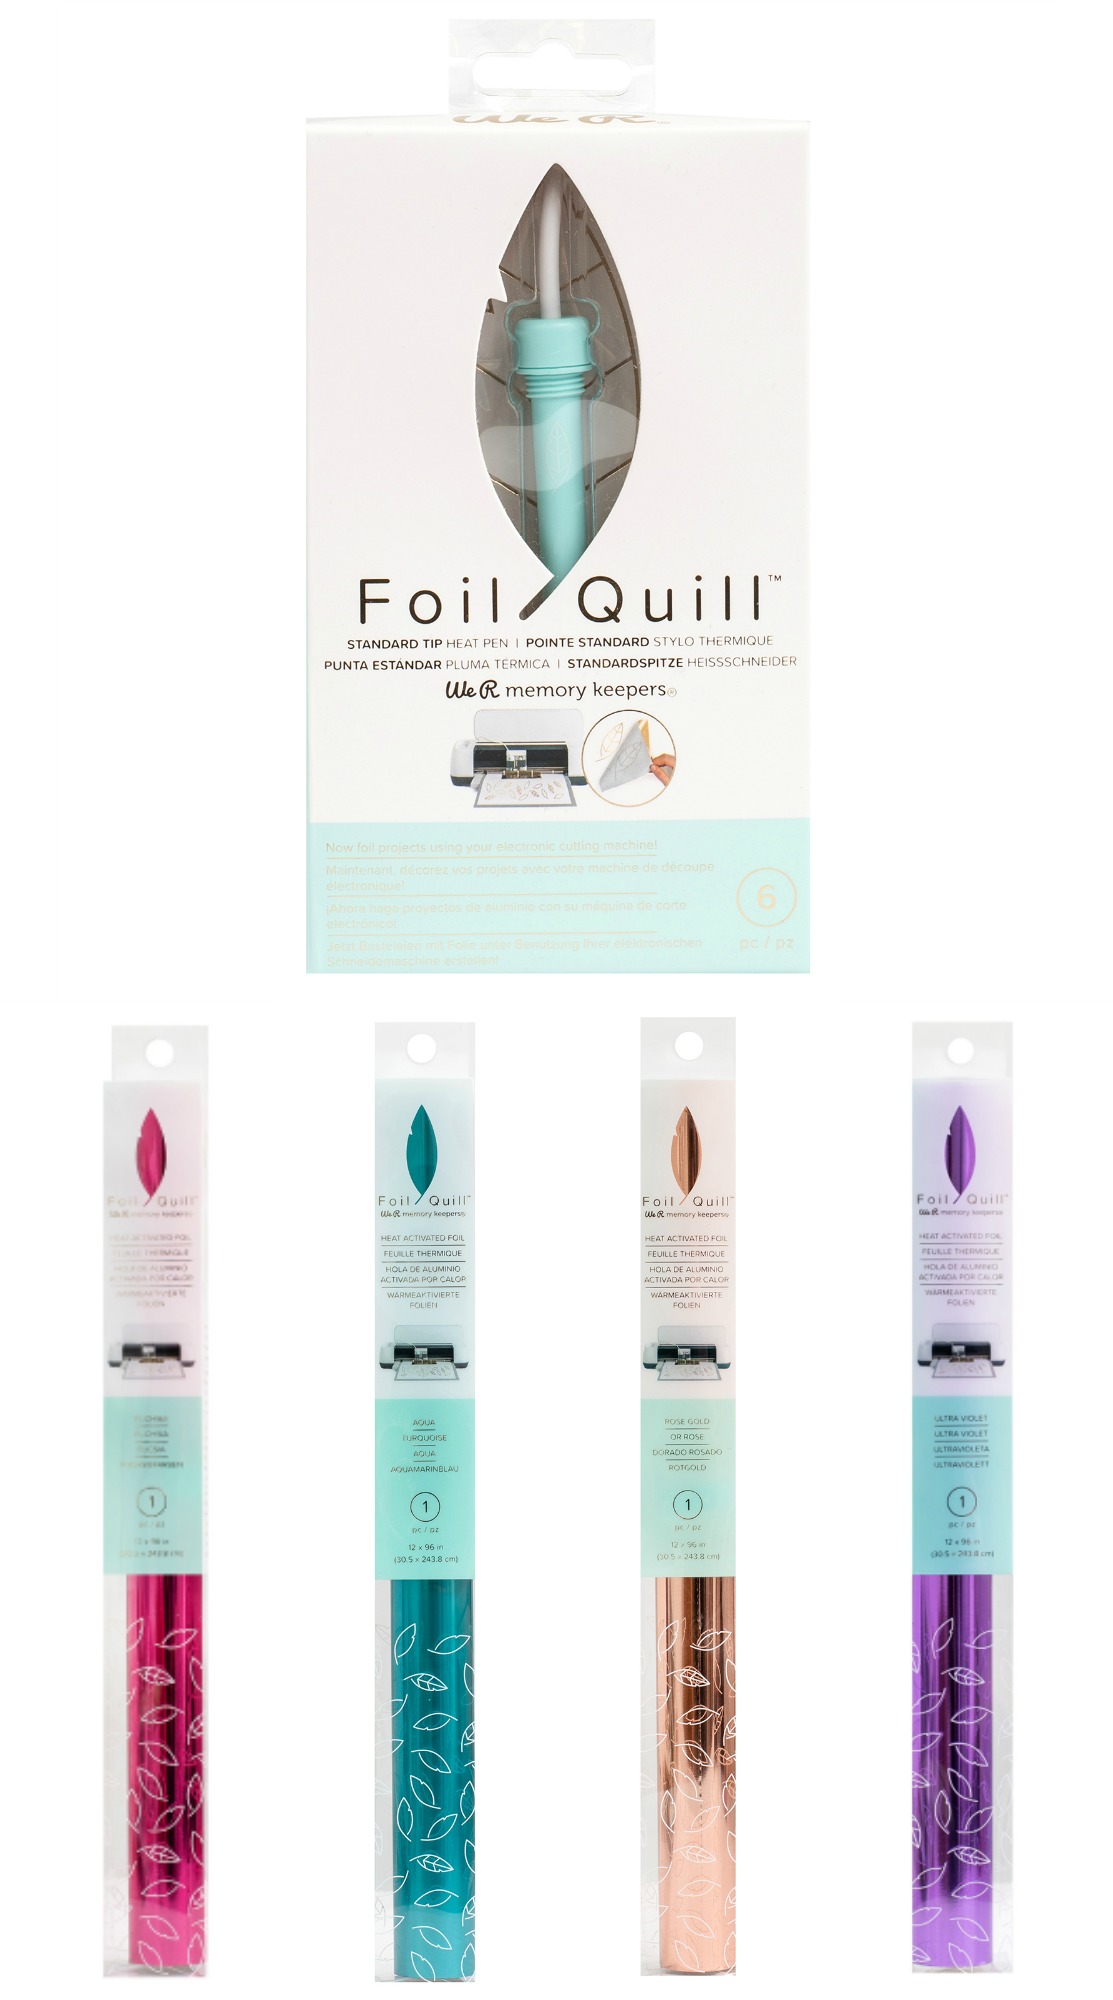
Now back to the Foil Quill! My Joann store was out of the All In One Kit so I decided to go middle of the road and picked up a standard tip Foil Quill along with four rolls of foil– Aqua, fuchsia, purple and rose gold. You can find all these plus other colors here.
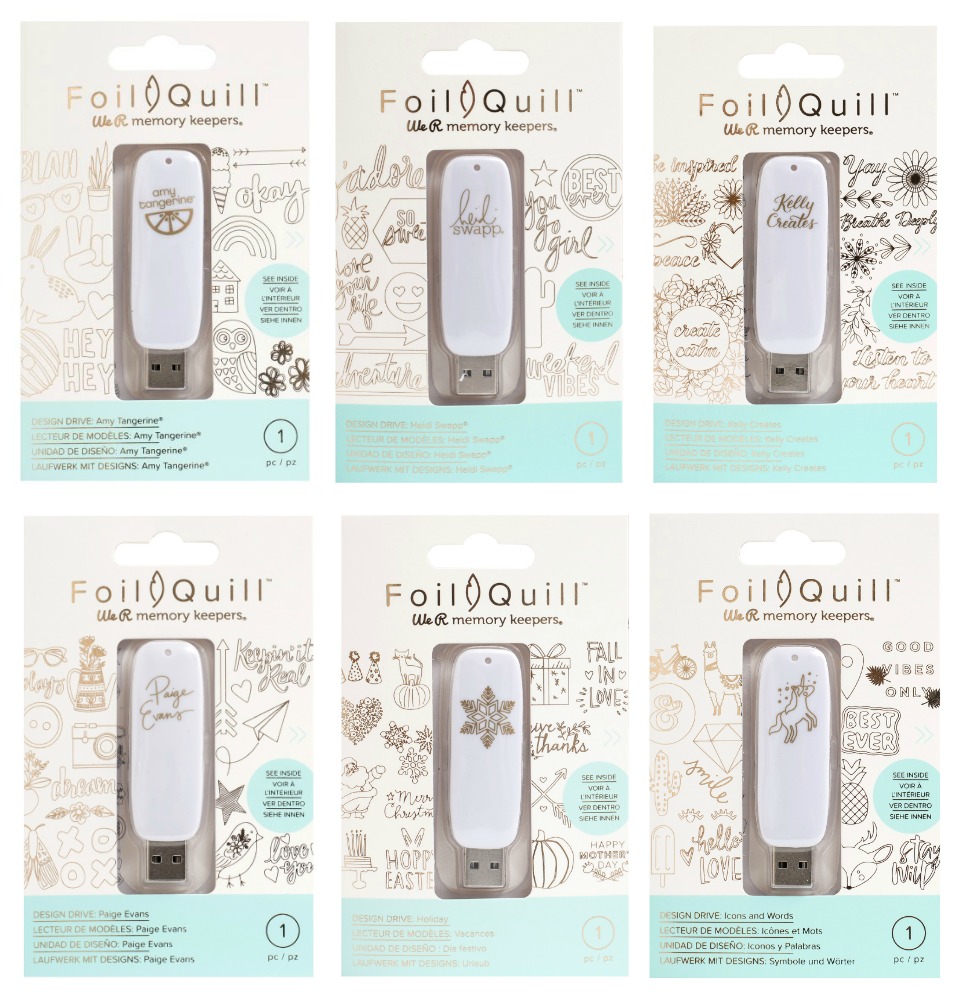
Something that I didn’t get, that I’ll probably purchase later is the Foil Quill USB Drives. You can find the full selection of them here. They have designs specifically created to foil perfectly with the Foil Quill from Amy Tangerine, Heidi Swapp, Kelly Creates and Paige Evans as well as a Holidays collection and an icons and words collection. Also available at the store I went to was Foil Quill Placement Tape which I’ve heard is very similar to washi tape or painters tape. I didn’t end up purchasing because I have a a few rolls of washi tape in designs I’m not crazy about that I’m going to use up first.

The thing that I had really wanted to buy, but that was out of stock when I went to my store was these packs of Foil Quill foil sheets. They are 4″ X 6″ in size and come 30 to a pack. I think that they would be perfect for smaller projects. The fact that they are precut is super convenient plus you get to try out a few different colors in three of the packs. You can find the full color range of them here.

Pro-Crafter Tip: If buying Foil Quill Products at your local Joann Stores, make sure you pre-order online and do in-store pickup. Their FAQ says that if you order before 5pm you can pick up the same day in-store. The Foil Quill products fall under the cutting machine umbrella that is excluded from coupons, but they are a few dollars cheaper online than they are in the store. Each item I purchased was $3.00 more in store than it was online so I would have saved $15 if I ordered online and did in-store pickup. When I bought mine it wasn’t eligible for the Joann coupons but I had a reader who works at Joanns write me and tell me that you can use it now! Yay!
Prefer shopping on Amazon? Find all of your Foil Quill products here.
Bought your Foil Quill? Let’s get started! Here’s how to use your Foil Quill with your Cricut!
Today I’m going to walk you through how to use a We R Memory Keepers Foil Quill with your Cricut! The Foil Quill comes with attachments for 4 different machines. It works with Cricut, Silhouette, Brother and Sizzix cutting machines. I’m going to walk you through how to use it with the Cricut but if you have another cutting machine I think you’ll find these instructions helpful too. The process is pretty similar.
You can use your Foil Quill with any Cricut that has a pen attachment so the Cricut Maker, Cricut Explore Air 2, Cricut Explore Air and Cricut Explore One will all work. (Want to buy a Cricut? The previous links are to buy direct from Cricut or buy through Joann Stores here.)
Ready to get started? Let’s go!

If you purchased the Foil Quill Standard Tip this is what your box will look like (front above, back below).
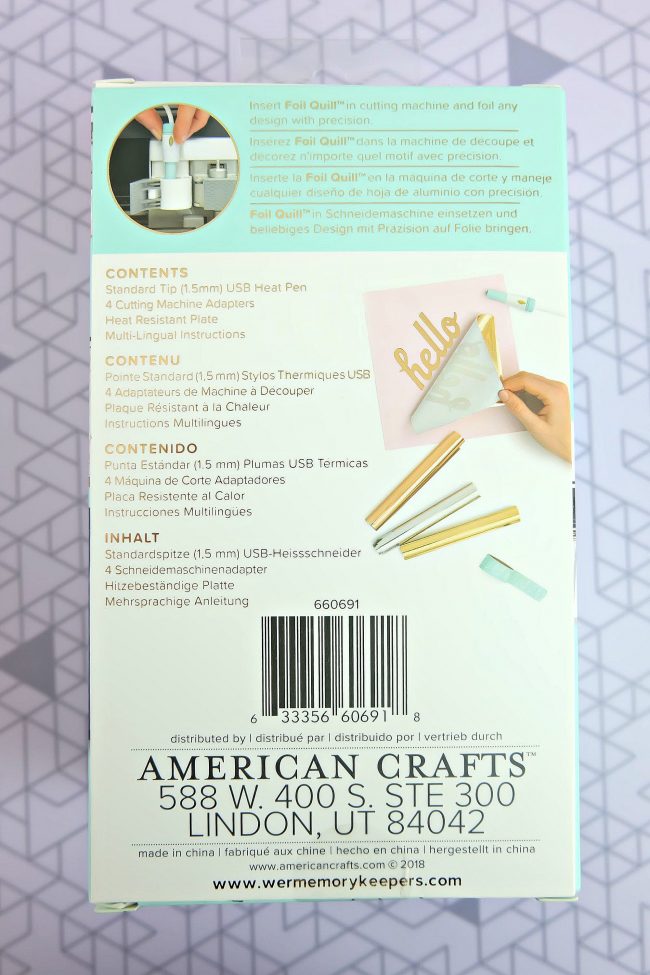
When you open it you will find an instruction booklet, the foil quill, 4 adaptors (for 4 different types of cutting machine– A is Silhouette, B is Brother, C is Cricut and D is Sizzix) and a metal protective plate.

The first thing you will want to do is to select the adaptor for the type of machine you are using, in our case the C adaptor for the Cricut and slide it on the Foil Quill tool. You’ll then screw it on until it is fingertip tight.

Next you will want to pop the pen adaptor out of your Cricut. My pen adaptor has been in my machine since the day I got it and I actually didn’t know that it could be taken out. You will want to reach underneath the pen holder and press up firmly but gently.

The adaptor will pop up and you can pull it out.

Now that your pen holder is empty…

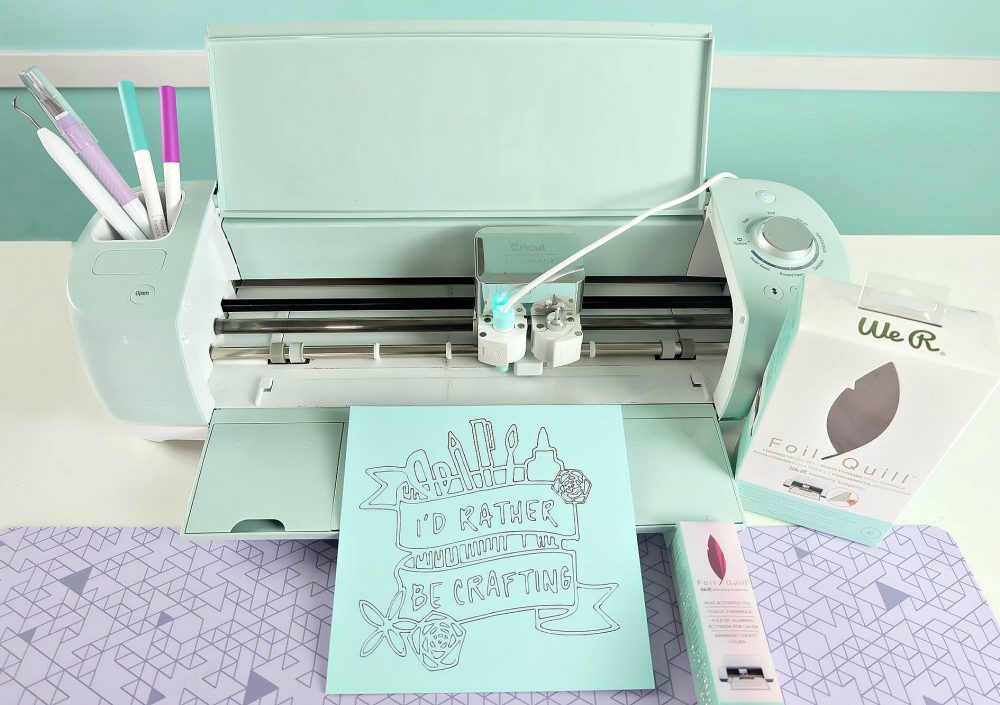
You can insert your Foil Quill tool. Insert it into the holder and then close the Cricut clamp to lock it in place.

Next you want to plug in your Foil Quill. The cord isn’t super long so you’ll probably want to have an extension cord pretty close with a USB adaptor plugin or you can plug it into your laptop, or if you have a Cricut Maker you can plug it into the USB adaptor in the machine.

Once it’s plugged in a light will appear on your Foil Quill. The Foil Quill comes with a metal protective plate. Insert this under the tip of your Foil Quill and let your Foil Quill heat up for 5 minutes.

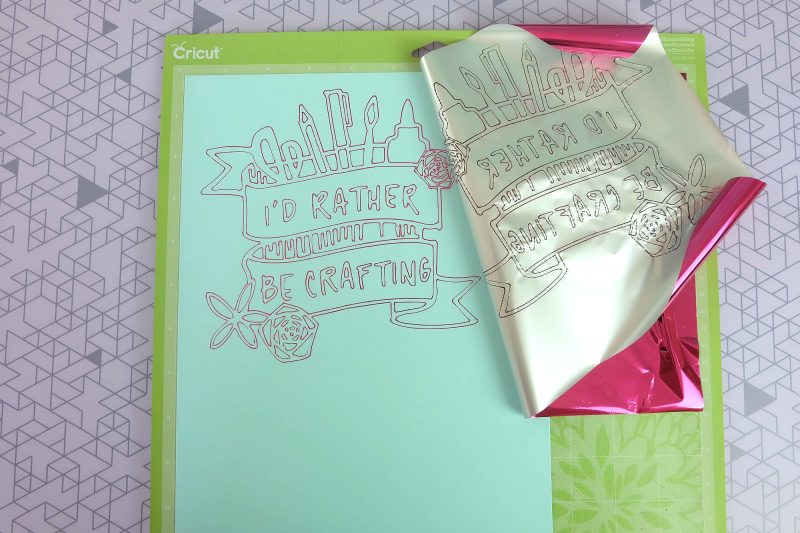
While your Foil Quill heats up you can prepare your design and your cutting mat. I decided that my first foiled piece would be an I’d Rather Be Crafting design from Cricut Design Space which is part of the Makers Gonna Make Cartridge. You can find my cut file for this project here (make sure you log into Cricut Design Space before clicking).

Next you want to click on your image so it is selected and click on the linetype box in the top toolbar. Change your linetype from cut to draw.

Everywhere that you see a black line is where your Foil Quill will “draw” leaving behind foil. I always like to change the color of my line to the color that I’ll be using for my project just to see what it will look like (you can do this in the little square box next to Linetype). Also this is the time that you’ll want to size your design for your project. Next click “Make It” in the green box in the upper right hand corner of your screen.

Position your project where you want it on the cutting mat (the instruction book suggests leaving a 1 inch margin on all sides). Then click continue

Select your machine from the drop down menu and then your cutting material.

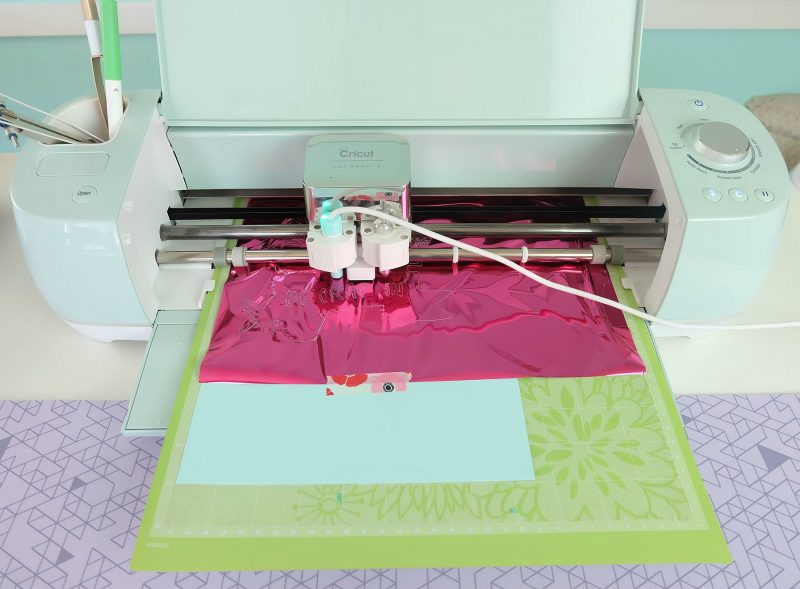
Lay the material you are foiling on your cutting mat.

Cut your foil to size (I used my Cricut TrueControl Knife and Cutting Ruler for this).

Lay your foil over your project and tape it so that the edges are pulled snuggly over your project (I have now started taping on all 4 sides).

Remove the metal heat plate and load your cutting mat into the machine and watch the Foil Quill work it’s magic.
If you are cutting your material using your Cricut, pause your machine after it’s done foiling and remove the foil before it starts cutting. If you are not cutting your material, remove your cutting mat from the machine, remove the tape and peel back your foil to reveal your design.
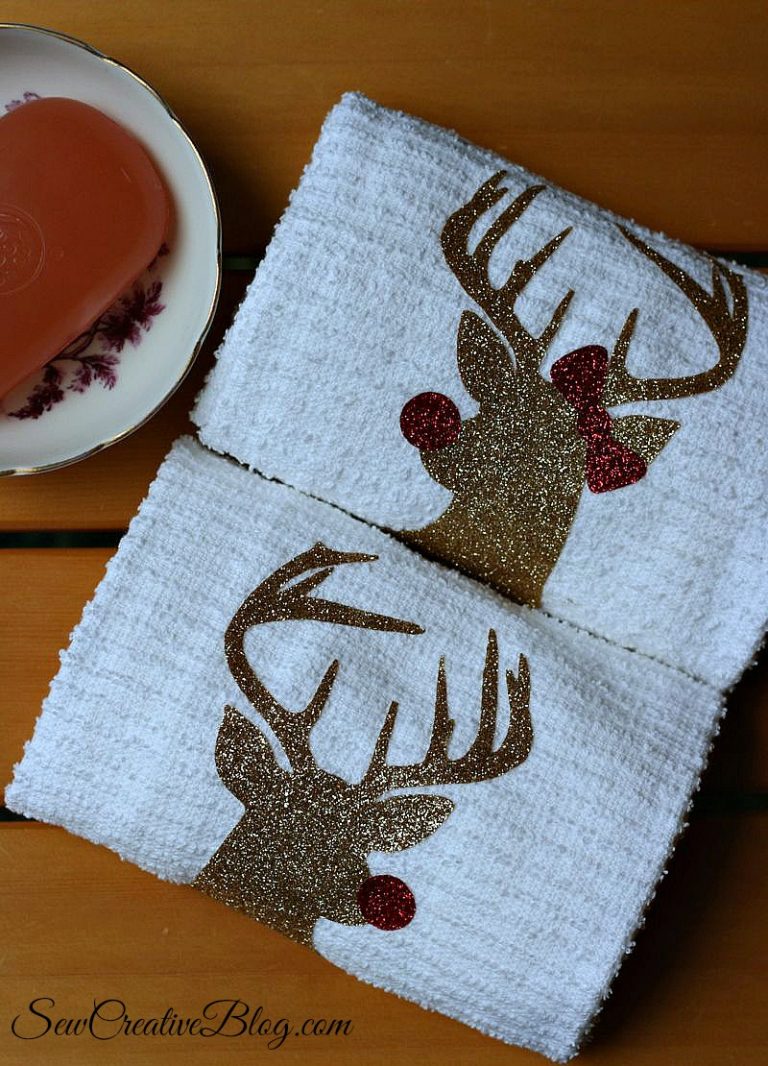
The possibilities with the new We R Memory Keepers Foil Quill with your Cricut are endless! I have already created planner stickers for my Happy Planner and can’t wait to think up more ideas of what to foil on to share with you!
I hope that these step by step instructions show you just how easy it is to Foil Quill with your Cricut and that you pick one up of your own! I can’t wait to share more foil quilled projects with you and to hear what you all think of We R Memory Keepers cool new tool!
Have a question about the Foil Quill? Ask it in the comments and I’ll do my best to answer:
Q: There is a rumour that using the Foil Quill voids your warranty for your cutting machine. Is this true?
A: (This question has been asked on the We R Memory Keepers YouTube channel and this was We R Memory Keepers official response.) If you’ve had your machine for over a year, your warranty is most likely expired anyway. That being said, we’ve extensively tested Foil Quill on all the machines it’s compatible with and never had any problems. However, if you do encounter any issues, please contact our customer service department and they’ll take good care of you: acinfo@americancrafts.com.
Q: Can you use ANY brand of heat activated foil? I have LOADS of Heidi Swapp with the Minc machine, but love the small line designs you can do with the Quill.
A: Foil Quill works best with Foil Quill brand foil because we optimized it to get customers the very best transfer. It may work with other heat transfer foils, but we can’t guarantee a good transfer. Heidi Swapp Minc Foils are toner activated, so they don’t work with the Foil Quill.
Q: I’m a photographer, and I was wondering if it were possible to put my photography name directly on the prints using this method with my Cricut?
A from my contact at We R Memory Keepers: Hi Crystal! Yes, I’ve personally foiled on a photo before successfully. You can see the results in the video here.
[hr gap=”30″]I hope you liked this tutorial on How To Use A Foil Quill with your Cricut! Tell me… What’s the first thing you’d foil with a We R Memory Keepers Foil Quill? Do you have any questions about the Foil Quill that I can answer for you, or ask We R Memory Keepers to answer for you? Ask them below! [hr gap=”30″]
Like this post? We’d love for you to pin it for later!
Looking for even more things to make with your Cricut including Cricut beginner project ideas? We have them all in one handy place for your convenience! Find our Cricut Section Here.


Hi Crystal
Thanks so much for these instructions! Had everything figured out but couldn’t get the pen adapter out – was
ready to give up. Found your instructions and somehow it worked. My finished project (card) has to be redone – I placed the cardstock on the mat in the wrong place – oh well – but the foiling looks great..
Hi Ruth,
Getting the pen adaptor out was the biggest struggle for me too! I spent a good chunk of time googling trying to figure it out. I’m so glad that you found my site and that it helped! The Foil Quill is a super fun tool. I hope it brings you tons of crafting fun!
Best Wishes,
Crystal
Great information!!! I saw this at Joann and was about to drop money on it….(still about too :)…however, can you use ANY brand heat activated foil? I have LOADS of Heidi Swapp with the Minc machine, but love the small line designs you can do with the Quill. Or am I going to make a small investment in the quill pens, some foil and a couple of design cartridges? Thanks so much!
Hi Vicki!
Thank you so much for visiting! Great question! I’ve just reached out to We R Memory Keepers to get an answer on that for you! I’ll let you know as soon as I hear back!
Best Wishes,
Crystal
Hi Vicki,
I heard back from We R Memory Keepers. Here is their answer:
“Foil Quill works best with Foil Quill brand foil because we optimized it to get customers the very best transfer. It may work with other heat transfer foils, but we can’t guarantee a good transfer. Heidi Swapp Minc Foils are toner activated, so they don’t work with the Foil Quill.”
I hope that helps!
Best Wishes,
Crystal
I’m a photographer, and I was wondering if it were possible to put my photography name directly on the prints using this method with my Cricut?
Hi Tasha,
Thank you so much for visiting. This is a great question. I checked in with my contact at We R Memory Keepers and here is their response:
“Hi Crystal! Yes, I’ve personally foiled on a photo before successfully. You can see the results in the video here: https://www.youtube.com/watch?v=GLdK3LadcpU
In my experience it works best on professionally printed photos on semi-gloss or matte photo paper. I did have to print several copies to test speed, pressure, etc. I recommend using the standard size tip for best results, and use less pressure than you would for a sheet of card stock to avoid scratching the photo. Hope that helps!”
Please let me know if you have any other questions!
Best Wishes,
Crystal
The Cricut adapter doesn’t fit in my cricut explorer.
Hi Carol,
I’m so sorry you are having a hard time with it. Just to confirm, did you remove the pen adaptor from your machine? In this post it’s the photo right below the photo of the Foil Quill with the C adaptor on it. I hadn’t even realized that the piece was removable from my Cricut, but you need to pop it out before the foil quill will fit in the pen spot.
I hope that helps. If not, We R Memory Keepers has wonderful customer service help. I’m sure they’d be happy to walk you through it.
Best Wishes,
Crystal
I have the cricut explore one. How to install adapter? All videos seen are not for cricut explore one.
Hi Linda,
That’s a great question. I’ve never used the Cricut Explore One. It has the ability to “write” using a pen though correct? If so, you would just pop it in the same slot that you use for your pen, but without the pen adaptor in. Let me know if that works for you!
Best Wishes,
Crystal
Hi!
I’m just wondering if the foiling process affects the other side of the material you’re working with? Specifically I’m thinking of card stock as I’m hoping to foil my wedding invites to save money on printing costs. I just don’t want to damage the important information on the other side of the paper.
Thanks!
Hi JJ,
Thank you so much for visiting and for your question! The foil definitely will not “bleed” through to the back of your invitation. Depending on the thickness of your cardstock and the pressure you are using you also should not be able to see the indents from the foil quill on the back of your cardstock (unless you used a really high pressure setting). Wedding invitations would be a great DIY with the foil quill and Cricut! Congrats on your wedding!
Best Wishes,
Crystal
Is there a way to foil a small imagine like a coffee cup or fill in draw images?
Hi Courtney,
Great question. You can definitely foil small images (just change the linetype of your image to draw and size it to whatever size you would like it to be). There isn’t a way to color it in though. However We R Memory Keepers now has a foil quill pen that you could try using to color in by hand. I don’t know if it would give it a solid look but might be worth a try. You an find the pen here: https://amzn.to/2RbmpMJ
Best Wishes,
Crystal
Hey! I was wondering if there was anyway to make foiled stickers with the foil quill.
Hi Rachel,
Absolutely! You can definitely use your Foil Quill on sticker paper. Cricut makes some great printable vinyl and printable sticker paper. It can be found here: http://shrsl.com/22k4b
Best Wishes,
Crystal
How does one use the foil quill usb drive stick with the cricut explore 2 or are they designed to be used with the cricut maker only, being that it has a USB drive included on it?
Hi Marcie,
Great question. I haven’t actually used one of the Foil Quill usb drives myself yet, however I believe that you put the USB into your computer, save the designs and then upload them into Design Space. You would then set the linetype to draw and have your Foil Quill draw them. I hope this helps!
Best Wishes,
Crystal
Do you know if there is a way to cut and foil on the same project? I have been searching the internet, but can only find tutorials for the cameo. Thank you!
Hi Laura,
Great question! You absolutely can. The foil quill uses the draw function to draw a design, to cut you want to use the cut function. So let’s say I wanted to do a gift tag with a snowflake on it. In design space I would pick the shape for my gift tag and make sure the linetype was set to cut, then I would find a snowflake design and change the linetype to draw. Next I would place my snowflake on top of the gift tag where I wanted it placed, select both the gift tag and the snowflake and click the attach button. This will have your foil quill draw the snowflake and then your fine tip blade cut the gift tag out of paper. Does that make sense? Let me know if you have questions!
Best Wishes,
Crystal
Hi,
I was wondering if these We R Memory Keepers Foil Quills can be used on the new Cricut Joy?
The Joy uses pen markers and thereform it’s housing should be able to support these foil quils. I’m not sure though which is why I’m asking if this is indeed possible?
Thanks.
L.D.
Hi L.D.
Great question! The Foil Quill comes with 4 different pen adaptors, 1 of which is for a Cricut Maker or Cricut Explore. Unfortunately since the Joy is such a tiny machine, they had to redo the housing for the pen and blade holder and make it smaller. Unfortunately that means that the Foil Quill doesn’t work with it at this time. Hopefully We R Memory Keepers will come out with a housing that works for the Joy!
Best Wishes,
Crystal