


Easy DIY Pocket Animal Shirts With Adorable Sloths
This post and the photos within it may contain Amazon or other affiliate links. If you purchase something through the link, I may receive a small commission at no extra charge to you.
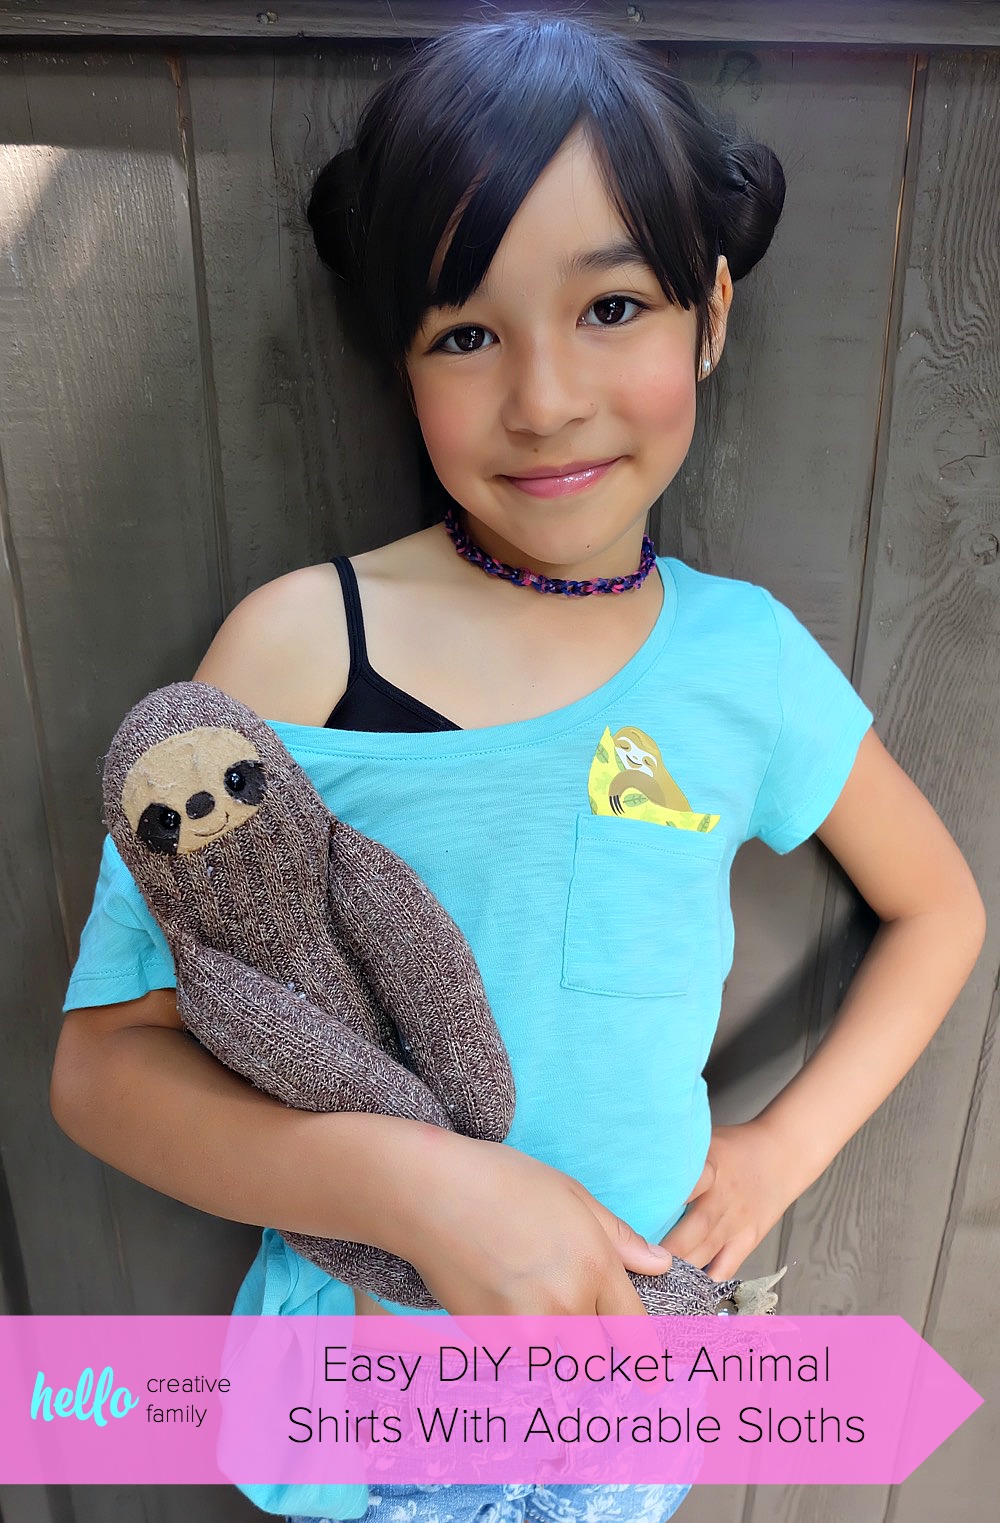
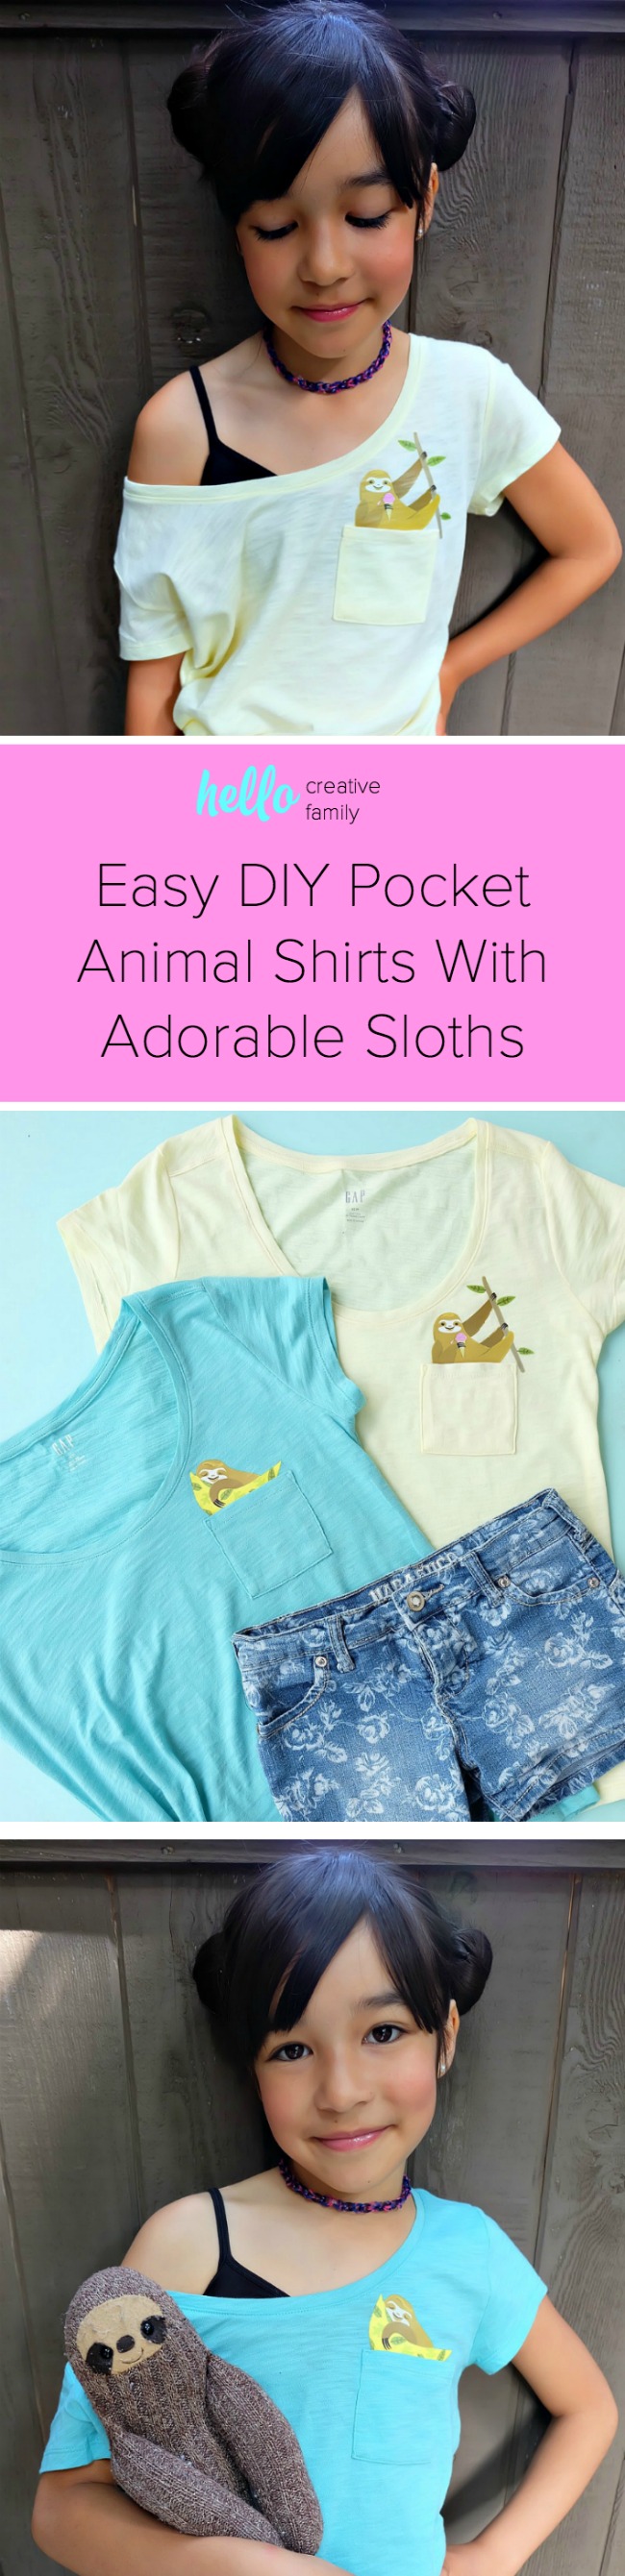
Super cute and easy to make, these DIY pocket animal shirts have an adorable sloth peeking out of the pocket! This craft project takes less than 5 minutes to make and is a great handmade gift! Perfect for back to school fashion, pocket shirts are the latest kids fashion trend! No cutting machine required!

Do you have a friend who you love to craft with? I have a few, but the one who I probably spend the most time DIYing with is Auntie T. She lives a few minutes away from me and the two of us often have impromptu crafting and baking sessions where we lose track of time and either stay up way too late or neglect to realize that dinner time has come and gone. My family and I went on an epic 10 day camping trip recently and when we returned Auntie T and I were anxious to get our craft on.
I don’t think that I’ve ever been a trend starter, but I’m usually an “early trend adopter”, meaning that I’m pretty good at spotting what’s going to be a trend pretty early on and jumping on board with it. Auntie T has a good eye at spotting trends too. Earlier this week she showed me a shirt that her daughter was wearing that had a little character coming out of the pocket. The two of us think that is going to be the new “critter hoodie” trend that our kids were crazy about for the past 2 years, so we decided to create our own DIY pocket animal shirts.
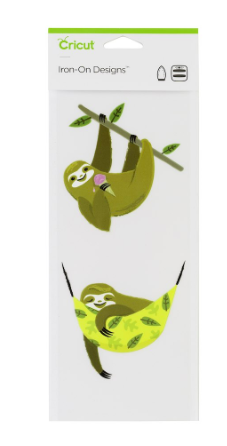
I love making shirts with my Cricut, but this shirt you can make without any special machine. Cricut has come out with a new line of iron-on designs that are too cool for words. All you need is a fabric surface to attach them to and an Iron or EasyPress to attach them! We made our shirts with these adorable Sloth iron ons.
I think the Narwhal and Seahorse would be another adorable idea!  You can find the whole selection of Cricut Iron On Designs here.
Ready to get started on these super simple DIY pocket animal shirts? Read on!
[hr gap=”30″]Easy DIY Pocket Animal Shirts With Adorable Sloths[hr gap=”30″]

Materials:
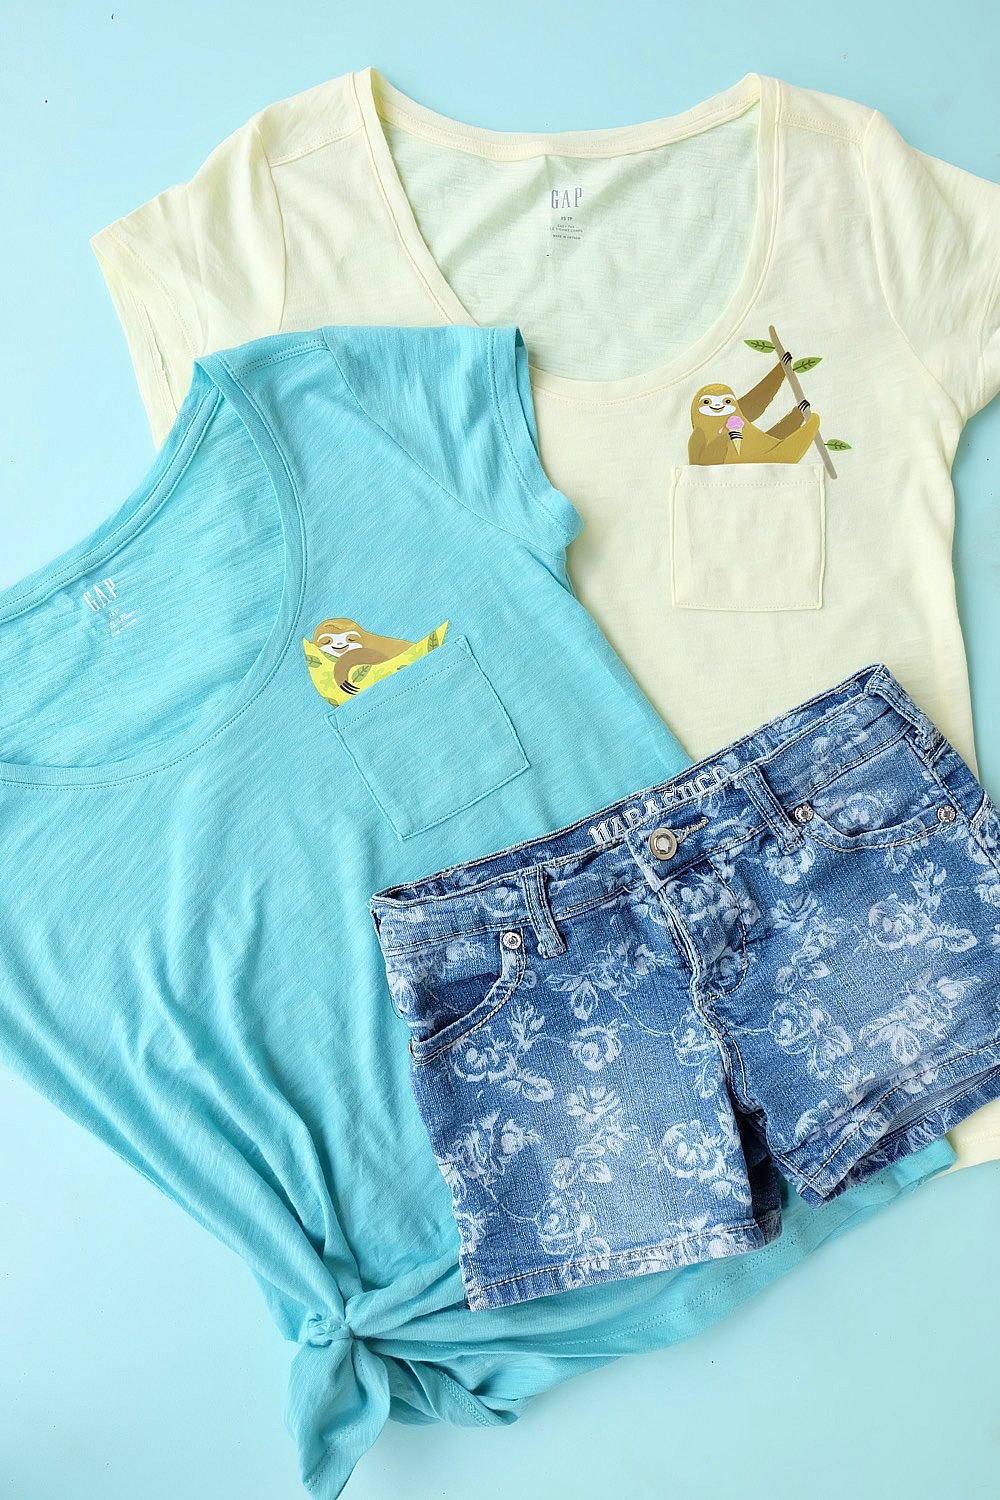
-Shirt with pocket (we got ours at The Gap but there are also a ton available here on Amazon.)
–Cricut Iron On Designs (Find the Sloth iron ons here and the Narwhal and Seahorse iron ons here)
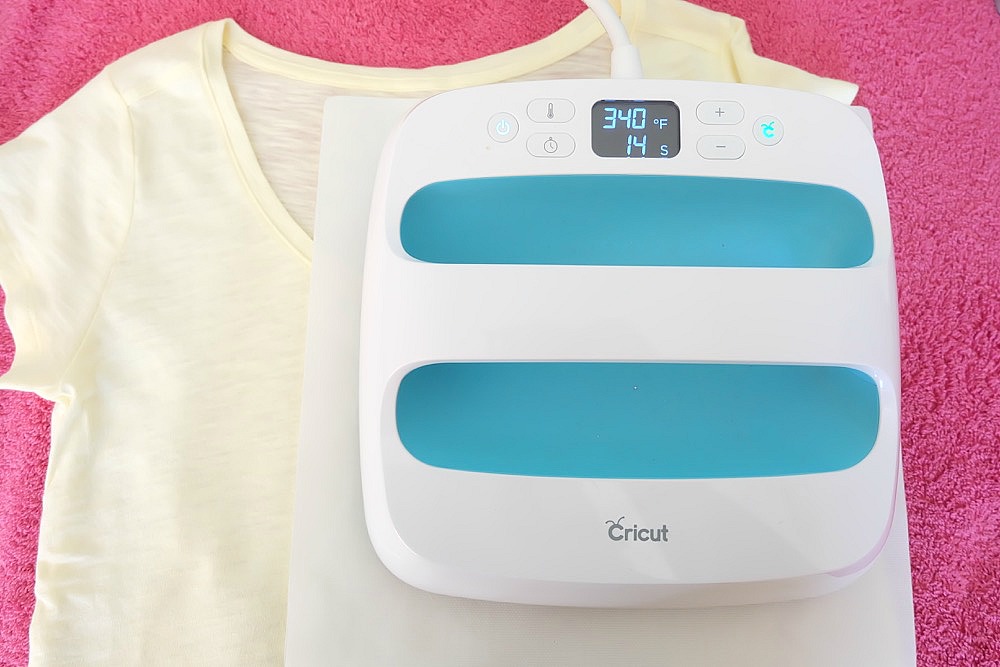
-Iron or Cricut EasyPress

Directions:
Step 1: Cut out the iron on design and figure out the positioning on the shirt. For the sloth in the hammock we ended up cutting away the arm that is hanging below the hammock and the strings of the hammock.

Step 2: If using an iron set your iron to Cotton/Linen and make sure the steam setting is turned off. If using an EasyPress set the machine to 340F. (Confirm heat settings in the instructions that come with your iron on design.) Preheat your shirt for 15 seconds. Place the design onto the preheated material and heat for 50 seconds using medium pressure. Flip shirt over and heat backside of the design for 15 seconds. Cricut suggests letting the design cool before removing the clear plastic lining but I prefer doing a warm peel.
Voila! You have an adorable DIY Pocket Animal Shirt completed in less than 5 minutes!
[hr gap=”30″]Tell me… Have you seen pocket animal shirts before? Would you try making one of these?[hr gap=”30″]
Like this post? We’d love for you to pin it for later!
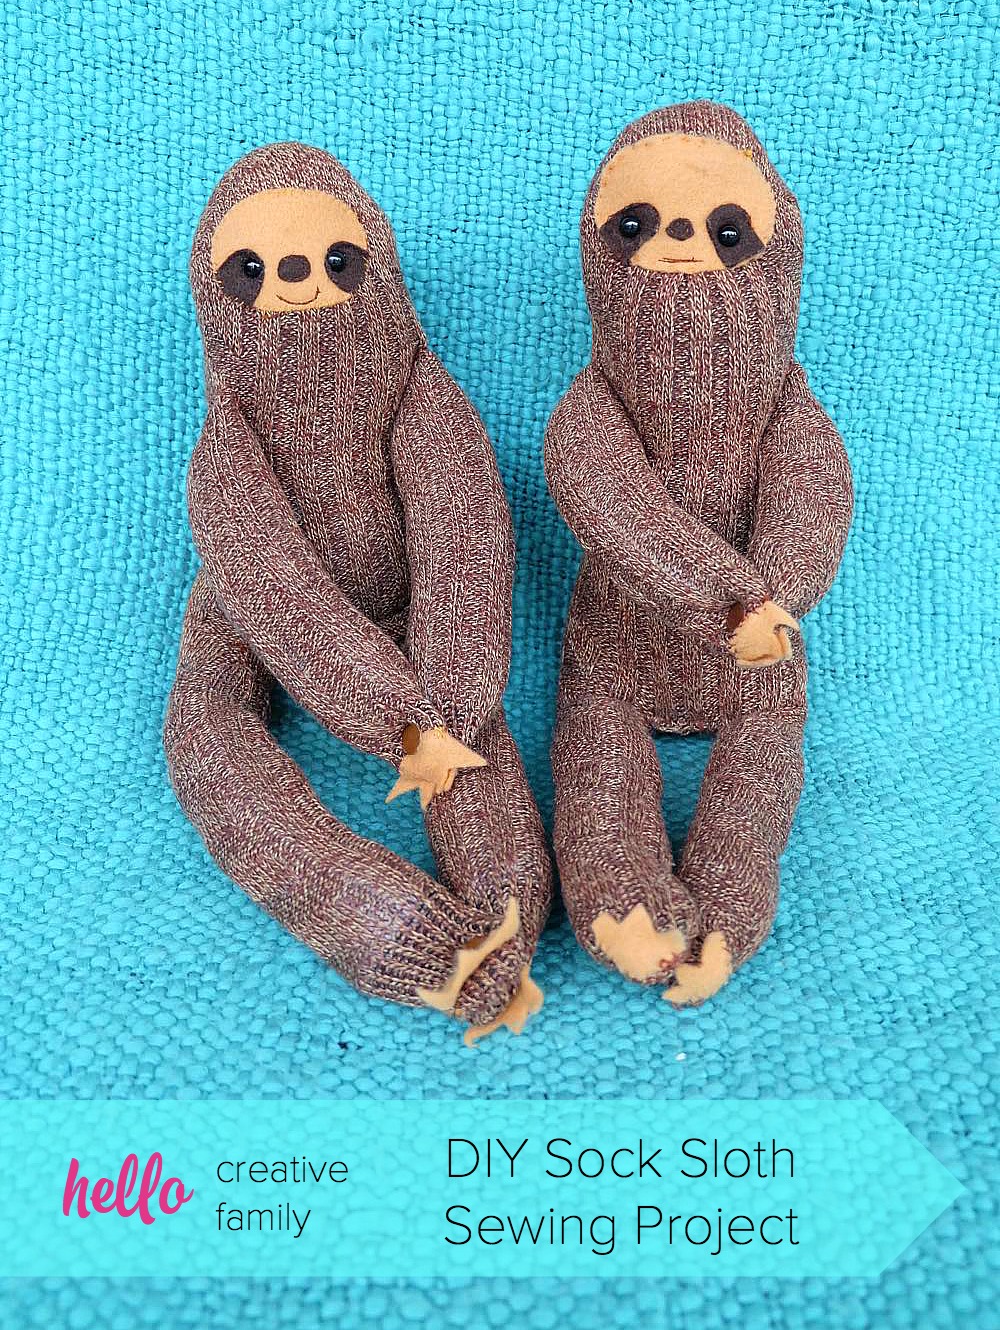
Love Sloths? Check out our DIY Sock Sloth Project!
And our 50+ Sloth Crafts, Printables, SVG’s, DIY’s, Food and Gift Ideas post!

Also make sure you check out our other DIY shirts here!


Really cute idea!