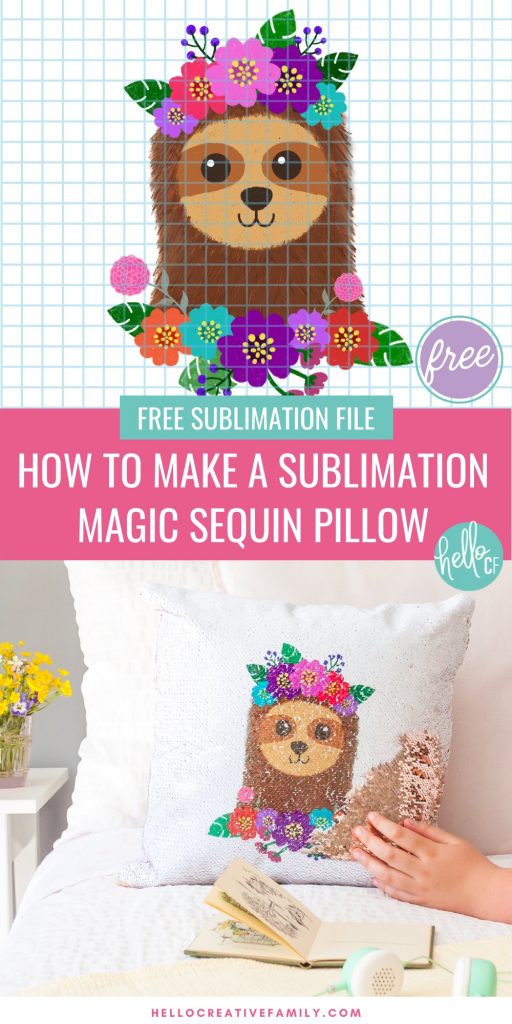
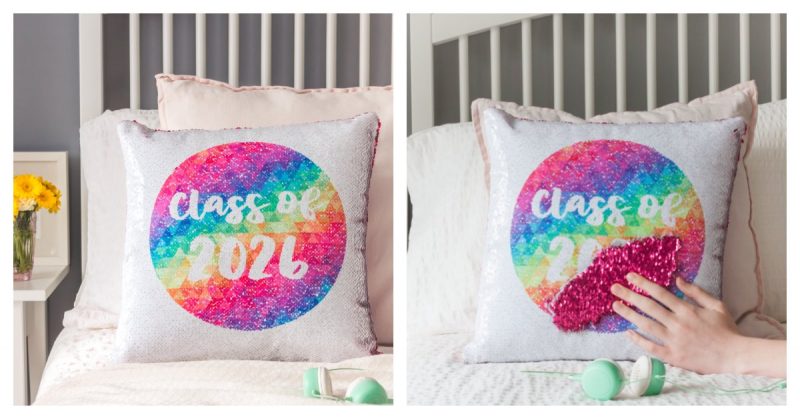
How To Make A Sublimation Magic Sequin Pillow With Free Sloth Sublimation File
This post and the photos within it may contain Amazon or other affiliate links. If you purchase something through the link, I may receive a small commission at no extra charge to you.
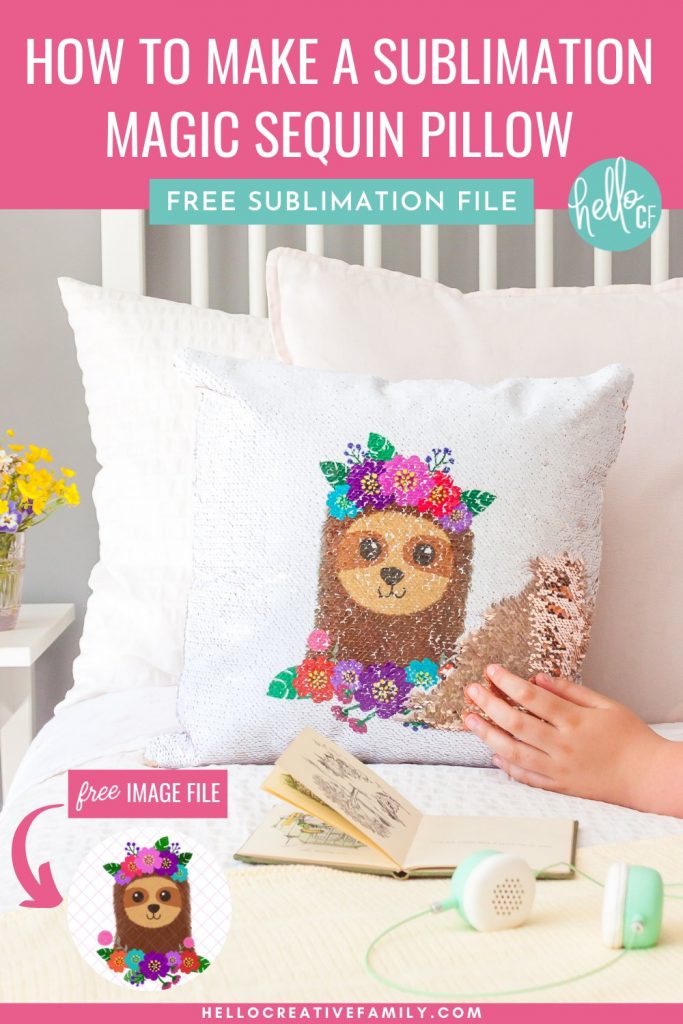
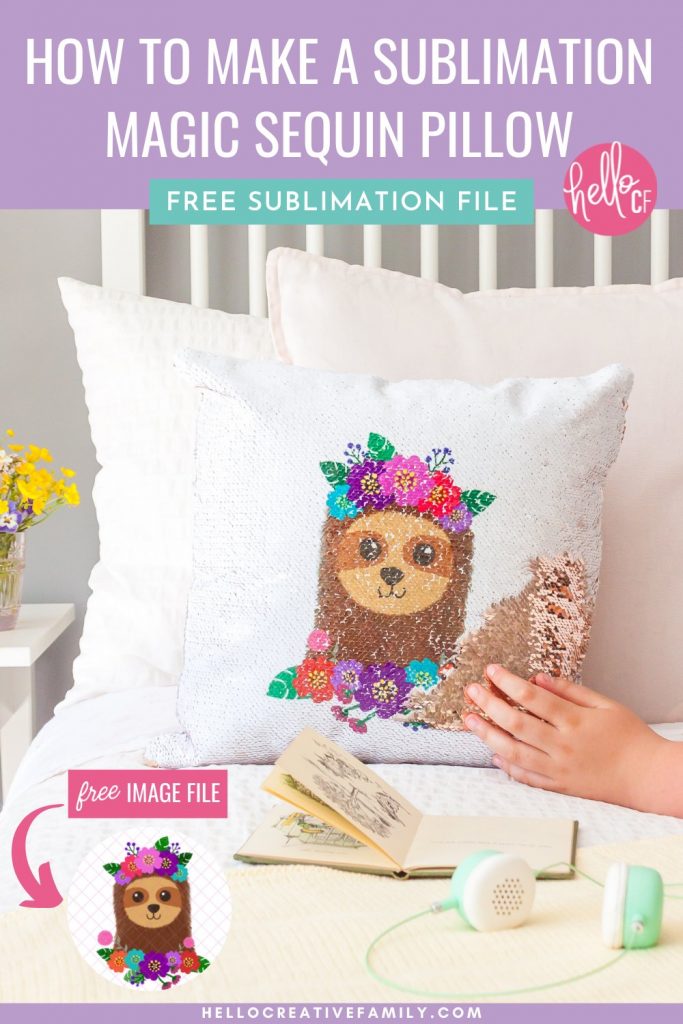
Learn how to make a sublimation magic sequin pillow using an Epson EcoTank printer that’s been converted to a sublimation printer! This step by step tutorial will teach you how to make an adorable DIY sloth pillow using a reversible sequin pillowcase. Includes a free sloth sublimation image for making this adorable sublimation craft project!
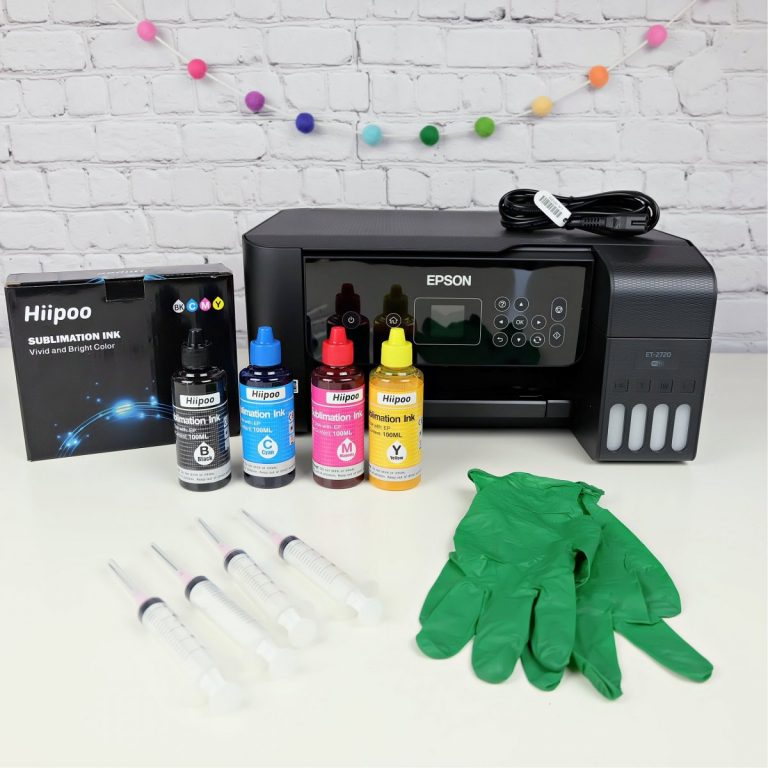
Hi Crafty Friends! Today I’m bringing you a brand new sublimation project that I think you are going to love. As a recap, or incase you are new to Hello Creative Family (if so, welcome! So nice to have you here!) Last month I purchased an Epson EcoTank Printer and converted it to a sublimation printer, using Hiipoo Sublimation Ink. I’ve since been submersing myself into the world of sublimation and trying sublimation printing with all kinds of different sublimation blanks. Spoiler alert– It’s been SO MUCH FUN!
You can read my huge post all about how to convert an Epson EcoTank printer into a sublimation printer here. It also has tons of information about sublimation ink, sublimation paper, sublimation blanks and just about everything you could possibly want to know about getting started with sublimation.

Sloth Sublimation Projects
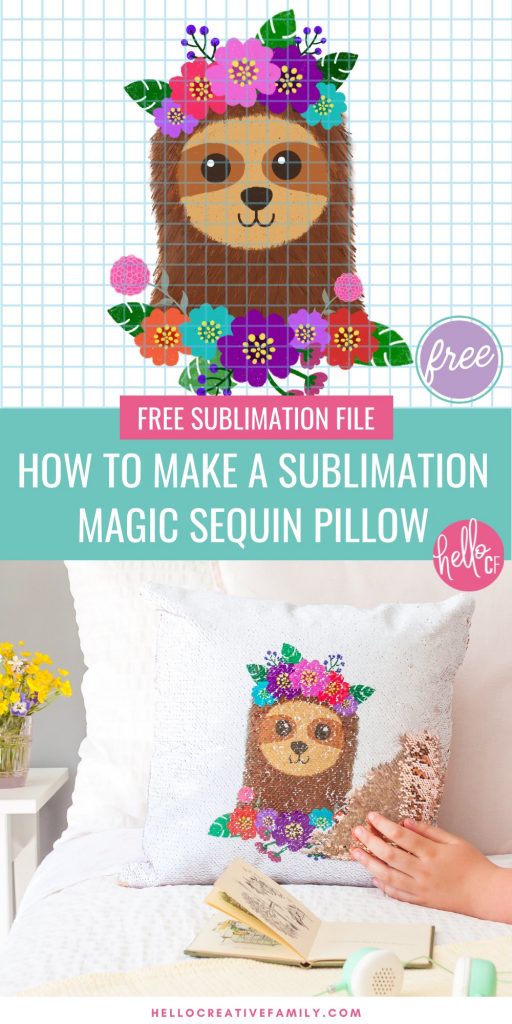
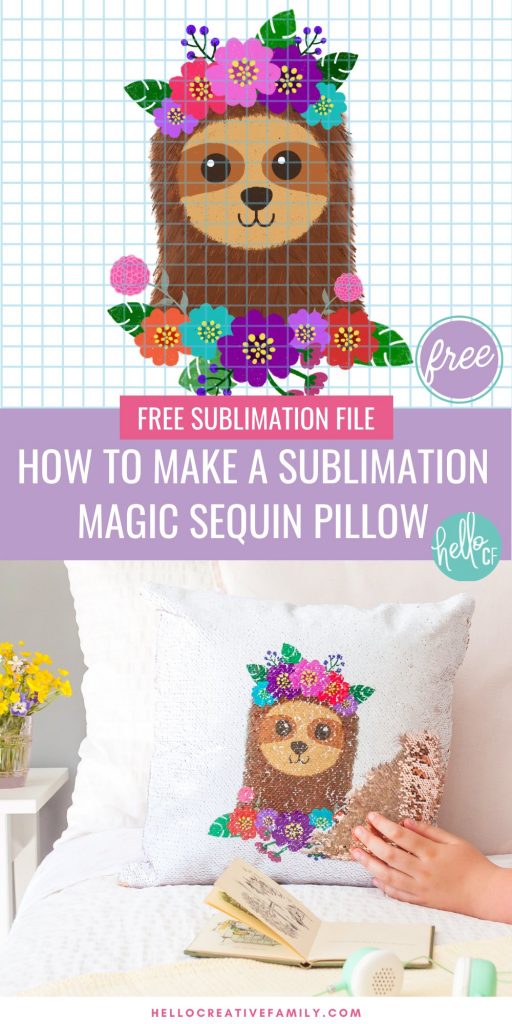
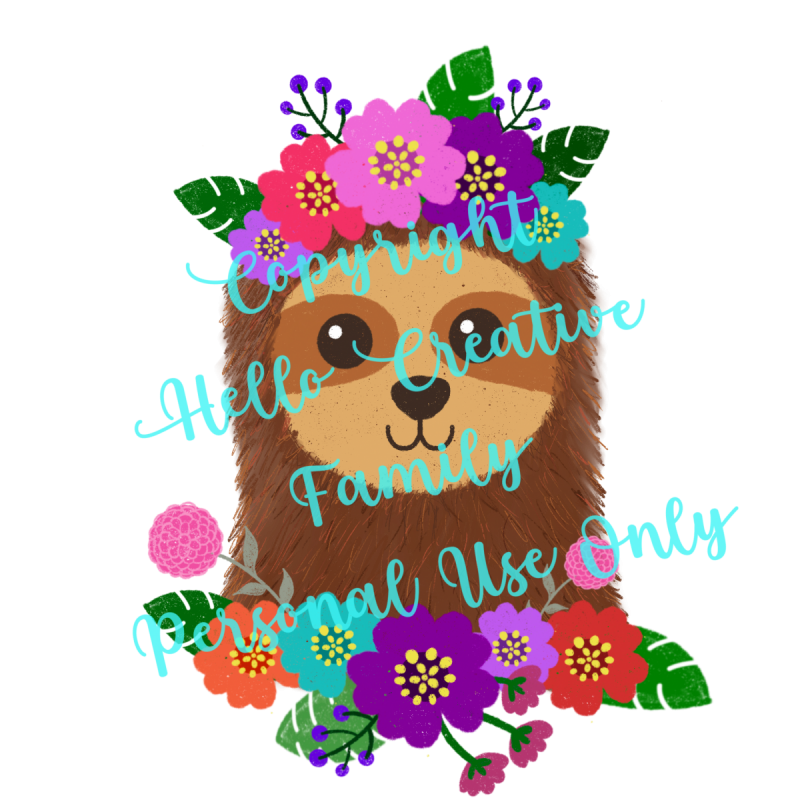
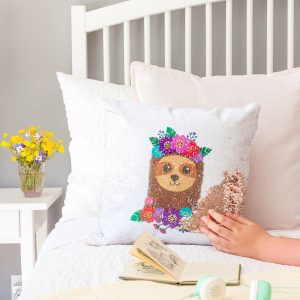
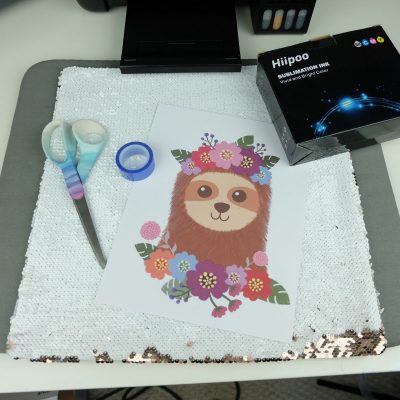
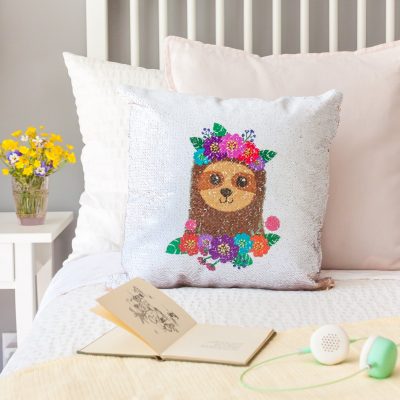
You may notice from the photo above that I have a bit of a “thing” for sloths. I love them so much that I drew an image of an adorable sloth wearing a flower crown to use for some of my sublimation projects. It turned out so fun and colorful and I thought it would be really fun for putting my sublimation printer to the test.
So far I’ve put this cutie pie on a frosted root beer mug, a washcloth, a dishtowel, and my very favorite– a magic sequin pillow!
I first discovered that you could use Infusible Ink on magic sequin pillows from my friend Steph at Crafting In The Rain. I loved the idea so much that I included it in my upcoming book The Unofficial Book Of Handmade Cricut Crafts which is all about handmade gifts you can make using your Cricut.
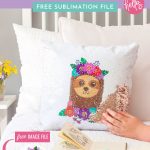
Since Cricut Infusible Ink uses the same science as sublimation printing, I decided to try my hand at sublimating a pillow and decided to use my sloth design to do so. I am so thrilled with how it turned out!

Today I’m going to teach you how to make one too using your sublimation printer, Hiipoo Ink and sublimation paper! You can download my sloth image using the box below, or print your own image to go on your pillow.
Want to grab this free sublimation image? Enter your name and email address into the box below and we’ll send it straight to your email! Signing up for one of our free sublimation images subscribes you to our enewsletter where we send you a ton of free stuff. Don’t worry if you’ve already signed up once, you’ll only be subscribed once per email address.
Please remember this printable is for personal use only.
- This file can be used in part or in whole for your personal projects.
- Digital reselling, sharing, redistributing of the files is NOT allowed. If you would like to share, please direct friends to the original blog post where you found this printable file
Ready to learn how to make a sublimation magic sequin pillow? Read on!
How To Make A Sublimation Magic Sequin Pillow
How To Make A Sublimation Magic Sequin Pillow
Materials
- Image that you would like sublimated on your pillowcase (Download my sloth image above)
- Sublimation friendly magic sequin pillowcase
- Epson EcoTank Printer
- Hiipoo Sublimation Ink or your favorite sublimation ink
- Hiipoo Sublimation Paper or your favorite sublimation paper
- Heat Resistant Tape
- Heat Press (I use a Cricut EasyPress)
- Something to protect your work surface from heat (I use a Cricut EasyPress Mat)
- Pillow insert to fit your pillowcase
Instructions
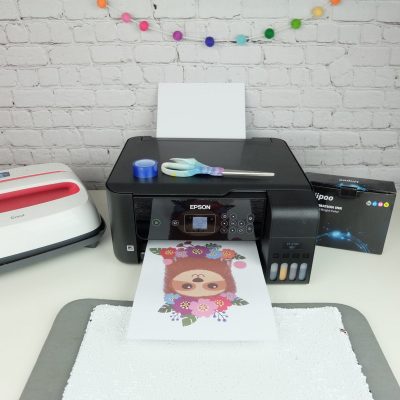
- Use your Epson EcoTank printer to print your image using sublimation ink on sublimation paper. You will want to size your image to the size you would like it for your pillow and mirror the image. You can do both these things in the print dialogue screen. Print it using the "Matte Paper Best Quality" setting.

- You will probably notice that your image appears dull/less vibrant than the image appeared on your screen. This is 100% normal. The colors will become vibrant once activated by heat.
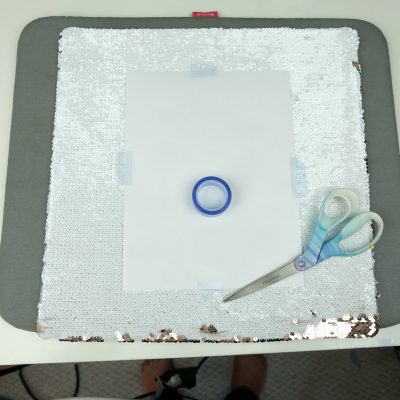
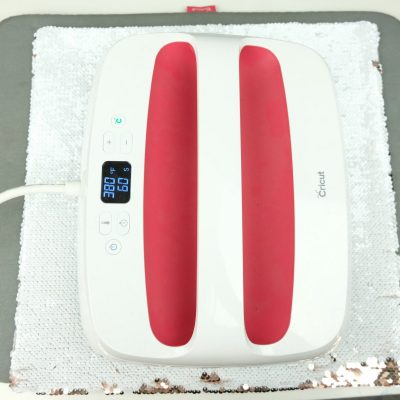
- Preheat your heat press to the setting suggested for the sublimation pillowcase you are using. I heated to 380F. Make sure that all of your sequins are facing in the same direction. I always sublimate on the white side of the sequins for the most vibrant images. Use heat resistant tape to tape your image where you would like it on your pillowcase.
- Press using the recommendations for the pillowcase you purchased. Mine suggested to press at 380F for 60 seconds using medium to heavy pressure.
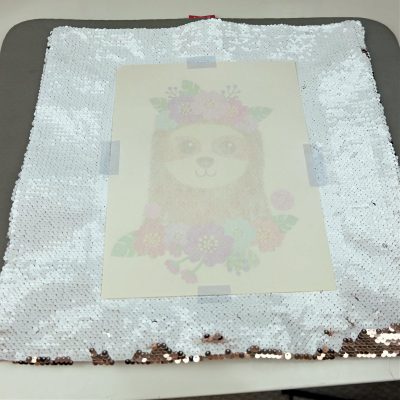
- Let your pillowcase cool, undisturbed until the sequins are cool. You should be able to see the image through the paper. Don't be tempted to peek at the design beneath the sublimation paper, if the paper shifts at all when you are peeking it can cause a second lighter transfer which makes your image look blurred.
- Once cool, remove the sublimation paper and heat resistant tape, revealing your design beneath. Put a pillow insert inside your pillowcase and enjoy!
Tell me… What sublimation project would you like me to share how to make next?
If you liked learning how to make a sublimation magic sequin pillow, I would love for you to pin it! It helps others discover our site which helps us bring you more awesome content like this!