


How To Convert An Epson EcoTank Printer Into A Sublimation Printer
This post and the photos within it may contain Amazon or other affiliate links. If you purchase something through the link, I may receive a small commission at no extra charge to you.
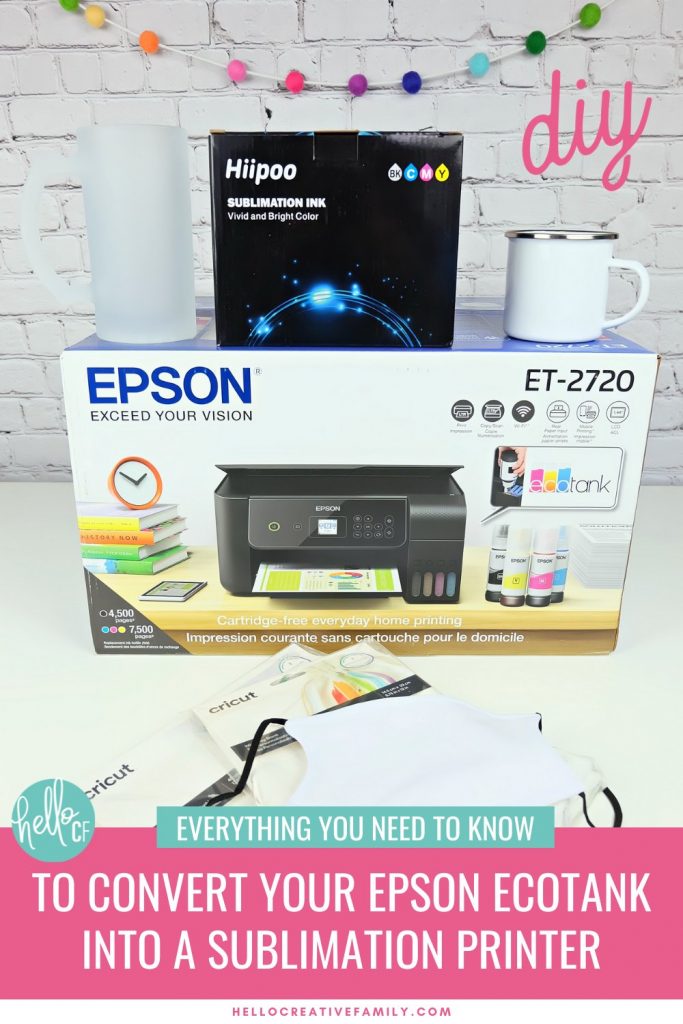
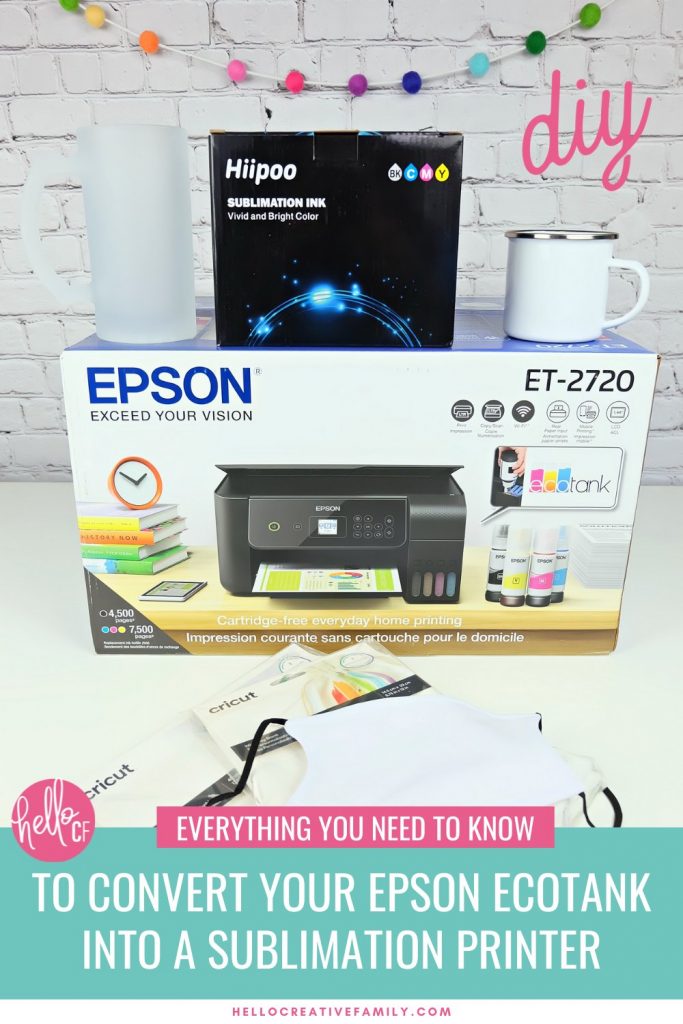
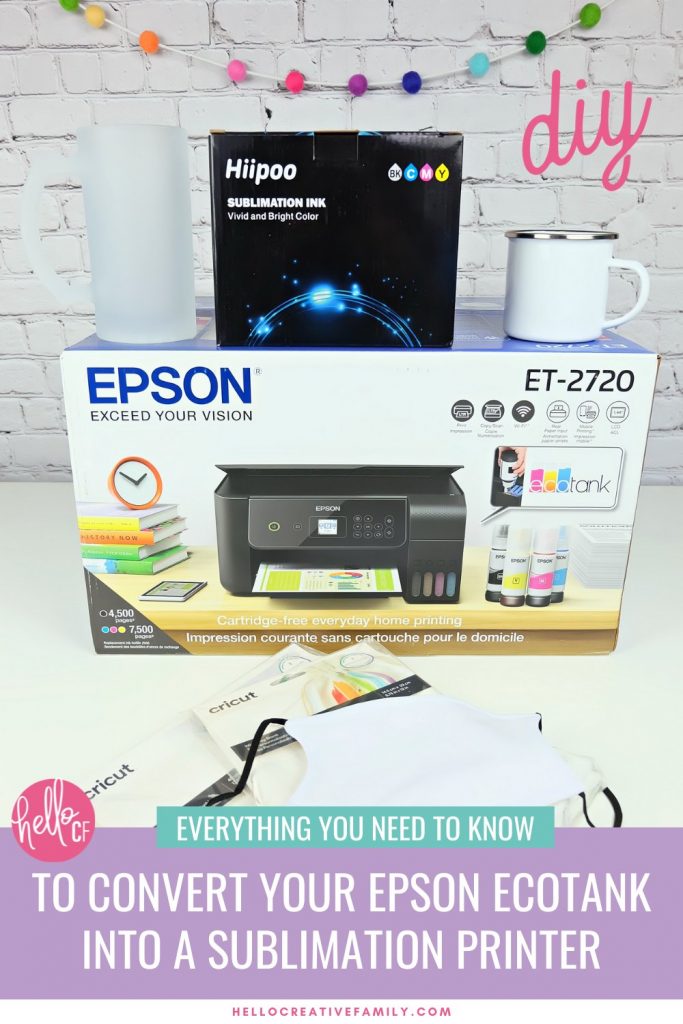
Sublimation printing is the newest hot crafting trend! Traditional sublimation printers can be expensive, so we are sharing how easy it is to convert an Epson EcoTank Printer into a sublimation printer so you can create incredible sublimation crafting projects!
Disclosure: Thank you to Hiipoo for working with us on this post. As with all posts on Hello Creative Family, all thoughts and opinions are 100% our own.

Hi Crafty Friends! I am so excited about today’s post! It’s all about sublimation printing and you are going to LOVE it. I have pretty strong hunch that sublimation printing is the next big thing in the crafting world. It’s such a fun crafting addition for anyone who has been crafting with a Cricut for awhile! If that’s you, then you definitely won’t want to miss this post.
I’ve been interested in getting started with sublimation printing for a really long time, but the cost of a sublimation printer kept me from taking the plunge. Then my friend Angie at The Country Chic Cottage told me that she converted an Epson EcoTank Printer into a sublimation printer. She was able to get the Epson EcoTank at a fraction of the price of a regular sublimation printer and it was super easy to convert over (like seriously, so easy that anyone can do it.) More on Epson EcoTank printers below.
What Is Sublimation Printing?
Let’s start at the beginning shall we? You might be asking “What is sublimation printing?”
In the most simple terms, sublimation printing is the act of transferring a design printed on sublimation paper using special ink onto sublimation friendly fabric or materials using heat and pressure. The heat converts the solid particles of the sublimation ink into a gaseous state that can be absorbed into the material you are applying it to.
There is probably a whole lot more science to it than that, but for sublimation you need 5 basic things:
- A sublimation printer or a printer you convert to a sublimation printer like the Epson EcoTank Printer
- Sublimation Ink- I use Hiipoo Ink
- Sublimation paper
- Sublimation blanks
- A heat source like a Cricut Mug Press or Cricut EasyPress
I have to tell you, it’s so cool being able to print something out on your printer and permanently apply it to a craft project!
Why Is Sublimation Printing So Great?
First of all I want to say, I love my Cricut cutting machines, but I’m also really excited about sublimation crafting and I think that sublimation printing makes a great partner to Cricut crafting.
There are two main things that have me head over heels in love with sublimation printing:
- The permanence of it- With sublimation the ink is infused right into the material you sublimate it onto (as opposed to sitting as a layer on top) which means you will never have to deal with HTV peeling off of shirts or vinyl peeling off of mugs.
- If you can print it, you can sublimate it without having to worry about layering- Layering vinyl and HTV is not my superpower. I can do it, but I’m not the most skilled when it comes to layering. Which means that I will often skip over making a design I like with my Cricut because there are too many layers involved and/or I don’t have all the colors of vinyl. With sublimation though, you can print any design you want onto a piece of sublimation paper and transfer it right onto you blanks. One piece of paper, one press using a heat press and you are done!
What Sublimation Ink Should I Use?
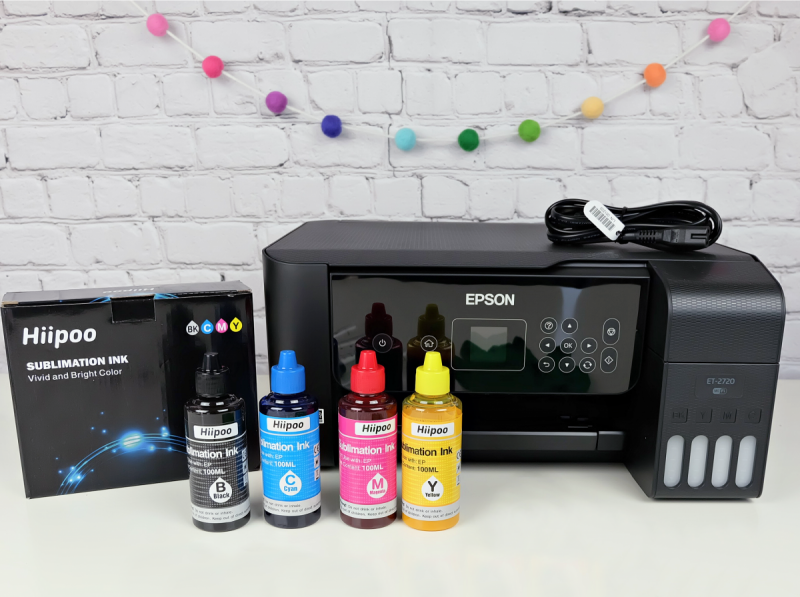
I have been using Hiipoo Ink in my sublimation printer.
I was introduced to Hiipoo Ink by a few of my craft blogger friends who have been using it and who have loved the results they experienced. I decided to give it a try to and I’ve been so happy with everything that I made. The ink is fast drying and my projects have had bright and vivid colors that I love.
It was so easy filling my Epson EcoTank printer with the Hiipoo Ink (more on this in my tutorial below). Everything you need to fill your printer comes in the box. Hiipoo Ink is going to be releasing EcoFit bottles soon, which will eliminate the need to use syringes to fill your EcoTank printer!
One of the things that I had heard about sublimation printing is that you have to use your sublimation printer everyday otherwise the ink heads get clogged. That has not been my experience at all, and I think it’s because the diameter of the ink particles in Hiipoo Ink is only half the size of the ink outlet, so it passes easily without causing blockages to the printer head.
I’ve been told that once you pick a sublimation ink that you want to stick with it (aka you don’t want to be mixing ink in your printer) and I’m so happy that Hiipoo Ink is the one that I chose!
You can see a list of the printers that Hiipoo Ink works with here.
What Sublimation Paper Should I Use?
Sublimation paper is a hot debate among sublimation crafters. Some crafters have one brand of paper that they love and they stick with it no matter what. I’ve heard from other sublimation crafters that they haven’t noticed much of a difference between the types of sublimation paper that they use, as long as they are using a high quality ink like Hiipoo Ink.
Universally the most highly recommended sublimation paper seems to be A-Sub Sublimation Paper. I’ve been using a sublimation paper from a company that I purchased sublimation blanks from and I’ve been happy with it so far.
One thing about sublimation paper is that it is one sided. Only one side of the paper is meant to be printed on. A-Sub has their logo on the back of the paper so that you can easily tell at a glance what side of the paper you should be printing on. The sublimation paper that I purchased is bright white on the side that you print and more of a creamy white on the backside. I can see this being challenging to many crafters, especially if you have any visual impairments, so I would recommend looking for a sublimation paper that makes it clear which side is the front, and which side is the back.
UPDATE: Hiipoo recently came out with their own line of sublimation paper. I’ve been using it for several months now and am really happy with it. They don’t have a logo on the back of the paper to make it immediately obvious what side is the front and what side is the back, but they do have the back side of the paper tinted slightly orange which I find does the trick of helping me determine what side to print on.
Buy Hiipoo Sublimation Paper here.
What Sublimation Blanks Should I Use?
The one downside to sublimation printing is that not everything can be sublimated on. Sublimation blanks have a special sublimation coating on them that allows the pores to open when heated, absorb the sublimation ink and then seal the ink in when the blank is cooled.
Sublimating on fabric is a bit easier, but you need to look for fabric that has a high polyester percentage. Sublimation ink won’t absorb into cotton fabrics, so the higher the polyester percentage the more colorful and vibrant your design will look. Here’s a good way to think of it, if you are using a 50% cotton, 50% polyester blend the ink will absorb into 50% of the fibers, this will result in a more faded, vintage look. If you use a 65% polyester 35% cotton blend your ink will absorb into 65% of the fibers. If you use a 70% polyester, 25% cotton blend it will absorb into 75% of the fibers and so on, and so forth. The important thing to remember is the higher your polyester percentage, the more vibrant your image will be.
Materials you can sublimate on include:
– Polycotton textile
– Polymer
– Polyester
– Ceramic
– PVC
– Polyester-coated aluminum
– Polymer-coated metal
– Polyester-made fabric
– Polymer- coated plastic
What if you really, really want to sublimate on something that isn’t sublimation friendly?
There is sublimation coating spray that you can purchase. I have not tried these sprays yet myself, and have heard mixed things about the results, however experimentation is one of the funnest things about crafting, so I encourage you to check it out!
You can find sublimation coating for making your own sublimation blanks here.
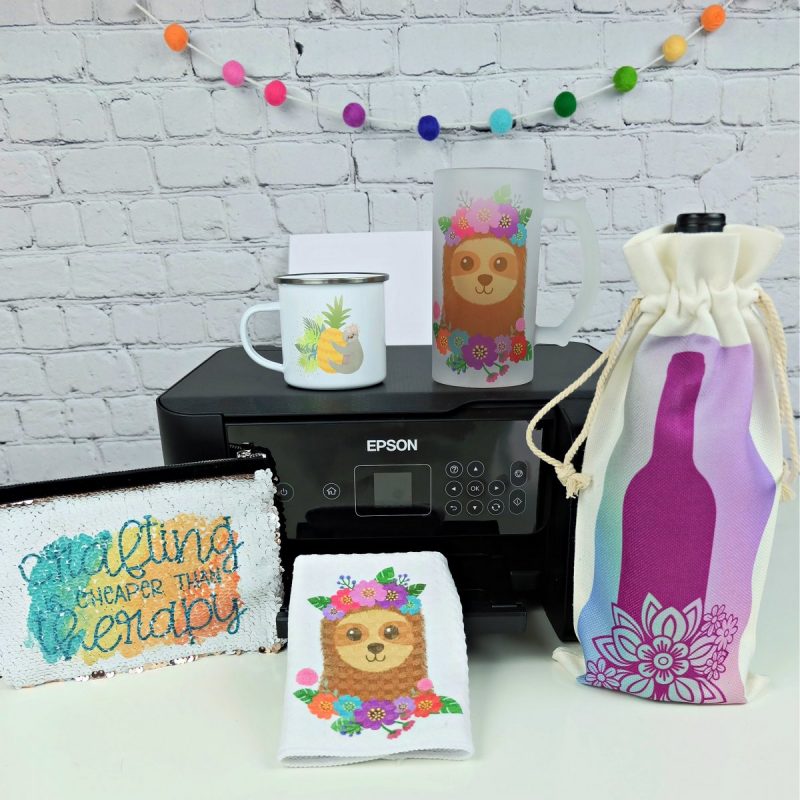
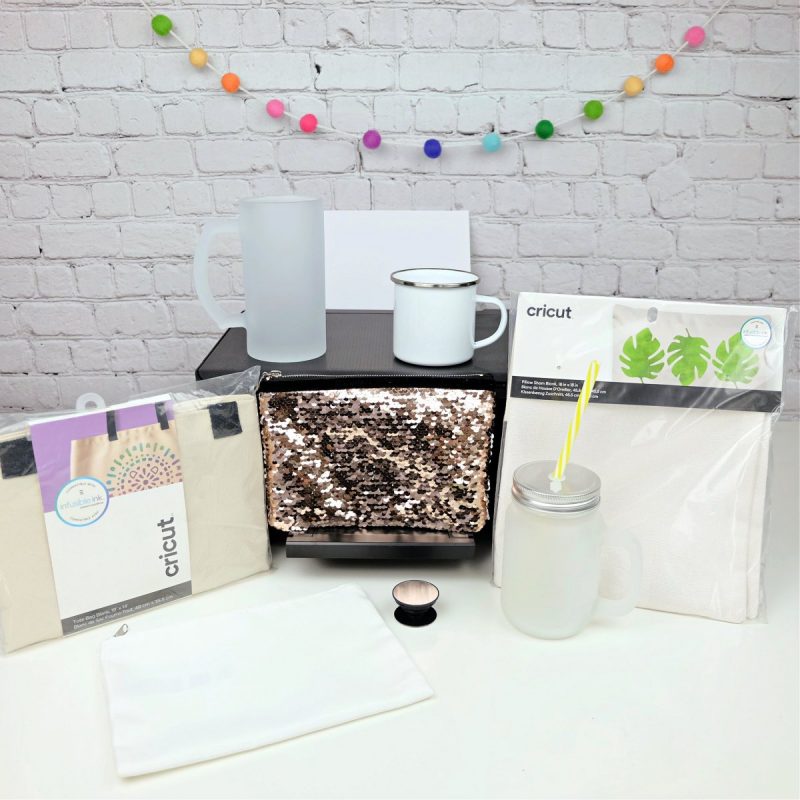
Finding sublimation blanks to use with your new printer is SO MUCH FUN! I’m going to be sharing a bunch of sublimation projects in the upcoming months, but in the meantime, here are some of my favorite sublimation blanks that I’ve found so far:
- Color Changing Mugs
- Magic Sequin Flip Pillowcases
- Wine Tumblers
- Color Changing Tumblers
- Frosted Beer Mugs
- Mixed Colors Sublimation Mugs
- Fun Shaped Keychains
- Zippered Pencil Pouches
- Pop Sockets for Cell Phones
- Dog Bandanas
- Puzzles
- Sleep Masks
- Face Masks
- Mason Jar Tumblers
- Ceramic Ornaments
- Polyte Microfiber Dish Towels
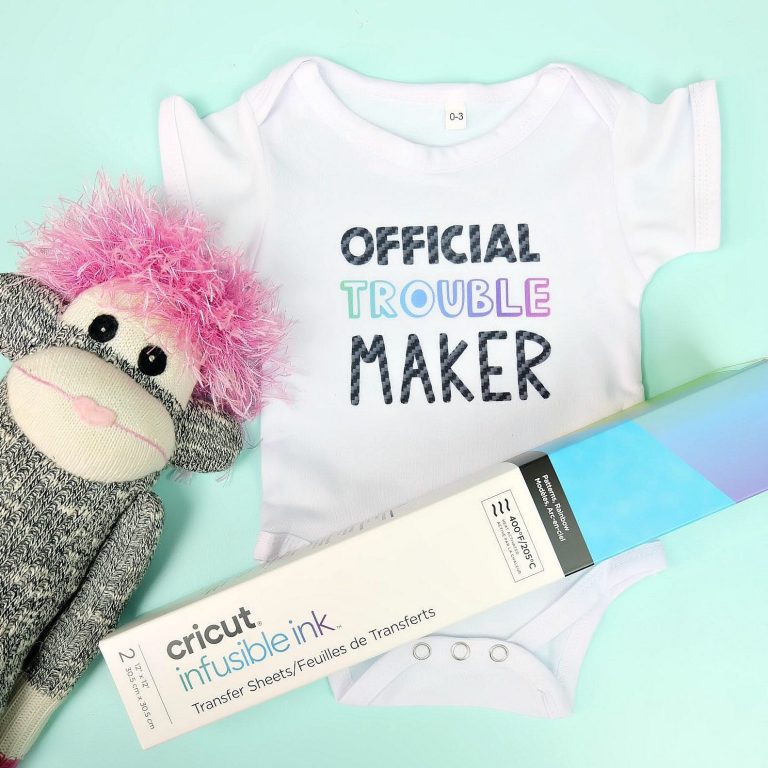
Something else that is really exciting about sublimation is that you can use Cricut Infusible Ink Blanks for sublimating on! Cricut Infusible Ink Blanks are available at most craft stores and you can get single items to experiment with, where most sublimation companies make you buy blanks in larger quantities.
Here are a few of my favorite Cricut Infusible Ink Blanks:
- Baby Onesies
- Adult and Kid Shirts
- Coasters
- Mugs
- Pillowcases
- Zippered Pouches, Tote Bags and Wine Bags
Why Does The Epson EcoTank Printer Work As A Sublimation Printer As Opposed To Other Printers?

Crafters have been converting Epson printers into sublimation printers for quite awhile now because Epson uses something called Piezo technology. This means they use pressure as opposed to heat.
Prior to Epston EcoTank printers, conversion was a bit more complicated. Epson EcoTank printers have fillable ink tanks that you can fill with your own ink (AKA sublimation ink).
A few thinks that you should know before deciding to convert your Epson EcoTank printer into a sublimation printer:
- It’s best to use a brand new Epson EcoTank Printer that has never had traditional ink in it before. There is a way to use a printer that has been used with traditional ink before, but it’s much more time intensive (you have to clean it all out) and I’ve heard that the results can be mixed.
- Once you convert a printer to a sublimation printer, you can only use it for sublimation printing.
- If you convert your EcoTank printer into a sublimation printer it voids the warranty.
- Any Epson EcoTank printer can be used for sublimation printing. The important things to look for are that it uses Piezo technology and that it has the fillable tanks. Otherwise which of the EcoTank printers you choose depends on the extra features you would like.
You can find all of the Epson EcoTank printers here. The printer that I have is the Epson EcoTank 2720.
How To Convert Your EcoTank Printer To A Sublimation Printer
Now is where the real fun begins! You’ve purchased you Epson EcoTank printer, you’ve purchased your Hiipoo Sublimation Ink, you have your sublimation paper and sublimation blanks… now what? Let’s get you all set up, shall we?
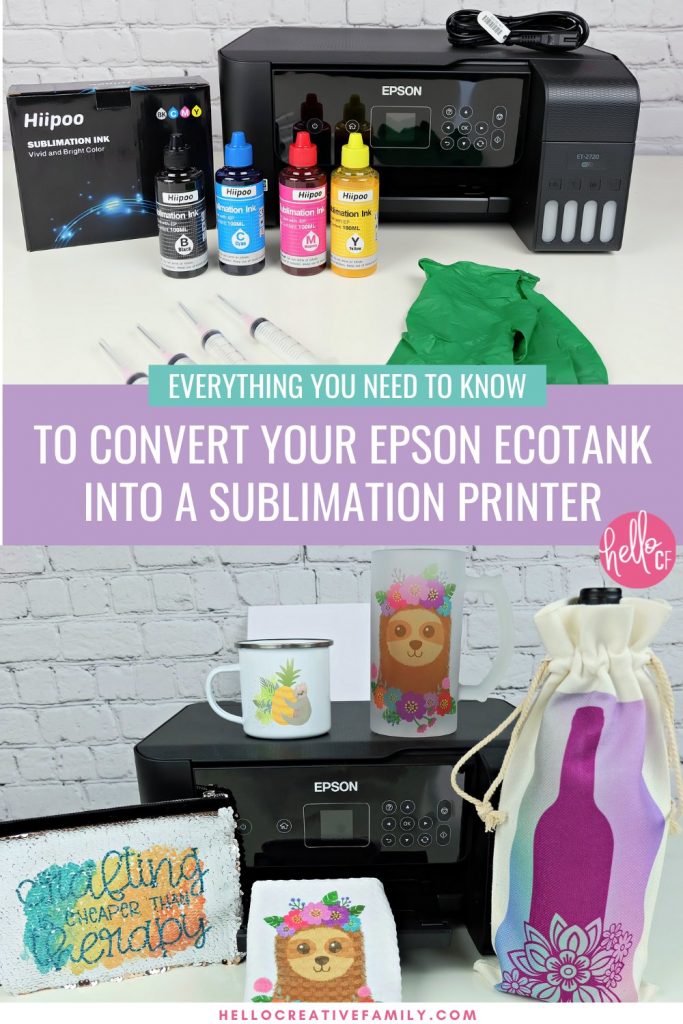
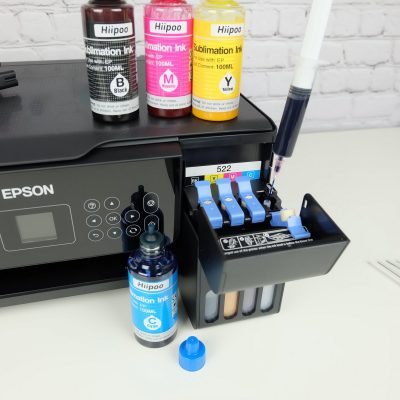
Step 1: Unbox your printer and remove all of the plastic. DO NOT plug your printer in. Unbox your ink. Hiipoo Ink comes with a pair of gloves and syringes for filling your tanks with ink.
NOTE: Hiipoo recently updated their ink so that it comes in a bottle with a convenient fill nozzle on top that fits right into the fill tank opening on your printer! No need to use syringes anymore!

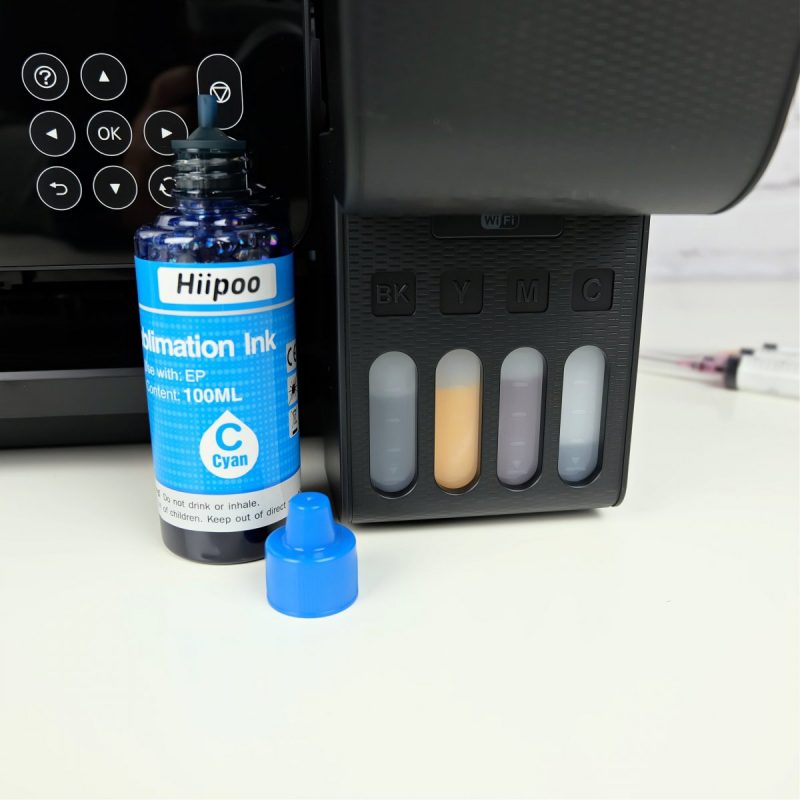
Step 2: Put on your gloves. Open the housing that holds the ink tanks. Flip up the blue cover on the black ink tank. Fill one of the syringes with black Hiipoo Ink. Do this by removing the lid of the Hiipoo Ink Container, inserting the syringe into the top, tilting the bottle sideways and pulling up slowly on the plunger of the syringe. Once the syringe is full, insert the syringe into the hole of the ink tank and slowly press the plunger down to release the ink.

Watch how full the ink tank is getting through the window on the front of the machine. I filled each of my tanks with four syringes full of ink. When your black tank is full, close the ink tank cover and repeat the process filling the yellow tank with yellow ink, the magenta tank with magenta ink and the cyan tank with cyan ink. Use a new syringe for each color of ink.
Step 3: Once all of your tanks are full, you can plug in your printer. Your printer will come with a card that has full instructions for setting up your printer, but here is a general breakdown.
- Once you turn it on it will have you select your location and the time.
- Next your printer will go through a preparing sequence.
- Before you can use your printer to print it needs to do a priming of the ink. Follow the instructions in your instruction booklet for how to go through this process because it might be slightly different for each printer. This uses up some of your sublimation ink, so you may want to top up your tanks when it is done. This step is only done the first time you set up your printer. After you top up your printer you can clean the syringes so that they are ready to use the next time you need to fill the ink in your printer.
- Next your printer will run through an alignment sequence. You can use regular printer paper to print the alignment sheets.
- Finally you will be able to connect your printer to your computer. You can do this either by using the disk that comes with your printer or by going to the link provided in your instruction book.

Once your printer is all set up, you are ready to print your first sublimation sheet! Yay! A few things to note about printing:
- You will want to mirror your design before printing especially if you are printing something with words or where the pattern needs to be in a specific direction.
- You will want to print using the “Matte Paper Best Quality” setting.
- What prints out will look more muted than your original design. This is 100% normal. The ink with intensify, brighten and become more vivid once applied to your blank.
What Supplies Do I Need For Sublimation Printing?
There are some basic supplies that you will want to have for sublimation crafting. They include:
- Sublimation Printer/ Epson EcoTank Printer that has been converted to a sublimation printer
- Sublimation Ink
- Sublimation Paper
- The Design You Want To Use
- Sublimation Blanks
- Heat Resistant Tape (to hold your images in place while being pressed)
- Cardstock (to protect your work surface and to lay inside fabric projects to avoid transfer to the back)
- Lint Roller and/or lint free cloths (to remove lint, dust and hair from your sublimation blanks)
- Butcher Paper
- Silicone wraps
- Heat safe gloves
- Heat safe surface like a Cricut EasyPress Mat
- Heat source- The most common sublimation heat sources include a Cricut EasyPress, a Cricut Mug Press, a regular heat press and/or a small convection oven.
What would you like to know about sublimation printing?
Phew! I know that is a ton of information to cover all in one post. I have some sublimation projects created that I would love to share with you, but I’m going to put them all in their own posts and once they publish I will drop the links here.
In the meantime, let me know what questions you have about sublimation printing and I will answer them and create a reader’s questions section here in this post!
If you like this sublimation article I would love for you to pin it! It helps others discover our site which helps us bring you more awesome content like this!

Want a printable version of How To Convert Your Epson EcoTank into a Sublimation Printer? See below!

How To Convert Your Epson EcoTank into a Sublimation Printer
Instructions
- Unbox your printer and remove all of the plastic. DO NOT plug your printer in. Unbox your ink. Hiipoo Ink comes with a pair of gloves and syringes for filling your tanks with ink.

- Put on your gloves. Open the housing that holds the ink tanks. Flip up the blue cover on the black ink tank. Fill one of the syringes with black Hiipoo Ink. Do this by removing the lid of the Hiipoo Ink Container, inserting the syringe into the top, tilting the bottle sideways and pulling up slowly on the plunger of the syringe. Once the syringe is full, insert the syringe into the hole of the ink tank and slowly press the plunger down to release the ink.
- Watch how full the ink tank is getting through the window on the front of the machine. I filled each of my tanks with four syringes full of ink. When your black tank is full, close the ink tank cover and repeat the process filling the yellow tank with yellow ink, the magenta tank with magenta ink and the cyan tank with cyan ink. Use a new syringe for each color of ink.


Printer Setup
- Once all of your tanks are full, you can plug in your printer. Your printer will come with a card that has full instructions for setting up your printer, but the following steps are a general breakdown.
- Once you plug in your printer it will have you select your location and the time.
- Next your printer will go through a preparing sequence.
- Before you can use your printer to print it needs to do a priming of the ink. Follow the instructions in your instruction booklet for how to go through this process because it might be slightly different for each printer. This uses up some of your sublimation ink, so you may want to top up your tanks when it is done. This step is only done the first time you set up your printer. After you top up your printer you can clean the syringes so that they are ready to use the next time you need to fill the ink in your printer.
- Next your printer will run through an alignment sequence. You can use regular printer paper to print the alignment sheets.
- Finally you will be able to connect your printer to your computer. You can do this either by using the disk that comes with your printer or by going to the link provided in your instruction book.
- And now you are ready to print!
Equipment
- Epson EcoTank Printer
- Hiipoo Sublimation Ink


wow Neat Projects