


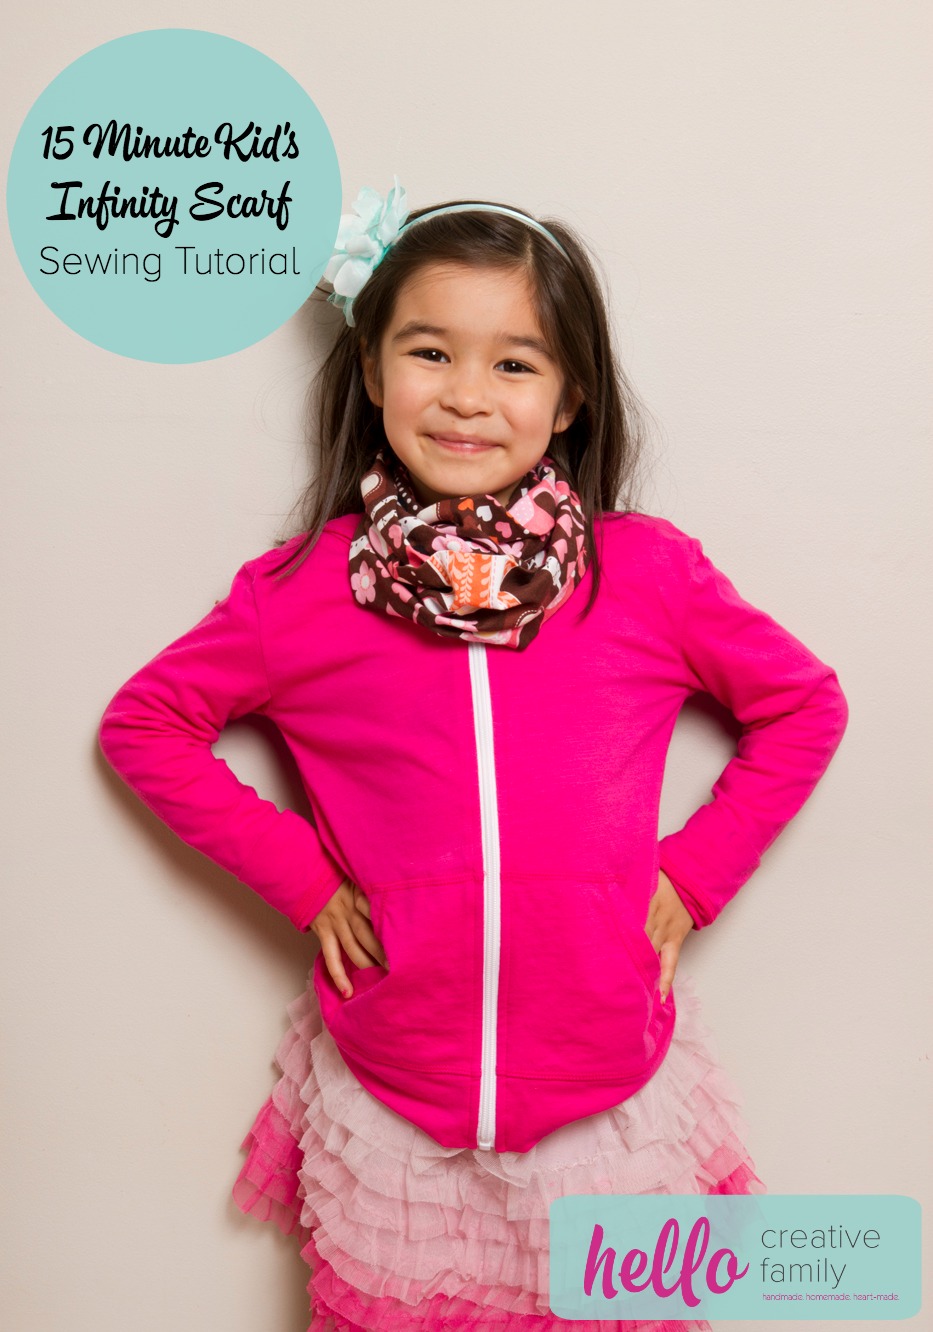
Sewing Project- 15 Minute Kid’s Infinity Scarf Sewing Tutorial
This post and the photos within it may contain Amazon or other affiliate links. If you purchase something through the link, I may receive a small commission at no extra charge to you.
I’m thinking of making these as party favors for Bean’s birthday party this summer.
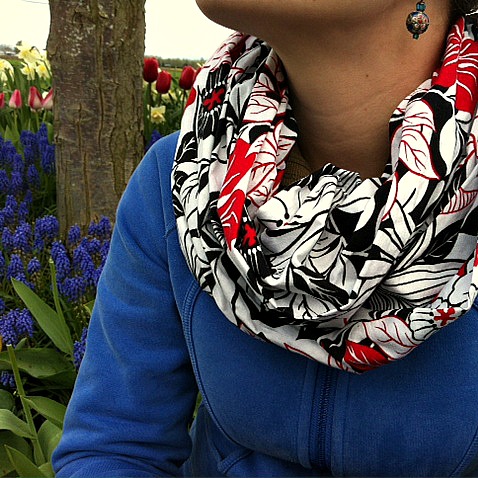
They are the perfect “Mini Me” version of the 30 Minute Infinity Scarf Tutorial that I posted a couple of months ago but can be made in half the time and are great for beginner and advanced seamstresses alike. I’m really excited to share with you my 15 minute kid’s infinity scarf sewing tutorial. These make great handmade gifts for Christmas, back to school, birthdays or just because.
NOTE: If making this for an older child you may want to use the adult instructions and reduce the length and width by 1/4.
You Will Need:
- 1/3 yard of fabric
- Thread
- Scissors or a rotary cutter (if using a rotary cutter you will also need a cutting mat)
- Ruler or seamstress tape
- Sewing machine
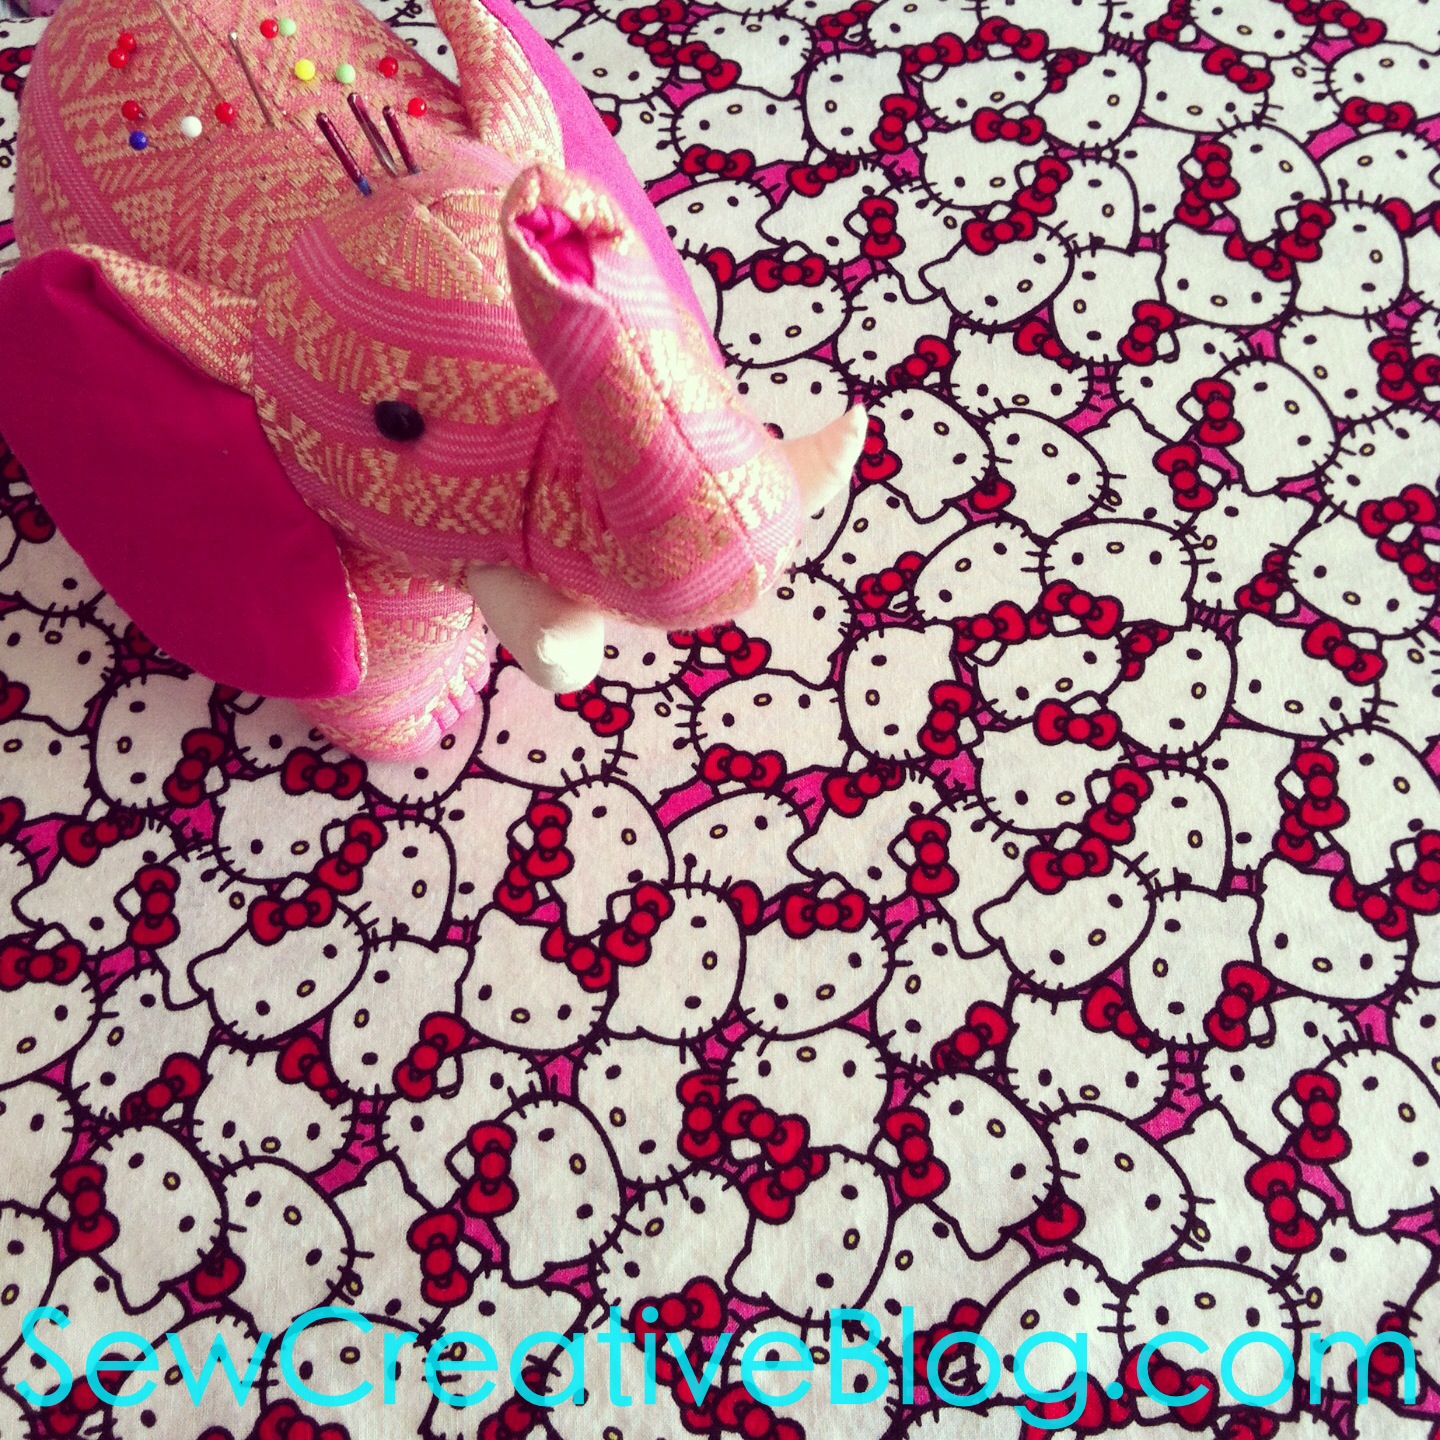
Step 1: Select your fabric. You will need 1/3 of a yard.

Step 2: Cut your fabric. You will want a piece that is 12 inches by 44 inches (or whatever the width of your fabric happens to be.) Leave the selvage edge on, this will be hidden in the seam of your scarf.

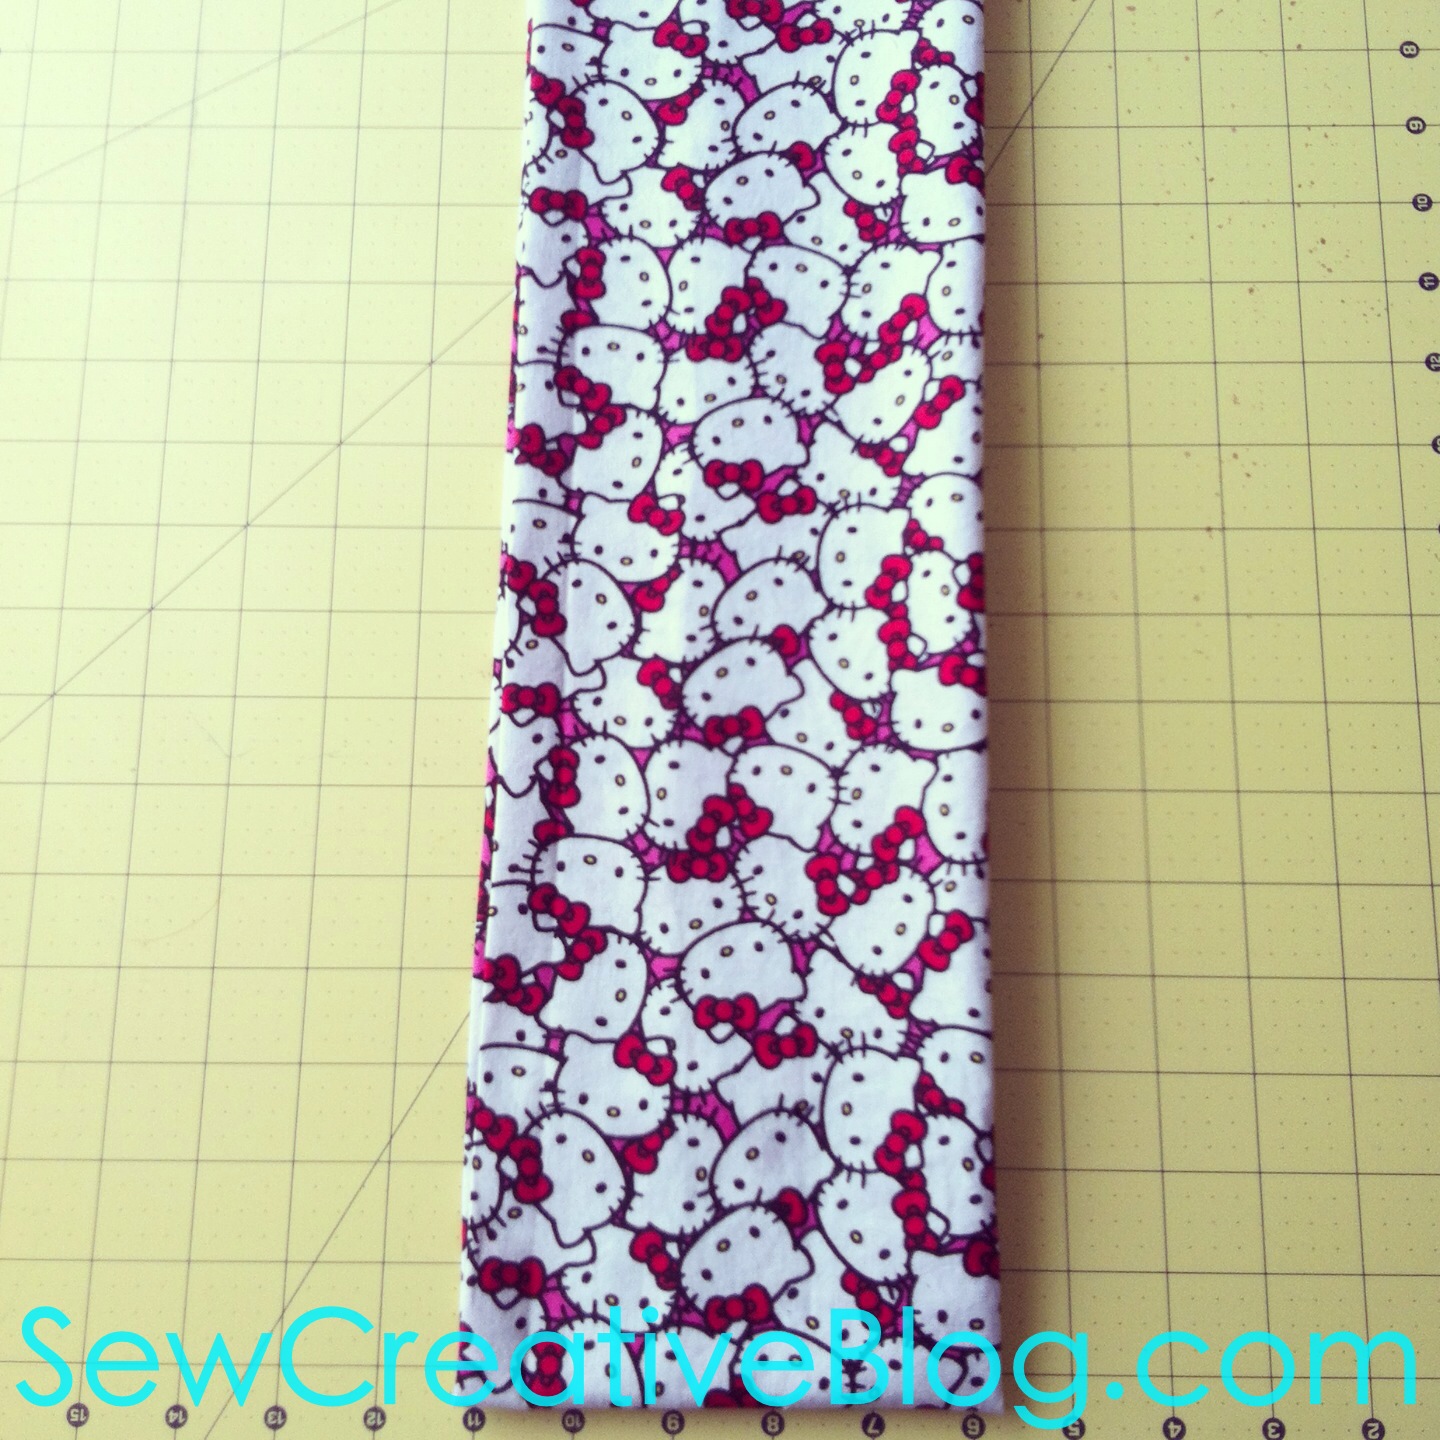
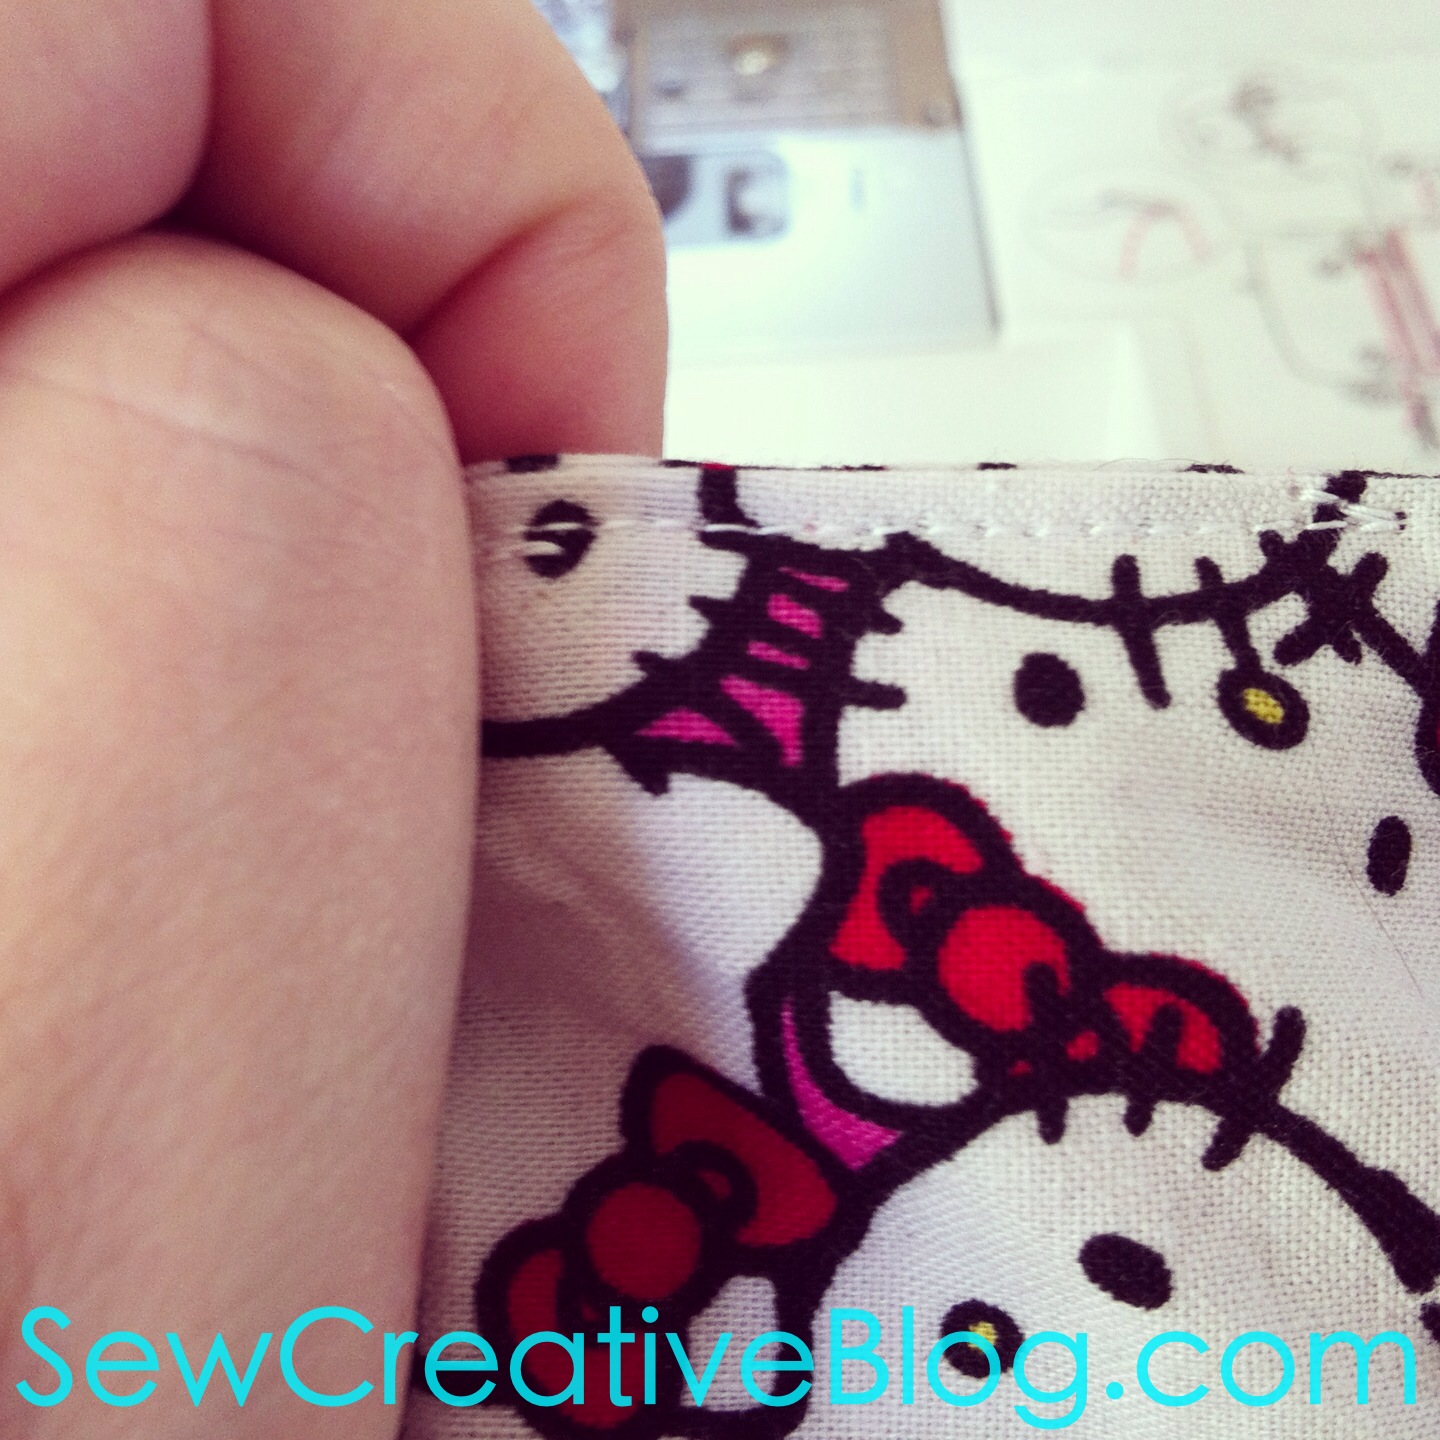
Step 3: Fold your fabric in half lengthwise, with the printed side on the INSIDE and pin your two cut edges flat against each other. Your piece will now measure 6 inches by 44 inches.
BECAUSE THIS PRINT IS SO BOLD IT LOOKS LIKE THE PRINTED SIDE IS ON THE OUTSIDE INSTEAD OF THE INSIDE. IT ISN’T. THE PRINTED SIDE IS ON THE INSIDE.
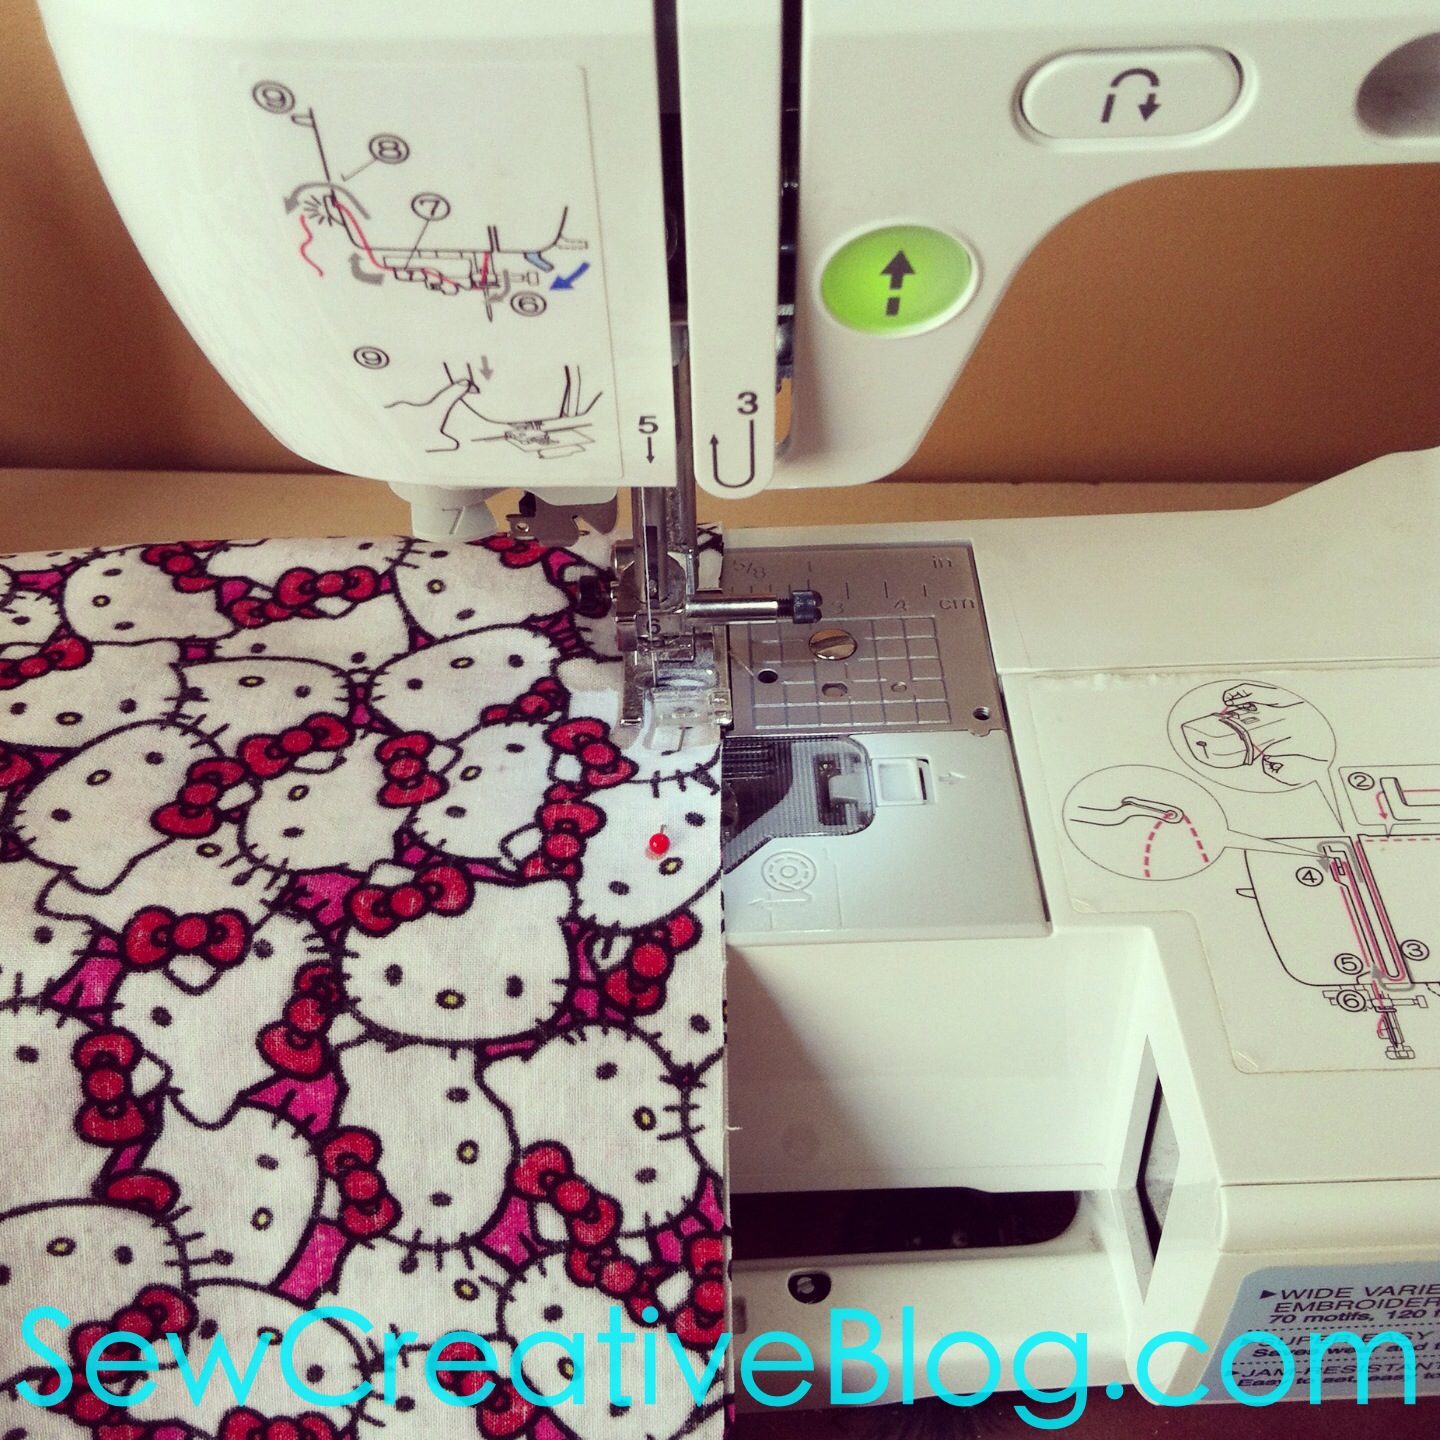
Step 4: Leaving a half inch seam allowance sew down the length of your scarf (The 44 inch side). Don’t sew the two ends. You should have one long tube.

Step 5: Using the tip of your iron, press open your seam.
Step 6: Flip your tube so the right side of the fabric is on the outside. I do this by sticking my arm through the hole, grabbing the other end and pulling it through.
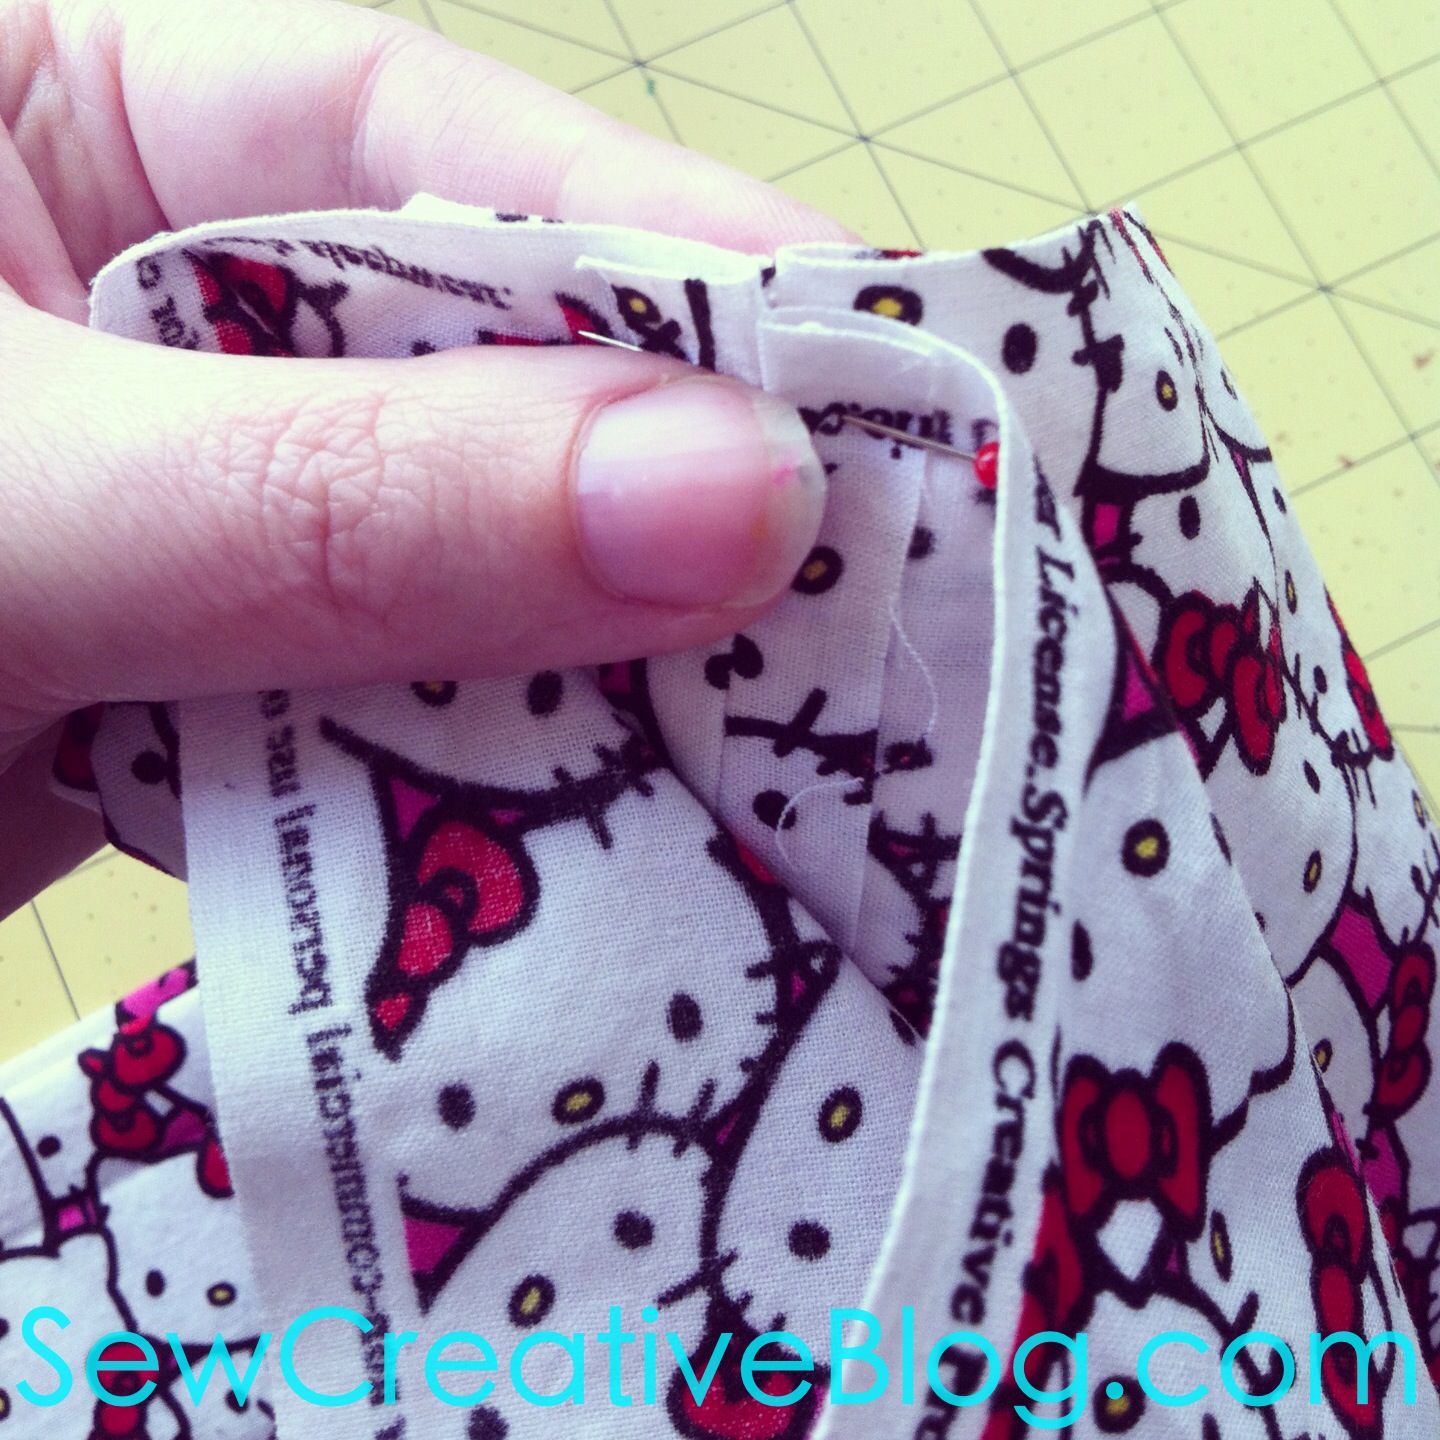
Step 7: Find the seam on both ends of your fabric tube. Pinch the seams flat together (the printed side of the fabric will be sandwiched together) and pin.
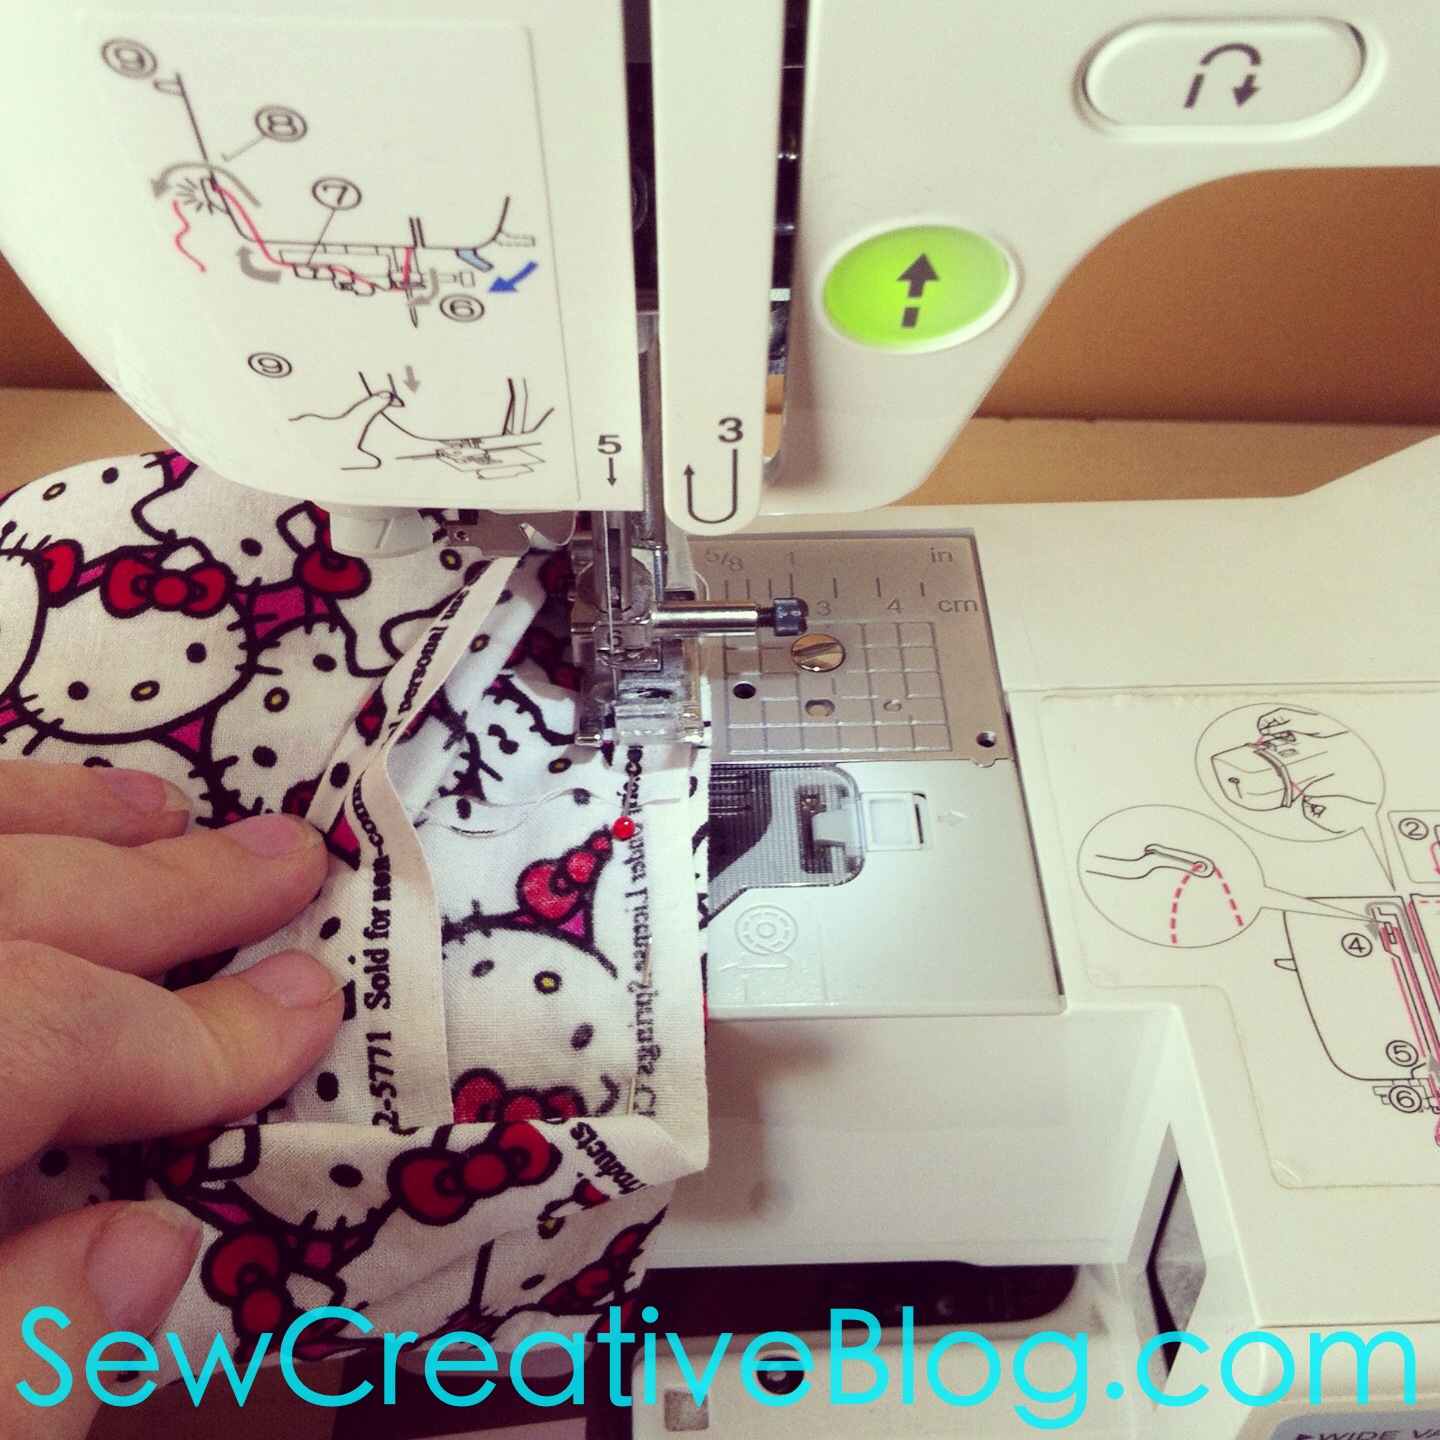
Step 8: Starting at the seam that you just pinned start to sew around the circle of your scarf leaving a half inch seam allowance or more if your selvage edge happens to be bigger. I work slowly on this step, stopping to pinch the two pieces of fabric that I’m about to sew together to make sure that they are correctly lined up as I sew.

Step 9: When you get about half way around your scarf it’s going to get tough to keep going because your hole is getting smaller. I find the easiest way to continue is to flip the top part of my scarf inside out making a little pocket for the scarf. Keep sewing your seams together until you are about to hit the part of the scarf you have in the pocket. Backstitch, remove from sewing machine and pull scarf out of pocket.
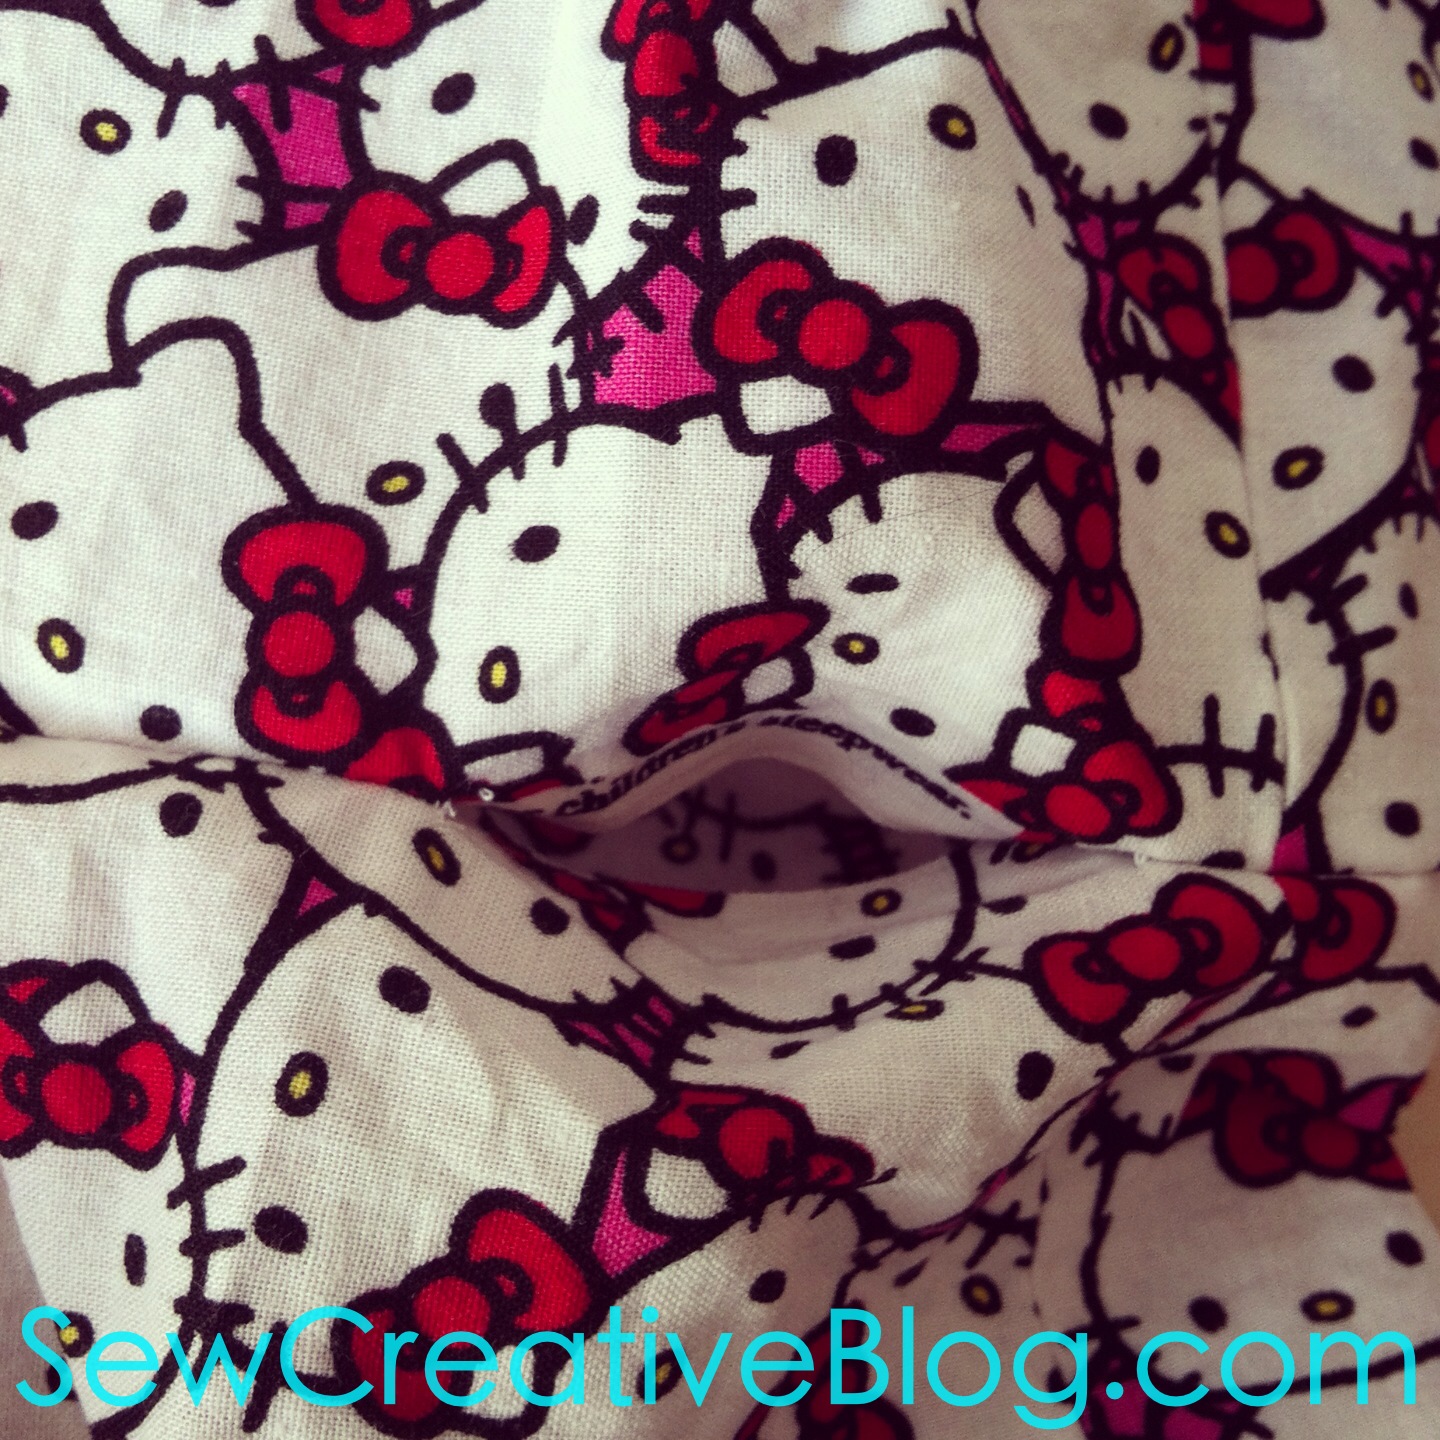
You will be left with a little gaping mouth in your scarf.

Step 10: Pinch the mouth together.

Step 11: In my adult infinity scarf tutorial I had you hand sew the hole in the scarf closed. I’m terrible at hand sewing and realized that it knocks a bit of time off of each scarf if you just sew it closed with the machine. Your seam isn’t invisible this way but really that part of the scarf is usually hidden underneath at the back of your neck. I made my mom one with the invisible seam and one with the sewing machine seam… she never noticed the difference. If you want to hand sew it check here for instructions, otherwise take the scarf to your sewing machine and leaving an 1/8 of an inch seam allowance sew the hole shut.
The part you just sewed will look something like this (only probably neater because I kind of messed up.)

Final Step: Puff the scarf up, grab your kiddo and double loop it around their neck. It makes the cutest little fashion accessory for your fashionista!
I hope you enjoyed my 15 minute kid’s infinity scarf sewing tutorial!
If you have any questions please don’t hesitate to ask and I’ll do my best to help out. If you make an infinity scarf for your little one I’d love to see pictures!
Want even more DIY Gift ideas? Check out these Homegrown & Healthy 12 Days of DIY Christmas ideas!


Crystal, I don’t know what is cuter…the scarf or your daughter! Both are PRECIOUS! Can’t wait for our linky this weekend! So happy to have you on board. 🙂 I have the buttons ready to grab if you want to add one. 🙂
So adorable.
It seems so easy 🙂
(SITS Sharefest)
So, adorable. I will definitely make one this summer while on school break. One for me, and one for my granddaughter. Thanks for the easy step-by-step instructions. Enjoy Saturday Sharefest.
This is awesome . Thank you so much for posting.
I have lots of fabric to do this it has inspired me to start right now for my grandkids.
Thank you. http://kaystylejewelry.etsy.com
Your tutorial is really great, but the only problem I see is that a true Infinity has a twist in it. You seem to be missing that step. 😉 Other than that, wonderfulness abounds. LOVE the Hello Kitty print! Cheers!
Your right Danielle, a true infinity scarf does have a twist. I did a few that way and my girl preferred them without a twist. I should probably add that as an optional step. 😉
Best Wishes,
Crystal
That looks so easy to do! Time to pull out the sewing machine and give it a try!
These are soo super cute! Can’t wait to give it a try. I have a question, what age range would you suggest for the kids scarves before moving up to an adult scarf?
That is a very good question Kelli. My daughter still has quite a bit of room in this at age 5 so maybe 7? Another option would be to make a scarf somewhere in between this size and the adult size. This pattern is nice because it uses the width of the fabric as the length of the scarf so you can get more scarves out of your fabric (you could make 3 scarves from 1 meter of fabric). You could follow the adult instructions though and make the length of the scarf somewhere between the length of this one and the length of the adult one.
Does that make sense?
Best Wishes,
Crystal
Yes, it does make sense, thank you! 🙂
Thanks for the tutorial, this is awesome! I made one to dress up my daughter’s plain grey dress for Christmas. She picked out bright red fabric with white polka-dots and it is adorable 🙂
Thank you so much for letting me know. It sounds adorable. Merry Christmas to you and your family. Thank you so much for reading Sew Creative!
Best Wishes,
Crystal
Will this scarf work for a 12 year old?
Hi,
I would suggest that you follow the adult infinity scarf pattern and perhaps make it at 3/4 of the length and width that I recommend for the adult size. 🙂
Please let me know if you have any questions.
Best Wishes,
Crystal
What kind of material did you use?
Hi Jacque,
For the scarf in this photo I used a regular quilters cotton. However you could use any fabric that you like the drape of.
Best Wishes,
Crystal
Thanks so much for sharing this! My daughter just made one for a homeschool Home Ec project. It’s absolutely adorable and she loves it!
Oh my goodness! Thank you so much Ashley. You just completely made my day! If you have a photo of your daughter’s scarf I’d love to see it. 🙂
Best Wishes,
Crystal
Here it is! Hopefully this works, never tried to post a comment with an image before! 🙂
[IMG]http://i1142.photobucket.com/albums/n616/paperpages/55862682-ffb9-4101-892b-abc938dc84e0_zps92f8f62a.jpg[/IMG]
Since that doesn’t appear to have worked, you can see it on Instagram here: http://instagram.com/p/sSv-fyyRvD/?modal=true
I hope I can get an answer tonight lol! I’m in the process of making a mommy and me gift for my photographer. Im meeting her in the morning. I’ve already completed the mommy scarf but I’m really concerned about the 1/3 length for the girl. She is 3 or 4. It just seems small. Are you sure it goes over her head okay? Thanks!
Hi Amy,
That is the length that my daughter wears (it’s what she’s wearing in the photos), but if you are concerned perhaps use the length of the fabric instead of the width and make it a bit longer?
Thank you for visiting.
Best Wishes,
Crystal
I’m about to start this project and I’m having trouble visualizing how the 44 inches will loop around the child’s neck twice. Seems to small. I’m going to try it according to your directions. Just curious about that.
Hi Kim,
Thanks for stopping by and trying the project. My daughter is in 1st grade and wore one of her scarves to school yesterday. I just did some measuring. When I loop it around her head and do the first twist (to go over her head the second time) the loop that will go over her head is 24 inches, so as long as their head diameter is 24 inches or less, this should fit.
We put one loop around at a time, the first loop is sitting around her neck while we twist the second loop around her head. Hope that helps!
If you are worried about the length you can definitely make the scarf longer by using the length of the fabric for the length of the scarf instead of cutting your piece across the width of the fabric.
Best Wishes,
Crystal
Thanks! I made it (the width of my fabric is 44 in) and I actually added 3 inches that I cut off the other side to be safe. I figured that part can be in the back. I had only bought a half yard. It’s for my 5 year old niece so I’m going to try it out on my 4 year old son when he wakes up. They’re about the same size. It’s adorable though and if it fits I’ll share a picture. Thanks!
It fits! I can’t figure out how to post a picture though.
So glad that it fits Kim. You could either post a link to a photo or email me at sewcreativeblog@gmail.com.
Thank you so much for commenting!
Crystal
Want to make this with some cute stretch faux fur for a 5 year old that wears a 5T.
Since it is furry would I make it narrower but keep the length? The fabric is actually 60″ wide…if I used the 60″ length that would just make it hang down farther?
Hi Marge,
I think that you could probably just keep it with the same dimensions as I have in the pattern. I don’t think you need to make it narrower, though you could if you wanted to. Yes, if you use the 60″ there the loops will just hang down further.
Best Wishes,
Crystal
So cute! I don’t know how to sew, but my mom could sew anything. She passed away 4 months ago and I kept her sewing machine. My oldest daughter wants to learn how to sew, so I’m giving it to her. Thanks for sharing.
This was so easy. Love it, thanks!
I have a question …. how much additional material would I need to make it a wrappable scarf. This would be for girls, 8 & 9 years old.
Thanks.
Hi Carolyn,
Thank you so much! I really appreciate your comment. I’m glad it worked out so well for you. You want to have enough fabric so that when it’s double looped it can go around the head. I just tried to find a chart of children’s head circumferences. It looks like 20 inches is a good rough estimate. So if you double that and add a couple inches for seams… I would think that 50 inches should be more than enough.
Let me know how it turns out!
Best Wishes,
Crystal
Hi!
This is super cute! I was wondering if you would happen to have any recommendations on dimensions to make this scarf for a 10-12 month old?
Thanks!
-Abby
Hi Abby,
Great question. Unfortunately I’m not quite sure. You might want to measure the circumference of her head and multiply that by 2? Let me know how it works. Also, just a reminder probably best not to leave a 10 month/12 month old left unattended with this around their neck. If it got pulled too tight I imagine it could cause strangulation. 🙁
Best Wishes,
Crystal
Thanks for this great tutorial. However I am going to try a single loop version and see how it looks, as I am cautious about anything that can get caught and pulled tight on a child’s neck. I will play with the tube width and fabric type.
The other thing I was thinking is that I have a number of pashmina scarves that sit unused- (I find them too bulky) so I will try to make the adult version from these and get two scarves from one pashmina. The fabric in them is soft and perfect for infinity scarves. Cheers!