


1 Hour DIY Laptop Sleeve Sewing Tutorial For Any Size Laptop
This post and the photos within it may contain Amazon or other affiliate links. If you purchase something through the link, I may receive a small commission at no extra charge to you.
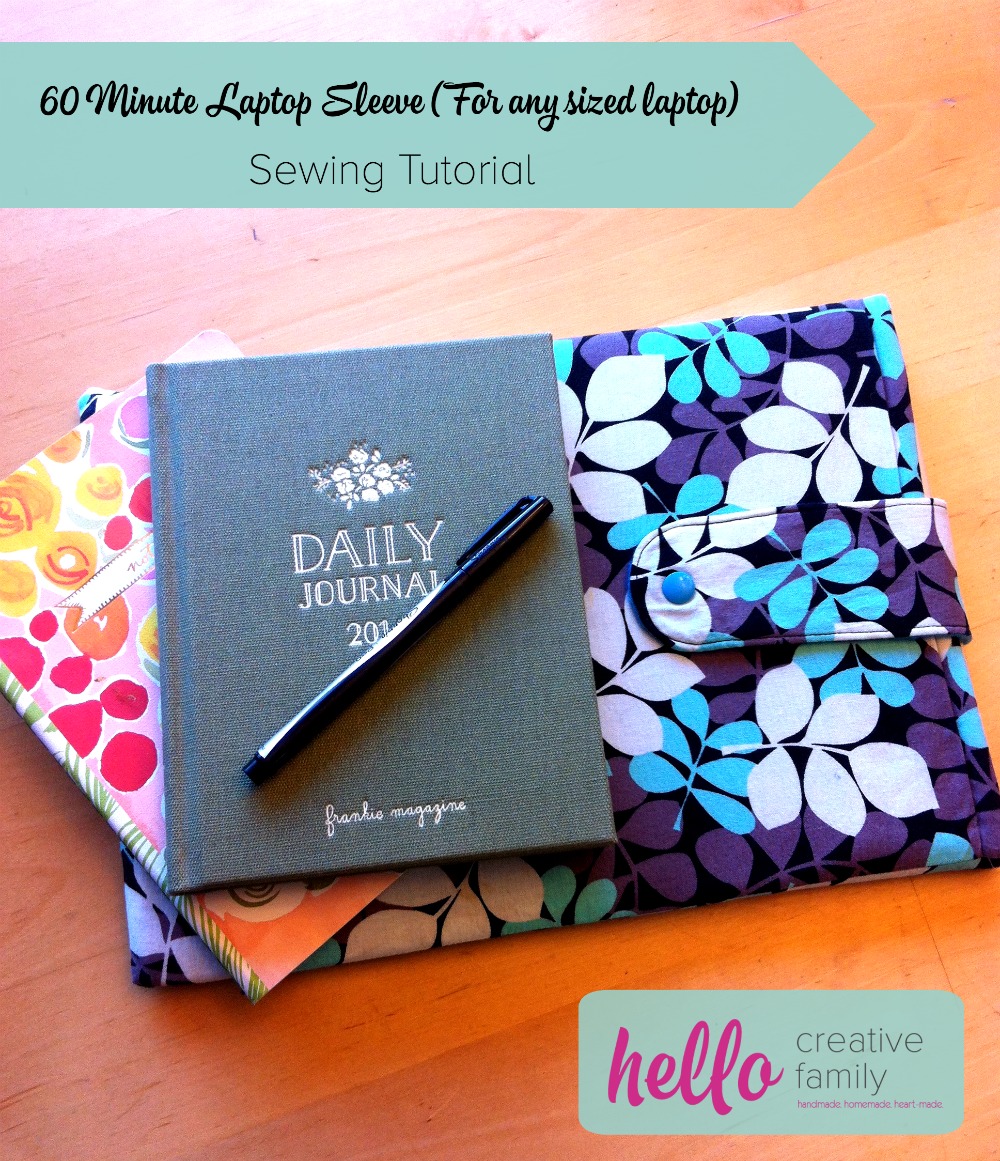
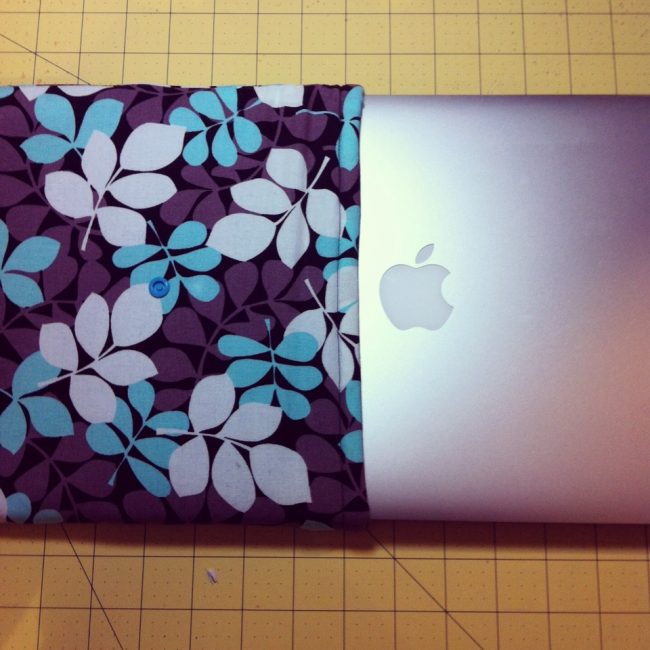
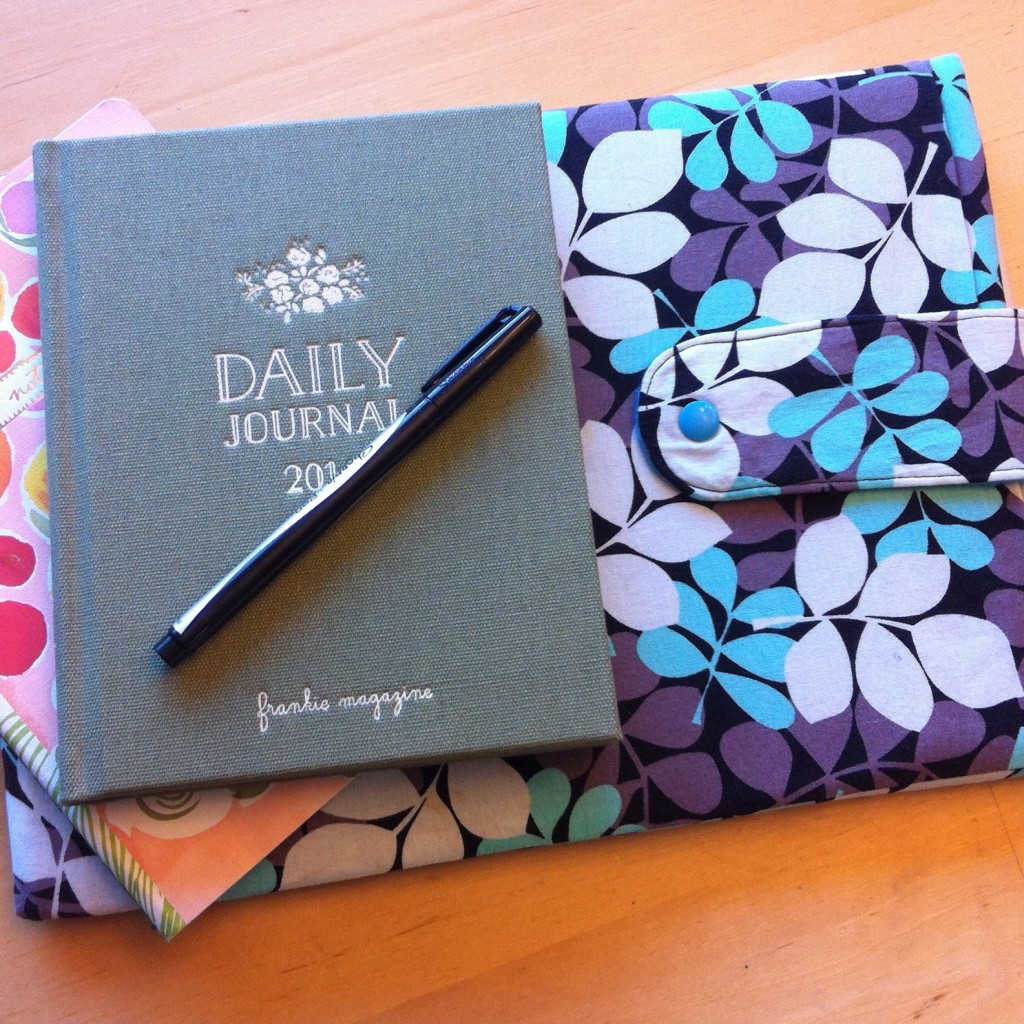
As an anniversary present The Hubs bought me a Macbook Air. He said that it was a gift to encourage me with my writing… which pretty much melted my heart. I’m so lucky to have such a supportive husband. It was the best gift ever, my laptop is never far away from me. I was recently trying to decide what I should sew next and I figured… Why not a a cute little laptop sleeve.
This 1 Hour DIY Laptop Sleeve Sewing Tutorial is a great project for beginner sewers and advanced seamstresses alike. I love it because it works for any size laptop because you measure your computer and make your pattern accordingly.
What you need:
- Cotton fabric in your choice of patterns for outside of sleeve
- Fleece fabric for inside of sleeve
- Scissors
- Sewing Machine
- Thread
- Snaps and snap press/snap pliers (If you don’t have these you could also create a button hole and use a button or use velcro.)
- Sewing Machine
Instructions:
1. Measure your laptop’s length, width and height and write on a piece of paper.
2. Calculate the measurements for the fabric that you are going to cut.
For the length of your fabric you will want to calculate:
length of your computer + height of your computer +1 inch= Length of your fabric
For the width of your fabric you will want to calculate:
width of your computer + height of your computer + 1 inch= width of your fabric.
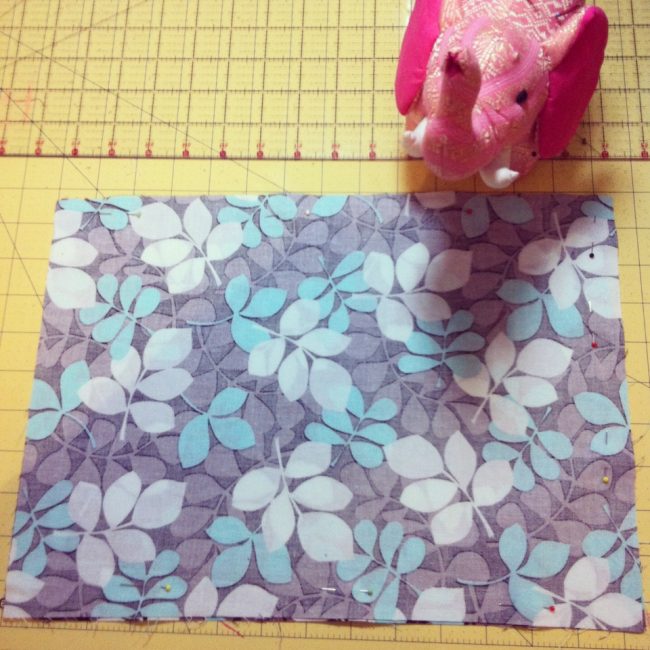
My MacBook Air is 13 inches in length, 9 inches in width and .25 inches in height. My fabric pieces were 14.25 inches by 10.25″.
3. Cut 2 pieces of your printed fabric and 2 pieces of fleece in the dimensions you calculated above.

4. Next up you will want to create your strap. Draw a pattern for your strap. For our strap we opted for a strap that was 2 inches wide and about 6 inches long with a curve at the top.
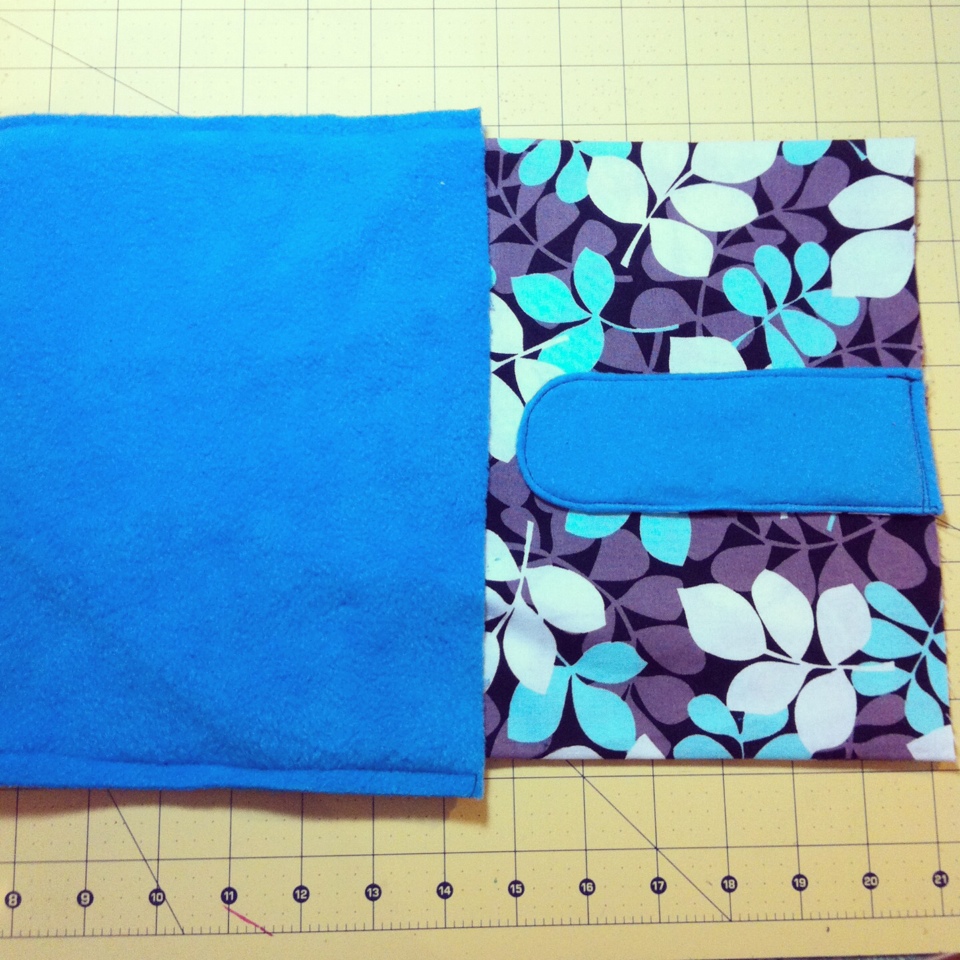
5. Cut out your pattern and then trace on your fabric. Cut out 1 strap piece from your fleece fabric and 1 pattern piece from your printed fabric. (As pictured above.)
Note: We opted to use a snap to close our laptop bag, however if you would like to use velcro instead this would be the time to add the velcro to your strap. Sew the velcro onto your fleece (making sure to account for the 1/4” seam allowance you will be using). When sewing your strap together make sure that the velcro is facing the printed side of your fabric).
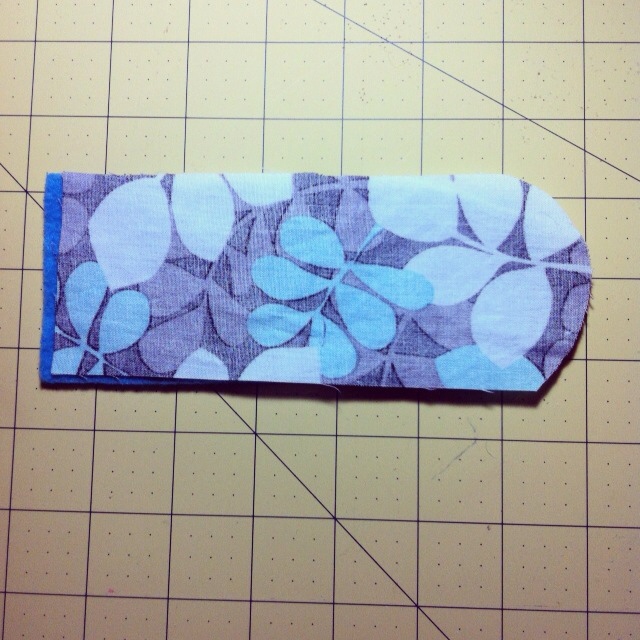
6. Place the two pieces of your strap together so that the printed fabric is right side down on top of the fleece. Make sure all edges align then stitch along both of the long sides and the curved top using a 1/4” seam allowance. Leave the bottom (uncurved short section) open.
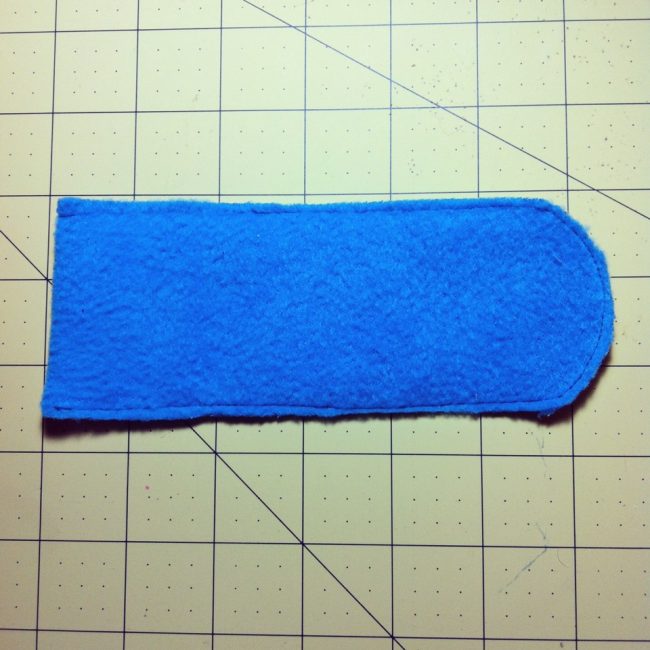
7. Trim the excess fabric and then turn right side out.

8. Press with an iron and then top-stitch, using a coordinating thread, around the two long sides and the curved top using a 1/8” seam allowance. Set your strap aside.
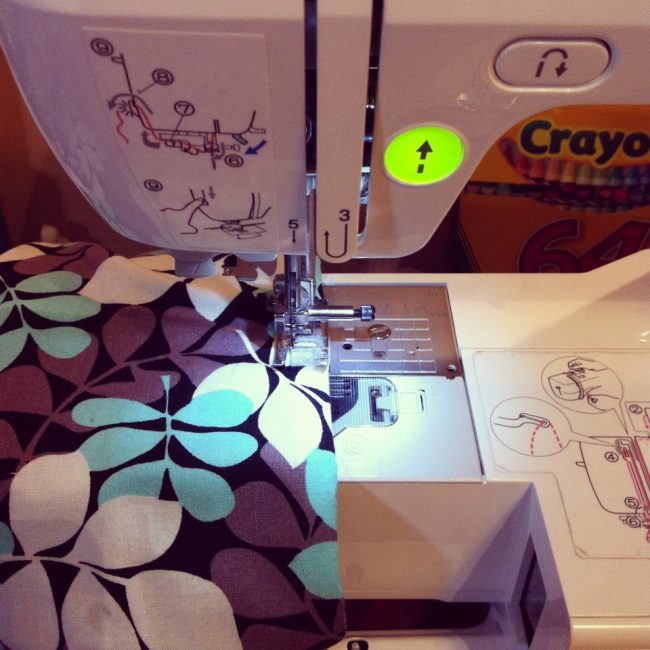
9. Take your two rectangular pieces of printed fabric and pin together with right sides facing each other. Pin along one short side and the two long sides.
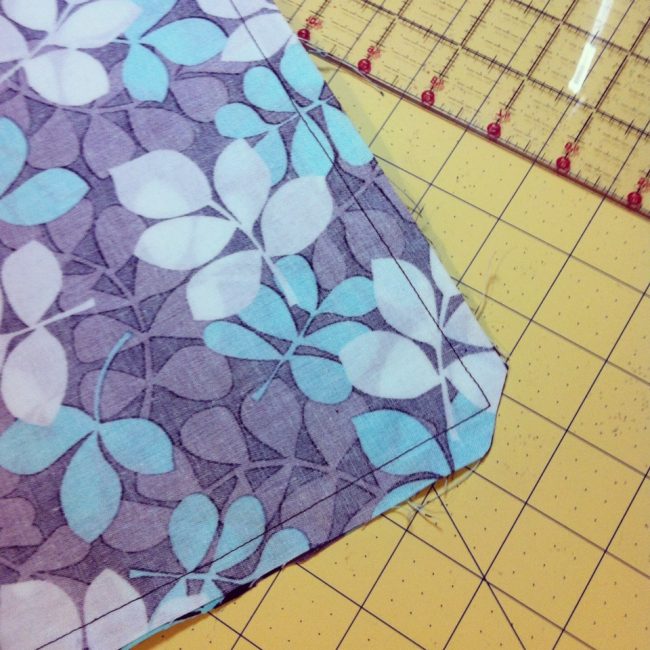
10. Stitch along all 3 sides that you pinned using a 1/2” seam allowance. Clip the excess fabric from your two corners, being careful to not clip your seam. Turn right side out and press with a hot iron.
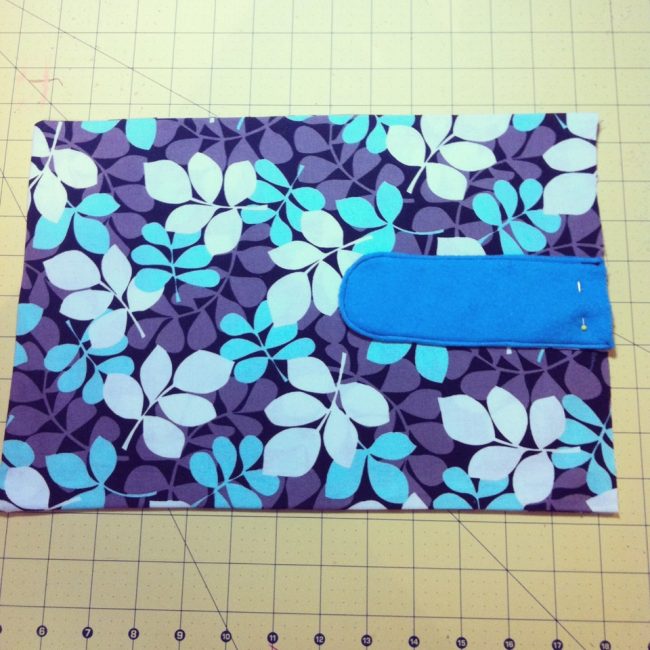
11. Now it’s time to attach your strap. Find the center of the un-sewn edge of your laptop sleeve. With the fleece part of your strap facing up, line up the raw edge of the strap with the raw edge of the exterior fabric. Pin into place. Sew/baste strap into place using a 1/4” seam allowance (you should be going through 3 pieces of fabric, the printed fabric and the fleece fabric of the strap and the top piece of the printed fabric of the laptop sleeve). Set this piece of your laptop sleeve aside and take out your 2 fleece rectangles.
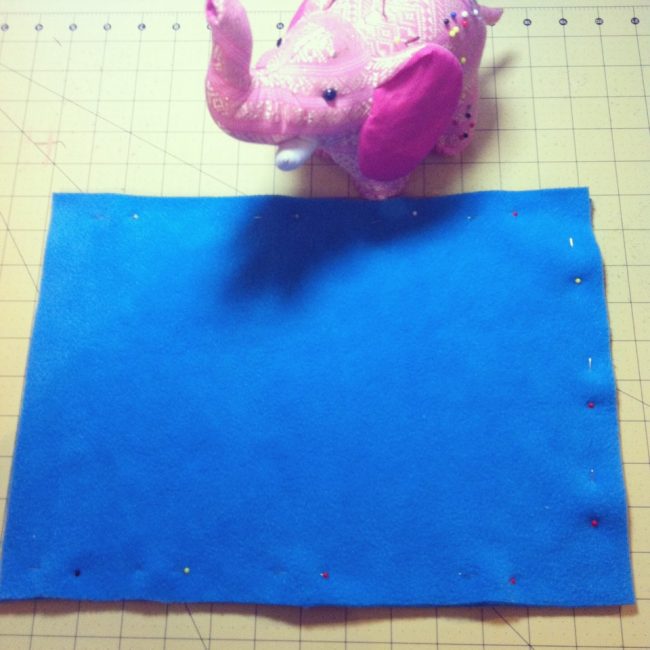
12. Lay your 2 pieces of fleece flat on top of each other making sure all edges align. Pin 2 long sides and 1 short side.
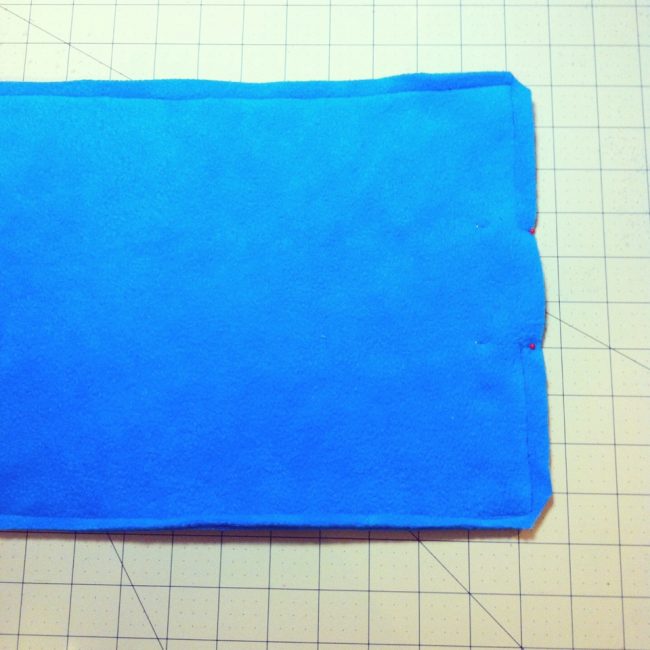
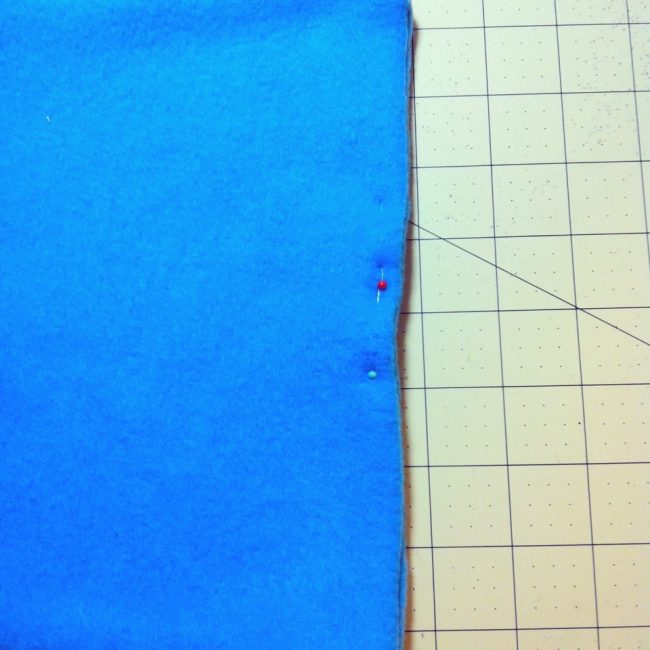
13. Stitch along two long sides using a 1/2” seam allowance. Stitch along short side of the fleece that you pinned but leave a 2-3 inch break/opening in the middle (you can see my break where the red pins are). Clip the excess fabric from your two corners, being careful to not clip your seam.
14. Insert your printed fabric section of the sleeve into the fleece sleeve that you just made. The printed side of the fabric should be facing out towards the inside of your fleece sleeve.
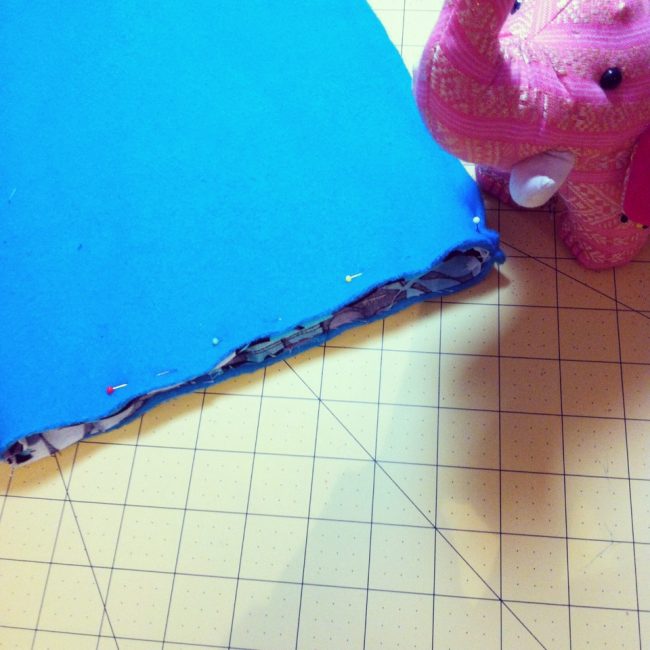
Make sure to align your seams and the raw edge of the printed fabric with the raw edge of the fleece fabric. Pin into place.

15. Stitch all away around the circle of the opening of the bag leaving a 1/2” seam allowance. Are you getting excited??? You get to see your creation soon! Right now you have an inside out bag but…
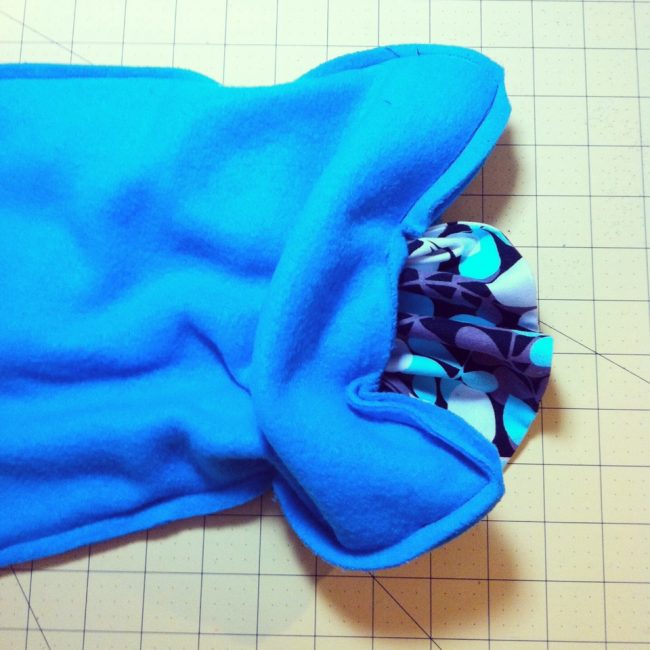
16. Pull the exterior fabric through the hole that you left at the bottom of the fleece.
17. Pull the fleece right side out as well and stitch up the hole at the bottom of the fleece that you just pulled the sleeve through.
18. Tuck the lining (fleece) inside of the printed fabric. Yay! This is your first real glimpse of what your laptop sleeve is going to look like. Tuck the interior fleece corners into the corners of the exterior printed fabric of your sleeve. I find at this point it helps to put your laptop into the sleeve to really get the corners nice and squished in.
19. Topstitch around the opening of your sleeve with a coordinating thread using a 1/2” seam allowance.
Note: At this point if you are using velcro on your straps, place a piece of velcro on the body of the sleeve, making sure it lines up with the velcro on the strap and sew into place.
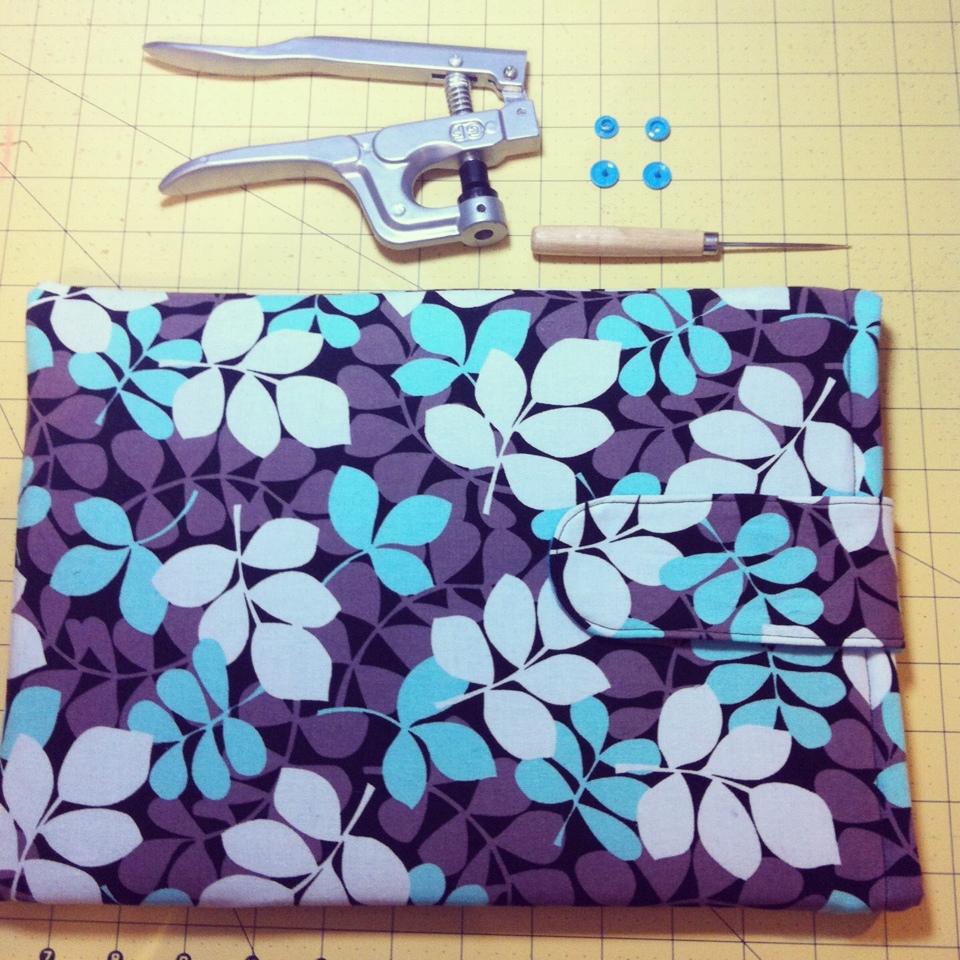
20. If you are using a snap press, pick out your coordinating snaps and attach your snaps to the strap and to the area of the sleeve where the strap will attach.
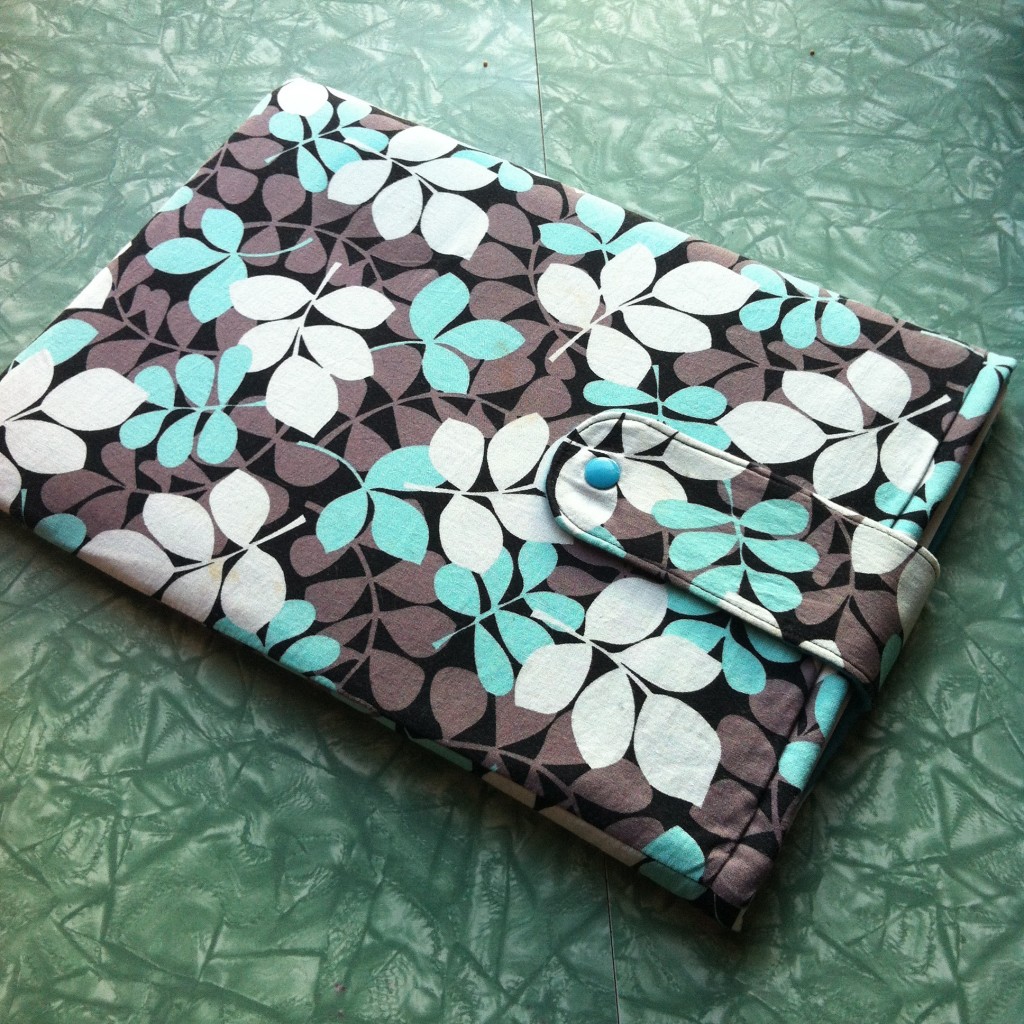
And there you go! You are all done with your 1 hour laptop sleeve sewing project.
I hope that you enjoyed our 1 hour laptop sleeve sewing tutorial. Please let me know in the comments field if you have any questions. We’d love to see pictures of your finished laptop sleeves.
Warning… this project is addictive… you will want to make laptop sleeves to coordinate with all of your outfits. 😉
If you like this project please subscribe to Hello Creative Family in the subscribe box near the top of our sidebar and visit our other DIY & Craft Projects.


That was so sweet of your hubby, and I love this case! Do you mind if I share a link/picture on my blog?
Thank you so much Chelsea. I’d love for you to share it. 🙂
Best Wishes,
Crystal
Fleece creates static and static is terrible for electronics in general, but especially when it discharges. Something like a pre-quilted fabric would be a much better choice for a liner. Other than that, great tutorial! Thanks!
Ahhhh good advice Alyssa. You see I’m not a tech girl, just a craft girl, so I had no idea! 🙂
Thank you for visiting and taking the time to comment!
Best Wishes,
Crystal
Hello Alyssa
I was thinking of making a laptop cover in felt but after reading your note about static and fleece, I’m not sure. Do you know if felt would have the same static kinds of properties as fleece.
Many thanks
Sue
Hi Crystal,
I found you through the SITS sharefest. I loved your post, thanks so much for sharing your lovely pattern. It’s wonderful you received such an encouraging gift from your husband.
Love the laptop cover. I made it with a star block insert on the front cover and then quilted it. Used just cotton for the lining because of the batting on the outside cover. Would love to post a picture, but I don’t see where I can attach one.
Hi Paulette,
That sounds beautiful! I’d love to see it. Do you have an instagram account? If so want to post a picture and tag me? @sewcreativeblog.
Best Wishes,
Crystal
Ive never sewn anything before but i decided to give it a go and this was a tutorial which is easy to understand by new sewers. I made some changes to mine but all in all i found it really helpful so thanks!
Thank you so much Beth! I’m glad that your first sewing project was a success! Do you have plans for your second sewing project?
Thank you so much for visiting!
Best Wishes,
Crystal
Thank you for sharing this perfect tutorial! I’ve been dreaming of making my own laptop sleeve but didn’t know where to start – now I know! 😀
Great tutorial! Do you think I’d be able to sew this by hand? I’m looking for hand sewn projects to see if I like them, then maybe I’ll buy a sewing machine later on.
Hi Alya,
Thank you very much for visiting. Yes, I think you could definitely sew this by hand, it might take a bit longer, but there aren’t any stitches involved that can’t be done by hand.
I’d love to see your finished result!
Best Wishes,
Crystal
I love it! Thanks so much for sharing! I wonder if I could add a pocket for the cord and mouse…
I LOVE this tutorial! Simple, easy, and fun. I used quilted fabric for the inside and it worked great. Very professional looking. I used tan camo for the outside material and am giving it to my friend who is a veteran. He will love it!
That’s awesome Laura! Thank you so much for sharing. I’d love to see a picture of your finished laptop sleeve!
Thank you for visiting.
Crystal
I made mine by hand and my boyfriend is going to love it. Love yo show you a picture. Do you have an Instagram?
Hi Grace!
I’d love to see pictures! You can tag me with @hellocreativecrystal on Instagram. 🙂
Best Wishes,
Crystal
thinking making projects involving sewing is very rewarding; use to sew..i like to pick upagain; so I am wondering advice what type of sewing machine is good for crafts/
Great tutorial! I made a laptop sleeve and published it on my website 🙂
If you like you can see it: http://studioanny.pl
Have a nice evening 🙂
Hi Anna,
Your sleeve turned out beautifully. Thank you for sharing!
Best Wishes,
Crystal
I love it !! Great tutorial. Thankyou so much for sharing.
this is great. I am sure the fabric exchange has so many choices of fabric for this kind of project.
Great tutorial. I am going to make some of these for the local Red Cross to sell to raise funds.
This is such a best tutorial for me thanks for sharing!
I love this blog for such a great information!