


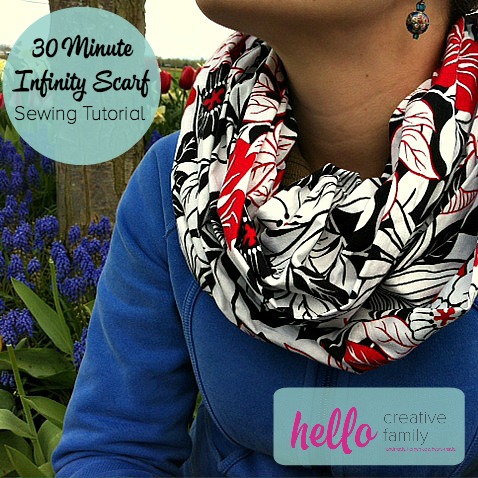
Tutorial- How To Sew An Infinity Scarf 30 Minute Project
This post and the photos within it may contain Amazon or other affiliate links. If you purchase something through the link, I may receive a small commission at no extra charge to you.
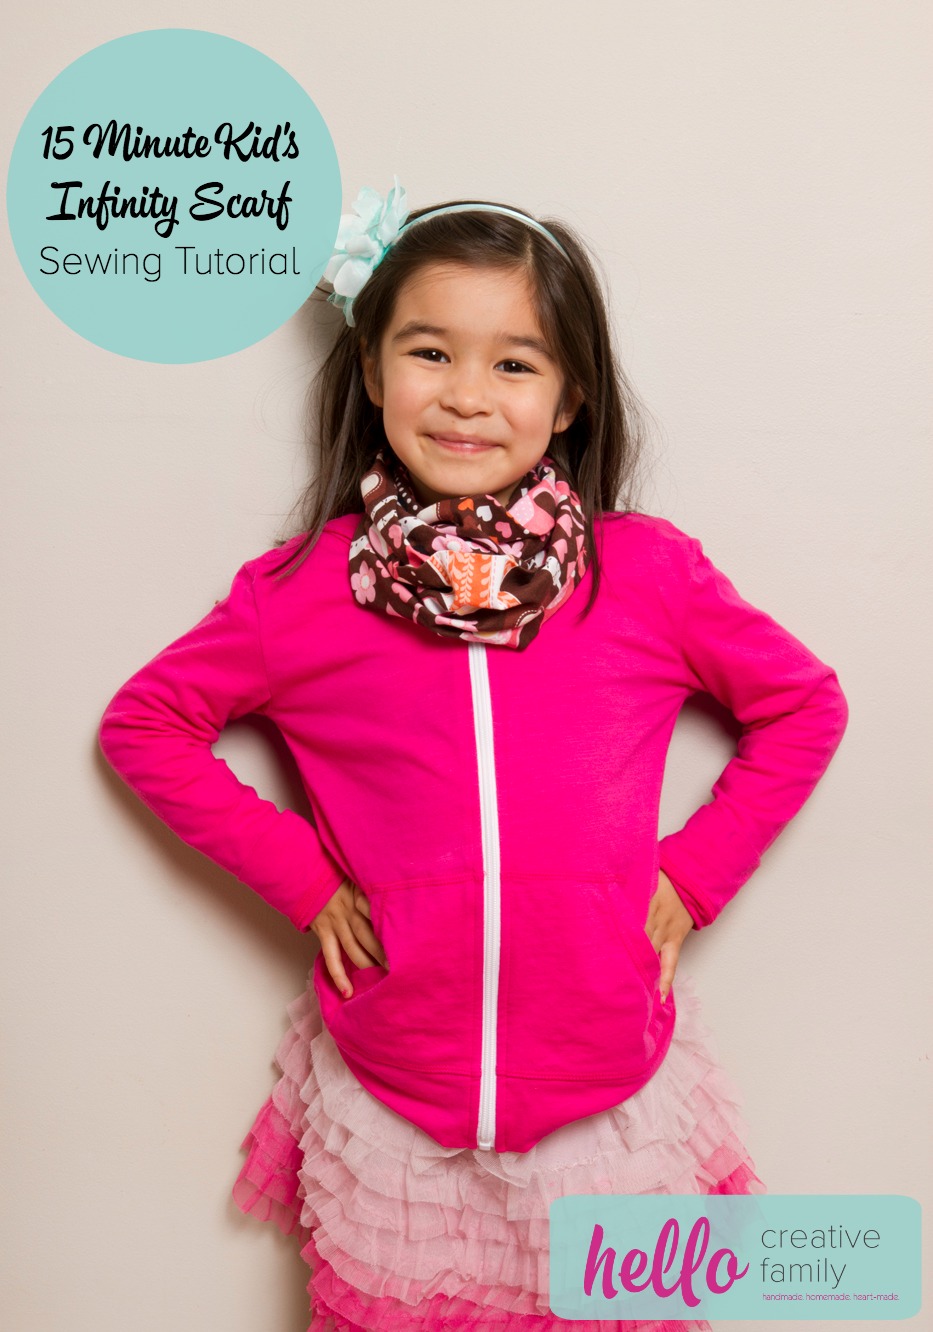
UPDATE: Check out our 15 Minute Kid’s Infinity Scarf Sewing Tutorial too and make a “mini me” version of the scarf featured in this tutorial.
You Will Need:
-2 yards of fabric (this will make two infinity scarves, or one infinity scarf and a strip of extra material)
-Thread
-Scissors or a rotary cutter (if using a rotary cutter you will also need a cutting mat)
-Ruler or seamstress tape
-Sewing machine
-Needle
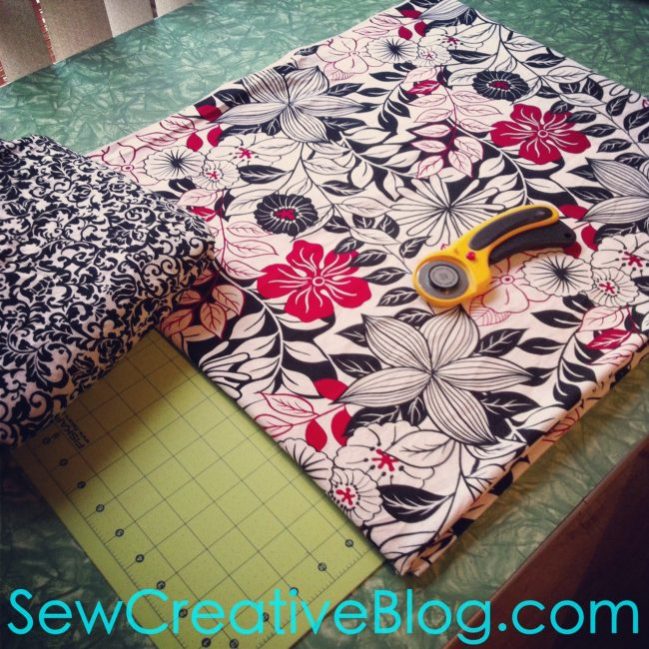
Step 1: Select your fabric. You will need 2 yards. Cut your fabric in half lengthwise so that it measures approximately 22 inches in width by 2 yards in length. I leave the selvage on the fabric as this will be hidden on the inside of the scarf.
Note: We received this comment from a reader. I haven’t had any problems with the infinity scarves that I’ve made so far, but I’m learning every day and appreciate the tips. Beverly says: “You always want to cut off the salvages (aka the long edge on both sides of the fabric. One side will usually have the name of the fabric design, the fabric designer and circles with the colors that are in the fabric… look at the photo in step 5 for a picture of the salvage edge) of cotton and woven fabrics. The fabric on the salvage is very different from the rest as it is the part that attaches the waft and loft threads to the loom. It is more tightly woven then the rest and these edges will not shrink or relax in the same fashion as the main part of the fabric. You could end up with some very wonky seams and garments if you don’t remove the salvages before creating them.”
Step 2: Fold your fabric in half lengthwise and pin right sides together (so that the pattern is on the inside). You will have a long rectangle of fabric that is approximately 11″ in width and 2 yards in length.
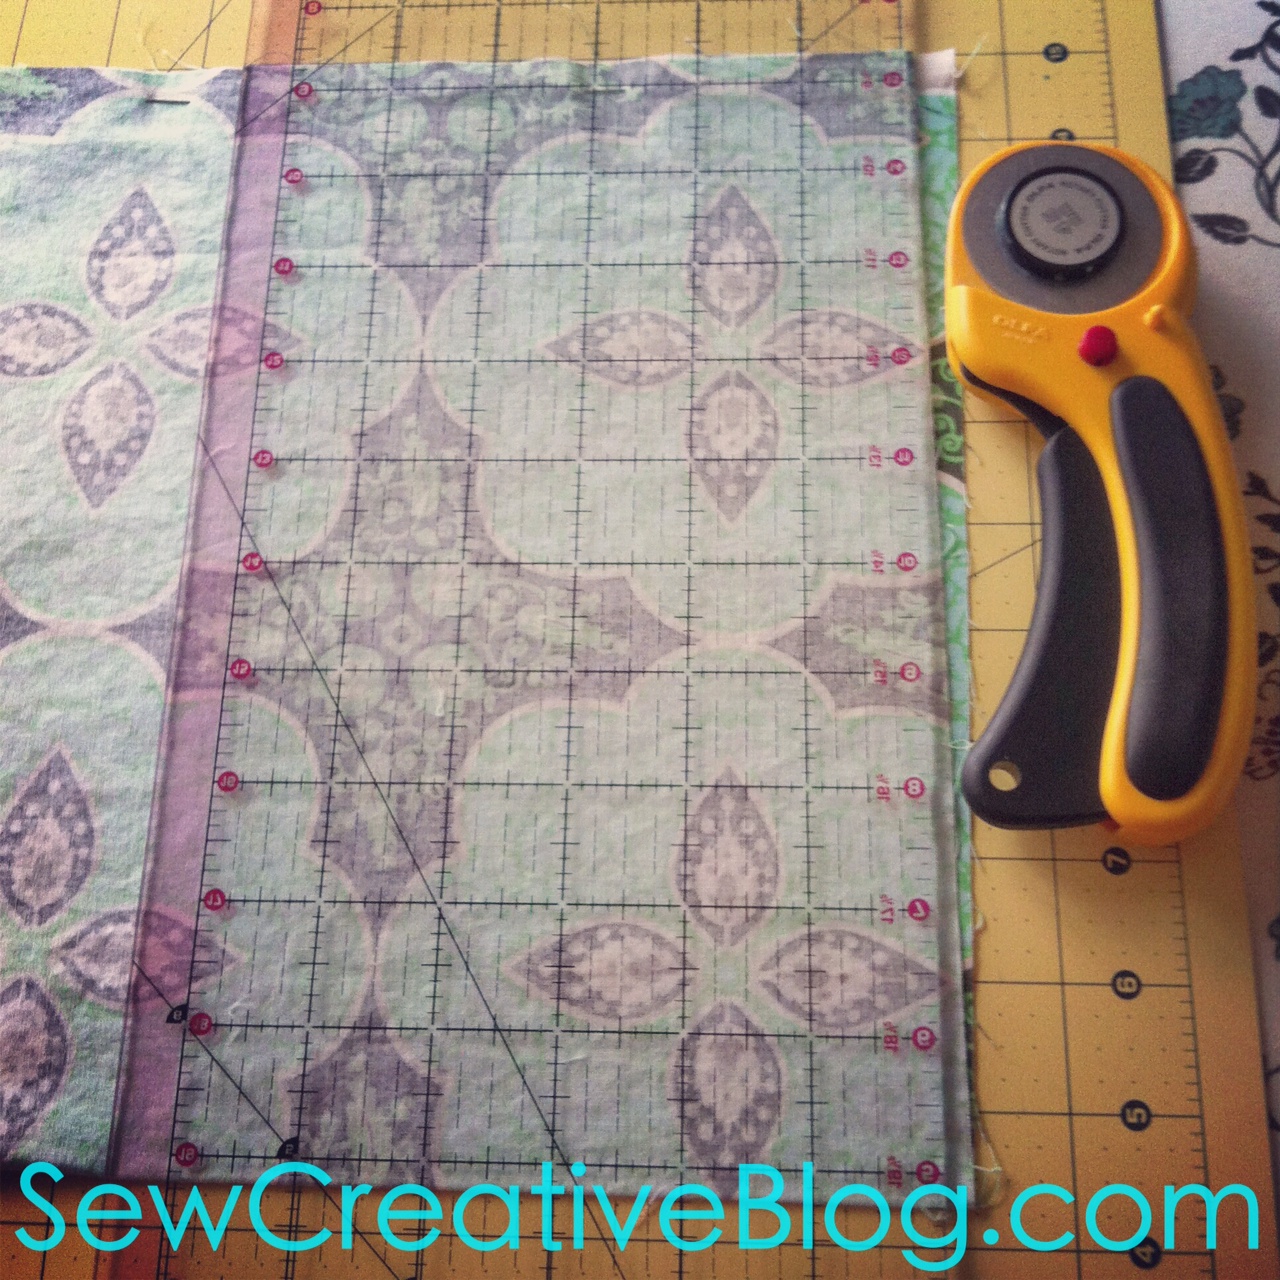
Step 3: If the ends of your fabric are uneven this is the point where you will want to square them up. You will want nice straight end pieces for when you sew the two ends together later in your project.
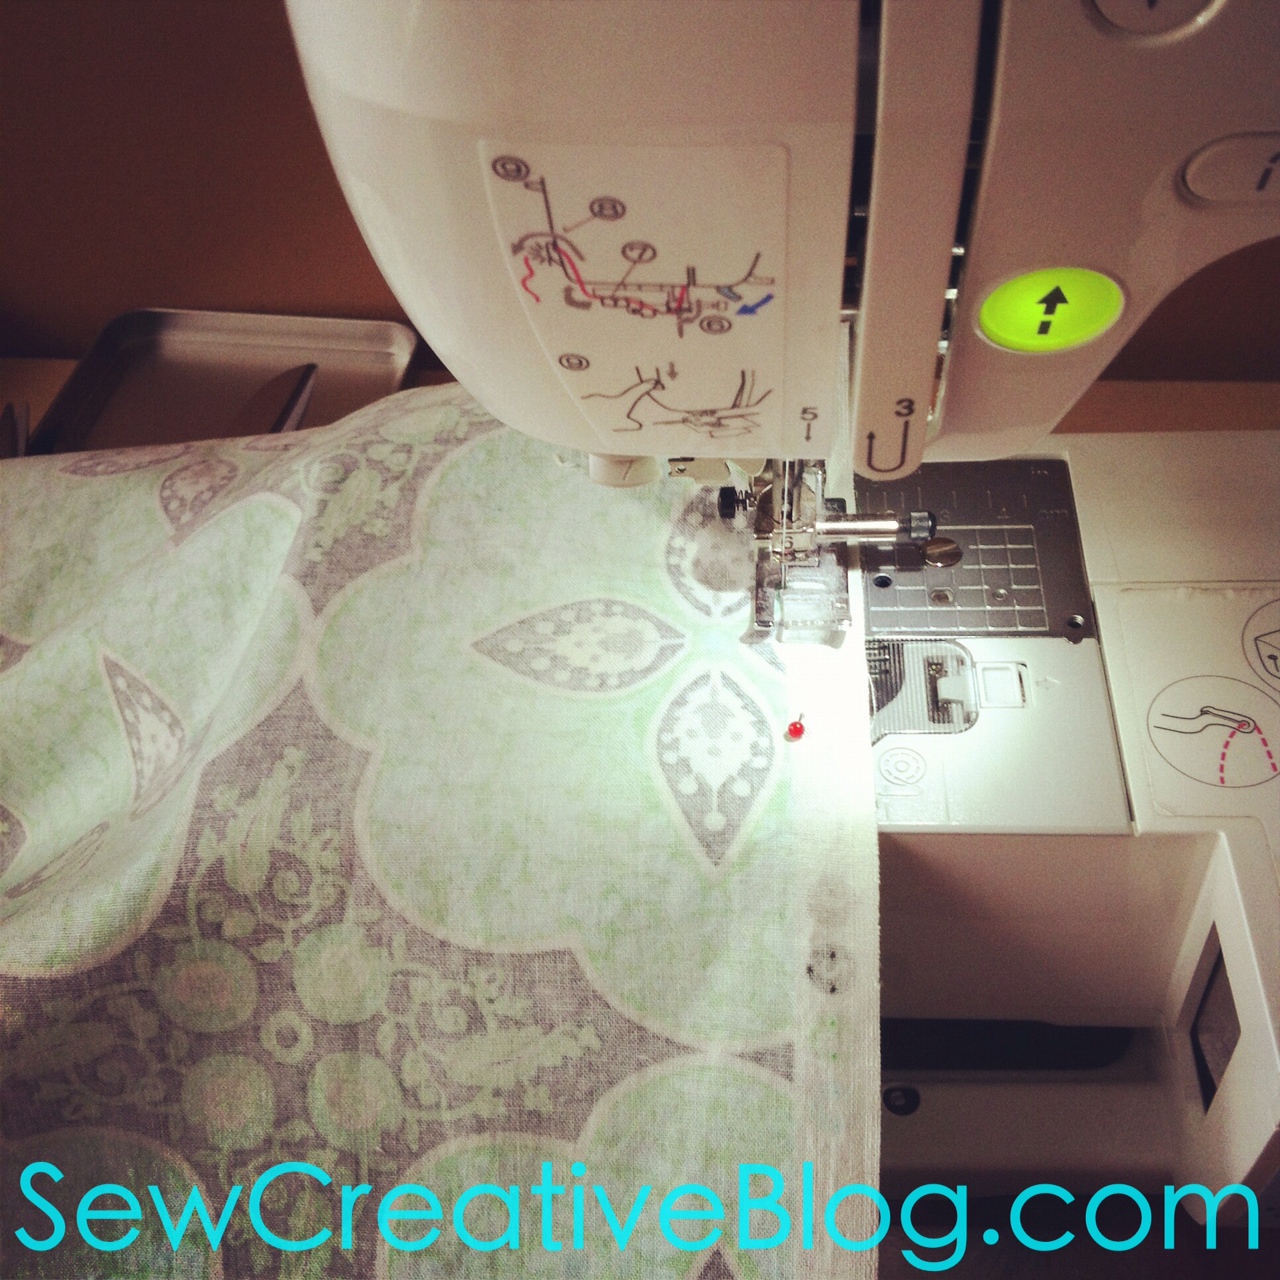
Step 4: Sew along the length of your infinity scarf where you just pinned. I use a half inch seam allowance to make sure the selvage edge is hidden within my infinity scarf. When you get to the end back stitch. (Make sure you just sew along the length of the fabric, don’t do anything with the ends yet.) When you are done you will have a very long tube.

Step 5: Lay your scarf on your ironing board with the seam in the middle of the scarf. Using the tip of your iron press open the seam.

Step 6: Flip your scarf so that it is right side out. I just stick my arm through the hole in the middle, bunch it up until I could reach the other end and pull it through.
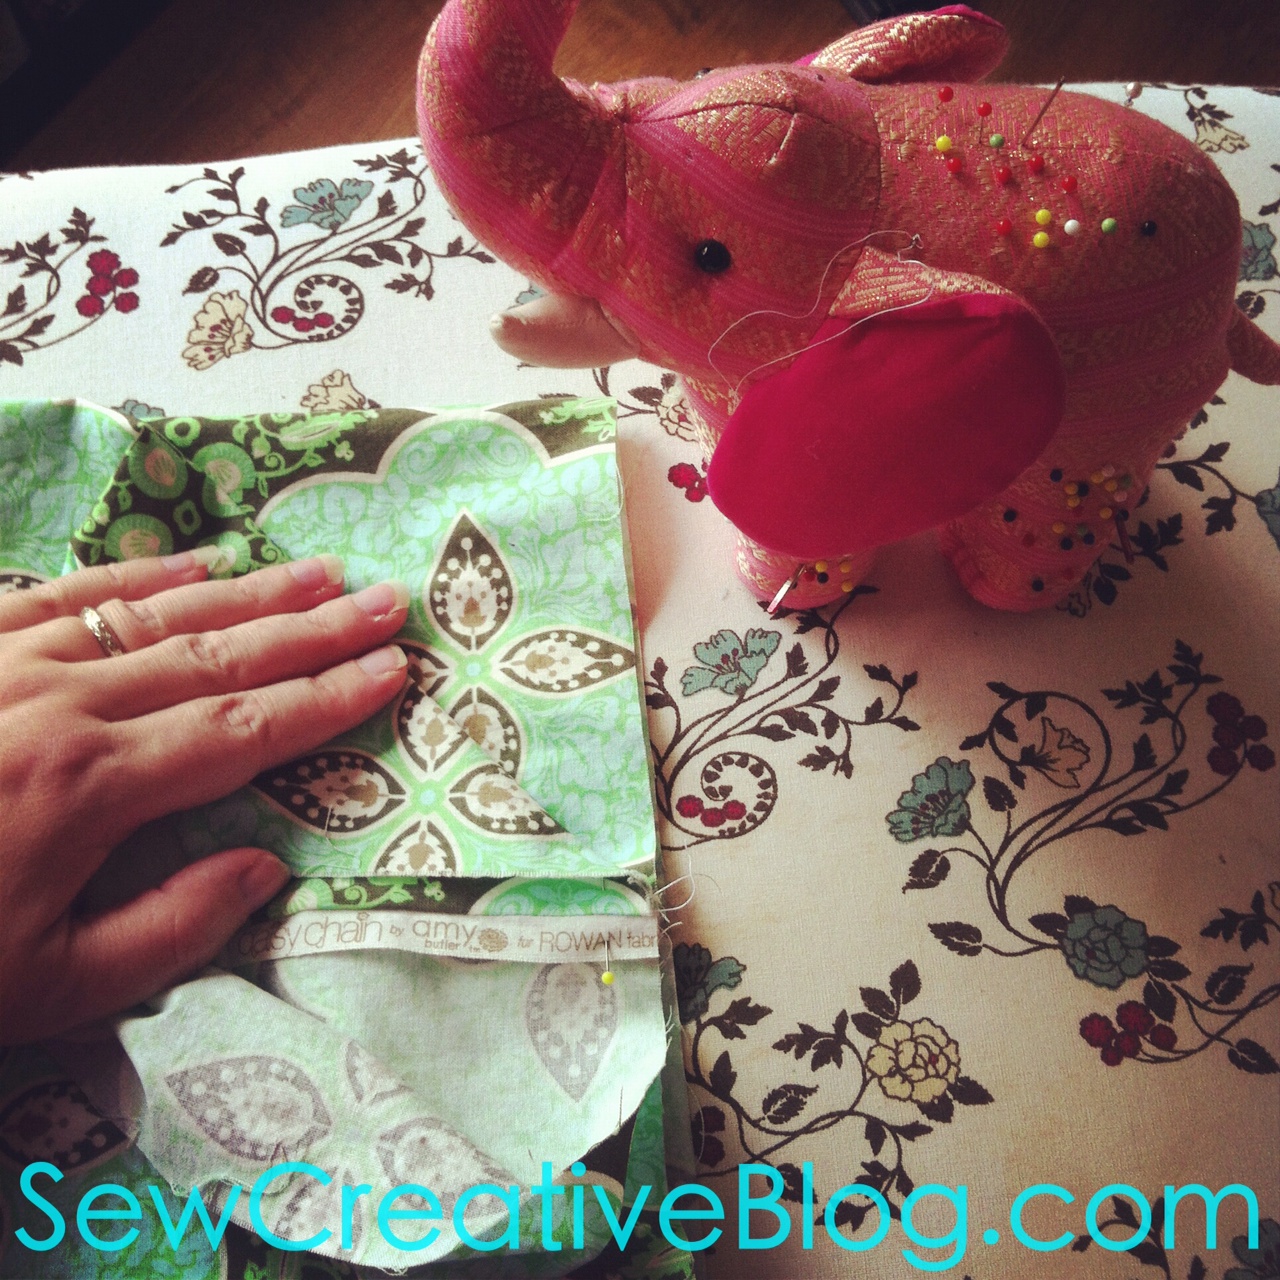
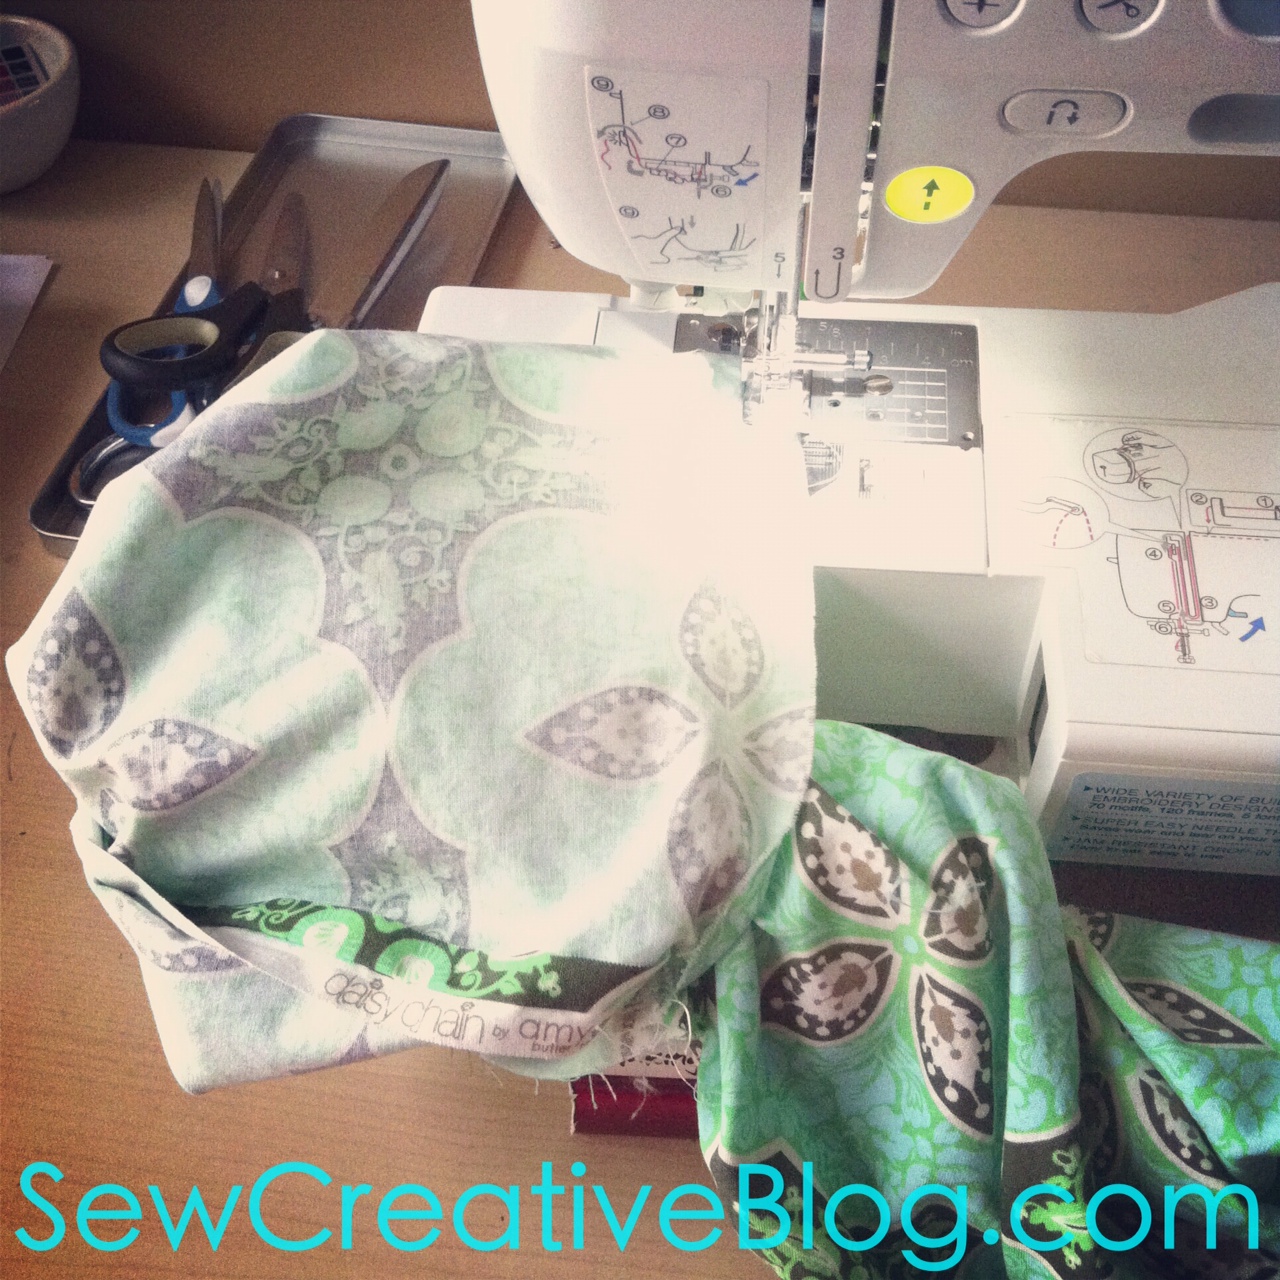
Step 7: Fold you infinity scarf in half so that the two open ends are laying on top of each other. It will now measure approximately 10″ by 1 yard. With the two ends of your scarf in your hands find the seam that you just pressed open. Pinch together so that the seams are lined up and the right side of the fabric is facing each other. Pin. Start working your way about a quarter of the way around the circle adding pins as you go. Bring to your sewing machine.
*Joining the two ends of the scarf together is the most confusing part. You can do it! Once you do it once it will be so easy.*
At this point it will look something like this:
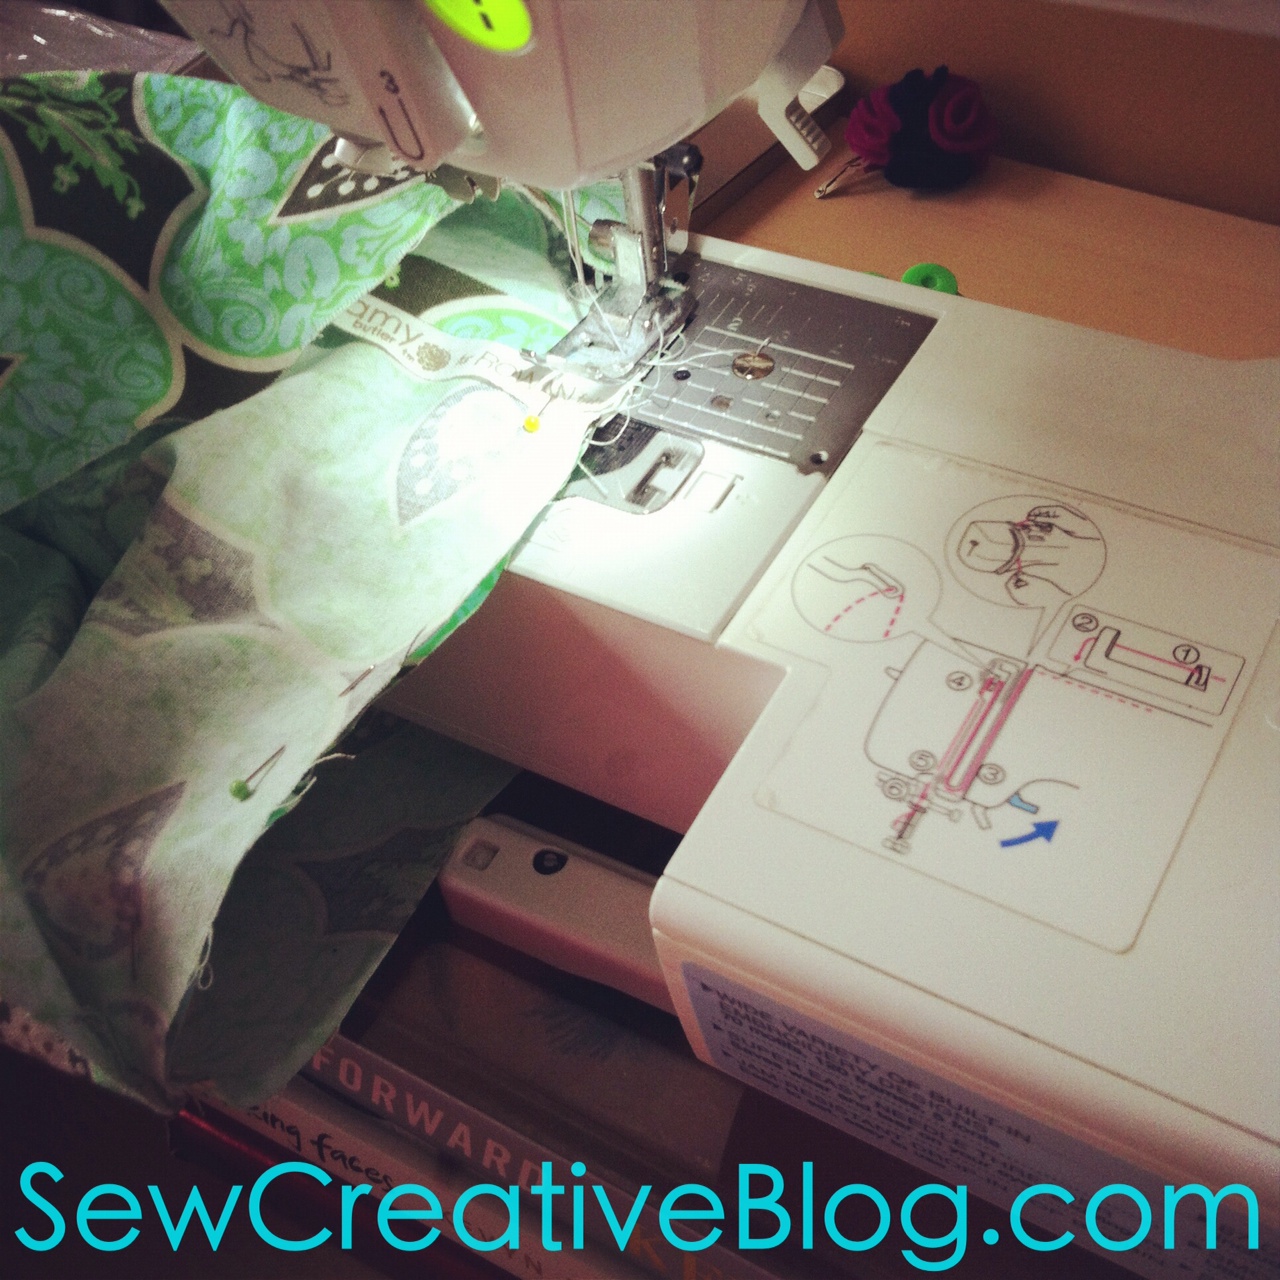
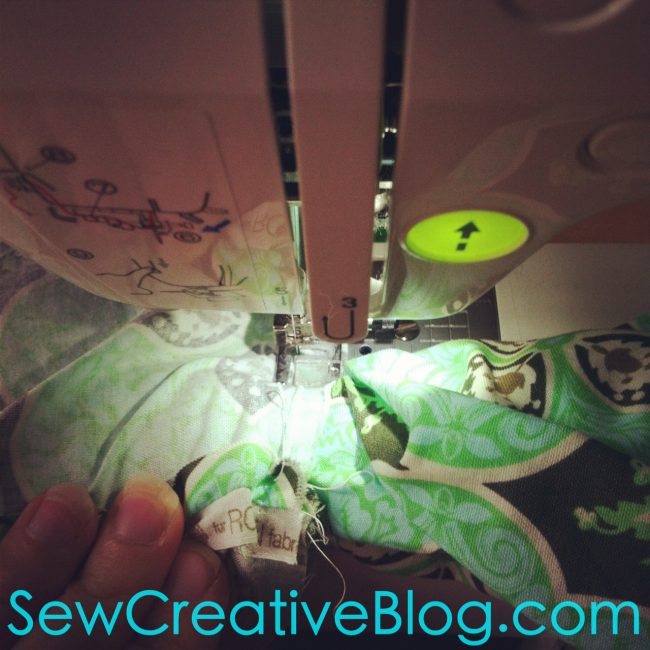
Step 8: You are now going to be sewing the two ends of your scarf together. You will be sewing through two layers of fabric. I loop the bottom circle of the scarf around the bottom of my sewing machine and leave the top circle free. Start stitching around the circle leaving a half inch seam allowance.
*I find it works best if my right hand is in front of my sewing machine keeping the two pieces of fabric neatly lined up and pinched together, while my left hand was behind my machine guiding the fabric through.*
Step 9: Keep sewing around the circle slowly, making sure your edges are matched up. Once you get a little bit past half way around the circle the loop around the bottom part of your sewing machine will get too tight to continue sewing. Slip it off of the bottom of your sewing machine. Take your top section of fabric. Flip it inside out so it makes a little pocket and put the top section of scarf inside it. Bunch that part of the scarf down (where the bottom of my picture is) so it takes up as little room as possible.
*If you get confused look at the above picture, it really helps.*
Keep sewing your seams together until you are about to hit the part of the scarf you have in the pocket. (This should leave you a couple of inches to flip the scarf back right side out and hand stitch the remainder.) Backstitch, remove from sewing machine and pull scarf out of pocket.
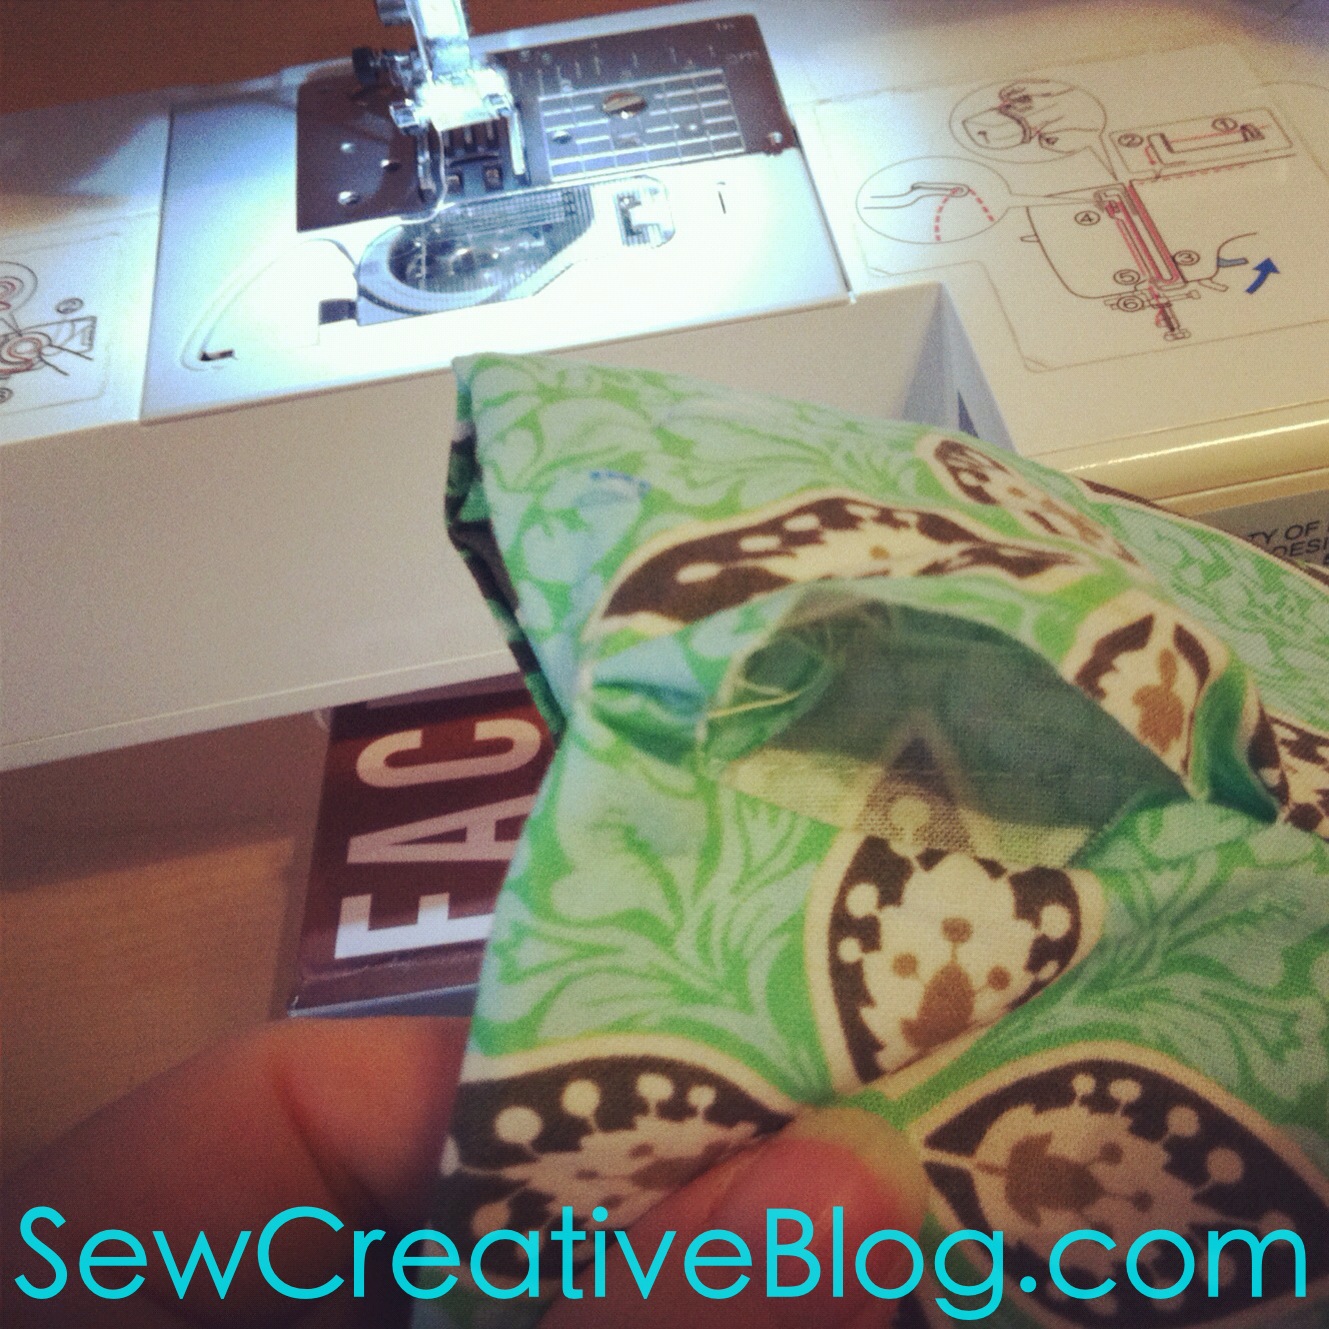
When you take it off of your machine it will look something like this. Yay! The sewing machine part of this project is over.
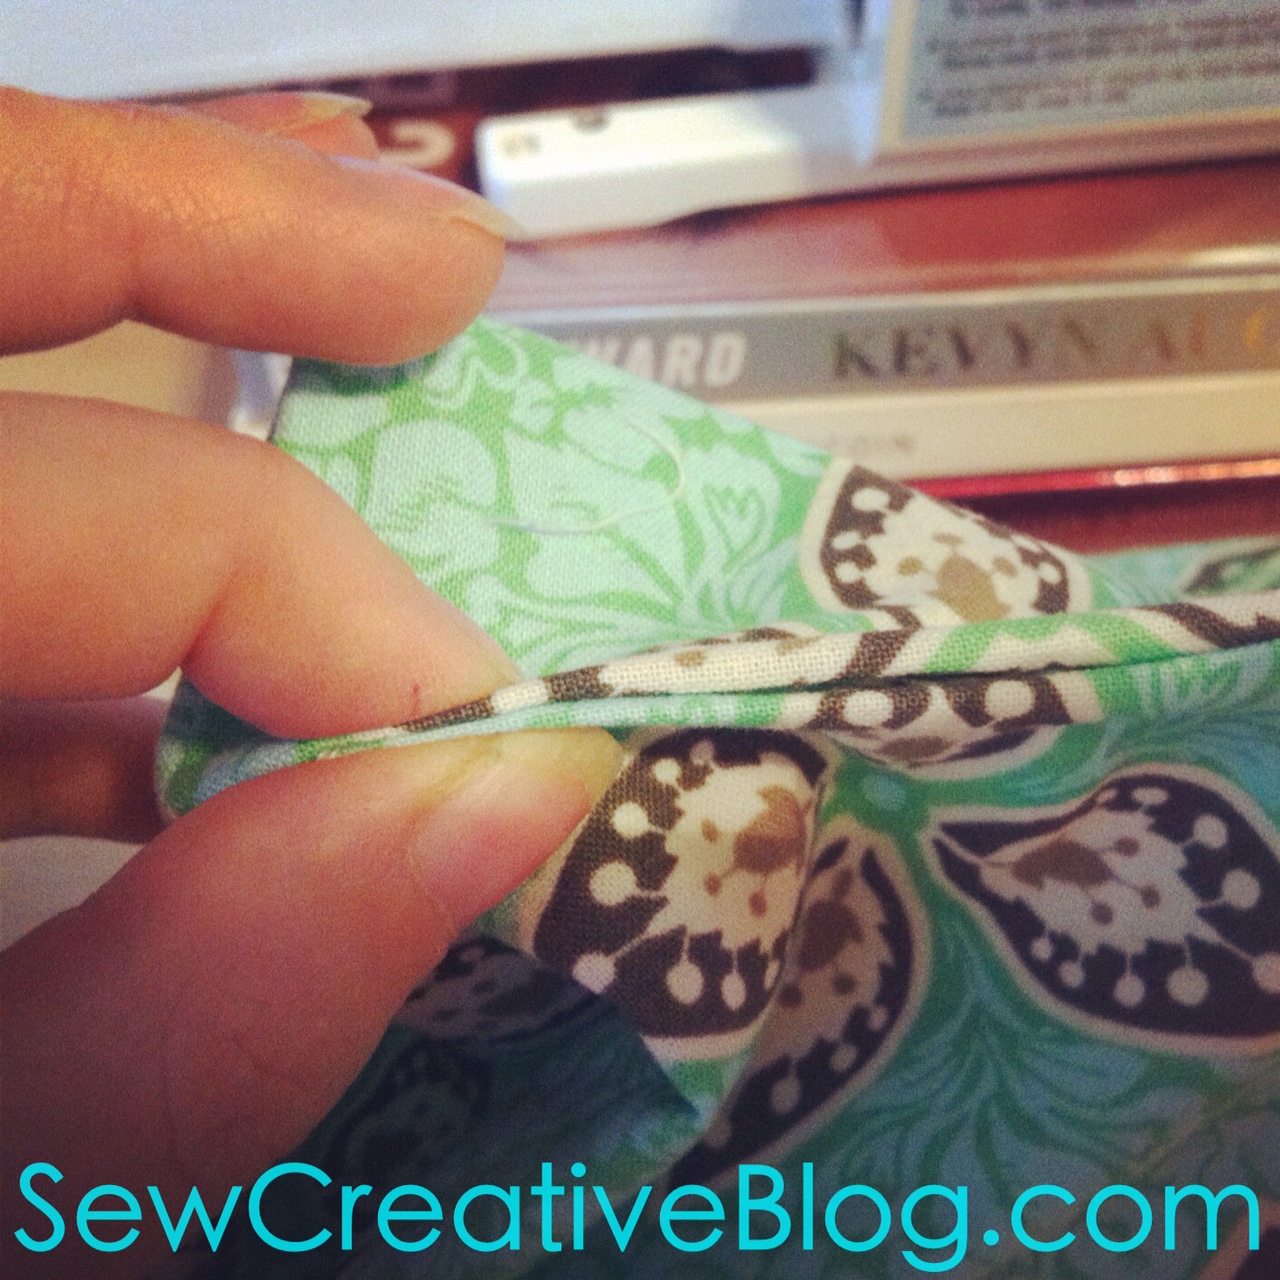
Step 10: Tuck the raw edges inside the hole and pinch together.
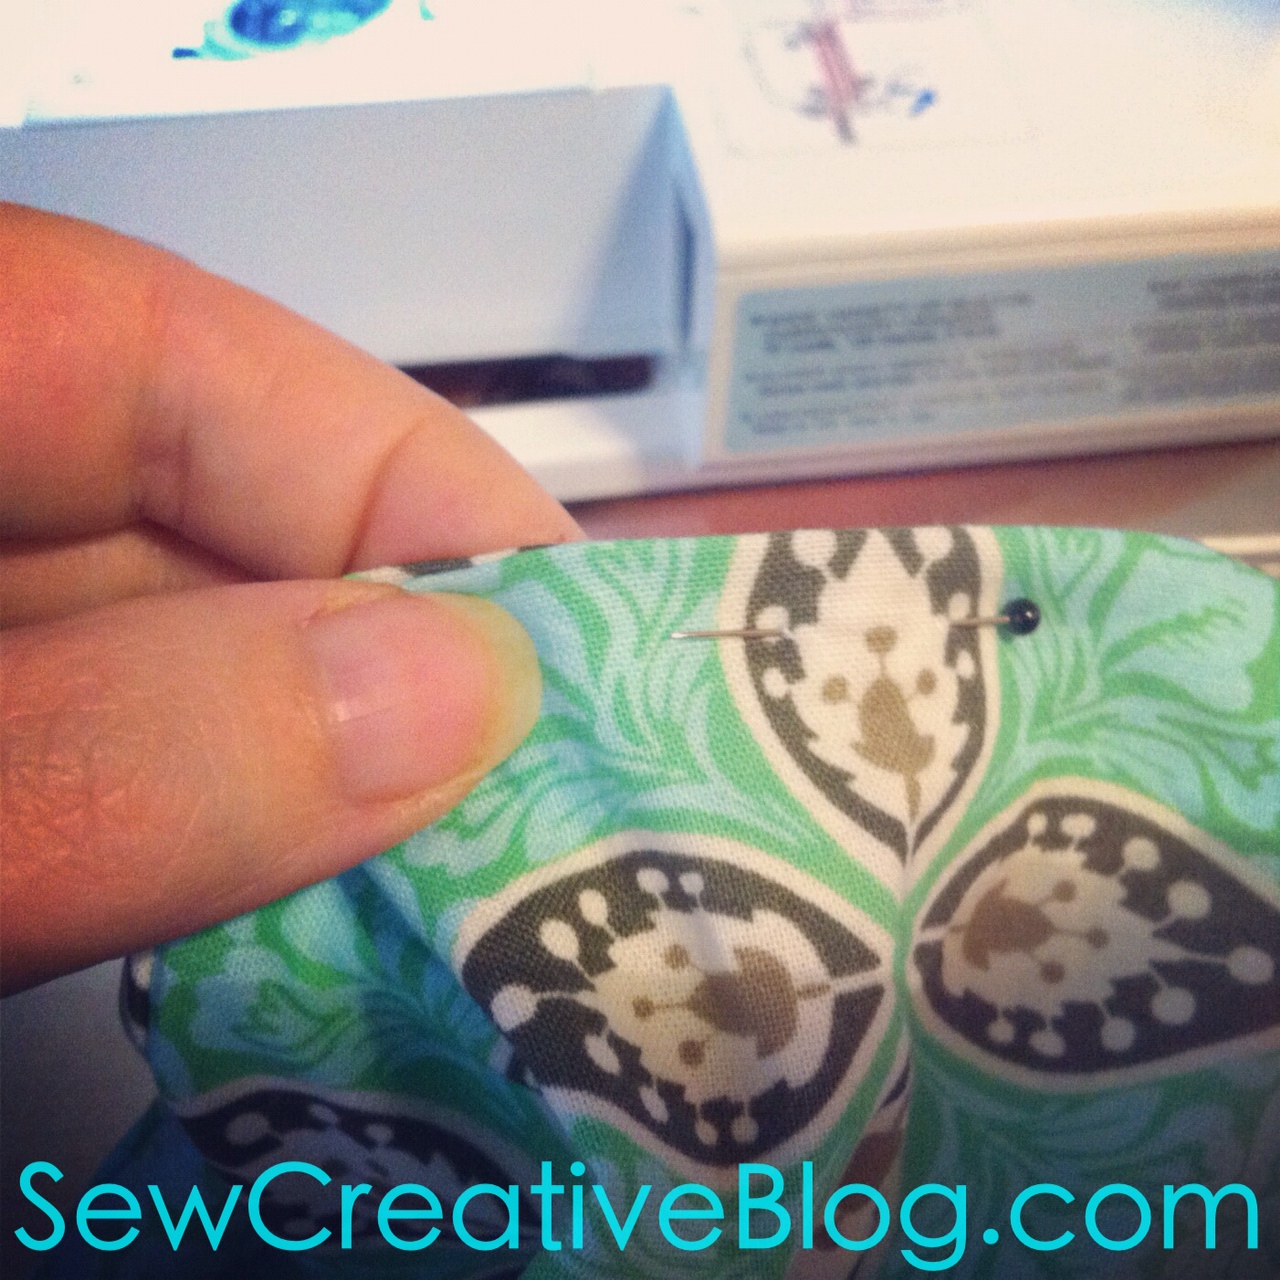
Step 11: Pin.
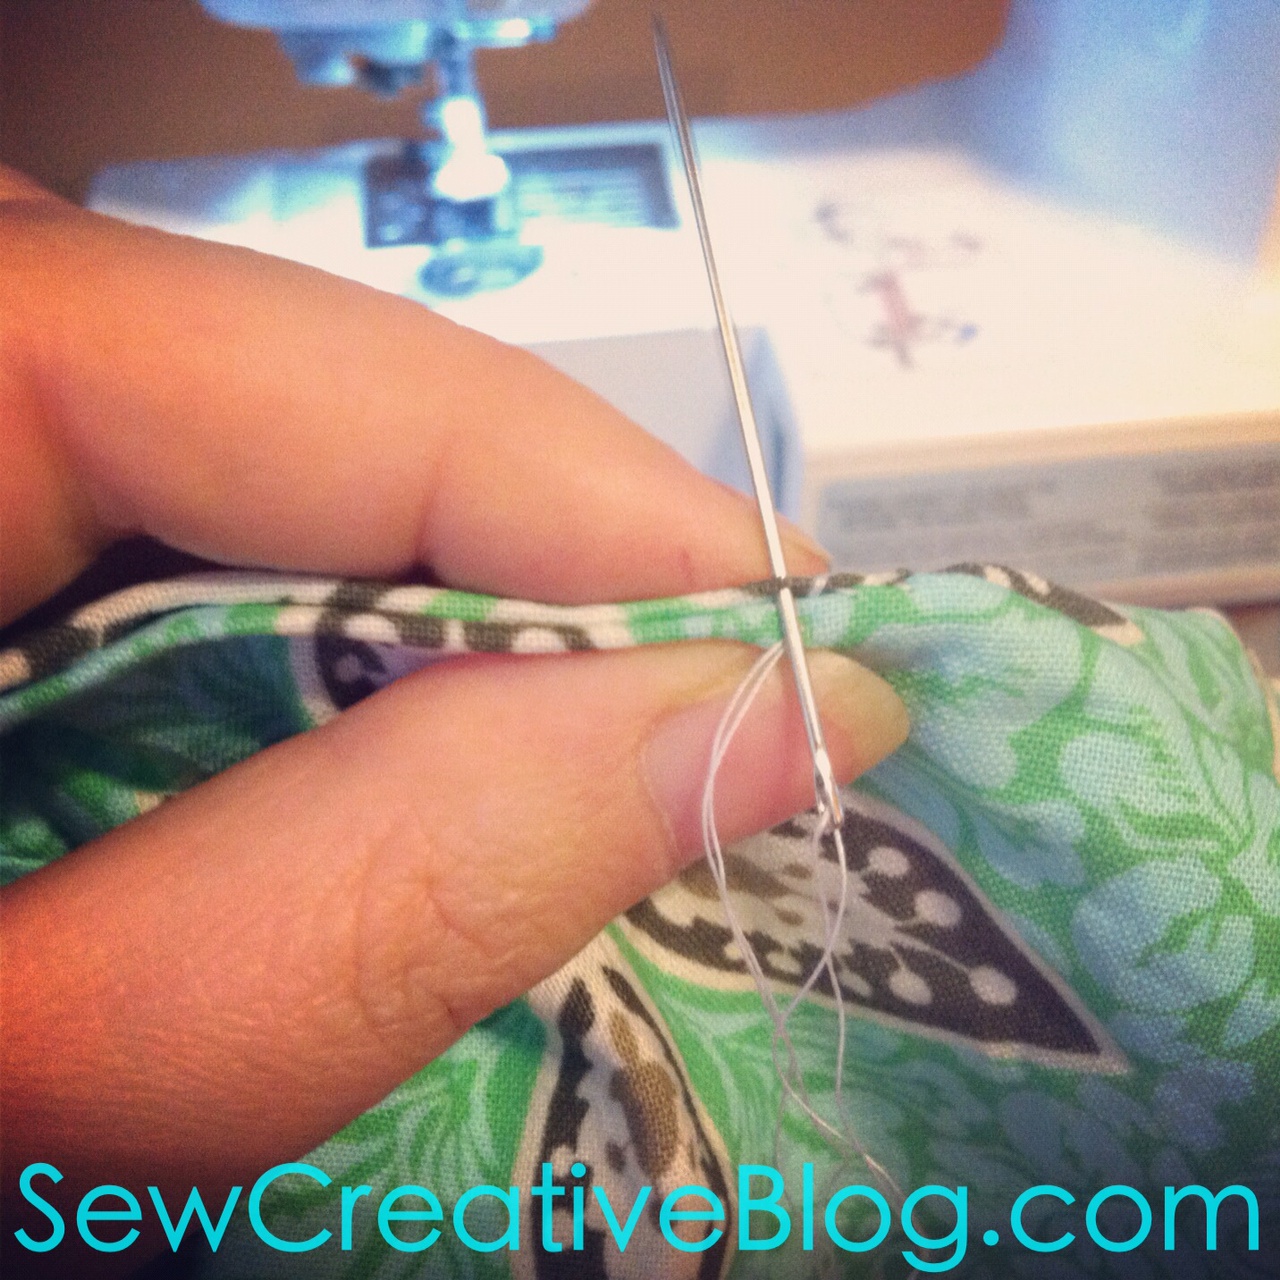
Step 12: Hand sew the hole closed using a hidden stitch.
And voila! You have a beautiful infinity scarf! (I realized afterwards that I didn’t get a photo of the infinity scarf I was wearing above when it was all finished! Doh! I gave it away as a gift before I realized, so here is another one that I made.)

I hope that you have loved this Sew Creative Infinity Scarf Tutorial! Please let me know if you have any questions and I will do my best to help.
Make sure to check out our other Tutorials.


Thanks for the tutorial. Everyone wants these for Christmas.
I just made one of these out of jersey fabric and it turned out so AWESOME! Thanks for the great tutorial 🙂
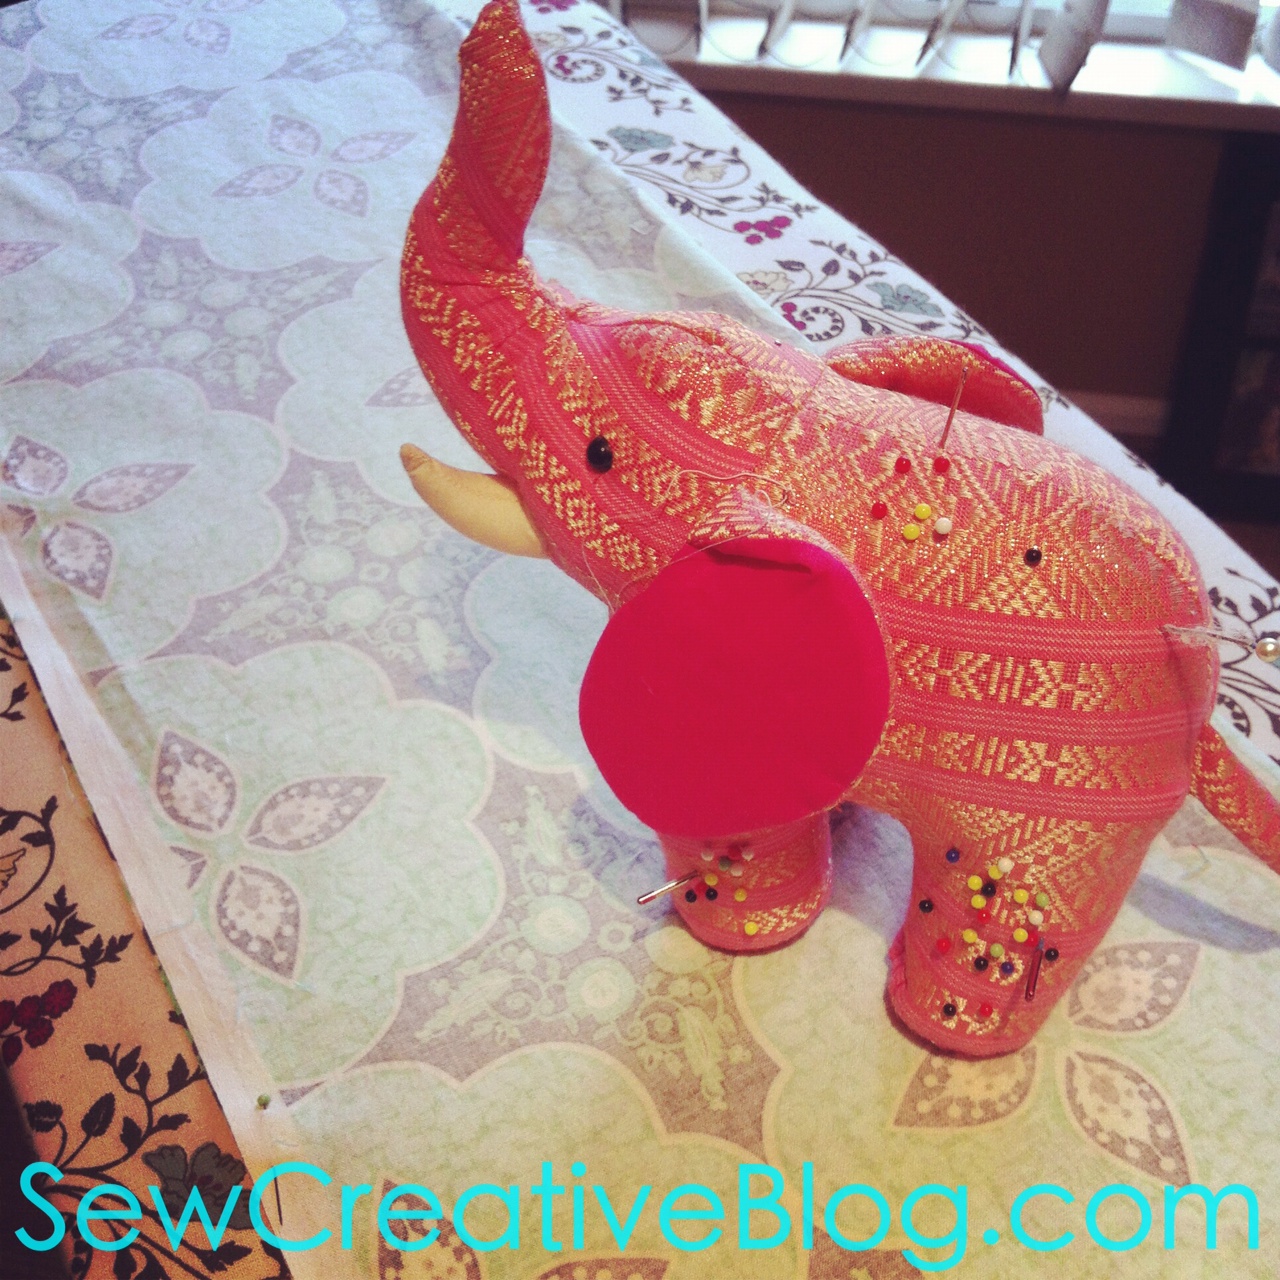
I just want to ask if you have a pattern for your elephant pin cushion…it’s soooo cute!!
Isn’t he adorable? Unfortunately I didn’t make him, I bought him at a garage sale. The person I bought him from said he was a children’s toy they bought in Thailand. I thought he made the perfect pin cushion. I love this elephant pattern from Retro Mama but it’s probably too big for a pin cushion: http://retro-mama.blogspot.ca/2010/06/tilly-tommy.html
Best Wishes,
Crystal
Crystal,
One thing you have directed in your blog is not really advisable. You always want to cut off the salvages of cotton and woven fabrics. The fabric on the salvage is very different from the rest as it is the part that attaches the waft and loft threads to the loom. It is more tightly woven then the rest and these edges will not shrink or relax in the same fashion as the main part of the fabric. You could end up with some very wonky seams and garments if you don’t remove the salvages before creating them. I used to skip this step on my kiddos dresses, pre-surger days, leaving these “neat edges” for the button edges and never understood why they looked “home made” until a friend, who was a home economics teacher, saw what I was doing and explained it to me. I have had much better results since practicing this advise. Hope this help some beginning sewists.
Beverly
Hi Brooke,
Thank you so much for the information. I had no idea. I really appreciate the tip. I really must invest in a serger one of these days.
Best Wishes,
Crystal
Finished one today, three more to go for Christmas presents. I love all your close photos. These are better than another tutorial I followed. Scarves get expensive, but if you buy your fabric, OR upcycle a thrifted or owned garment, you save lots of cash.
Thank you! Lenora
Hi – thanks for the tutorial and nice pics. I have a question on step 2. It says to fold it in half so I have a rectangle of 11″ in length and 2 yards in length….my first question is, did you mean 11″ in width and 2 yards in length? And also, why do we need to make 2 at once? Would I still need 2 yards to make one? Thanks – I may have more questions later…I’m trying this right now!
Cheers,
Cynthia
Hi Cynthia,
Yes sorry 11″ in width and 2 yards in length. You could just make one scarf. That’s what I usually do, but you would still need 2 yards. You would just have a strip left that is 2 yards long and 22″ wide.
Best Wishes,
Crystal
Hi there – here’s a variation that seemed to be simpler and make more sense, at least to my feeble brain. At your step 7, turn right side out, but rather than pulling it all the way right side out, she pulled it only halfway, so the tube was inside itself (I think you worded it as “on top of each other”? but I’m not sure if I’m understanding this to be one inside the other, right sides facing, with half the length. Hope it helps your readers.
http://www.youtube.com/watch?v=9PLF3fYDweE
thanks for getting me started!
Hi Cynthia,
Thanks for sharing this. It’s not visible in Canada, so I can’t watch it but I appreciate you sharing it. I’ve thought about making a video. 🙂
Best Wishes,
Crystal
Great tutorial. Your pictures and explanations are so clear that I was able to make this scarf from memory on my first attempt. I have linked to your site with my finished project. Thanks for taking the time to make this tutorial!
Oh my goodness! Thank you so much Rosetta! I’m glad that you found the tutorial useful.
Best Wishes,
Crystal
I am an experienced sewer but still managed to mess up the final seam closure the first time. That is because I thought I could just look at the pictures and completely missed the part where you turned it right side out after pressing the long seam! This is key! Also make sure when lining up your long seam that you don’t have the scarf twisted. That may have been in the instructions but I learned that from lining a jacket. Great easy scarf to make, once you read the directions(LOL), I made 5 Sunday afternoon and I am putting together a couple more this morning. Christmas gifts for my daughters roommate that I am sure they will love. Thanks for the tutorial!
Char
Hi Char!
I’m so glad you found the tutorial usefull. I hope your daughter’s roommates like their scarves! Thank you for stopping by and commenting. 🙂
Happy Holidays!
Crystal
Hi, I love this tutorial! I was wondering if I were to put a monogram on this where would I need to put it?
Hi Beth,
A monogram is a very interesting idea. I usually wear the scarf with the seam at the back under my hair so I would suggest putting the monogram perhaps a quarter of the way around the circle from the seam? That way it would sit half way up the scarf on either the left or right side.
I’d love to see a picture of your finished scarf!
Best Wishes,
Crystal
Thanks so much! I’ll give it a try!
This is going to be my next project – thanks for the GREAT tutorial!
I love your scarf instructions, but I have seen a finished scarf with a twist and it laid a little flatter. Wondering if you had made on like that. They have a name but I can’t remember it. Thanks
Hi Phyllis,
I’m so happy you like the scarf instructions. You can definitely do a twist in the fabric. I actually did my first few scarves this way but I wasn’t as happy with the way they laid when I put them on. You should definitely experiment.
Thank you so much for visiting.
Best Wishes,
Crystal
Thanks for this tutorial! I had started following the directions in a different site but just couldn’t understand what they were saying at a couple of the steps. I searched for another tutorial and found yours and I was able to figure it out. Yay! This was my first independent sewing project! Love it! You’re so right that once you understand the concept of pinning the short ends that it will be easy to do again. I purchased more fabric today to make some more for friends. Thanks again! 🙂
Hi Kyle,
I’m so glad that you found my tutorial easy to follow. That makes my day. Thank you so much for trying it out. I’m sure your friends will love their handmade scarves.
Best Wishes,
Crystal
Great job!!! My daughter just bought some infinity scarves online and they ALL came in FLAT AND very thinly packaged. You are completely right, you must FLUFF!
Thanks,
Candy
Hi Candy,
The first time I tried it on I thought to myself. This is so weird! It looks nothing like how I’ve seen in photos. Yes… fluff, fluff, fluff. 🙂
Thanks you so much for visiting!
Best Wishes,
Crystal
I love this tutorial! I just made one with some cheap knit fabric- worked great, then I monogrammed it using a swirly fancy font. Turned out so cute!
I just finished my first scarf using your directions. It turned out great. My fabric was only about 1 1/2 yards but it still works. I probably will just let it loop once. My mom passed away in january and I had some of her last fabric stash. I am going to make a scarf for each of my sisters. Happy Sewing.
Hi Linda,
Thank you so much for trying out my infinity scarf tutorial. I’m very sorry to hear about your mother. My thoughts are with you. What a lovely keepsake for your sisters for you to make them a scarf made with her fabric. So thoughtful of you.
Best Wishes,
Crystal
Hello. What is “salvages” when you added that tip that a reader gave you about “…salvages of cotton and woven fabrics”? Can you please update your note so I can better understand what that note means? Thanks very much! I’m looking forward to making my own infinity scarf! 🙂
Hi Kim,
Thank you so much for visiting. The salvage is the long edge on both sides of the fabric. One side will usually have the name of the fabric design, the fabric designer and circles with the colors that are in the fabric… look at the photo in step 5 for a picture of the salvage edge.
Good luck with your infinity scarf!
Best Wishes,
Crystal
I made one today! I love it. Thanks for your tutorial. I used 3 second hand t-shirts for the fabric. One has a bright elephant on it. It was about 70″ long and 8″ wide. It was longer but I ended up cutting it and making it shorter.
That sounds so cool Jen! I’d love to see a picture if you have one. I’m really glad you enjoyed the tutorial.
Thank you for visiting!
Best Wishes,
Crystal
I am making this out of knit and the last time i tried a similar tutorial, the long seam became kind of shirred when i sewed it. Could i do the lomg seam on my serger?
Hi Susan,
I haven’t tried this with knit fabric and I don’t have a serger, lol… but I think that using a serger could be a good option! If you try it let me know how it goes.
Best Wishes,
Crystal
I LOVE this tutorial. I bought double sided fabric and was able to make 2 scarves for the price of one, since you cut the fabric down the middle. I finished both scarves within 30 minutes. Thank you so much!
Anna
Thank you so much Anna! I’m glad you enjoyed the tutorial. I’d love to see photos if you took any.
Best Wishes,
Crystal