Cricut Summer Ideas For A BBQ Themed Party
This post and the photos within it may contain Amazon or other affiliate links. If you purchase something through the link, I may receive a small commission at no extra charge to you.
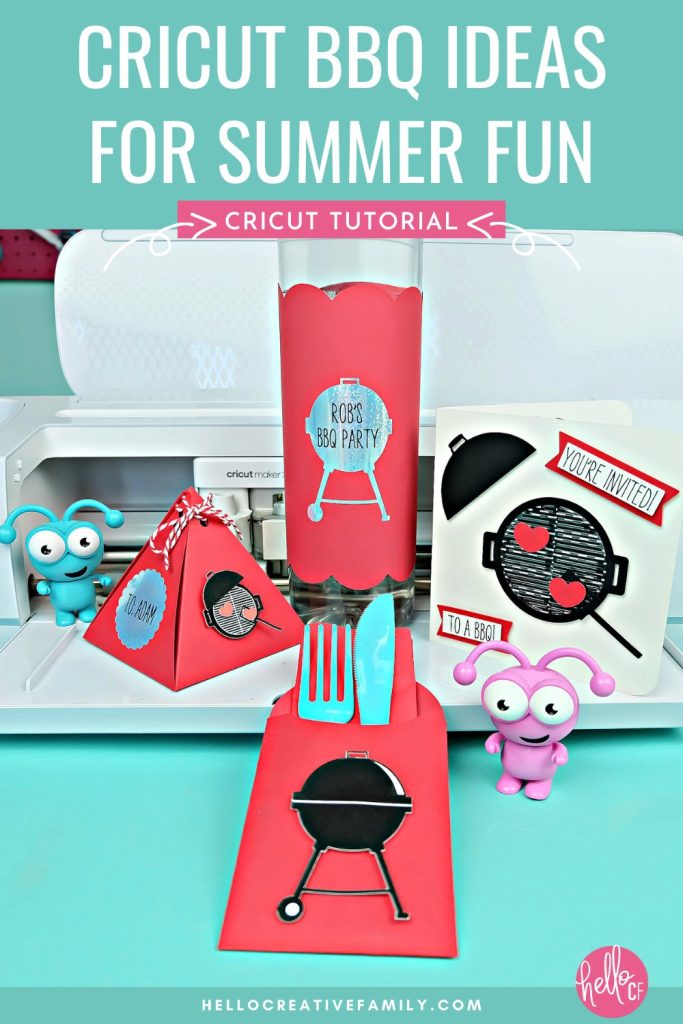
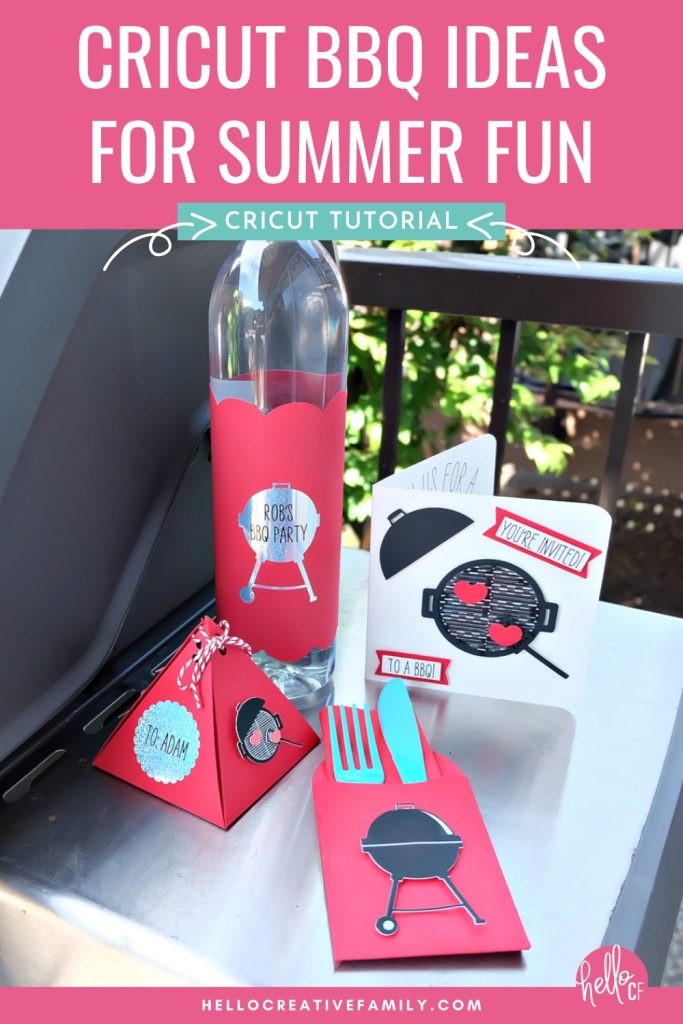
Get ready for summer! We’re sharing 4 Cricut ideas for a backyard BBQ including a BBQ Invitation, napkin and utensil holder, party favor box and water bottle wrap. Get step-by-step instructions for each of these fun summer crafts and customize them for your own special occasions!
Disclosure: Thank you to Cricut for working with me on this sponsored post. As with all content on Hello Creative Family, all thoughts and opinions are 100% my own.
Hi Crafty Friends! Over the past year our townhouse complex has been working on a HUGE deck project. Each townhouse in our complex received a brand new deck!
The project was just completed last month and it’s been so much fun seeing my neighbors out on their decks, enjoying their new space with their family and friends and eating meals al fresco!
Hosting a backyard BBQ is the perfect way to celebrate the summer season with family and friends. And what better way to kick off the festivities than by creating personalized, eye-catching invitations and matching party accessories using your Cricut cutting machine?
In this blog post, I’ll show you how to unleash your creativity using your Cricut cutting machine to design and make custom invitations that will leave a lasting impression. We’ll also create 3 additional projects that coordinate with your invitation to take your theme to the next level!
Let’s fire up our imagination (and grills) and get ready to craft!
The Magic of Cricut: An Introduction to the Cricut Cutting Machine
What is a Cricut Cutting Machine?
The Cricut cutting machine is a versatile tool that allows you to precisely cut a variety of materials, such as paper, vinyl, iron-on, cardstock, Infusible Ink, stickers and more.
With its user-friendly design software– Cricut Design Space, and precise cutting capabilities, the possibilities for your DIY projects are endless.
I am absolutely OBSESSED with my Cricut cutting machines! I love taking an idea that is in my head and being able to create an incredible project with all the heavy lifting being done by my cutting machine!
It cuts, it writes, it teams up with your printer and cuts out pieces that your printer prints for you– it does SO MUCH!
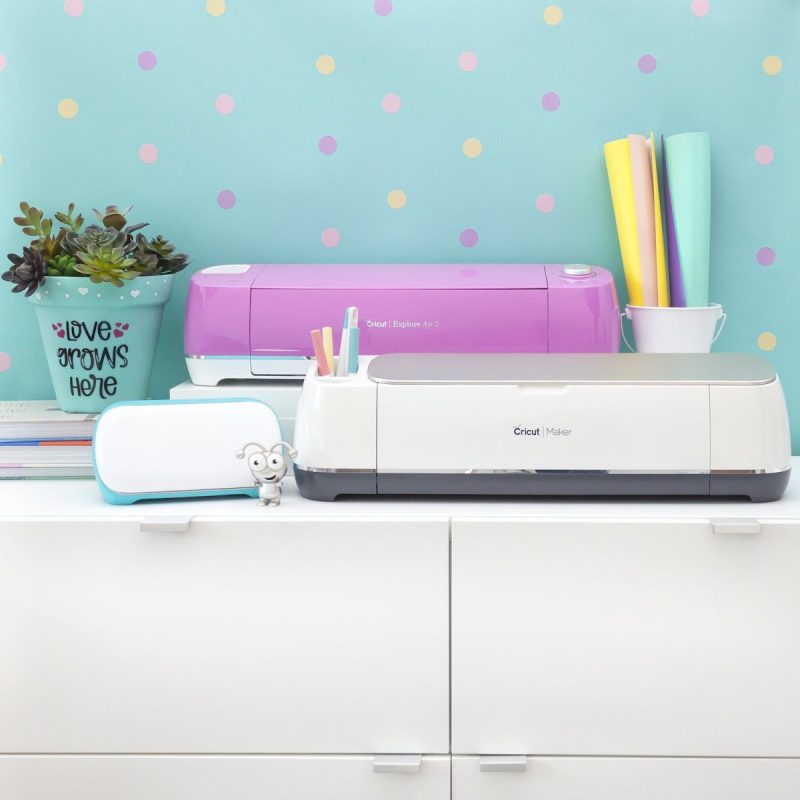
There are three different styles of machines in the Cricut Family– Cricut Maker, Cricut Explore and The Cricut Joy.
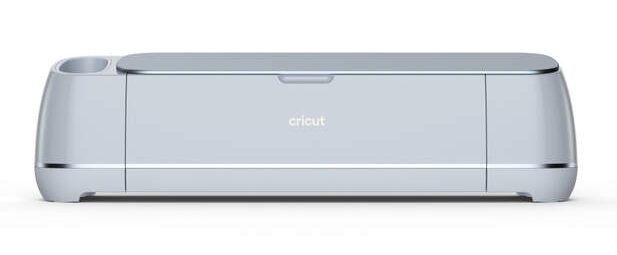
Cricut Maker & Cricut Maker 3
The Cricut Maker and Cricut Maker 3 can cut over 300 different cutting materials including fabric, paper, vinyl, HTV, leather and matboard. (Find the full list here.)
The Maker is compatible with 13 tools for cutting, writing, scoring, foiling & embellishing and has an adaptive tool system that allows you to cut speciality materials. For example the rotary blade can cut fabric, the knife blade can cut wood, and the engraving tip can engrave acrylic and metal.
The Cricut Maker can cut materials up to 12 inches wide by 24 inches long. The Maker 3 can cut on a cutting mat 12 inches wide by 24 inches long or up to 12 inches wide and 12 feet long using matless Smart Materials.
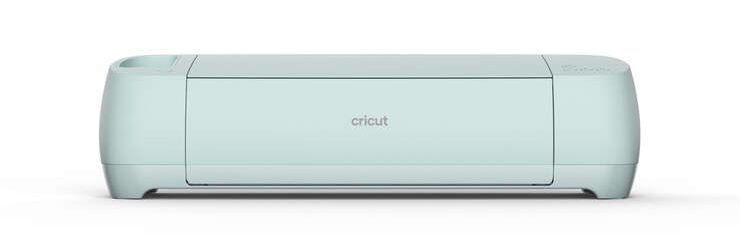
Cricut Explore Air 2 & Cricut Explore 3
The Cricut Explore can cut over 100 different materials including cardstock, vinyl, iron-on, glitter paper and bonded fabric. (Find the full list here.)
The big difference between the Cricut Explore machines and the Cricut Maker machines is that Cricut Explores don’t have an adaptive tool system.
The Cricut Explore Air 2 can cut materials up to 12 inches wide by 24 inches long. The Cricut Explore 3 can cut on a cutting mat 12 inches wide by 24 inches long or up to 12 inches wide and 12 feet long using matless Smart Materials.
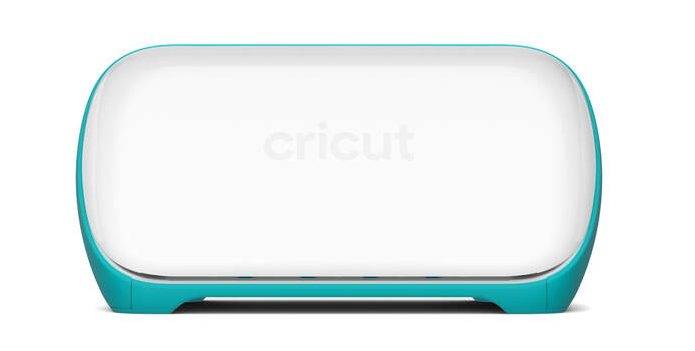
Cricut Joy
The Cricut Joy is Cricut’s mini but mighty cutting machine. It can cut 50+ materials, including iron-on, cardstock, vinyl, paper & Cricut Joy Smart Materials. (Find the full list here.)
The Cricut Joy can cut materials on a mat 4.5 inches wide up to 12 inches long. Using Cricut Joy Smart Materials it can cut up to 4.5 inches wide and 4 feet long, and make repeated cuts (like stars, hearts, and confetti) up to 20 feet long.

For a full list of what materials each machine can cut visit this post.
No matter what Cricut Machine you have in your craft room the possibilities are endless to what you can make! There are literally millions of creative ideas that you can create!
For today’s projects I used my Cricut Maker 3, however you could also use a Cricut Explore. If you have a Cricut Joy that could work too, you’d just couldn’t do the Print Then Cut pieces in some of the projects and would instead have to cut out the pieces and glue them together.
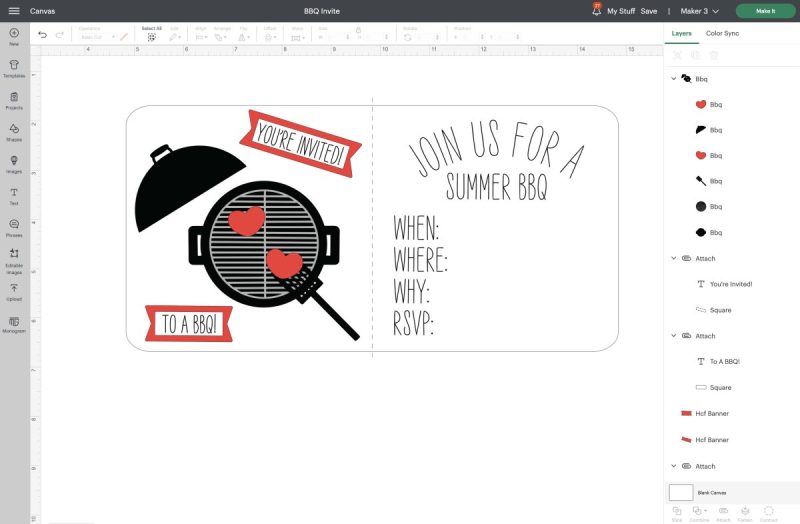
Using Cricut Design Space To Plan Your BBQs Invitation Design
One of my very favorite things to do is to browse through Cricut Design Space to get inspiration to spark my creativity.
Between the extensive design library in Cricut Design Space, the Cricut Community and Cricut projects there are so many great ideas to get you started with any theme.
When making a BBQ invitation and BBQ accessories you could search for BBQ-related images like grills, hamburgers, hotdogs, or fun summer elements like sunglasses, watermelon, or beach balls.
I’m a member of the Cricut Artist Program (you can follow me here) so I decided to create some of my own BBQ images that are available in Cricut Design Space.
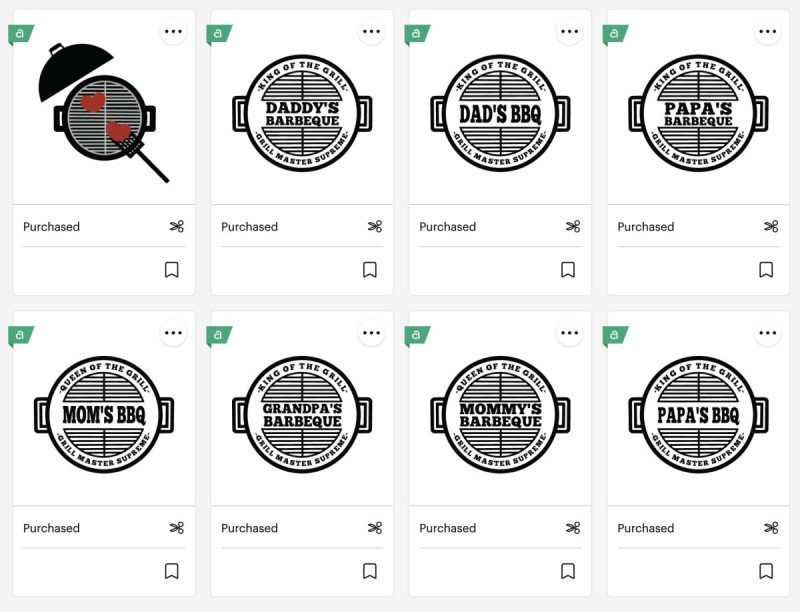
The image in the top left is the one that I used as the inspiration for today’s projects. It is image #M4B764072.
Brainstorm Your Invitation Elements
I’ll be sharing links to my projects below along with step-by-step tutorials, or you can create your own!
To start your own design process, brainstorm Jot the essential elements you want to incorporate into your invitation design.
Some elements you may want to include are:
- Theme
- Why you are celebrating
- Date and time
- Location
- RSVP Details
- Consider including clever taglines or playful phrases to set the tone for your backyard BBQ celebration.
When designing you may also want to consider what materials you have on hand and where your skills lie.
For example– I’m not a fan of my handwriting so I knew I wanted the Cricut Pen attachment to do the writing for me.
I also could have had the words on my invitation be Print Then Cut so that my printer printed them and then my Cricut cut the out.
Another idea would be to use vinyl or HTV (heat transfer vinyl) for your words and embellishments.
For my own invitation, I had Foil Acetate on hand that I had been dying to try using for a project. It worked perfectly for making the grill for my BBQ. It also would have looked amazing cut out of silver glitter vinyl or a silver foil iron-on!
Really the Cricut gives you the ability to completely customize any project depending on what materials you have on hand and how you want it to look! Try to think up fun ways to incorporate the materials you have on hand for your project!
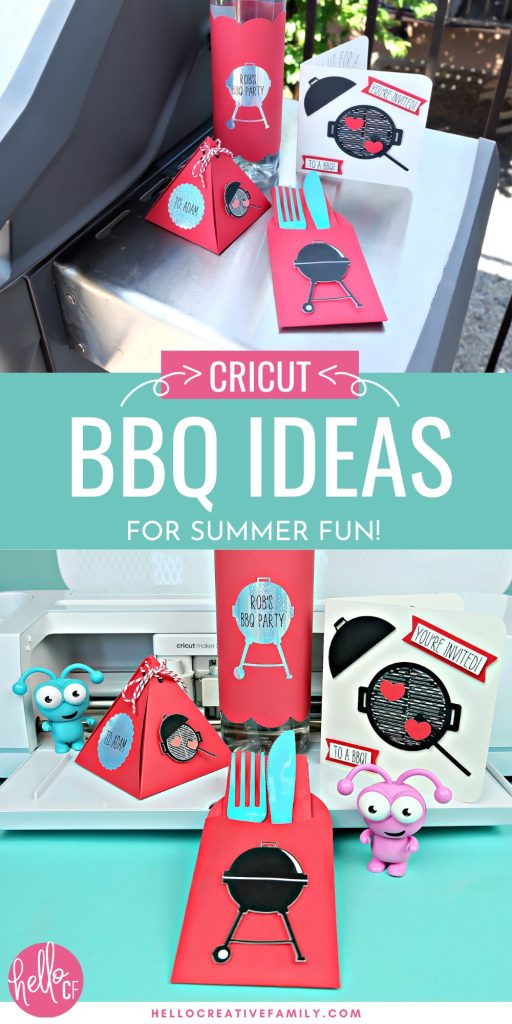
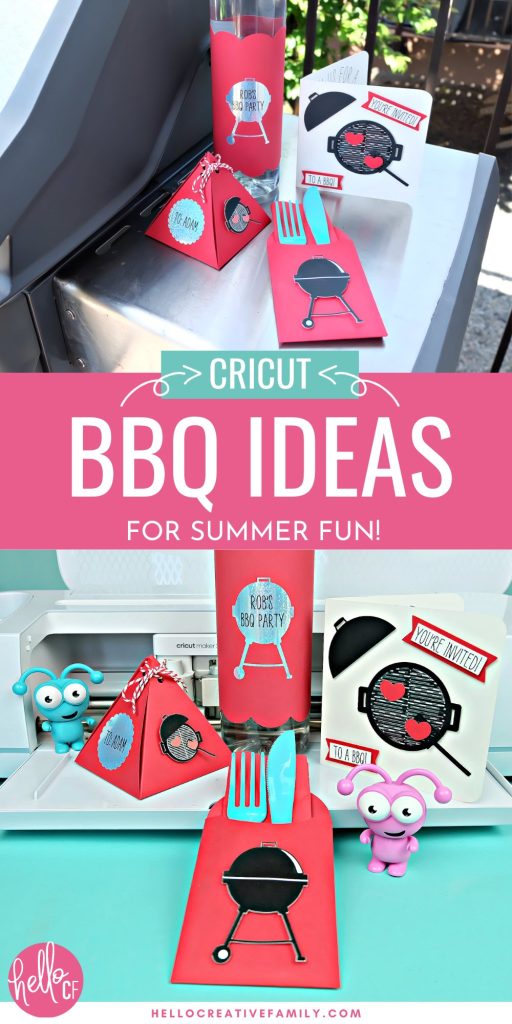
Cutting and Assembling Your BBQ Invitations and Accessories
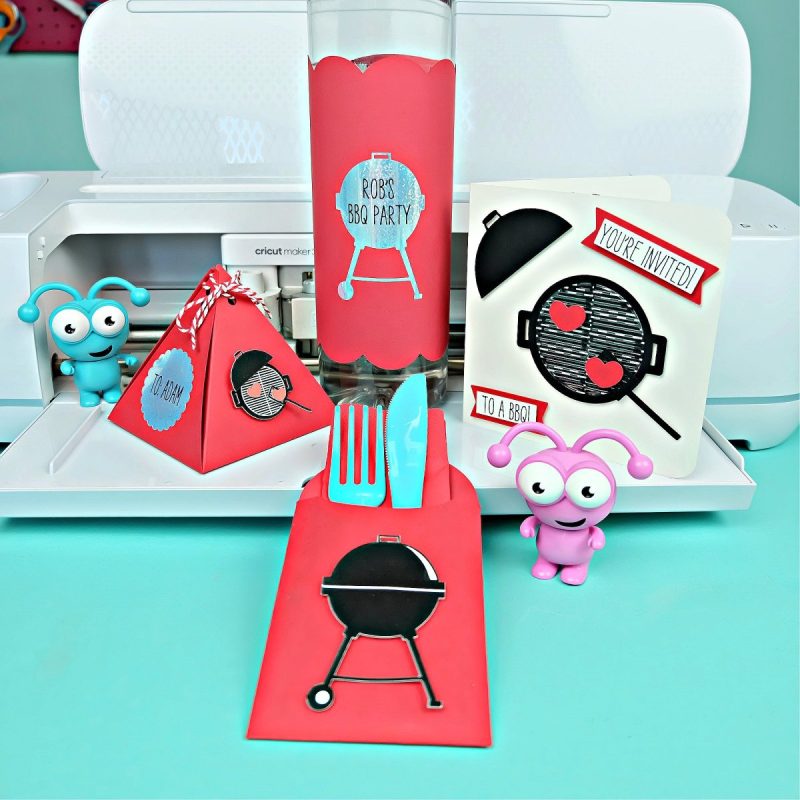
For my BBQ I created four coordinating Cricut crafts!
- Custom invitations
- Pyramid party favor boxes
- Paper napkin and cutlery holders
- Personalized water bottle wraps
Below i’ll walk you through each of these projects step by step so you can make your own for your next backyard BBQ!
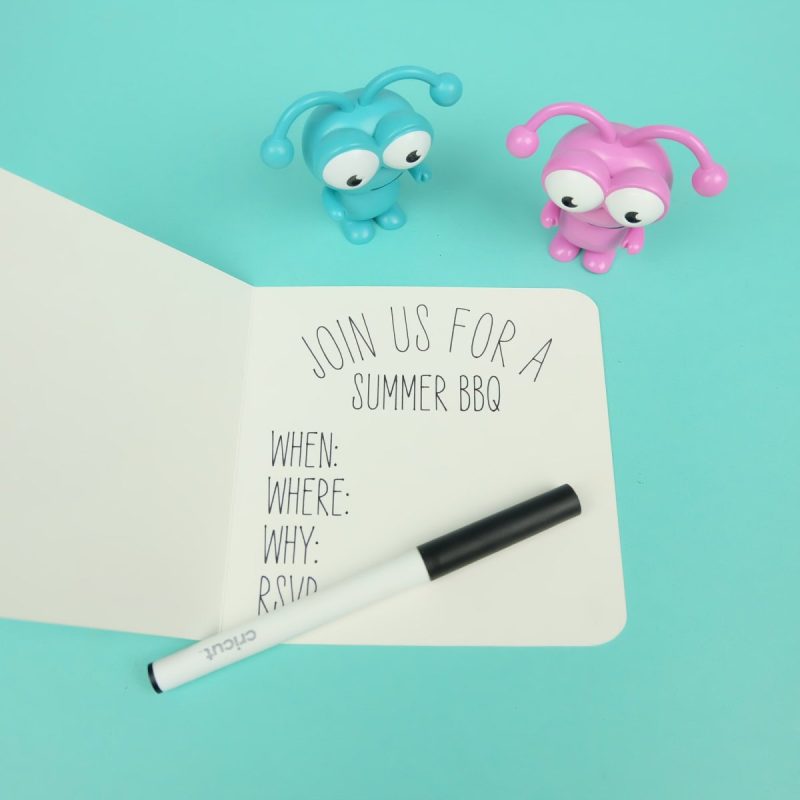
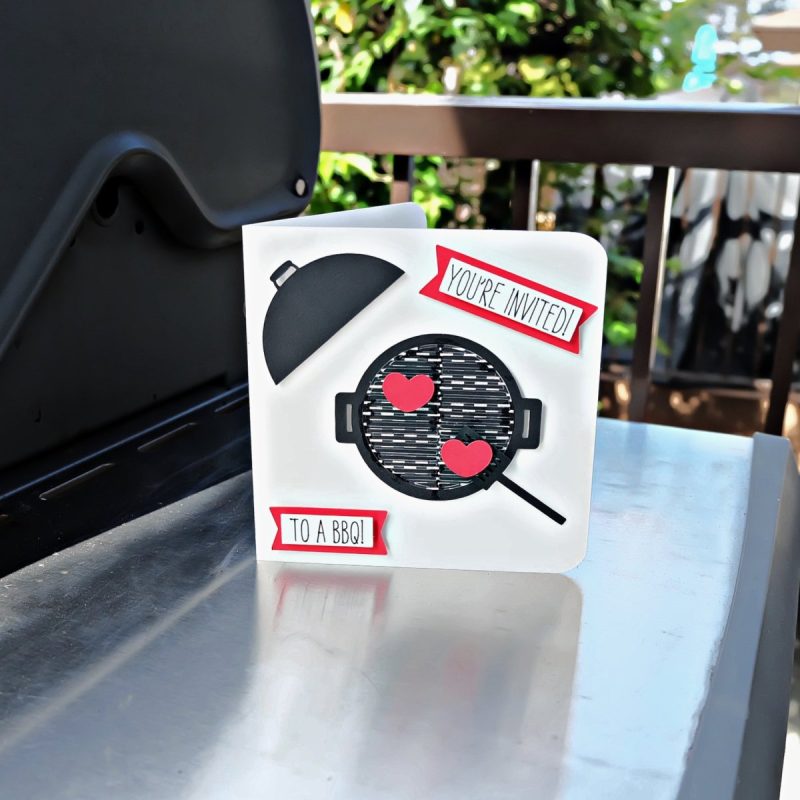
Creating Custom BBQ Invitations With Your Cricut

Create a custom invitation with your Cricut cutting machine! Beautiful handwriting is not my talent, so the Cricut pen attachment is my secret weapon! Customize this invitation with your own BBQ details!
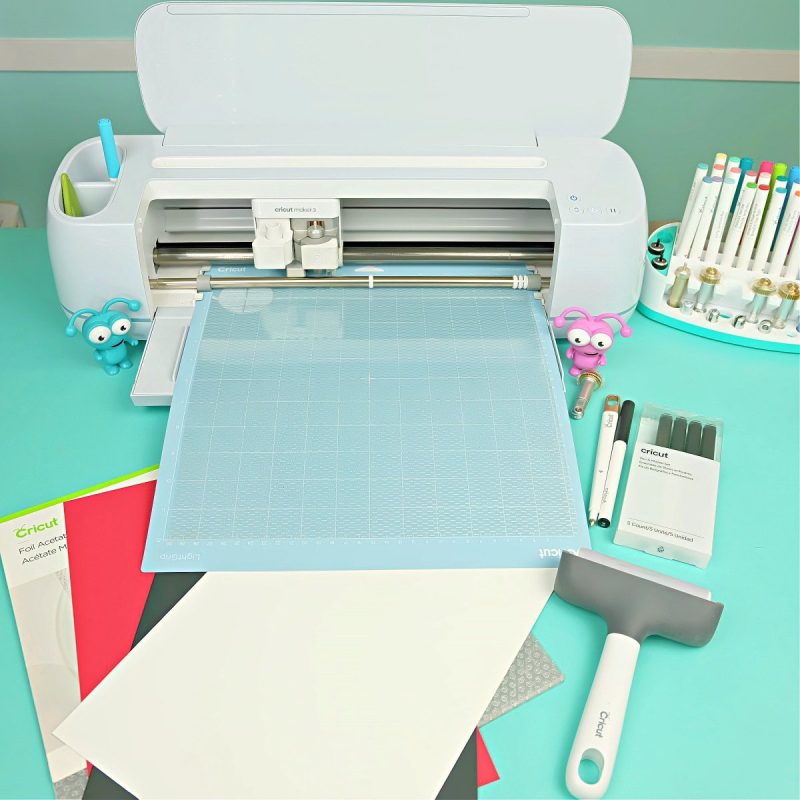
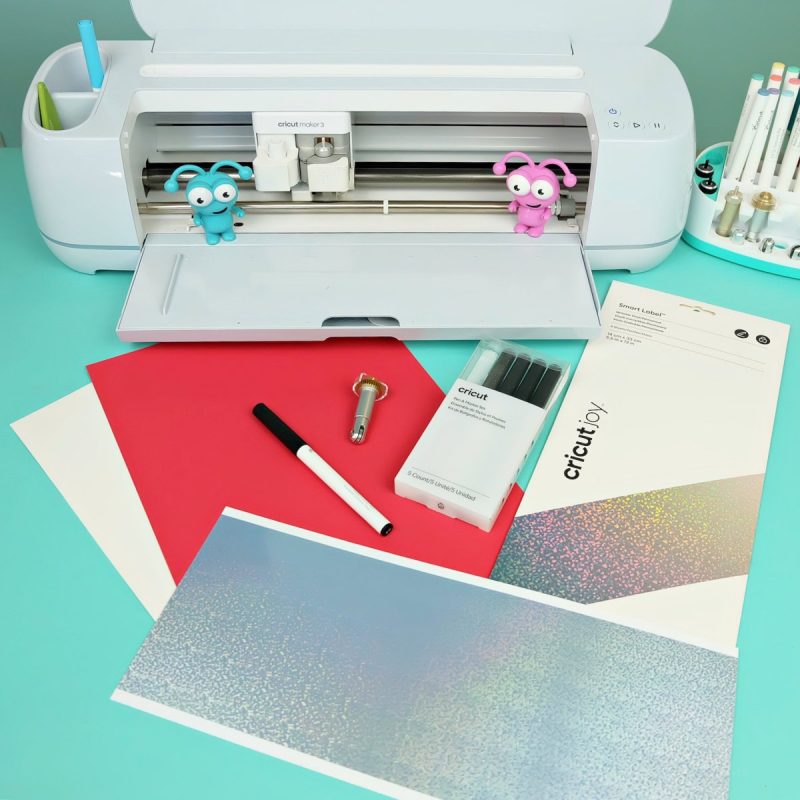
Materials for making a Cricut invitation:
- Cricut Maker, Cricut Explore or Cricut Joy
- Cricut pen
- Cricut LightGrip Cutting Mat
- Cricut Fine Point Blade
- Cricut Scoring Stylus or Cricut Scoring Wheel
- Cardstock in a variety of colors (I used white, black and red)
- Cricut Foil Acetate for grill (alternatively you could use silver vinyl or grey paper)
- Foam adhesive squares and craft glue
- Craft clips
Find my Cricut canvas for this project here!
Directions for making a Cricut invitation:
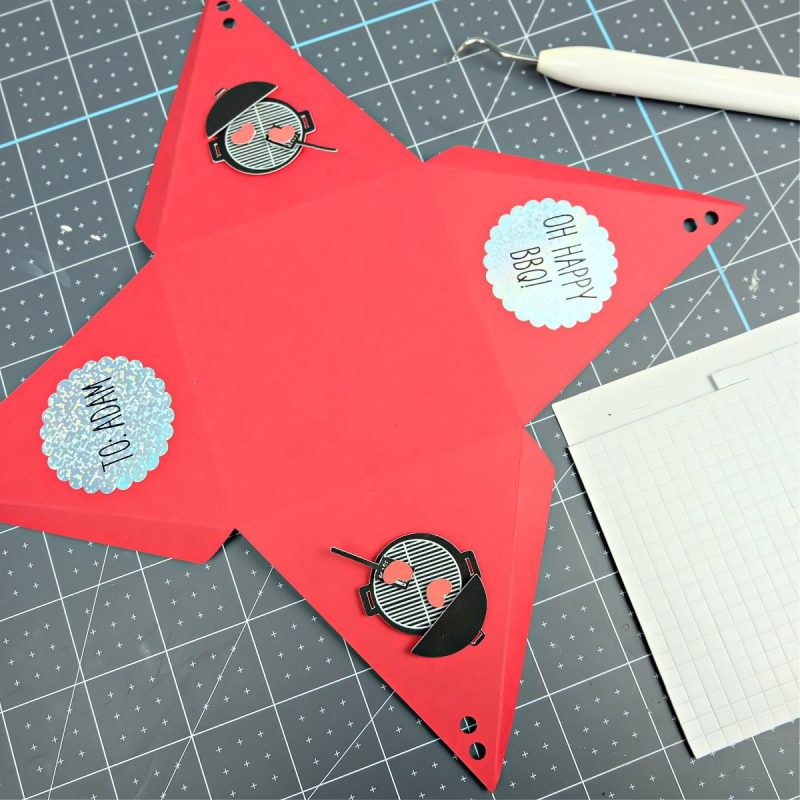
Step 1: Open my Cricut canvas in Cricut Design Space. Customize the invitation adding your own details to the invitation.
Step 2: Click “Make It”. Follow the prompts on your screen to connect you machine, select your cut settings, insert your different pens and blades and cut each material.
Step 3: Lay out the different pieces of your invitation to determine where you would like to place each item.
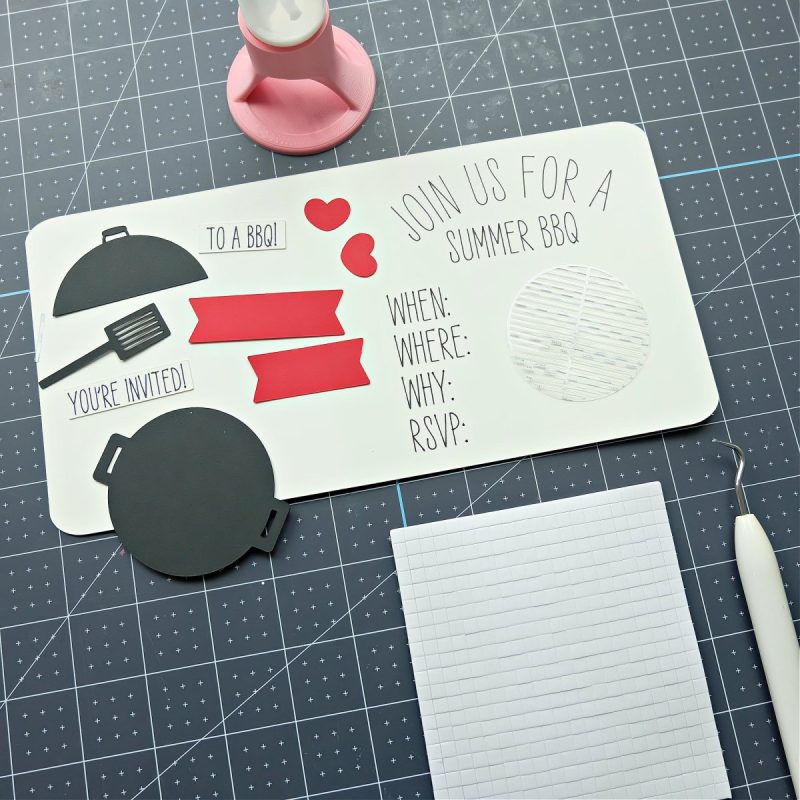
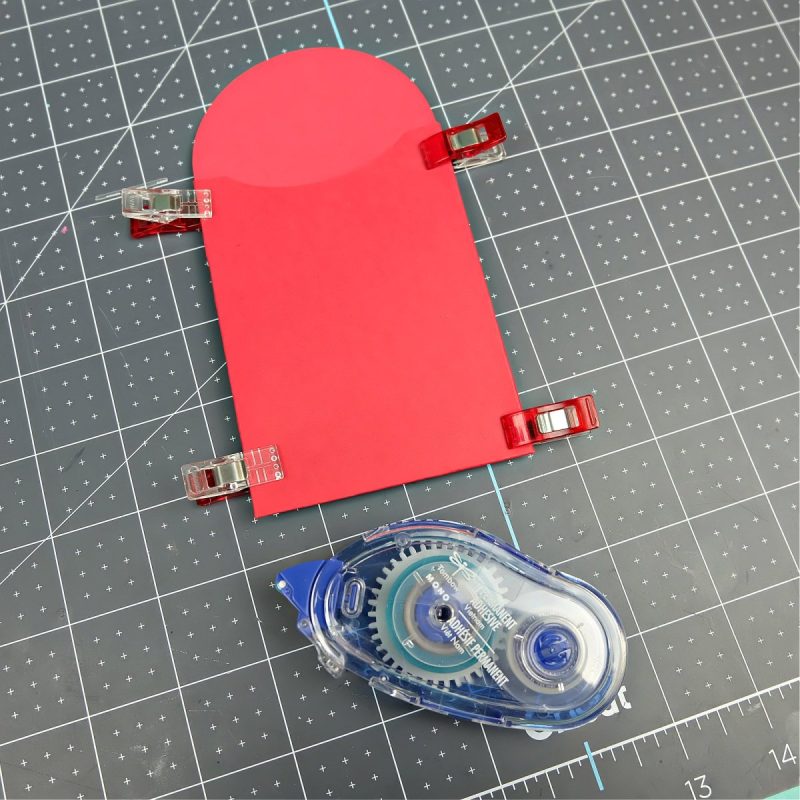
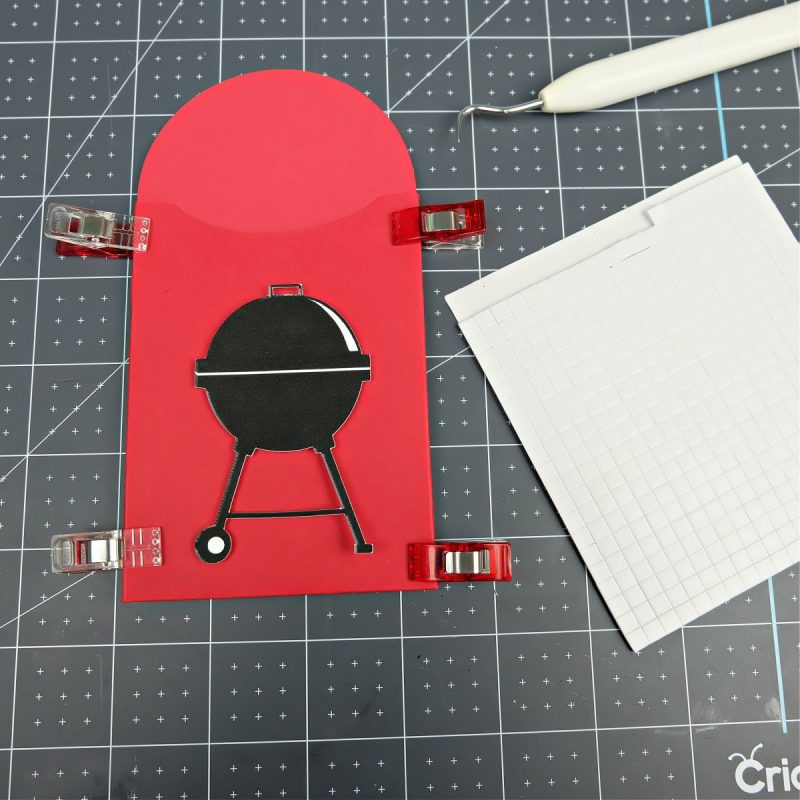
Step 4: Fold along the score line of your card. I like to use craft clips to hold my card closed. Use foam squares and craft glue to attach each piece to the front of your invitation. Use the foam squares to create depth to the different pieces you add to the front of your invitation.
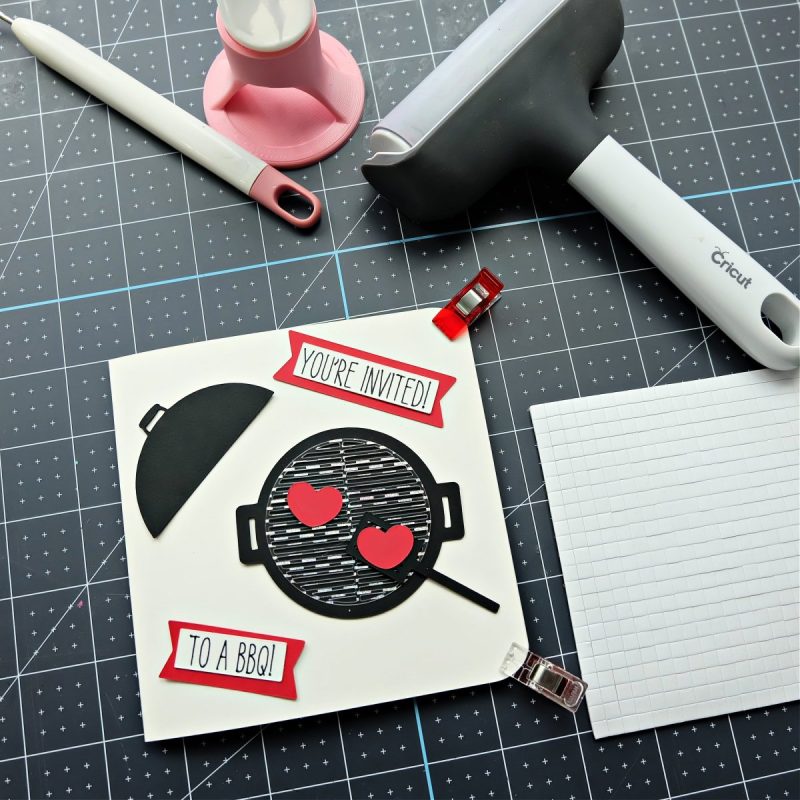
Your invitation is complete! Hand them out to friends and neighbors and get ready for a rocking backyard BBQ!
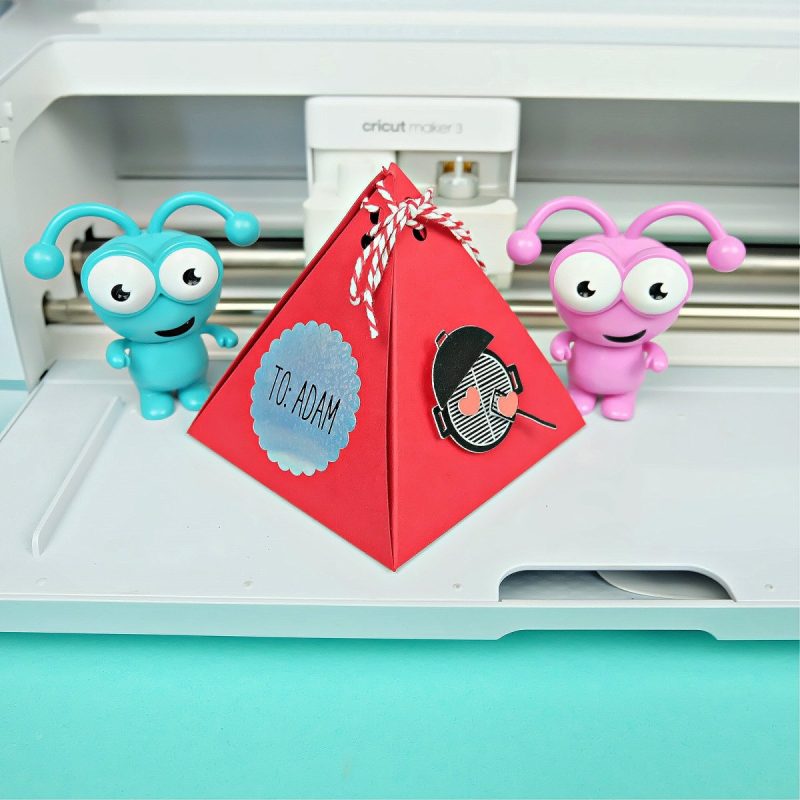
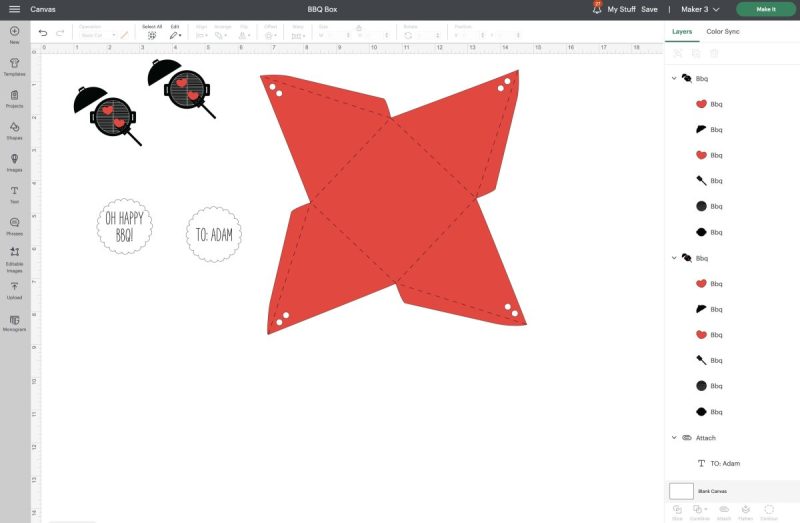
Make Eye Catching Party Favor Boxes With Your Cricut
Gifts are my love language, so I love sending my guests home with a little something to let them know how much I appreciated their presence.
These sweet pyramid gift boxes couldn’t be easier to make, and they look SO COOL! Fill them with special little treats like mini bottles of hot sauce, stickers, gift cards and more!
I have flattened the BBQ in this project so that the pieces print then cut, but you could unflatten the project and cut it from different colors of cardstock.
Materials for making a Cricut pyramid favor box:
- Cricut Maker or Cricut Explore
- Cricut pen
- Cricut LightGrip Cutting Mat
- Cricut Fine Point Blade
- Cricut Scoring Stylus or Cricut Scoring Wheel
- White 8.5X11 cardstock
- Cardstock for your favor box
- Cricut Smart Labels
- Printer
- Foam adhesive squares
- String
Find my Cricut canvas for this project here!
Directions for making a Cricut pyramid favor box:
Step 1: Open my Cricut canvas in Cricut Design Space. Add any customizations that you would like for your box and change the name on the label to the name of your recipient.
Step 2: Click “Make It”. Follow the prompts on your screen to connect you machine, print your Print Then Cut images, select your cut settings, insert your different pens and blades and cut each material.
Step 3: Fold your favor box along the score lines. Stick your printed labels to two sides of the box. Use foam adhesive squares to apply your Print Then Cut pieces to the other two sides of the box.
Step 4: Put your favors inside the box, fold up the edges and secure with string.
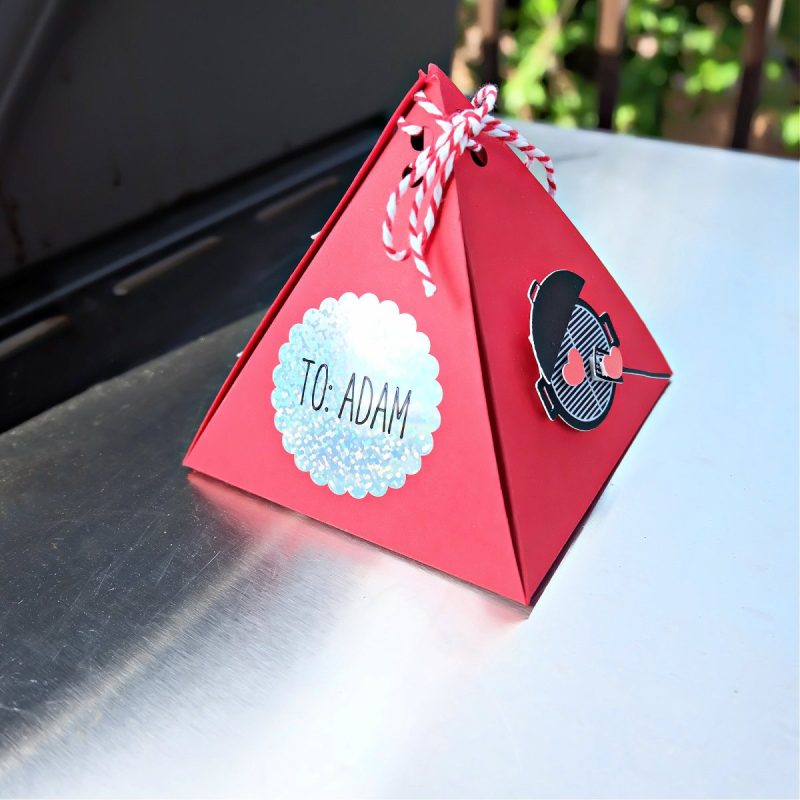
Give to guests as a special thank you for attending your BBQ!
Create Paper Napkin and Cutlery Holders With Your Cricut
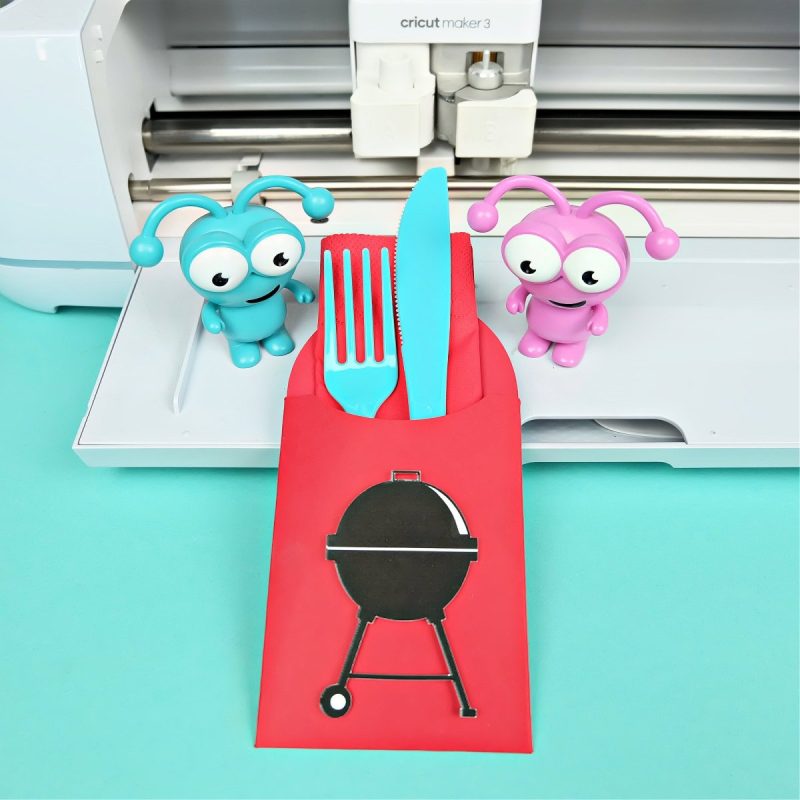
Your Cricut cutting machine makes it easy to make beautiful handmade elements all the way down to how you hand out your paper napkins and cutlery.
This is such a simple project that you could customize for any occasion or holiday.
I have flattened the BBQ in this project so that the pieces print then cut, but you could unflatten the project and cut it from different colors of cardstock.
Materials for making a Cricut napkin and cutlery holder:
- Cricut Maker or Cricut Explore
- Cricut LightGrip Cutting Mat
- Cricut Fine Point Blade
- Cricut Scoring Stylus or Cricut Scoring Wheel
- White 8.5X11 cardstock
- Cardstock for your cutlery holder
- Printer
- Foam adhesive squares
- Adhesive glue runner
- Craft Clips
- Napkin and cutlery
Find my Cricut canvas for this project here!
Directions for making a Cricut Napkin and Cutlery Holder:
Step 1: Open my Cricut canvas in Cricut Design Space. Add any customizations that you would like for your cutlery holder.
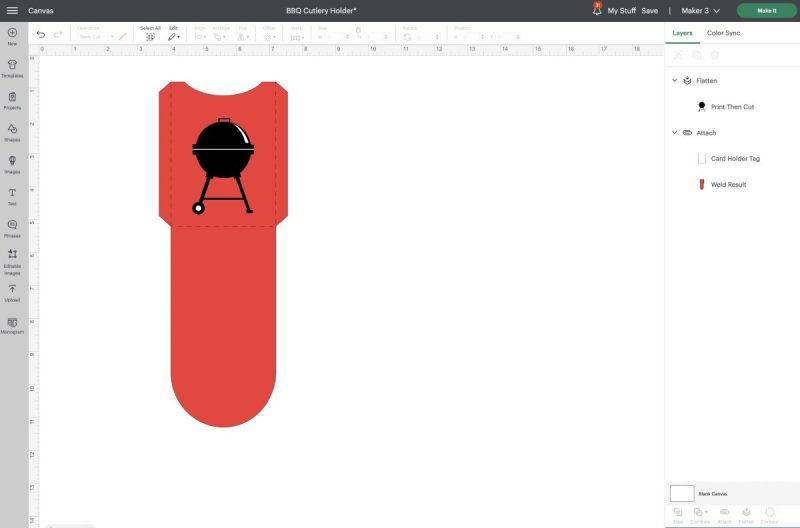
Step 2: Click “Make It”. Follow the prompts on your screen to connect you machine, print your Print Then Cut images, select your cut settings, insert your different pens and blades and cut each material.
Step 3: Fold your cardstock along the score lines. Use your adhesive runner to add glue to the flaps and glue your napkin holder shut. Clip with craft clips until the adhesive has set.
Step 4: Use foam adhesive squares to apply your Print Then Cut BBQ to the front of the napkin holder.
Step 5: Remove craft clips. Fold your napkin and insert it into the pocket of the holder. Add cutlery.
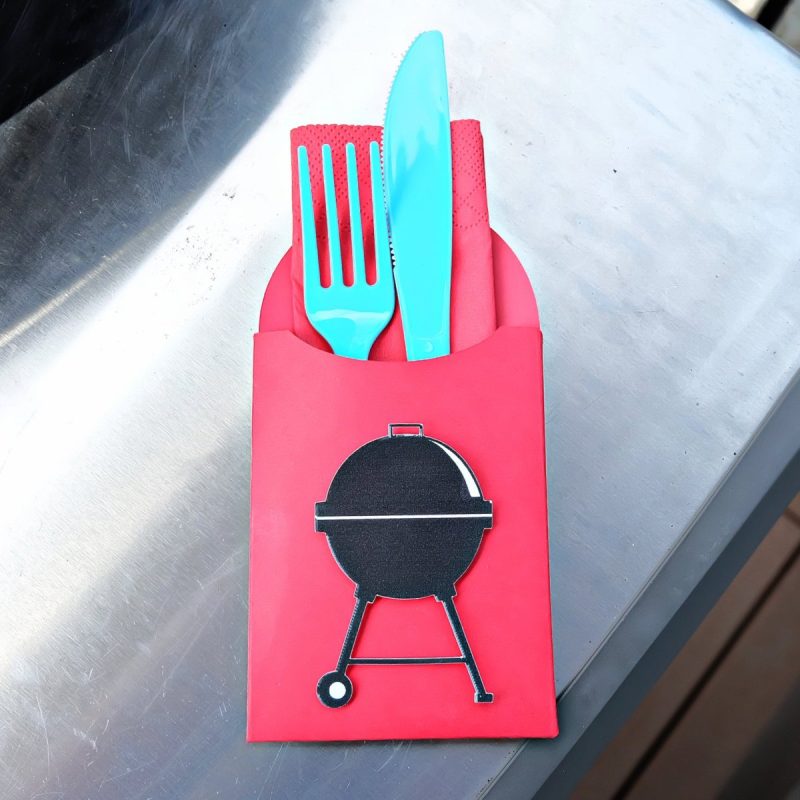
Set one cutlery holder at each place at the table or put a bunch in a basket so that your guests can grab their own.
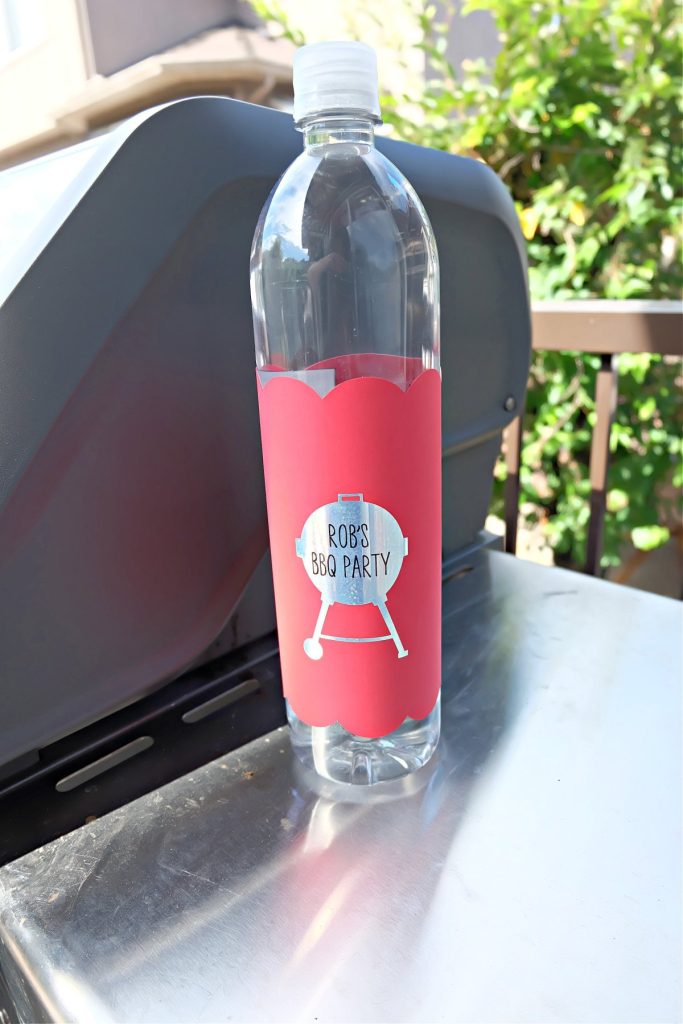
Easy Water Bottle Wraps Made With Your Cricut

A great party is all about the details! Take your theme up an extra level by thinking where else you can incorporate design details that you create with your Cricut– for example by creating your own water bottle wraps!
Materials for making a Cricut water bottle wrap:
- Cricut Maker or Cricut Explore
- Cricut pen
- Cricut LightGrip Cutting Mat
- Cricut Fine Point Blade
- Measuring Tape
- Cardstock in your theme color
- Cricut Smart Labels
- Adhesive glue runner
Find my Cricut Canvas for this project here!
Directions for making a Cricut water bottle wrap:
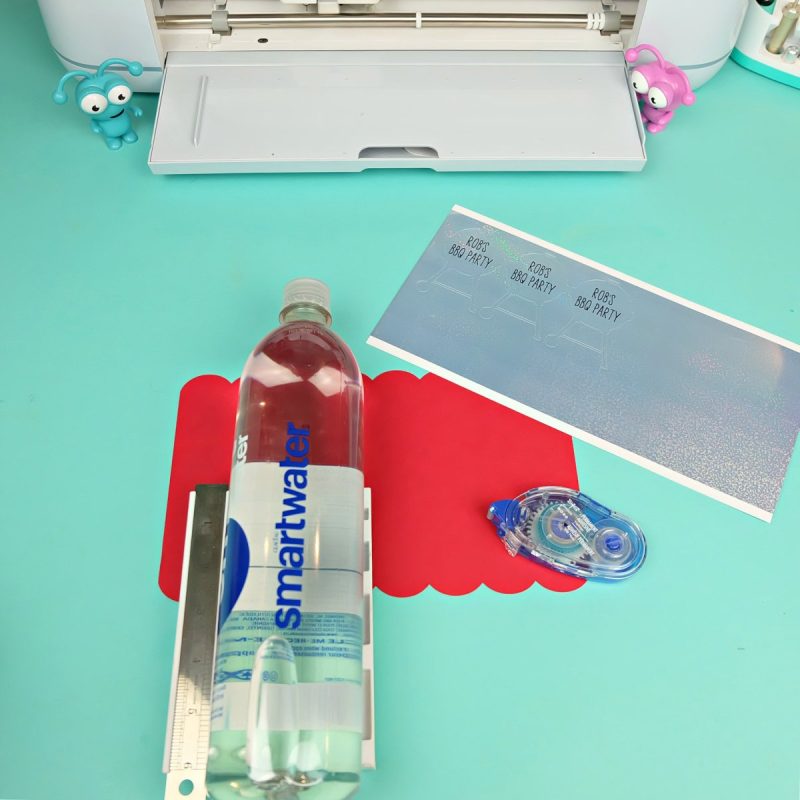
Step 1: Measure your water bottle to determine the size that you would like for your label. If leaving the label that came on you water bottles on, ensure that the wrap is larger than the water bottle label.

Step 2: Open my Cricut canvas in Cricut Design Space. Change the name and add any customizations that you would like for your water bottle wrap. Size the water bottle wrap to fit your water bottles.
Step 3: Click “Make It”. Follow the prompts on your screen to connect you machine, select your cut settings, insert your pen and cut each material.
Step 4: Use your adhesive glue runner to add adhesive to the back of your water bottle wrap. Wrap it around the water bottle, overlapping the two edges. Make sure the edges are stuck together with adhesive.
Step 5: Add your smart label stickers to the front of the water bottle.
Mix it up– Create smart labels with each person’s name on them so that when someone grabs a water bottle they can add a sticker with their name to the front!
Summer Fun With Cricut
With the help of your amazing Cricut cutting machine, designing custom invitations and accessories for your backyard BBQ is a fun and creative experience!
From brainstorming creative ideas to cutting and assembling each element, the possibilities are endless. Remember to let your imagination run wild and infuse your unique style into every detail.
Your creativity is guaranteed to impress your guests and kick off your BBQ experience as one that truly stand out!
Now it’s your turn to fire up your Cricut and start creating your own unforgettable invitations that will set the tone for your backyard BBQ. Happy crafting and enjoy the summer festivities!
I hope that your June, July and August are filled with days of Cricut summer fun!
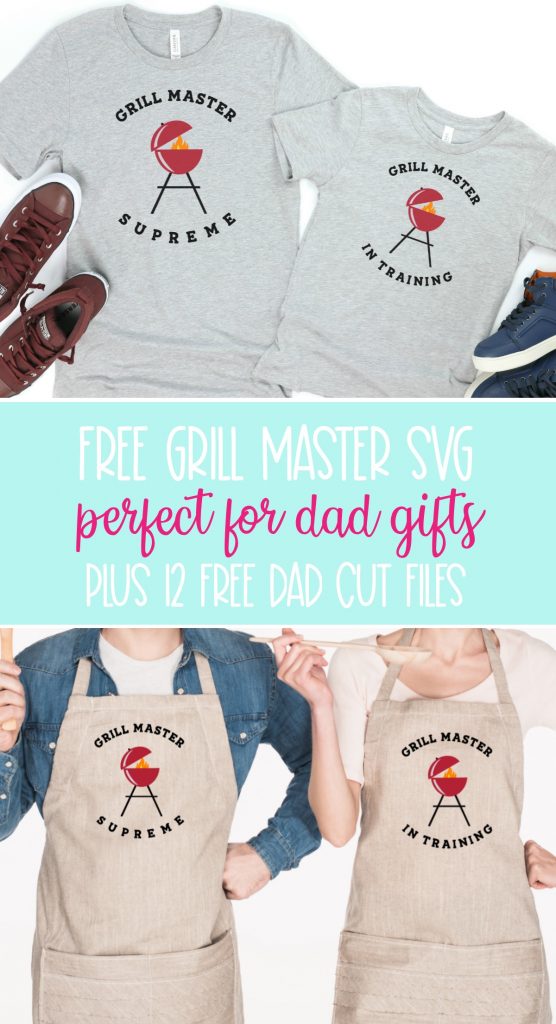
Free BBQ SVG Files
Like this post? Make sure you check out these free SVG Files that are all grill themed! They’d be perfect for DIY aprons, t-shirts, tote bags, tumblers, coffee mugs, laptop decals and so much more!