DIY Rainbow Halloween Costume Made Using The Cricut
This post and the photos within it may contain Amazon or other affiliate links. If you purchase something through the link, I may receive a small commission at no extra charge to you.
Create an Easy DIY Rainbow Halloween Costume out of leggings and a white shirt using your Cricut Maker or Cricut Explore Air 2! We’re sharing step by step photos and the cut file to create this costume at home!


This is a sponsored conversation written by me on behalf of Cricut. The opinions and text are all mine.
I’ll admit it… I’m a procrastinator, especially when it comes to crafting. First day of school signs? They are usually made the night before. Handmade Christmas gifts? You’ll usually find me rushing like a mad woman from December 15-24th trying to make everyone on my list a little special handmade something. Halloween? Well one year I threw together a DIY costume, literally 5 minutes before we walked out the door to go trick or treating when I found out that my hubby had decided to dress up in a coordinating outfit to our 3 year old daughter and had neglected to tell me!
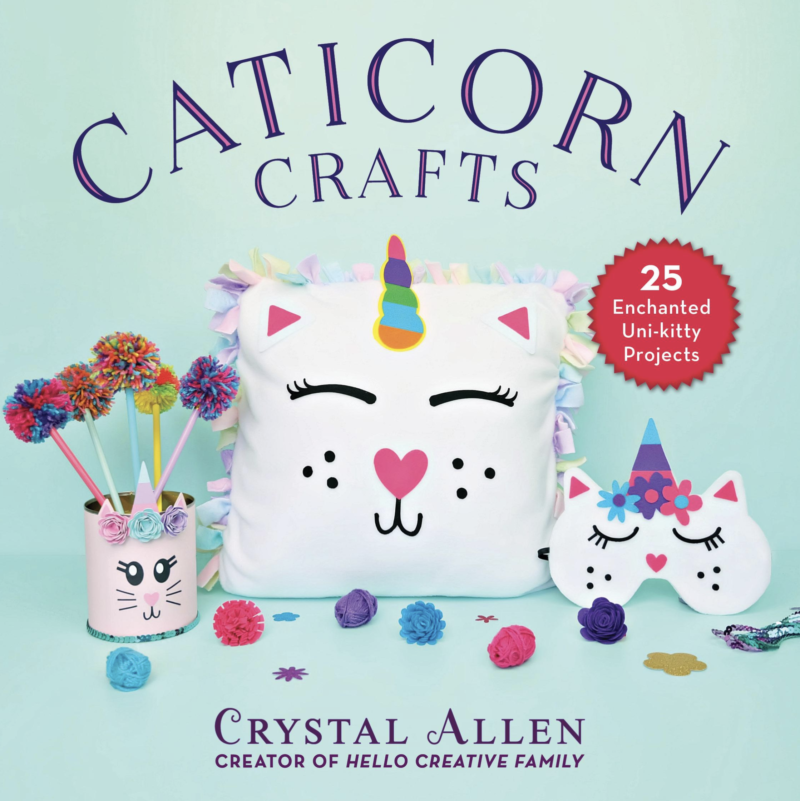
This year I’m bound and determined to change my procrastination habit and get things done early! I just signed a contract for a second craft book (you can preorder my first craft book, Caticorn Crafts here) and so I know the next few months will be super busy, so it’s best to get things done early.
Since I’m loving all things rainbow and caticorns these days, I decided to create a DIY Rainbow Halloween Costume using my Cricut!
You know how much I LOVE my Cricut Maker, but I’ve also been getting a lot of use out of my Cricut Explore Air 2 lately. In fact, I’ve found that since I have both, I use my Cricut Maker for things that I need the Adaptive Tools like the Rotary Blade, Knife Blade, Debossing Tip and Engraving Tip and then use my Cricut Explore Air 2 for cutting iron-on, vinyl and paper! On occasion I’ll even get both machines going at once!

The base of this costume is super simple– a white shirt and white leggings. To that you add rainbow stripes cut from Cricut Iron-On and cute little raindrops. I used Holographic Iron-On for the raindrops but it would also look super cute using glitter iron-on.
I love using Cricut Iron-On because of Cricut’s Strong Bond Guarantee! You can read more about it here, but the basic idea behind it is that Cricut stands behind their Iron-On Products! Look for the Strong Bond Guarantee sticker on their iron-on. Cricut’s Iron-On is made to last wash after wash. Follow their instructions for applying it and if for some reason it should wrinkle or peel, let Cricut know and they will replace it for you!
With Cricut’s many patterns, colors, designs and finishes of iron-on it’s easy to make a one of a kind Halloween costume! Find all of Cricut’s Iron-On here.
Ready to learn how to make my DIY Rainbow Halloween Costume? Read on for step by step instructions along with the cut file!
DIY Rainbow Halloween Costume Made Using The Cricut
Materials:
–Hello Creative Family Rainbow Costume Cut File
-White Shirt
-White Leggings
–Cricut Maker or Cricut Explore Air 2
–12X24 Regular Grip Cutting Mat
-Cricut Iron-On (For this project we used Cricut Everyday Iron-On in the colors Cherry, Neon Orange, Neon Yellow, Apple Green, Sky and Lilac as well as Holographic Iron-On)
–Cricut EasyPress 2 (I also used the EasyPress Mini)
Optional: A cute skirt! We think it looks equally cute with a rainbow tutu or a “cloud skirt” make out of white balloons tied to a ribbon.
Directions:
Step 1: Log into Cricut Design Space and then open the Hello Creative Family Rainbow Costume Cut File. Measure your shirt to decide what size you want your design and size the image accordingly.
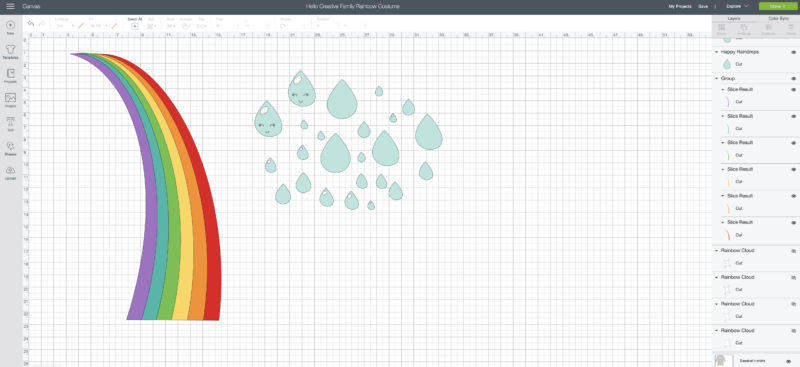
Note: I did a test cut of the rainbow out of kraft paper and laid it on the shirt first to check sizing.
Click “Make It” in the upper right hand corner.
Under the cutting mats on the left hand side of the screen, click the “mirror” sliders.
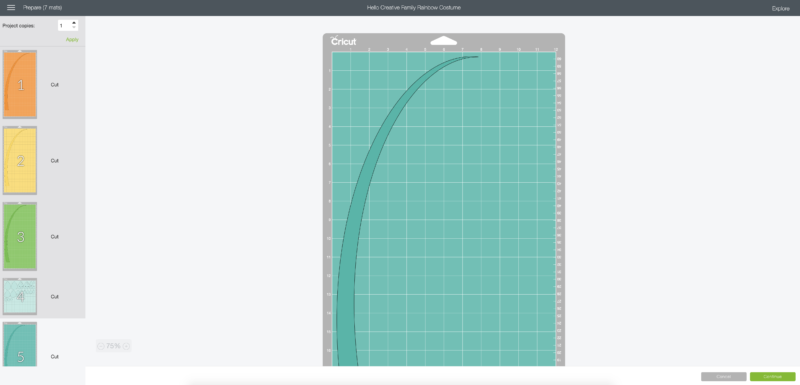
Click “continue”, select your Cricut machine and the type of iron-on you are using, load your cutting mat with the iron-on (shiny side down), load it into the machine and press the Cricut C to cut. Change color of iron-on on cutting mat as prompted.

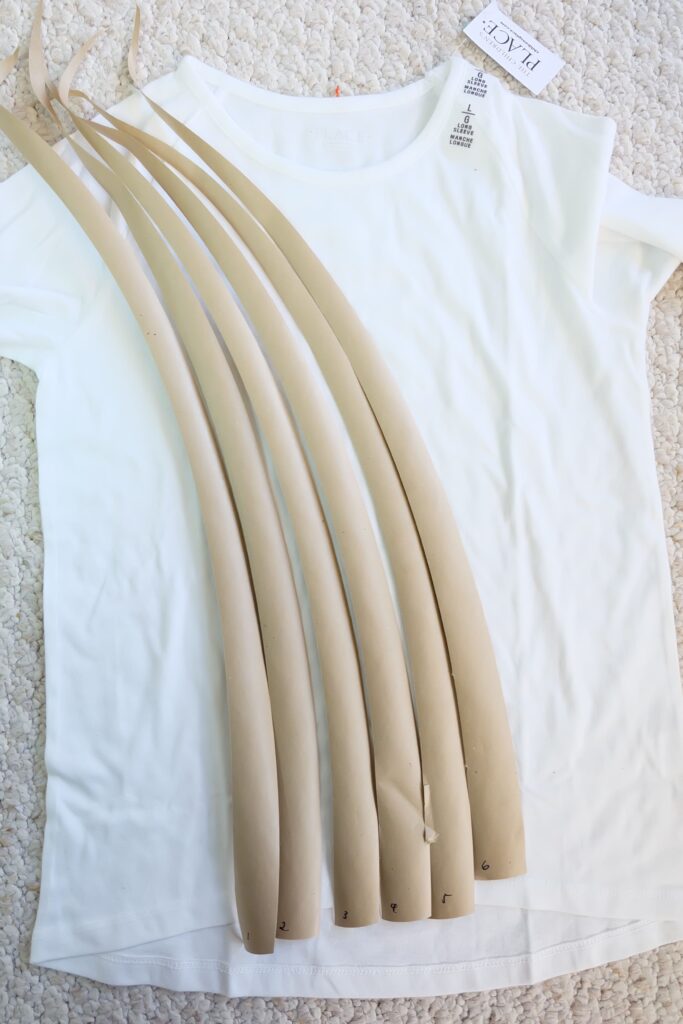
Step 2: Weed your designs removing iron-on around each design leaving just the design on the clear plastic backing.

At this point I laid each piece of my iron-on onto my shirt starting with red working my way to purple to see how I wanted the rainbow to lay. The bottom of my shirt had a curve to it, so I let the iron-on overlap the edge of the shirt slightly and trimmed it after. Also the top of the rainbow wrapped around the shoulder of my shirt.
Step 3: Preheat your Cricut EasyPress using the EasyPress Heat Guide. Remove the purple, blue, green, yellow and orange stripes of the rainbow leaving behind just the red. Because we will be layering colors we want to just lightly press the red so that it doesn’t scorch by the time we layer all the colors. Lightly press until the iron-on just adheres to the fabric of the shirt (approximately 10 seconds). Warm peel the clear plastic protective sheet leaving the red iron-on on the shirt.
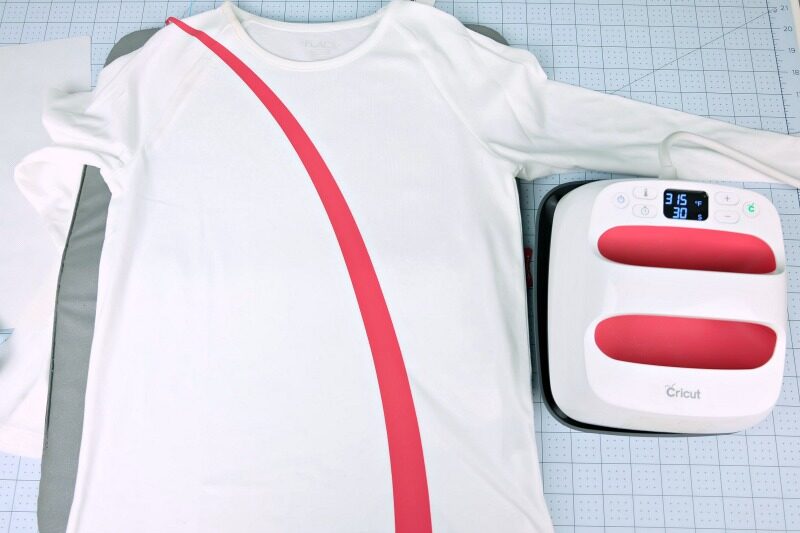
Lay the orange iron-on on the shirt. Cover with your Cricut Iron-On Protective Sheet and lightly press the orange stripe until it just adheres to the fabric of the shirt (approximately 10 seconds). Try to avoid heating the red stripe as much as possible when doing this. Warm peel the clear plastic protective sheet leaving the orange and red iron-on on the shirt.

Repeat the above steps with the yellow, green, blue and purple rainbow stripes.
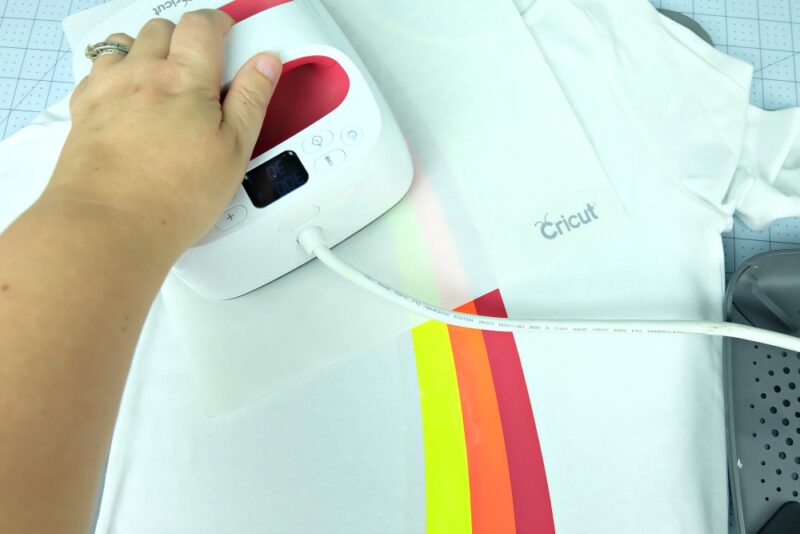
When all of the stripes are adhered do one final press of all of the colors using your Cricut Iron-On Protective sheet to protect your iron-on to make sure that all the stripes are firmly adhered to the shirt.
If your rainbow stripes hang off the bottom of your shirt like mine did, trim any excess iron-on away. Give one last press to the hem of the shirt and voila– your rainbow shirt is complete!

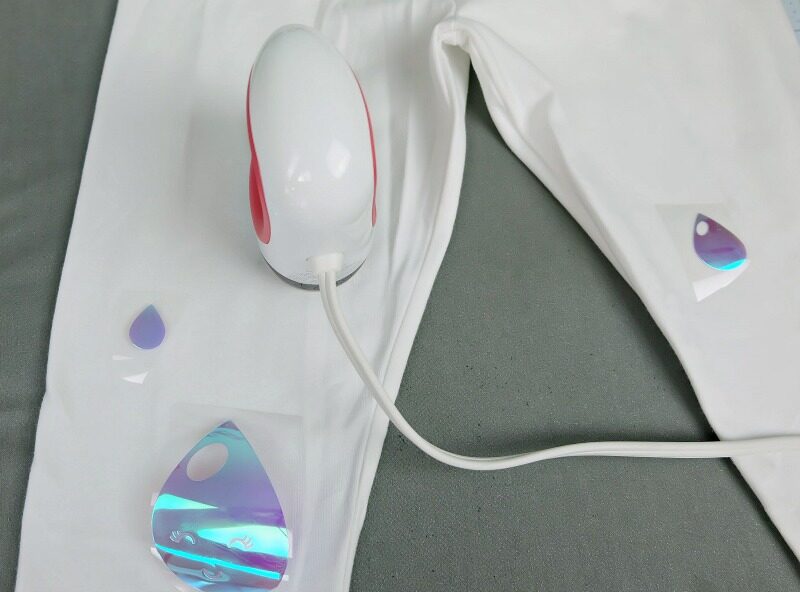
Step 4: Continue on and press your weeded raindrops onto your leggings. I laid our the raindrops where I wanted them first and then pressed each raindrop using my EasyPress Mini following the heating instructions from the EasyPress Heat Guide.
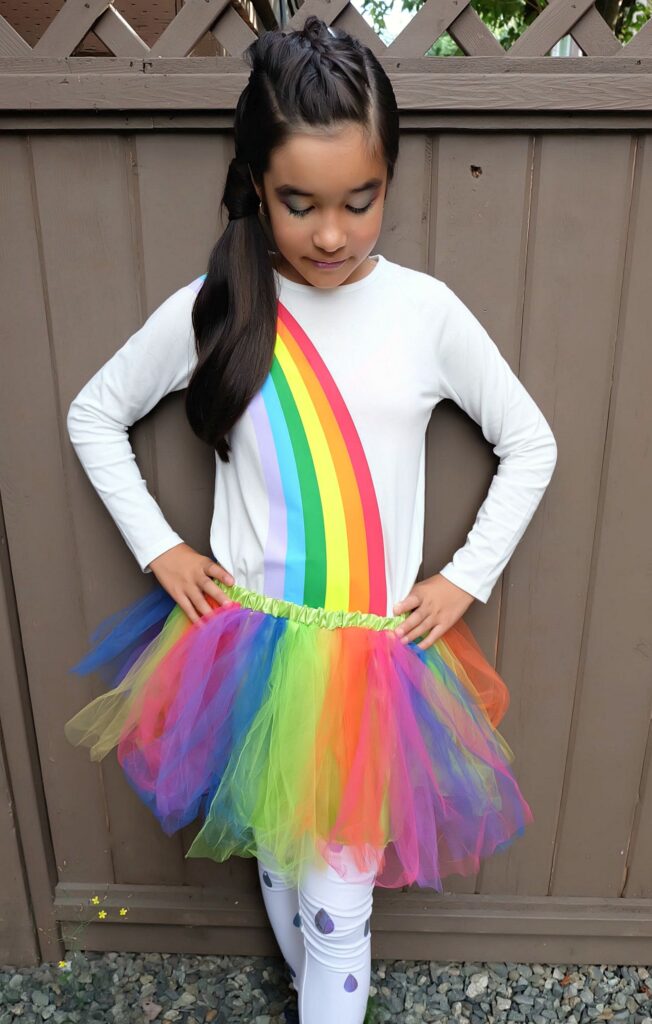
And that’s it friends! You have a super cute DIY Rainbow Halloween Costume that’s perfect for tweens!
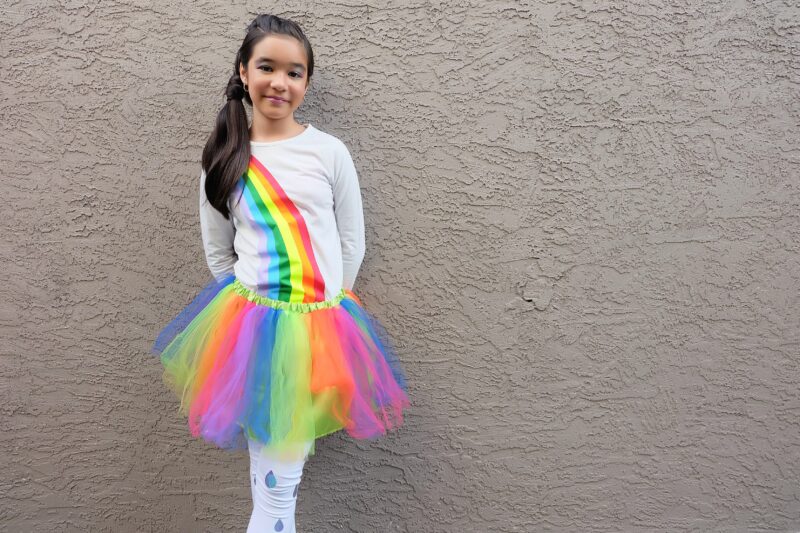
Pair it with a rainbow tutu, or DIY your own cloud skirt by tying white balloons to a piece of ribbon and wrapping it around your waist!

Next up… I have to make a costume for my son! And maybe a costume for me too!
Disclosure: Thank you so much to Canadian Turkey for working with us on this post. As with all articles on Hello Creative Family all thoughts and opinions are 100% our own. We only share things we love and we certainly love Canadian Turkey!
Tell me… Do you have a Cricut cutting machine? What are some of the reasons that you love your Cricut?
Like this post? We’d love for you to pin it for later!

Like this post? We think you’ll love these ones too!

DIY No Sew Group Halloween Costumes- Parrot, Giraffe and Panda Made With The Cricut Maker

Little Red Riding Hood & Zombie Mommy and Baby Family Halloween Costumes
Looking for even more Cricut Ideas? We have them all in one handy place for your convenience! Find our Cricut Section Here.