DIY Summer Flamingo Fairy Lights- Made With Shrink Plastic
This post and the photos within it may contain Amazon or other affiliate links. If you purchase something through the link, I may receive a small commission at no extra charge to you.
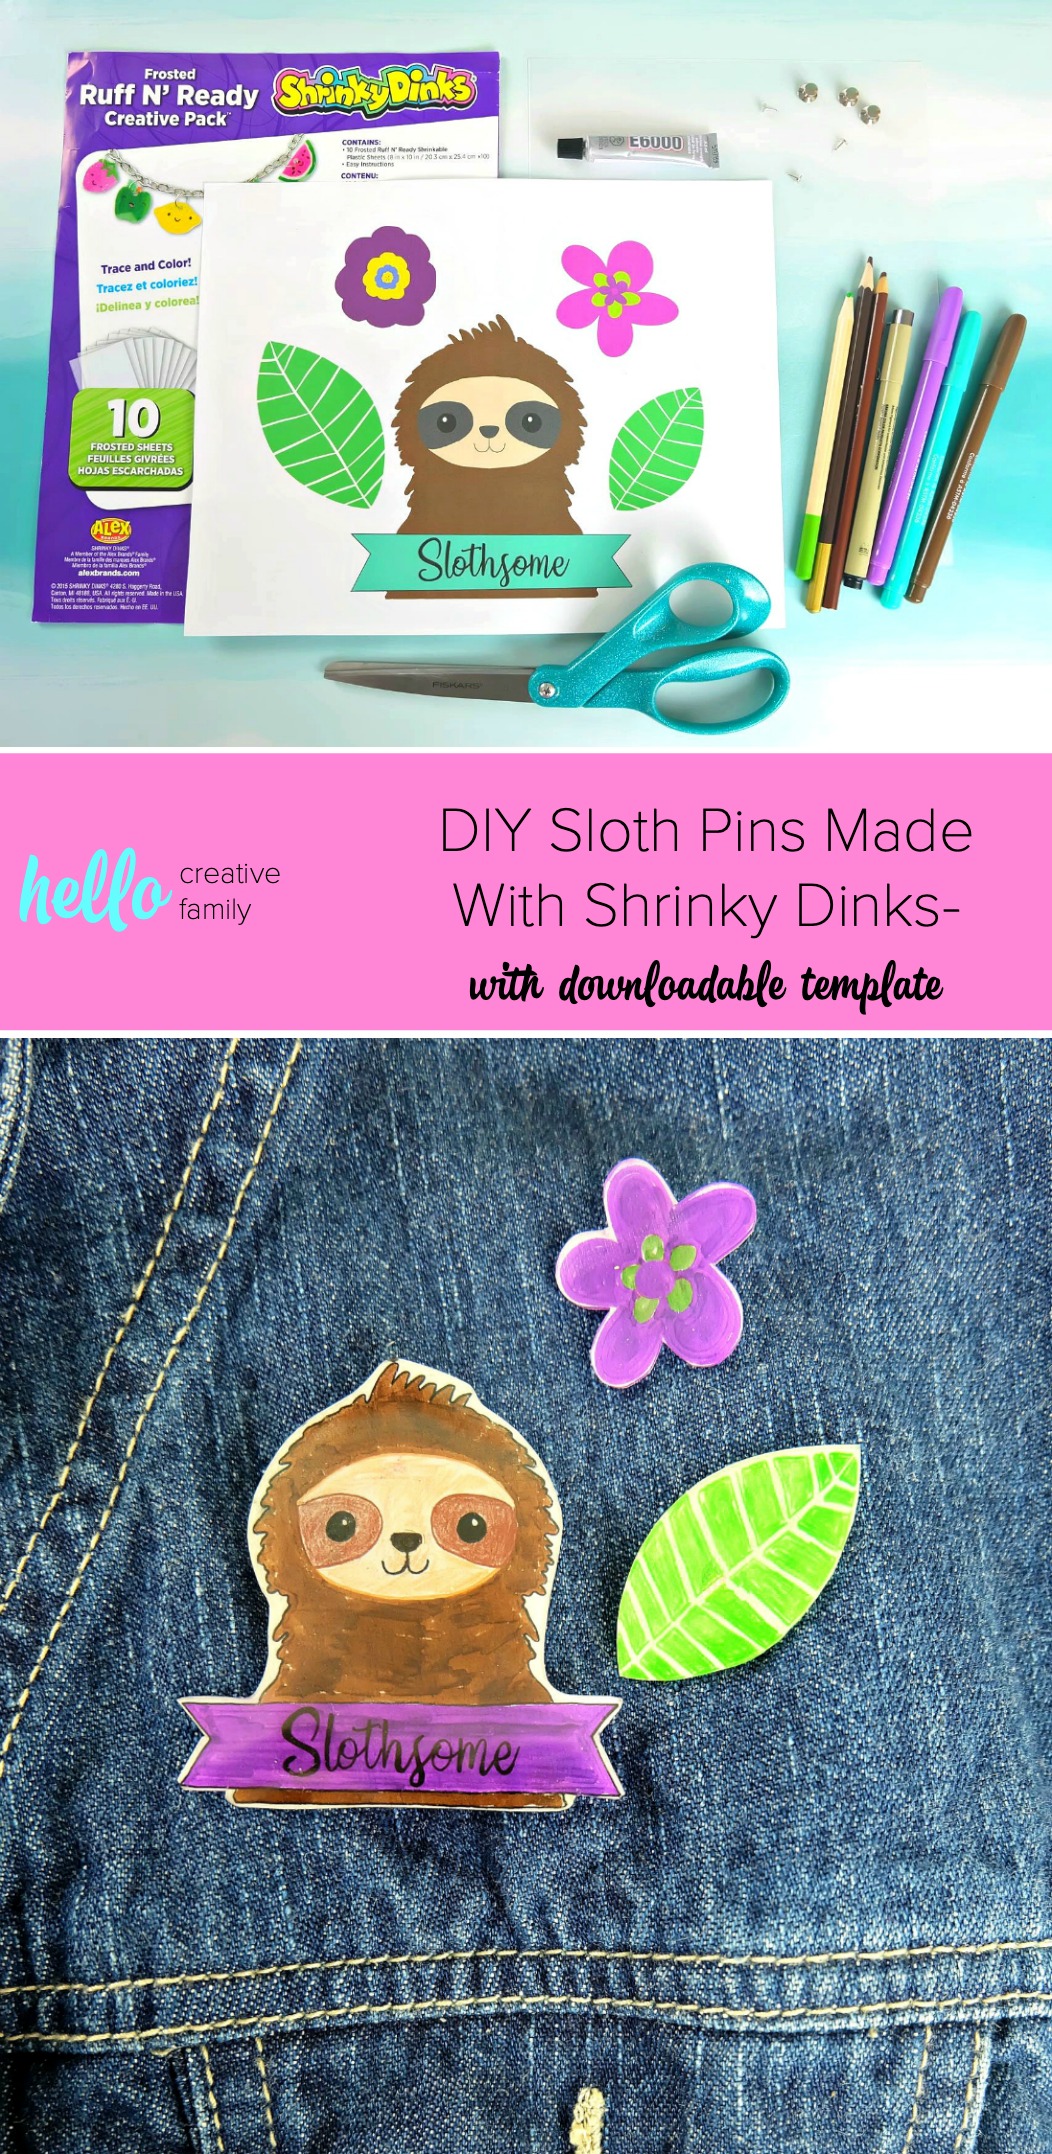
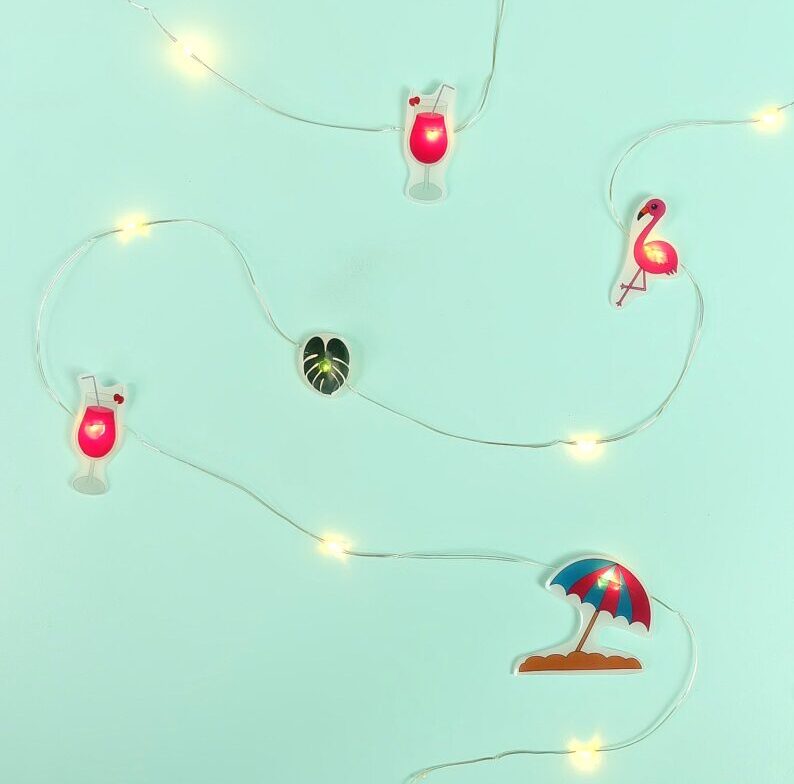
Create an adorable set of DIY Summer Flamingo Fairy Lights using shrink plastic (aka Shrinky Dinks) and our free summer flamingo printable. Perfect for summer decor or tropical themed luau birthday parties! Fun and oh so easy to make!


My husband has been teasing me lately that every time he sees me I have my iPad and Apple Pencil in hand and am drawing pictures in Procreate. He’s not wrong. The other evening I was sitting in bed watching Skillshare videos on Procreate and following along on my ipad. I finished a course, looked at the time and realized that it was 2am! On a school night no less! This mama usually turns into a pumpkin at 10pm!
I’ve been having so much fun bringing projects to life using my ipad that I was never able to execute in a way that I could share with you all before getting my ipad. Today is another example of this.
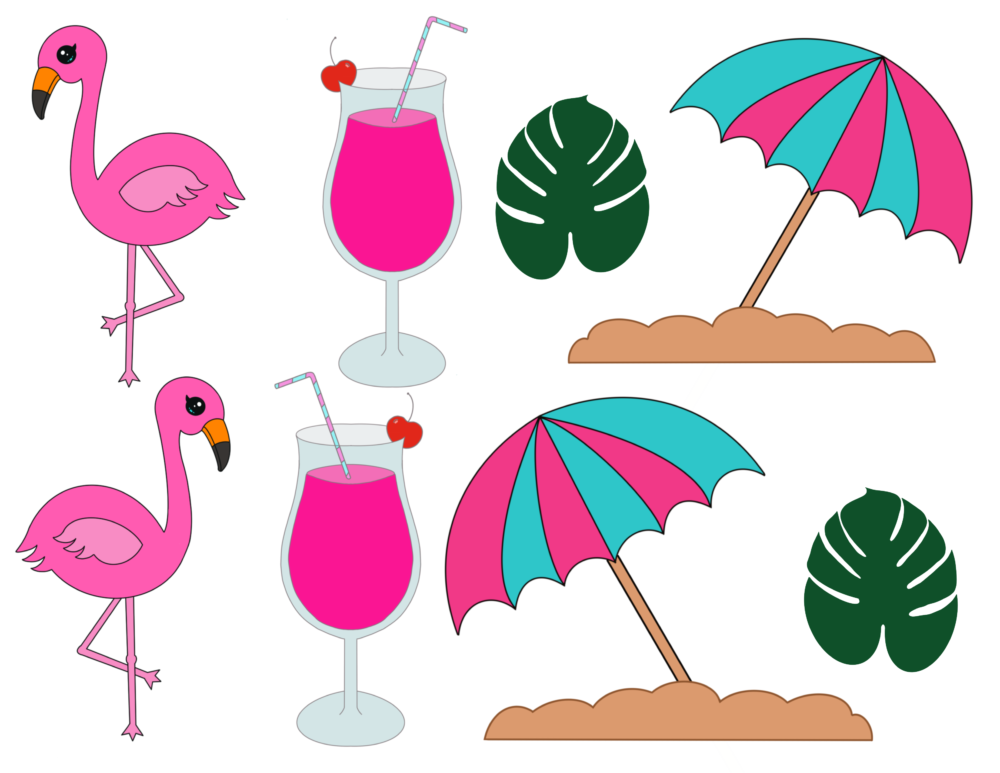
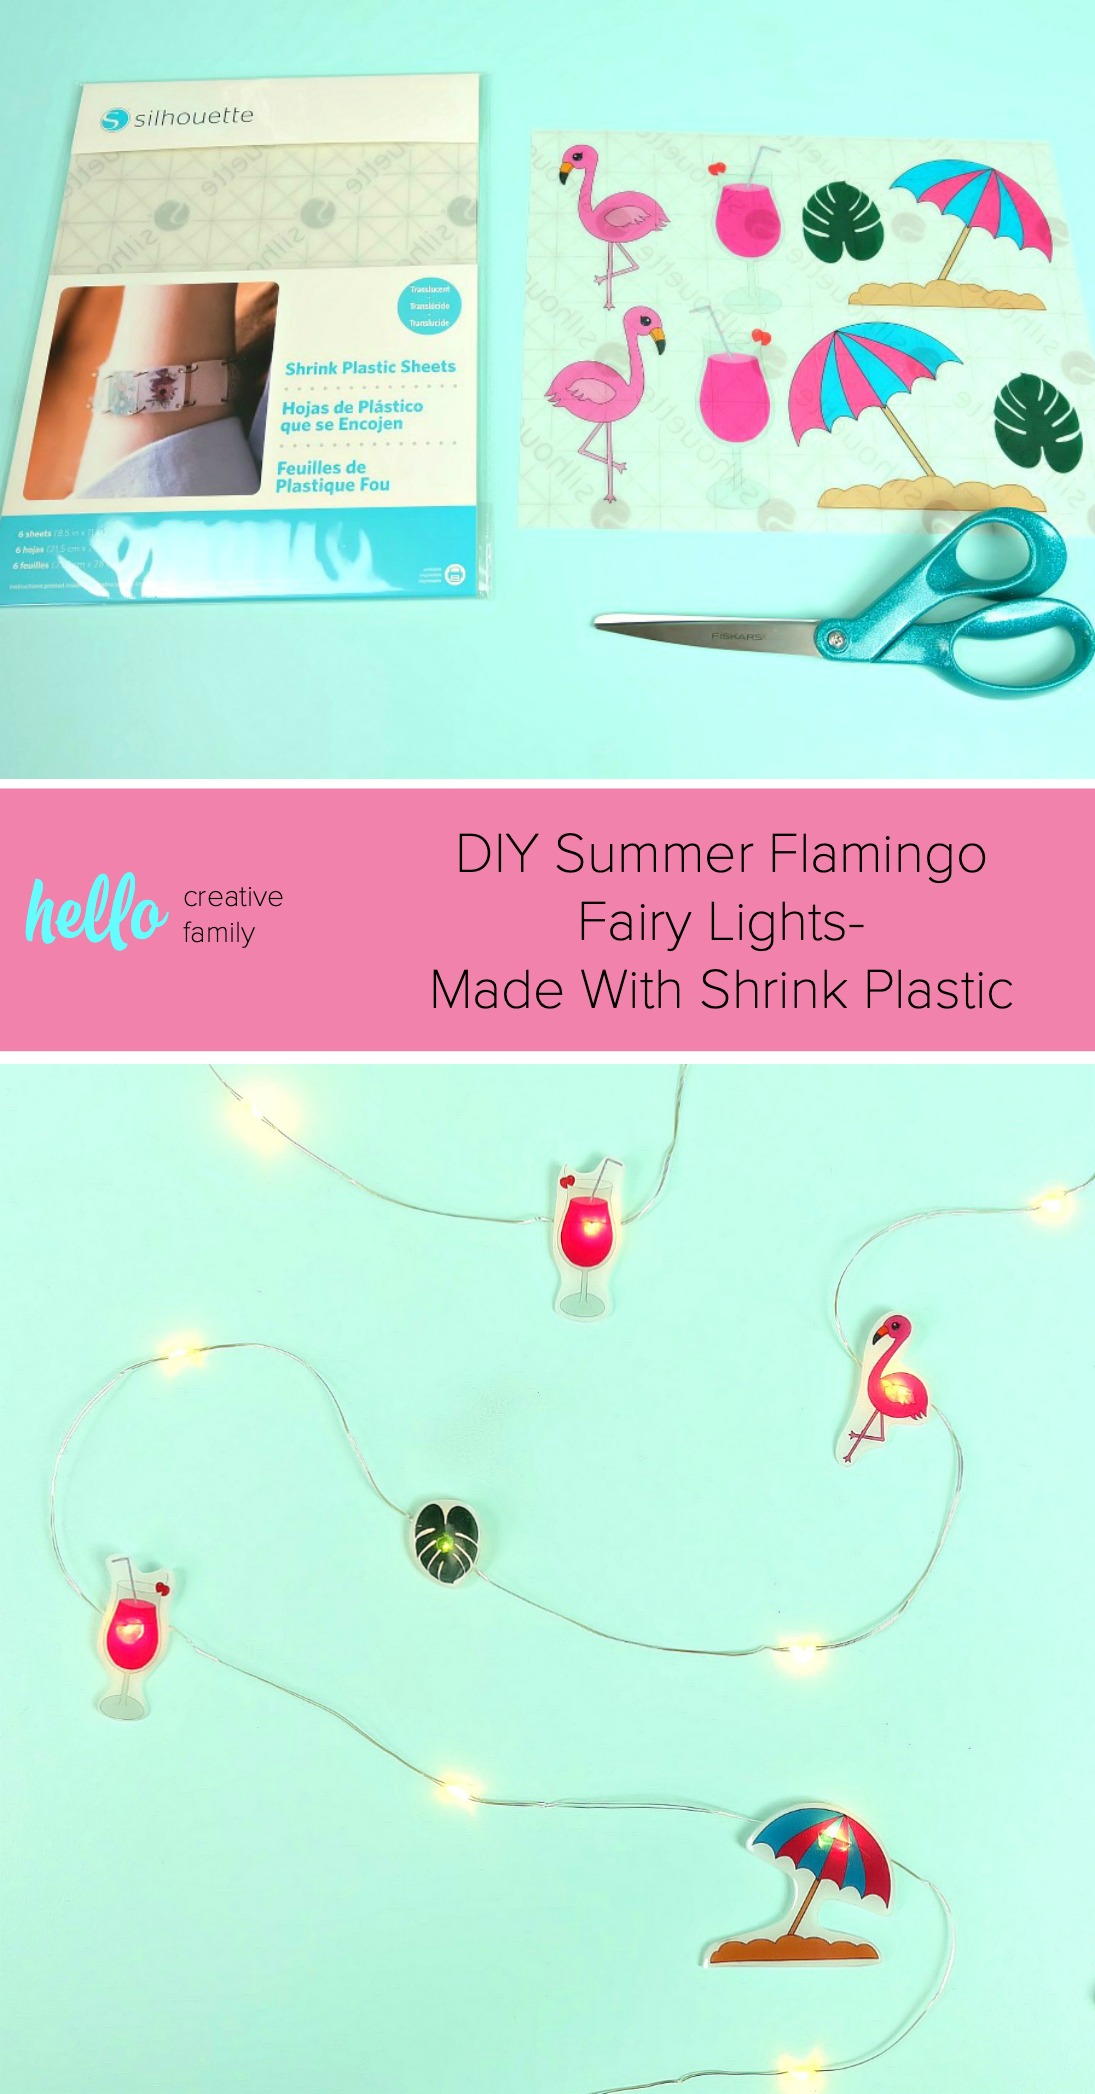
Battery operated fairy lights are all the rage right now. I keep seeing fairy lights at stores that have cute little animals on them. I thought it would be super fun to DIY my own with my own theme. Since it’s summer I decided to go with a beach theme– Flamingos, a beach umbrella, fruity cocktails and tropical leaves. I drew the designs on my ipad, printed them on Silhouette Shrink Plastic, cut them out, shrunk them down and used my hot glue gun to attach them to the fairy lights! Sounds simple right? It was! Read on for more in depth instructions on how to make DIY Summer Flamingo Fairy Lights including my free images!
[hr gap=”30″]DIY Summer Flamingo Fairy Lights- Made With Shrink Plastic[hr gap=”30″]

Materials:
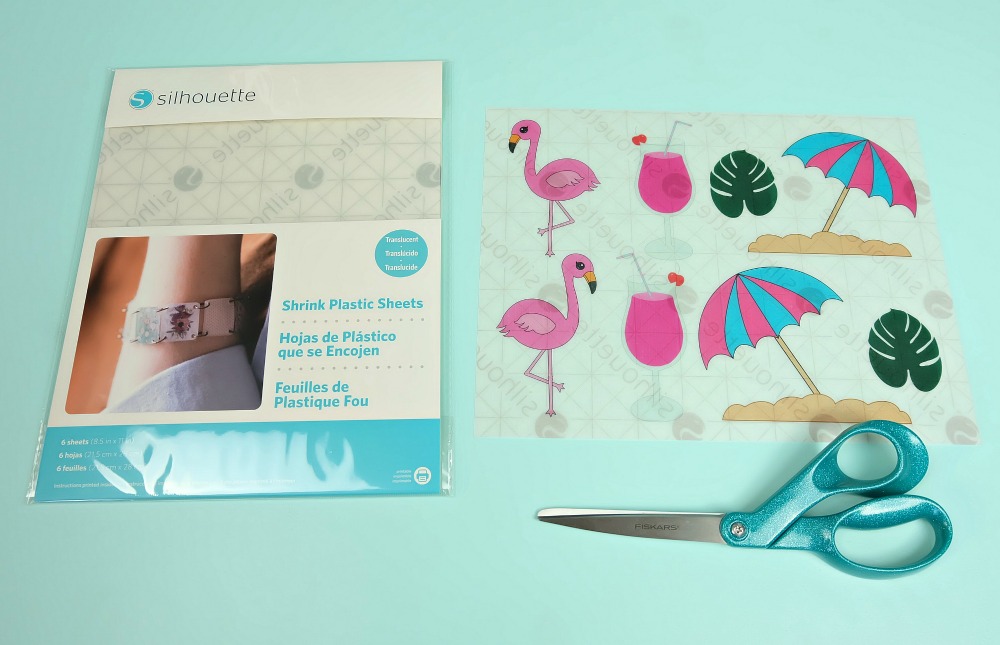
-My Summer Flamingo Images (Find the image here or above. Right click and save to your computer. Please note that the images are for personal use only.)
-Silhouette Shrink Plastic (Find the clear like I used here or white here)
-Inkjet Printer
-Scissors (this is the glittery blue pair I use and love)
-Baking tray lined with parchment paper (this is the parchment paper I use)
-Oven or toaster oven
-Battery Operated LED Fairy Lights (like these)
-Glue Gun and Glue Gun Sticks (this is the glue gun I use and the brand of glue sticks I use)
Directions:
Step 1: Download my Summer Flamingo Images above and print it on Silhouette Shrink Plastic following the directions on the packaging using your Inkjet Printer.
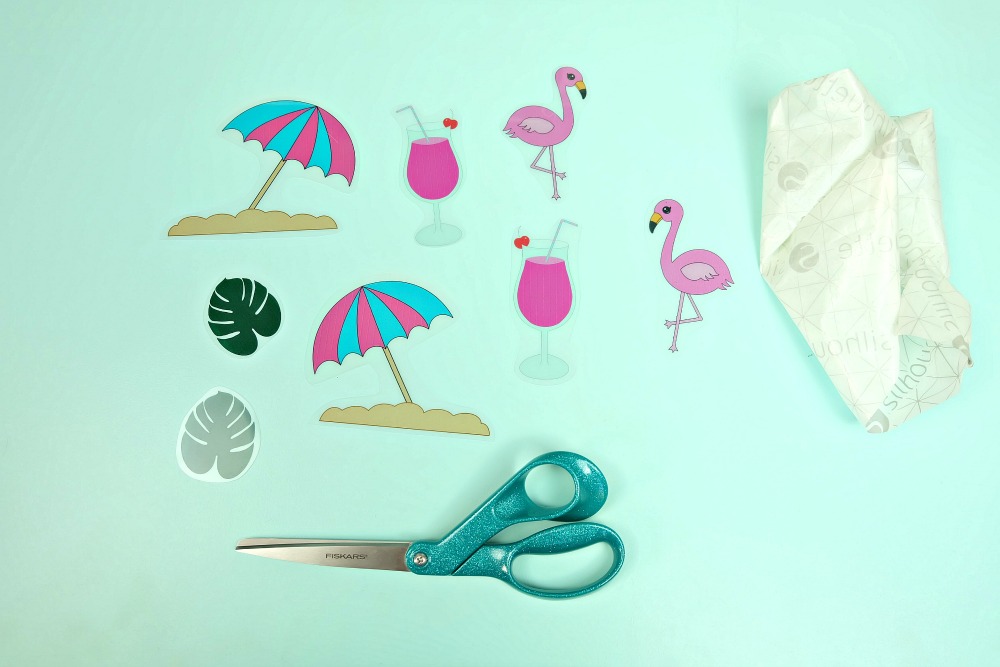
Step 2: Remove the paper backing from your Shrink Plastic Sheet and then use your scissors to cut out each shape.
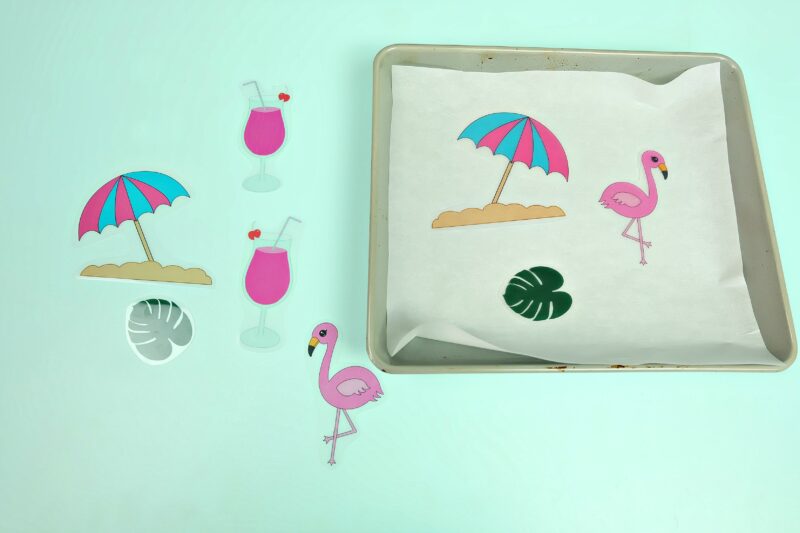
Step 3: Preheat the oven or toaster oven to 325F. Line a baking sheet with parchment paper and lay your designs on top, printed side up. Leave adequate space between each design (I usually shrink 3 designs at a time). Watch for your pieces to shrink up and then lay flat. Once they have flattened bake for an additional 30 seconds. Carefully remove designs from oven and use parchment paper to press designs flat while they are still warm.
Step 4: Once your designs have cooled use a glue gun to place a dot of glue on the back of each design and then press them onto the fairy lights. I like to do this while the fairy lights are on so you can see which part of your design will glow.
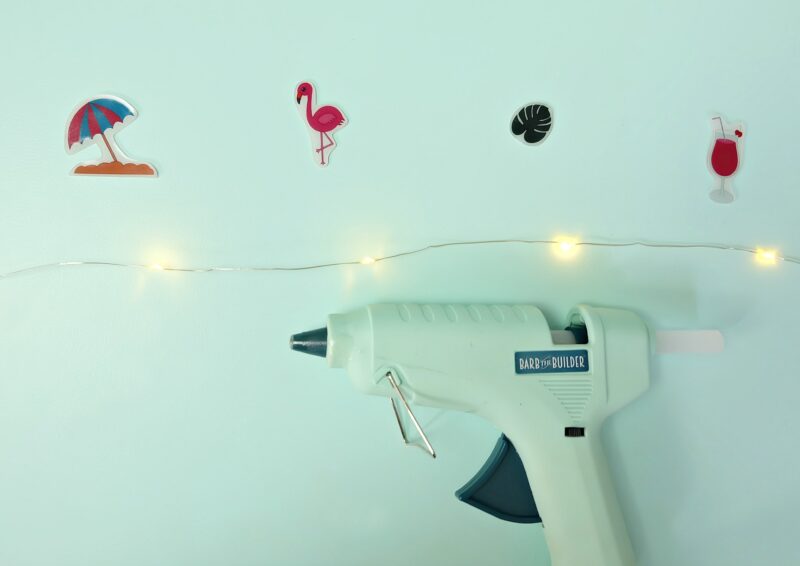
Allow the glue to dry and then hang your beautiful new summer fairy lights!
[hr gap=”30″]Tell me… Where would you hang these fairy lights? In a child’s room? On your patio? In your craft room? What have you used shrink plastic to make?[hr gap=”30″]
Disclosure: Thank you to Silhouette for sending me the Shrink Plastic Sheets to try out! As with all posts on Hello Creative Family all thoughts and opinons are 100% our own. We only share things we love.
Like our DIY Summer Flamingo Fairy Lights? We would love for you to pin it for later!
We think you might also like these posts!