


DIY Sloth Pins Made With Shrinky Dinks- With Downloadable Template
This post and the photos within it may contain Amazon or other affiliate links. If you purchase something through the link, I may receive a small commission at no extra charge to you.
This fun craft will have you feeling nostalgic for the 80’s! Learn how to make DIY Sloth Pins using Shrinky Dinks! Includes a free template for the sloth, flowers and leaves along with step by step photos and instructions! A super fun kids crafts that adults will enjoy too! Let’s make flare pins!
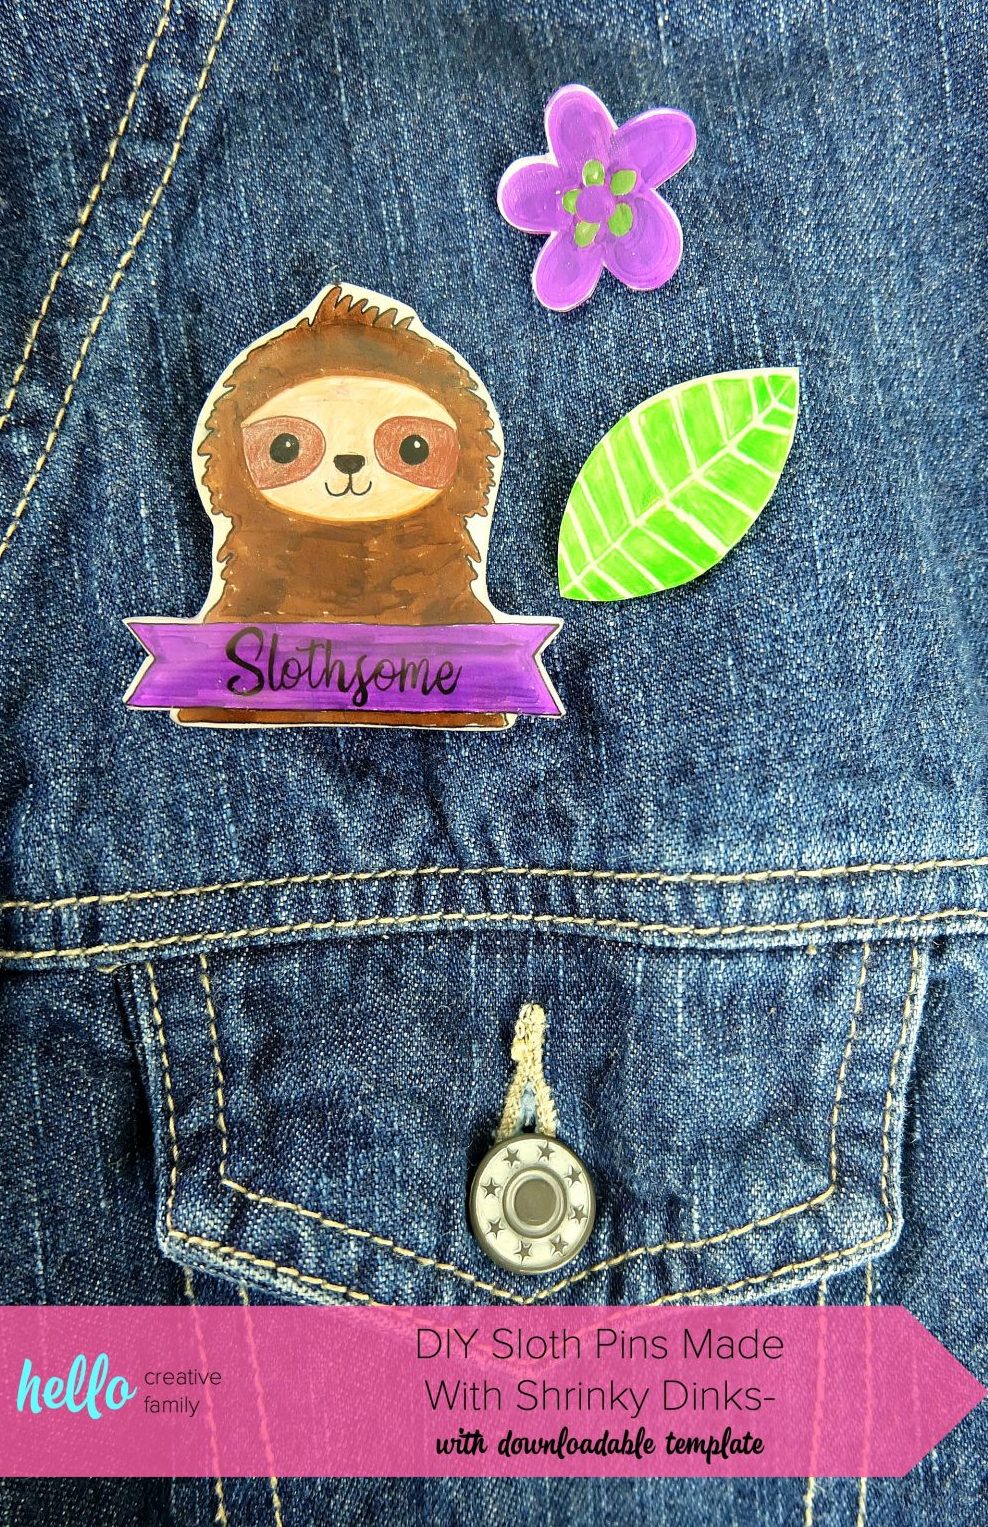

Hey friends! Today I’m bringing you a super cute (and easy) craft project that makes me feel all nostalgic for my childhood! I grew up in the 80’s and two things that were super popular when I was a kid were shrinky dinks and flare pins! I remember meticulously coloring in the shrinky dinks from my Rainbow Brite Shrinky Dink kit, laying them on a cookie sheet, having my mom pop them in the oven, and watching them shrink down to tiny brightly colored charms through the window of the oven.
Like many awesome things from the 80’s, shrinky dinks are now back in a big way! I’m currently writing a craft book that will be published in the fall and I have 2 shrinky dink projects in the book. Today I thought I’d put a “slothsome” twist on one of the projects from my book and make some adorable DIY sloth pins that you can recreate at home!
This project is super fun to make. Kids will have a great time tracing and coloring in the sloth and then watching their creation shrink down in the oven.
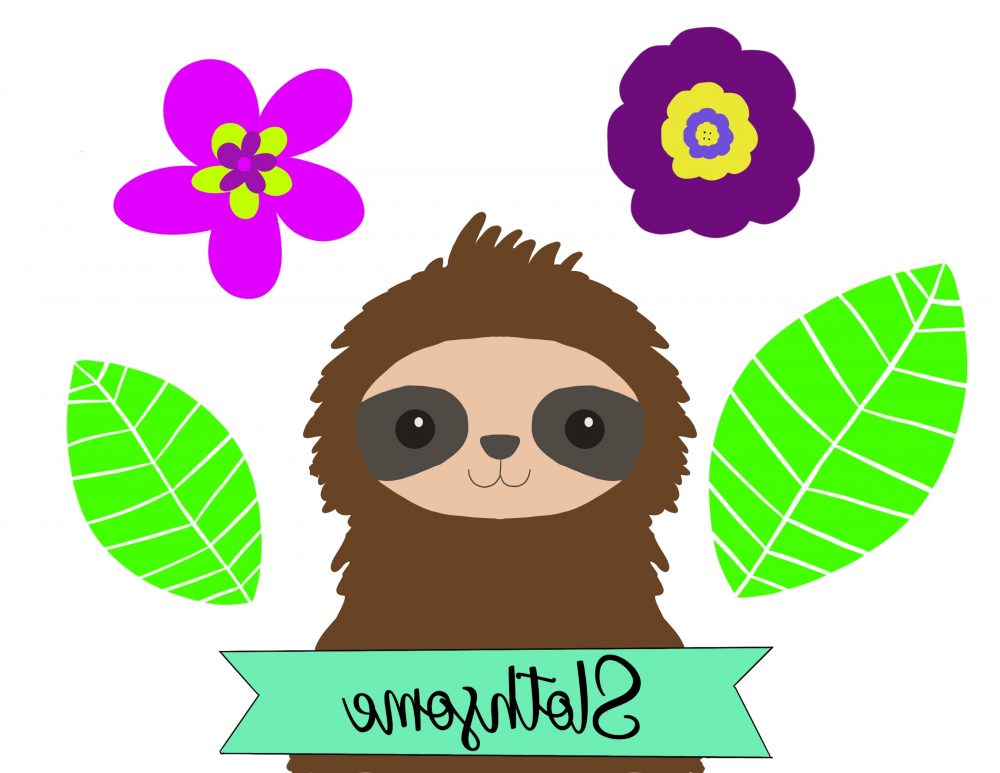
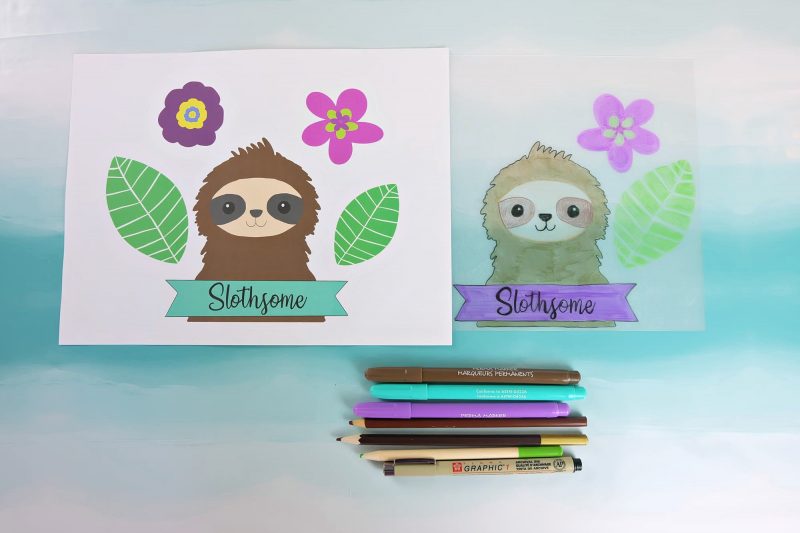
I created this sloth image that you can use as your template. (This image is for personal use only). I’m providing you with the image mirror imaged since you color what will become the back of your DIY sloth pin.
Free Template for Personal Use Only
Ready to learn how to make DIY Sloth Pins? Read on!
[hr gap=”30″]DIY Sloth Pins Made With Shrinky Dinks[hr gap=”30″]
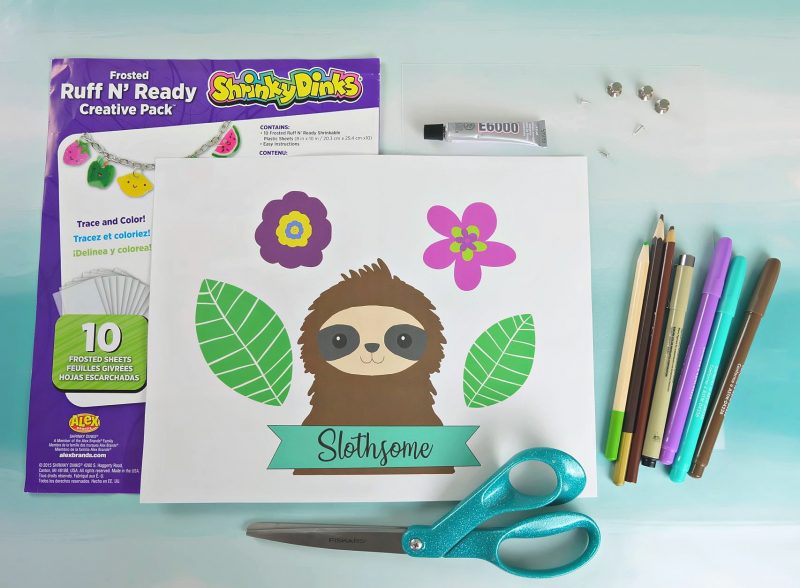
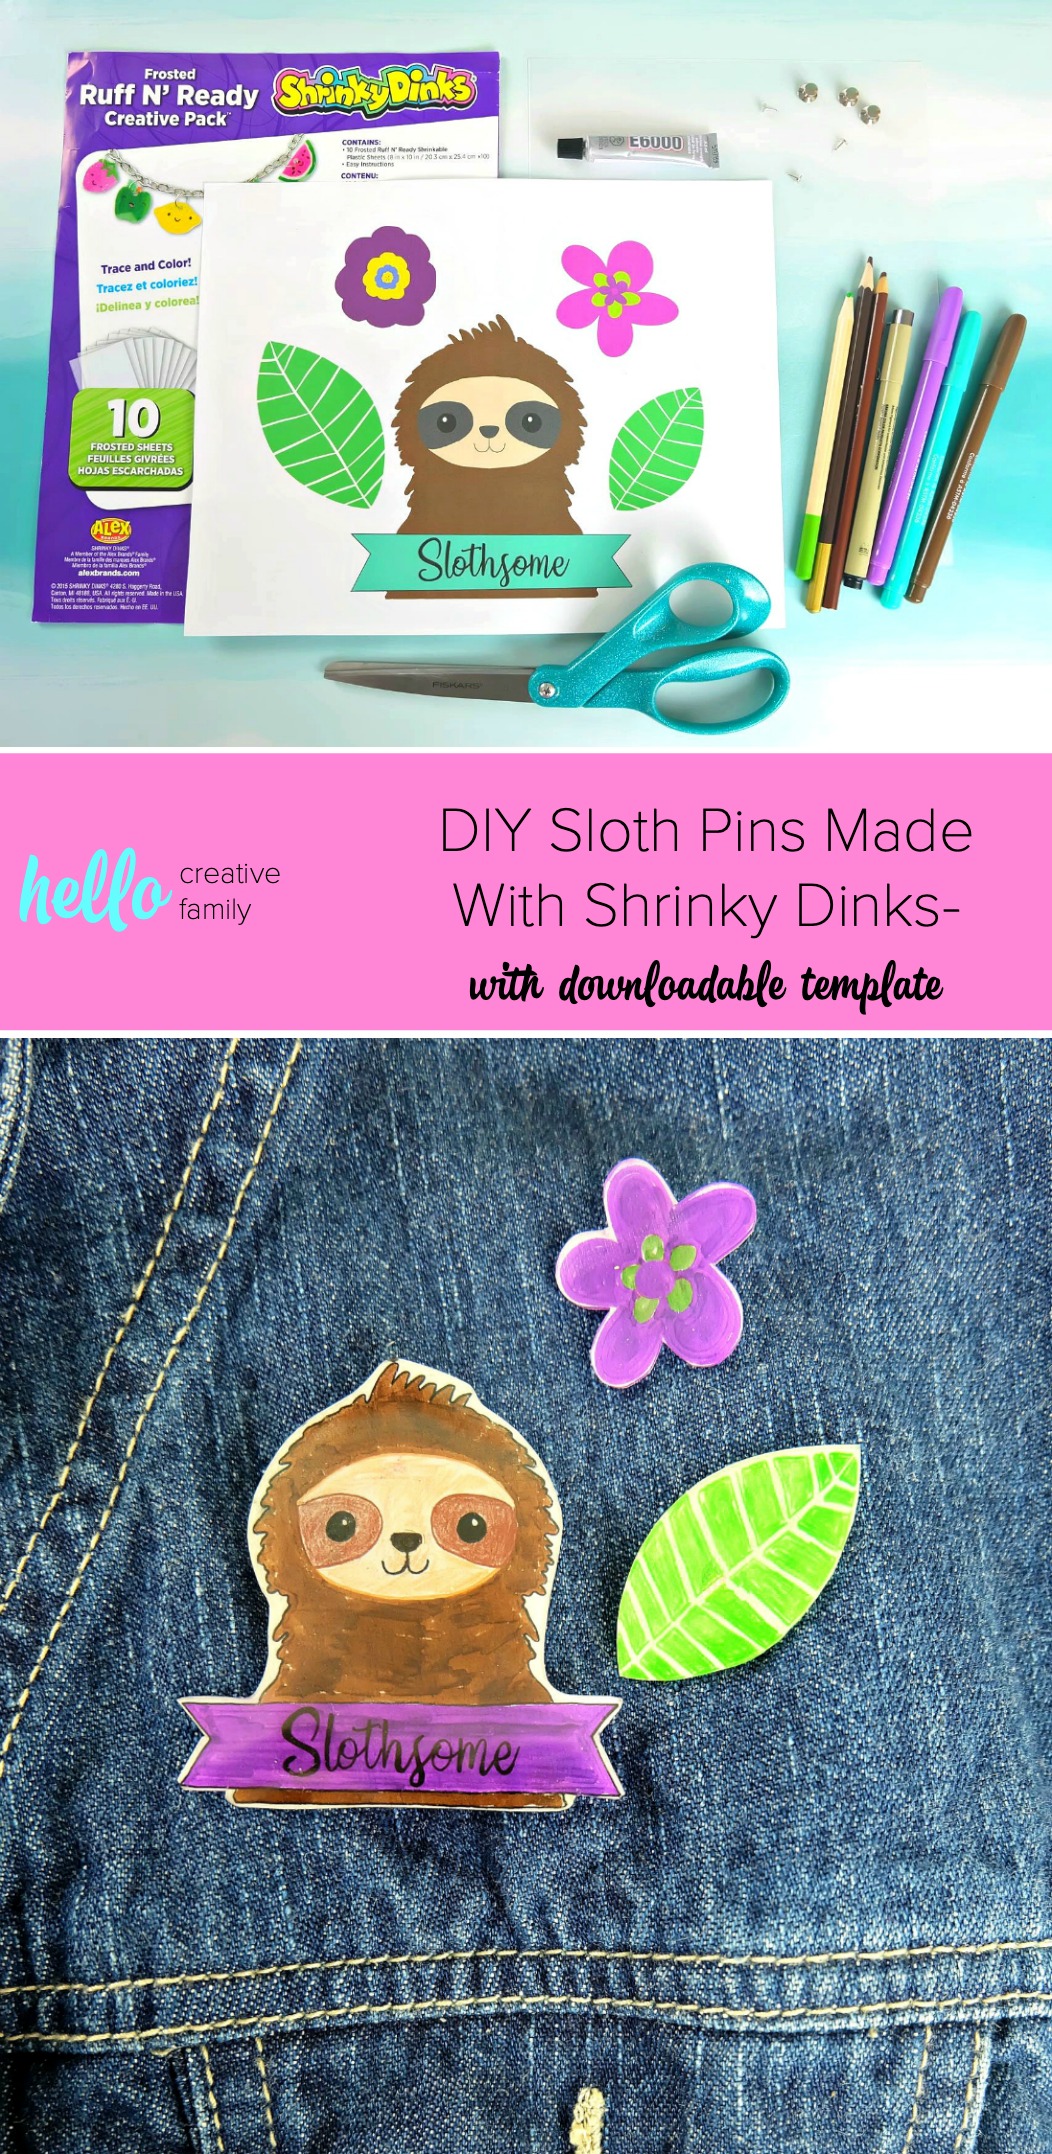
Materials:
-My sloth template (or freehand your own)
-A printer
-Shrinky Dinks Sheets (I love these Frosted Shrinky Dinks for this project because it helps to camouflage the pin back )
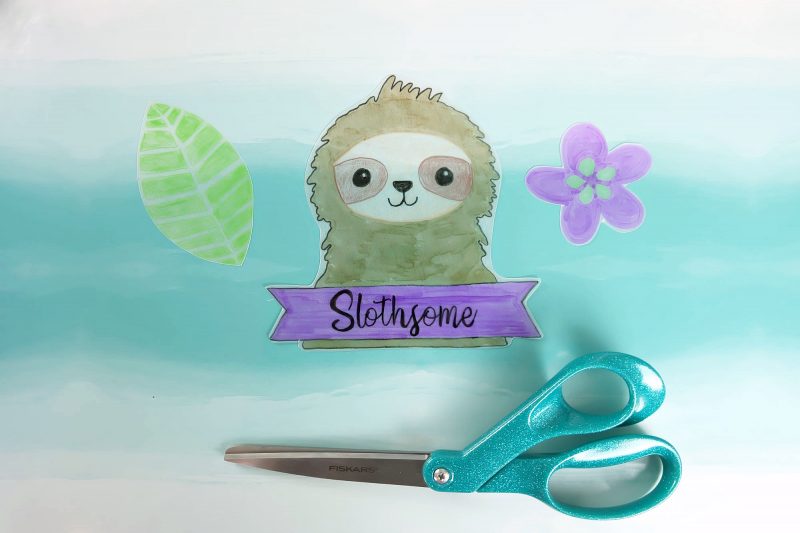
-Scissors (These are my Fiskars sparkle scissors)
-Colored Pencils and/or markers (I love combining both for my pins)
-A black pen
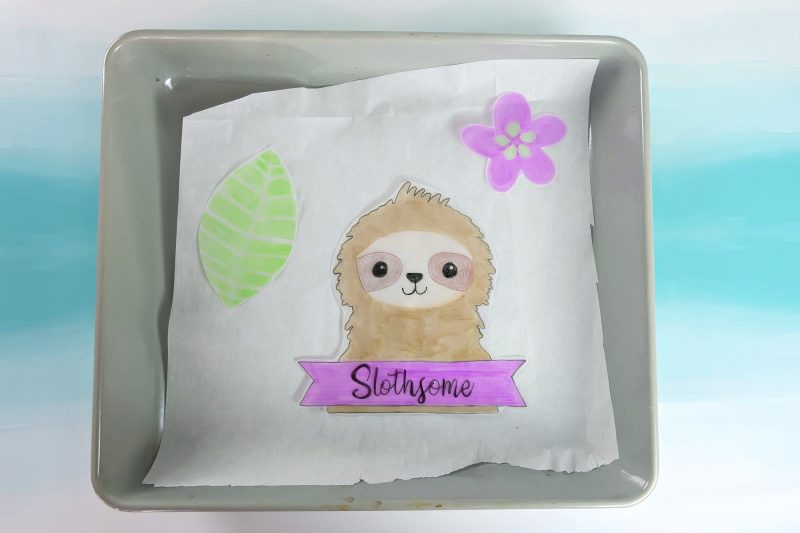
-A cookie sheet lined with foil or parchment paper
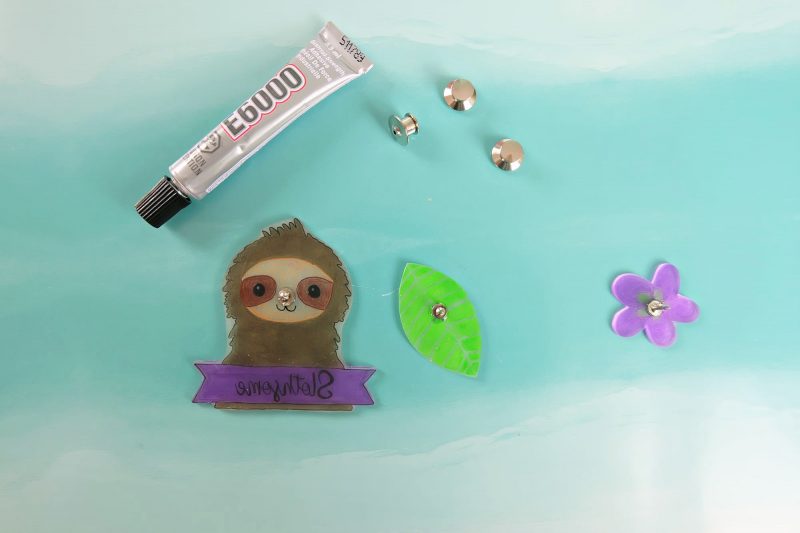
-E6000 glue or other jewelry glue (I love buying these small tubes of E6000. I find that they are easier to work with and don’t dry up on me)
Directions:
Step 1: Right click my template above and save it to your computer. Print it using your printer.
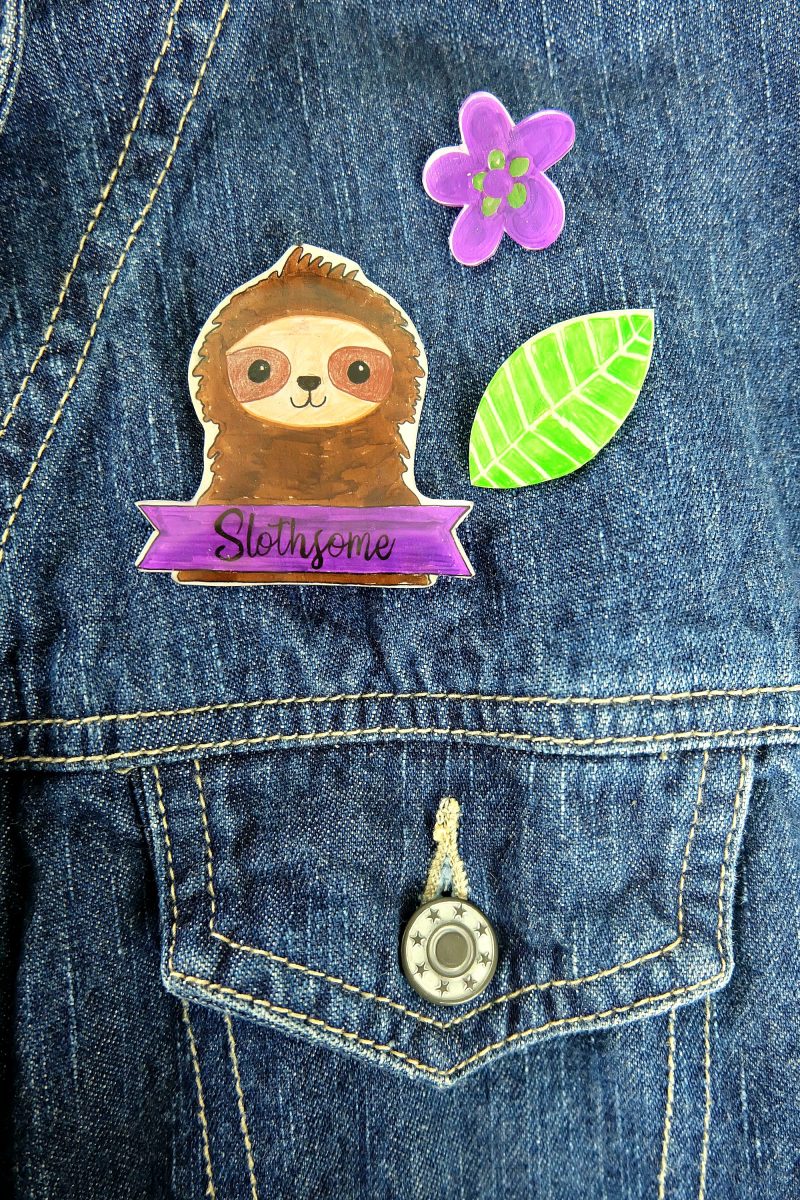
Step 2: Trace your sloth, flowers and leaves on your shrinky dink sheet and color in. You will want to trace and color on the frosted side of the shrinky dink page. Keep in mind that your colors will darken and intensify when your shrinky dink shrinks!
Step 3: Cut your shapes out of the shrinky dink sheet.
Step 4: Follow the instructions on the shrinky dink packaging for shrinking your design. (If you’re a child make sure you have parent supervision for this part.)
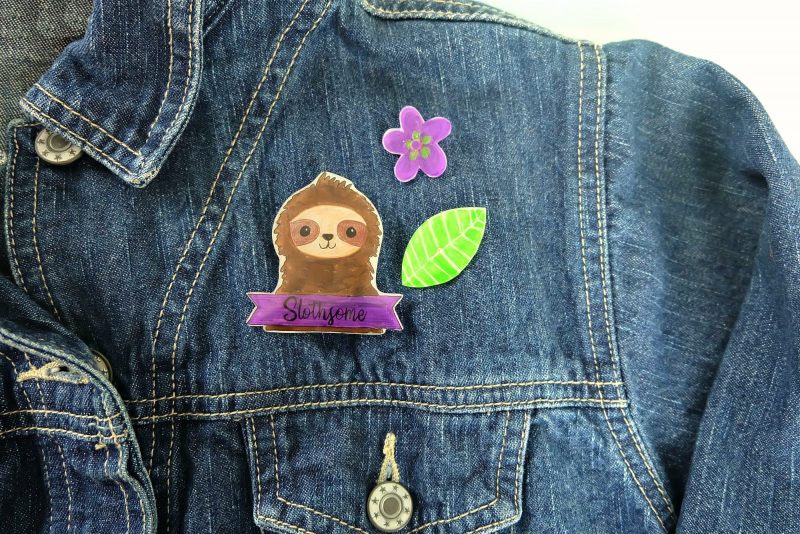
Step 5: Put a small dot of E6000 glue on the round part of each pin back and press firmly onto the back of your shrinky dink designs. Leave to dry overnight.
Pin your DIY Sloth Pins to your favorite shirt or jacket and get ready to rock that slothsome 80’s look!
[hr gap=”30″]Tell me… Have you ever crafted using Shrinky Dinks? Do you love sloths as much as I do?[hr gap=”30″]
Like this post? We’d love for you to pin it for later!
Love Sloths and DIY Sloth Projects? We think you’ll adore these crafts and DIYs!

Sloth Sleep Mask Sewing Tutorial
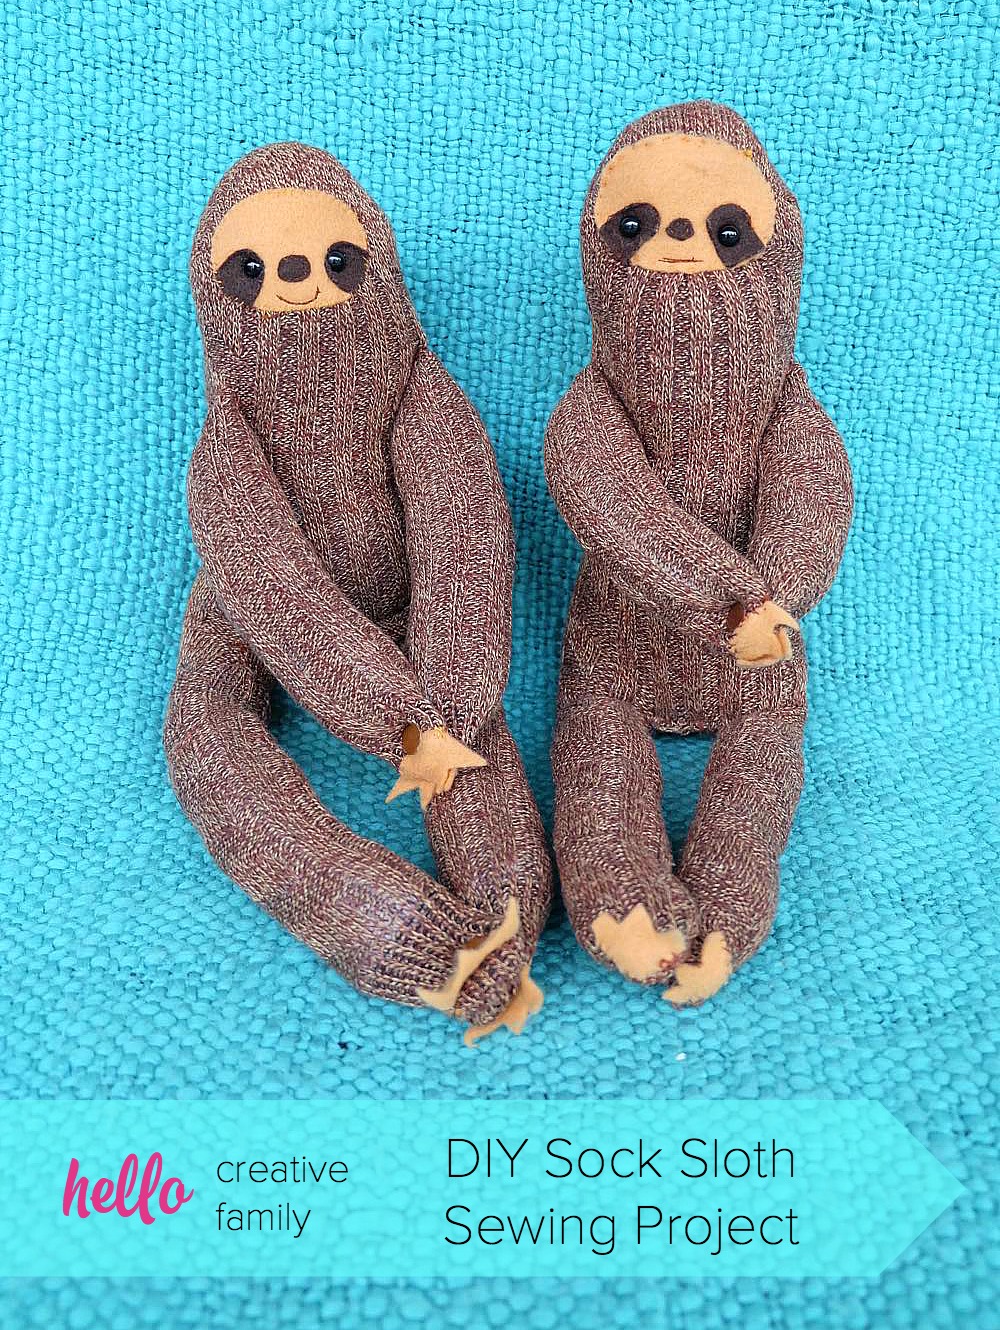
DIY Sock Sloths
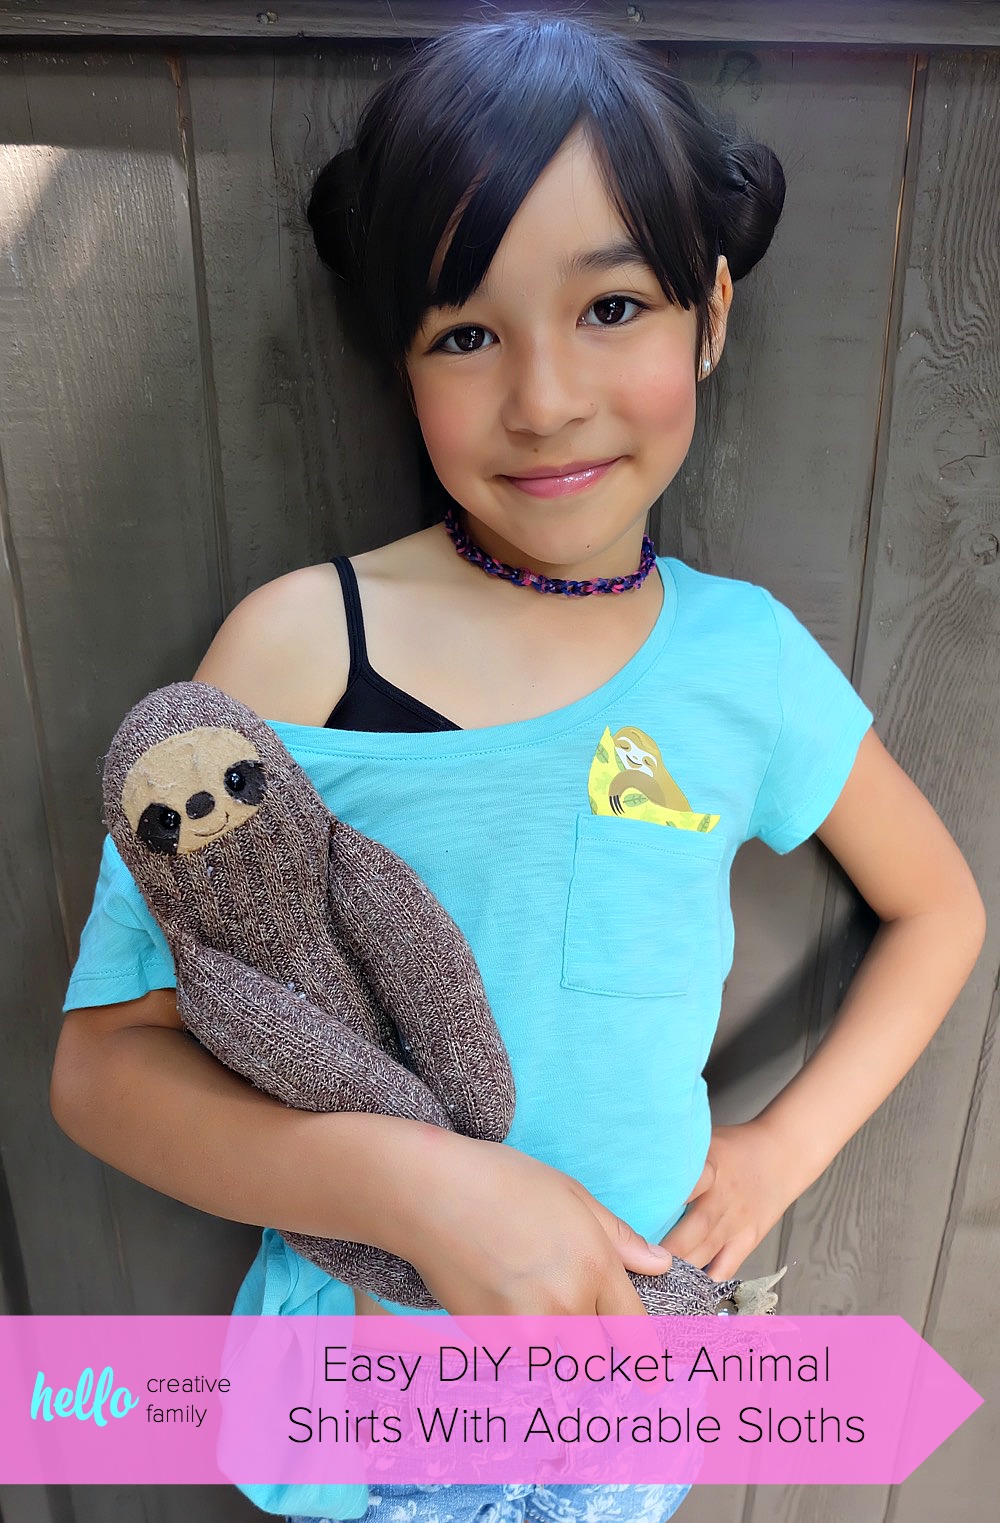
Easy DIY Pocket Animal Shirts With Adorable Sloths

Also make sure you check out our 50+ Sloth Crafts, Printables, SVG’s, DIY’s, Food and Gift Ideas post!


Looks so cute, Would be nice if you could leave a downloadable so we can do the same
Hi Adil,
Thank you for visiting. There is a free download to save to your computer and print so that you can trace. 🙂 The instructions are in step 1 and the template is a bit higher on the page.
I hope that helps!
Best Wishes,
Crystal
I can’t download the mermaid book marker . l got instructions but not the pattern anyway you can help. Thank you Carlene
Hi Carlene,
Thank you so much for your email. I just went in and checked. It looks like the email was sent to you with the mermaid bookmark pdf. Did you receive it? There is a button that you click in the email to get the download. In the pdf the instructions are printed again, along with all of the mermaid pieces that you cut out. Let me know if you have received it. If not I’ll try emailing it again to you.
Best Wishes,
Crystal
That sloth is so cute! What a fun idea. Thanks for sharing at Merry Monday!
it is great idea! thank you for so clear tutorial 🙂