


DIY Washi Tape Bandages
This post and the photos within it may contain Amazon or other affiliate links. If you purchase something through the link, I may receive a small commission at no extra charge to you.
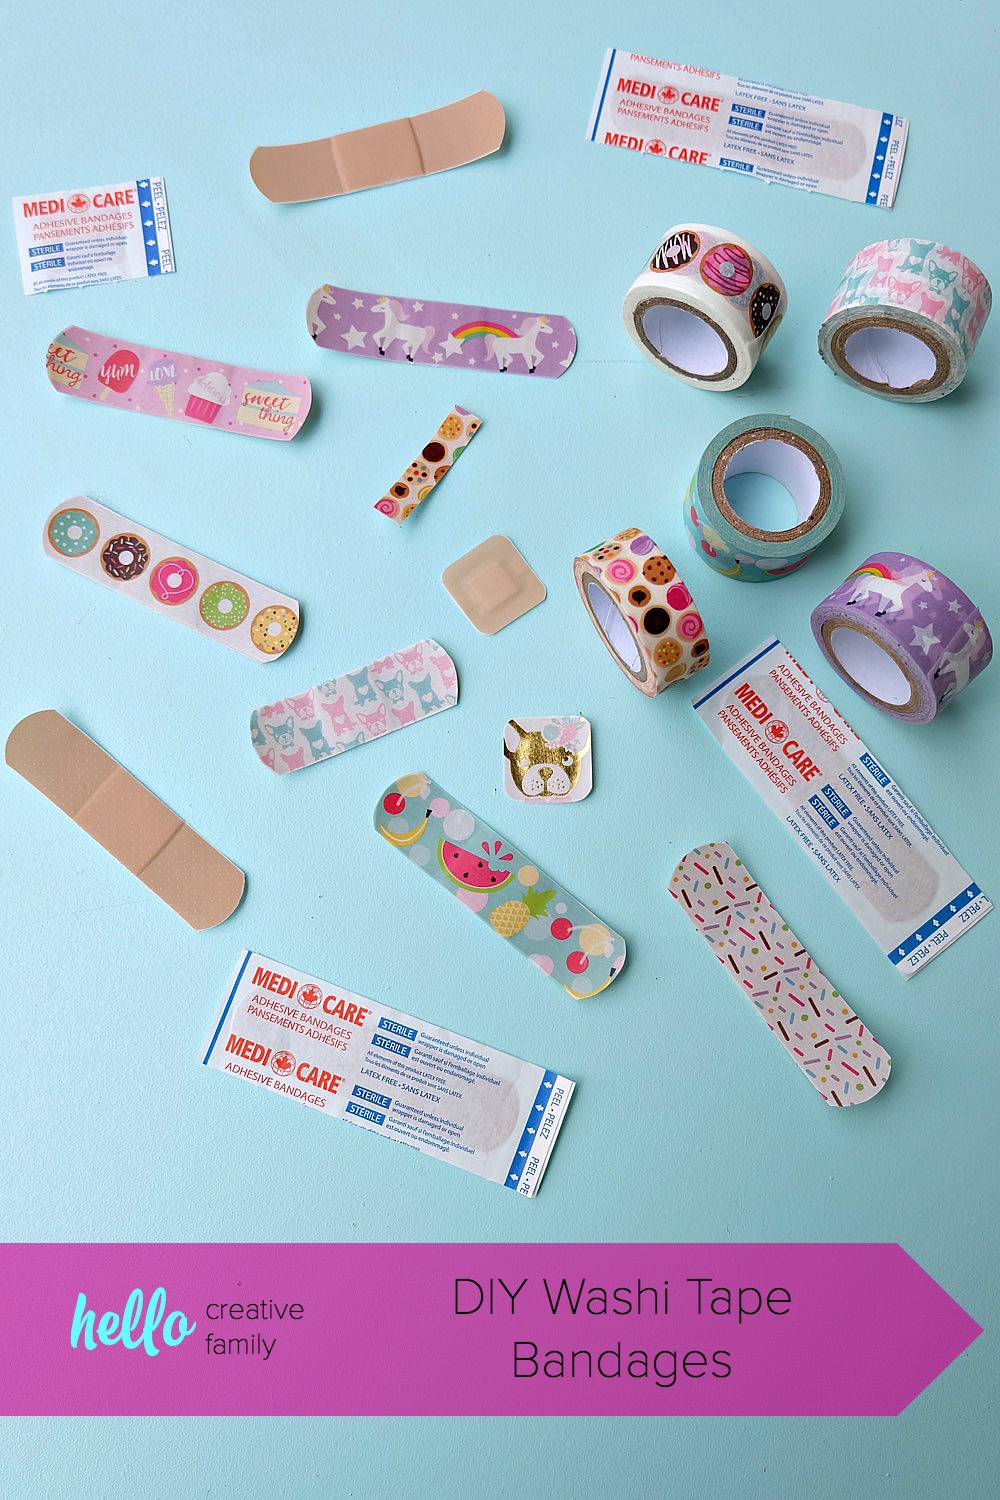
I love washi tape. I never leave a craft store without checking out the washi tape aisle. All the bright colors and fun patterns make me super happy. I teach craft and cooking classes at our local community centre. Last week I had a washi tape class for teens and tweens. 10 girls, ages 8 to 15 and myself sat around a table with an assortment of washi tape and we crafted. The class was only an hour long but I taught them how to make 3 different project. We made washi tape stickers (find the instructions here) and decorated clipboards from the dollar store with them, we made DIY washi tape magnets (look for a post on how to make these coming soon), and we made DIY washi tape bandages.
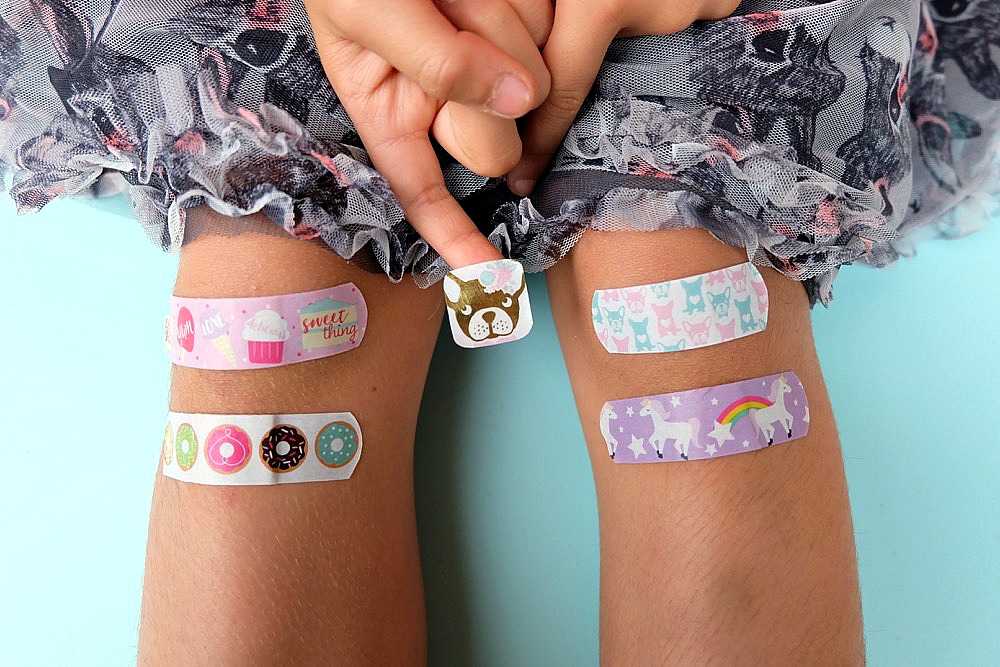
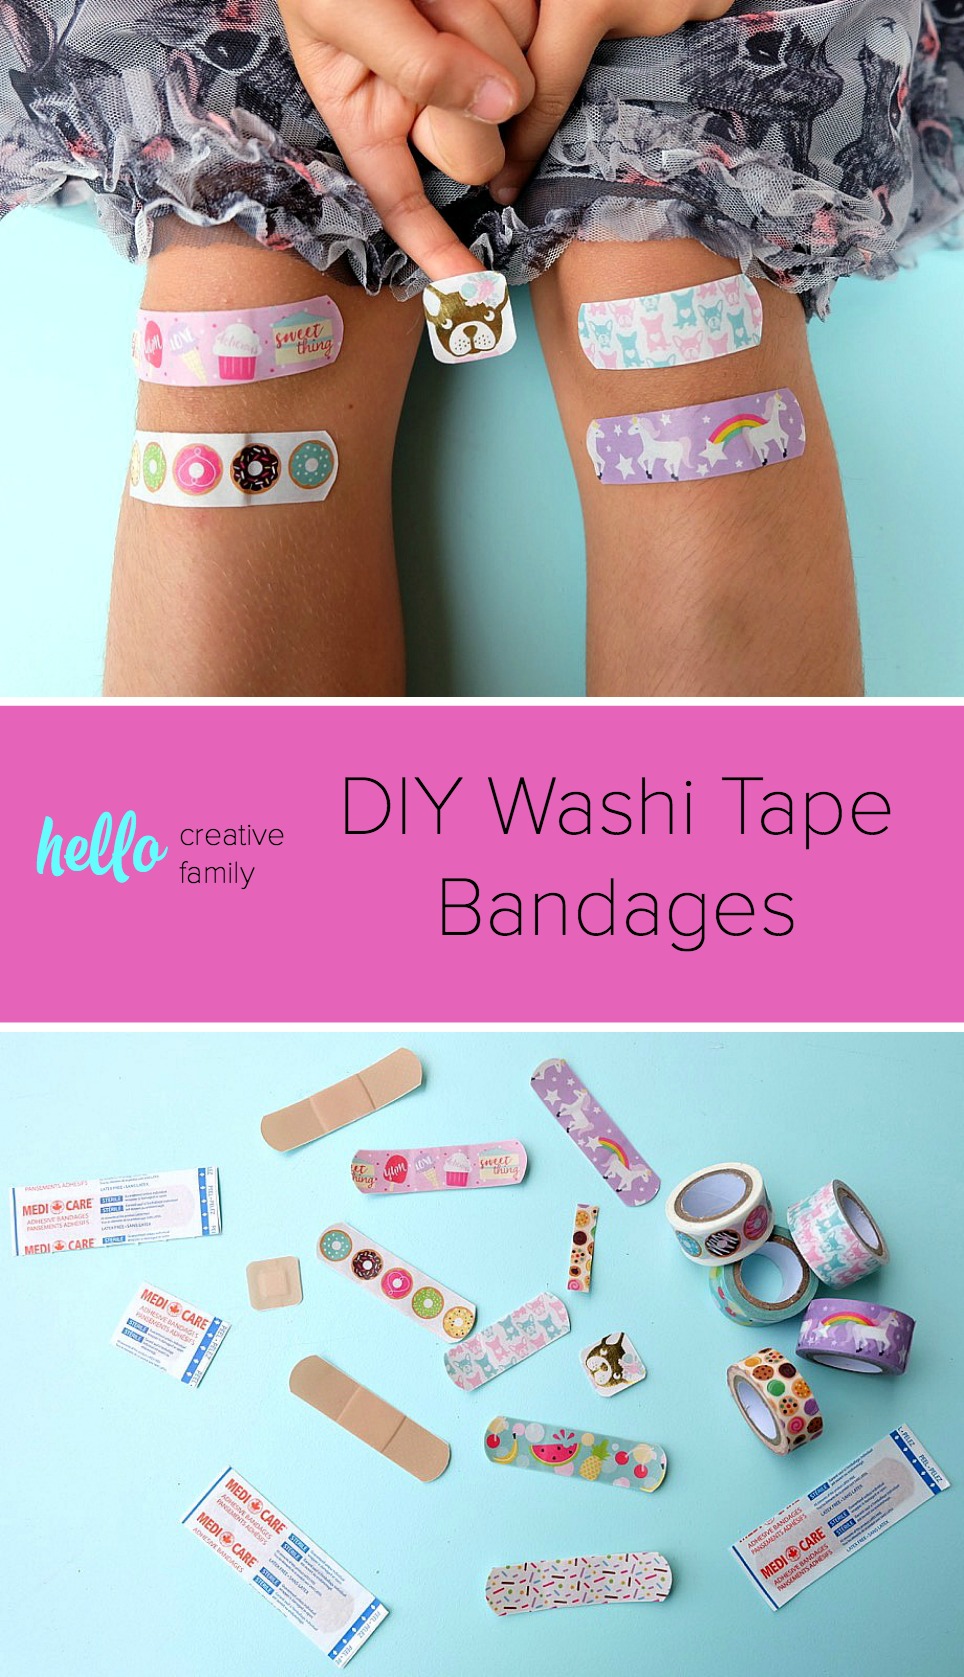
The kids were obsessed with the DIY washi tape bandages. I had bought 2, 60 count boxes of bandages for the class and the kids plowed their way through them. Later I was trying to figure out why it was such a popular craft and I came up with a two part answer– 1. They are so simple and quick to make which means instant gratification. 2. Tween girls love things that are trendy, but also things that make them unique. An adorable donut bandaid is a cute way to stand out… but not stand out too much. It’s enough to draw the attention of other kids and start up a fun conversation.
Today I’m going to share with you how to make DIY washi tape bandages. This is a fun and inexpensive craft to do with kids and would be a cute project for playdates or birthday parties. Everyone will ask you where you got such cute bandages from!
Read on for my DIY Washi Tape Bandages tutorial!
DIY Washi Tape Bandages
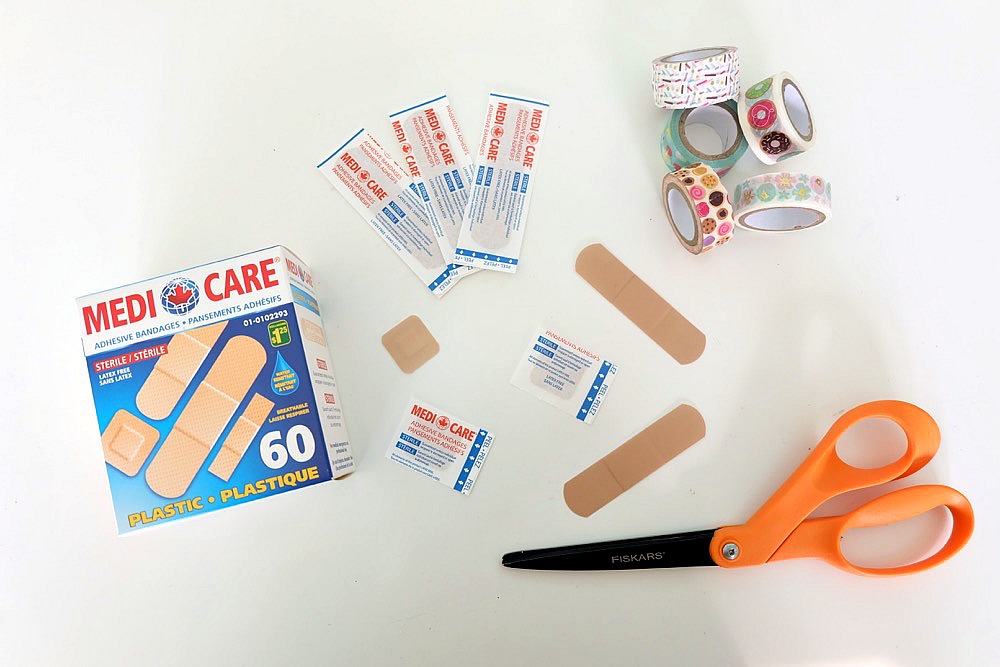
Materials:
-Washi tape (I find that it works best if your washi tape is as thick or thicker as your bandages are so you may want to bring a bandaid with you to the craft store to measure.)
-Bandages
-Scissors
Directions:
Step 1: Remove your bandages from the paper wrapper but leave the protective cover strips on the back.

Step 2: Pull out a strip of washi tape and lay your bandage with the beige part that usually faces away from your skin against the adhesive part of the washi tape. If your bandage is wider than your washi tape you will want to lay a second piece of washi tape, slightly overlapping the first so that the bandage is fully covered.
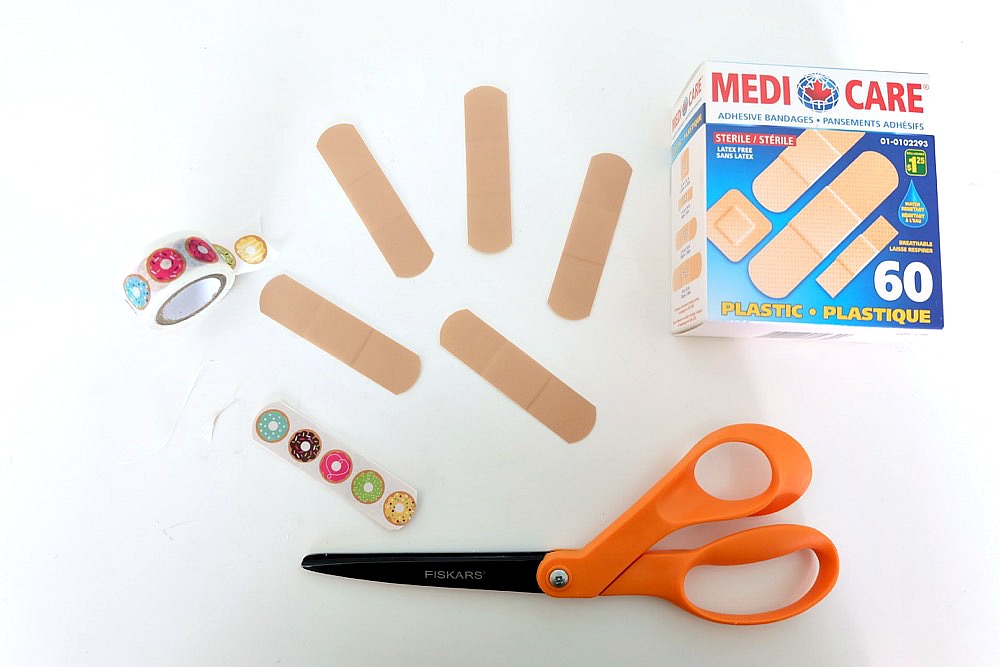
Step 3: Take your scissors and trim along the outside edges of the bandage removing all excess washi tape.
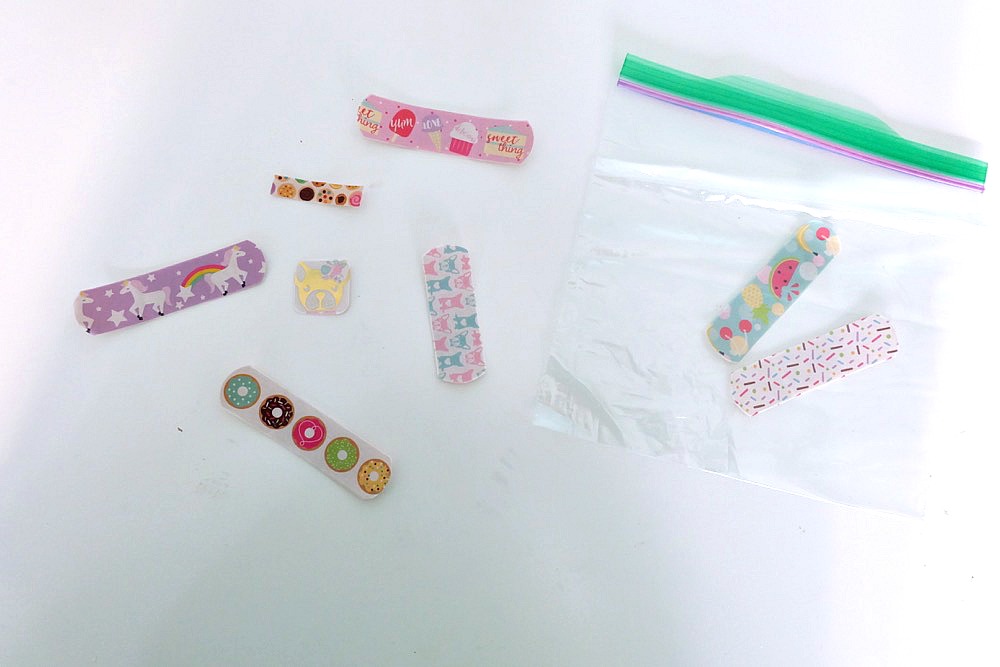
Viola! You have gorgeous DIY washi tape bandages! Store them in a clean ziplock bag until use.

Tell me… Do you think your kids would have fun making washi tape bandages? What designs do you think they would like? Would you ever wear a washi tape bandage yourself?
Like this post? We’d love for you to pin it for later!
Make sure you also check out these other washi tape projects!

How To Make DIY Washi Tape Stickers


I am forwarding this on to my granddaughter. Her little girl LOVES it when she needs a band-aid?
Great ideas for entertaining the grandchildren and they love colourful bandaids
Super cute and fun idea! My kids would be all over this, although we’d quickly go through an entire box of bandages!! Visiting from Merry Monday.
Real imagination in making the designs on those bandages.