


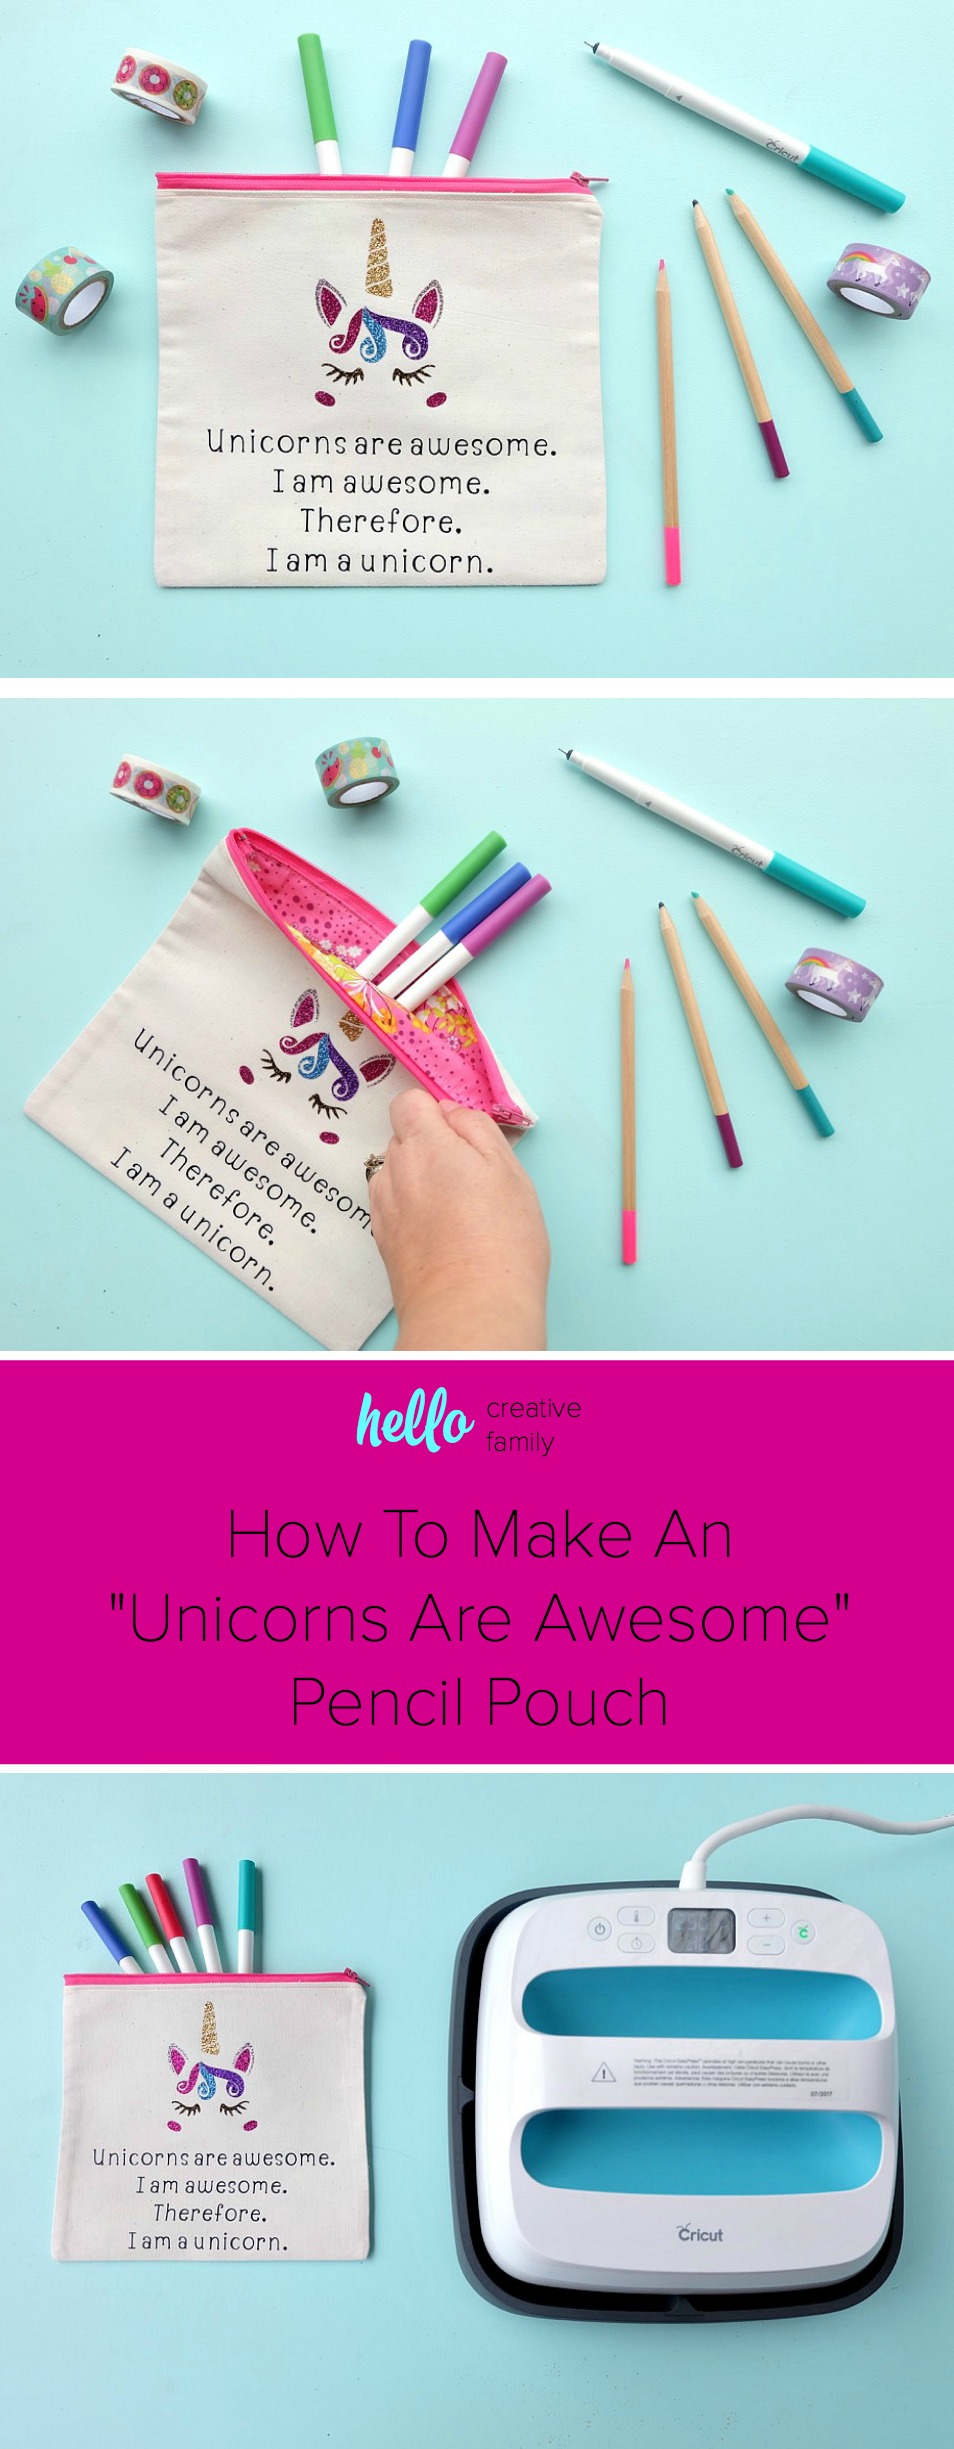
DIY Unicorns Are Awesome Pencil Pouch Sewing Project
This post and the photos within it may contain Amazon or other affiliate links. If you purchase something through the link, I may receive a small commission at no extra charge to you.

I love little pouches and bags. I love filling them with my trinkets and treasures (aka my pens, pencils, washi tape, lipstick, lipgloss, etc) and throwing them in my bigger purses. It helps keep everything organized and makes it so much easier when you are switching purses– Just take out all of your pouches and switch them to your new bag! On many occasions I skip the big purse all together and just put everything I need into one of my cute little pouches.
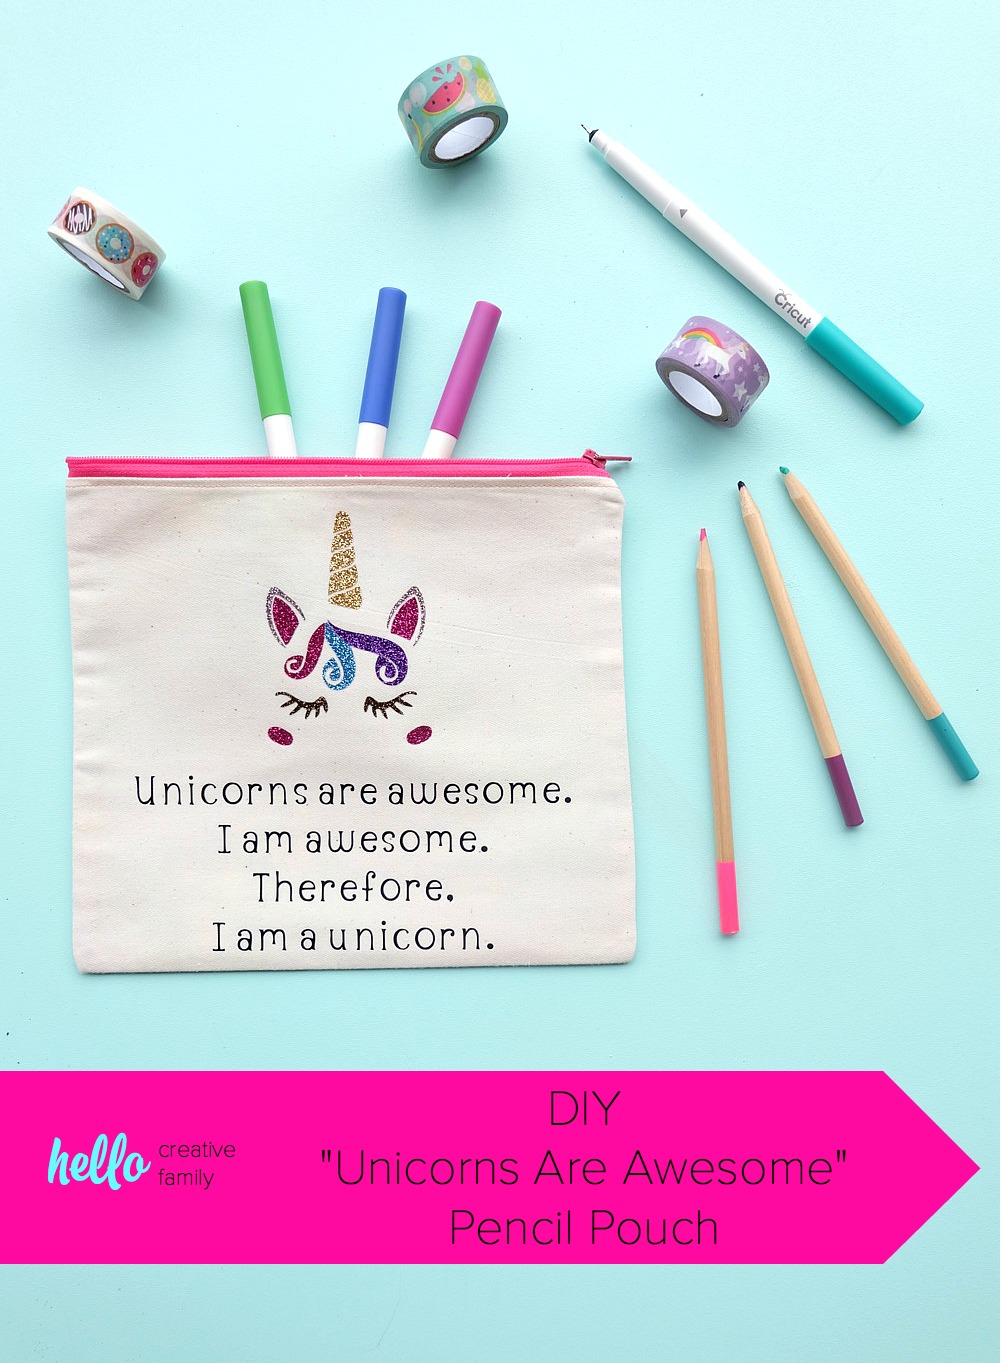
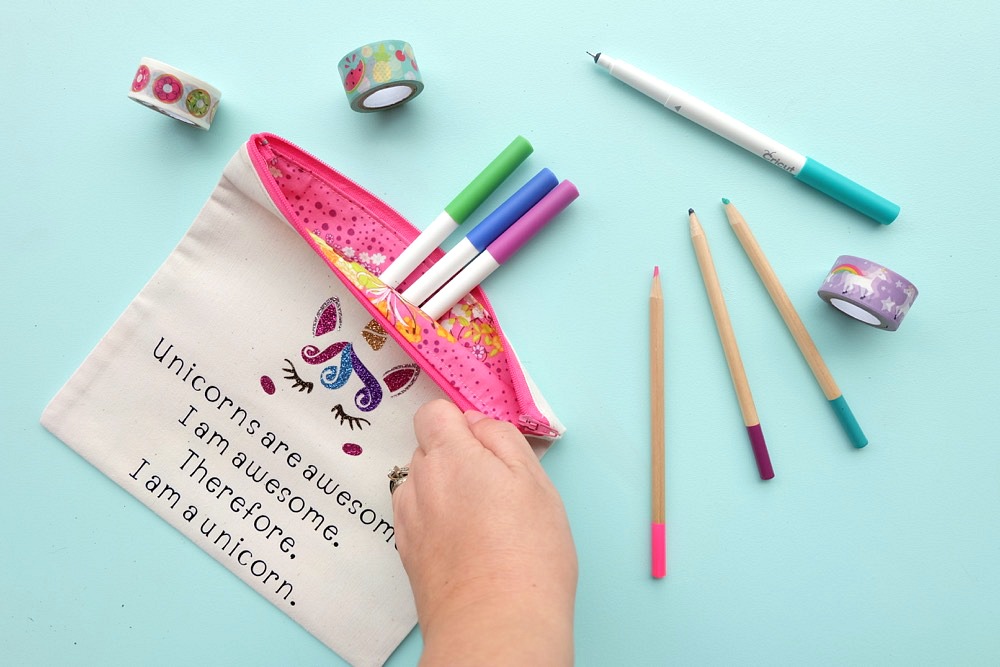
Bean loves pencil pouches too. She also loves unicorns and glitter. (Hmmm…. think she takes after her mom?) Her favorite quote lately is “Unicorns are awesome. I am awesome. Therefore, I am a unicorn.” I decided to combine all of those favorite things into my most recent craft project– a DIY unicorns are awesome pencil pouch!
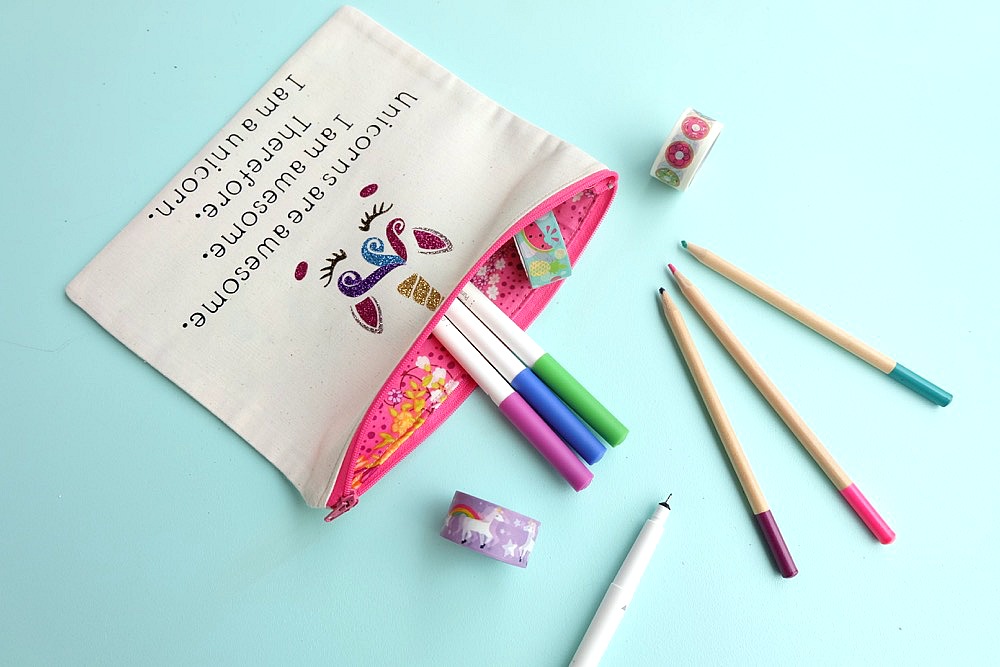
At first I was thinking about just doing a simple canvas pencil pouch, but then I decided to put in a pretty fabric lining so that you get a beautiful surprise when you open the pouch. I love how it turned out.
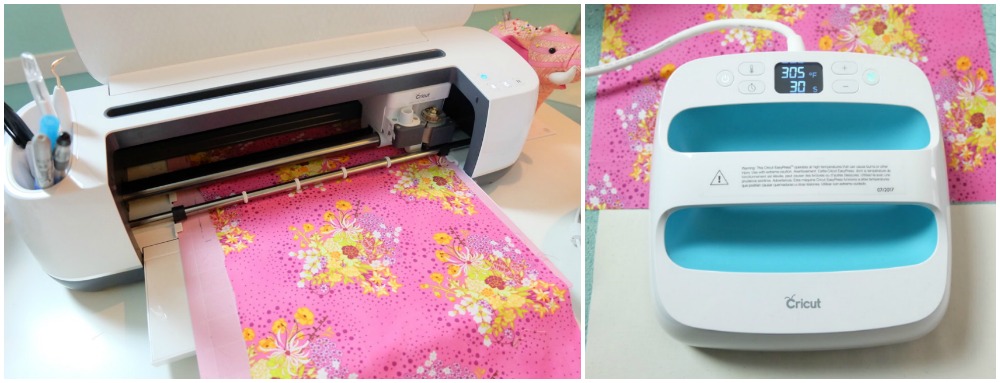
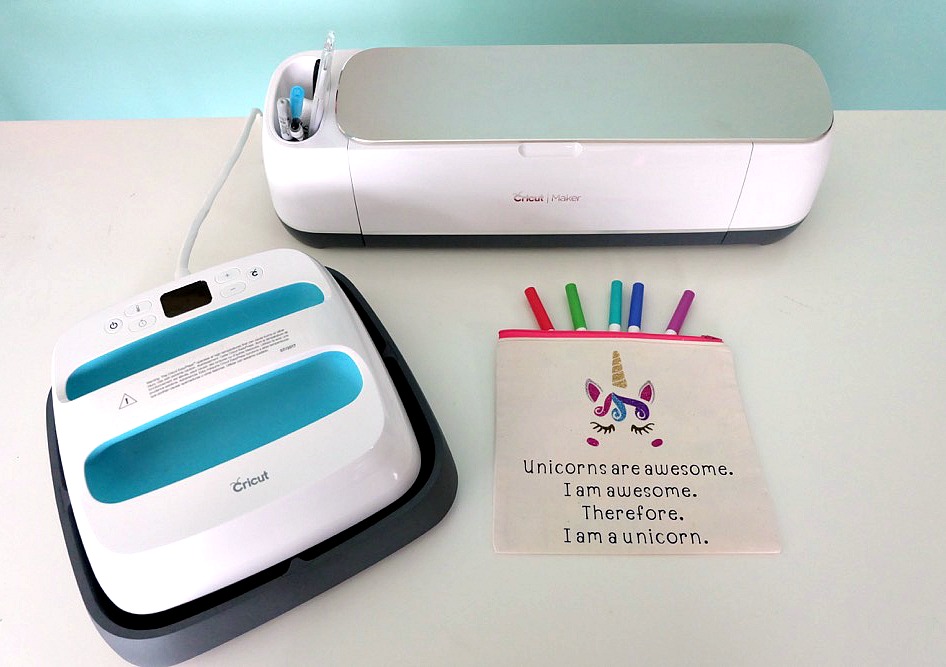
I’ve told you quite a bit lately about how my Cricut Maker has transformed my crafting life. I keep calling it a “game changer for sewers” and I stand by that statement 100%. It has let me take ideas that I have in my head, turn them into designs in Cricut Design Space, and then have all my pieces cut out with exact measurements. I can’t tell you how much easier it is to sew when all your pieces line up because they have been cut properly. My sewing machine has been getting quite the workout the past few months with all the fun projects I’ve been working on!
It amazes me that one minute I can be cutting quilting cotton, the next minute I can be cutting canvas, the minute after I can be cutting iron on vinyl and the minute after that I can be cutting glitter iron on. The machine cuts over 1oo different materials so I really shouldn’t be surprised but seriously… every time the machine starts to cut I stand there and watch it at work. It amazes me!
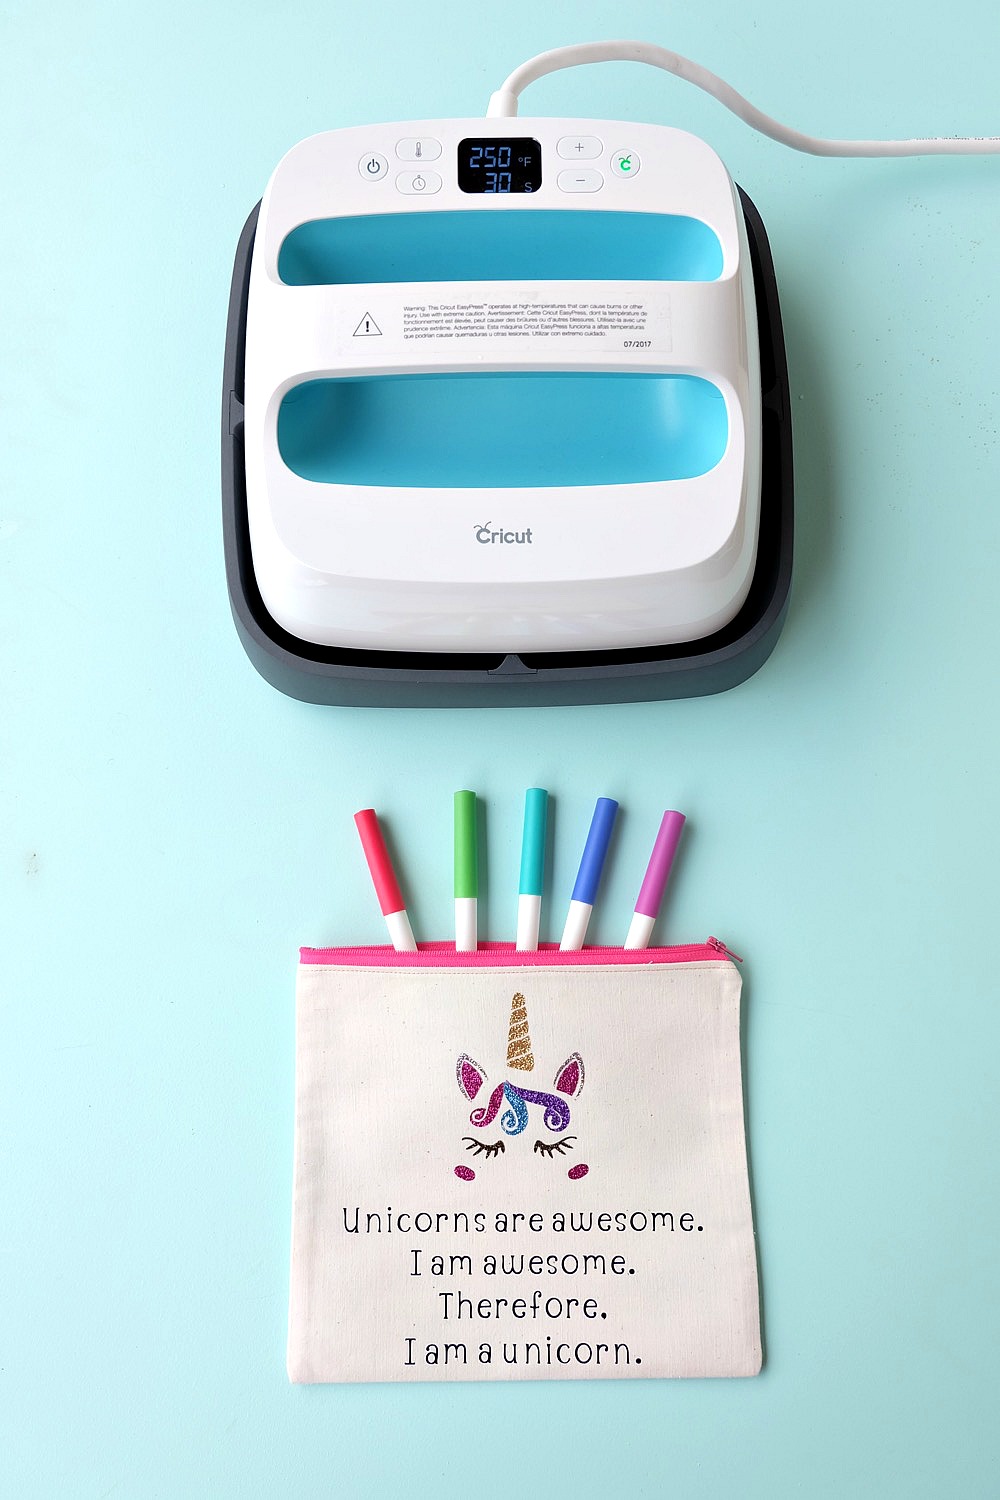
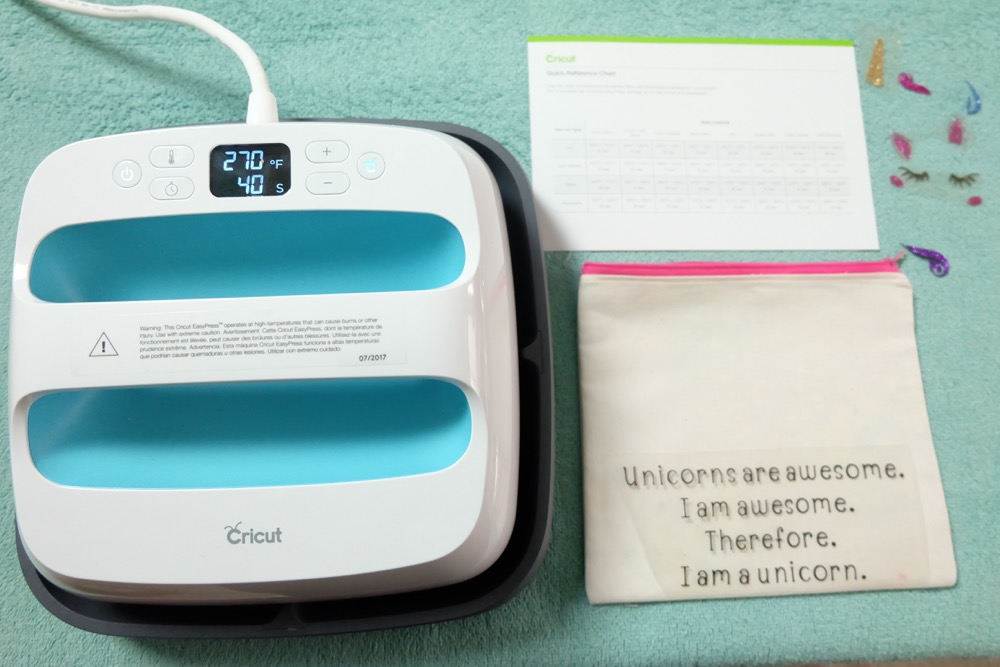
Today I want to tell you about another game changer that Cricut unveiled at their big product launch that I attended in August– The Cricut Easy Press. I’ve wanted a heat press for along time. I talked to The Hubs about it on many occasions and his answer was always the same– “Where are you going to put it?”
He had a great point. A heat press isn’t exactly small, so I kept putting off buying a heat press even though I do a lot of projects that use iron on vinyl. Have you tried ironing on vinyl with a regular iron? It’s achievable but it’s definitely time consuming. Each different type of iron on vinyl has an optimum heat temperature for being ironed on. Not only are you not able to heat an iron to a specific temperature with most irons, the way the heat is distributed across the plate of the iron isn’t very consistent. That’s not the case with the Cricut Easy Press.
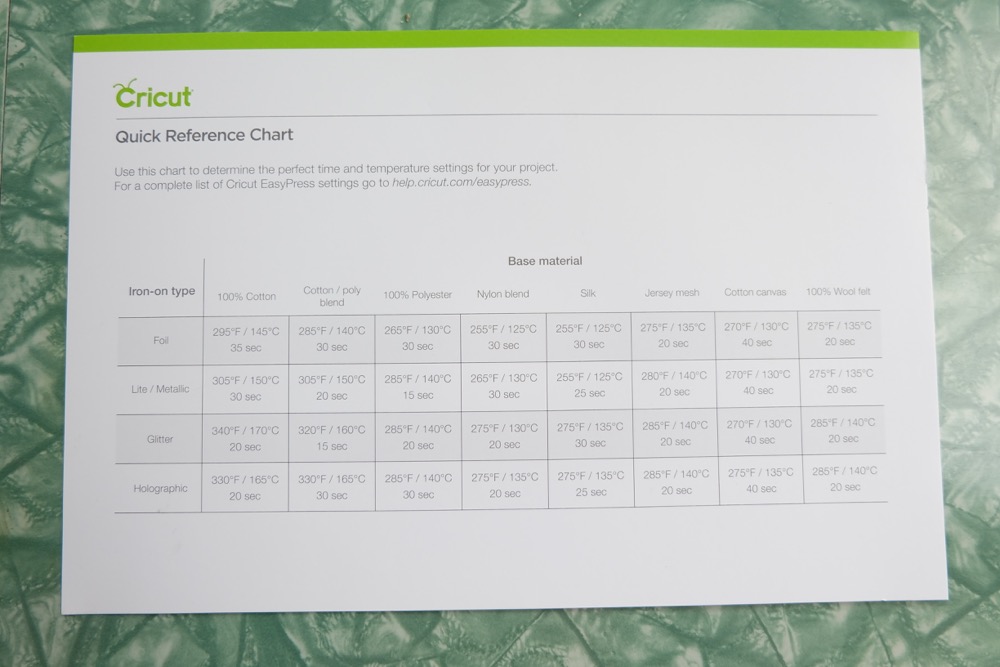
The Cricut Easy Press has been developed to have an even heat across the heating plate. It also allows you to set the specific temperature you would like it to heat to, up to 350F. It also has an adjustable timer so that you can set the timer for the right amount of time for the iron on material you are using.
If this sounds at all confusing, the Easy Press also comes with a quick reference chart with different types of fabric, different types of iron on material and the heat you should press at and for how long! It’s seriously so easy to use and makes ironing on vinyl a breeze!
I’m now able to iron on vinyl for a project in 2 minutes or less, rather than the 10 minutes plus that it was taking me to get vinyl to stick before!
The Easy Press is 9 inches by 9 inches and comes with a heat safe base to set it in. It stores easily and I love it. Oh and the Hubs? It took him a couple of months to even realize I had it because it stores away so nicely!
I used my Easy Press not only for pressing the design onto my pencil pouch, but I also used it for pressing my material and ironing my seams as I was sewing it!
Ready to learn how to make my DIY Unicorns Are Awesome Pencil Pouch? Read on!
DIY Unicorns Are Awesome Pencil Pouch

Note: Thank you to the incredibly talented Chantel from ModillySVG on Etsy for letting me use her unicorn design for this project! The design is available for instant download and includes SVG, PNG, PDF and DXF versions of the image. It was easy to upload and use in Design Space and fun to play with the color combinations. You can find ModillySVG’s Unicorn Head SVG here.
Files:
-My Free Unicorns Are Awesome Pencil Pouch Cut File (Find it here)
-ModillySVG’s Unicorn Head SVG (Find it here)
Materials:
- Cricut Maker (if cutting the fabric with the machine) or Cricut Explore (if you would like to cut the fabric by hand or use a pre-made pencil pouch)
- Cricut Easy Press
- Piece of canvas fabric which will be cut to 9.5″ by 16″
- Piece of fabric for inner liner which will be cut to 9.5″ by 16″
- 9 inch zipper
- Your favorite colors of glitter iron on and/or iron on light
- Cricut Fabric Grip Adhesive Cutting Mat
- Regular Grip Cutting Mat
- Sewing Machine (this is the one I have)
- Thread in coordinating colors
- Fabric Scissors, pins and pin cushion or Wonder Clips (You’ll love this sewing kit from Cricut that has all the tools you need to start sewing)
Directions:
Step 1: Cut out your fabric and iron on designs using the Cricut Maker. Press your fabric so it is wrinkle free using your Easy Press or an iron.
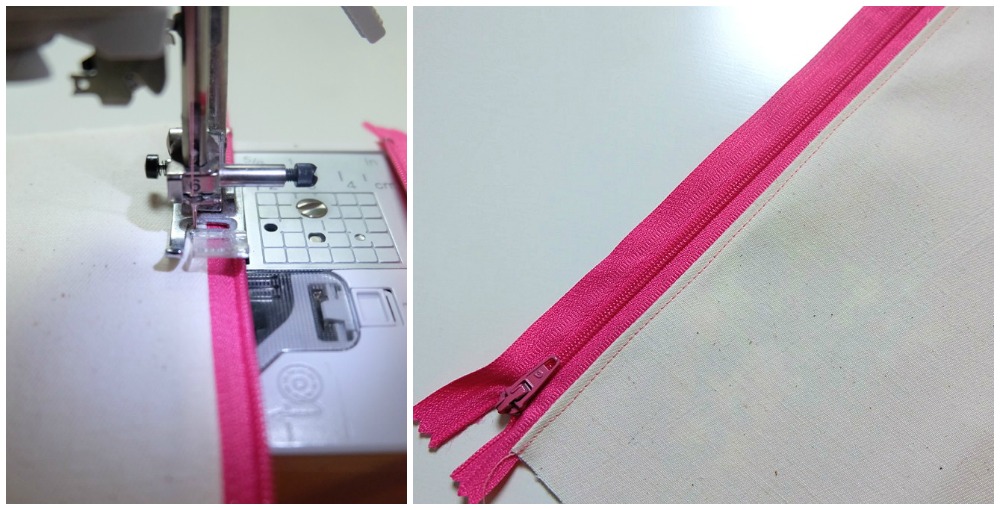
Step 2: Lay your piece of canvas flat on your work surface. Lay your zipper with the zipper pull facing down along the top edge of the canvas You want to have equal parts of the edge of the zipper overhanging on each side (I repinned after taking the below photo and forgot to photograph again). Lay your lining fabric on top with the printed side facing down. Pin or wonder clip in place.
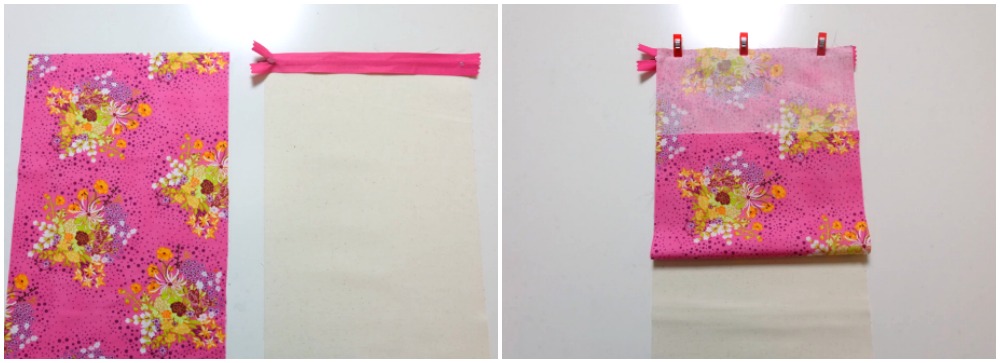
Step 3: Sew along the edge of your “canvas, zipper, lining sandwich”. You should be able to fill the edge of your pressure foot pressing against the zipper as you sew. Depending on your zipper this will probably be approximately 1/8-1/4 of an inch.
Step 4: Flip your fabric and zipper open so that the edge of the zipper that hasn’t yet been sewn is facing up, the printed side of the lining is facing down and the bottom edge of the lining and the bottom edge of the canvas are lined up. Press the canvas seam by the zipper.
Step 5: Using a coordinating color of thread, sew down your canvas seam approximately 1/8 of an inch from the edge of the canvas.
Step 6: Lay your fabric flat so that the unsewn edge of the zipper is facing up, and the canvas is laying out to one side and the printed side of the lining is facing up on the other side (see top left photo below). 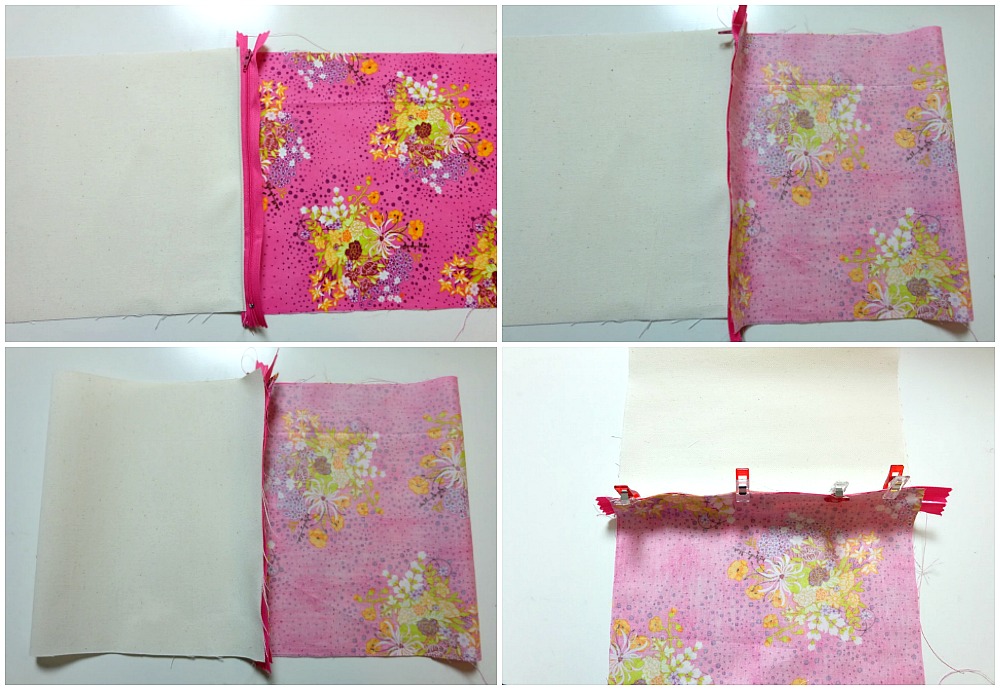
Fold the unsewn edge of your lining over so that it meets up with the unsewn edge of the zipper (top photo right above).
Fold the unsewn edge of your canvas over so that it lines up with the unsewn edge of the zipper and the edge of your lining (bottom photo left above).
Clip or pin in place (bottom photo right above).
Step 7: Sew along the edge of your “canvas, zipper, lining sandwich”. You should be able to fill the edge of your pressure foot pressing against the zipper as you sew. Depending on your zipper this will probably be approximately 1/8-1/4 of an inch.
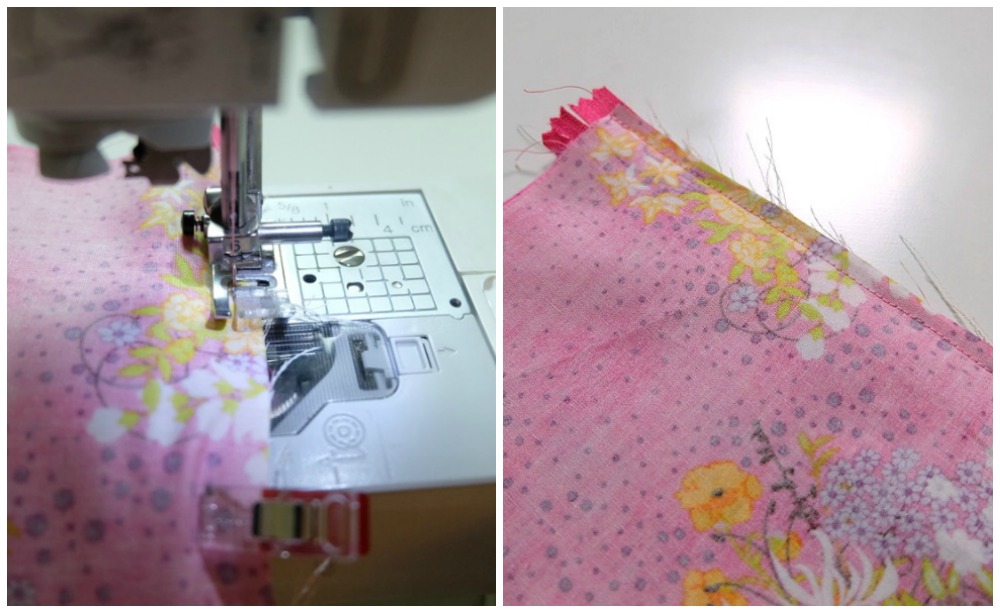
Step 8: Flip your pouch so that the canvas is on the outside and the lining is on the inside.

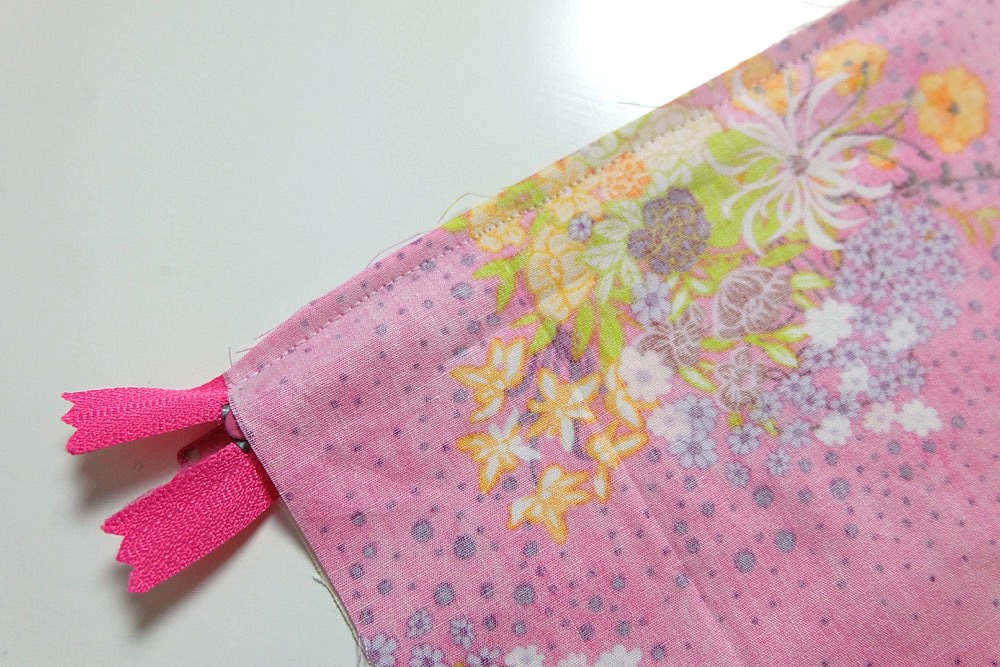
Press the canvas seam next to the zipper. Sew along the edge of the canvas so that now the zipper is firmly sewn down on both sides.

Step 9: Trim the excess ends of your zipper so it lines up with the edges of your bag (just make sure that you trim past the little metal zipper stoppers). This is also a good time to trim any fabric that might be overhanging so that all of your edges line up nicely. Flip your pouch so that the lining is facing out.
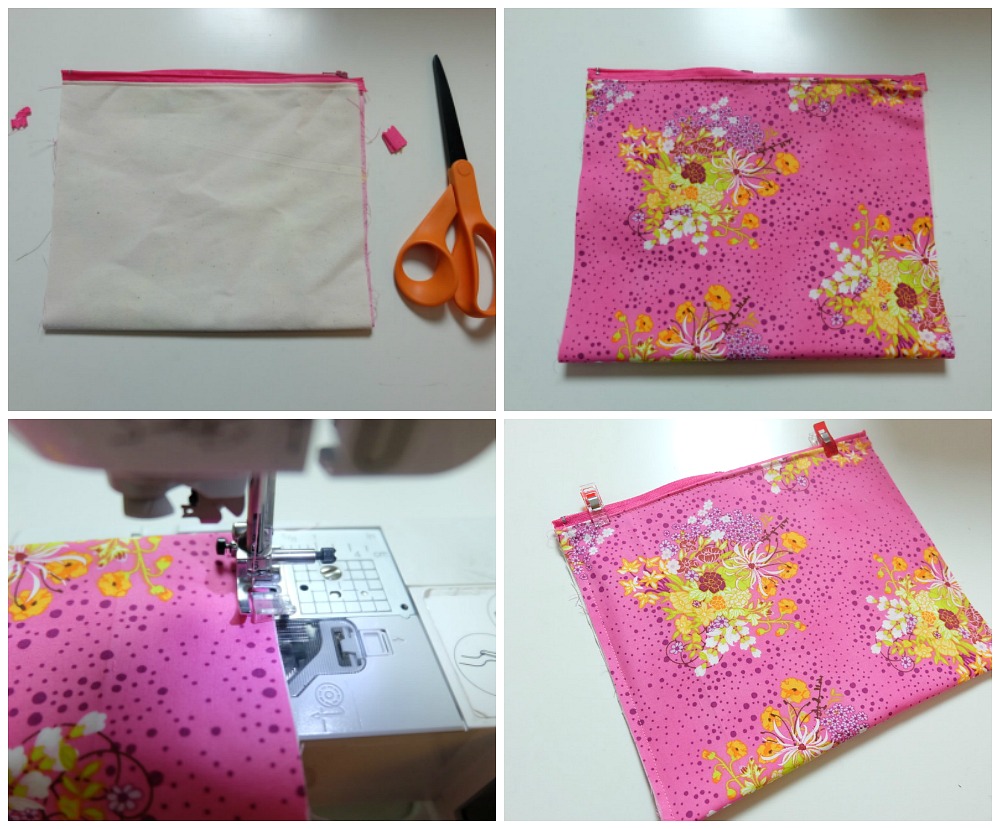
Sew the edges of your pouch closed by sewing from the zipper down to the bottom edge of the bag on both the right and left hand side using a 1/2 inch seam allowance.
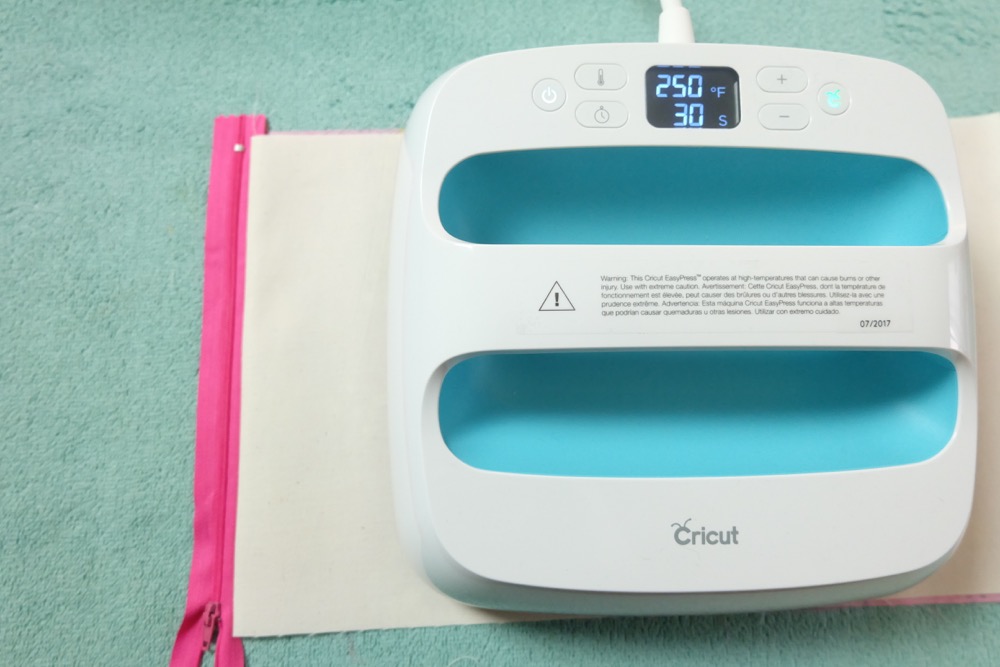
Step 10: Flip your bag right side out and press your unicorn quote and unicorn head onto your bag using your Easy Press set at 270F. Preheat the fabric with the Easy press, lay out your design and then press for 40 seconds on first the front and then the back.
Viola! You have a gorgeous DIY Unicorns are awesome pencil pouch to put all your favorite things in!
I just adore the pretty liner. I think it makes such a nice surprise when you open the pouch!
Tell me… Have you tried out the new Cricut Maker or Cricut Easy Press yet? Do you love little bags the way Bean and I do? What would you put on your pencil pouch?
Disclosure: Thank you to Cricut for working with us on this post. As with every article on Hello Creative Family, all thoughts and opinions are 100% our own.
Like this post? We’d love for you to pin it for later!
We think you’ll also love these fun projects!
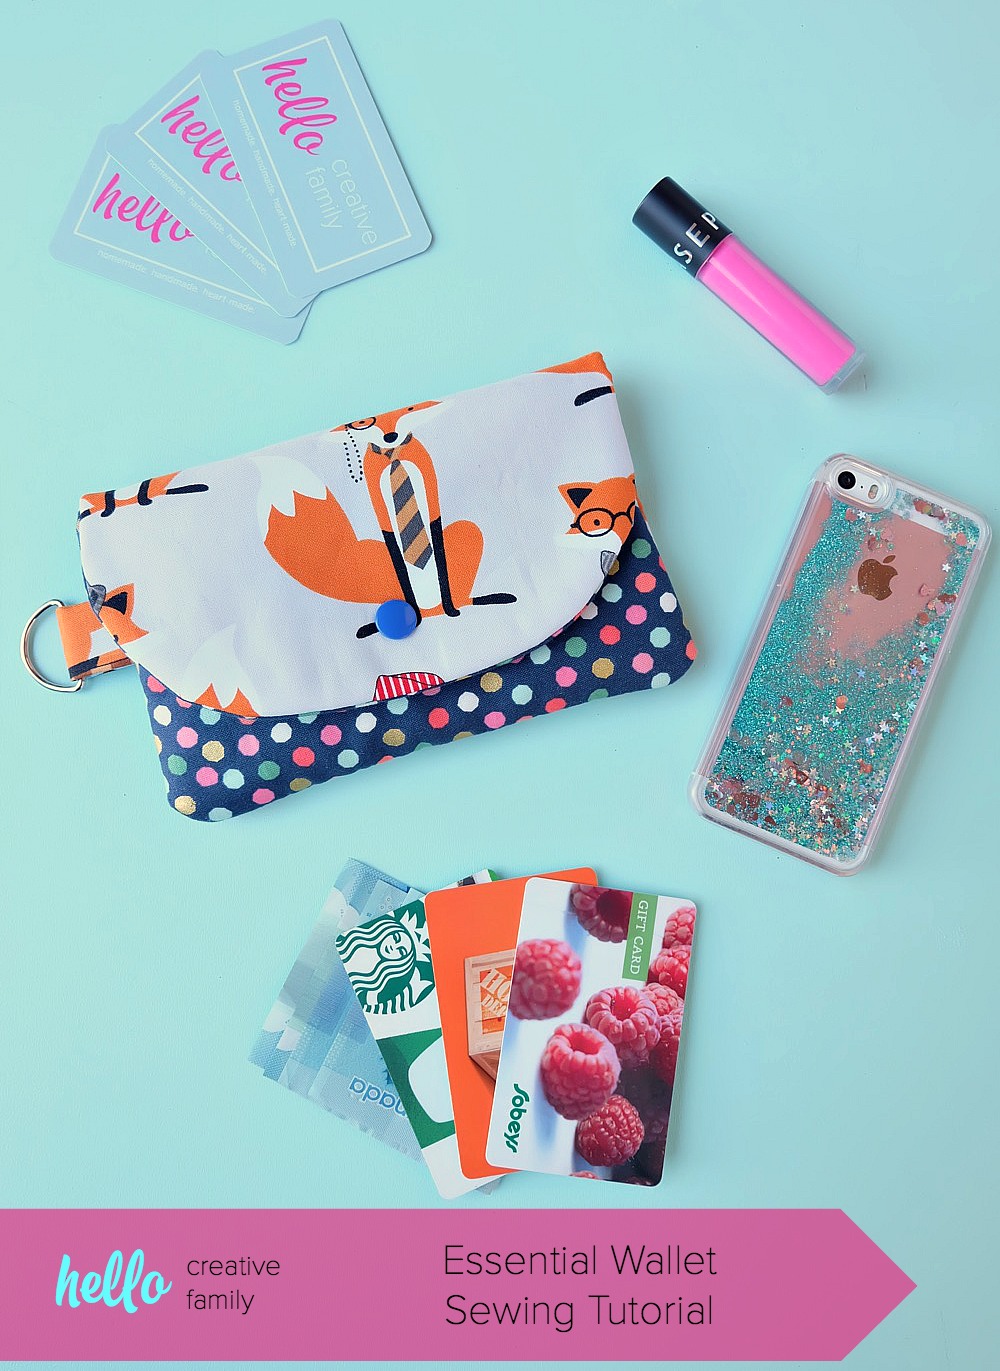
Essential Wallet Sewing Tutorial
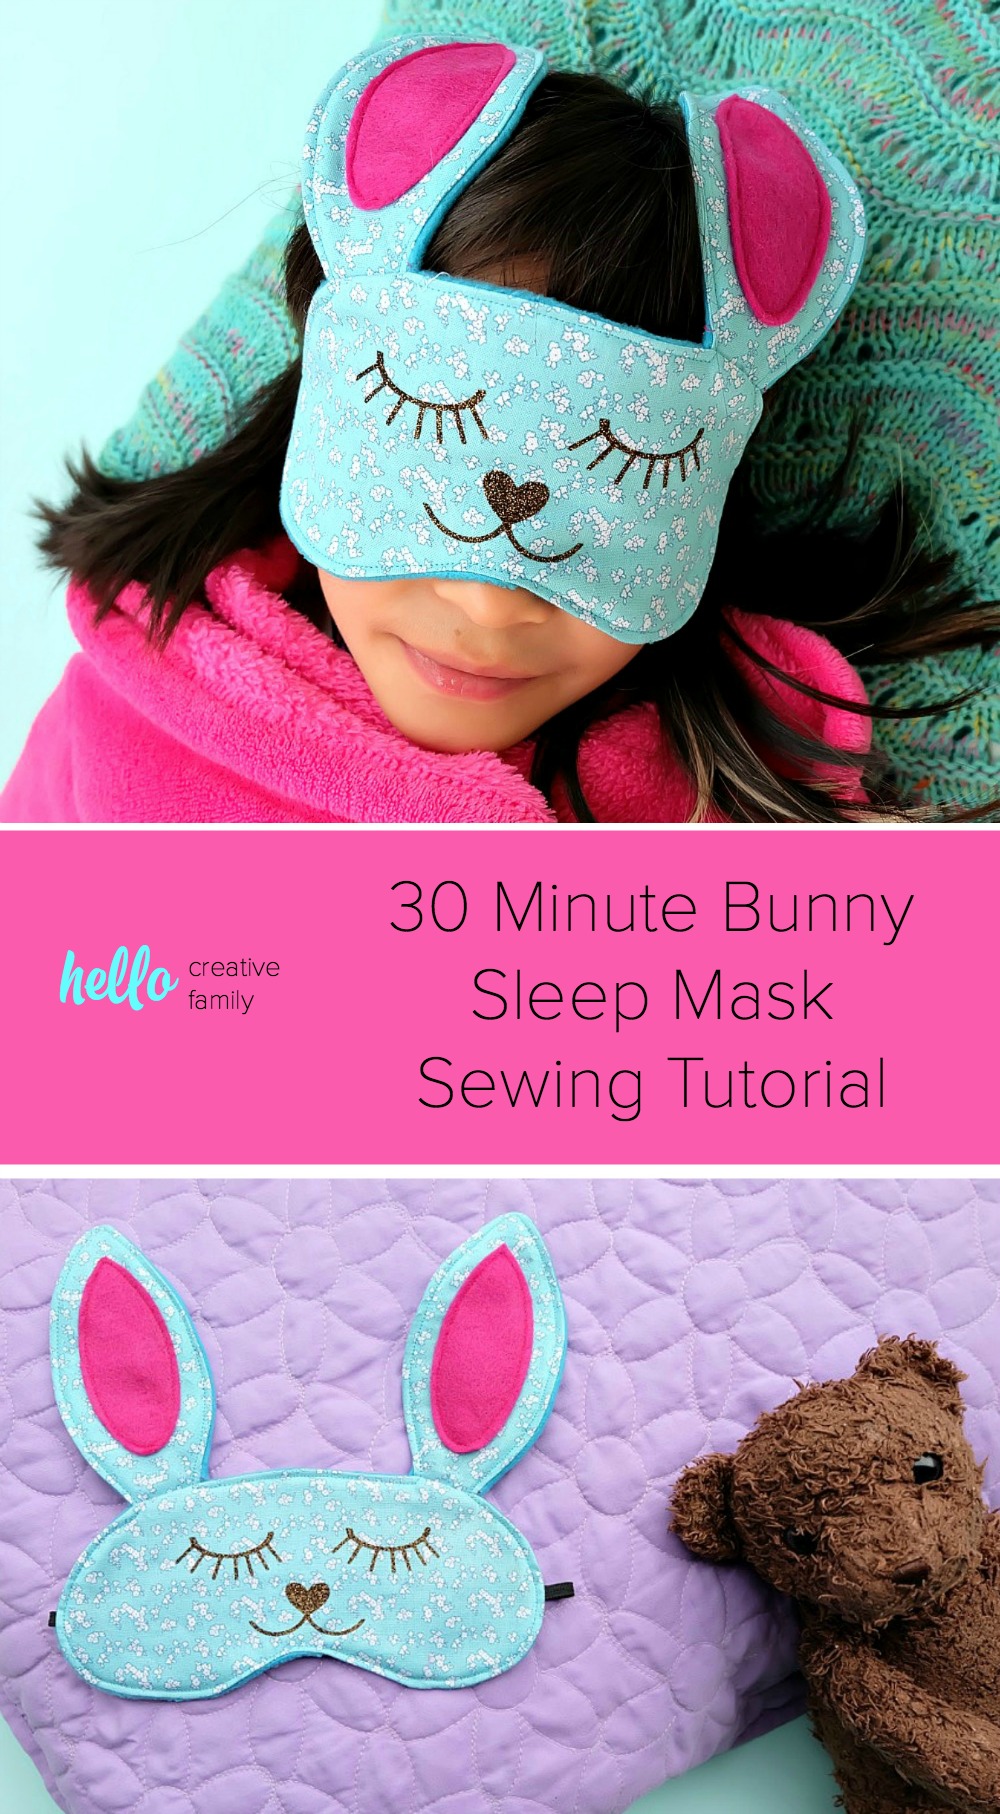
30 Minute Bunny Sleep Mask Sewing Tutorial
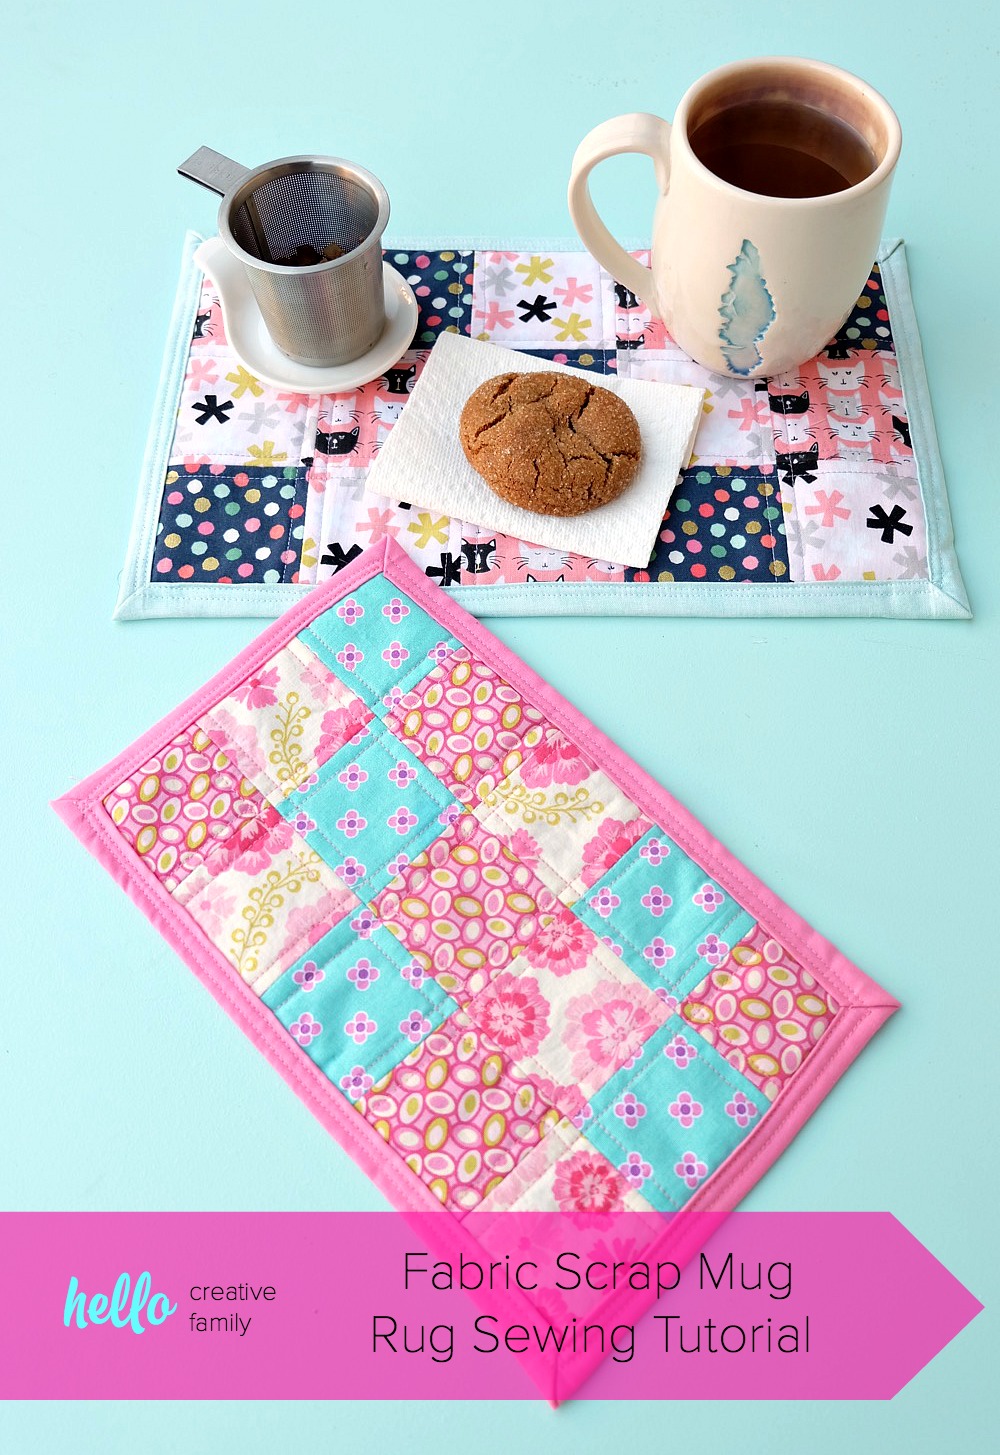
Fabric Mug Rug Sewing Tutorial
This is a sponsored conversation written by me on behalf of Cricut. The opinions and text are all mine.


This is unbelievably cute!
I just love this and wow that’s an awesome machine !
I love this!
I love this project! Super cute! My daughter would love it!
Great work. The designs are looking awesome
We follow your blog a lot and always come up with ideas for things to do these days that we can’t get out as much as we’d like. We are also unicorn lovers so this will be great for us to do this weekend.
Congratulations on your wonderful blog.