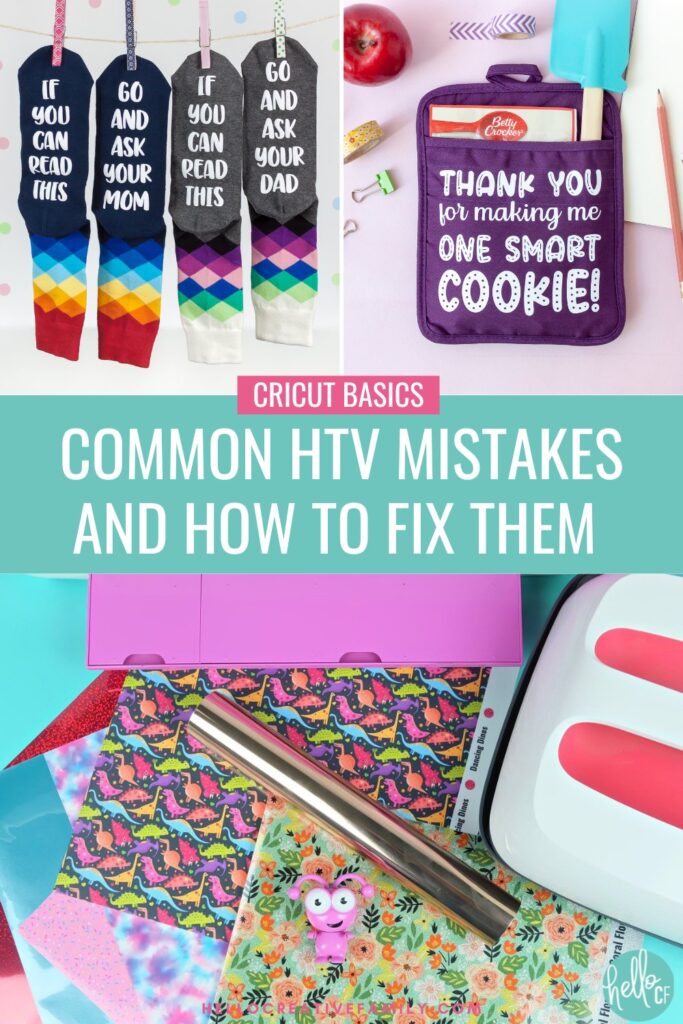
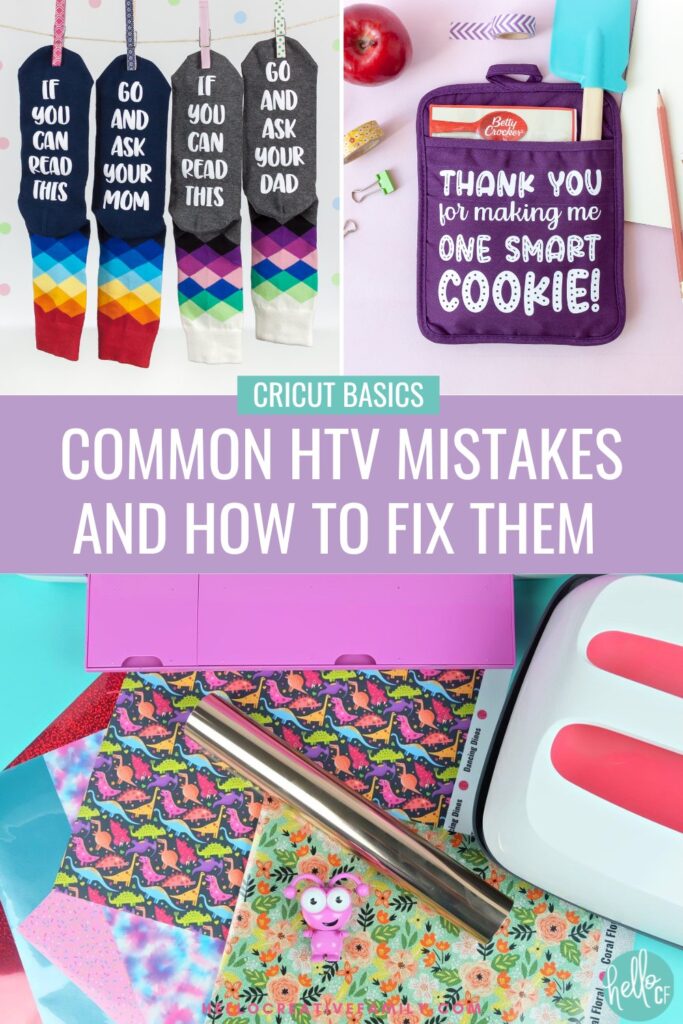
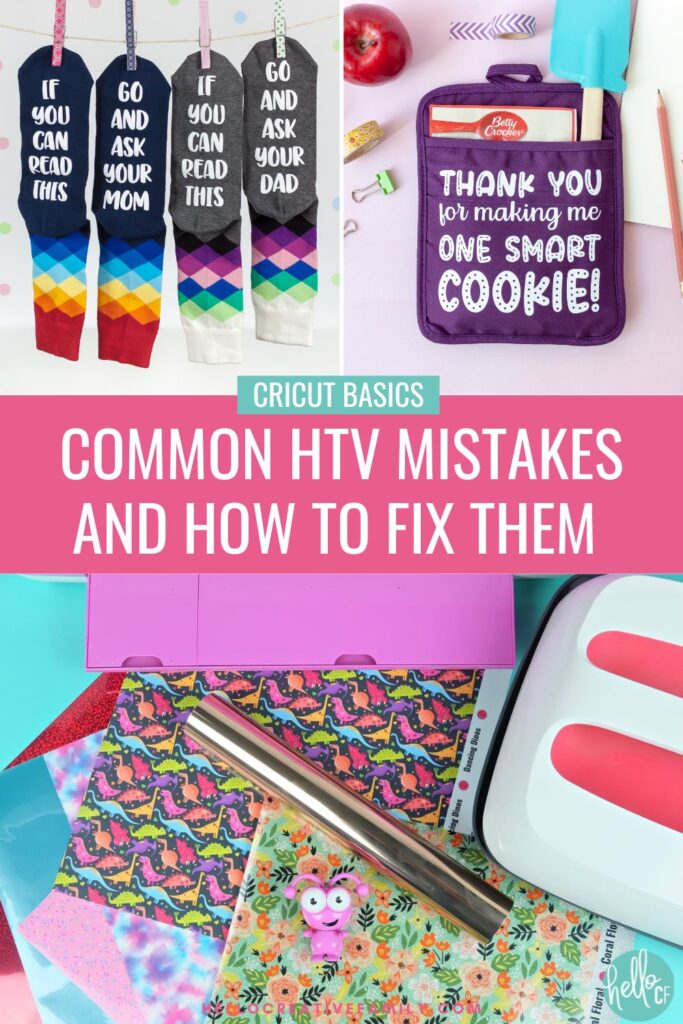
Common HTV Mistakes and How to Fix Them
This post and the photos within it may contain Amazon or other affiliate links. If you purchase something through the link, I may receive a small commission at no extra charge to you.

Struggling with HTV using your Cricut? Learn how to identify and fix the most common HTV mistakes, from temperature problems to lifting vinyl. Get expert tips for perfect iron-on results every time!
Heat Transfer Vinyl (also known as HTV or iron-on) is one of the most popular materials to use with a Cricut. I pretty much only made iron-on projects for the first year that I owned my Cricut.
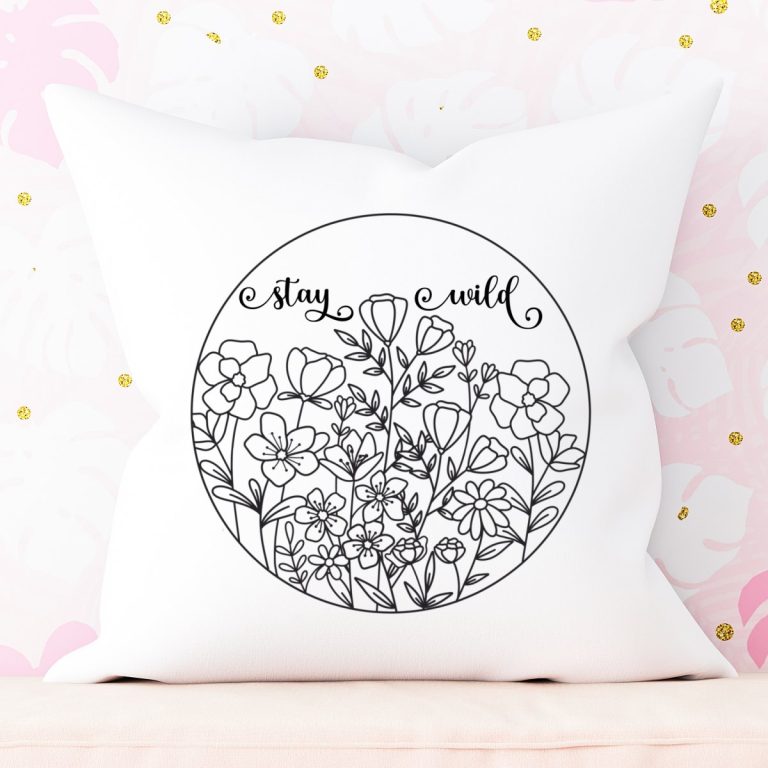
With just a roll of HTV and a heat source the possibilities are nearly endless– custom t-shirts, tote bags, throw pillows, wood signs, custom napkins, cards, buntings, banners and so much more!
HTV opens up a world of creative possibilities. But, like any crafting material, it can come with its own set of challenges.
Have you ever found yourself struggling with peeling designs, wonky edges, or vinyl that just won’t stick? You’re not alone!
Today, we’re going to dive into the most common HTV mistakes and, more importantly, how to fix them.
Power up your Cricut cutting machine and open Cricut Design Space because after reading this, you’ll feel like an HTV pro!
But first… Have you ever wished that you could craft live with a Cricut expert and ask them all your Cricut questions? Join me for Cricut Craft Club!

Mistake #1: HTV Isn’t Sticking to the Fabric
What’s Going Wrong: This is a frustratingly common issue. You’ve done all the right things, but for some reason, your HTV just won’t stick to the fabric. This usually happens because of either incorrect heat settings, poor pressure, or using the wrong type of material.
How to Fix It:
- Check Your Heat Settings: Every HTV has specific heat requirements, and these can differ between brands. Make sure to read the instructions and set your Cricut EasyPress, Heat Press or iron accordingly. Most standard HTVs require around 305°F for 10-15 seconds.
- Apply Even Pressure: Using an iron? Make sure you’re applying firm, even pressure across your design. With a Cricut EasyPress or heat press, you’re good to go—these machines apply consistent pressure for you.
- Preheat Your Fabric: This step often gets overlooked! Preheating the fabric for a few seconds before placing your design ensures there’s no moisture, which can affect how well the vinyl adheres.
Pro-Tip- Bookmark the Cricut Heat Guide to use each time you create an HTV project: The Heat Guide will have you input what heat press and iron-on you are using and what material you are applying it to. It will then provide you with exact instructions including temperature, how long to heat for and if you should hot, warm or cold peel.
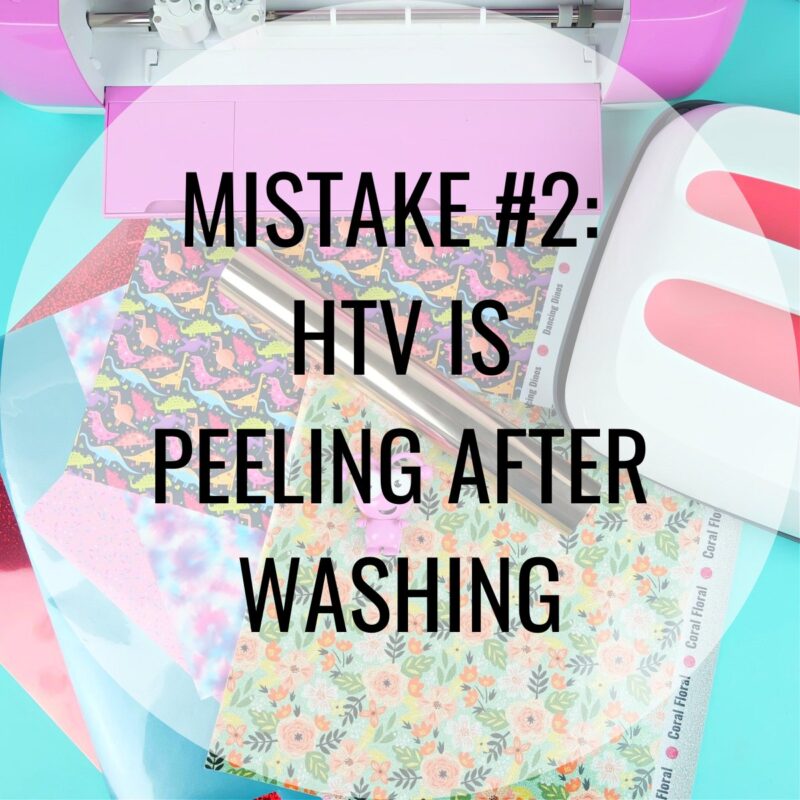
Mistake #2: HTV Peeling After Washing
What’s Going Wrong: Your project looks great when it’s done, but after a wash, the edges of your vinyl start lifting. Annoying, right?
How to Fix It:
- Give It Time to Cure: Give your project 24 hours for your HTV to fully bond with the fabric. Avoid washing your project right after completing it to give the vinyl time to cure.
- Check the Washing Instructions: Most HTV is machine washable, but it’s best to wash on a gentle cycle, inside out, in cold water. Tumble dry on low or hang dry to prevent heat from breaking down the adhesive over time.
- Heat Press Again: If your vinyl is lifting, reapply heat using a piece of parchment paper or a Teflon sheet over your design. Press for another 5-10 seconds to help it re-stick.
Mistake #3: Edges of the Vinyl Lifting or Curling
What’s Going Wrong: When your design starts to lift or curl at the edges, it’s usually because of inconsistent heat or pressure.
How to Fix It:
- Reapply Heat: If you notice any lifting while you’re still pressing, immediately reapply heat and add more pressure. This should help the edges adhere better.
- Use a Teflon Sheet: Place a Teflon sheet or parchment paper over your design to ensure the heat is distributed evenly without damaging the vinyl.
- Check Fabric Type: Some fabrics are trickier to work with (like moisture-wicking materials), and HTV may not adhere as well. In this case, try using an HTV specifically designed for stretchy or polyester fabrics. Cricut SportFlex Iron-On is a great product for stretchy fabric.
Mistake #4: Design Isn’t Cutting Properly
What’s Going Wrong: You’ve cut your design, but parts of it didn’t cut all the way through or were ripped. This usually happens because of the wrong blade settings.
How to Fix It:
- Check Your Blade Depth: Cricut machines have preset settings for HTV, but if you’re using a different brand of vinyl or thicker material, you might need to adjust the blade depth. Make sure you’re using the correct iron-on setting for the type of iron-on you are using, for example sparkle, foil, holographic, etc.
- Do a Test Cut: Before cutting your full design, do a small test cut to ensure everything is cutting correctly. You’ll save a lot of frustration (and material) this way.
- Change Your Blade: Over time, blades get dull, especially when cutting tough materials like glitter vinyl. If you’re noticing consistent cutting issues, it might be time to replace your blade.
Pro Tip- Have a different blade for different types of material: Have you ever had a pair of fabric scissors that you would never dream of using for paper? I like to think of my Cricut cutting blades the same way! I have a paper blade and a separate a vinyl and HTV blade.
Vinyl and HTV can leave adhesive on your blade (you can try removing this by taking a ball of aluminum foil and stabbing your cutting blade into it a few times), and I find cardstock dulls your blade in a different way than vinyl.
Keep your blades straight by putting them in different housings or by putting a drop of nail polish on the top of the blade shaft.
Mistake #5: Forgetting to Mirror Your Design
What’s Going Wrong: You’ve finished cutting your design, and then you realize… it’s backward! This is a classic mistake for beginners.
How to Fix It:
- Always Mirror Your Design: When working with HTV, always mirror your design before cutting it. The vinyl is cut from the back, so mirroring ensures your design will appear correctly once transferred.
- Double-Check Before Cutting: In Cricut Design Space, there’s an option to mirror your image just before you start the cutting process. Make it a habit to always check this box, so you don’t waste precious vinyl.
Pro Tip- Create a helpful decal reminder: Many Cricut crafters put a decal the inside of their Cricut lid that says “Did You Mirror Your HTV?” Which gives them that bonus reminder when they are loading their mat!
Mistake #6: Overheating the HTV
What’s Going Wrong: Too much heat can cause the vinyl to melt, bubble, shrink, or discolor, leaving you with a ruined design.
How to Fix It:
- Follow the Manufacturer’s Instructions: Check the heat settings recommended for the specific HTV you’re using. Overheating vinyl is just as bad as underheating it.
- Lower the Temperature: If you notice your vinyl is shrinking or melting, lower the temperature slightly and reduce your pressing time.
Pro Tip- Get expert advise on heat settings: Using Cricut brand iron-on? Make sure you check out the Cricut Heat Guide. It will have you select the heat press you are using, the iron-on product you are using and what you are applying it to. Then it will provide you with step-by-step instructions for temperature settings, pre-heating, time to press and what temperature to peel your carrier sheet at.
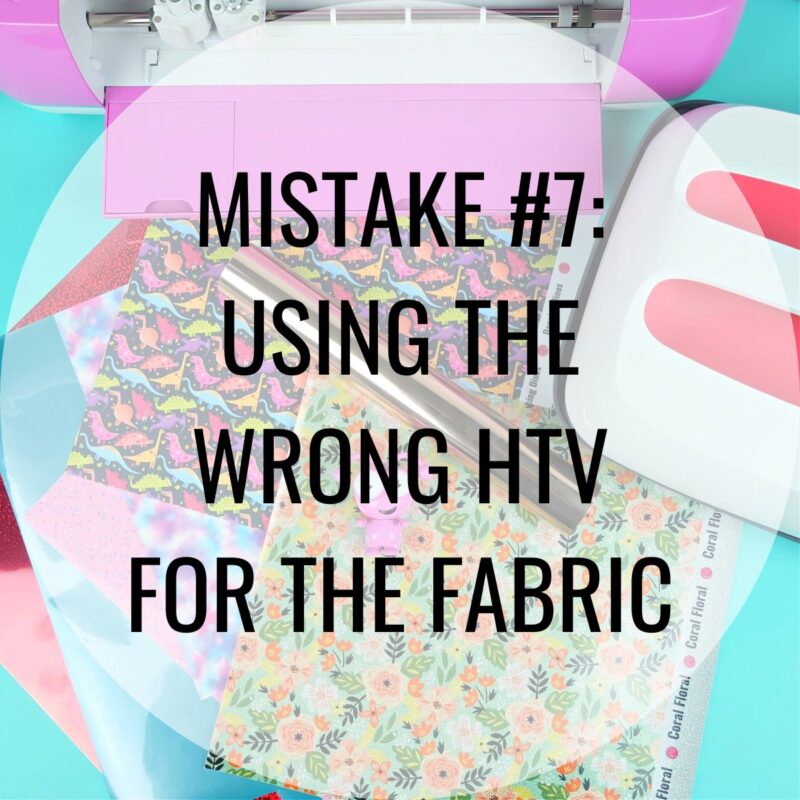
Mistake #7: Using the Wrong Heat Transfer Vinyl for the Fabric
What’s Going Wrong: Not all HTV is created equal. If your design isn’t adhering well or it’s coming out weird, you might be using the wrong type of HTV for the fabric.
How to Fix It:
- Match the HTV to the Fabric: Regular HTV works great for cotton, but if you’re working with stretchy materials like spandex or polyester, you’ll want to use stretch HTV like Cricut SportFlex Iron-On. For more delicate fabrics, look for a lightweight HTV designed for that purpose.
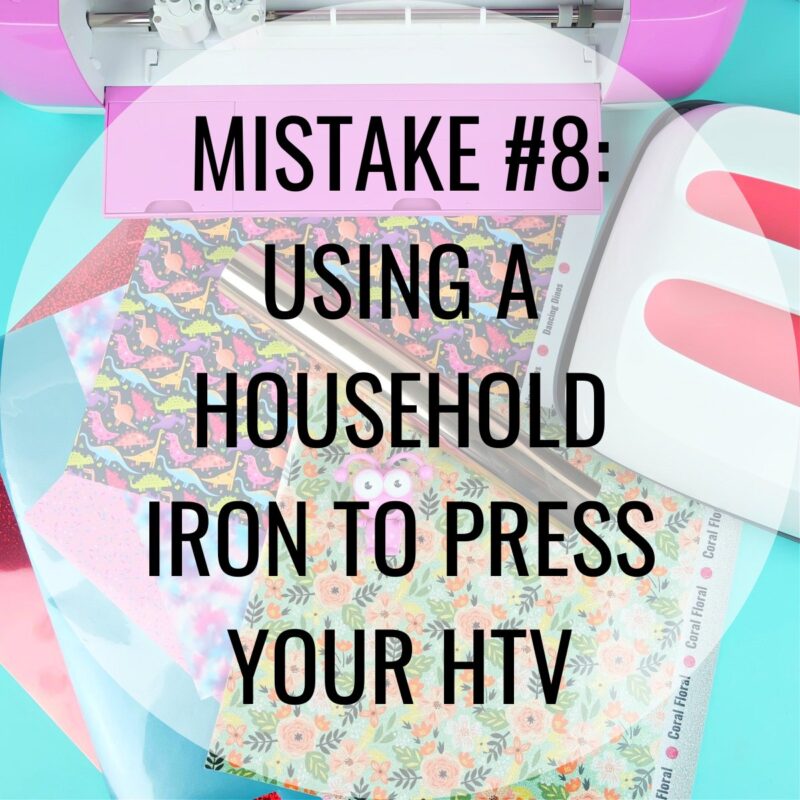
Mistake #8: Using A Household Iron To Press Your HTV
What’s Going Wrong: This might be a controversial one, but I speak from experience. I’m not a fan of spending money on tools you don’t need, but if you plan on creating a lot of iron-on projects then you will definitely want to invest in a heat press like a Cricut EasyPress.
Household irons have a few things going wrong for them.
- The bottom of the iron usually has holes and divots for steam release. This means you will have small pockets of HTV that aren’t getting heated right next to areas that are getting heated.
- Most household irons you can’t set to a specific temperature and different types of HTV need to be heated at differetn specific temperatures.
- The temperature across the heat plate of a household iron fluctuates. The temperature of the heat plate on a Cricut EasyPress is even all the way across.
How to Fix It:
- If you can afford it purchase a heat-press: For years I used a household iron to apply my iron-on. It would take me a long time to get the HTV to adhere and once I washed it, it would always eventually peel. Then Cricut released their first EasyPress and my peeling iron-on woes disappeared.
Think about what size of HTV design you usually make and look for an EasyPress or heat press that will be a good size for you. Shop sales too. You can find the Cricut Sales Page here.
My favorite Cricut HTV Tools!
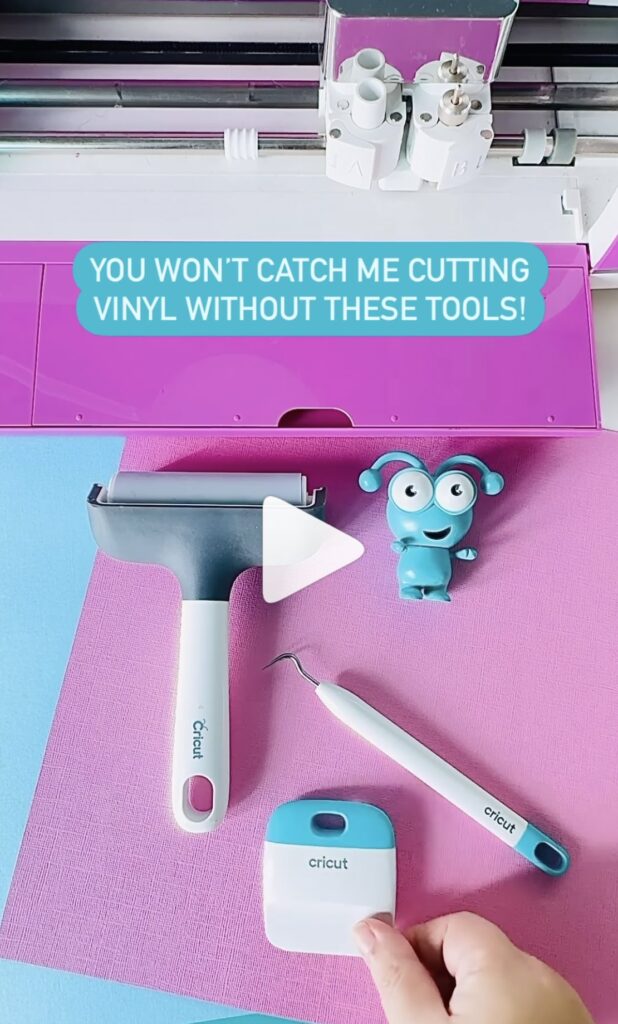
Having the right tools for the job will make your Cricut crafting experience so much easier!
- The Brayer tool is a game-changer for making sure your vinyl sticks perfectly to the mat, even if it’s losing some of its grip.
- Weeding tools are a must for HTV and vinyl especially for those intricate designs—they’ll become your go-to for so many crafty tasks!
- The Scraper tool makes applying vinyl with transfer tape a breeze. You won’t use it quite as much for HTV, but I highly recommend having it on hand!
These tools will improve your vinyl crafting experience by 1,000%! 😍

Learn To Use Your Cricut With An Expert!
If you enjoy reading my Cricut tips you will love Cricut Craft Club! My members and I get together once a month on Zoom to make an amazing Cricut project together. As I make the project live on camera members can ask me all of their Cricut questions and I share all my Cricut tips from Design Space time savers to assembly tips that will make your project perfection!
Join us for Cricut Craft Club!

Final Thoughts
Heat Transfer Vinyl (HTV) is a fun and versatile material, but it does come with a learning curve. Now that you know how to fix the most common HTV mistakes, you can tackle your projects with confidence!
Remember to always follow the manufacturer’s instructions for both the HTV and your Cricut machine. A little extra care can go a long way in making sure your designs come out perfect every time.
Whether you’re working on a custom t-shirt, tote bag, or any other HTV project, these tips will help you create professional-looking designs every time!
More Must Read Cricut Guides
Looking for more Cricut tips and tricks to teach you how to use your incredible cutting machine? Make sure you check out our Cricut Basics section!
Here are some that I think you may enjoy. Click on the photos below to go to the post!


Did you enjoy this post? I’d love for you to pin it to refer back to later!