Beginner’s Guide to Using Vinyl with Cricut
This post and the photos within it may contain Amazon or other affiliate links. If you purchase something through the link, I may receive a small commission at no extra charge to you.

New to Cricut vinyl? Our beginner’s guide walks you through cutting, weeding, and perfecting your adhesive vinyl and HTV projects. Master vinyl crafts with these expert Cricut vinyl tips! From vinyl vocabulary, to must have tools, to walking you through your first project step by step– we’ve got you covered!

Getting Started With Cricut Vinyl Crafts
Welcome, crafty friends! Whenever I talk to someone who is interested in purchasing a Cricut cutting machine I always ask what material the crafter plans on cutting with it. I almost always get one of three answers:
- Vinyl
- Iron-on/HTV (Heat Transfer Vinyl)
- Paper
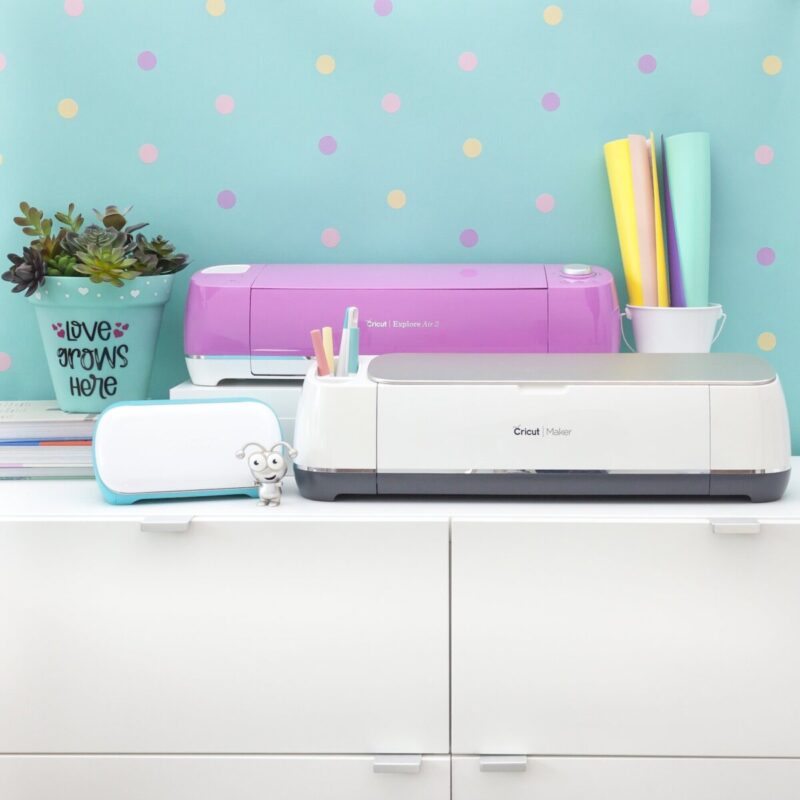
If you’re new to Cricut or just starting to explore the world of vinyl, you’ve come to the right place. Vinyl is one of the most versatile and fun materials you can use with your Cricut, and the possibilities are endless. Whether you’re making custom signs, personalized mugs, or home décor, vinyl is a great place to begin your Cricut crafting journey.
In this beginner’s guide, I’m going to walk you through the basics of using vinyl with your Cricut, share beginner vinyl crafting tips, and show you how to cut vinyl with Cricut like a pro. By the end of this post, you’ll feel confident tackling any vinyl project that comes your way. Let’s get crafting!
What is Vinyl?
First things first—what exactly is vinyl? Vinyl is a thin, flexible material with an adhesive backing, perfect for cutting intricate designs on your Cricut machine. There are two main types of vinyl you’ll work with:
- Adhesive Vinyl: This is your go-to material for making decals to put on signs, mugs, notebooks, walls and so much more. Adhesive vinyl has a sticky back and comes in two forms: permanent and removable. Permanent vinyl is great for projects that you want to never be able to remove. It’s also great for projects that might get wet like cups, mugs, car decals and outdoor projects. Removable vinyl is ideal for indoor surfaces that will remain dry and that you may want to change later.
- Heat Transfer Vinyl (HTV): Also known as iron-on vinyl, HTV is perfect for fabrics like t-shirts, tote bags, and pillows. I also love to use it on some unexpected surfaces like wood, cardstock and paper napkins. The adhesive on HTV is activated using heat (typically an iron or a heat press like the Cricut EasyPress), which bonds it to your craft surface.
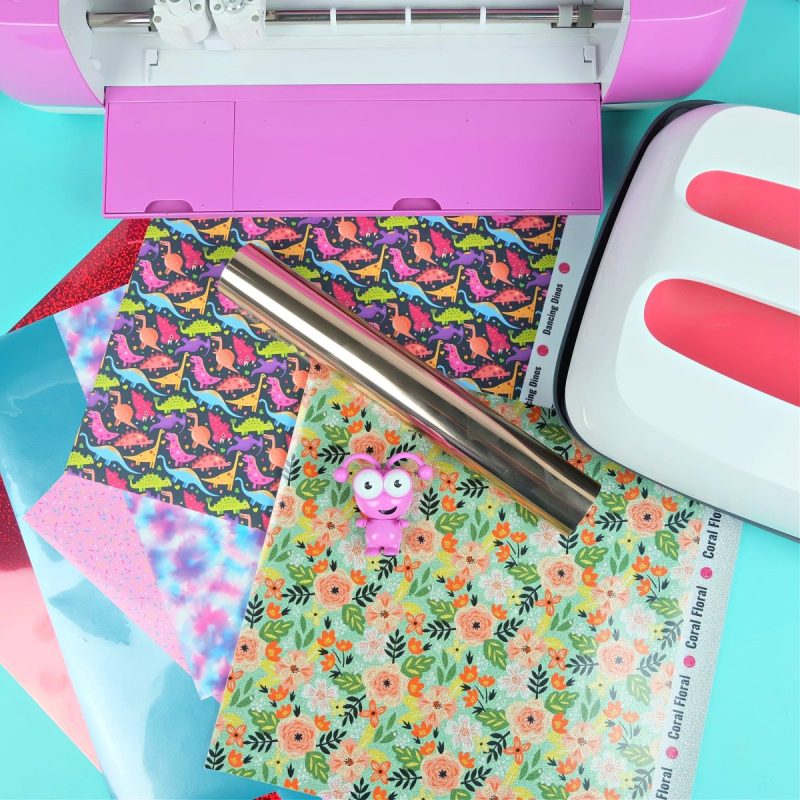
Vinyl and HTV come in rolls or 12X12 sheets. Both materials come in a wide variety of colors, patterns and features. Some of my favorites include:
Cricut Vinyl & HTV Vocabulary
It’s easy to get overwhelmed when you hear crafters talk using special lingo. You would almost think that Cricut had it’s own special language.
Here are the most common terms you will hear when people are discussing crafting with vinyl and HTV:
Mirror: To flip or reverse an image. You do this when cutting a design out of heat transfer vinyl (HTV) because you cut the HTV with the back side facing up on your cutting mat.
Kiss cut: To cut through just the first layer of a material, not all the way through. A kiss cut is used with HTV and vinyl. It means that your machine will just cut the HTV and not the plastic backing. This is something that your Cricut will do automatically for you when set to the correct material setting.
Heat Press: A machine used to heat your HTV and make it adhere to the material you’re attaching it to.
Carrier/Transfer Sheet: The clear plastic sheet that most HTV comes attached to (see more about this in the How To Transfer HTV That Doesn’t Come On A Carrier Sheet section below). You cut your HTV attached to the carrier sheet (shiny plastic side down) and iron your HTV to the surface you are applying it to with the carrier sheet in place. After the HTV is adhered the carrier sheet is removed.
Cold Peel/ Warm Peel/ Hot Peel: The temperature that your HTV should have cooled to before peeling away the clear plastic carrier sheet. Cold peel means you should allow it to cool completely before peeling away the clear plastic carrier sheet. Warm peel means you should allow it to cool to the point where it’s comfortable to touch before peeling away the clear plastic carrier sheet. Hot peel means you should peel away your carrier sheet while the HTV is still hot.
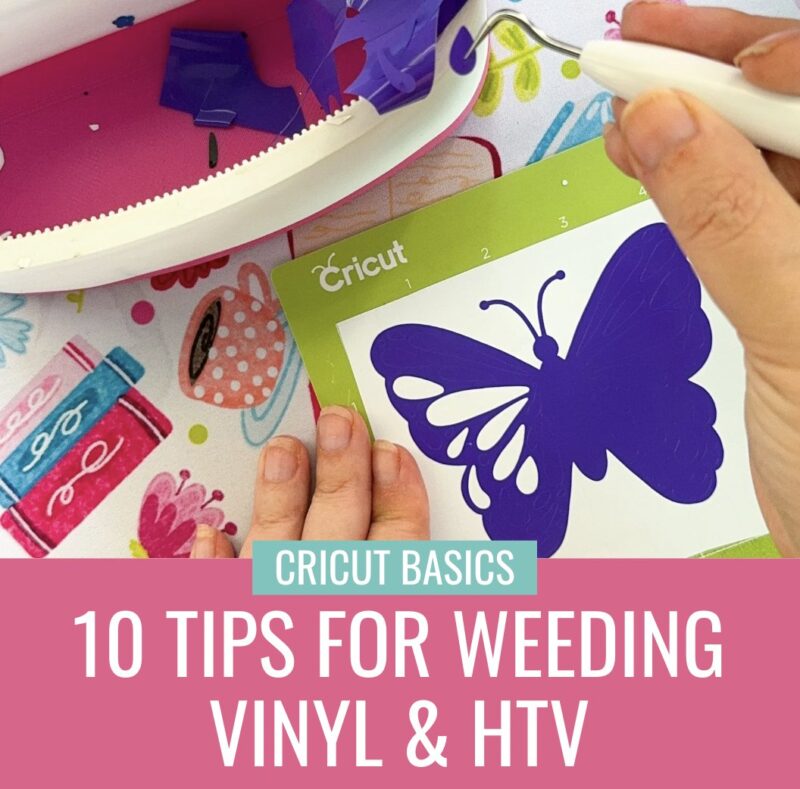
Weeding: The process of removing the negative space around your design. So, for example, if you have your Cricut cut an “O,” you would need to remove the excess material from the part of the design around the outside of your O and the inside of your O, leaving just the letter itself on the plastic backing.
Want more weeding tips? Check out my post on 10 Tips For Weeding Vinyl and HTV!
Cricut Vinyl: Must-Have Tools and Supplies
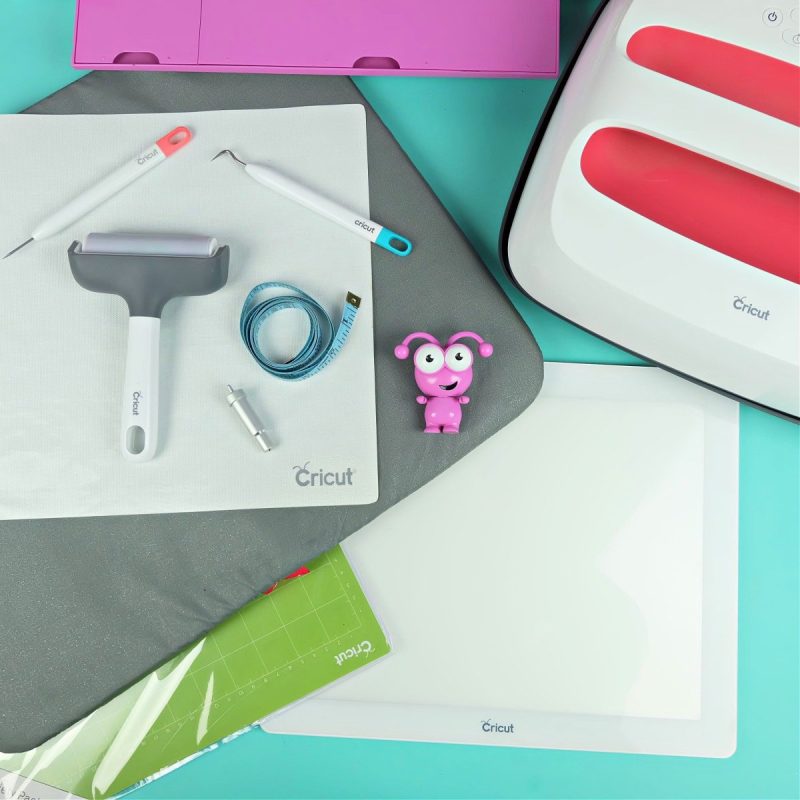
Before we dive into cutting and crafting, let’s talk about the tools and supplies you’ll need to get started with Cricut vinyl:
- Cricut Machine (Cricut Explore, Cricut Maker, Cricut Joy, Cricut Joy Xtra or Cricut Venture)
- Vinyl (adhesive or HTV, depending on your project)
- Cutting Mat (StandardGrip or LightGrip for adhesive vinyl; StandardGrip or StrongGrip for HTV)
- Transfer Tape (for adhesive vinyl projects)
- Weeding Tools (to remove the excess vinyl from your design)
- Cricut EasyPress or an iron (for HTV projects)
- Brayer (for making sure your vinyl or HTV sticks to your mat)
- Scraper (for helping transfer your adhesive vinyl from the paper backing, to the transfer tape to your project)
Some additional supplies that you don’t necessarily need but that might make your crafting easier include:
- Cricut BrightPad (Backlights your vinyl or HTV to make your cut lines more visible and weeding easier)
- Cricut EasyPress Mat (You can technically use a towel to protect your work surface but this handy little mat does more than protect your work surface from heat… though it does that, too!. It has a special inner liner that wicks moisture to deliver clean, dry heat and a foil membrane that reflects heat to your project. The soft protective barrier bottom also helps seal layers together for beautiful HTV results!)
- Seamstress Measuring Tape (for making sure your designs are properly centered)
- Iron-On Protective Sheet Made with a nonstick surface, iron-on protective sheets help protect your HTV from getting damaged by heat. They also help distribute the heat from your EasyPress, heat press, or iron more evenly.)
- Scissors and/or paper trimmer (This helps you trim your vinyl and HTV down to the size you need it so that you aren’t throwing away excess materials.)
And don’t forget your imagination! Now that we’re prepped, let’s get to the fun part—cutting and crafting!
How to Cut Vinyl with Cricut: Step-by-Step Guide
You have all your supplies and now the real fun begins! Making projects! I always say “You could craft with your Cricut for the rest of your life and never run out of things to make with it!”
Let me walk you through step-by-step how to create a vinyl project using your Cricut.
Step 1: Design Your Project in Cricut Design Space
Cricut Design Space is where all the magic happens! You have the choice of:
- Using one of Cricut’s amazing ready to make projects
- Browsing through Cricut’s library of 1 million+ designs (most of which are free with a Cricut Access subscription)
- Uploading a cut file to Cricut Design Space (see my post on how to upload images to Cricut Design Space here.)
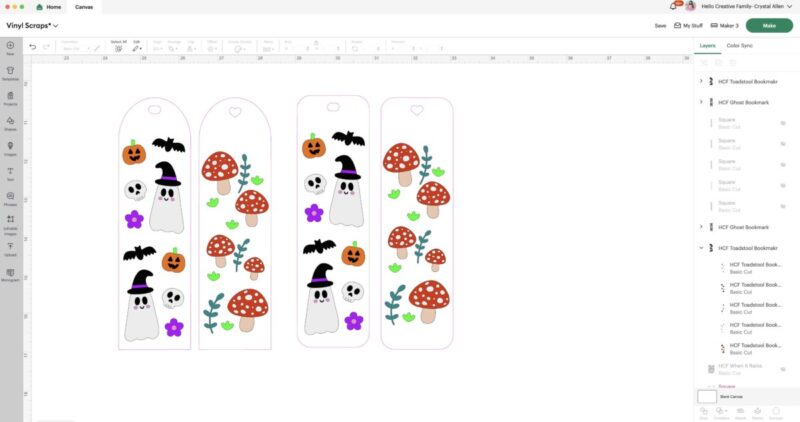
Looking for free SVG files? See my post on 75+ places to download free SVG files here
Step 2: Click Make
Once your design is ready to cut, click the “Make” button.
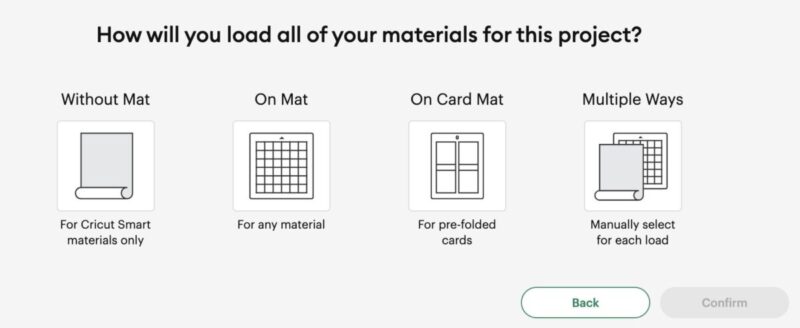
A screen will pop up asking how you will load your materials for this project– without mat, on mat, on card mat or multiple ways. Select how you will be cutting and then click “Continue”.
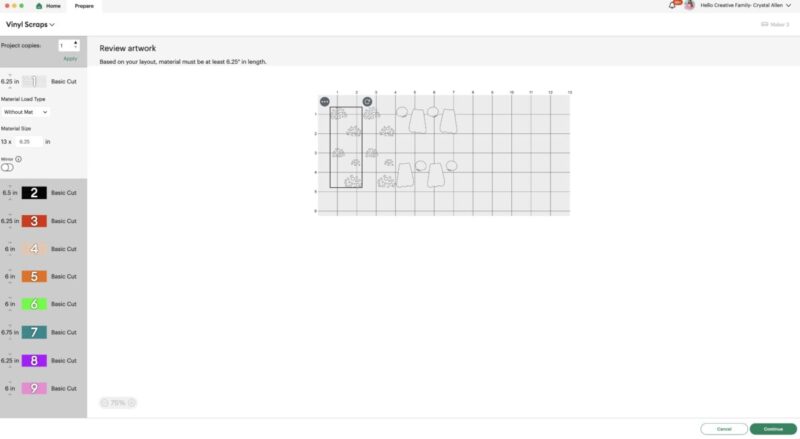
On the following screen you will get to review your artwork, select if you will be cutting each material on a mat or matless and you can also position where your design will cut on your vinyl.
If you are cutting using HTV you will want to mirror your image by clicking on the mirror slider.
Once you are satisfied click “Continue”.
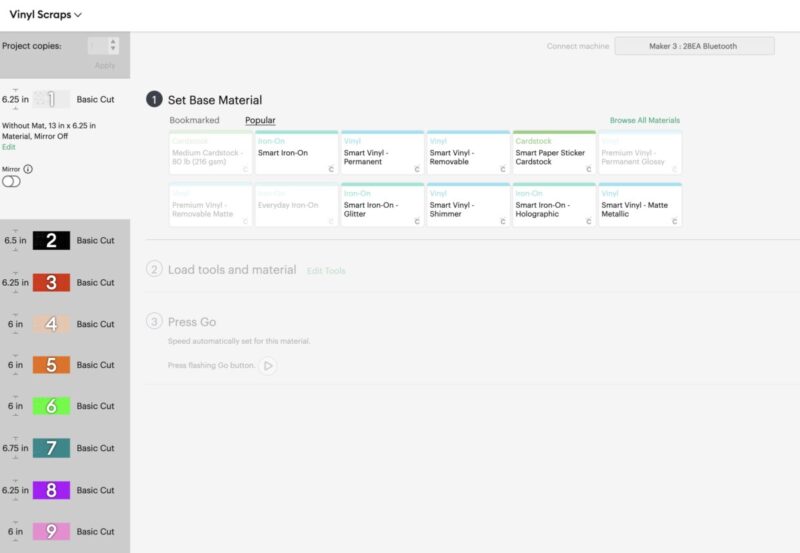
On the final screen you will select the cutting material you will be using. The materials that you use the most often will appear on the screen. There is also a tab with materials that you have bookmarked.
It is very important that you select the right material setting since each material has a different pressure setting.
There are numerous vinyl and iron-on options available to choose from. If you don’t see your material listed click “Browse All Materials” and from there you can either scroll through a full list of materials or search for the material you are using.
As you are selecting your material Cricut Design Space will connect to your Cricut cutting machine via bluetooth (make sure your Cricut is turned on.)
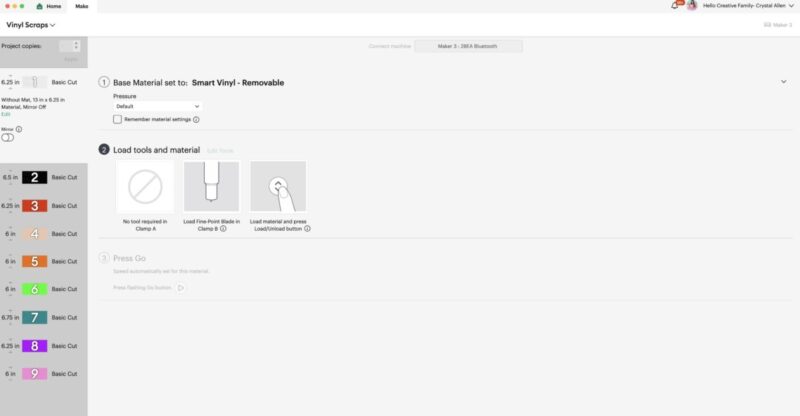
Once your material is selected you will get instructions to load your machine and which tools you need to have loaded.
Step 2: Load the Vinyl onto Your Mat
Now it’s time to load your vinyl onto the mat. For adhesive vinyl, place the vinyl shiny side up (with the paper backing down).
For HTV, you’ll place the shiny side down (with the adhesive side up).
Use a StandardGrip Mat for most vinyl types, though a LightGrip Mat is better for more delicate or thinner vinyls.
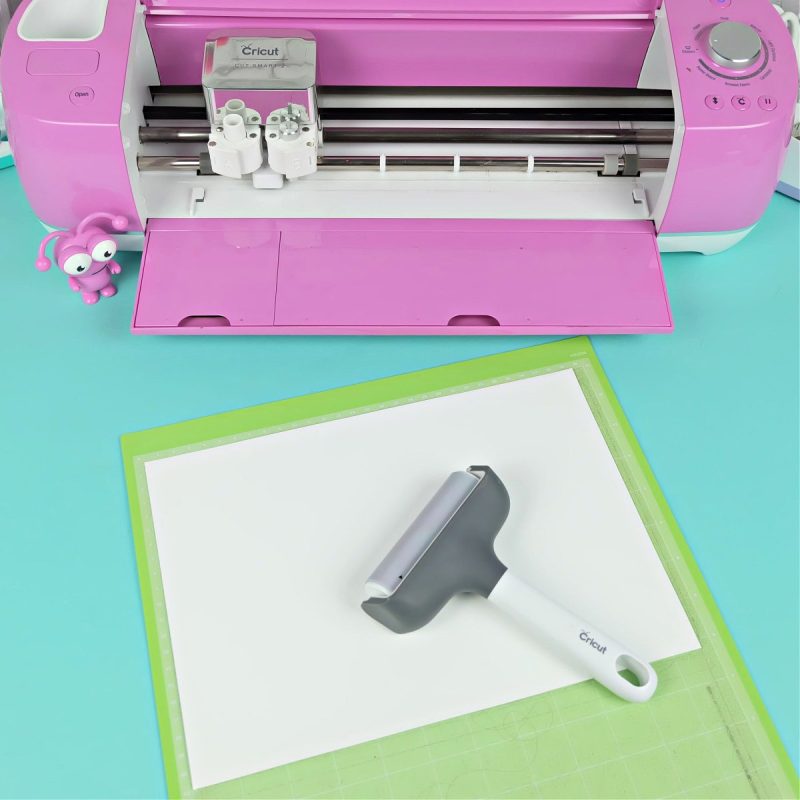
Pro Tip: I recommend using a Brayer Tool to roll over your vinyl or HTV to make sure that it is properly adhered to the mat. This will ensure a better cut.
Once your vinyl is secure on the mat, load it into your Cricut machine by pressing the load button which looks like an up and down arrow.
On the Cricut Joy and Cricut Joy Xtra there are no load buttons. When you insert your mat it will automatically load.
Step 3: Cut Your Vinyl
With your vinyl and mat loaded, it’s time to press “Go” (depending on your machine either on the machine or in Design Space) and let your Cricut work get to work cutting. The machine will precisely cut your design into the vinyl. Trust me, watching this part never gets old! It’s one of my very favorite things about owning a Cricut!
Step 4: Weed the Excess Vinyl
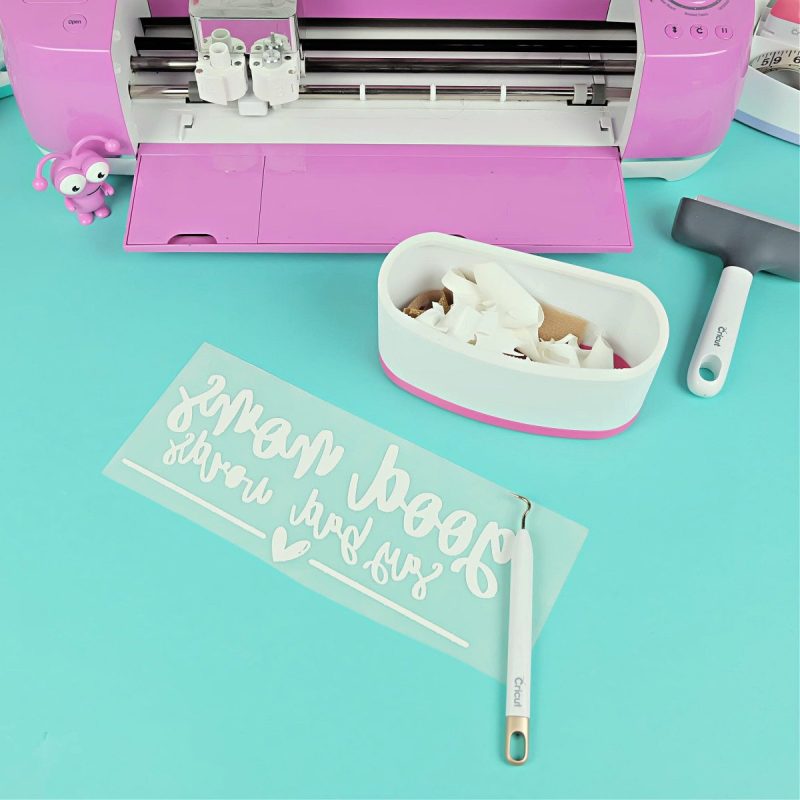
Now comes the thing that has Cricut users the most divided– weeding. Some people find this calming and therapeutic… others find it stressful and anxiety inducing.
Weeding is the process of removing the extra vinyl from around your design, leaving only the part you want to transfer. Use a weeding tool to carefully pull away the excess vinyl, starting from a corner and working your way around the design. Don’t forget the centers of your letters like o, e, d and g!
Pro tip: When weeding a larger design have scissors handy to cut away the excess vinyl as you pull it up. This keeps it from sticking to the vinyl that you haven’t already weeded.

Something to consider: Consider using a vinyl scrap collector while weeding. It has little teeth that help pull the vinyl pieces off of your weeding tool. All of your weeded vinyl pieces end up in one place instead of having little vinyl pieces floating all over your craft room! Then you just empty it when you are done!
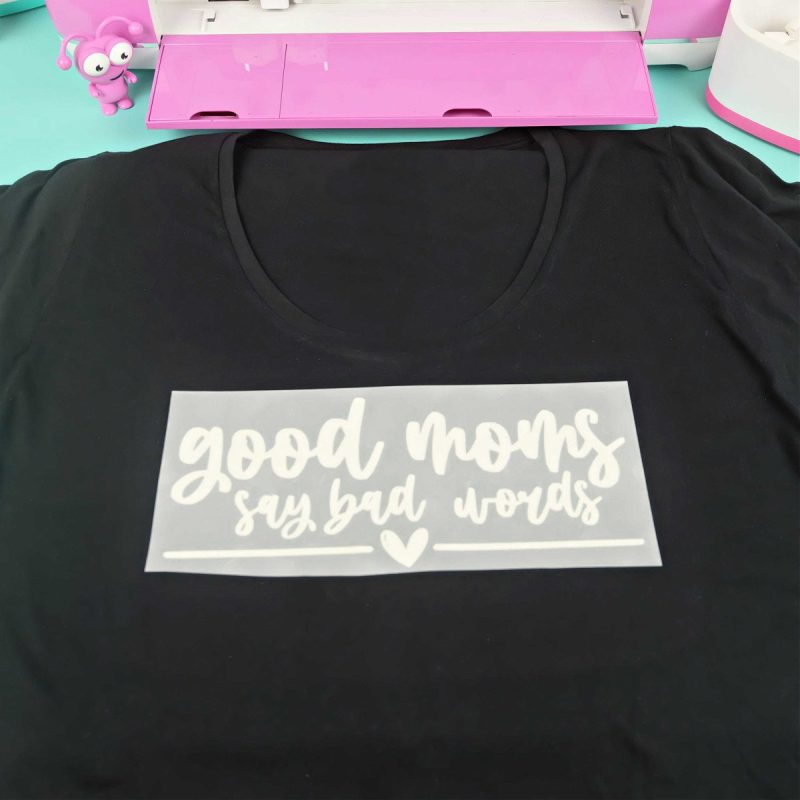
Step 5: Apply Transfer Tape (For Adhesive Vinyl)
If you’re working with adhesive vinyl, this is where transfer tape comes into play. Transfer tape helps you move your design from the vinyl backing to your project surface without losing any detail or messing up the placement.
Cut a piece of transfer tape slightly larger than your design and apply it to the top of your vinyl (sticky side down). Use a scraper or a credit card to smooth the tape over the vinyl, ensuring it sticks well. Then, peel the vinyl backing away, leaving your design on the transfer tape.
All Cricut iron-on and the majority of other brands of HTV comes on a clear carrier sheet which is the clear plastic backing layer that is used to transfer your design to your project– no transfer tape required!
Step 6: Apply the Vinyl to Your Project
Now it’s time to transfer your design to its final destination! Place the vinyl (with the transfer tape) onto your project surface, and use the scraper again to press it down firmly. Peel away the transfer tape slowly and carefully, leaving your vinyl design perfectly in place.
For HTV projects, apply your design with the back of the vinyl facing down and the plastic carrier sheet on top.
Use an EasyPress or iron to apply heat and pressure to the design (following the instructions for your particular vinyl). Once the vinyl has adhered, let it cool before removing the clear carrier sheet.

Pro tip: Check out the Cricut Heat Guide which gives instructions including temperature, amount of time to press and if you hot, warm or cool peel your project. All you have to do is select the EasyPress you are using, the type of iron-on you are using and the material you are applying it to.
And voilà! You’ve just completed your first Cricut vinyl project! 🎉
Beginner Cricut Vinyl Tips: Pro Tips for Perfect Results
Working with vinyl can seem a little tricky at first, but once you’ve got a few projects under your belt, you’ll be a vinyl-cutting pro. Here are some of my favorite beginner vinyl tips to help you along the way:
- Use the Right Mat: Your mat makes a big difference! StandardGrip is ideal for most adhesive vinyl, but if your vinyl is thinner or more delicate, try using a LightGrip mat to prevent tearing.
- Don’t Skip the Test Cut: If you’re using a new type of vinyl or material that you are unsure of, always do a test cut first using a small shape like a heart or circle. This will save you from wasting vinyl if the settings need adjustment.
- Mirror Your Design for HTV: Forgetting to mirror iron-on is one of the biggest mistakes that Cricut users make with HTV. Always double-check the mirror setting before you cut.
- Store Vinyl Properly: To keep your vinyl in good condition, store it in a cool, dry place and avoid folding or crumpling it. If you want to stay organized, consider using a vinyl storage rack or binder. Find a ton of vinyl storage ideas here.
- Use a Brayer: For better adhesion to your mat, use a brayer tool to press your vinyl onto the mat. This helps prevent air bubbles and ensures a smooth cut.
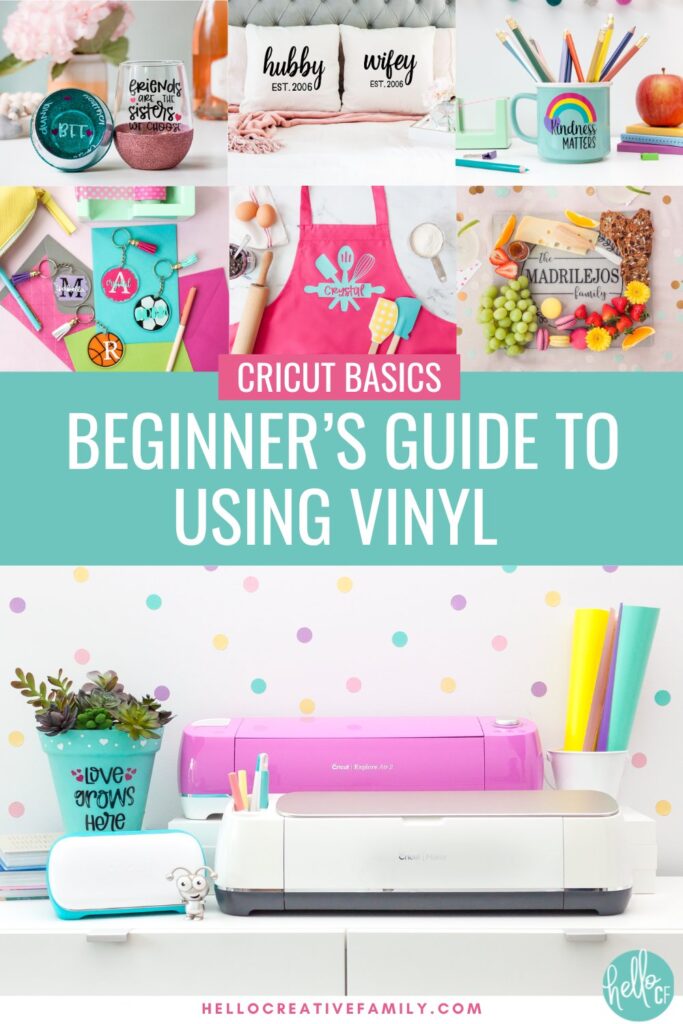
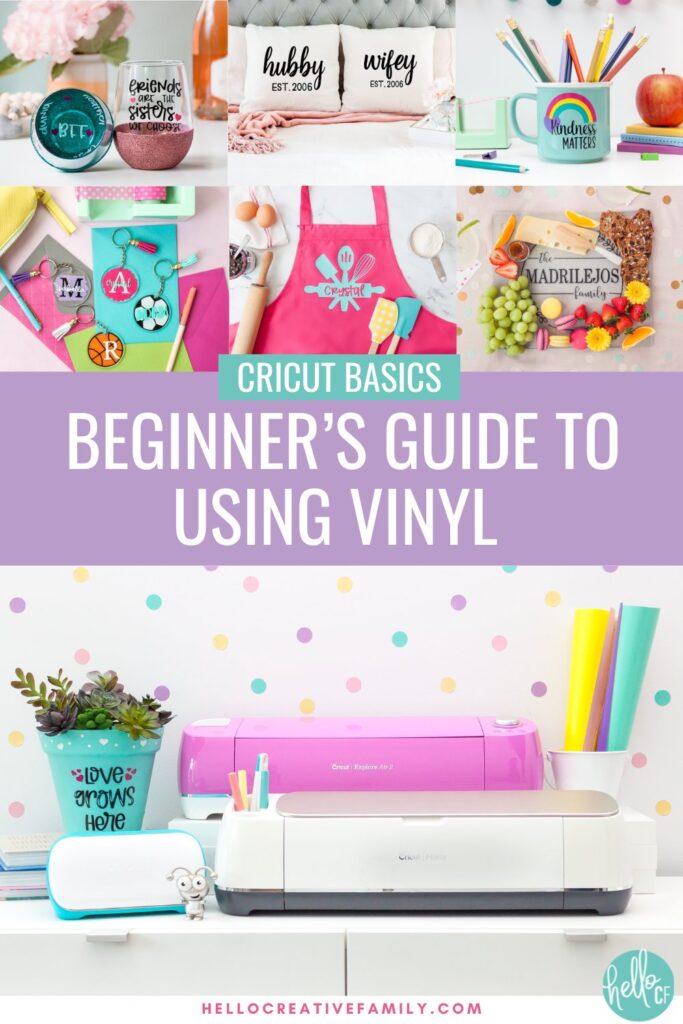
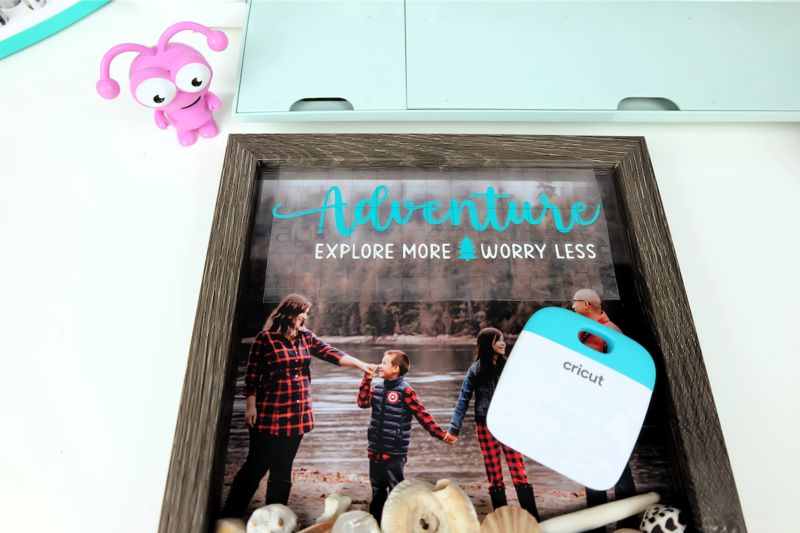
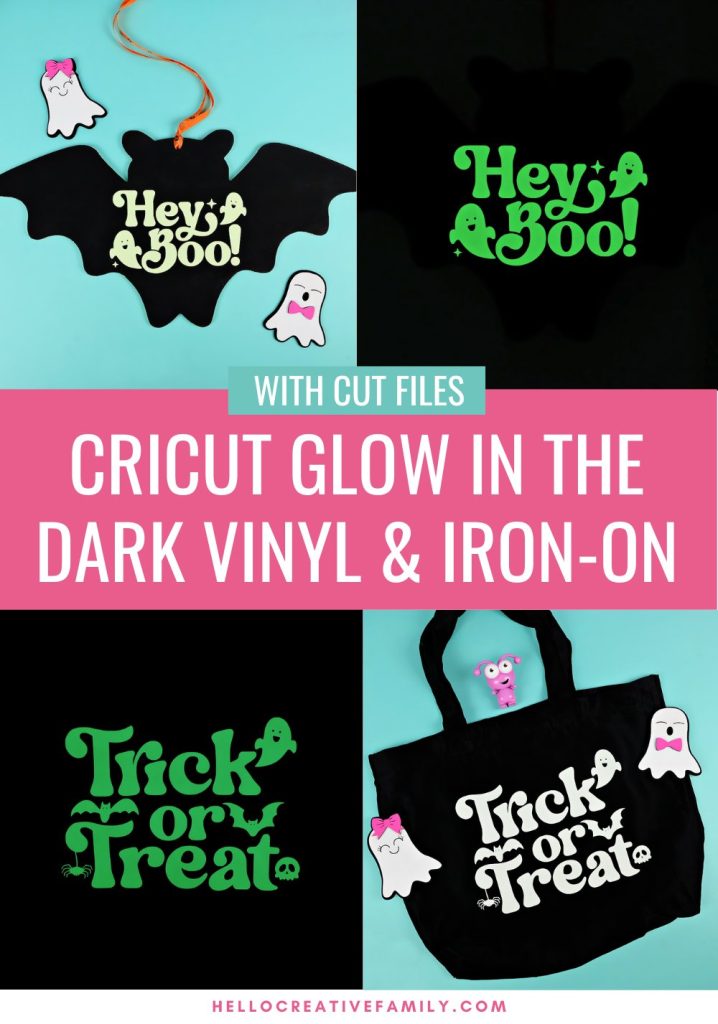
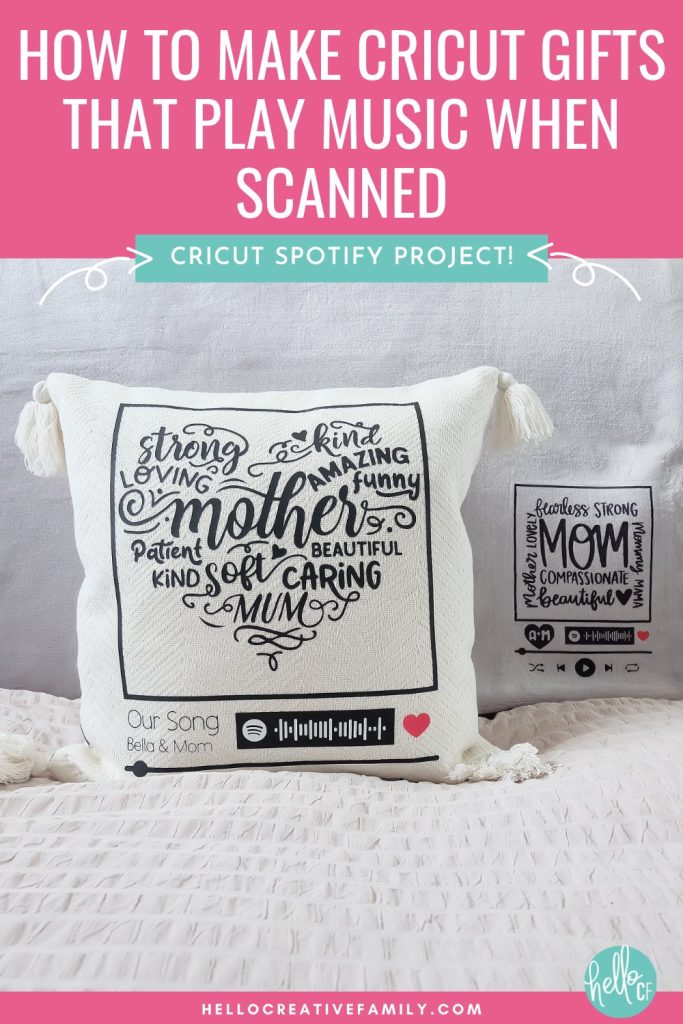
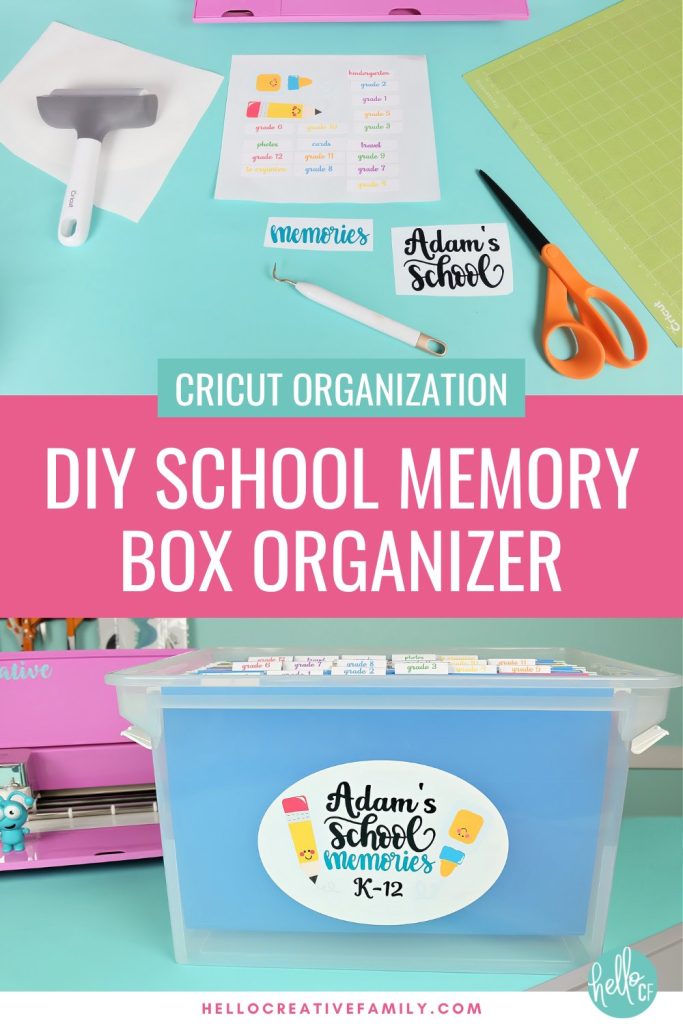
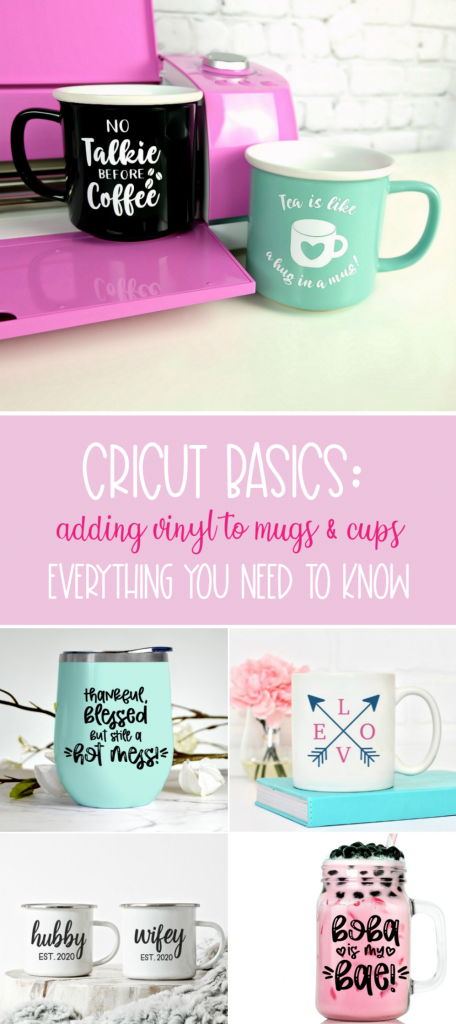
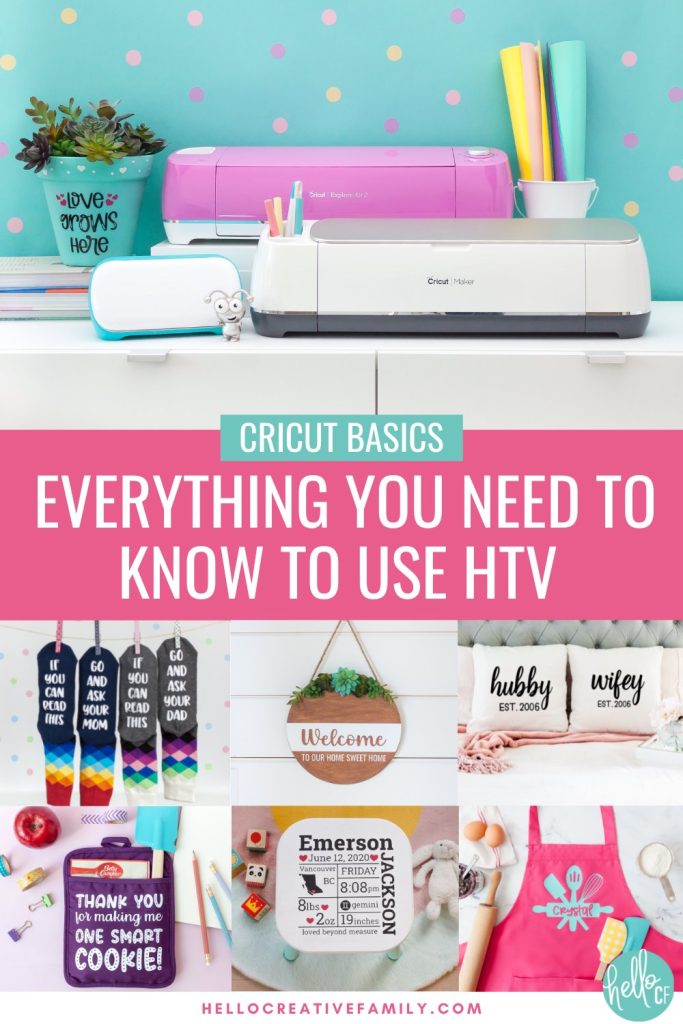
Cricut Vinyl Project Inspiration
Ready to get started with some amazing vinyl and HTV projects? Take a peek at the inspiration below. Click on the image to go to the project.


Final Thoughts On Cricut Vinyl
And there you have it—your ultimate beginner’s guide to using vinyl with Cricut!
Vinyl is such a fun and versatile material, and I know you’re going to love creating all kinds of amazing projects with it. From decals to home décor and custom clothing, vinyl opens up a whole new world of possibilities for Cricut crafters.
For a more in depth look on how to use each of these materials please see:
- Cricut Basics: Applying Vinyl to Mugs & Cups
- Cricut Basics: Everything You Need To Know About HTV Vinyl
Don’t forget to pin or bookmark this guide and refer back to it as you Cricut craft.
Phew! That was a ton of information! Are you ready to put it into action? Join Crystal’s Cricut Craft Club to Cricut craft with me live on Zoom once a month!

Shop For The Best Cricut Supplies
If you’re ready to stock up on vinyl and other Cricut essentials, click on my shop below to check out some of my favorite Cricut Craft Supplies!
Happy crafting! I can’t wait to see what you create!