How To Use Cricut Glow In The Dark Vinyl and HTV (With Cut Files)
This post and the photos within it may contain Amazon or other affiliate links. If you purchase something through the link, I may receive a small commission at no extra charge to you.

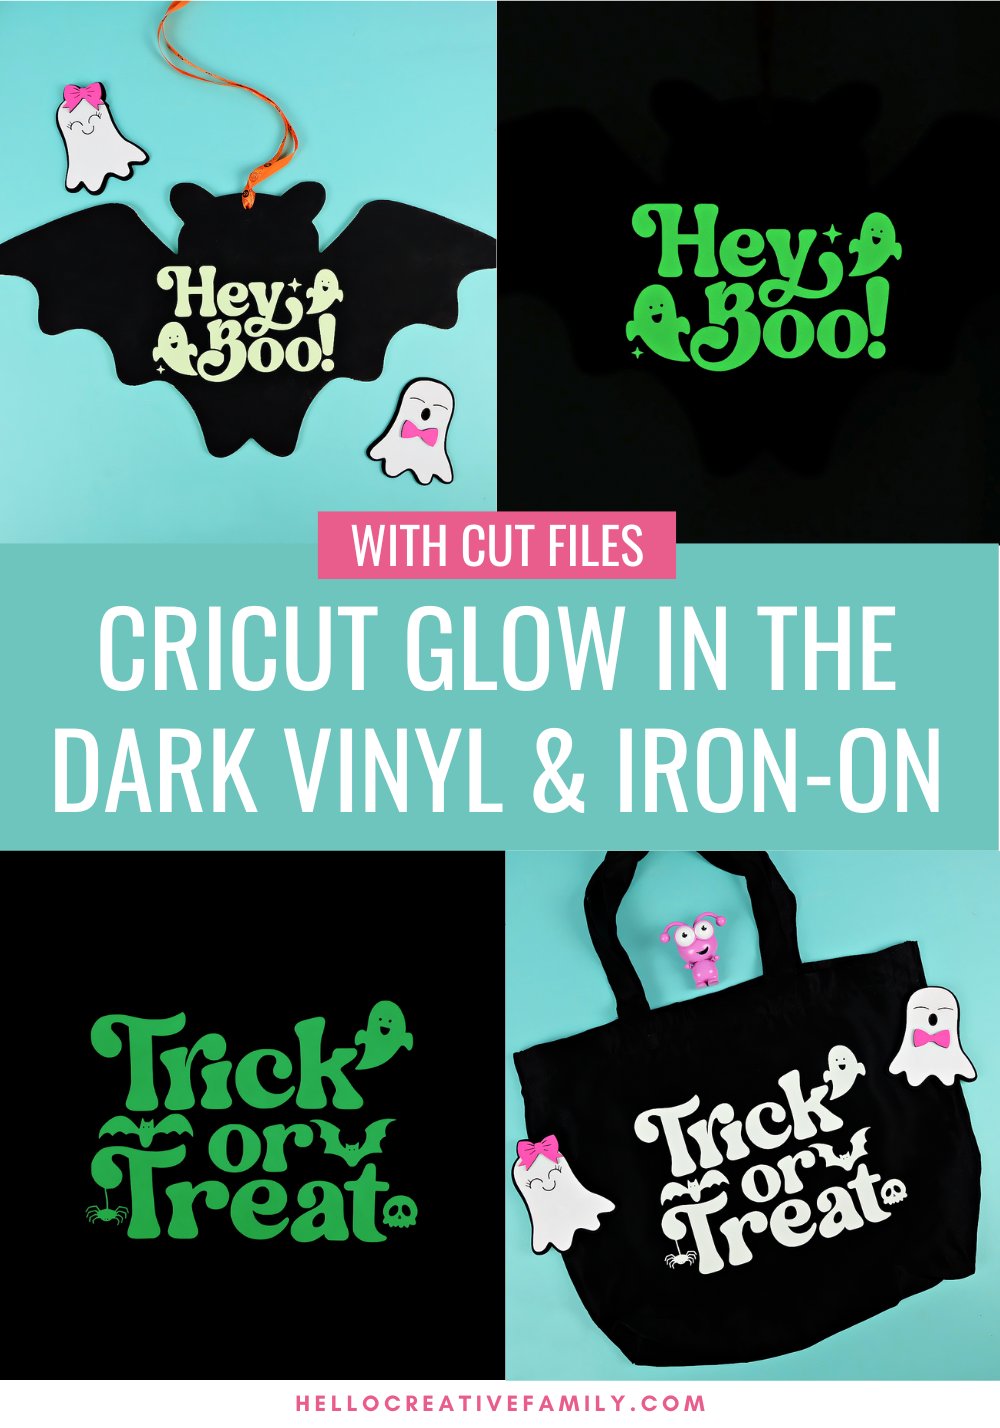
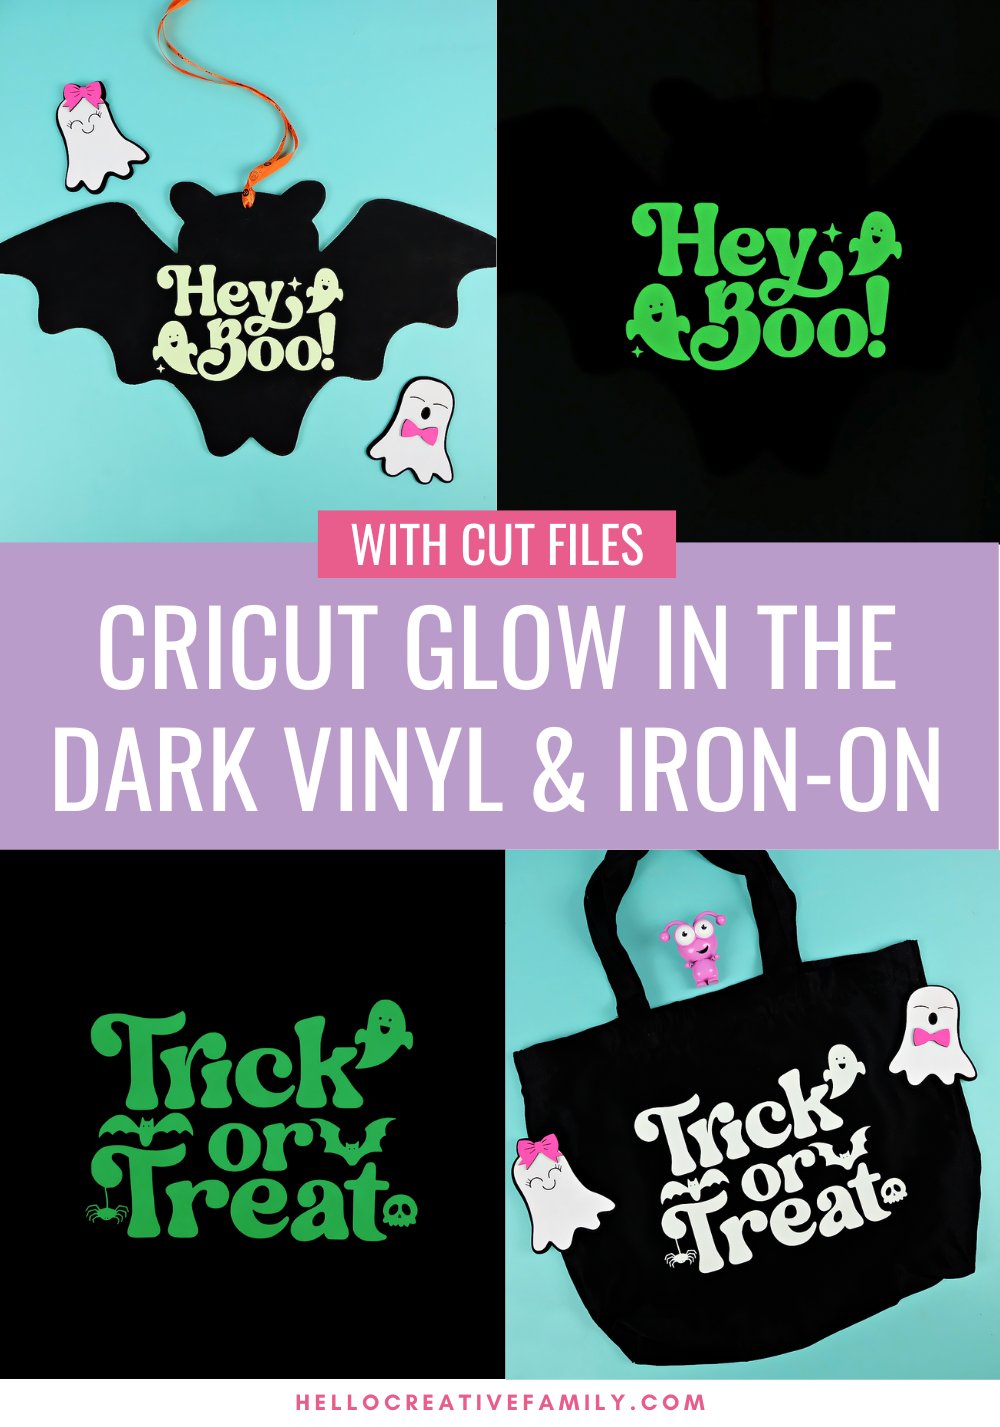
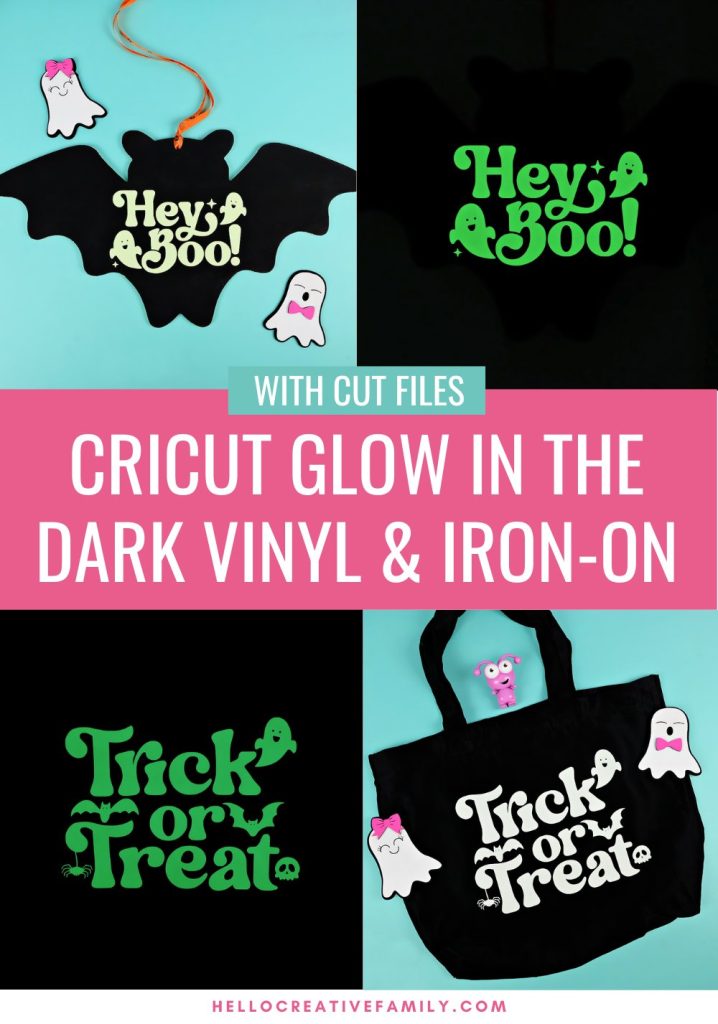
Create fun Halloween craft projects using Cricut Glow In The Dark Vinyl and Iron-On! We’ll be using the Glow In The Dark Vinyl to make an adorable bat sign for the front door. Then I’ll show you how to make a glow in the dark trick or treat bag using Cricut Glow In The Dark HTV. Includes Cricut Cut Files for these projects.
Hi Crafty Friends!
Cricut recently released a brand new line of Glow In The Dark Vinyl and Glow In The Dark Iron-On! My friends at Cricut Canada sent me some rolls to experiment with and I’ve been having so much fun putting it to the test.
I have never reviewed a glow in the dark product on Hello Creative Family because they are usually so hard to photograph. I find that most glow in the dark materials give a soft glow that is near impossible to pick up on camera. I was expecting the same thing with the Cricut line and was completely shocked when the opposite ended up being true!
It is SO BRIGHT!!! The glow is absolutely incredible. The day that I was experimenting with it I posted an Instagram story and immediately had a blogger friend message me and ask how I got it to appear so bright on camera. She asked me if I had another light in the room that somehow illuminated the vinyl making it appear brighter on camera.
I was so excited to tell her “No, it’s really that bright!”
Today I’m going to share with you information about Cricut’s glow in the dark products along with two projects that I made with them!
How Does Glow In The Dark Work?
While I don’t know the exact science behind Cricut’s Glow In The Dark Vinyl and Glow In The Dark Iron-On I can share with you how most glow in the dark products work. My guess is that Cricut’s products are the same, but I haven’t had that confirmed.
Most glow-in the dark materials use something called phosphors in them. Phosphors soak up energy from the sun or other sources of bright light and then radiate that energy back in the form of light which causes it to glow in the dark!
How Do You Charge Cricut Glow In The Dark Vinyl And Iron-On?
Like many other glow in the dark products, Cricut vinyl and iron-on is super easy to charge. All you have to do is provide it with a light source! That can mean laying it in the sun or hanging it in a bright room.
Cricut® Glow-in The Dark products can charge with both natural and artificial light meaning it can be charged by the sun, or with the lights in your home!
Providing your Glow In The Dark Iron-on Vinyl and Adhesive Vinyl with a direct light source (versus just setting it in a room with a light on) will make sure that you get the optimal glow.
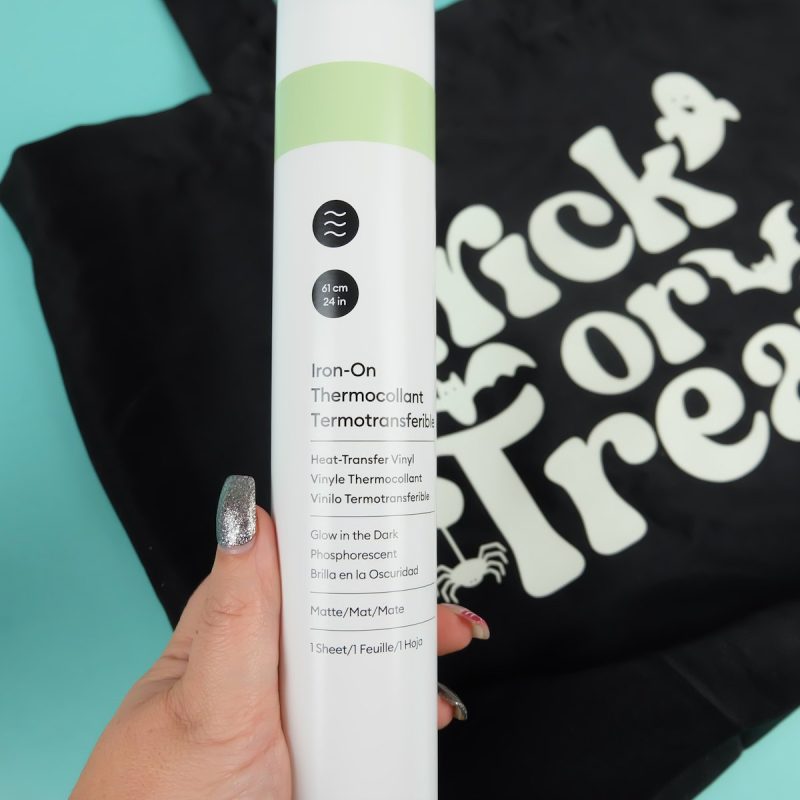
What Colors Do Cricut Glow In The Dark Vinyl And Iron-On Come In?
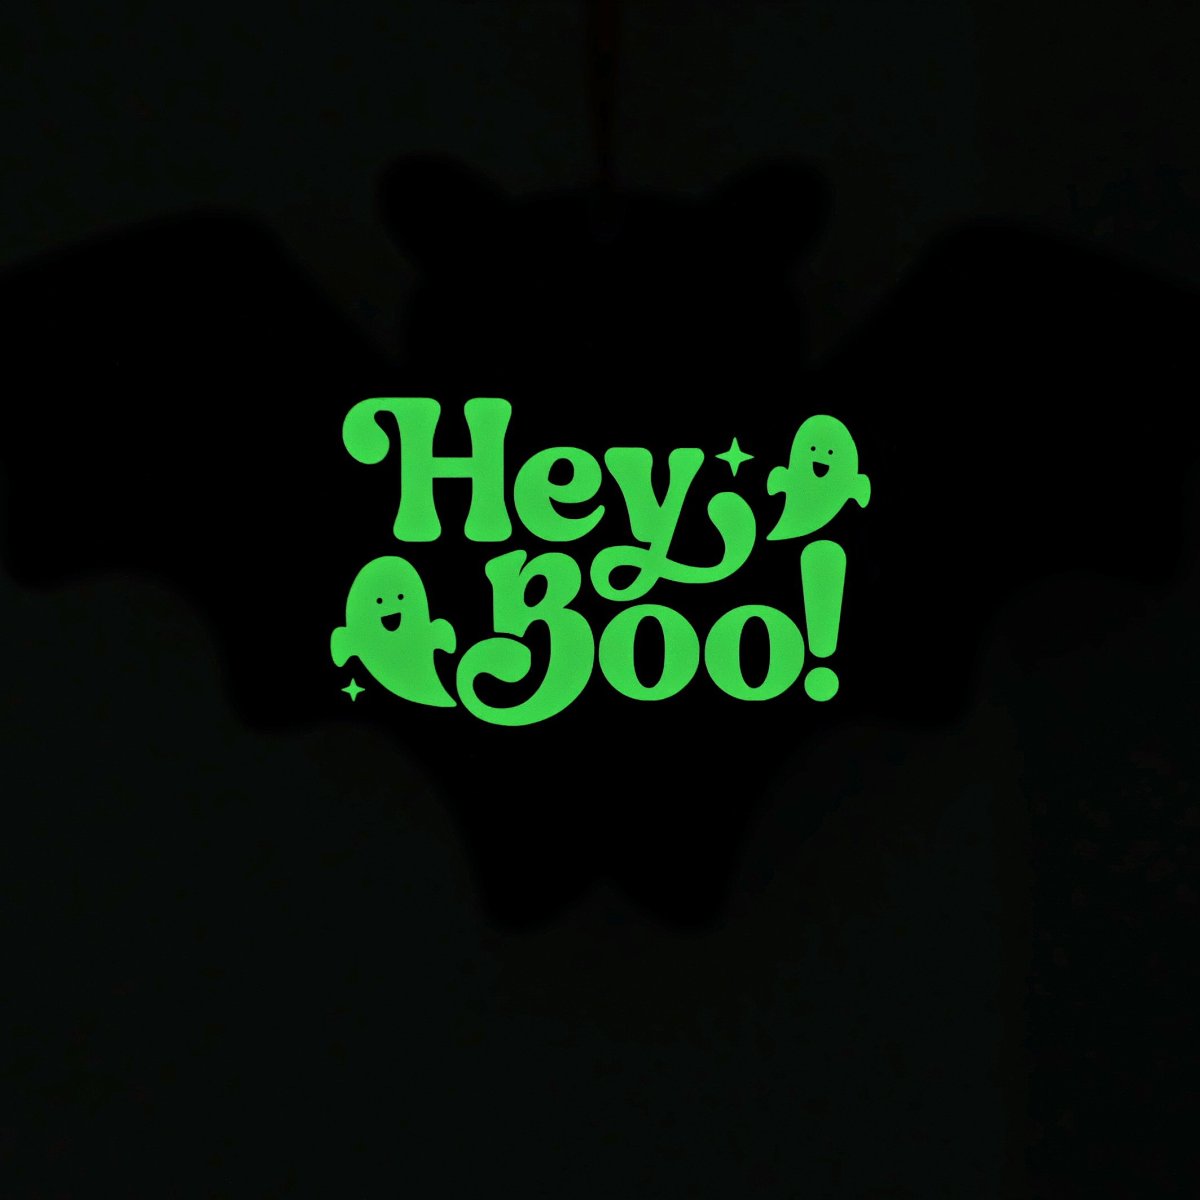
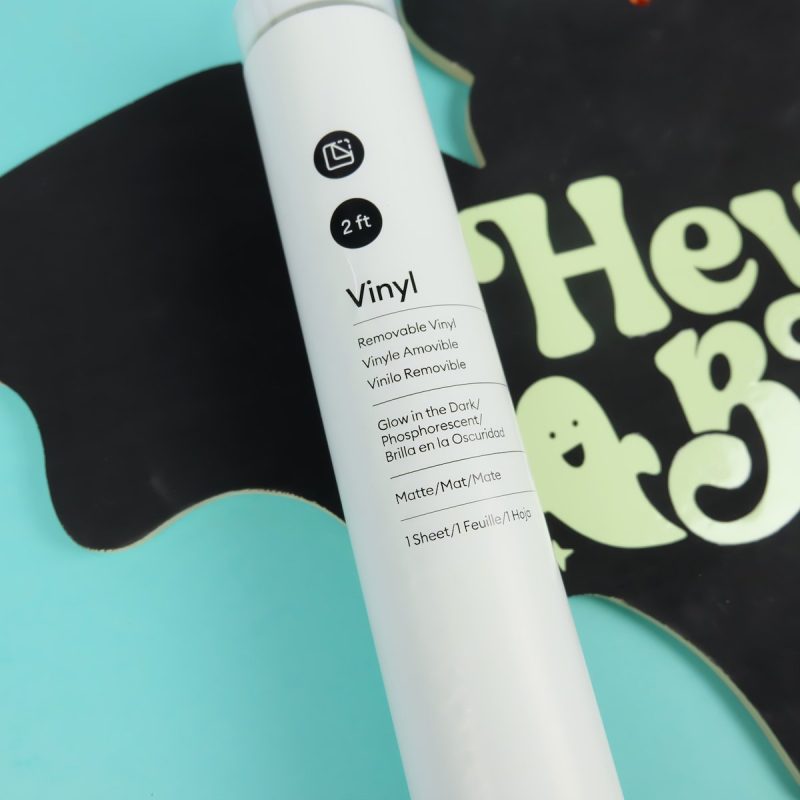
At this point Cricut Glow In The Dark Iron-on and Vinyl is available in one color. In the light it appears to be white/pale yellow. In the dark it glows a bright, neon green.
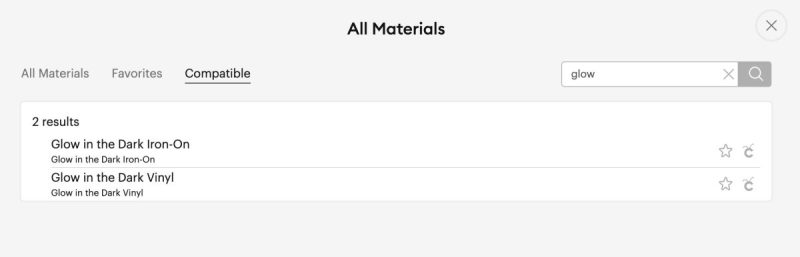
What Setting Do You Use To Cut Cricut Glow In The Dark Vinyl and Iron-On?
Glow In The Dark Vinyl is a bit thicker than most removable vinyl. You can tell it’s a very high quality vinyl.
Luckily Cricut has a cut setting in Design Space specifically for their Glow In The Dark products to give you consistent results every single time you craft with it. Using the proper settings will make sure you get easy cutting and effortless weeding.
If you are using a machine in the Cricut Explore family make sure you set your dial to custom and select the proper cutting material to get the best cut.
Cricut Glow In The Dark Cut Files

I am a proud member of the Cricut Artist Program (you can follow me here). Cricut asked if I would make some cut files that would be great to use with the new Glow In The Dark line. I couldn’t resist taking full advantage of spooky season and making an adorable collection of Halloween cut files.
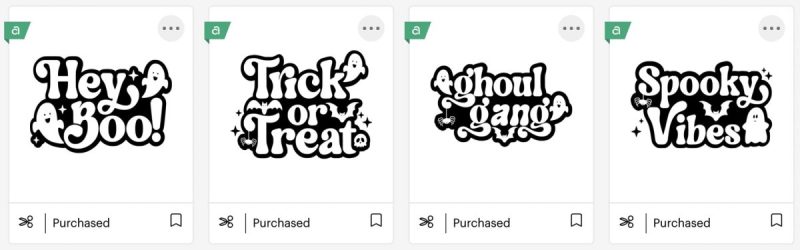
These are perfect for using with Glow In The Dark Vinyl or Glow In The Dark Iron-On.
You can find them by visiting my Cricut Artist Profile or by searching for their item numbers under images in Cricut Design Space.
- Hey Boo- #M3FF4A48F
- Trick or Treat- #M3FBD6D76
- Ghoul Gang- #M3FC459B7
- Spooky Vibes- #M3FBC2E84
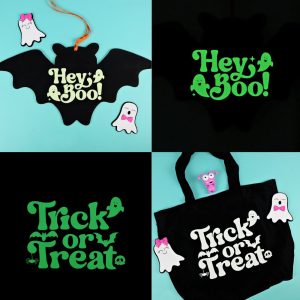
Glow In The Dark Wood Hey Boo Bat Sign
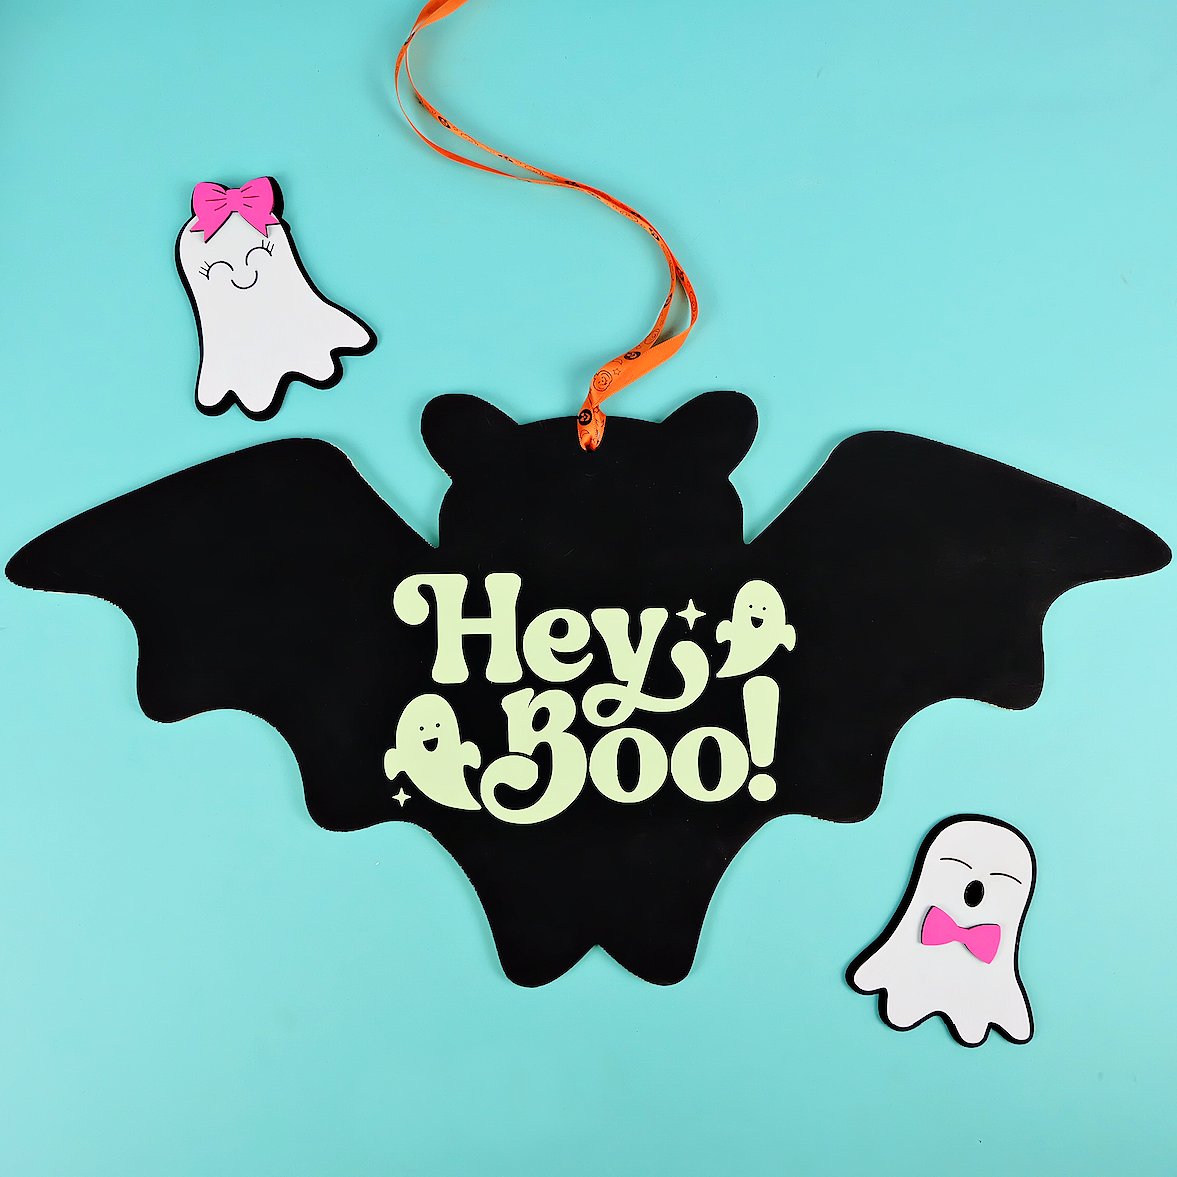
I made two projects using Cricut Glow In The Dark materials– a wood bat sign and a trick or treat bag. Both use my own designs from Cricut Design Space.
The wood bat sign looks so cute hanging on the front door during the day, and glowing at night!
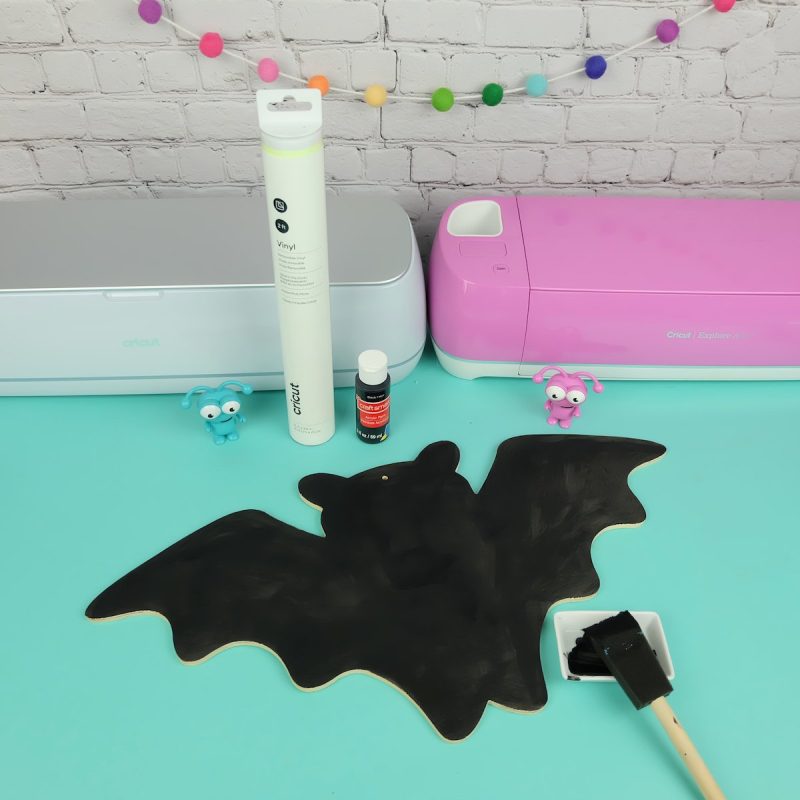
Materials:
- Cricut cutting machine
- Wood bat sign
- Black acrylic paint
- Paint brush
- Measuring tape
- Standard Grip Cutting Mat
- Cricut Glow In The Dark Vinyl
- Weeding tools
- Cricut Transfer Tape
- Scissors
- Scraper Tool
- Halloween ribbon
Directions:
Step 1: Paint your wood bat sign using black acrylic paint and a paint brush. I did two coats and allowed it to dry thoroughly between each coating. I recommend allowing your paint to dry for 24 hours before adding vinyl to it.
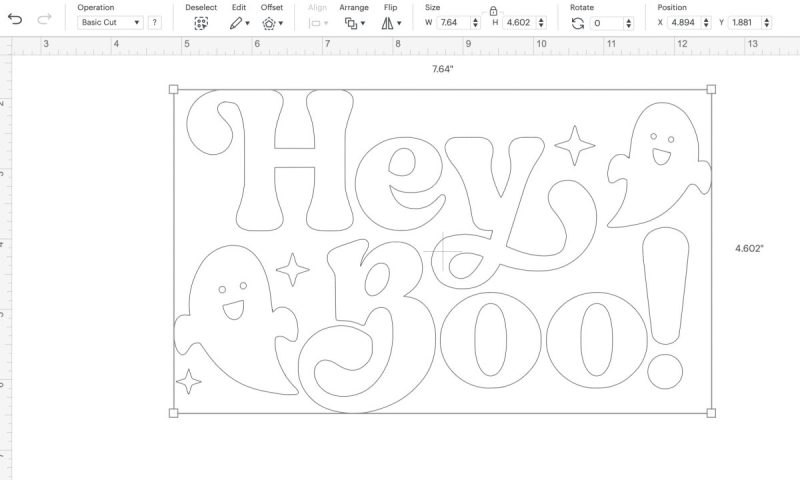
Step 2: Open Cricut Design Space. You can find my Glow In The Dark Bat Sign Design Space Canvas here. I have already hidden the back, black layer. Measure your wood sign to determine how large you would like your design to be. Use the size arrows, or the size tool to correctly size your design.
Step 3: Click “Make It”. Follow the instructions on your screen to connect your machine and select Glow In The Dark Vinyl as your cutting material. Lay your vinyl on you cutting mat with the color side facing up. Load the mat into your Cricut and press the button to start cutting.
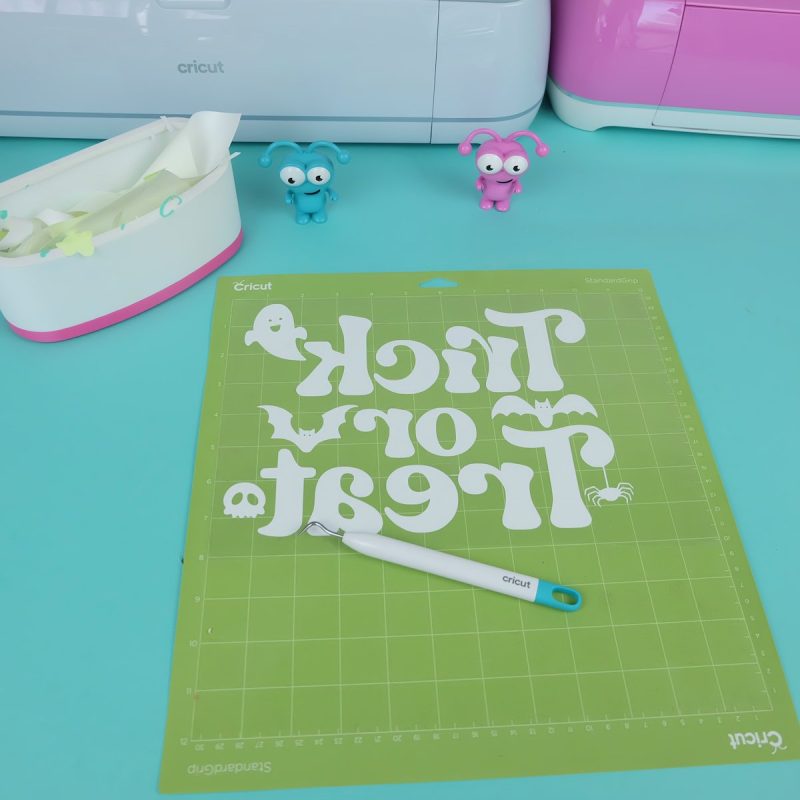
Step 4: Once your machine is done cutting, unload your mat, remove the vinyl and weed away the excess vinyl surrounding your design. Don’t forget inside the letters (e, y, and o’s) as well as the ghosts eyes and mouth.
Step 5: Cut a piece of transfer tape slightly larger than your design. Peel off the paper backing and lay your transfer tape on top of the design with the sticky side of the transfer tape pressed down against the vinyl. Run your scraper tool all over the transfer tape, pushing the vinyl onto the transfer tape. Don’t forget to flip your design over and burnish on the back as well.
Lift your transfer tape, peeling the vinyl design away from the paper backing.
Step 6: Determine where you would like your design on the sign, then position your transfer tape where you would like the design to be. Run your scraper tool over top, pushing the vinyl against the wood. Peel away the transfer tape, leaving your design behind on your sign.
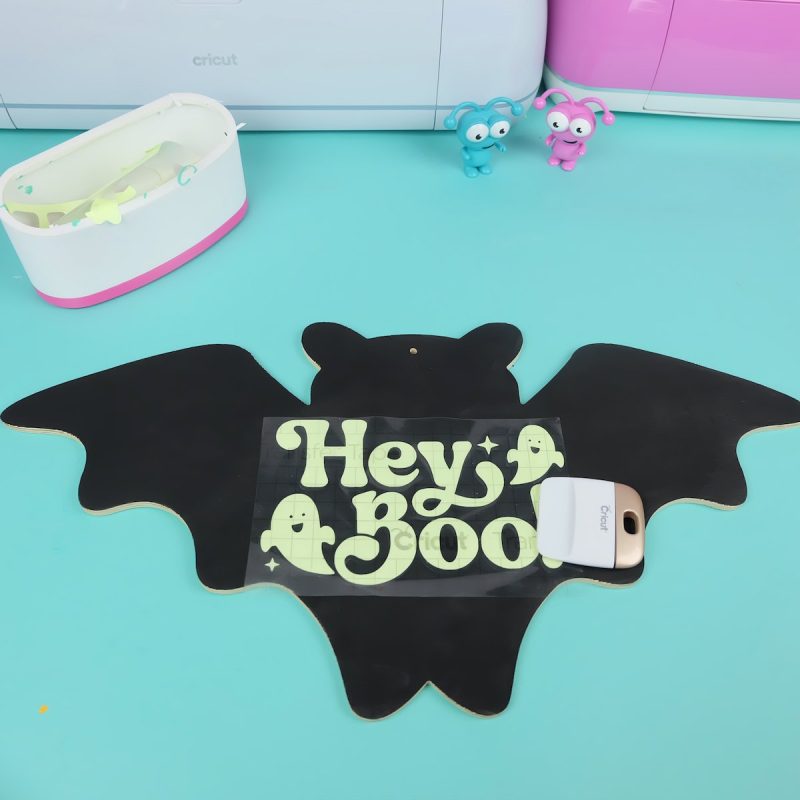
Step 7: Add a festive Halloween ribbon to hang your sign by.
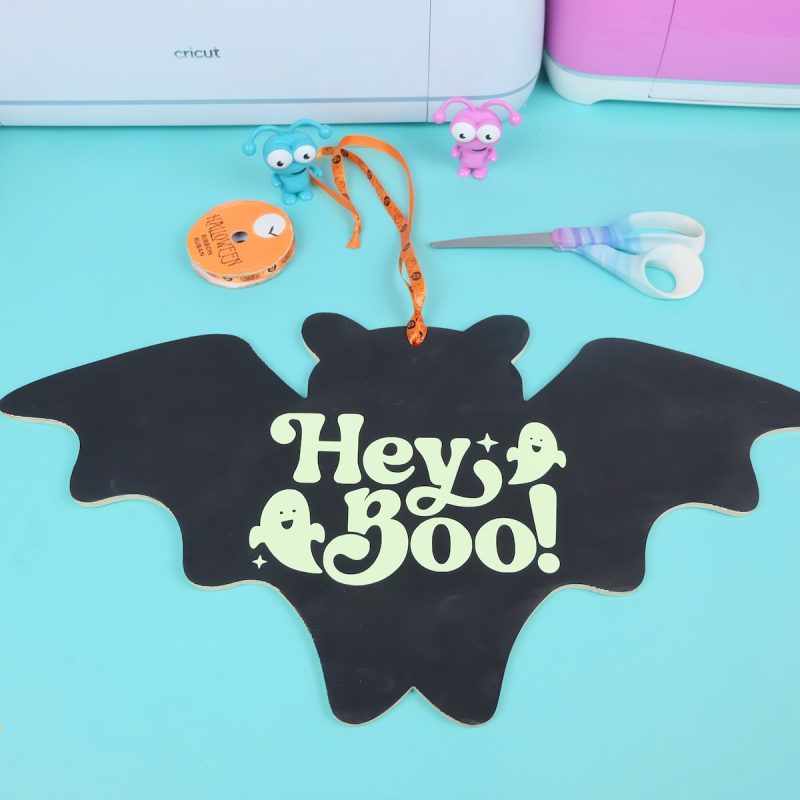
And there you have it! Your sign is complete! Hang it up and it will look adorable during the day, then glow at night!
Glow In The Dark Trick Or Treat Bag


One of the things that I love so much about glow in the dark materials is the idea of using them as a safety feature! I always get nervous on Halloween that cars driving won’t notice children in dark clothing. Adding glow in the dark iron-on to a costumer or a Trick or Treat bag is a great way to make sure that kids are more noticeable in the dark.
Materials:
- Cricut cutting machine
- Black tote bag
- Measuring tape
- Standard Grip Cutting Mat
- Cricut Glow In The Dark Iron-on
- Weeding tools
- Scissors
- Cricut EasyPress, Cricut AutoPress or iron
- Iron-On Protective Sheet
Directions:
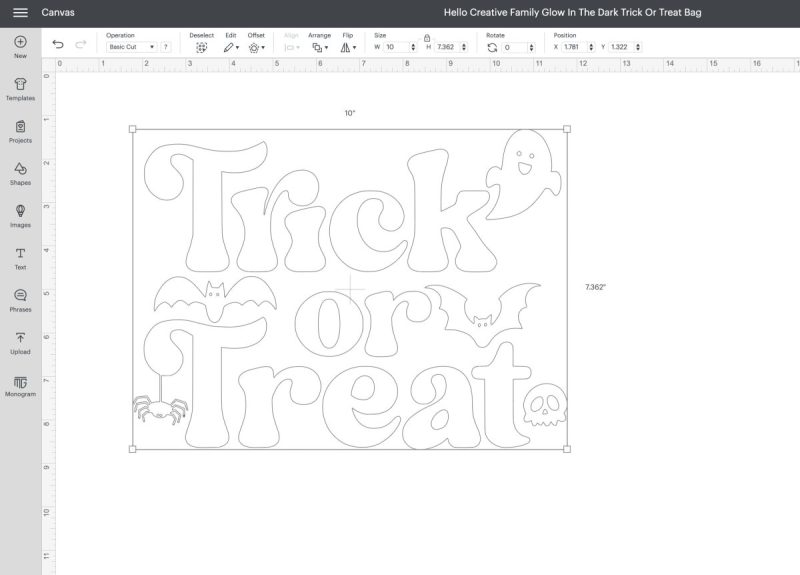
Step 1: Open Cricut Design Space. You can find my Glow In The Dark Trick Or Treat Bag Design Space Canvas here. I have already hidden the back, black layer. Measure your tote bag to determine how large you would like your design to be. Use the size arrows, or the size tool to correctly size your design.
Step 2: Click “Make It”. Click the mirror slider to mirror your design. Follow the instructions on your screen to connect your machine and select Glow In The Dark Iron-On as your cutting material. Lay your iron-on on you cutting mat with the shiny color side facing down. Load the mat into your Cricut and press the button to start cutting.
Step 3: Once your machine is done cutting, unload your mat, remove the vinyl and weed away the excess vinyl surrounding your design. Don’t forget inside the letters (e, a, and o’s) as well as the ghosts, bats, spiders and skulls eyes and mouth.
Step 4: Check the Cricut temperature guide for the pressing instructions for the fabric of bag you are using. My bag was made of polyester so I pre-heated my Cricut Autopress to 305 degrees. Once my press came to temperature I pressed my bag for 5 seconds. Then I laid my design on my bag where I wanted it, covered it with an iron-on protective sheet and heated for 40 seconds.
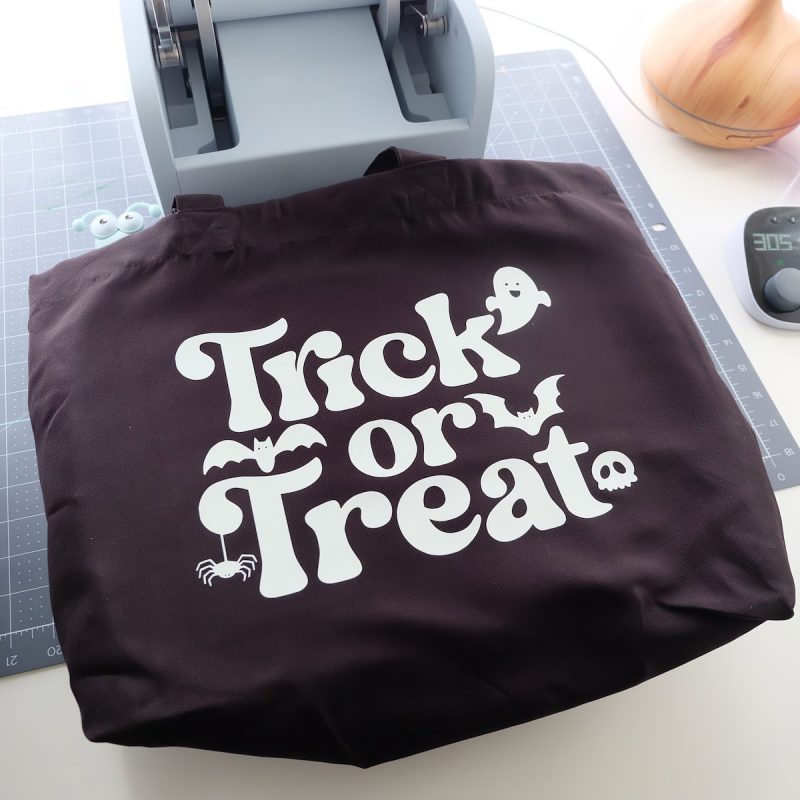
Once your bag is cool to the touch, carefully peel away the clear plastic liner, revealing your design beneath.
I had so much fun experimenting with Cricut Glow-In The Dark products. It’s just so perfect for Halloween decorations and costumes! I can’t wait to get crafting and use them for even more projects– t-shirts, hoodies, decorations, wall decals, Halloween costumes, pillowcases, mugs, night lights, seasonal decor and so much more!
The glow is just so bright! It truly provides awe-inspiring results!
Is this a product that you will try out?
Print these projects for later:
Cricut Glow In The Dark Vinyl and Iron-On Projects
Materials
Glow In The Dark Wood Hey Boo Bat Sign
- Cricut cutting machine
- Wood bat sign
- Black acrylic paint
- Paint brush
- Measuring tape
- Standard Grip Cutting Mat
- Cricut Glow In The Dark Vinyl
- Weeding tools
- Transfer Tape
- Scissors
- Scraper Tool
- Halloween ribbon
Glow In The Dark Trick Or Treat Bag
Instructions
Glow In The Dark Wood Hey Boo Bat Sign
- Paint your wood bat sign using black acrylic paint and a paint brush. Do multiple coats if needed allowing to dry between each coat.
- Open my Cricut Design Space Project. Measure your wood sign to determine how large you would like your design to be. Use the size arrows, or the size tool to correctly size your design.
- Click “Make It”. Follow the instructions on your screen to connect your machine and select Glow In The Dark Vinyl as your cutting material. Lay your vinyl on you cutting mat with the color side facing up. Load the mat into your Cricut and press the button to start cutting.
- Once your machine is done cutting, unload your mat, remove the vinyl and weed away the excess vinyl surrounding your design. Don’t forget inside the letters (e, y, and o’s) as well as the ghosts eyes and mouth.
- Cut a piece of transfer tape slightly larger than your design. Peel off the paper backing and lay your transfer tape on top of the design with the sticky side of the transfer tape pressed down against the vinyl. Run your scraper tool all over the transfer tape, pushing the vinyl onto the transfer tape. Don’t forget to flip your design over and burnish on the back as well. Lift your transfer tape, peeling the vinyl design away from the paper backing.
- Determine where you would like your design on the sign, then position your transfer tape where you would like the design to be. Run your scraper tool over top, pushing the vinyl against the wood. Peel away the transfer tape, leaving your design behind on your sign.
- Add a festive Halloween ribbon to hang your sign by. Hang it up and it will look adorable during the day, then glow at night!
Glow In The Dark Trick Or Treat Bag
- Open my Cricut Design Space Project. Measure your tote bag to determine how large you would like your design to be. Use the size arrows, or the size tool to correctly size your design.
- Click “Make It”. Click the mirror slider to mirror your design. Follow the instructions on your screen to connect your machine and select Glow In The Dark Iron-On as your cutting material. Lay your iron-on on you cutting mat with the shiny color side facing down. Load the mat into your Cricut and press the button to start cutting.
- Once your machine is done cutting, unload your mat, remove the vinyl and weed away the excess vinyl surrounding your design. Don’t forget inside the letters (e, a, and o’s) as well as the ghosts, bats, spiders and skulls eyes and mouth.
- Check the Cricut temperature guide for the pressing instructions for the fabric of bag you are using. My bag was made of polyester so I pre-heated my Cricut Autopress to 305 degrees. Once my press came to temperature I pressed my bag for 5 seconds. Then I laid my design on my bag where I wanted it, covered it with an iron-on protective sheet and heated for 40 seconds.
- Once your bag is cool to the touch, carefully peel away the clear plastic liner, revealing your design beneath.

Need supplies to make all your amazing Cricut creations? Click here for the best prices on Cricut cutting machines, bundles, iron-On, vinyl, cardstock and more!
Other Cricut Product Reviews And Tutorials
Curious about how to use other Cricut products and materials? Make sure you check out our Cricut Crafts and Cricut Basics sections. You also won’t want to miss our Free SVG section. Here are a few posts I think you’ll like!


Tell me… Will you be trying Cricut’s new Glow In The Dark products? Do you have any questions about them?
If you like this product review and tutorial I would love for you to pin it to Pinterest! It helps others discover our site which helps us bring you more awesome content like this!