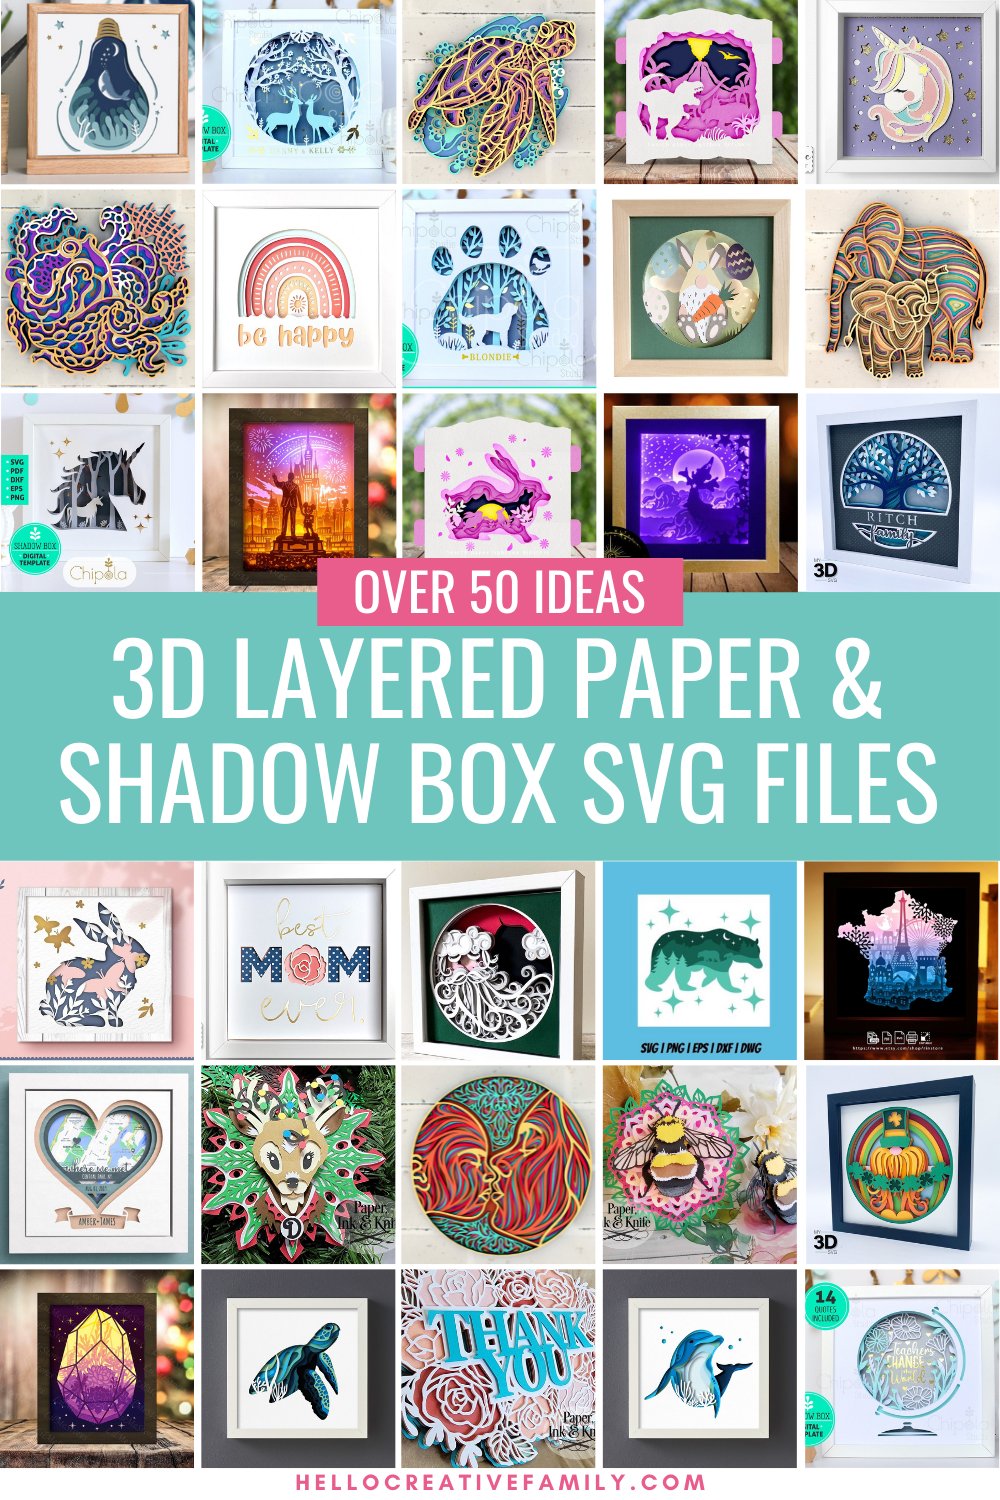
Cricut Basics-3D Layered Paper Projects Tips, Tricks and 55 Shadow Box Ideas
This post and the photos within it may contain Amazon or other affiliate links. If you purchase something through the link, I may receive a small commission at no extra charge to you.
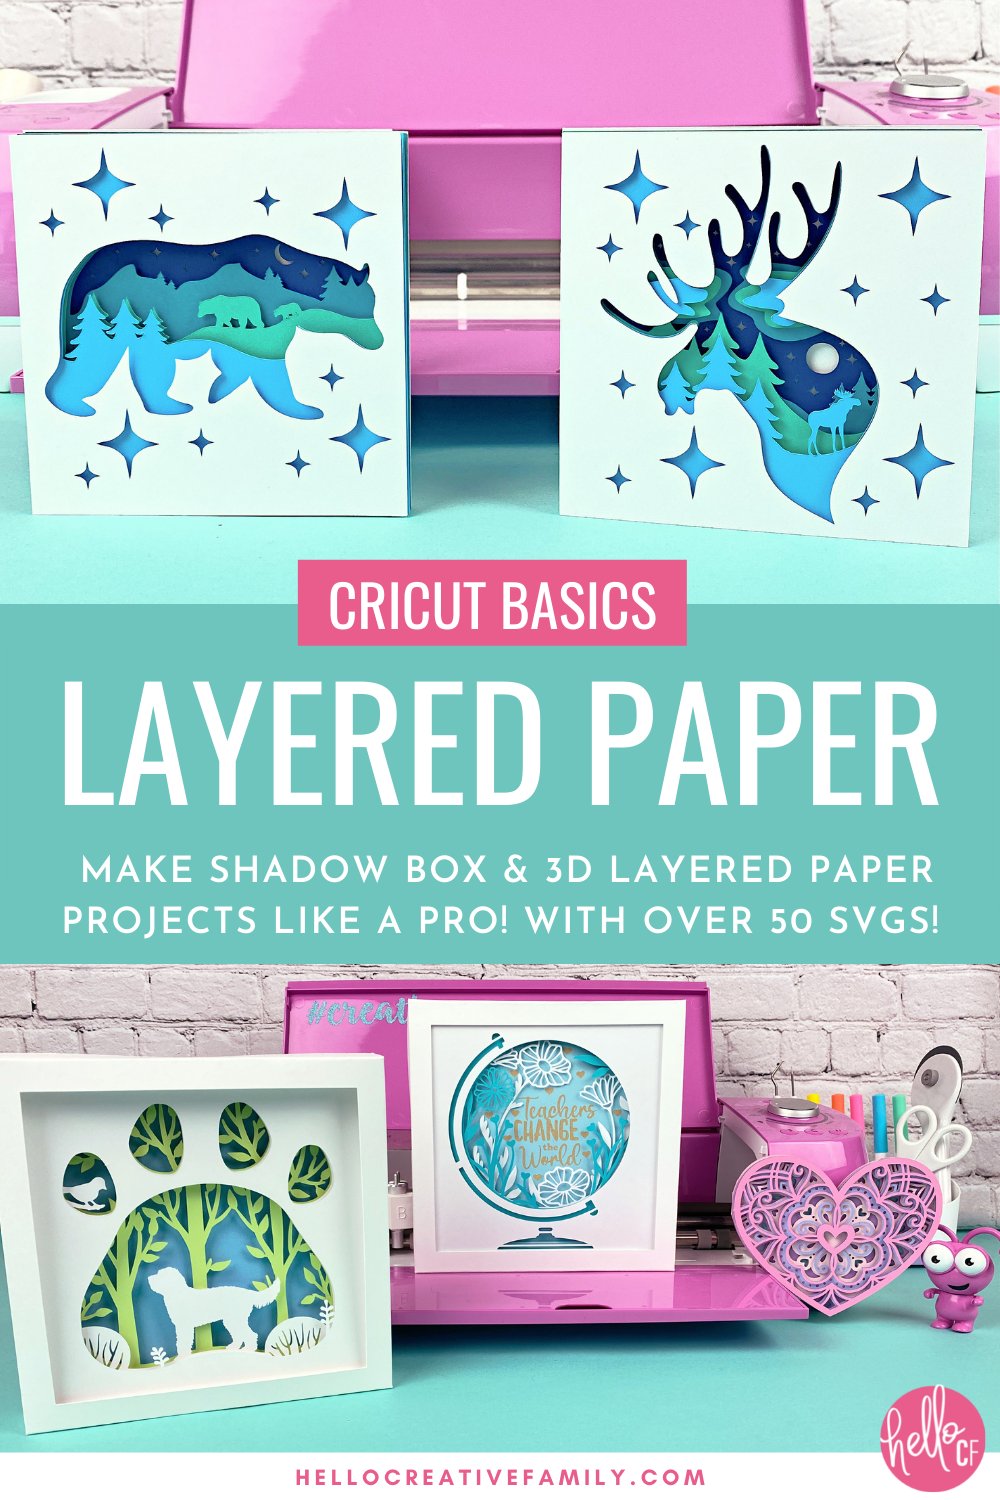
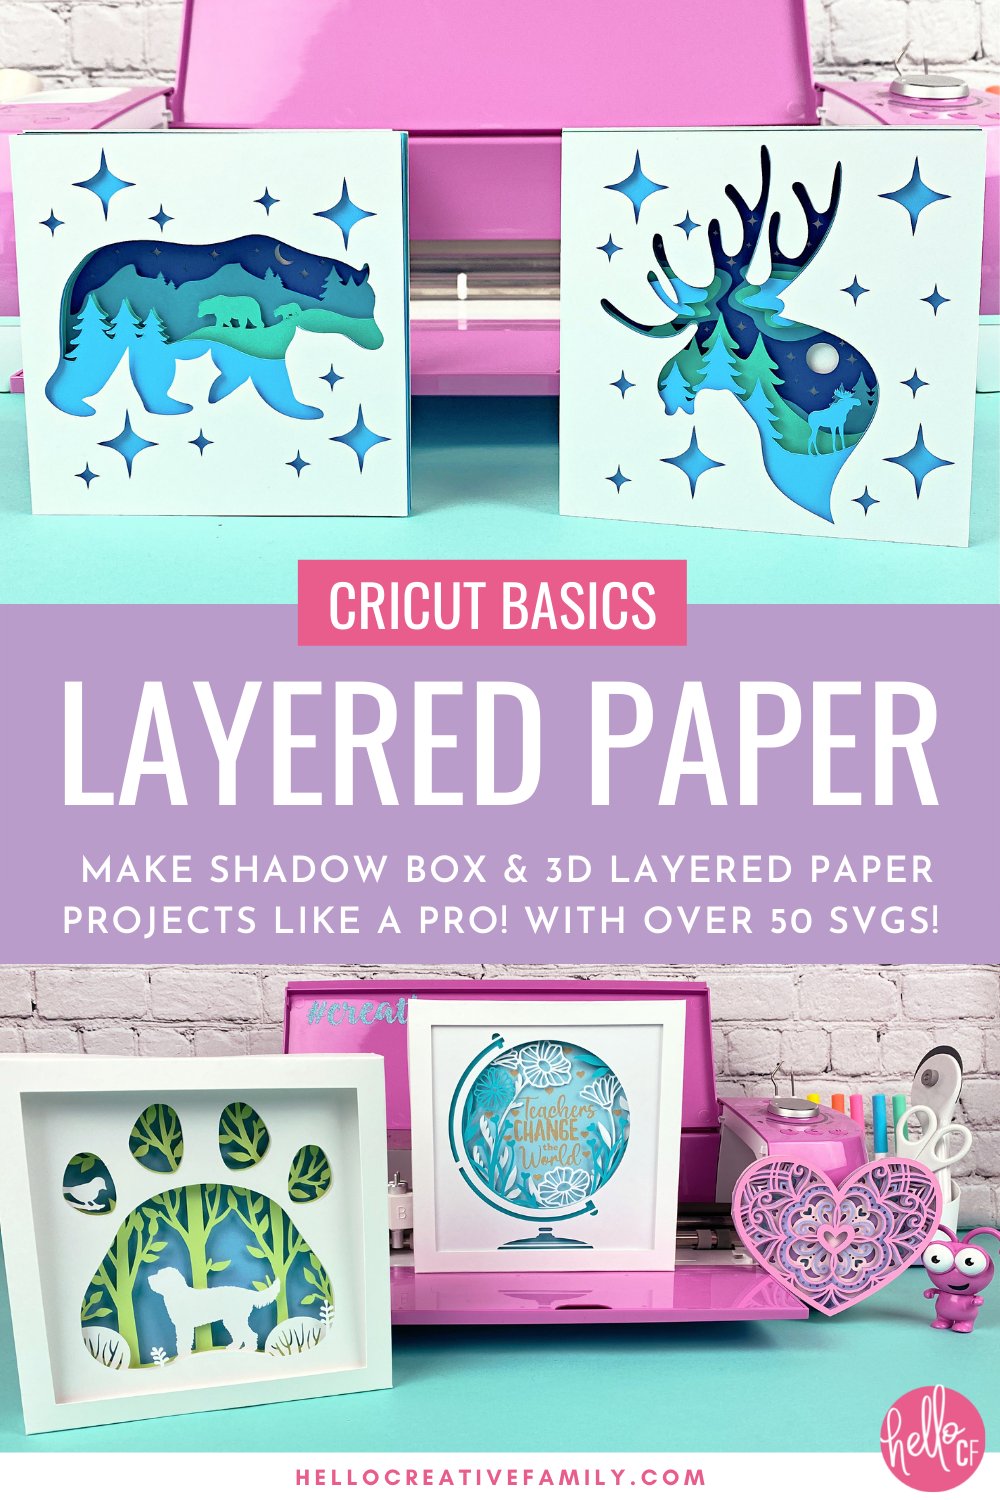
3D layered paper art projects are one of the most popular projects you can make with your Cricut cutting machine. We’re sharing a ton of tips, tricks and ideas so that you’ll be making DIY shadow box projects projects with your Cricut like a pro. Includes over 50 layered 3D SVGs!
Hi Crafty Friends!
One of my very favorite things about my Cricut is that I could easily craft with it for the rest of my life and never run out of new things to make. I’m constantly learning, experimenting with new materials, and having fun with my cutting machines.
Recently, the amazing crafters in my Cricut Facebook Group shared some incredible 3D layered paper art designs. The beautiful designs blew me away and I instantly knew what my next project would be.
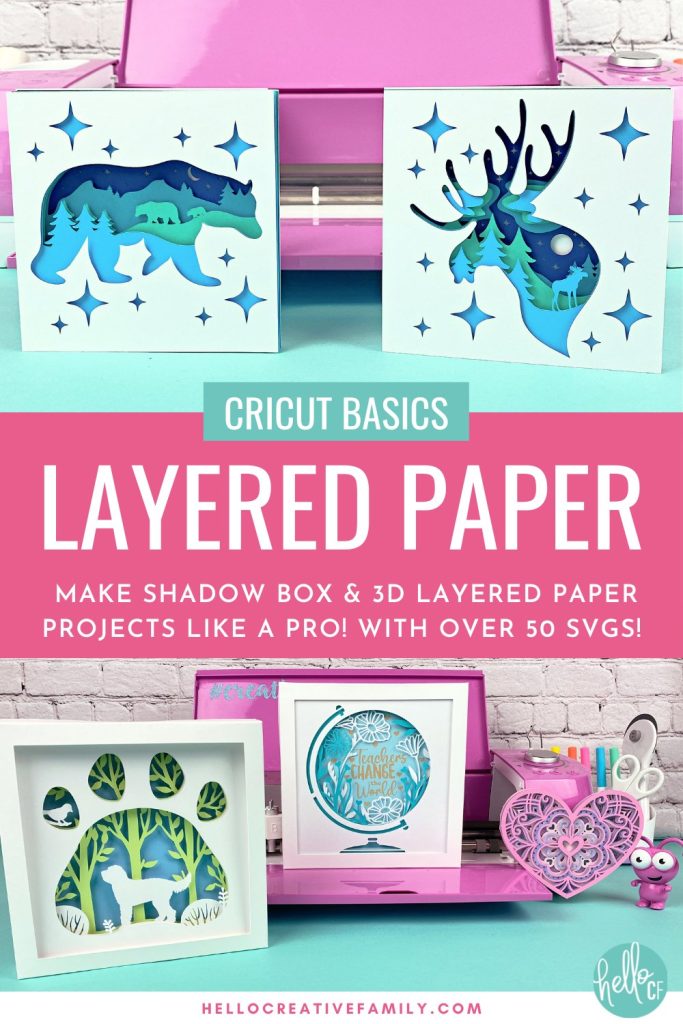
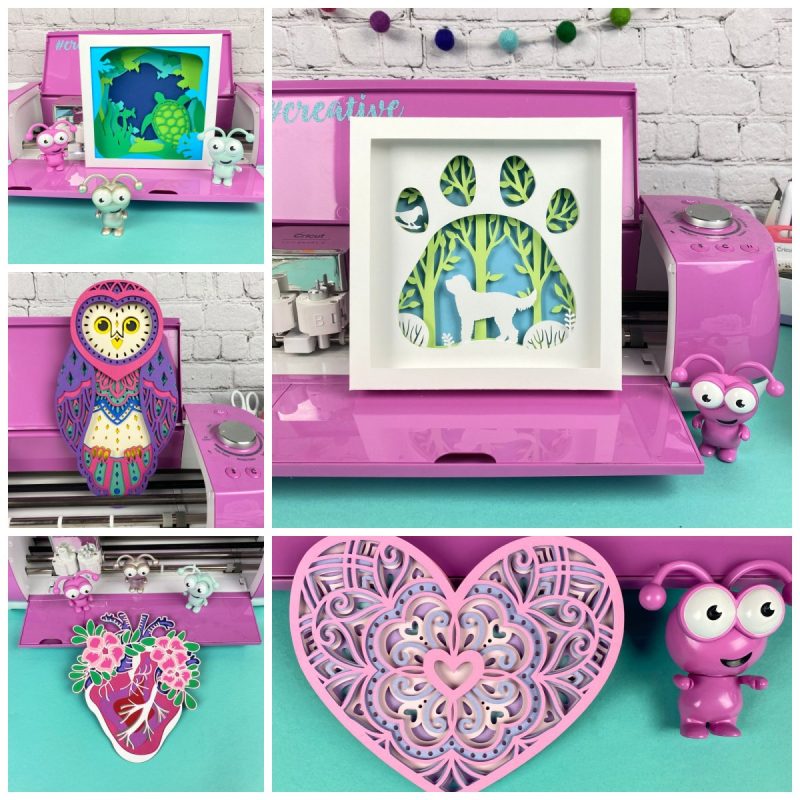
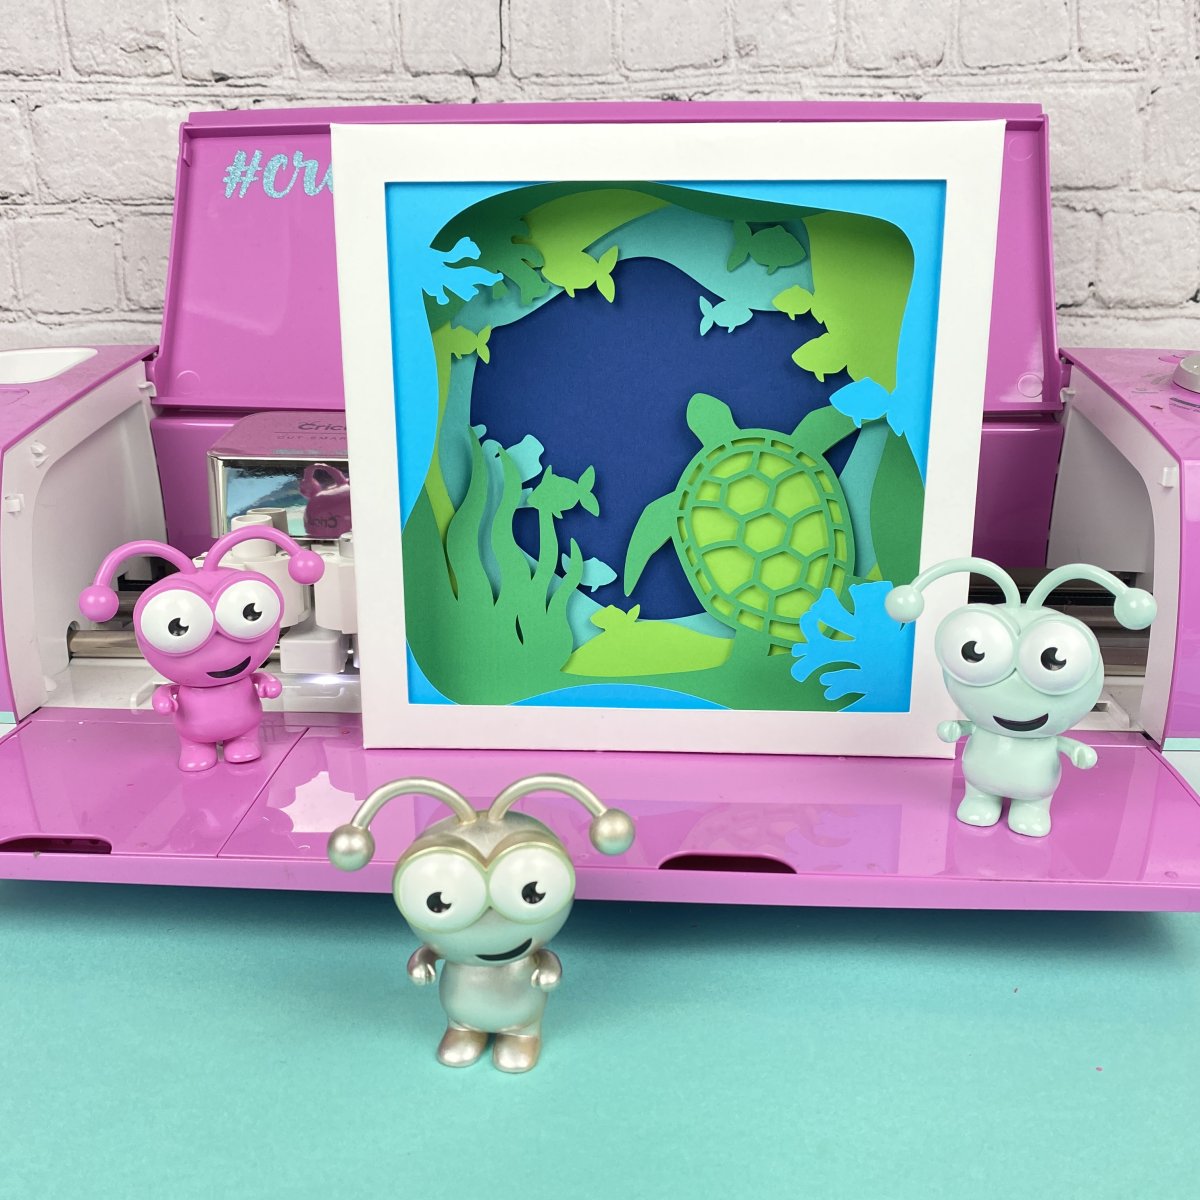
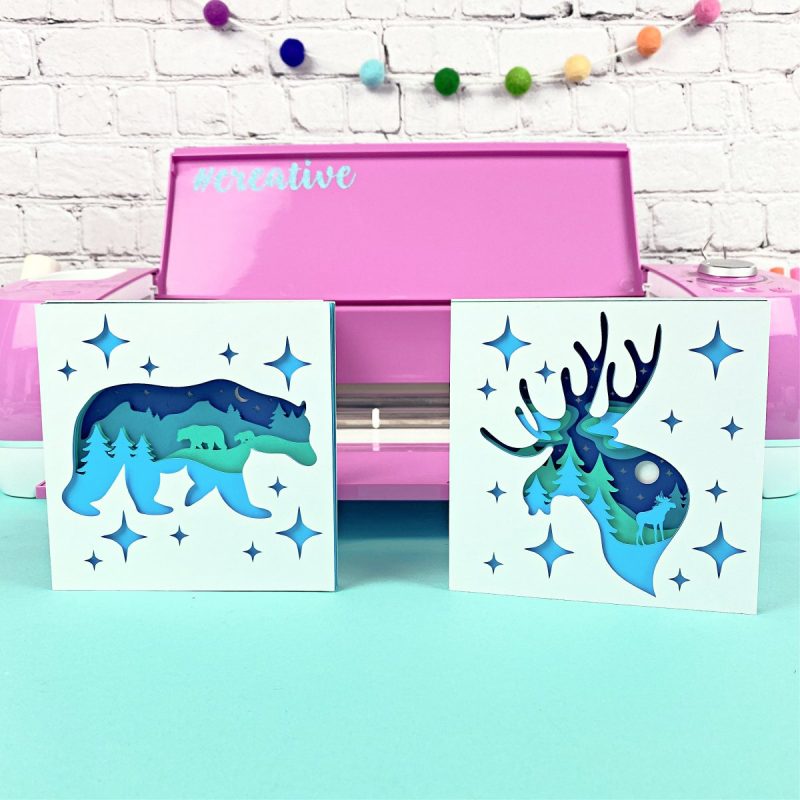
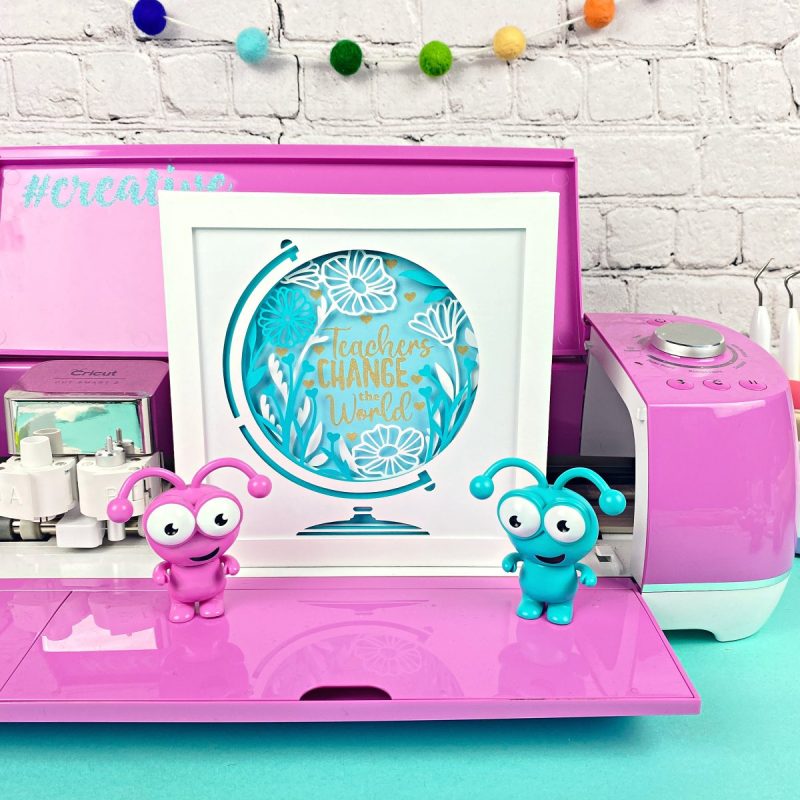
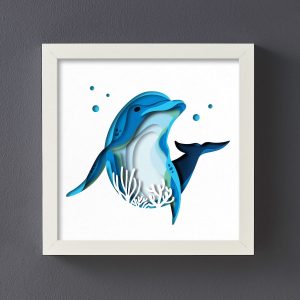
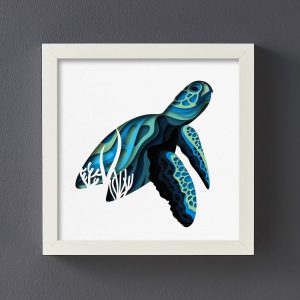
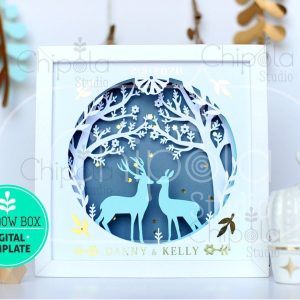
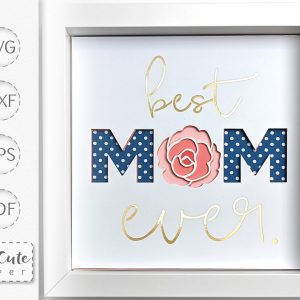
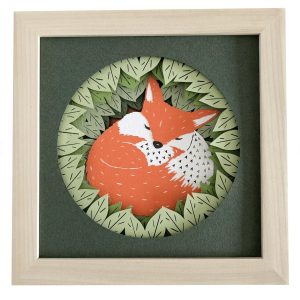
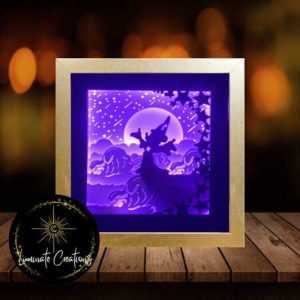
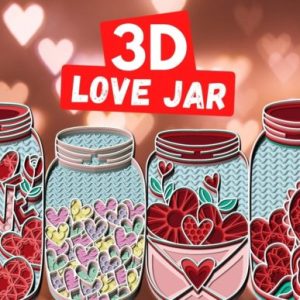
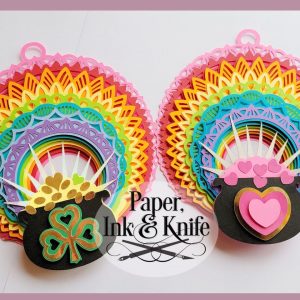
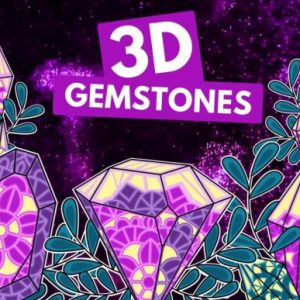
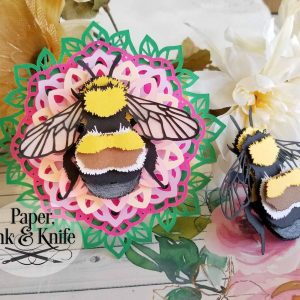
Other than paper greeting cards, I haven’t been a huge paper crafter. After seeing their designs, I got inspired to start experimenting with cardstock and my Cricut to see what I could make. After a few weeks of experimenting and trying different things, I made these shadow boxes and 3D layered paper art projects:
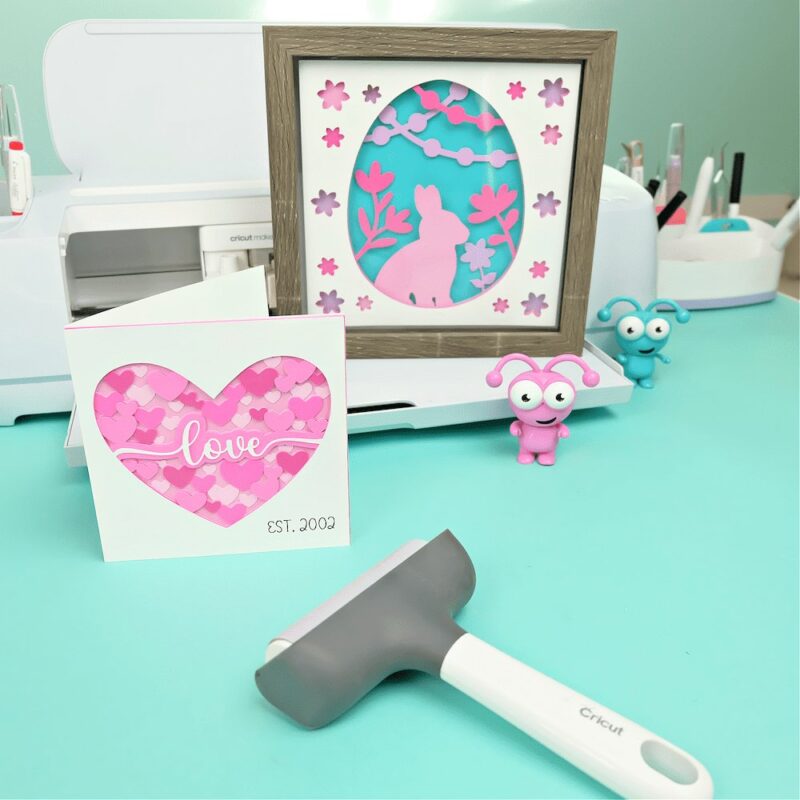
The designs were all so fun to make, and despite looking complicated and intricate, they were relatively simple to make. Not only do they make a perfect gift, I’ve actually started using them in place of greeting cards! All you need to do is add an extra solid layer on the back and write your message inside. They also make stunning home decor pieces to display in your house.
This post contains everything you needs to start making layered paper projects: lists of supplies, tips and tricks, and a list of links to my favorite 3D shadowbox SVG files as your inspiration to start your own paper journey. I’m also sharing a complete step by step tutorial to make one of these projects!
Take My Layered Paper Projects Cricut Craft Club Class Replay
Want to take your layered paper project skills to the next level? Take my Layered Paper Project Craft Club Class replay.
In this class, we:
- Learn how to create layered paper designs that can be displayed in shadow boxes, adding a beautiful, personalized touch to any space.
- Master the technique to shrink down layered paper projects and transform them into eye-catching greeting cards.
- Explore how to combine colors and textures to make each project unique and special.
In this class, you’ll get:
- Step-by-step video tutorials
- 20 free SVG files
- A supply list
- Lifetime access to the replay, so you can craft at your own pace
Join the class here and start paper crafting today!
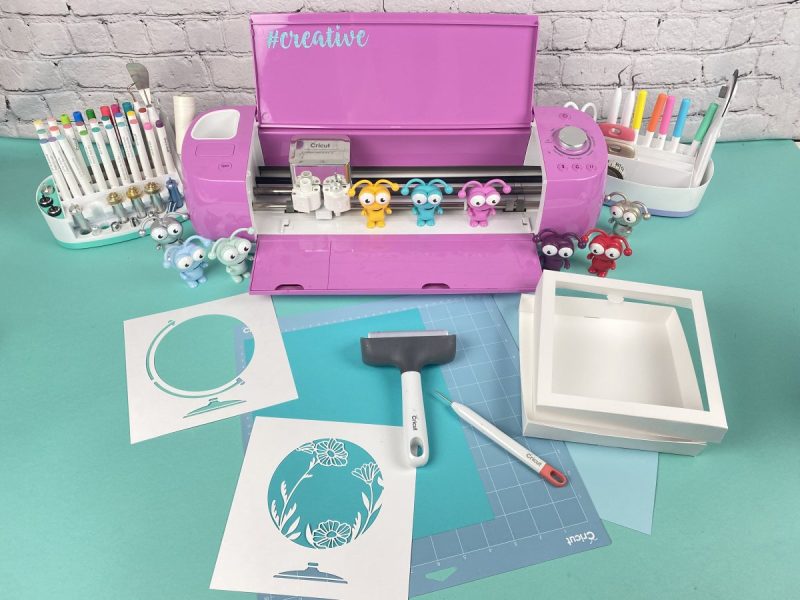
3D Layered Paper Art Projects: Start With These Supplies
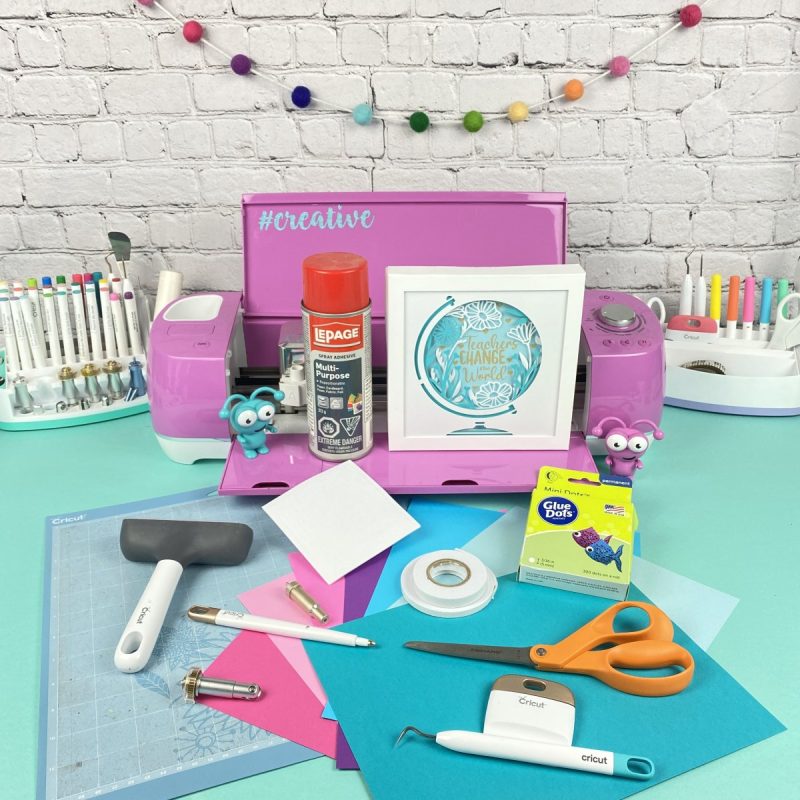
One of my favorite things about creating 3D layered paper art projects is that the supplies you need are easy to find and are inexpensive. In fact, you probably already have many of these in your craft room. No matter where you pick up your supplies–local craft shop, Amazon, even the dollar store–your project can come out professional looking. Here are my recommendations.
Cricut Supplies For 3D Paper Projects
- Cricut Machines – Maker or Explore: Why no Cricut Joy? While technically you could make teeny, tiny versions of these layered projects with your Cricut Joy, I find that the majority of the cut files have very fine details. The smaller or finer those details get, the more likely you are to experience ripping and tearing of your paper.
- Cricut LightGrip Cutting Mat: I suggest using new/newish, clean mats for these projects. You want to make sure that your cardstock is firmly adhering to the mat and that there are no areas where the paper lifts off your mat. If your cardstock lifts, you are more likely to experience a tear.
- Cricut Premium Fine Point Blade: Again, the newer and sharper the better. A dull blade will cause your paper to tear.
- Cricut Brayer tool: A brayer rolls over your cardstock and presses it down to make sure every inch adheres to the cutting mat. Especially handy to prolong the use of your mats as they start to get a bit older and loose some of their stick.
- Cricut Scraper tool: When working with paper projects, a clean mat is very important. A scraper will help you quickly remove any paper bits left behind from a previous cut.
Paper Supplies for 3D Paper Projects
Finding your favorite brands of cardstock is where a lot of the fun comes in. They come in so many colors, weights and textures. Use a 65lb to 100lb paper for best results.
- Cricut Cardstock: For a textured cardstock I really like Cricut Cardstock. It comes in 12×12 or 12×24 sizes.
- Recollections Cardstock: If you prefer a smooth cardstock, Recollections 8.5X11 65lb cardstock is a great choice. It comes in so many fun colors and cuts really nicely. I love buying big rainbow packs so that I have a huge assortment of colors on hand at all times.
- Dollarama Studio “Construction Paper”: For practicing and making mock ups, Dollarama Studio paper is a great way to keep costs down. It’s even good enough for finished projects. Dollarama Studio paper comes in a pack of 48 sheets in 12 colors for $4. While it’s labeled as “Construction Paper”, the texture and weight is similar to Recollections Cardstock.
- Kraft board: I made my own shadowboxes for my layered paper projects using my Cricut. Using kraft board as the material makes your shadowbox thick and sturdy.
Note: If making your own shadowboxes you will also need a Scoring Wheel or Scoring Stylus.
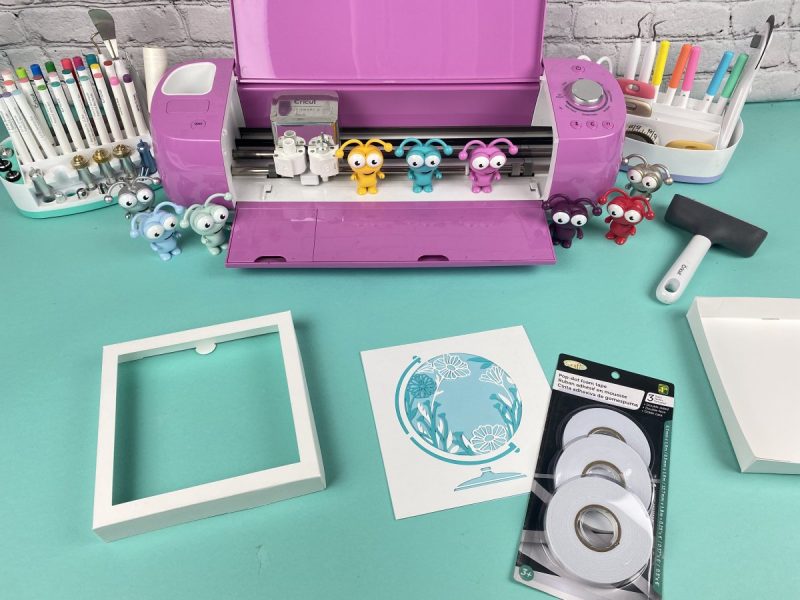
Glues and Adhesives for 3D Paper Projects
Experiment with different types of adhesive to find the best one for your specifc project.
- Foam Adhesive: Add depth to your projects using foam pads between your layers of paper. These thick, two sided foam pads are sticky on both sides and come in all kinds of shapes and sizes. I personally use a mixture of foam squares, foam tape strips and foam dots. With those and a pair of scissors I can make my adhesive as big or small as I need it. Find foam adhesive at the craft stores, dollar stores, and Michaels.
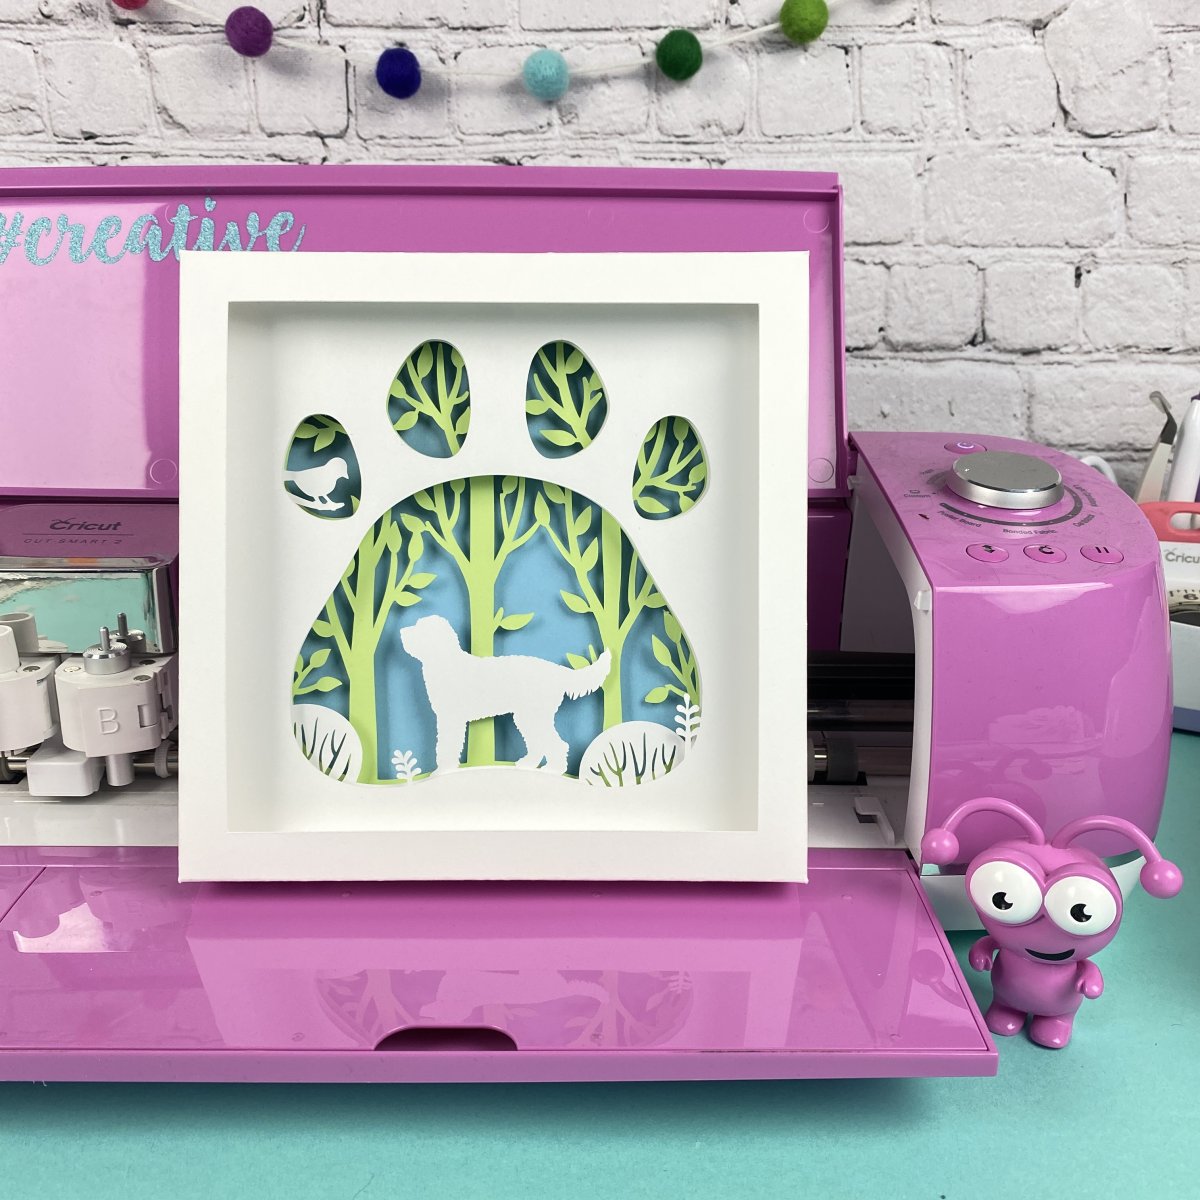
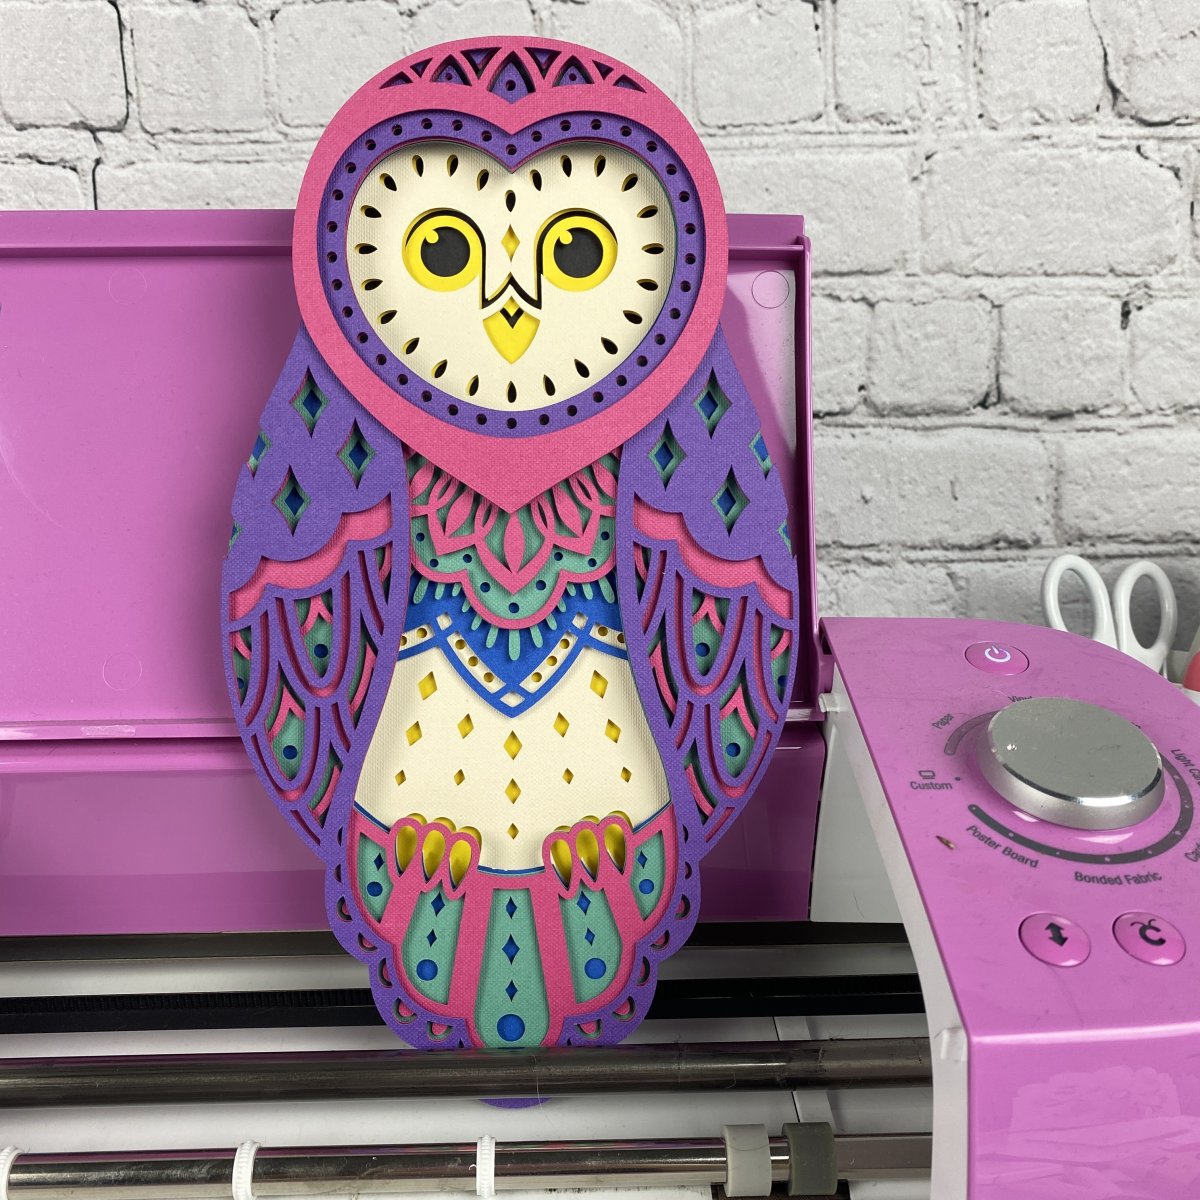
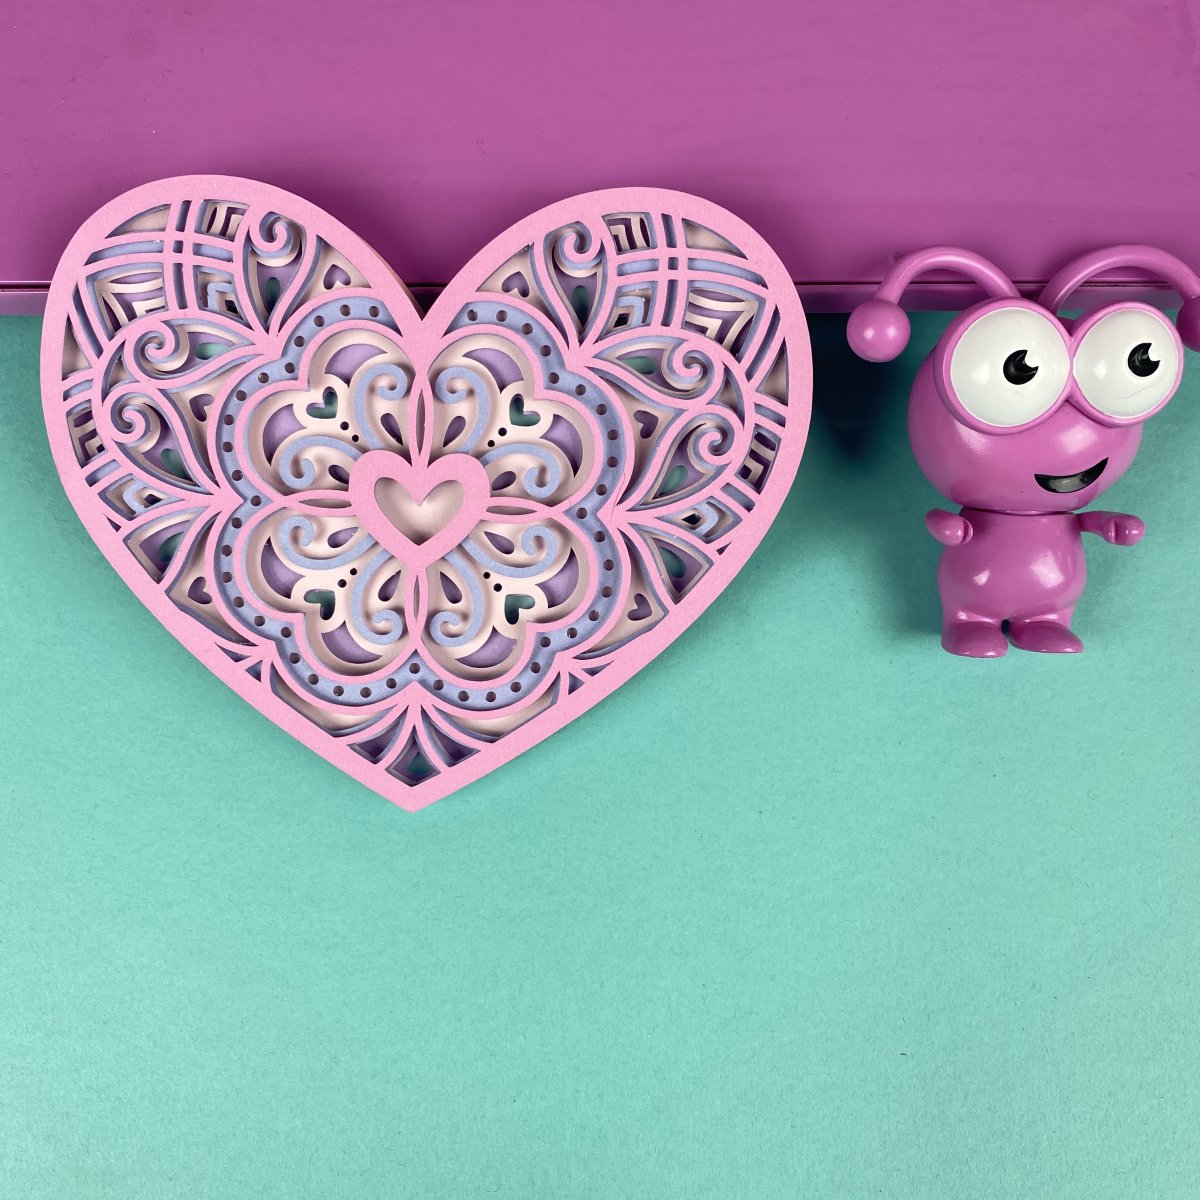
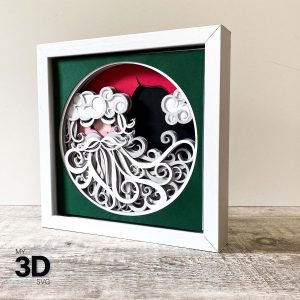
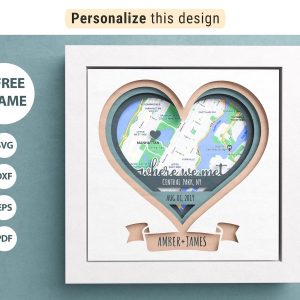
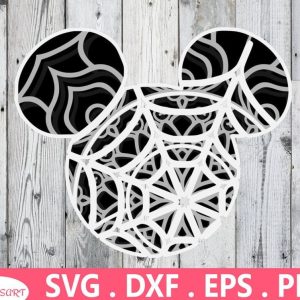
I created all four of the projects above using foam adhesive. The heart design involved cutting the foam adhesive into very small pieces.
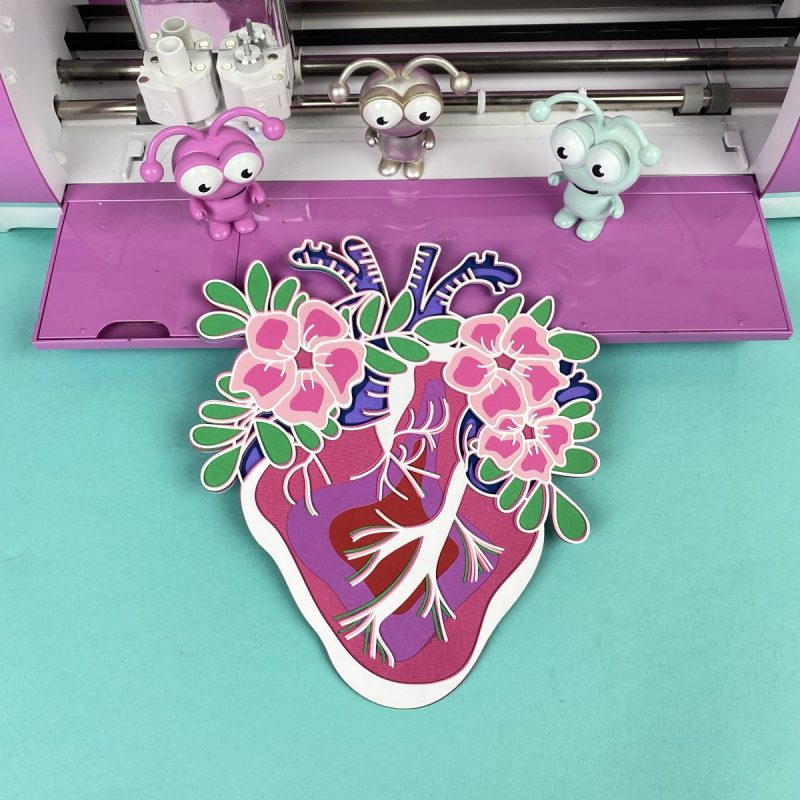
- Spray Adhesive: For a flat, very intricate project–like the anatomical heart project below–use a spray adhesive. This helps you easily cover the entire surface with glue enabling you to stick together complex pieces that may be too small for foam dots.
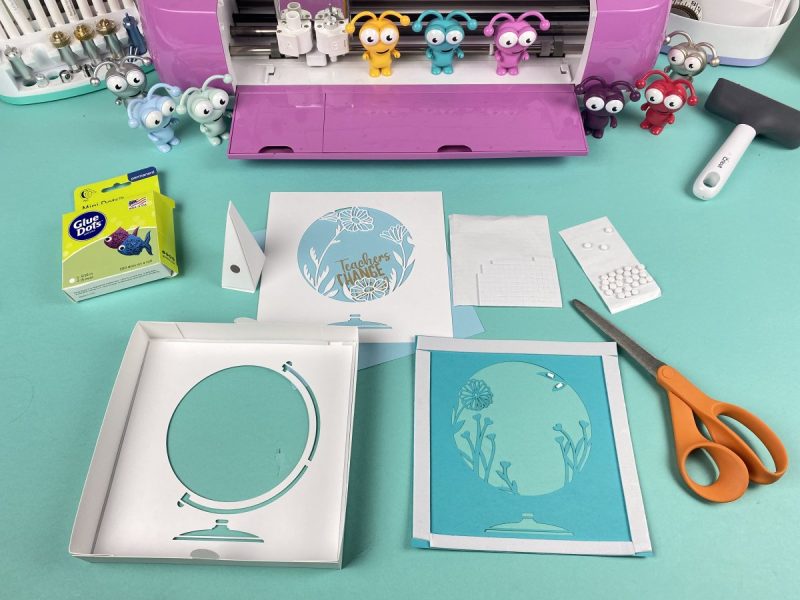
- Glue Dots: The final type of adhesive I use for my designs is glue dots. I usually have these on hand in my craft room in a variety of sizes. Again, they come in different sizes, and unlike liquid glue, they don’t make a mess.
Other Supplies for 3D Paper Projects
Here are a few optional supplies you may want to have on hand for your projects.
- Scissors: Scissors are always handy when you need to cut your foam adhesive into smaller sizes.
- Scoring Wheel or Scoring Stylus: Scoring tools are handy for creating crisp and tight fold lines. Indispensable if you are making your own shadow box craft.
- Cricut Spatula Tool: I always forget to use mine, but many crafters say that it really helps for lifting cut paper pieces off your cutting mat.
- Cricut Weeding Tools: These can come in handy for popping small pieces out of your cardstock. You could also use a craft knife or an X-Acto knife.
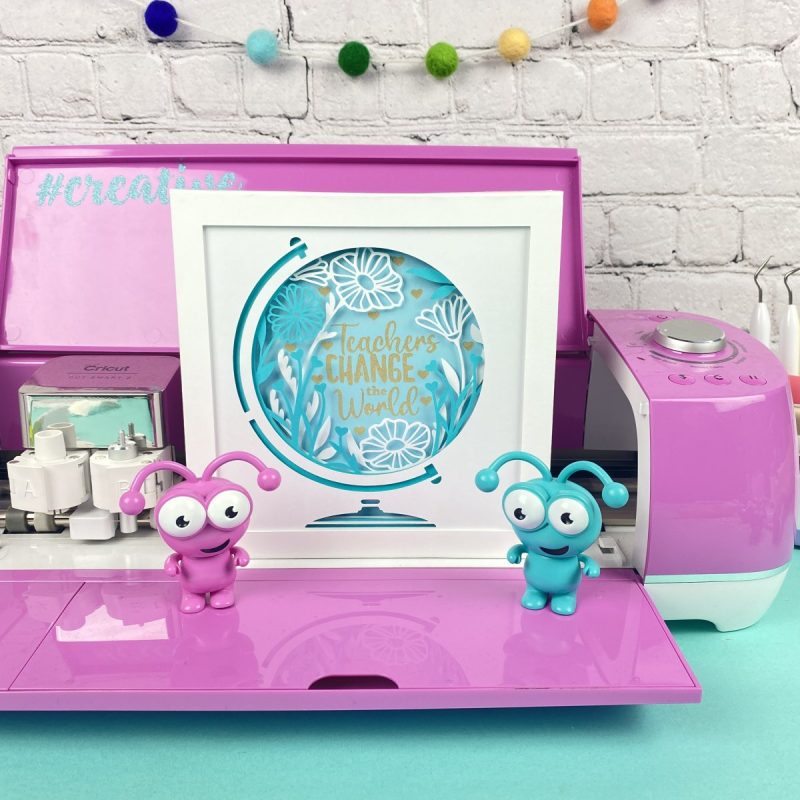
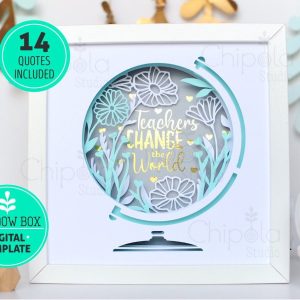
- Cricut Adhesive Vinyl and Transfer Tape: Some shadow boxes will have vinyl designs that you add to your shadowbox layers for an extra embellishment (like the “Teachers Change The World” shadowbox I made.) You will want to have vinyl and transfer tape on hand for this. I used glitter vinyl for my project to add an extra sparkle.
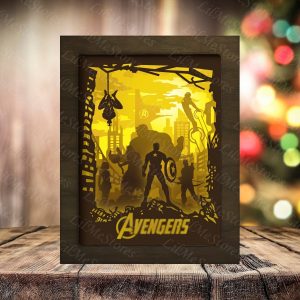
- Fairy lights: Many people like to light up their shadowbox projects. Battery operated fairy lights are an easy way to do this.
- Shadowbox: Display your beautiful project in a shadowbox! Want to DIY your own? I love this Shadowbox SVG File from Chipola Studios.
3D Layered Paper Art Projects: Tips and Tricks
Now that you’ve collected all of your supplies, let’s go over some best practices to help make sure your layered paper projects come out successful.
Tip 1- Have a “paper only” cutting blade
Similar to how many crafters have different scissors for different types of cutting materials (I wouldn’t dream of using my fabric scissors to cut paper!), I have different blades for different types of materials. One blade is specifically for paper, one for vinyl, another one for HTV. Blades used for vinyl develop a sticky residue that can tear up your project. I tell my blades apart by having them in different colors of housing but you can use a different colors of permanent marker or nail polish to mark and tell them apart.
Tip 2- Check your blade between each cut
Remove the blade housing from your Cricut between each cut and lightly press the plunger at the top to reveal the blade. Carefully check and remove any paper bits stuck in the housing. The more intricate your designs become, the more likely small bits of paper will get stuck in your blade and cause tears.
Tip 3- Use a clean, sticky Cricut LightGrip Cutting Mat
For cardstock, the blue LightGrip mat works best. Always make sure your mat is clean of any debris. Putting a new sheet of paper on top of a bumpy dirty mat will cause miscuts or/or tears. Scraping your mat with a scraper tool quickly cleans it and makes sure your next cut is perfect.
Tip 4- Bray your paper to the mat
Roll a brayer tool over your paper once applying it to the mat. This ensures that every square inch of your paper adhereds to the mat and that no areas lift while cutting.
Tip 5- Roll/bend your mat slightly to release the paper
Remove you paper project off your mat by gently rolling or curling your mat to make your project pop up off the mat. Never peel paper off the mat as this causes the paper to curl. Work very slowly to avoid your tearing your project, especially with intricate cuts, .
Tip 6- Mirror your design
This tip comes from Vera at Chipola Studios: “When cutting cardstock I like to use the “mirror” mode “on”. Usually the side that faces the mat gets a smoother cut. This side will be shown to the viewer.”
Tip 7- Start with easy designs and work your way up to more complicated
I love easy-to-line-up designs like the designs at Chipola Studios. All of Vera’s designs have square edges so all you have to do is line up the squares and your designs are perfectly aligned.
Tip 8- Line up your design before attaching them all together
Before glueing the layers of your project together, lay out your design on your work surface. Stack all the parts together to make sure all your pieces are present and that they are all turned in the proper orientation. Once it’s all laid out and you’ve made sure that everything is accounted for, glue everything together.
Tip 9- If at first you don’t succeed, try, try again
This saying is especially true with really intricate cuts. Occasionally pieces just don’t cut properly the first (second, third or fourth) time. If you experience tearing, try a new mat and/or a new blade. If those don’t work or you continue to experience issues, consider making your design larger. And lastly, if that still doesn’t work, try the project with a different type/brand/kind of paper.
Tip 10- Have fun!
Crafting is fun! If you aren’t having fun, take a break or try a different project!
Step By Step Tutorial for a Cricut 3D Shadow Box Project
As promised earlier, here is a project with a complete step by step tutorial to make a layered paper project. This is a great starter project to get your feet wet because it has a good balance of simplicity and intricacy. Have fun choosing colors and papers and don’t be scared to play with different combinations and textures!
Materials
- Cricut Maker or Cricut Explore
- Cricut LightGrip Cutting Mat
- Cricut Fine Point Blade
- Cricut Brayer Tool
- Cricut Scraper Tool
- Cardstock
- Adhesive of choice (check out my suggestions in the supplies section above)
Instructions
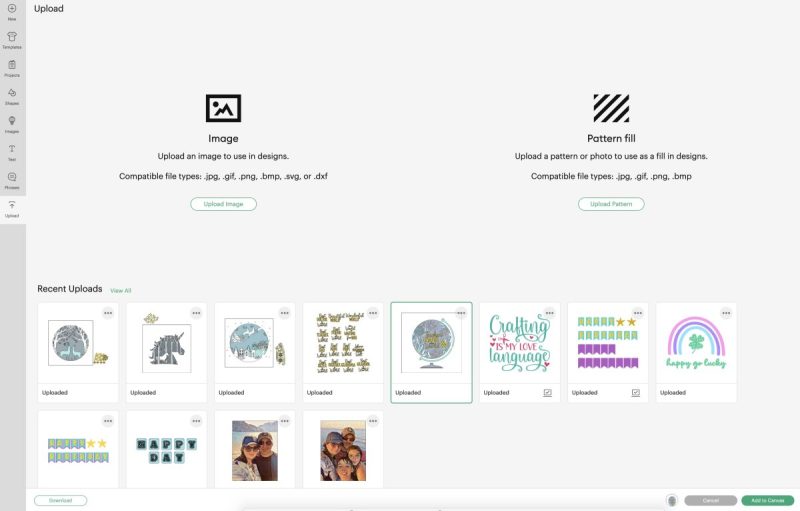
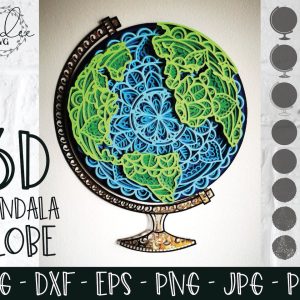
Step 1: Upload your design to Cricut Design Space or choose a design from within Design Space. Insert images onto your canvas. Hint: Search “Mandala” in Cricut Access for some layered project ideas.
For information on how to upload a design to Design Space see this post.
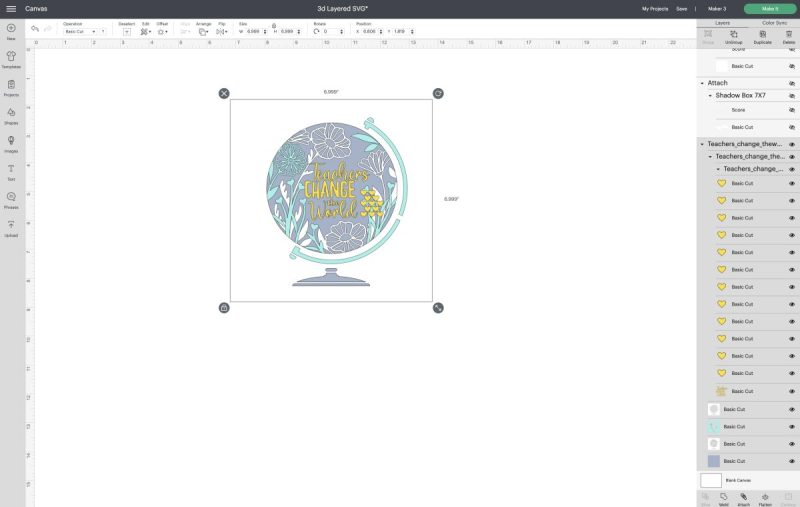
Step 2: Size your design by clicking on the design and then using the arrows that appear in the bottom right hand corner or by using the sizing tool in the toolbar.
Step 3: Click “Make It”. Mirror each cutting mat (if following Vera from Chipolla’s tip above). In the dropdown menu under each cutting mat, select the size of paper you are using. Click continue and then select the type of paper you are using.
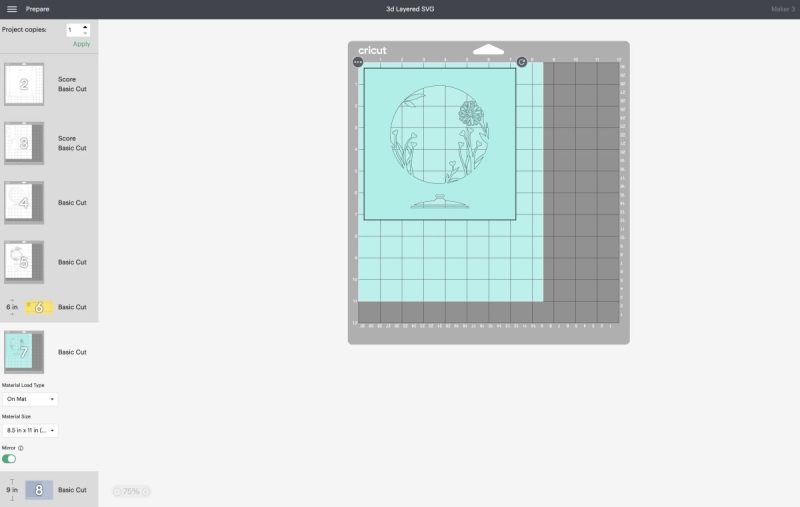
Step 4: Load your paper onto your LightGrip cutting mat. Roll your brayer overtop to push it onto your cutting mat.
Step 5: Load your cutting mat into your cutting machine. Follow the instructions on the screen to cut each color/layer of your design.
Remove the cardstock from the cutting mat by rolling/gently bending your mat so that the paper pops off instead of pulling the cardstock off of the mat. This avoids the cardstock from curling.
Step 6: Lay out your layers on your cutting mat so that they are all lined up in the correct order.
Step 7: Attach each layer of your project to the next layer using the adhesive of your choice. Make sure that each layer is properly aligned.
Step 8: Once all of your layers are attached to each other, pop it in a shadowbox or display it in your choice of ways!
Print these instructions for later:

Step By Step Tutorial for a Cricut 3D Shadow Box Project – Recipe Card
Instructions
- Upload your design to Design Space or choose a design from within Design Space. Insert onto your canvas.
- Size your design by clicking on the design and then using the arrows that appear in the bottom right hand corner or by using the sizing tool in the toolbar.
- Click “Make It”. Mirror each cutting mat (if following Vera from Chipolla’s tip above). In the dropdown menu under each cutting mat select the size of paper you are using. Click continue and then select the type of paper you are using.
- Load your paper onto your FineGrip cutting mat. Roll your brayer overtop to push it onto your cutting mat.
- Load your cutting mat into your Cricut. Follow the instructions on the screen to cut each color/layer of your design. Remove the cardstock from the cutting mat by rolling/gently bending your mat so that the paper pops off instead of pulling the cardstock off of the mat. This avoids the cardstock from curling.
- Lay out your layers on your cutting mat so that they are all lined up in the correct order.
- Attach each layer of your project to the next layer using the adhesive of your choice. Make sure that each layer is properly aligned.
- Once all of your layers are attached to each other, pop it in a shadowbox or display it in your choice of ways!
Equipment
- Cricut FineGrip Mat
- Adhesive of choice (check out my suggestions in the supplies section above)
Occasions To Give A DIY Shadow Box As A Gift For
Shadow boxes and layered paper cards are a beautiful way to let someone know that you care. Handmade gifts are made with love, and these projects are no exception.
Here are some of my favorite occasions to give a shadow box as a gift for:
- Birthdays (add a coin minted the year the person was born)
- Wedding (add wedding photos, pressed flowers from the bride’s bouquet, the wedding invitation, confetti and other wedding mementos)
- Anniversaries
- New Baby/ baby shower (add baby’s handprints or footprints for an extra special touch)
- As special souvenirs for an amazing family vacation (add sand, seashells, photos and other memories)
- Mother’s Day
- Father’s Day
- New Home
- Graduation/ End Of School Year (add metals, ribbons, coins minted in the year the child and other special mementos from the school years
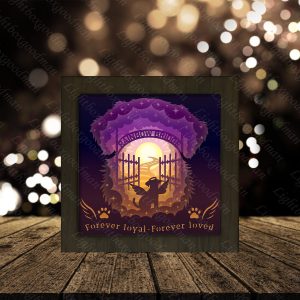
- Loss of a pet (Add the pets collar, pet tag, paw print and other special items to help them remember their pet)
- To Remember A Special Experience (add memorabillia like photos ticket stubs and more)
- So much more!
50+ 3D Layered Paper Projects and Shadow Box Ideas

You’ve got your supply list, your tips and tricks and instructions for creating and you’ve experimented with your first project. Now comes the best part: picking your own projects and craft ideas!!
Before you dive in, I want to share with you two cut files. If you are planning on making lots of shadowbox projects, these are a must to help you save money.
First is this amazing Cardstock Shadow Box Frame SVG. This cut file and accompanying instructions allow you to make DIY shadow boxes in a variety of sizes out of kraft board or cardstock to display your projects in. I used this cut file for all the shadowboxes used in my examples above in this post
Next is this Spacers Cut File. This allows you to make spacers using your Cricut to help add depth to your shadow box designs. This will help your designs really pop!
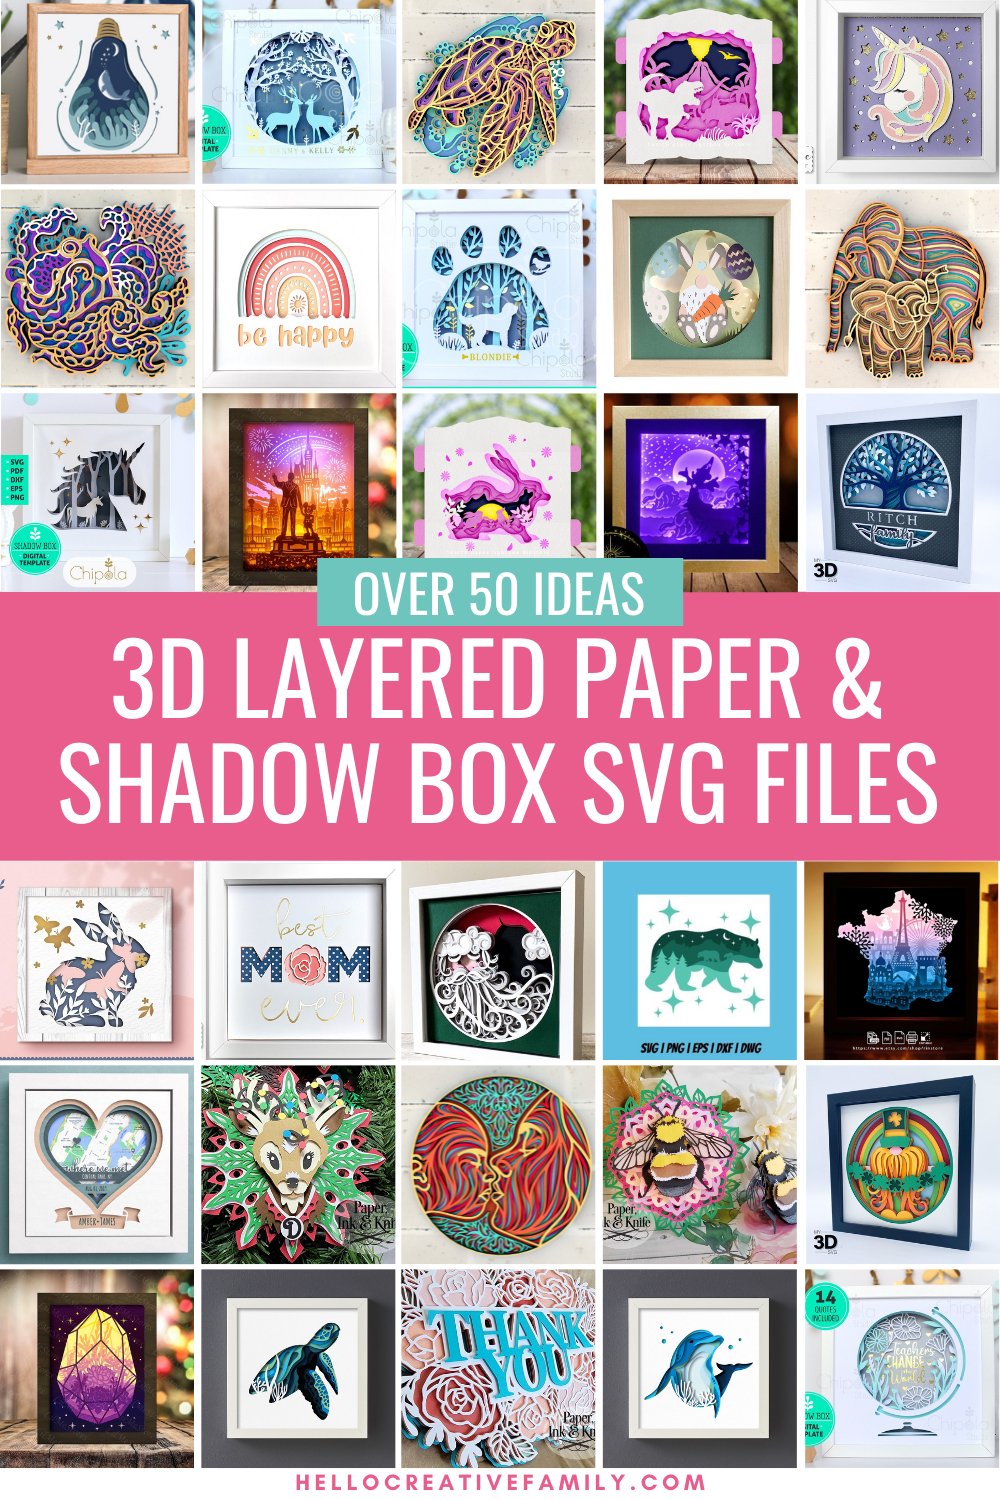
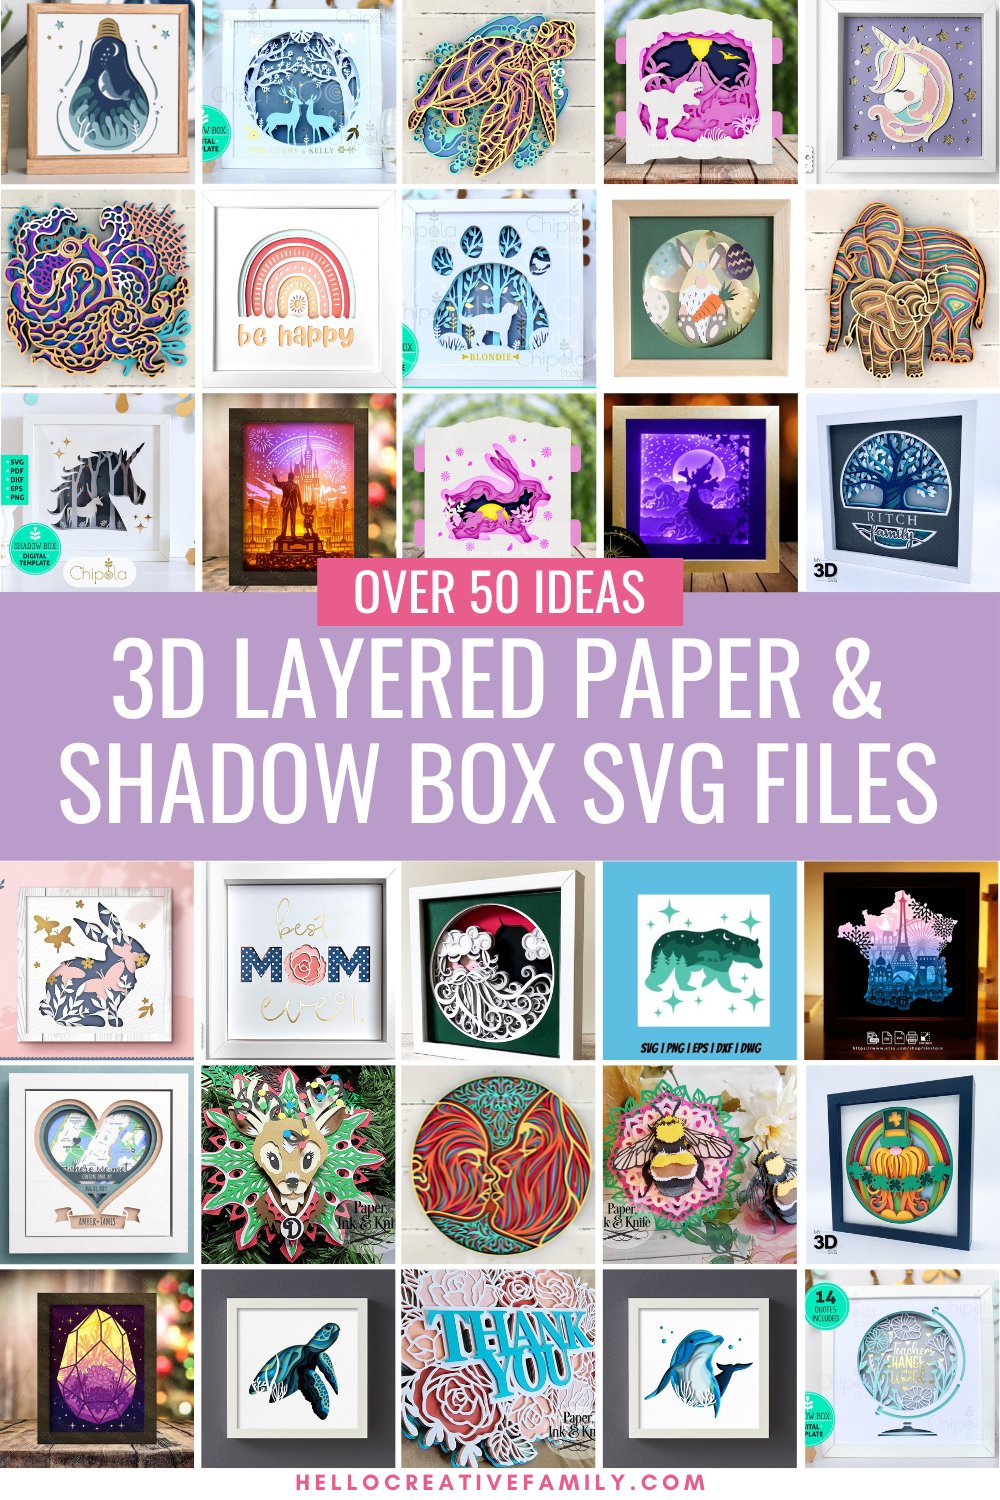
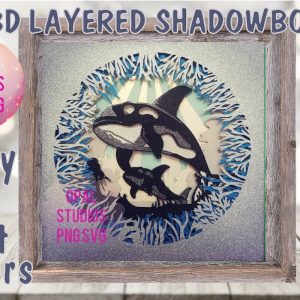
Now onto the super fun cut files! Below, I’m sharing over fifty 3D layered paper art projects ideas that I gathered from Etsy and other online shops.
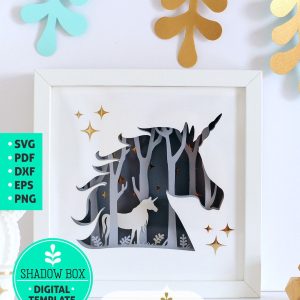
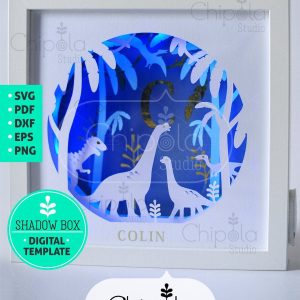
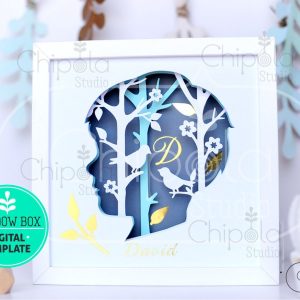
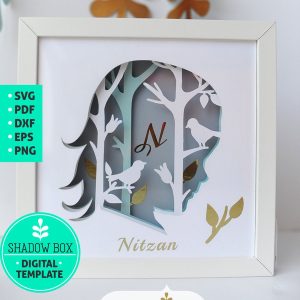
The first five are good beginner projects from Vera over at Chipola 3D Artwork. I tested many of her designs and not only are they are very good quality cut files, I love that Vera includes clear assembly instructions with each of her files.
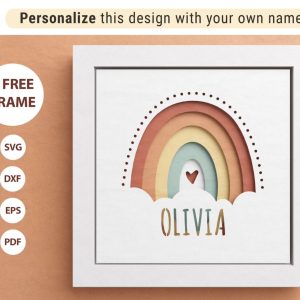
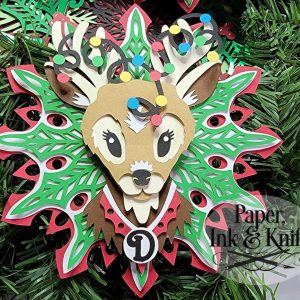
Five Beginner Paper Art Projects
These 3D Layered Paper Art Projects cut files all come with written instructions, edges that line up perfectly and only have a handful of layers each.
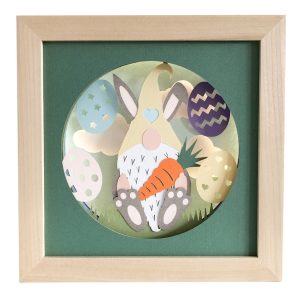
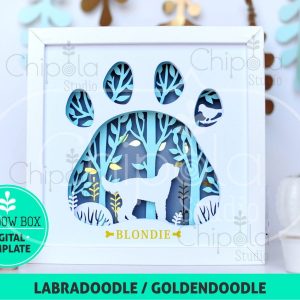
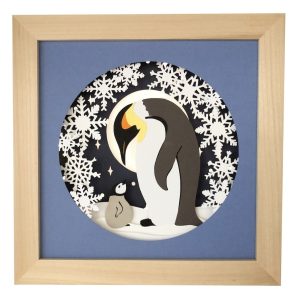
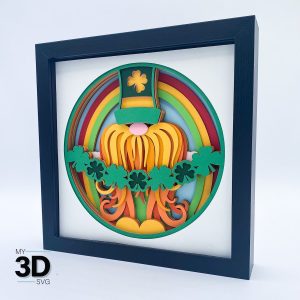
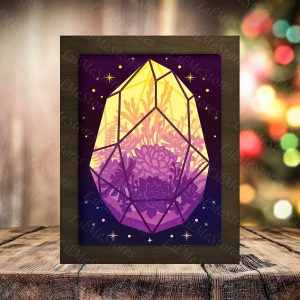
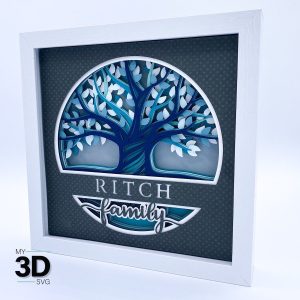
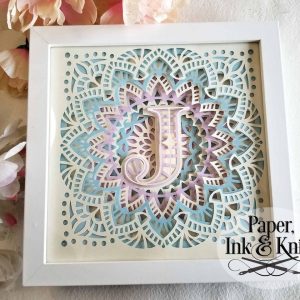
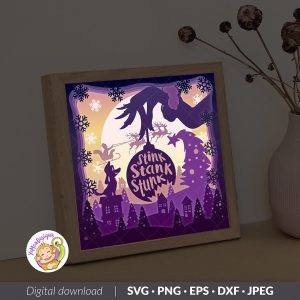
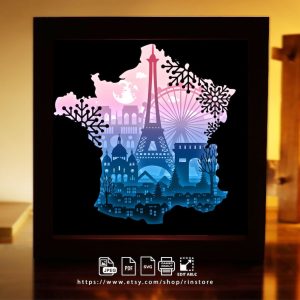
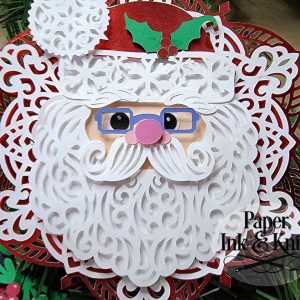
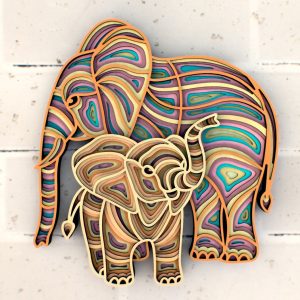
35 3D Shadow Box Ideas
Shadow box SVGs are a wonderful way for crafters to get their toes wet doing layered designs. The majority of shadow box SVGs have square edges that line up on every layers of the cut file. This makes them very easy to assemble.
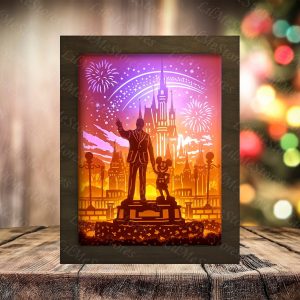
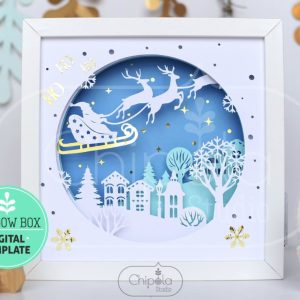
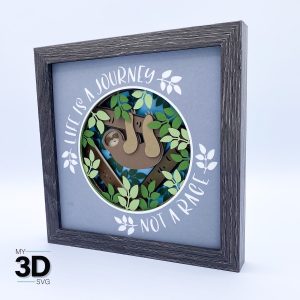
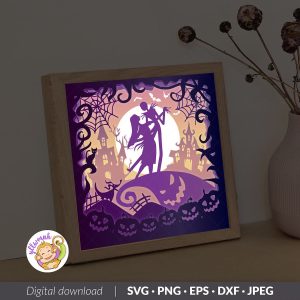
Here are 35 3D Layered Paper Art Projects that I love, that I think you will love too!


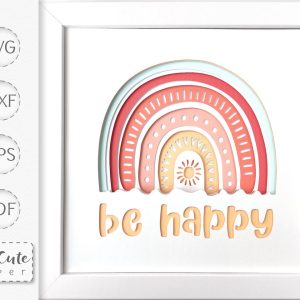

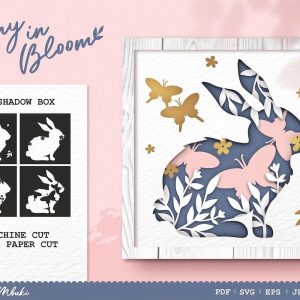


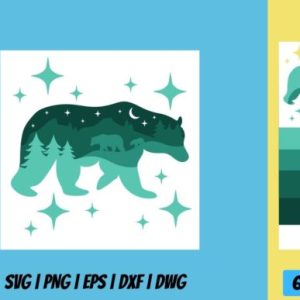


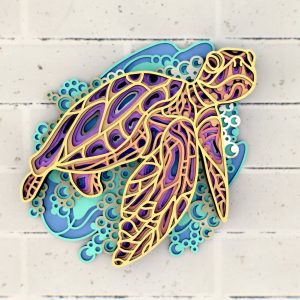
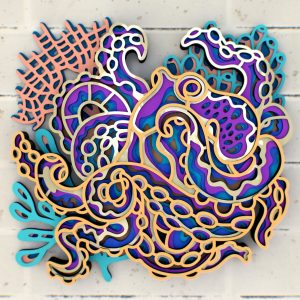
20 3D Layered Paper Project Ideas
No shadow boxes required for these gorgeous 3d layered paper projects! If you are up for a bit more of a challenge then these cut files are for you. These cut files are more advanced because most of them don’t have the square edges that line up easily the way that Shadow Box SVGs have.


Join Cricut Craft Club and Craft Live with Me
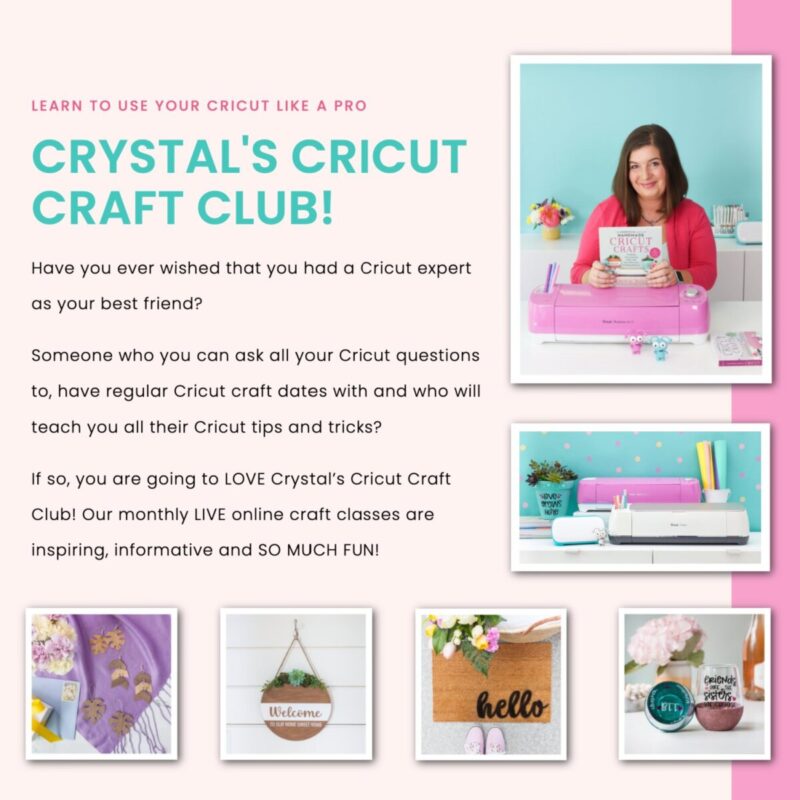
Want to gain Cricut confidence and make amazing projects every month? Sign up for the Cricut Craft Club and craft live with me on Zoom once a month! Each session is packed with fun, creativity, and hands-on learning, designed to help you master your Cricut skills and create stunning projects.
Sign up for Cricut Craft Club here and let’s craft together!
More Cricut Fun Projects!
Make sure you check out our free SVG section, as well as our Cricut Basics and Cricut Crafts sections.
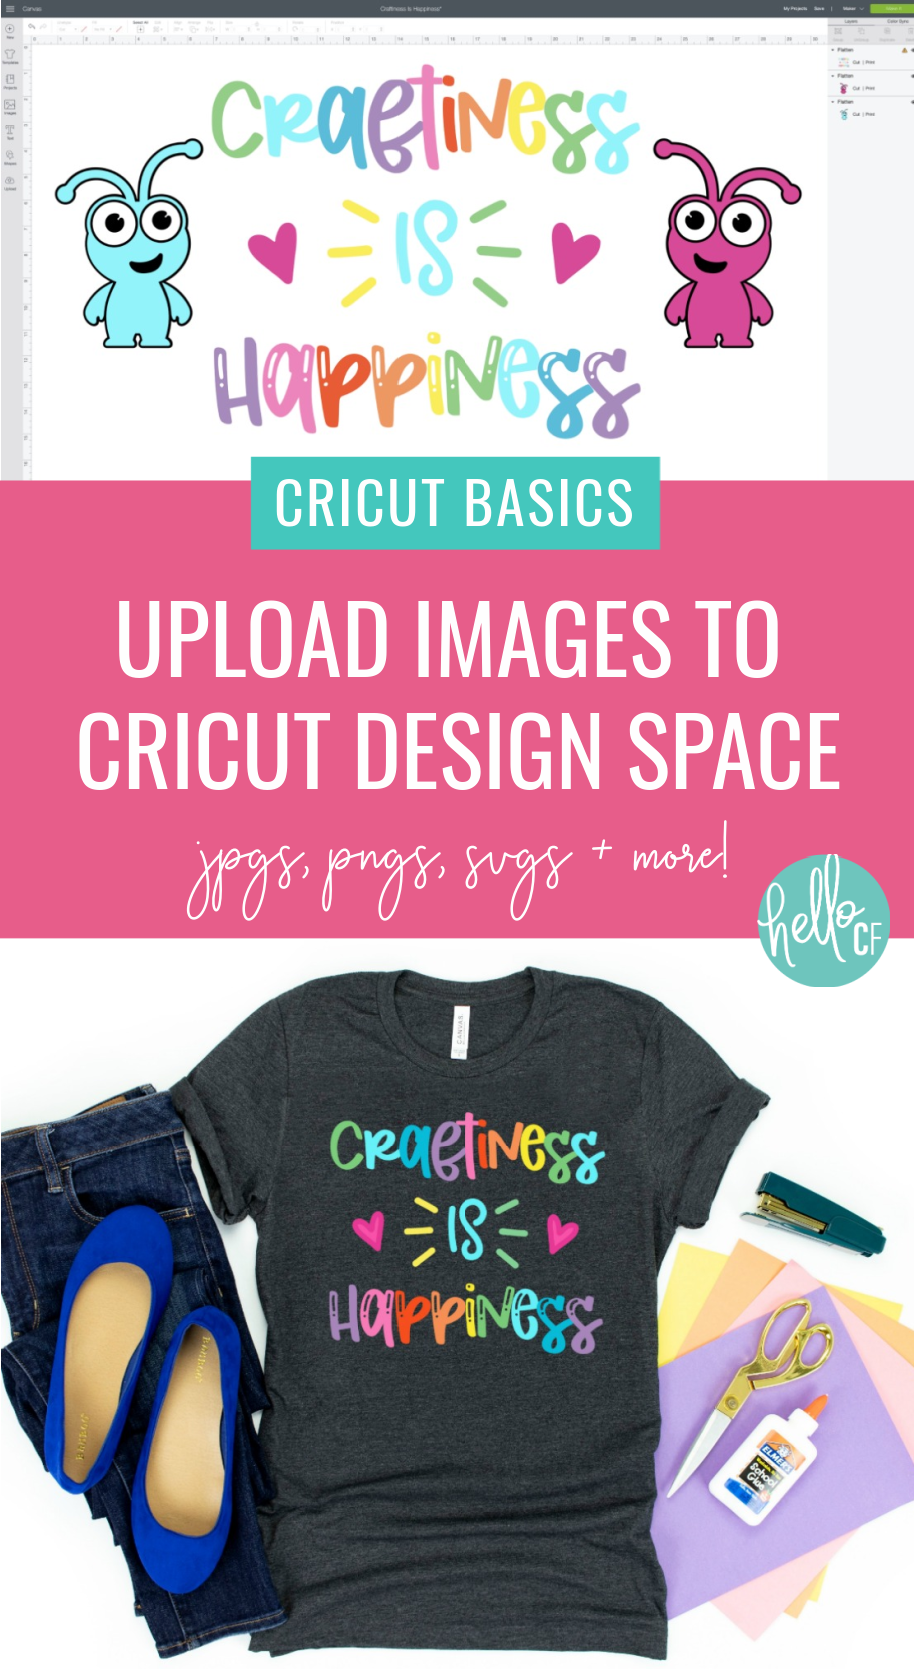
Need advice on how to upload Cricut cut file including PNG files, JPG files, DXF files and other digital file types to Cricut Design Space? Make sure you check out our Cricut Basics- How To Upload Images To Cricut Design Space article here.
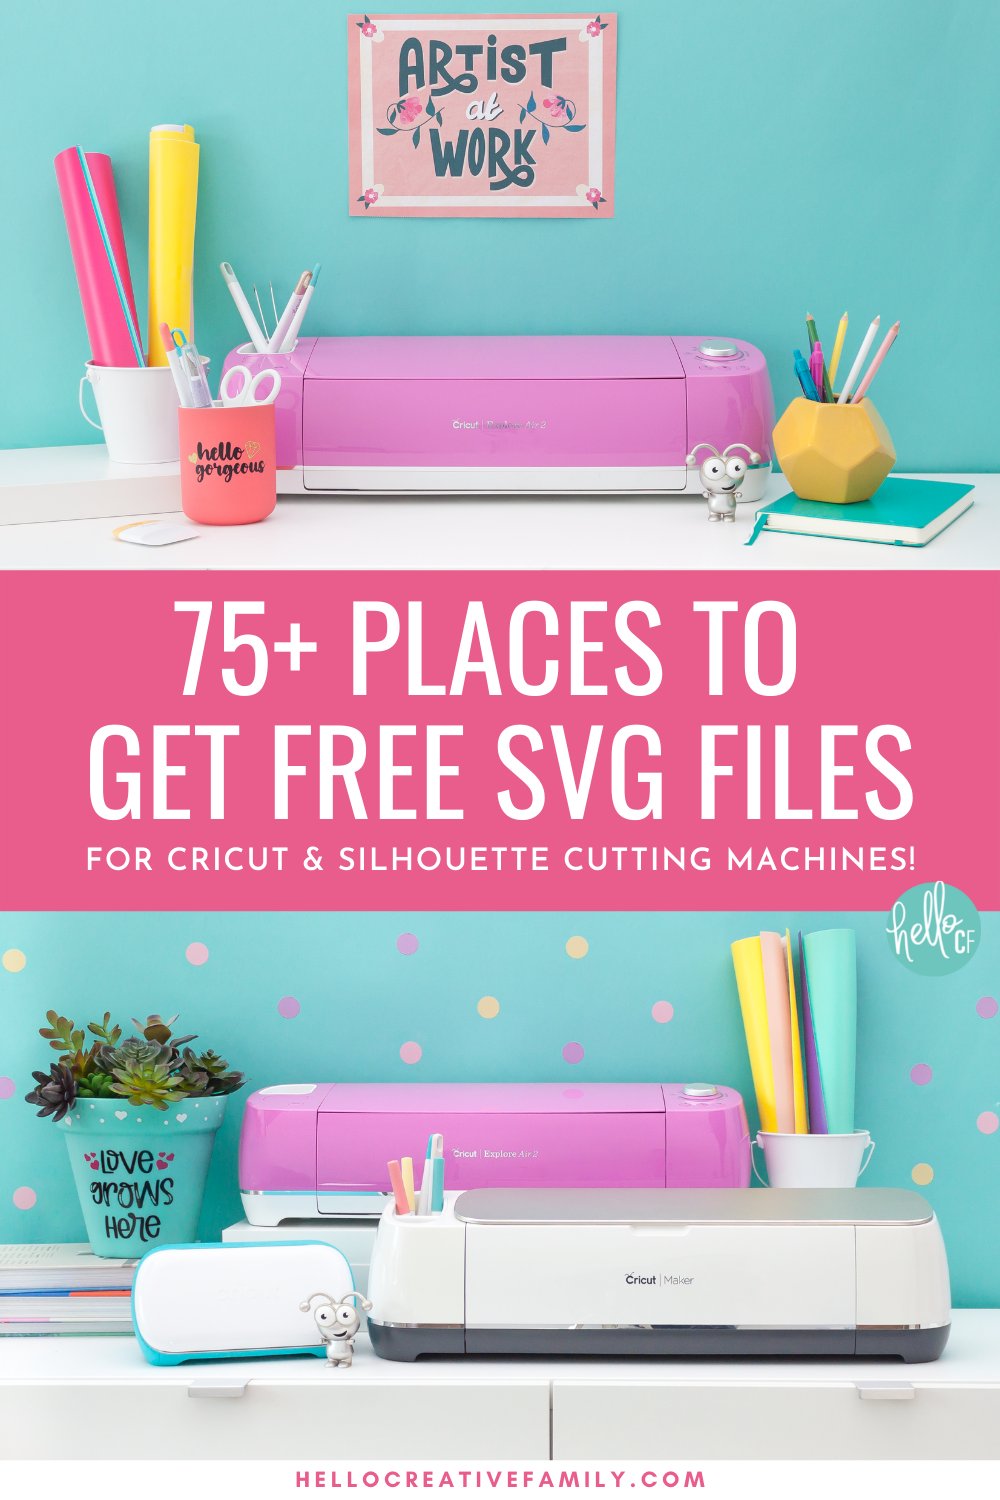
If you are looking for more free design resources make sure you check out my post on 75+ Places To Download Free SVG Files.
If you liked this post, I think you’ll also like these Cricut Basics posts.

Tell me… What other questions do you have about layered paper projects?
If you like this Cricut Basics Everything You Need To Know Make Shadow Boxes & Layered Paper Projects Like A Pro post, I would love for you to pin it to Pinterest! It helps others discover our site which helps us bring you more awesome content like this!