Cricut Basics- How To Make DIY Wood Signs With Vinyl and HTV
This post and the photos within it may contain Amazon or other affiliate links. If you purchase something through the link, I may receive a small commission at no extra charge to you.

Discover the joy of making personalized wood signs with vinyl, HTV and your Cricut cutting machine! We’re sharing a step-by-step tutorial for combining these two popular Cricut materials onto one project– A classroom sign that any teacher will love!
Disclosure: Thank you to Cricut for working with me on this sponsored post. As with all content on Hello Creative Family, all thoughts and opinions are 100% my own.
Hi Crafty Friends! Back to school time is here and today we are making a super fun welcome sign for the classroom!
Wood signs are one of my favorite things to make with my Cricut cutting machine! We live in a townhouse complex with an HOA and so there are limited things that we can do to the front of our home to personalize it and give it some character.
We aren’t allowed to paint our front door or choose the color of our house and trim but we are allowed to decorate for holidays!
I have an entire collection of wood signs hanging on a wall in my garage that I switch out for every holiday and occasion.
I also love making signs as gifts to help other people customize their spaces and there is no space more fun to customize with a Cricut than the classroom!
Today we are going to be making a wood sign for the classroom using both HTV and Vinyl. I’ll provide you with tips and tricks to make combining these two materials a success when making this fun craft project that is perfect for classroom decor!
Vinyl Versus HTV For Wood Signs
Vinyl is the most popular material for making wood signs with, but I’m a big fan of using HTV (also known as Heat Transfer Vinyl or Iron-on.)
Some of the reasons I love using HTV/Iron-On for wood signs:
- Easier to weed
- Holds up well in the elements
- Is so simple to position (and reposition) on your work surface for perfect placement
- Has a great hold that doesn’t peel
As much as I love HTV for wood signs, adhesive vinyl definitely has it’s perks too.
Some of the reasons I love using Adhesive Vinyl for wood signs:
- Often available in a wider array of colors than HTV/Iron-on
- Less expensive than HTV/Iron-on
- Much easier to use than HTV/Iron-on if the surface you are applying it to isn’t completely flat and has any kind of curve to it
- Easier to layer than HTV/Iron-on
- No heat press required
Combining Adhesive Vinyl and HTV On Wood Signs
For this project we will be combining HTV/Iron-on and Permanent Adhesive Vinyl onto my wooden sign.
Mixing and matching is a great option if you don’t have all of the colors that you would like in one material or if you are trying to use up scraps.
When combining Adhesive Vinyl and HTV/Iron-On in one project you always want to make sure that you apply your HTV/Iron-On first so that the heat of your heat press doesn’t melt your vinyl.
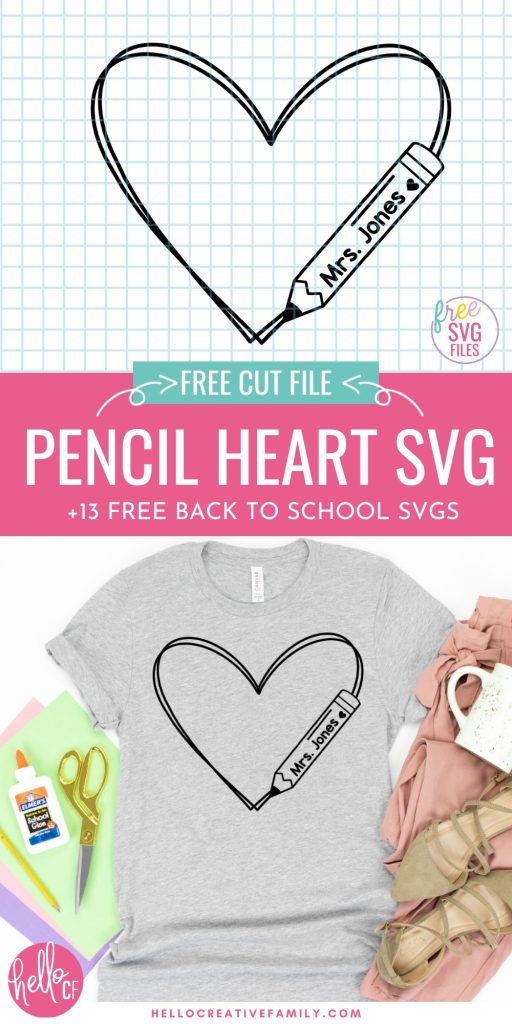
For this project I’m using HTV/Iron-on for the black outline and then filling in the colored parts using Adhesive Vinyl.
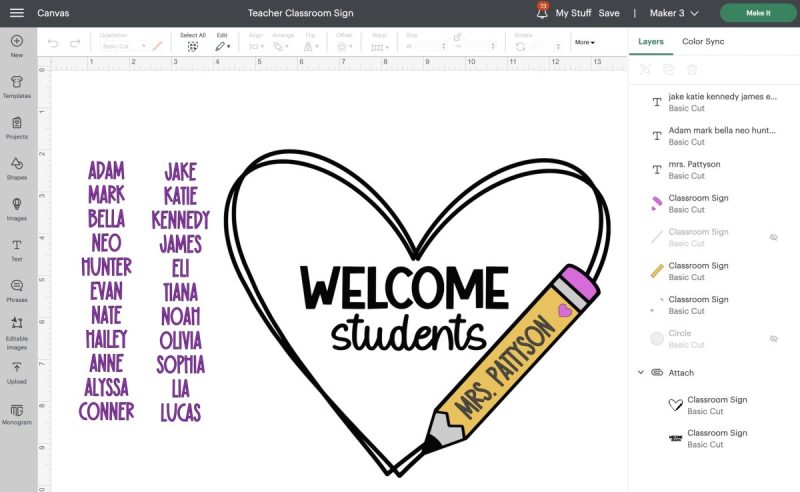
Welcome Students Classroom Sign

Cricut Design Space has a ton of amazing Back To School Designs most of which are free to use with a Cricut Access subscription.
The image that I am using today I created myself as part of the Cricut Artist Program and is available under images in Cricut Design Space. I also have it saved as a project that you can access below.
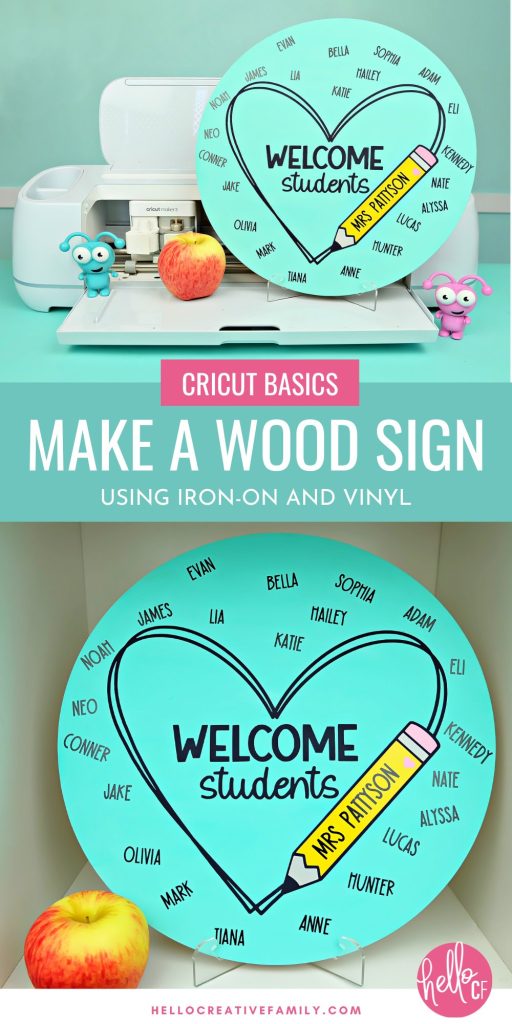
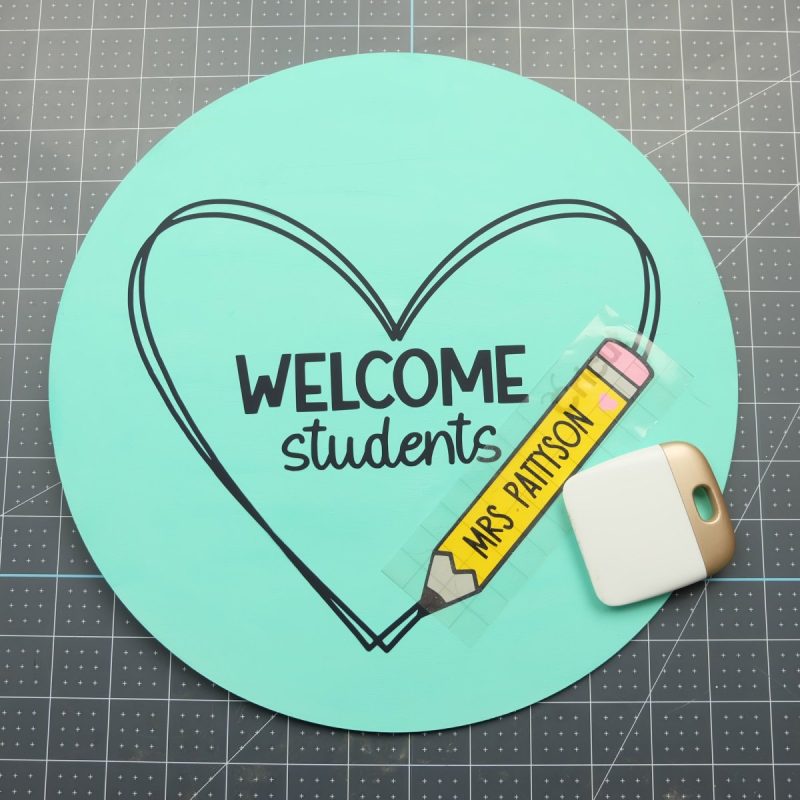
I originally made this project without the students’ names but once I finished the sign I thought it needed a little something extra. Kids love seeing their names printed and I thought that having a welcome sign with the name of each student was an extra special idea.
I love that my Cricut allows me to create project with such special personalization.

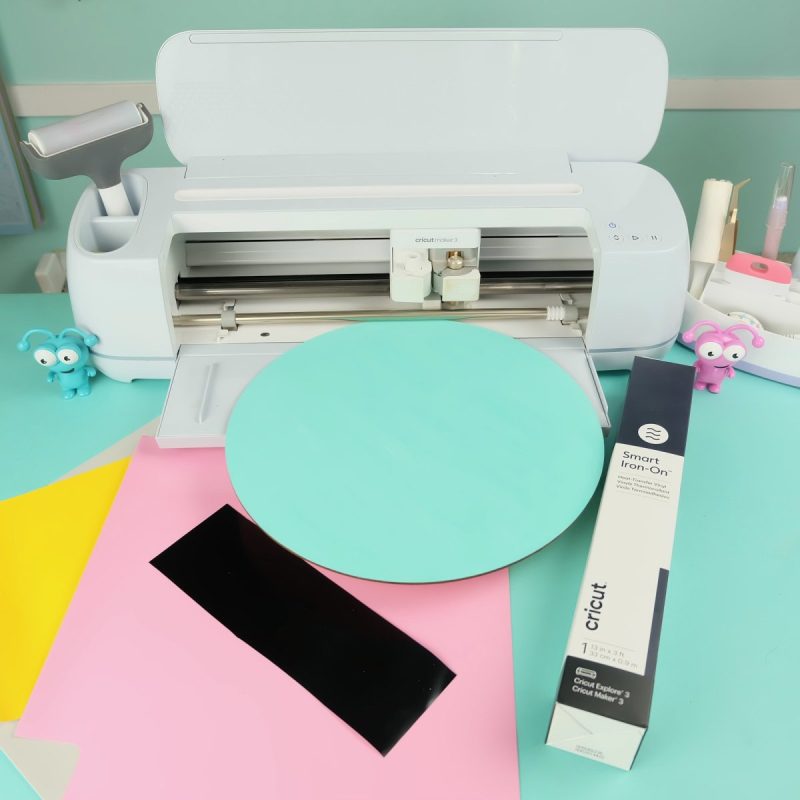
Materials Needed For Welcome Students Classroom Sign:
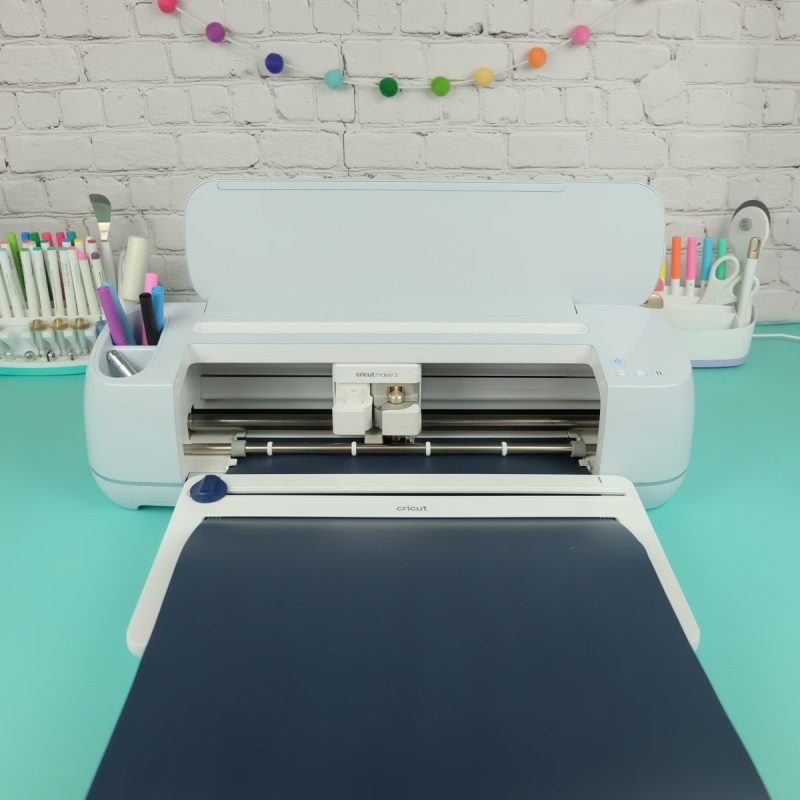
- Cricut Maker 3, Cricut Maker, Cricut Explore Air 3 or Cricut Explore Air 2
- Cricut Regular Grip Cutting Mat
- Cricut Fine Point Blade
- Cricut Iron-On (I used Cricut Smart Iron-On in black)
- Cricut Vinyl (I used Cricut Permanent Vinyl in yellow, pink and grey)
- Round Wood Sign (This is the wood blank I used)
- Cricut Transfer Tape
- Acrylic paint, spray paint or wood stain
- Foam paint brush
- Measuring Tape
- Scissors
- Weeding Tool and Scraper
- Cricut EasyPress or Cricut AutoPress
- Stand for sign (if standing on desk or shelf) or glue gun and ribbon/jute (if hanging)
- My Welcome Students Cricut Canvas in Design Space

Instructions For Making Welcome Students Classroom Sign:
Step 1: Paint your wood sign and give it 24 hours or more to dry. If your wood surface has a rough texture you will want to sand it first using sandpaper
Step 2: Open my Welcome Students Sign in Cricut Design Space. Add your student’s names to the canvas. Measure your sign and size all pieces to fit on your sign.
Step 3: Click Make It. Connect Cricut Design Space to your Cricut cutting machine. For each mat select what material you are using and then insert your cutting mat into your machine and cut. Don’t forget to click the mirror slider for the pieces that you are cutting out of HTV/Iron-On.
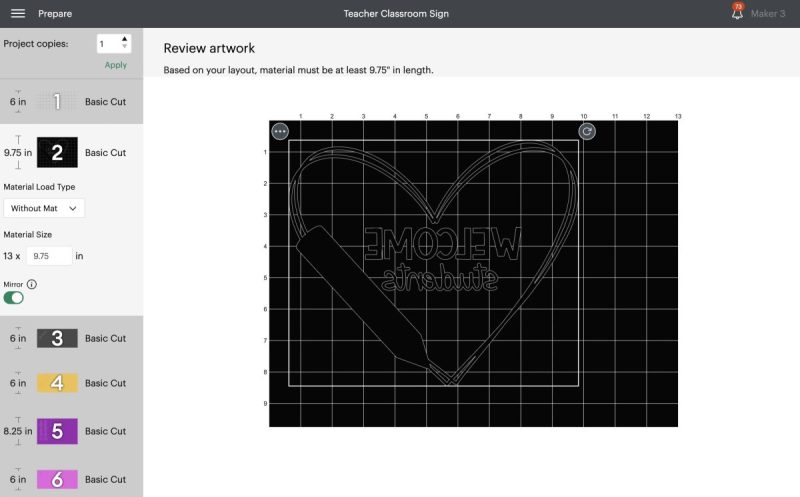
Step 4: Cut your HTV/Iron on with the shiny color side facing down. Cut your vinyl with the color side facing up.
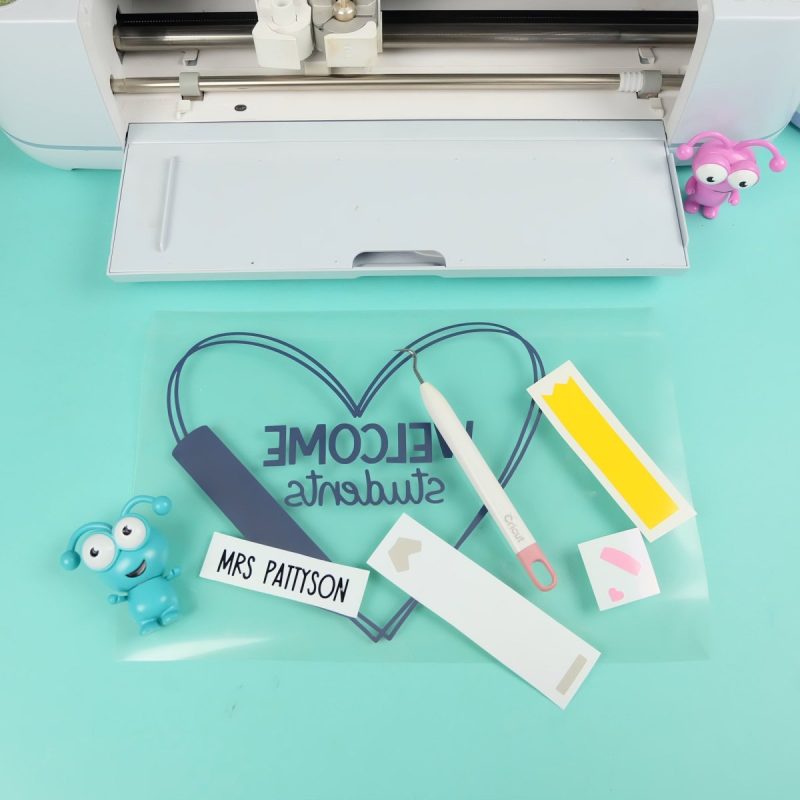
Step 5: Once your vinyl and HTV/Iron-on is done cutting weed your designs removing the excess vinyl from around your design, leaving your design on the plastic/paper backing.
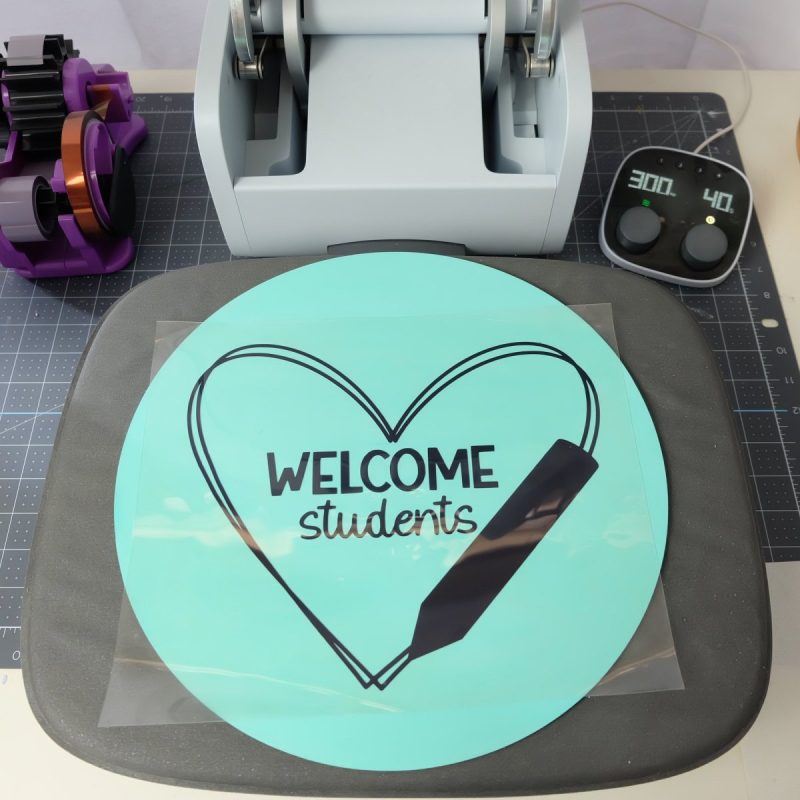
Step 6: You will want to apply your HTV/Iron-on first. Check the Cricut Temperature Guide for exact heating instructions for the materials you are using.
For my project it had me:
- Set Cricut Autopress to 300F
- Place wood on EasyPress Mat
- Preheat wood for 5 seconds
- Place design face down, liner side up on painted wood sign
- Lower heat plate and press handle to auto-apply pressure. Press at 300°F for 40 s
- Slowly remove liner when cool to touch
Step 7: Now it’s time to apply our vinyl pieces. Cut a piece of transfer tape slightly larger than your largest design. Peel the paper backing off of your transfer tape and then lay it on top of your vinyl design with the stick side of the transfer tape facing down. Run your scraper all over the front and then the back of your design, pushing the transfer tape onto the vinyl.
Step 8: Slowly lift your transfer tape pulling up the vinyl decals with the transfer tape. Position each vinyl piece where you would like it on your sign. Lay down the transfer tape in that spot, run your scraper tool over the transfer tape then slowly lift up the transfer tape leaving the vinyl design behind. Repeat for each piece of your sign.
Step 9: If using a sign stand, place your sign in the sign stand. If hanging your sign use a glue gun and attach some ribbon or jute to the back of the sign to hang it with.
Hang or set on a shelf or table in your classroom to welcome students back to school!

More School Themed Cricut Projects
I hope you enjoyed this fun Cricut project for back to school! Here are some more school themed SVG files and Cricut projects I think you’ll love!