


The Easiest Way To Transfer Photos To Wood In Minutes For Perfect Results Every Time
This post and the photos within it may contain Amazon or other affiliate links. If you purchase something through the link, I may receive a small commission at no extra charge to you.
There are lots of photo to wood transfer projects out there, but most are challenging to do and take a long time. We’ve found the secret! Here is the Easiest Way To Transfer Photos To Wood In Minutes! The perfect gift idea for moms, dads, grandmas, grandpas, other family members and anyone who loves photography!


I can’t believe that it has been almost 5 years since I wrote my original Photo To Wood Transfer post. I think it was the first craft project article I wrote! That project is by far our most popular post EVER on Hello Creative Family. I don’t think I’ve ever seen a day where it wasn’t on our “top 10 list”. Most days it’s at spot #1 and each year it comes in by a landslide as the #1 post for the year.
It’s also our most commented on article, and while many people comment to say how much they love it, other people comment and say how hard it is to do. It’s true. The original method I used for transferring photos to wood gave you beautiful results BUT it definitely wasn’t quick or easy. If you didn’t have your technique down just right, it could be hit or miss. I often ended up referring people to my How To Mount A Photo To Canvas post, because it was a quicker and easier option. But hey… a girl works with the materials that are available… right?
That’s why I’m SO EXCITED to share today’s post with you. There is now a product on the market that makes transferring photos to wood fool proof, gives you even more beautiful results than my original project AND it takes only minutes to make instead of hours like my last project did.
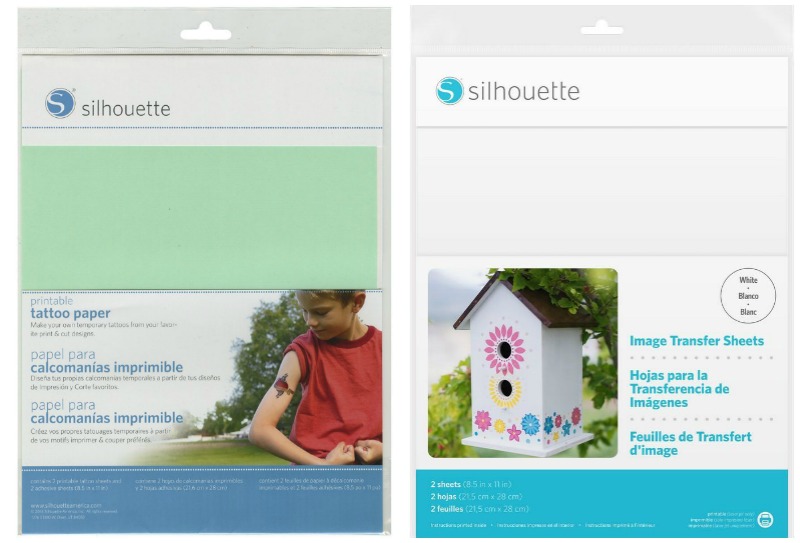
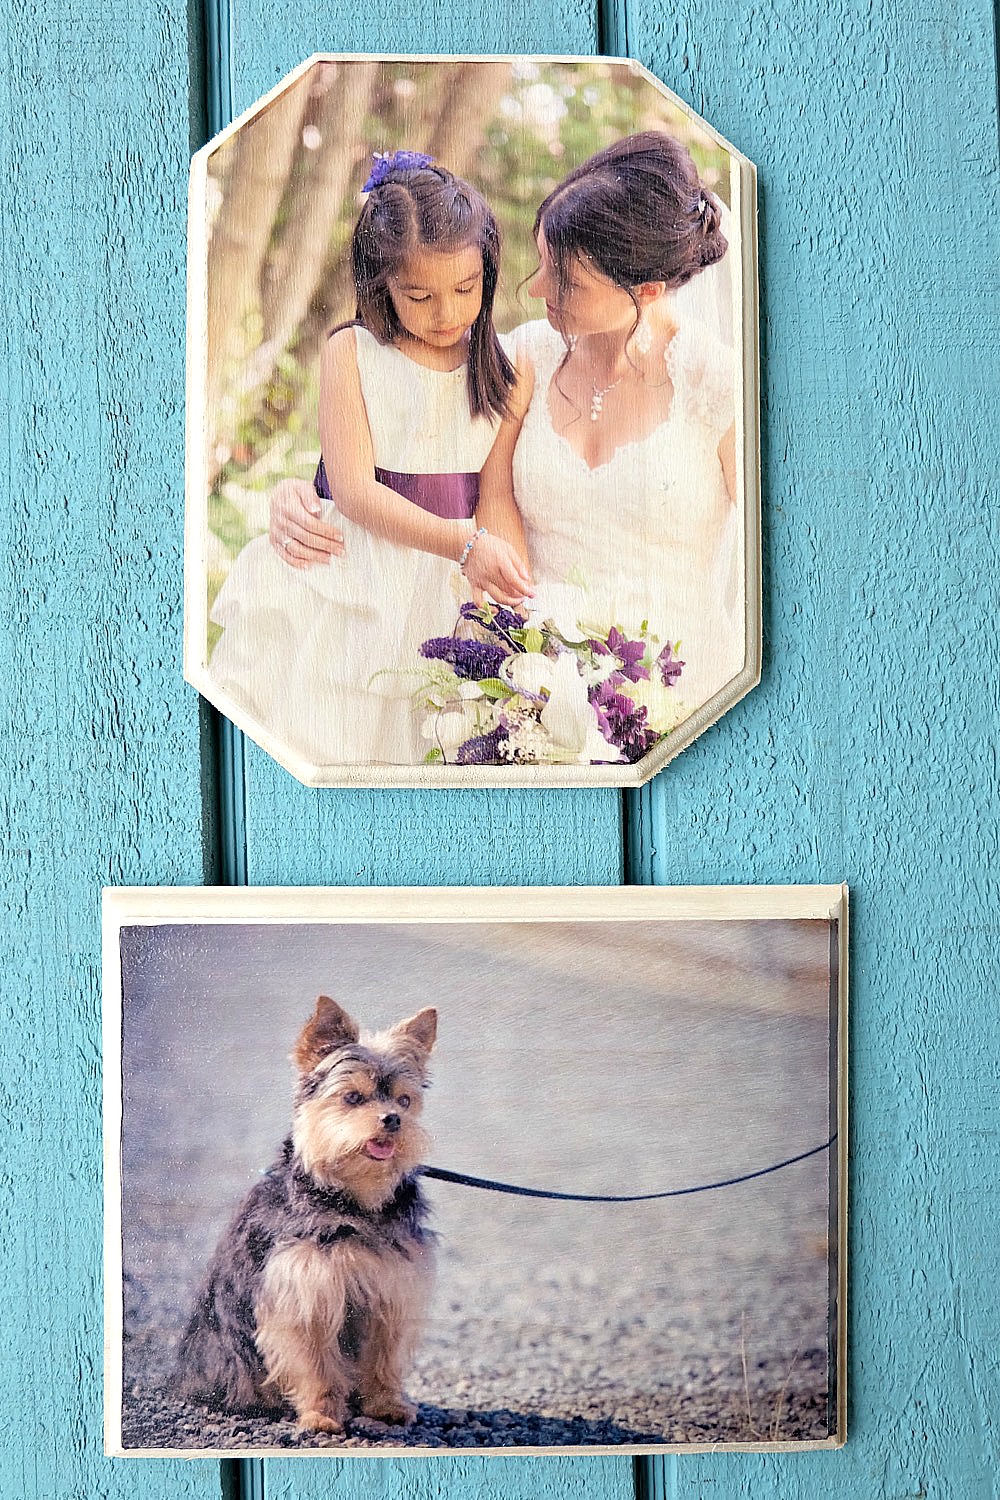
I’m sitting here at my desk right now staring at these pieces of wood and they are STUNNING! I just can’t get over how pretty they turned out. Want to know the secret? It’s Temporary Tattoo Paper made by Silhouette! You guys… this stuff isn’t just for the skin! It’s a game changer when it comes to crafting. I always make sure I have a few packages in my craft room.
Silhouette also has Image Transfer Sheets that are specifically made for transferring photos. The process is pretty similar to the process I’m going to share with your for using the Temporary Tattoo Paper but you need to print your images using a laser printer. I’m an inkjet girl, so today we are going to be using the tattoo paper. If you have a laser printer you can still follow along with these instructions and use the Image Transfer Sheets, just make sure you also read the instructions that come with the paper.
Ready to learn the easiest way to transfer photos to wood in minutes for perfect results every time? Read on!
The Easiest Way To Transfer Photos To Wood In Minutes For Perfect Results Every Time
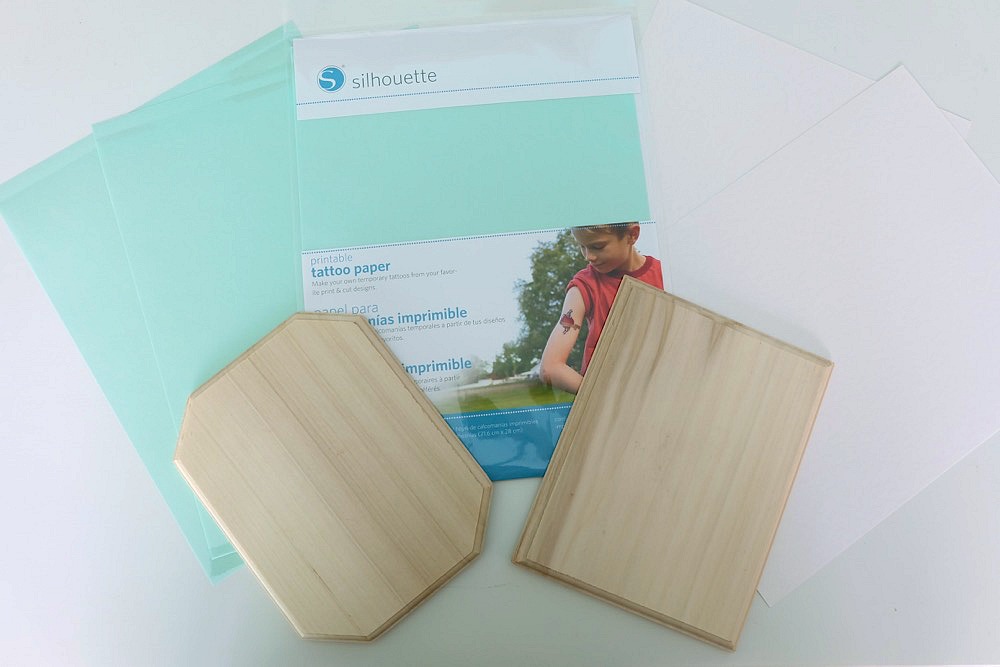
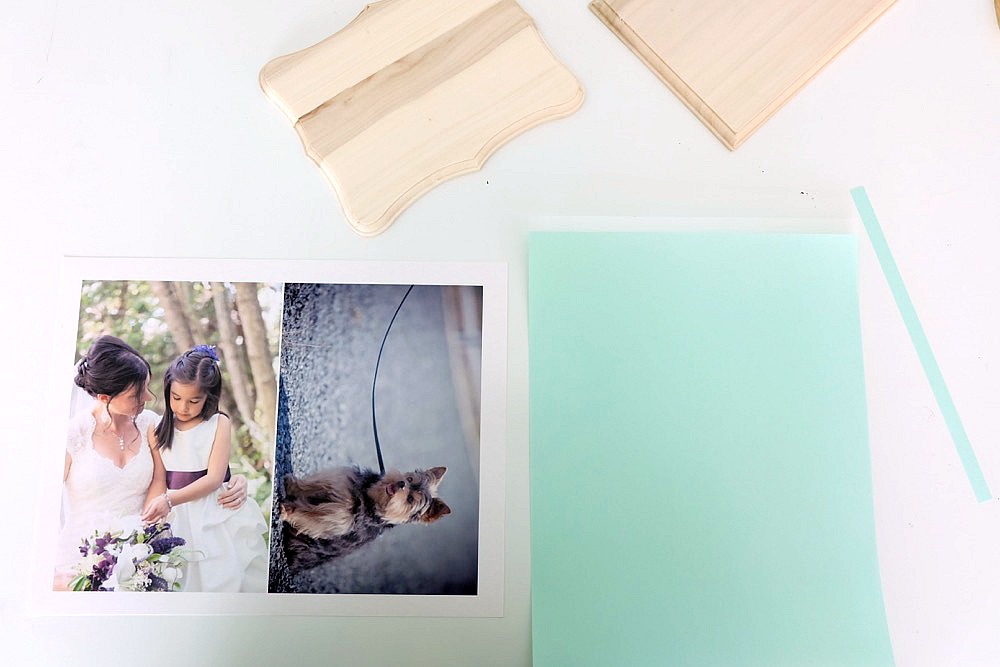
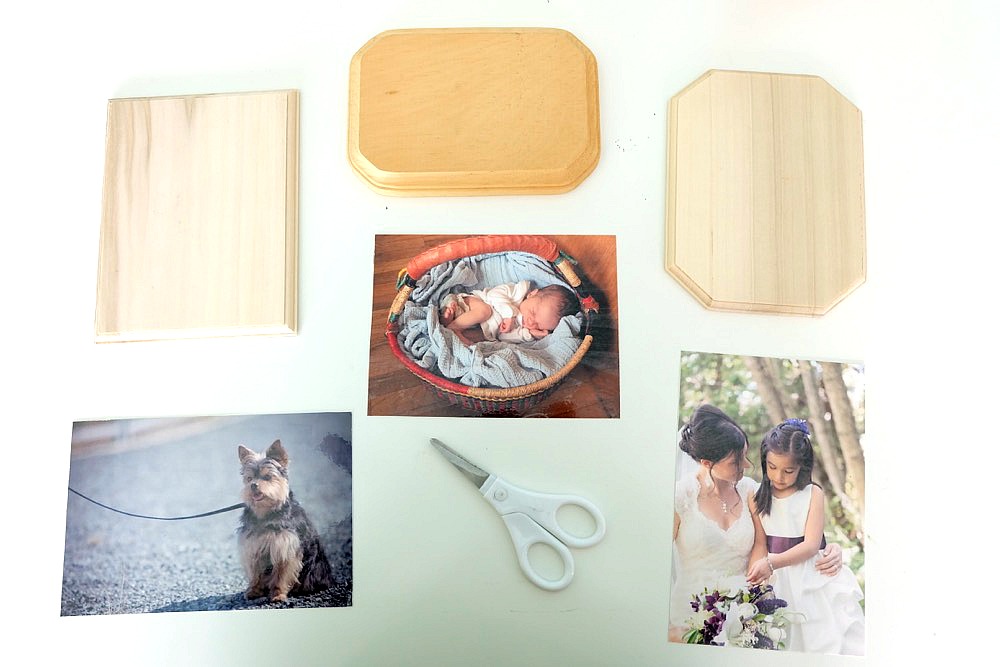
Materials:
-Silhouette Brand Temporary Tattoo Paper or Image Transfer Sheets (Buy from Silhouette here. Buy from Amazon here and here.)
-Scissors
-Scraper tool or credit card
-Wood Plaque or piece of scrap wood (I buy mine at the dollar store but you can also find them here )
-A wet cloth
-Mod Podge (I usually go for the matte finish Mod Podge which you can find here, but any formula will do.)
-Foam brush (find them here.)
-A digital file of your favorite photo
Directions:
Note: Temporary Tattoo Paper (and Image Transfer paper) comes in packs with materials to make 2 sheets of “temporary tattoos”. You will have two white sheets in your package and two green sheets. You want to print on the glossy side of the white sheet. The green part of the green sheet is actually a backer. You will peel away the green backing and lay the clear adhesive sheet that is left behind on top of your photo. Read more about this in the instructions below.
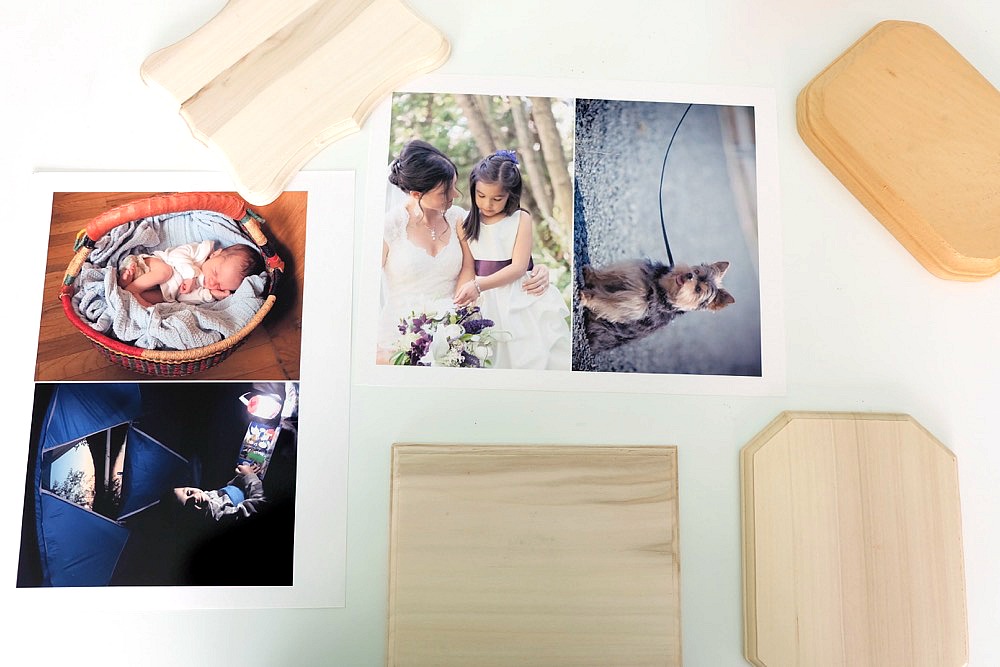
Step 1: Measure your wood, size your photos accordingly and print on the glossy side of the white tattoo paper using the photo paper setting on your printer. You will want to mirror your image so that the photo is the right direction in your finished project.
Step 2: When ink is fully dry, apply the adhesive sheet to the top of printed image by peeling away the green backing on one end (there is a thin green strip that can be pulled away at one end). Align it with the end of the printed tattoo paper and then peeling away the rest of the backing while smoothing the adhesive sheet down onto the paper.
Make sure you go slowly during this process, lining everything up nicely. This is the hardest part of this project (don’t worry it’s not very hard), because you aren’t able to lift and reposition the adhesive layer once it is laid down.

Step 3: Using a scraper tool or credit card rub the adhesive sheet onto the photo paper, removing any bubbles and making sure it’s firmly adhered.
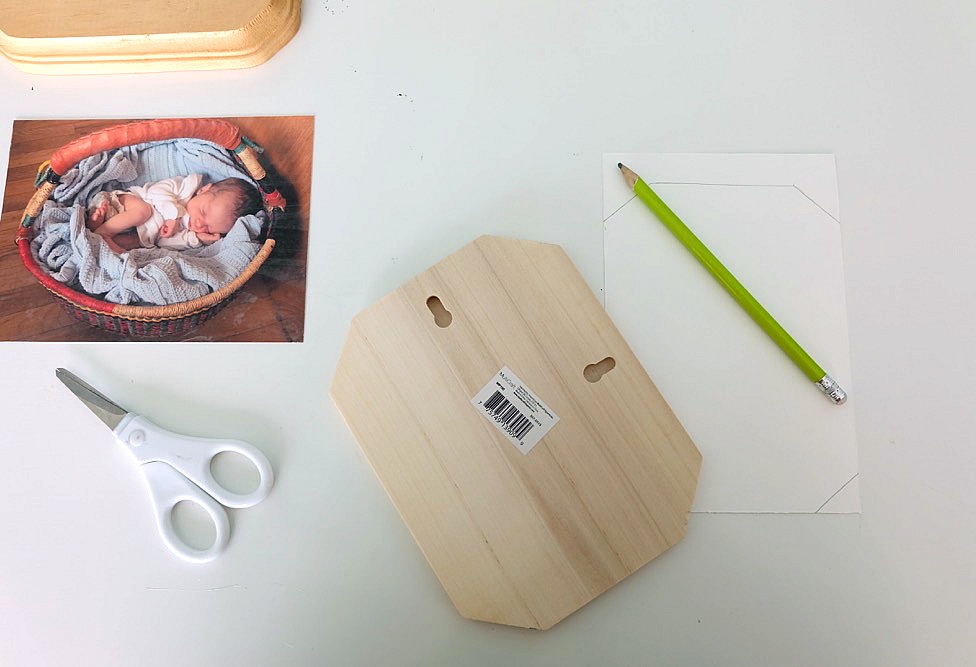
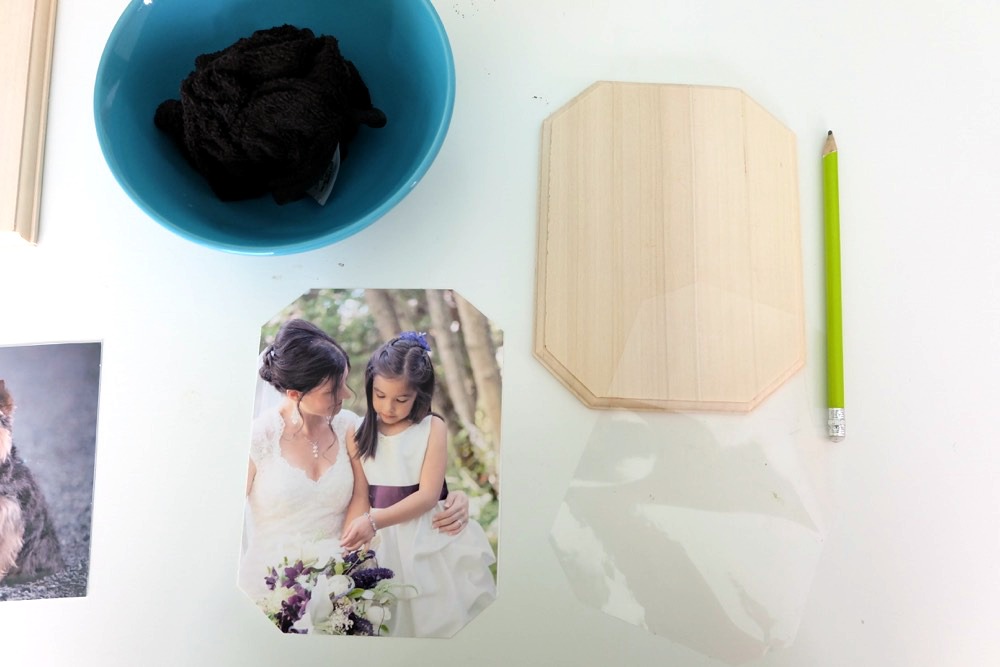
Step 4: Cut your image to fit the piece of wood it is laying on. I printed two photos on each sheet, so first I cut out each photo.
Then I customized it to fit the wood by laying the tattoo paper image side down on my table, laying the wood down on top of it and tracing around the wood with a pencil. Then I cut where my pencil lines were.
Step 5: Peel away the clear plastic layer covering your photo, exposing the adhesive. Lay the tattoo paper, photo side down on top of your wood.
Lay a wet cloth on top of the paper backing for 10 seconds or until you can see the image through the backing (see below for example).
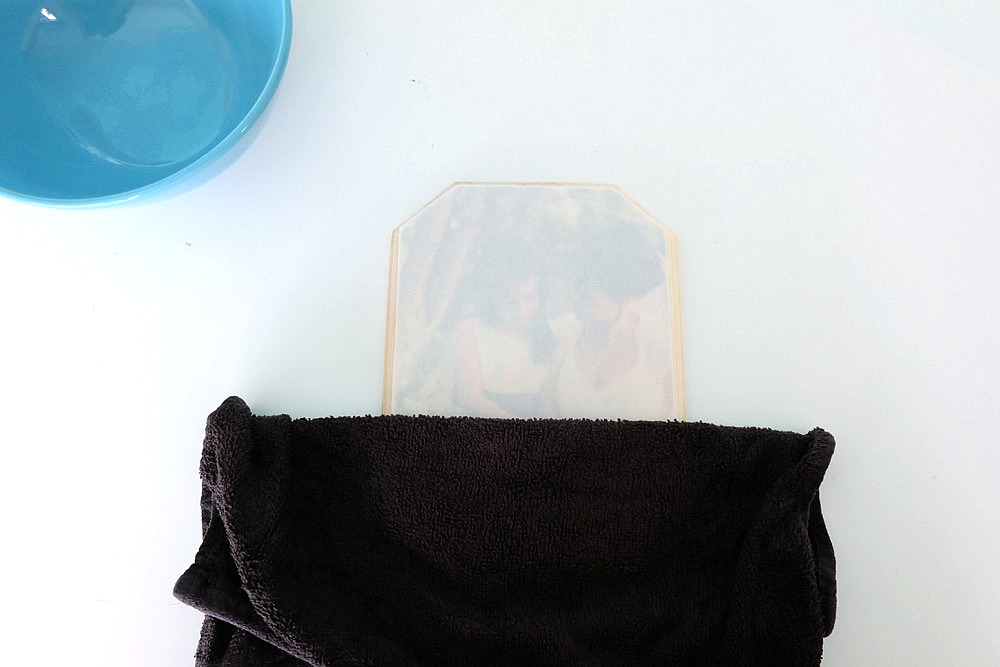
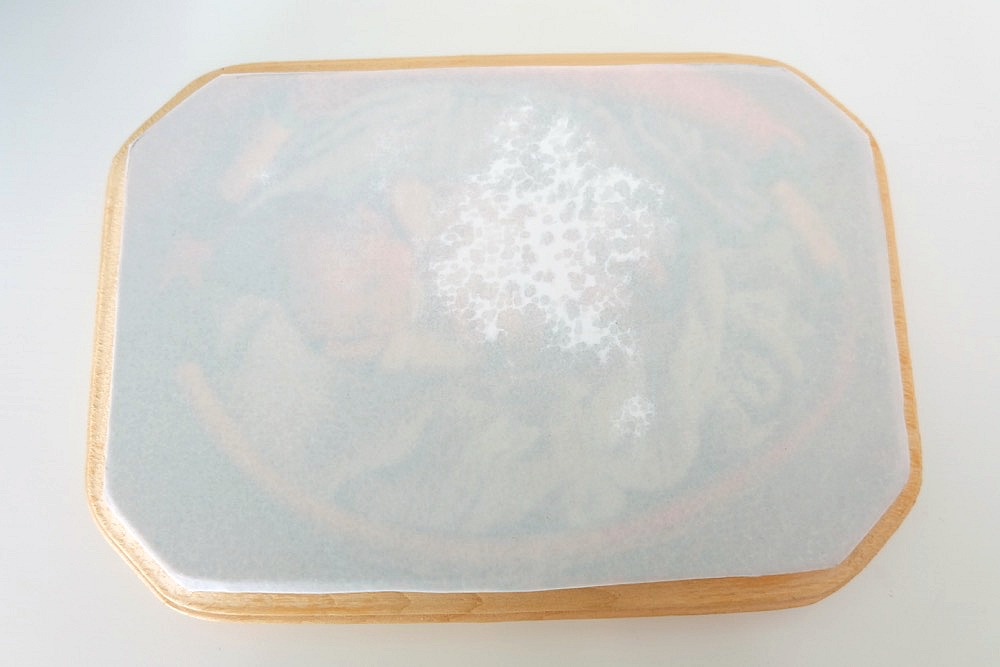
If you see white spots (see example below) where you can’t see the image through the paper, cover again with the wet cloth until you can see the image.
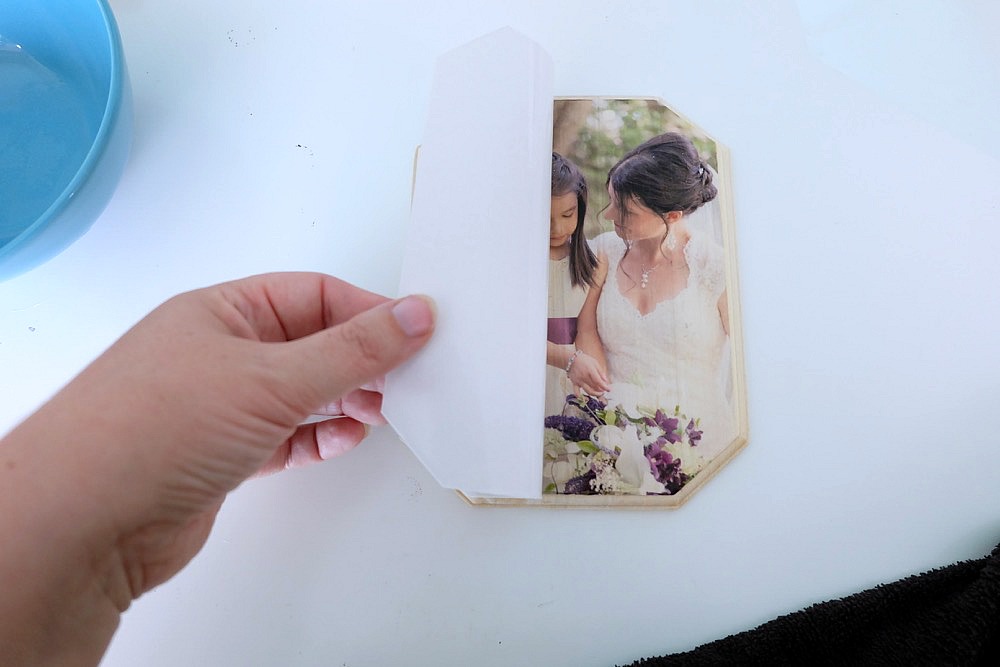
Step 6: Peel away the paper backing and reveal your gorgeous photo left behind. Take your wet cloth and gently smooth down any edges that may have curled.
Step 7: Finish your project by applying a thin layer of Mod Podge over the image. Allow to dry and then you can hang your image or give it as a gift!
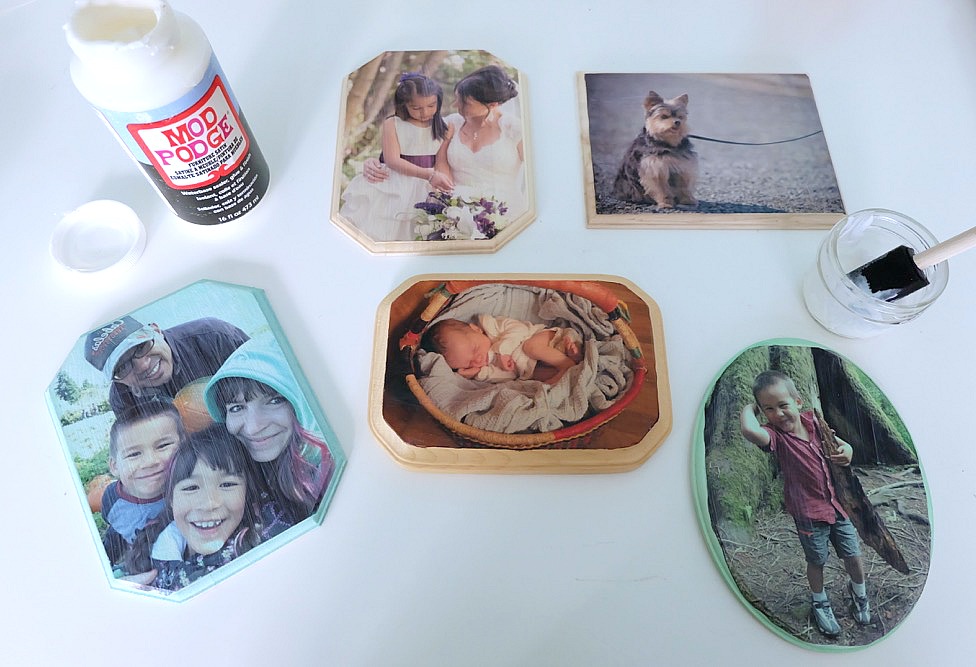
Optional step: As you can see in the image above, I also experimented by painting my wood before applying the tattoo paper. I think that this is a fun twist on the project, just be warned that since the tattoo paper has a transparent quality to it, your photo will be tinted that color. For example… I think Turtle looks a little bit like the Hulk in the photo on the right. 😉
Enjoy!
Tell me… Who would you make this project for? What photo would you transfer to wood first?
Disclosure: Thank you to Silhouette for working with us on this project. As with every article on Hello Creative Family, all thoughts and opinions are 100% our own.
Like this post? Pin it for later!

We think you’ll also love our How To Transfer Photos To Coasters Tutorial!


This is cool. I’d put a pic of my cat first.
I would love to do an imagine of my children, to give to all of their grandparents.
I would use a photo of my child, to make a lovely present for aunts and uncles.
I would complete this project using photos of my children. They are now adults, but what a sweet reminder of their young days to have them on wood!
I would do it for us! We need more family prints in our house ❤
I did actually just make one of these for a wedding gift. I tried other ways and they turned out awful! My next gift would be a baby gift for a friend of mine!
I would first try a photo of my granddaughter.
I would love to use this for some of my favorite vineyard photos for my entryway.
First – my daughter has been wanting to do this for awhile now – she wants to do her horse. It would also be a 4H project for fair – she does a lot of them. I would want to transfer a family photo. This is so cool a process. Thanks
I would use a fall photo of my kids
I’d do a wedding photo for my cousin, she got married last weekend!
My 1son is very into Mustangs (just like his dad and grandpa) so I would like to use a photo of his grandpa’s classic mustang to make him a decoration for his room.
I would make this for my mom. I would transfer a family photo!
Looks like fun!
I’d transfer my wedding photo.
I’d transfer a photo of my cat for my hubby.
Great Contest!
I would do this for my brother and his fiancé…their wedding is upcoming and I think some wedding photos would be amazing on this
my mom photo
I would make this for my BFF and use a picture of her puppy