


How to Organize Fabric Quickly, Easily and for Pennies
This post and the photos within it may contain Amazon or other affiliate links. If you purchase something through the link, I may receive a small commission at no extra charge to you.
Hello, my name is Crystal Allen and I am a fabric-oholic. It’s a sad but true story. My fabric addition started 7 years ago, shortly after the birth of my first child, Bean. My mother-in-law brought a sewing machine to our house and suggested I might want to make the baby some handmade clothes. The rest, as they say, is history. At first it started out with seeing a design of fabric at the craft store that I thought was cute, then I started discovering fabric houses like Michael Miller, Cotton & Steele, Alexander Henry and Robert Kaufman and my interest grew. I think the time that the real “problem” started was when I realized that fabrics go out of print… “WHAT?!?!? You mean if I don’t buy that Heather Ross, Sarah Jane or Elena Lutz… it might not be available tomorrow???”
Come on ladies… I know that I can’t be the only one that’s been filled with this sense of panic?!?!?
When I opened up my own Etsy store, I had a cover for my addiction. My customers wanted to have the latest and greatest designs available for their kid’s shirts! It was my DUTY as a business person to seek out the hottest, most coveted, on trend fabrics and bring them to my customers!
Since putting my Etsy store on permanent vacation mode, I have less of an excuse to shop for fabric, but somehow, every once in awhile, some fabric seems to magically find it’s way into my online shopping cart.
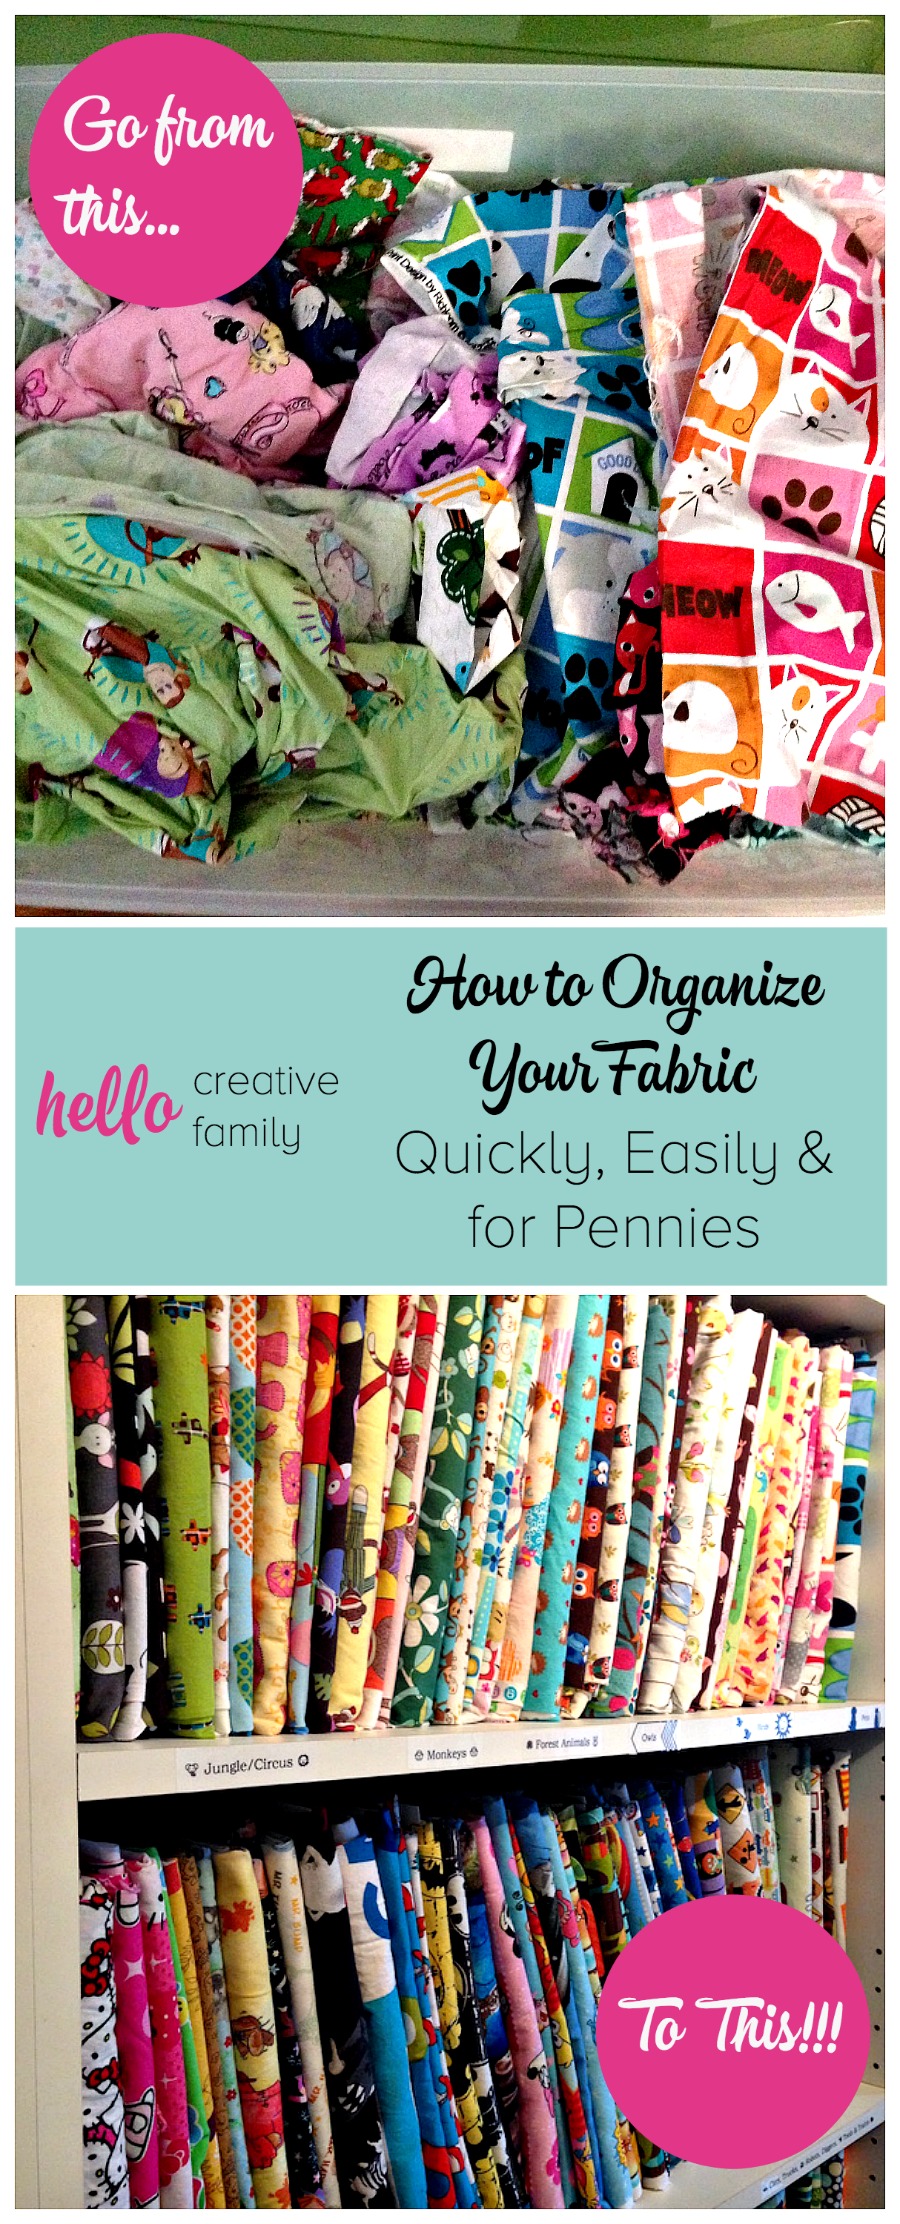
Like many fabric addicts, there is an additional layer of shame to my story. I have well over 500 yards of fabric in my sewing room/craft studio/creative space/office. How do you organize all that fabric? For years my fabric has been organized like this:
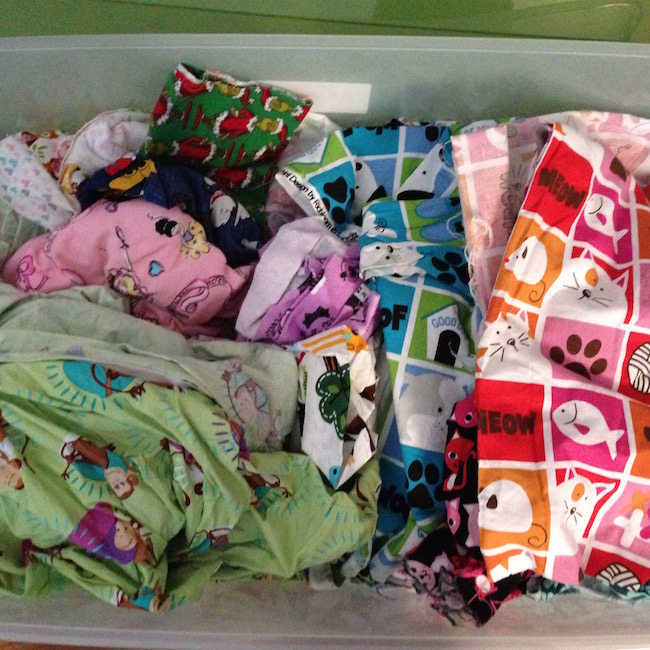
Shameful right? So many gorgeous fabrics, tucked away in towers of plastic storage containers. A girl could forget what she has put away in those totes! Plus it takes so long to dig through them all to find the right fabric for the right project!
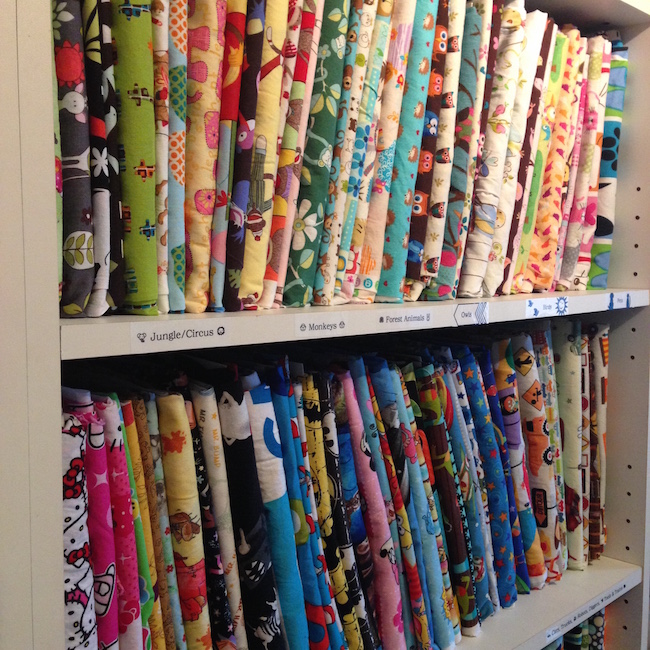
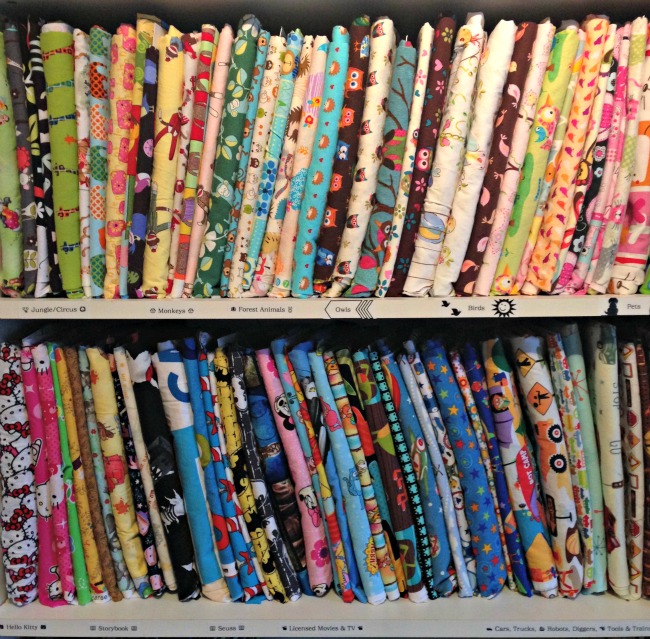
Today I’m going to show you how to go from that, to this– Fabric out in the open, neatly folded, organized by category… Fabric bliss!
Read on to learn How to Organize Fabric Quickly, Easily and for Pennies PLUS Enter to Win a Brother Label Maker!
How to Organize Fabric Quickly, Easily and for Pennies
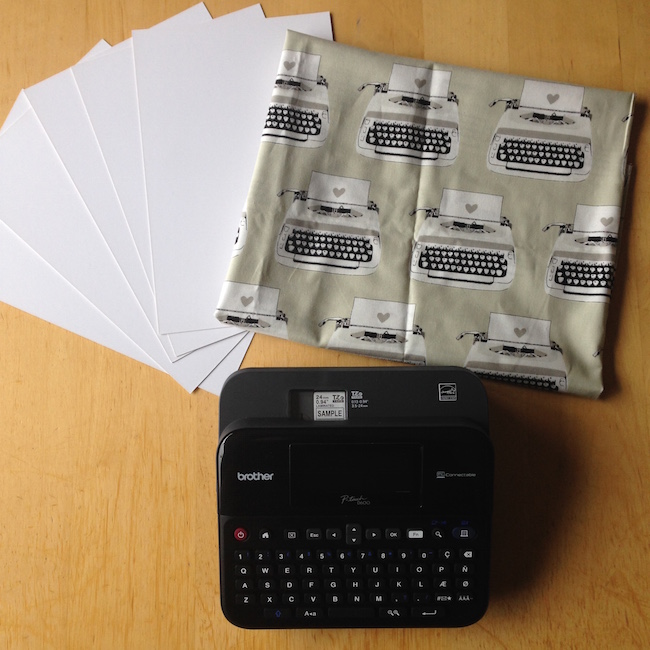
What you need:
- Comic Book Backing Boards (I buy these 100 at a time. You can buy them on Amazon, or at most comic book stores. The conversations that arise when you tell the comic book guys what you’ll be using them for is pretty humorous. You can get a pack for less than $10 making these 10cents or less a piece!)
- A bookshelf
- Fabric
- Brother P-Touch D600 Electronic Label Maker
What To Do:
1. Collect your materials.
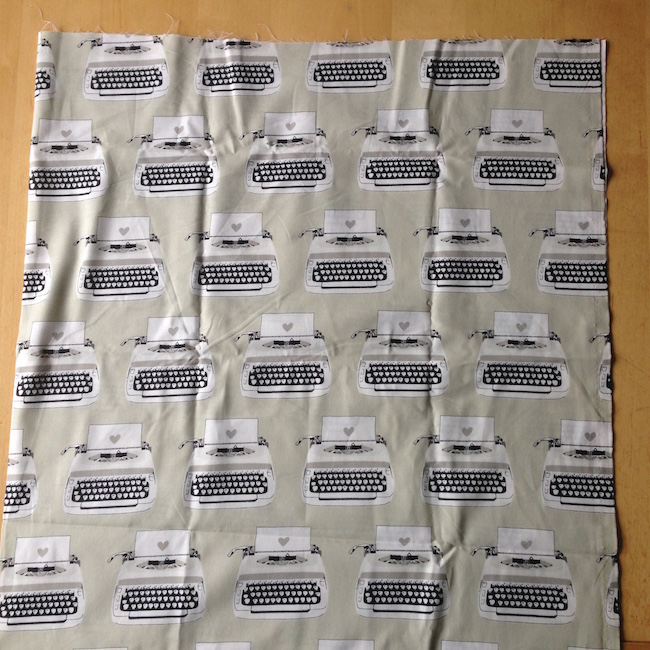
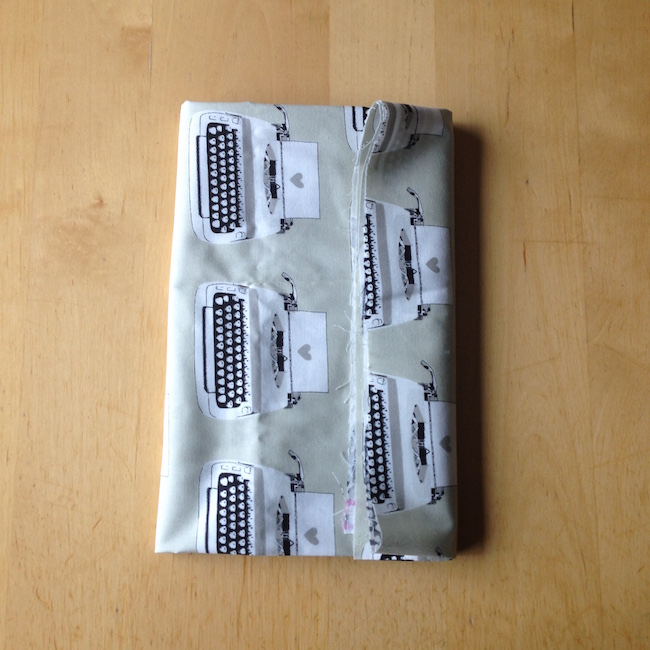
2. Lay your fabric out on a clean surface. Fold the fabric in half width-wise.
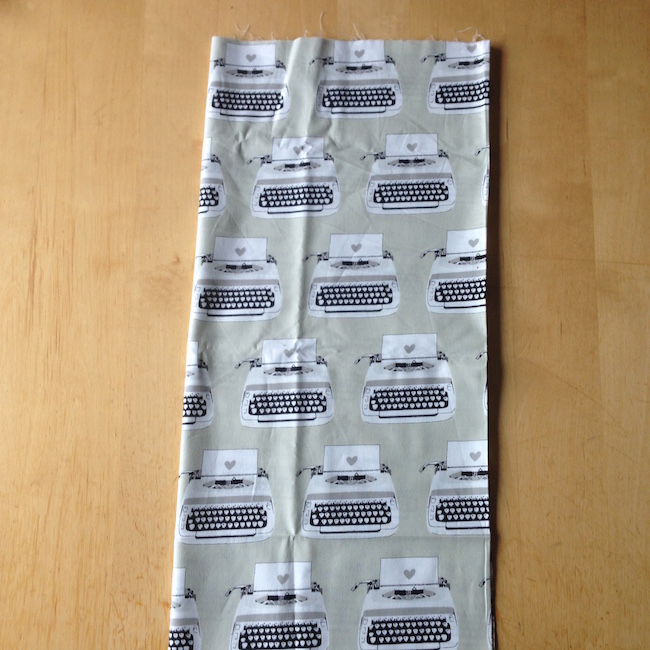
3. Fold your fabric in half width-wise again.
4. Lay a comic book board on top of your fabric.
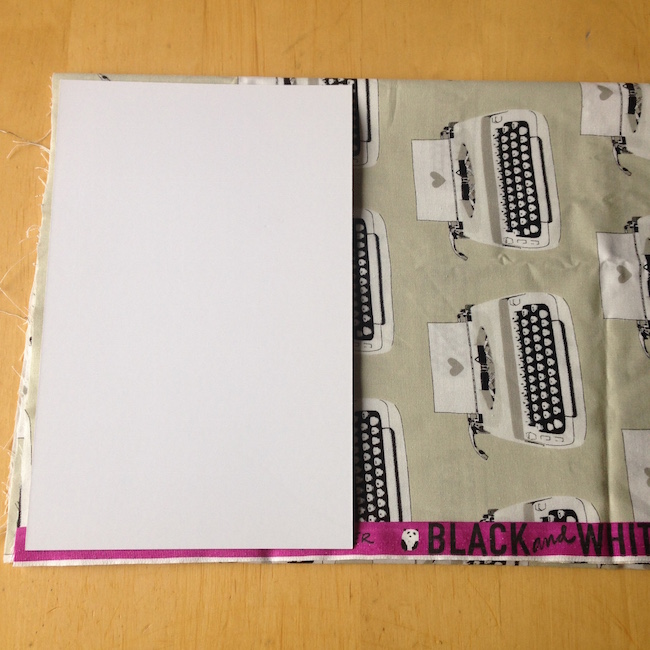
5. Tightly fold the fabric around the comic book board.
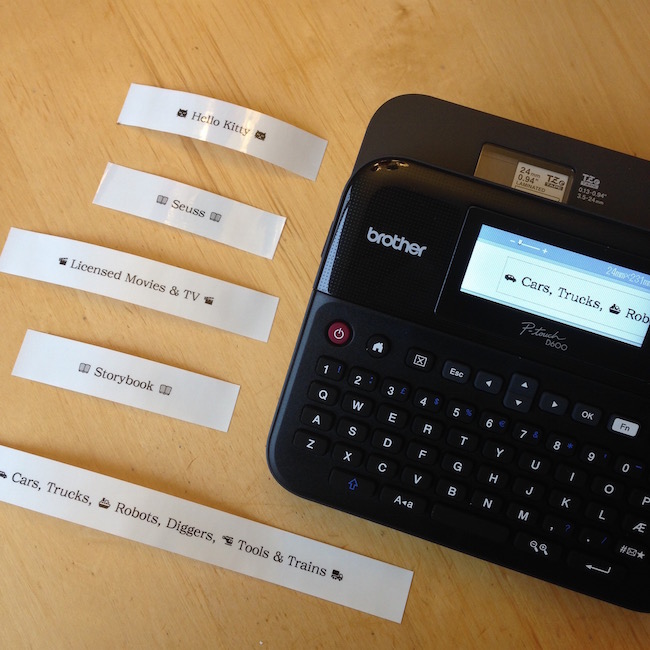
6. Sort your fabric into categories and create labels using your Brother P-Touch D600 Electronic Label Maker.
7. Organize your fabric by category on your book shelf and label so you remember what goes where.
Voila! Your fabric is organized, and it only cost you pennies to do!
Want to see it in action? Press play on the instagram photo below. While you’re at it, follow HelloCreativeCrystal and HelloCreativeFamily!
[instagram url=https://instagram.com/p/8WH_lCE5ST/?taken-by=hellocreativecrystal]
Now, let me tell you about the Brother P-Touch D600 Electronic Label Maker and why I love it so much.
1. The machine has symbols, frames and fun fonts built right into it!
2. Want even more creativity when it comes to your labels? Hook it up to your computer for added design capabilities!
3. You can store 99 different labels in the memory. So great when you have kids! Do up a label design for each member of your family that you can print out in seconds for easy labeling of school supplies, lunches, jackets and sports gear!
4. The machine can be used with batteries or be plugged into the wall, making it 100% portable.
5. You can print labels onto iron on fabric tape… Every single one of my kiddos’ jackets will soon be labeled!
6. You can print up to 7 lines of text… mailing labels anyone?
7. It’s so easy to use that my 7 year old can use it!
8. The machine can print QR codes, barcodes and logos… if you’re down with that kind of thing. 😉
9. The automatic tape cutter and split back tape shave time off your label making… and what creative mom doesn’t love that???
10. Brother is giving one of my lucky readers a Brother P-Touch D600 Electronic Label Maker of their very own!!!
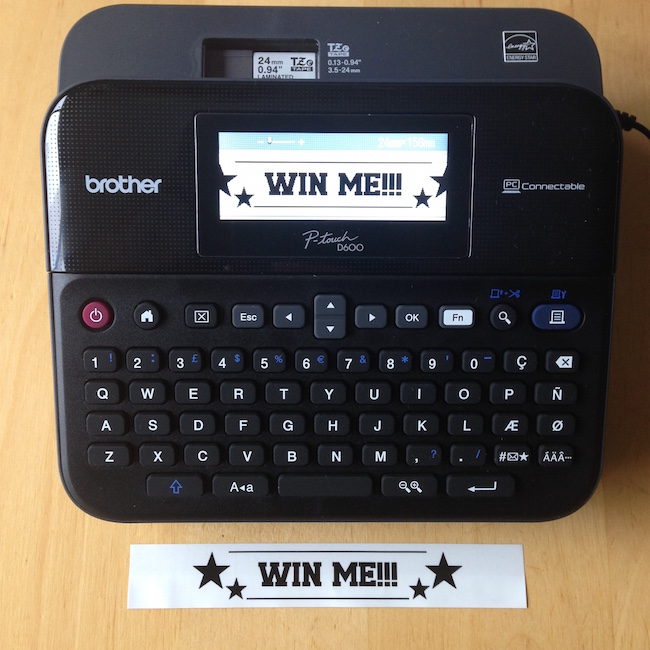
Want to win this awesome machine? Enter below and tell me… What’s the first thing you would label?
Disclosure: Thank you to Brother Canada for working with us on this post, as with every article on Hello Creative Family, all thoughts and opinions are 100% our own.
Must have a Canadian Shipping Address to win.


All our Tupperware and craft supplies!
The first thing I would label are my spice jars
I would label my file folders!
I would label all of our boxes in storage and all my craft supplies
My daughter is getting married next month, and I’m getting a new sewing room!!! I could label everything in sight once I move my stuff into her old room, but maybe the first would be all my precuts.
I would love to label my sewing supplies!
This would be a fantastic win! I would be able to organize my couponing binders and shelves! Exciting!
I would label my storage boxes and bins first