


Photo to Wood Transfer Tutorial With Step By Step Photos and Instructions
This post and the photos within it may contain Amazon or other affiliate links. If you purchase something through the link, I may receive a small commission at no extra charge to you.


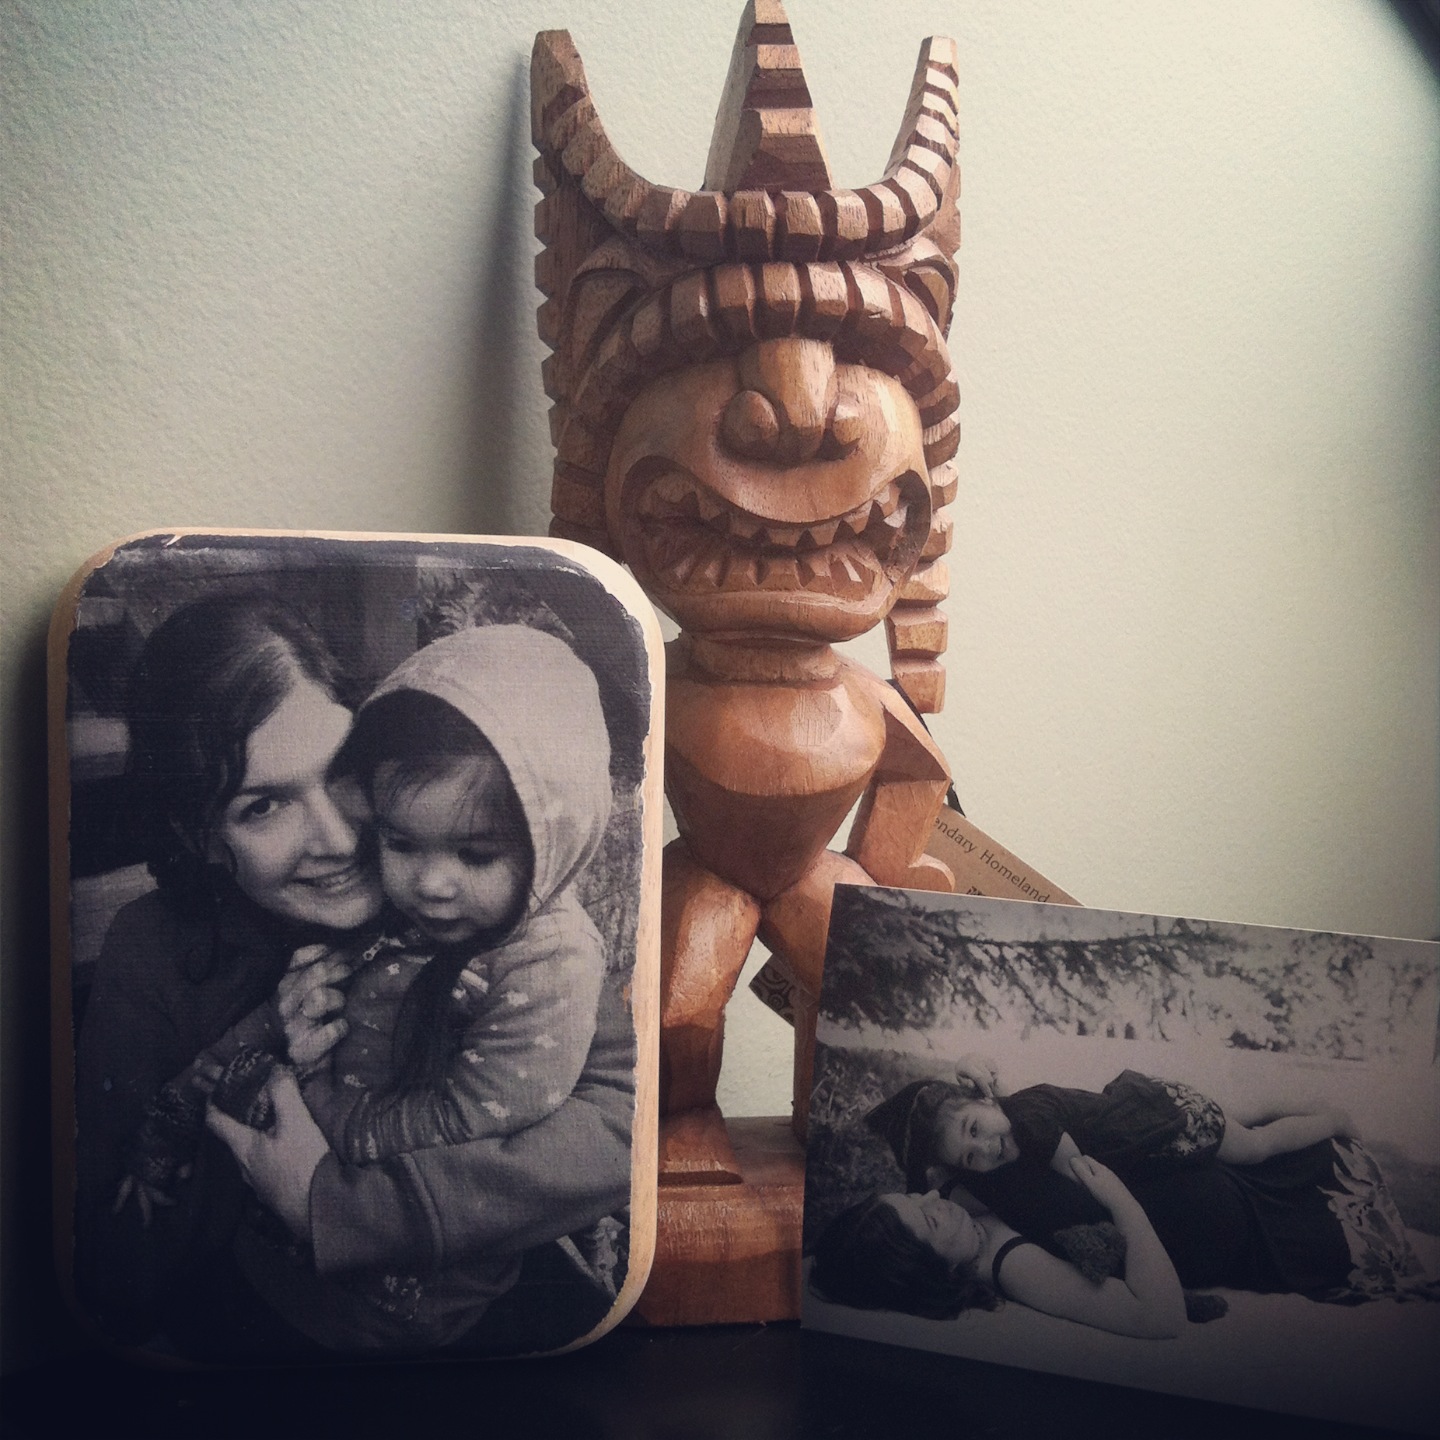
This photo to wood transfer tutorial is one of the most popular posts on Hello Creative Family. It was one of the very first projects that I did on my original blog, Sew Creative. I think people love it so much because of the step by step photos and instructions. It’s a fun project, but does require a bit of patience. You’ll notice as you go through my instructions that I actually did this project twice. I wasn’t completely satisfied with how it turned out the first time, so I scraped the wood and tried again. It’s not a fast project, but if you have patience and stick with it, you’ll get beautiful results. Enjoy and please let me know if you have any questions! -Crystal
UPDATE: I’ve recently discovered a much easier way to transfer photos to wood. It takes about 15 minutes to do my new project and isn’t nearly as challenging as the original way I shared below. Curious to see my new method? Check out my post The Easiest Way To Transfer Photos To Wood In Minutes.

Still want to try my original method? Read on!
Photo to Wood Transfer Tutorial With Step By Step Photos
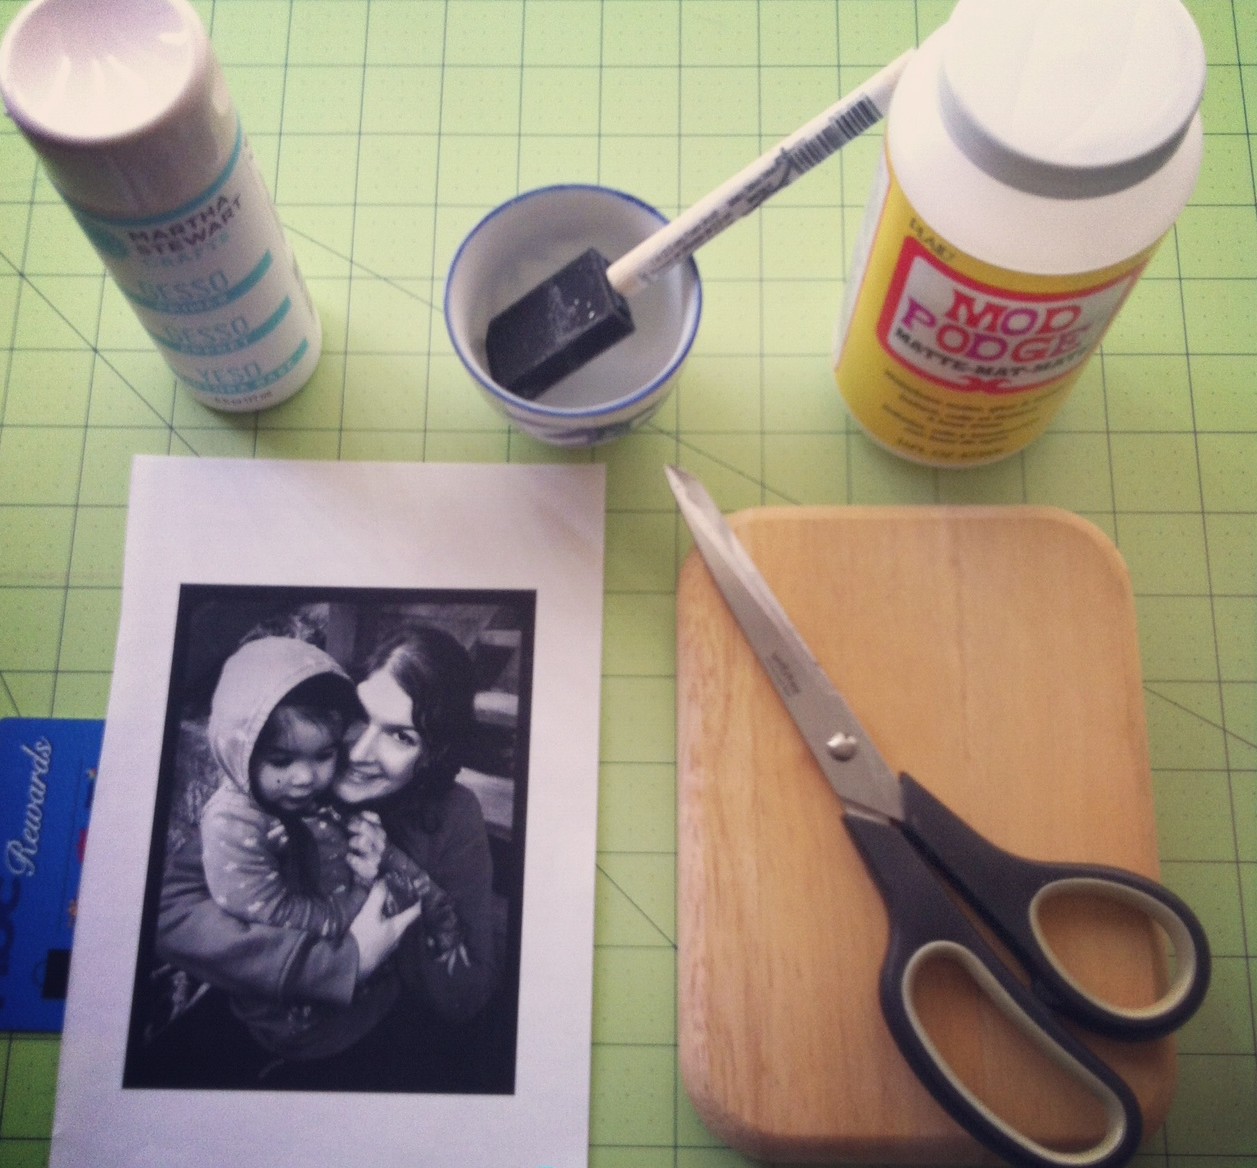
What you need:
-A piece of wood (mine was a small cutting board from the thrift store)
-A laser printed copy of your photo on copier paper, the copy should be the mirror image of how you would like it to appear on the wood. This ONLY works with laser copies. It won’t work with ink jet. (Make sure this is printed on regular paper, not photo paper.)
–Gel Medium (I used Martha Stewart’s Gesso but Mod Podge also makes this photo transfer medium now. You can find Gel Medium at any Michael’s or Joann’s stores… don’t forget to bring your coupons!)
-Scissors to cut out your photo
-A rag to soak your photo
-A cup or plate to pour your gel medium and mod podge into
-A boning tool or plastic card to get the air bubbles out with
Step 1: Print out the image you would like to transfer using a laser printer. Unfortunately ink jet printouts won’t work for this project. Most copy stores (Kinko’s, Staples) use laser printers. You may want to mirror your image as the transfer will make your image the reverse of how it is printed.
Step 2: Trim your image to the size that you want it to be on the wood.
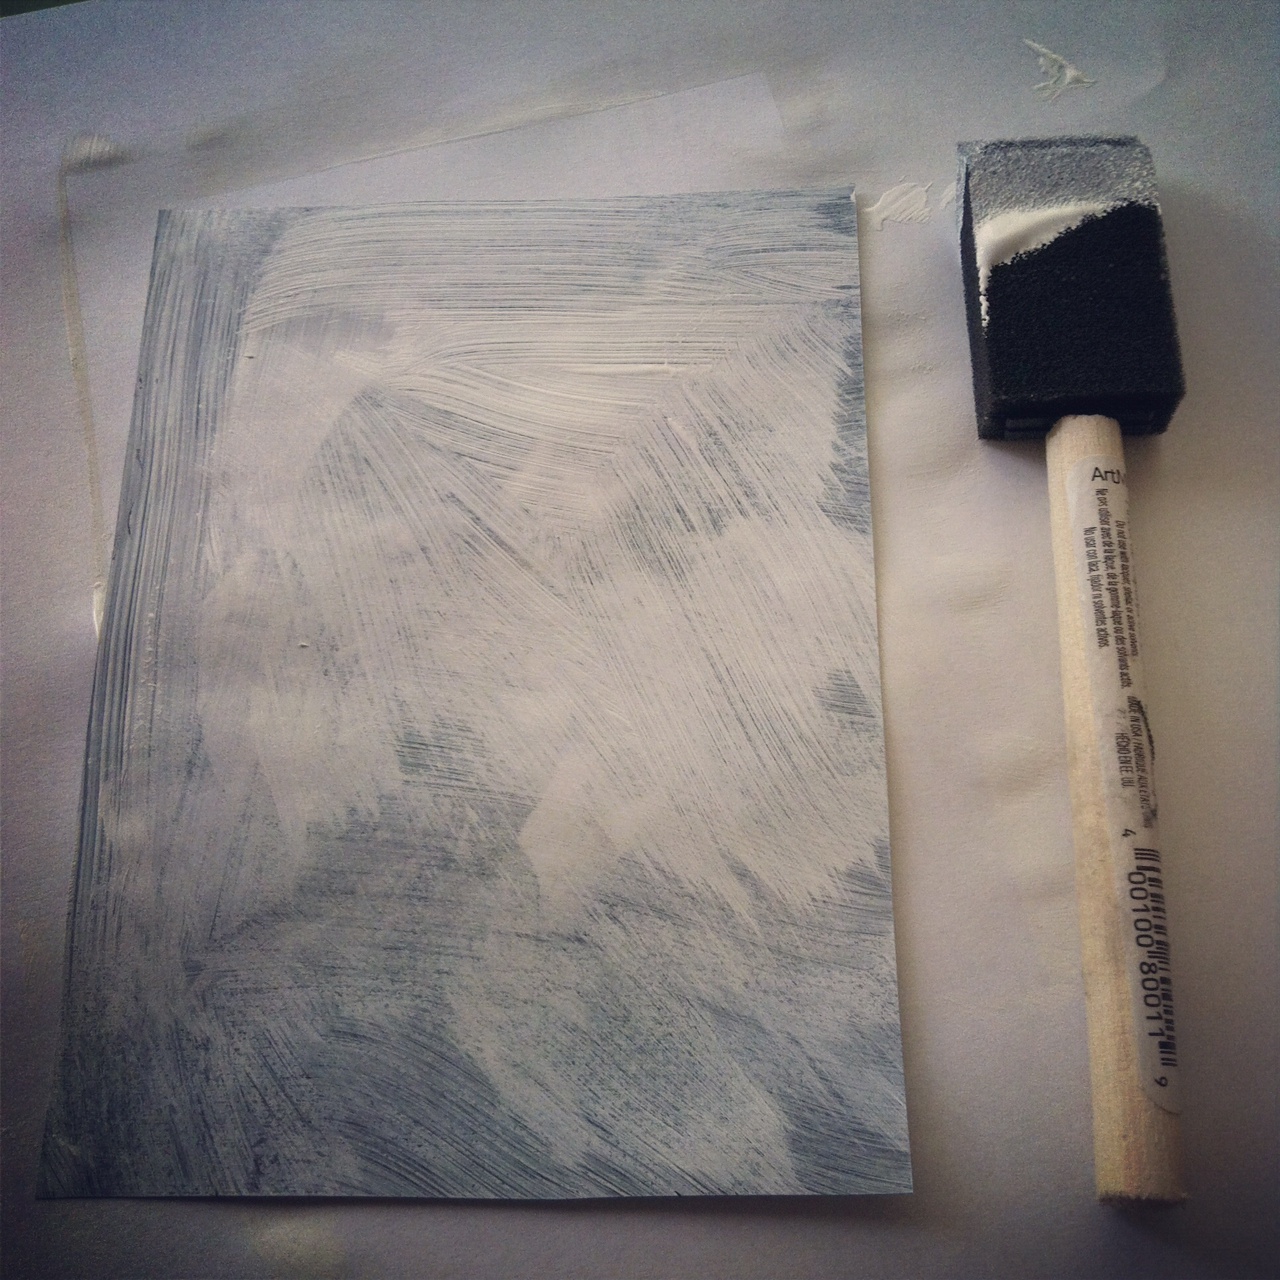
Step 3: Put a layer of gel medium on the printed side of your photo.
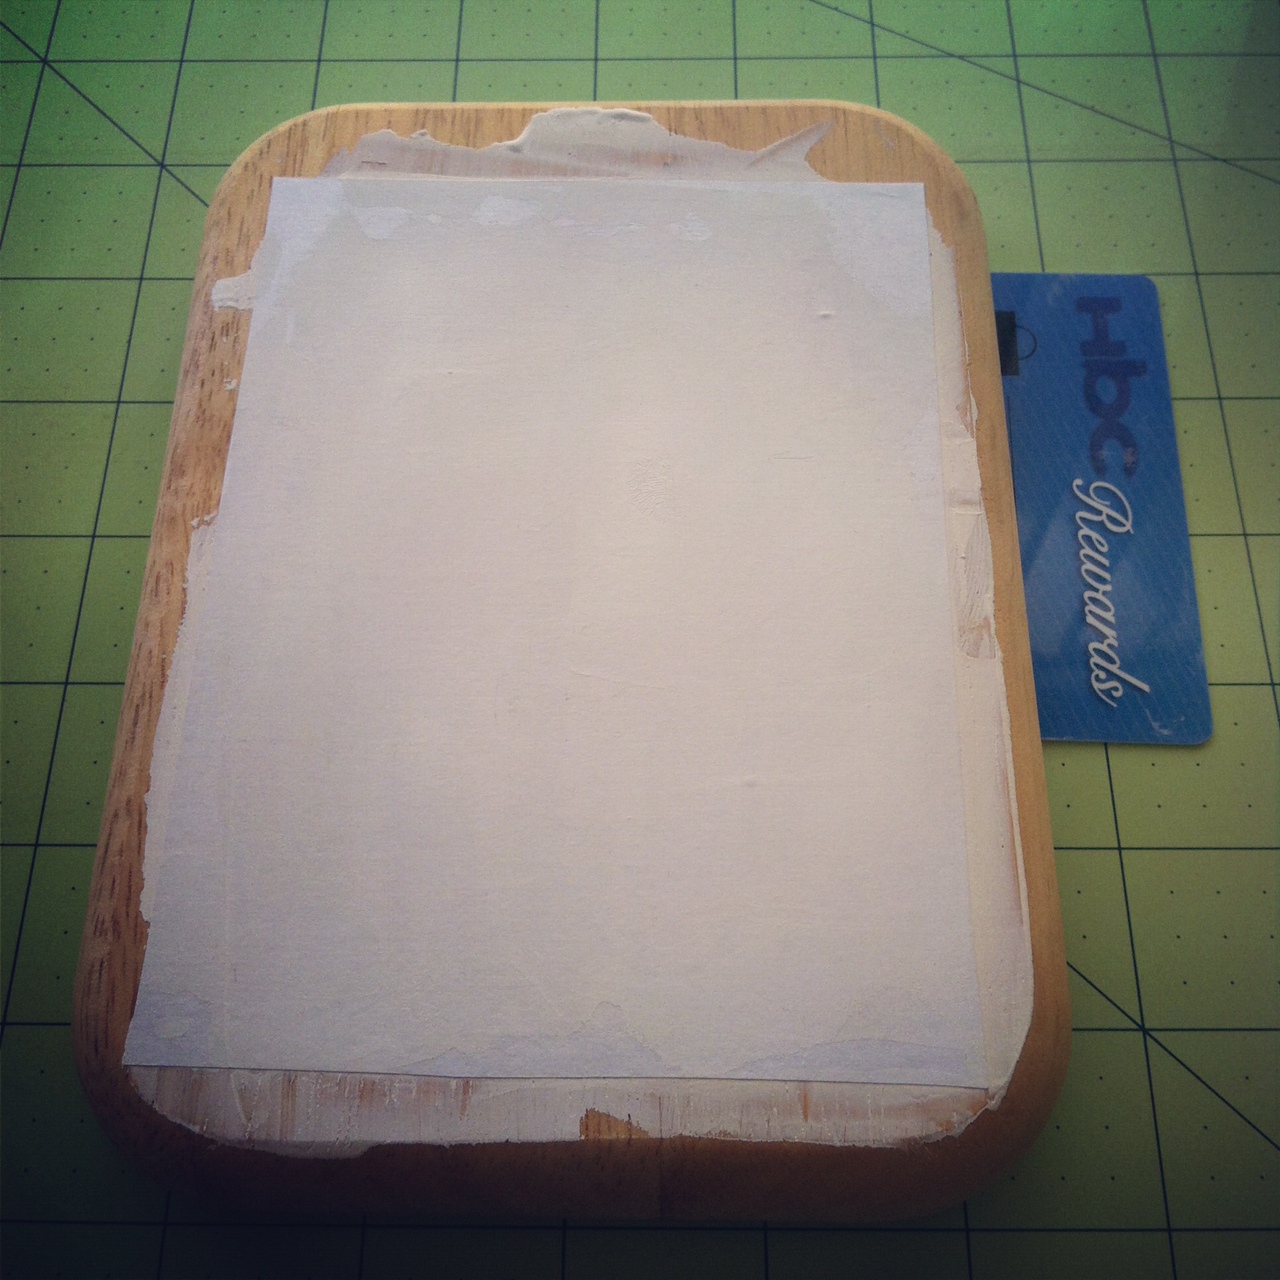
Step 4: Put a layer of gel medium on the wood, then lay the paper photo side down onto the wood. Use your plastic card or boning tool to remove any bubbles of gel medium from between the paper and wood by smoothing the card over the paper pushing excess to the outer edges. Make sure all of your corners are stuck to the wood with the gel medium. If it’s not stuck it won’t transfer.
Step 5: Wipe away excess gel medium from around photo then leave to dry for at least 4 hours.
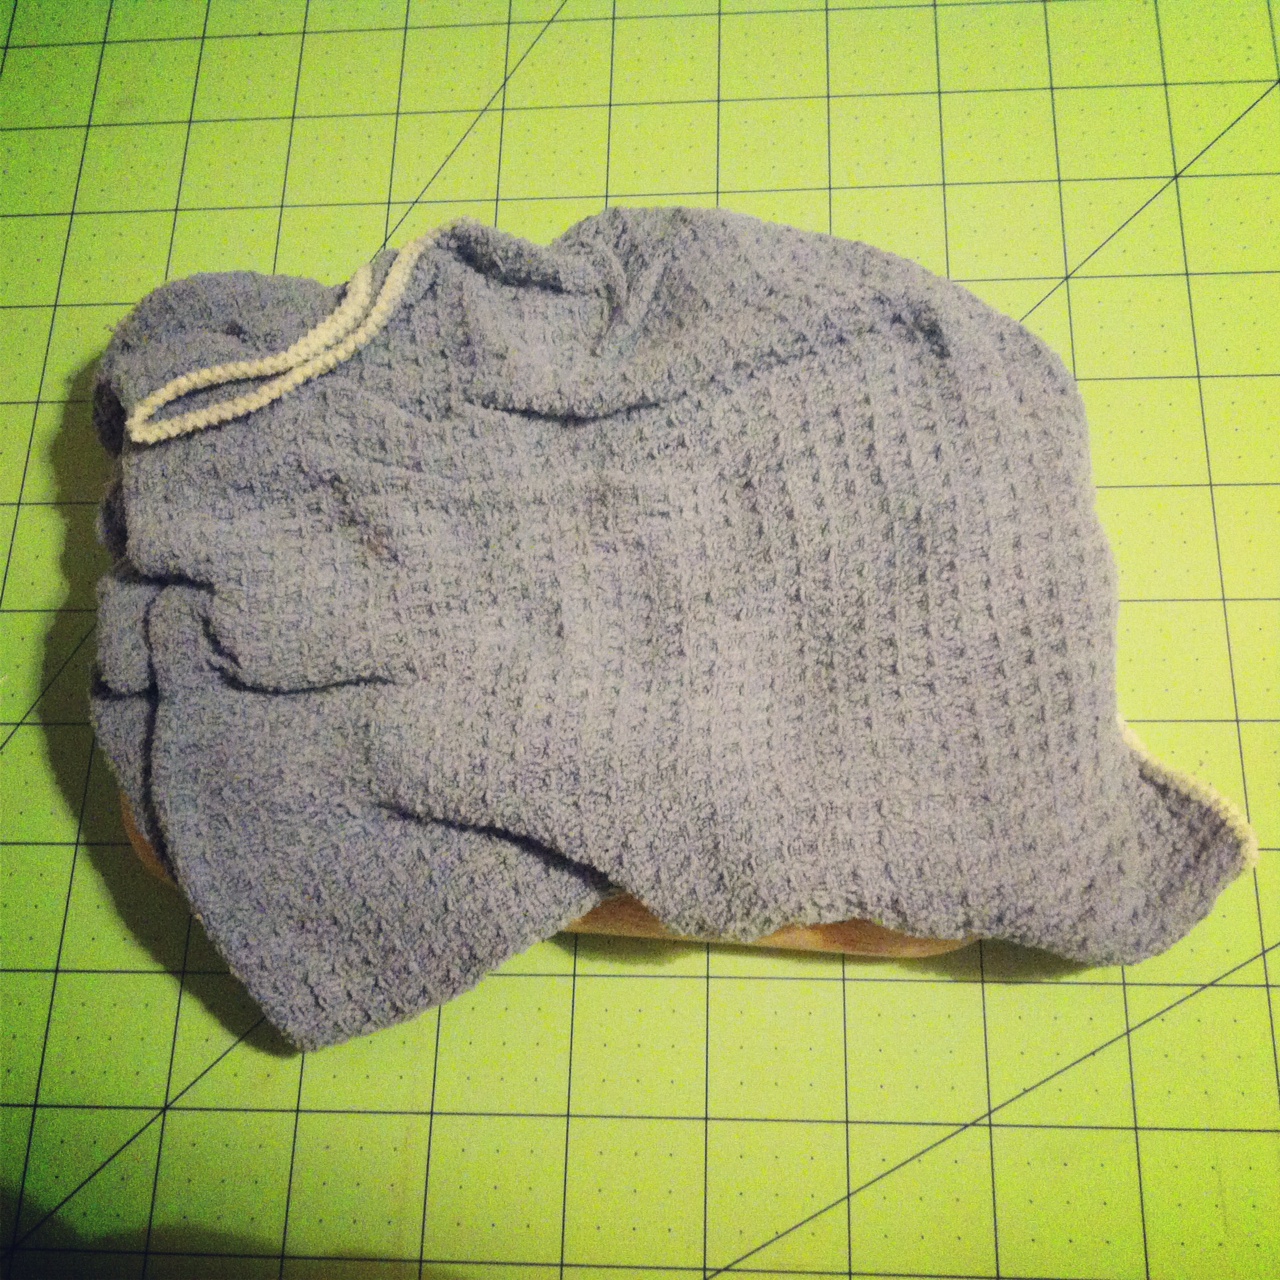
Step 6: 4 plus hours later, once the paper has completely dried, dampen a rag with warm water and and lay it over top of your photo. Leave for approximately 5 minutes.
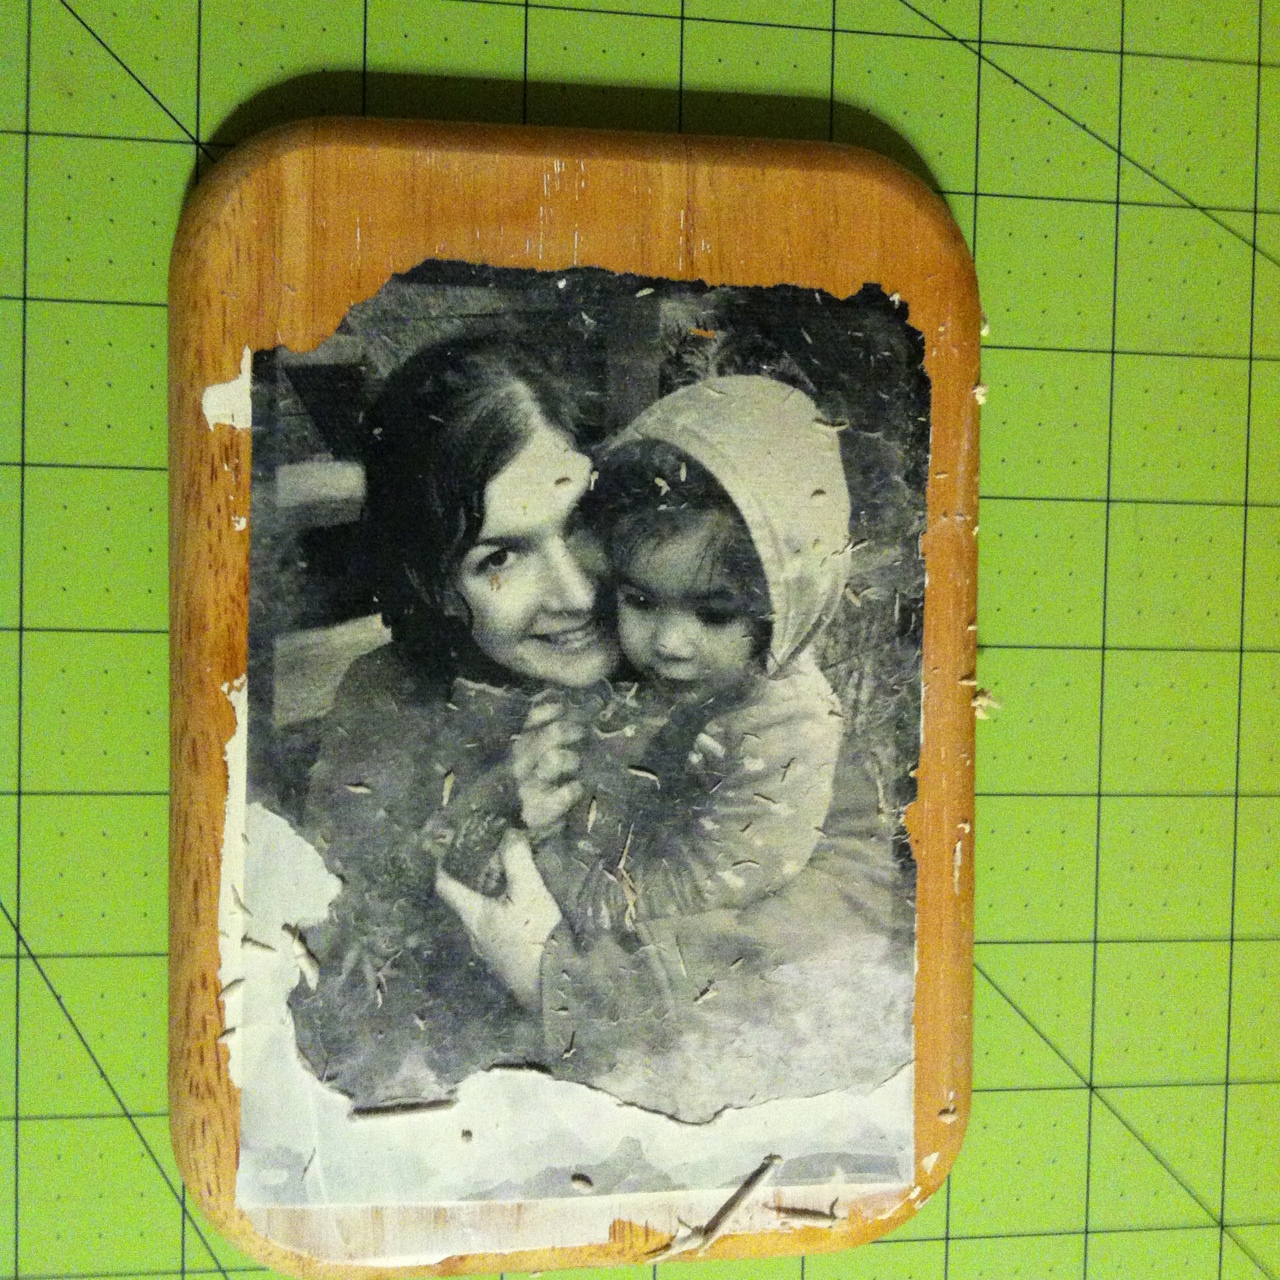
Step 7: Once the paper is damp comes the fun, but time intensive part of this project. Stand over a sink, wet your fingers and slowly start rubbing your finger over the paper, almost using your finger like sand paper. The photo copy is going to appear to split in half. The white part of the paper will start to lift away and the paper with the ink will stick to the wood. Take this part very, very slow. If you go to fast the ink will lift away from the wood and you will be left with bare patches.
*Note- having done this step several times now I have come up with the following technique. I stand at the sink and slowly remove the top layer of paper using circular motions with my fingers. I am constantly wetting my fingers and lightly rinsing the wood under the sink to wash off clumps of paper. Once I think I have the first layer of paper off I set the wood down for a couple of minutes and clean up all of the paper bits. This will give the transfer time to dry. When you look at it you will probably see that there are still places where there is a thin layer of paper left, the image will look cloudy. Wet down your fingers and start “sanding” away again. When you can’t see any white cloudy bits anymore set aside again, clean up a bit while it dries, pick it up again and “sand” some more. I wet down and let me project dry 5-10 times before I was done.
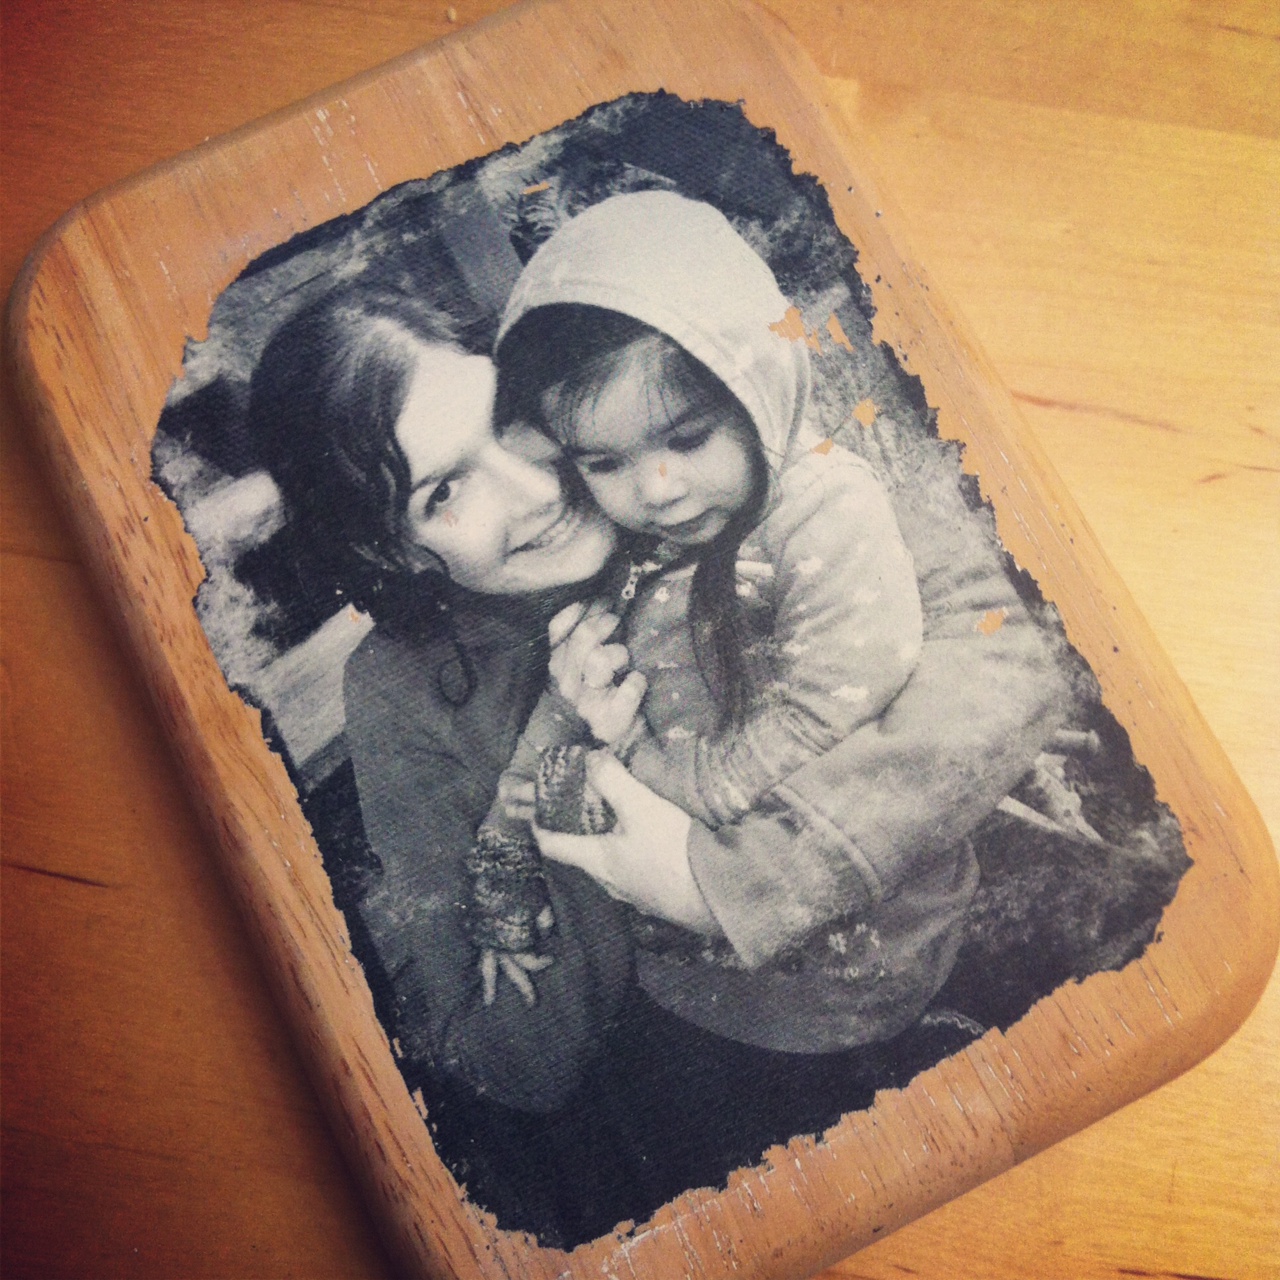
Step 7: Leave your project to dry for about an hour then look at it to see if you are satisfied. Grab your boning tool and rough up the edges a bit if you like. You can take a gray sharpie marker and lightly dot in areas where the transfer doesn’t look quite right. If you need to you can wet it down and “sand” down some more if there are bits of paper that you missed. In my case I decided that I would prefer if my photo filled the entire front of the wood so I wet the wood down, scraped the project off and redid it.
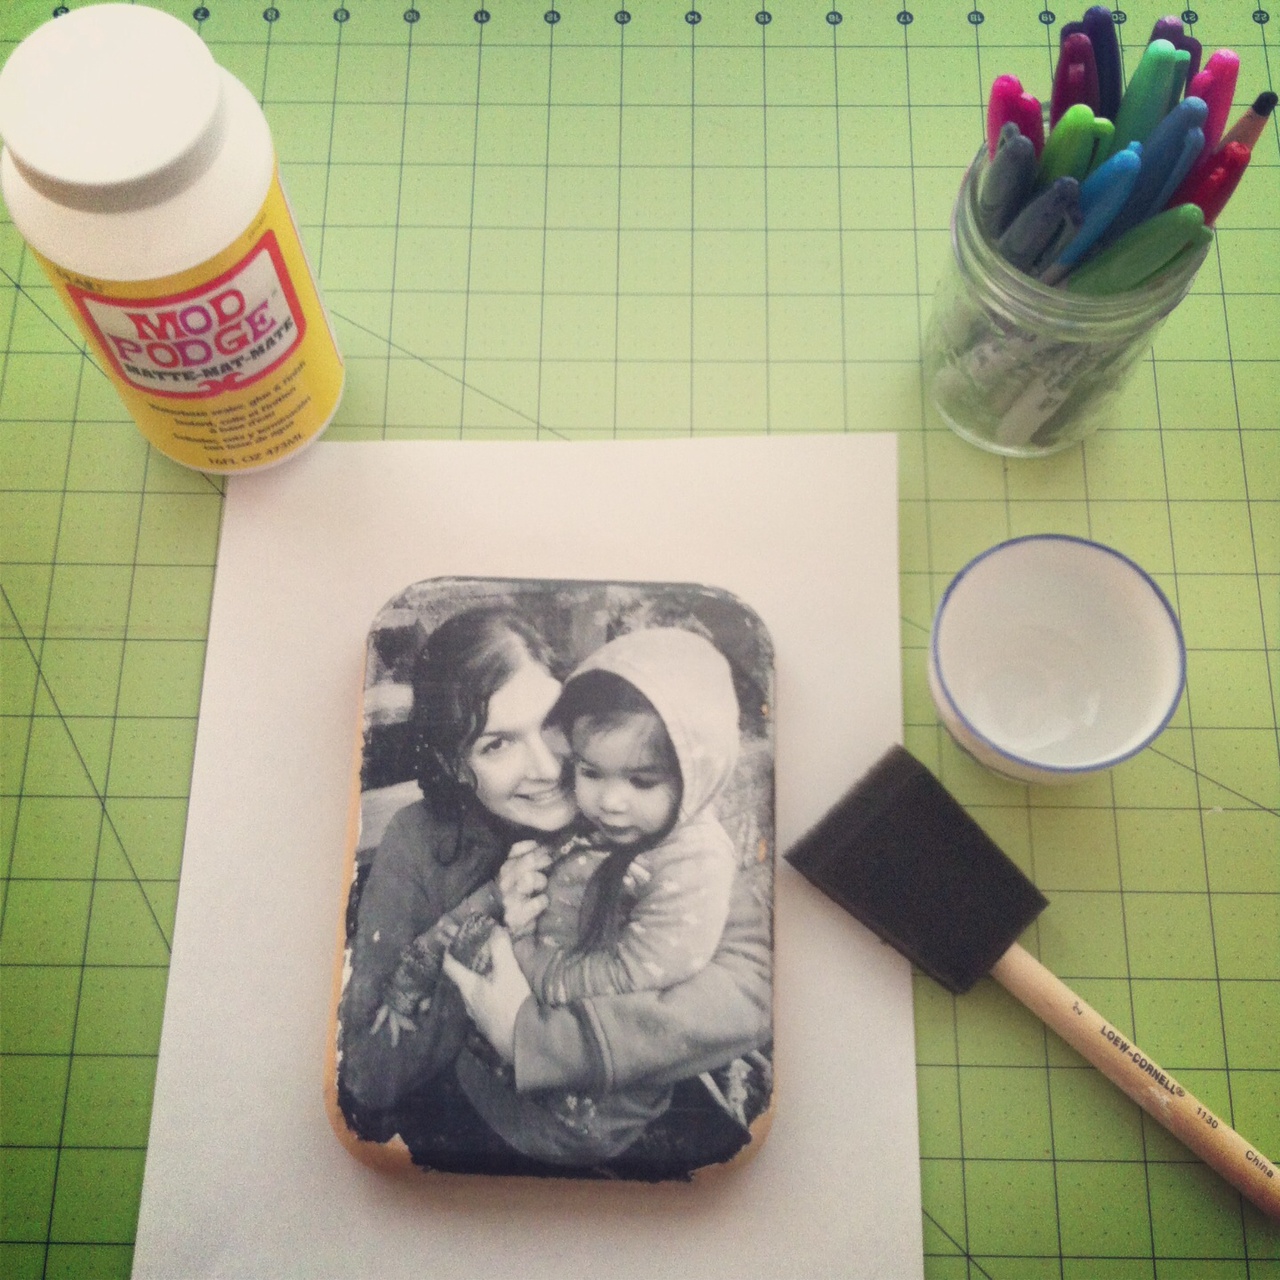
Step 8: When you are satisfied with the look of your transfer put a small amount of mod podge into a cup, and using a sponge brush apply a thin layer of mod podge all over your photo, including the edges. Use smooth, even strokes. Allow to dry for at least 15 minutes then repeat 2 more times.
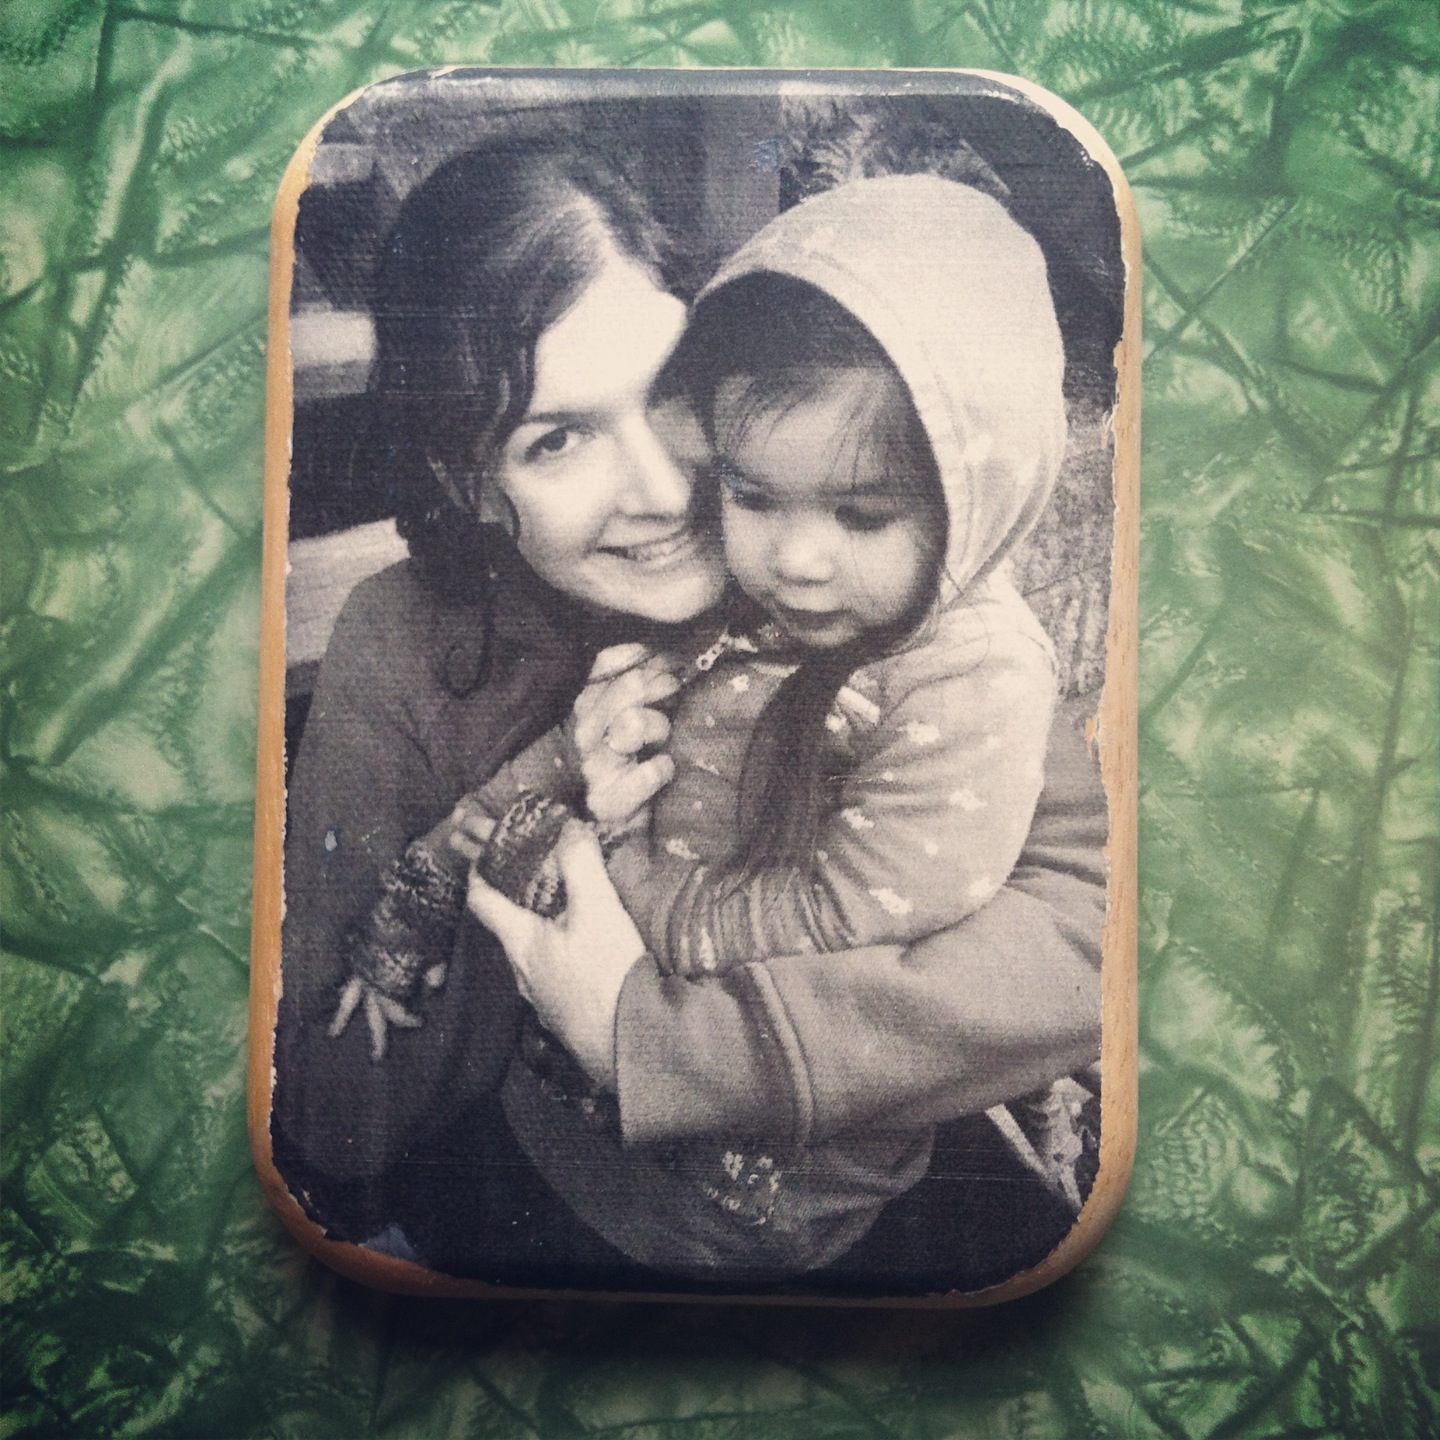
Once your mod podge has dried you have a beautiful photo impact piece that will be commented on by everyone who enters your home. They also make great gifts!
I hope you enjoyed our Photo To Wood Transfer Tutorial. If you have any questions please ask and I’d be more than happy to try to answer. I would love to see the results of your Photo to Wood Transfer projects. Amy Anderson from Mod Podge Rocks recently wrote a great post on 5 Tips for Using Mod Podge Photo Transfer Medium! I’d highly suggest giving it a read if you are having any problems.
If you like this post, we think you’ll love:
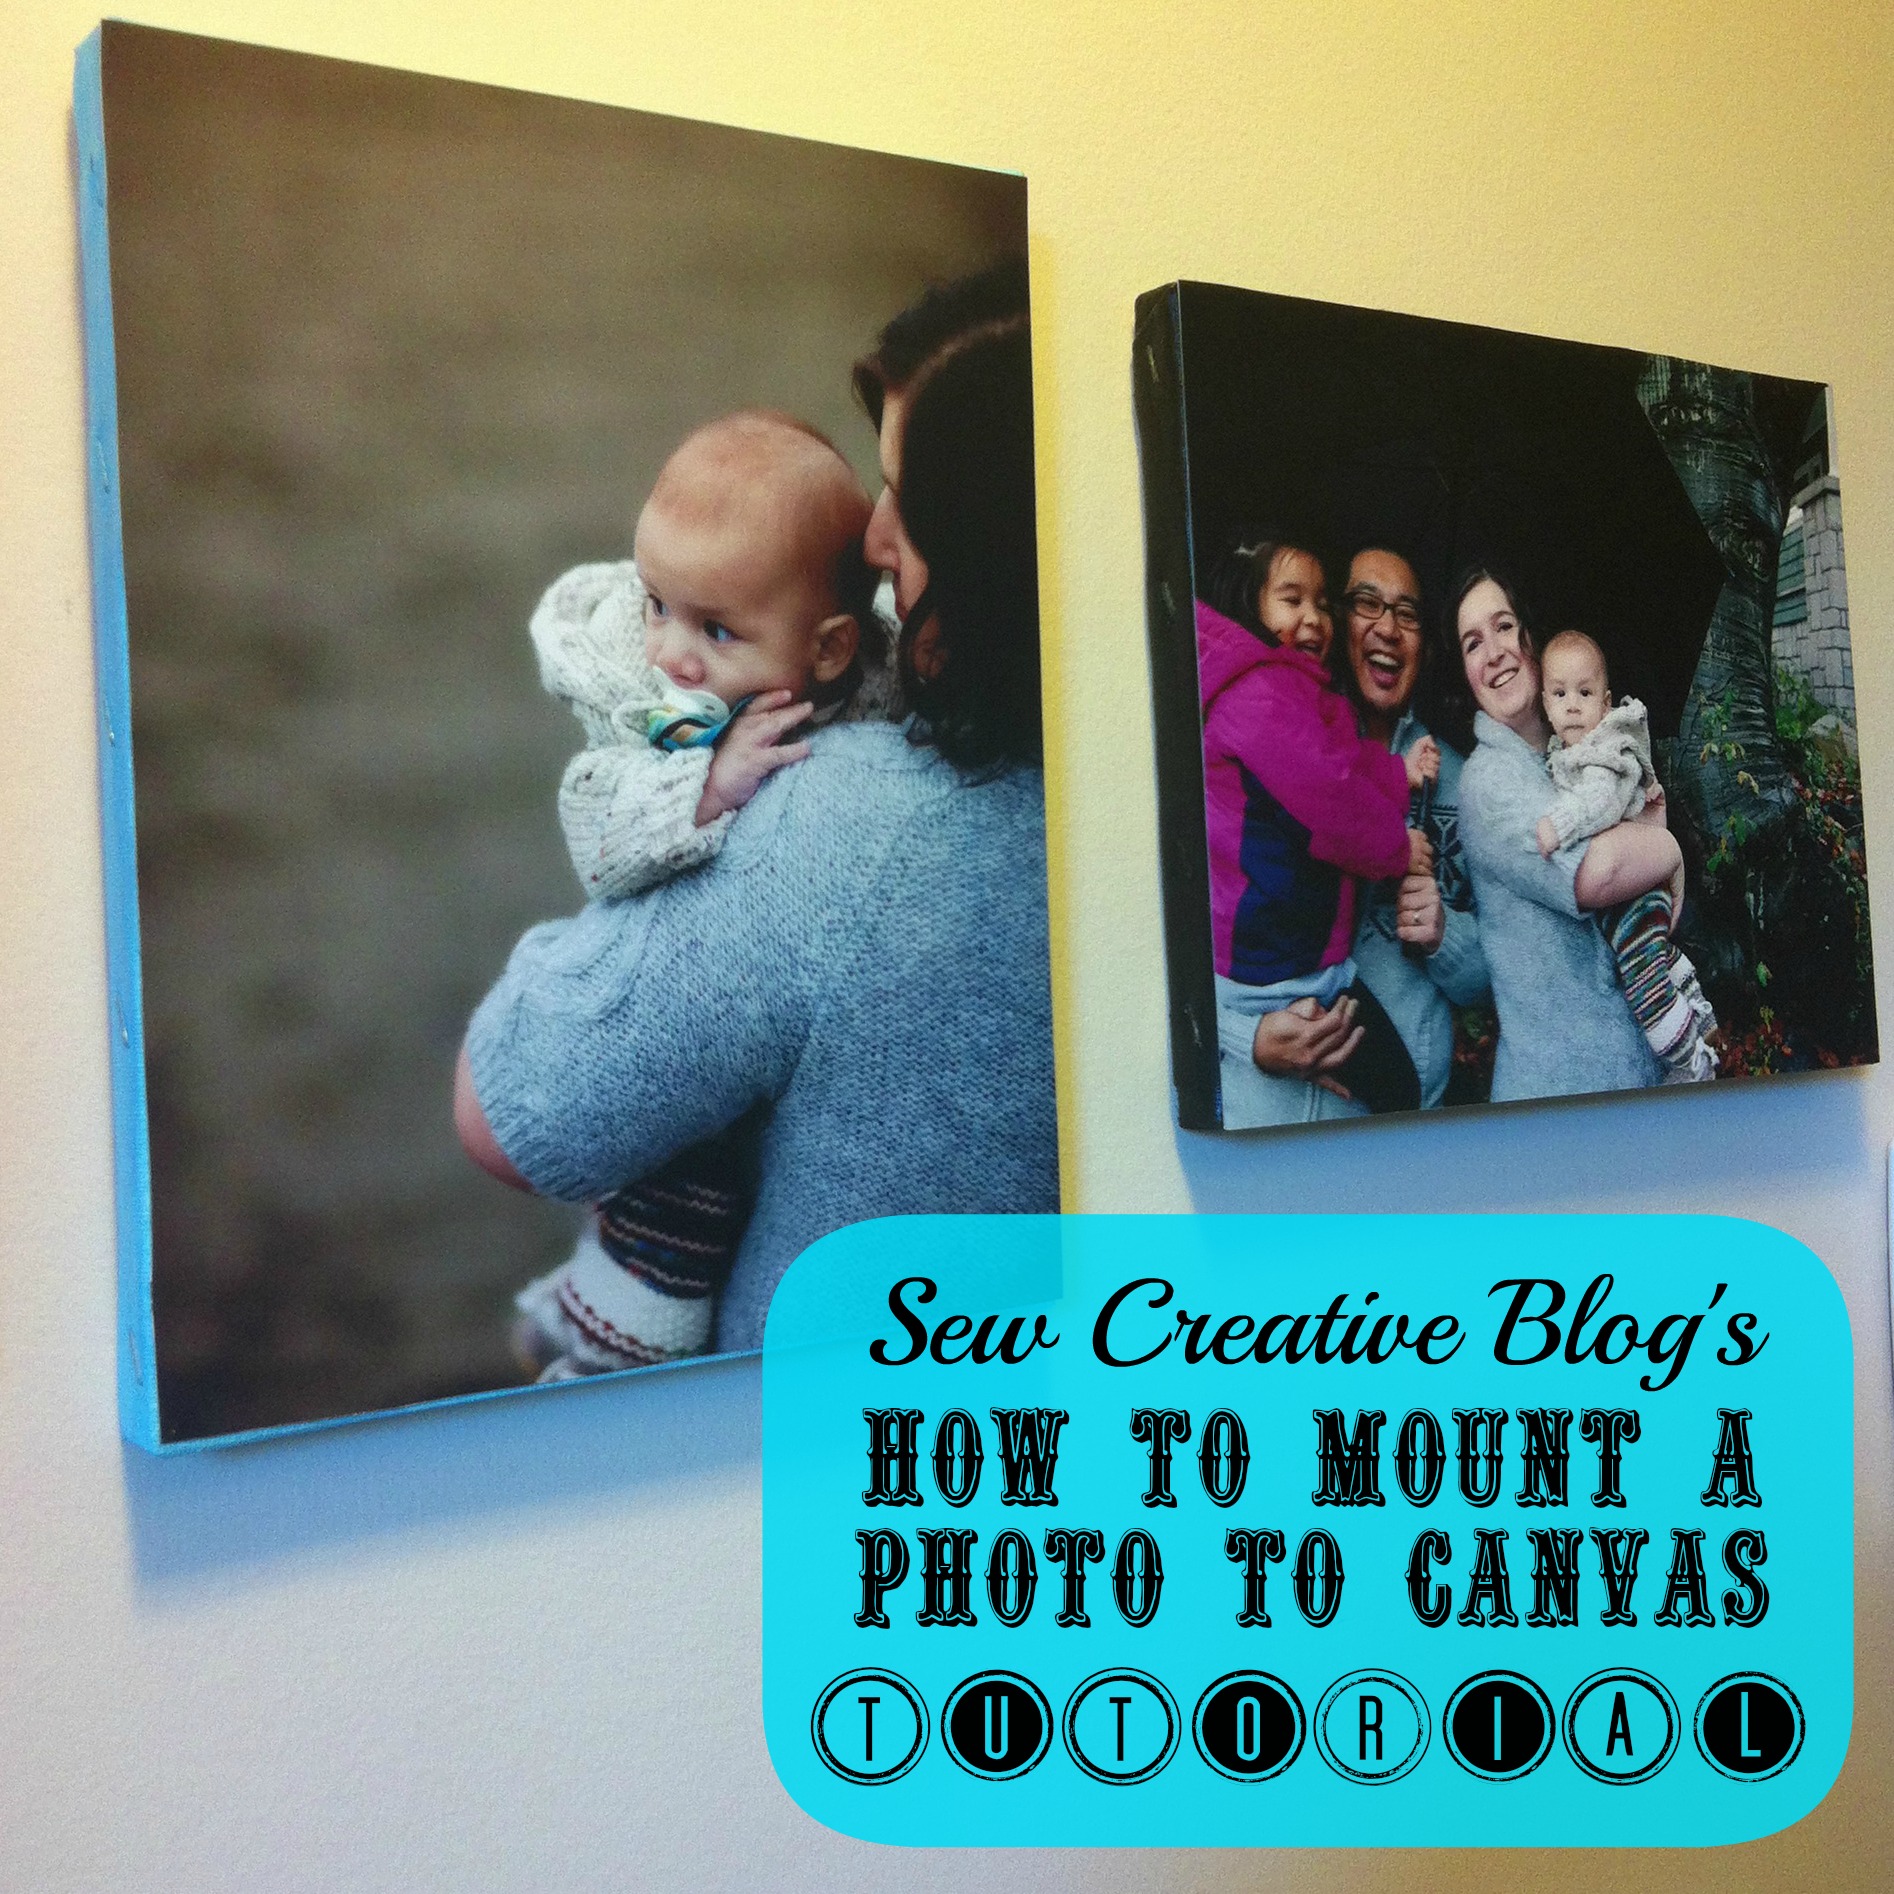
How to mount a photo to canvas.

How To Make Easy DIY Photo Coasters
The Easiest Way To Transfer Photos To Wood For Perfect Results Every Time


This is awesome! I’d love to try this. Would be a great gift idea, especially for Christmas, to add a personal touch. Thank you for the step by step instructions!
Hello:
I have sanded the picture. When wet, you can make out the picture, but when it dries you cannot make out the picture. When dry, there is areas which looks like I sanded too much, but I am not down to bare wood. Do I need to sand again in those areas before final step of sealing it with mod podge? Are you supposed to see the picture clearly when dry and sanded properly (as I do when it is wet)? Or will the mod podge act like a clear coat sealer and bring out the picture as if it were wet?
Hi Lori,
That means that you’re getting close but not quite there. If it fogs up again once dry it means that there is still paper fiber to be removed. Your picture should basically look how you want it to look when it’s dry, before you add the mod podge. It definitely takes multiple times wetting it down and “sanding”.
Good luck! Thanks for visiting.
Crystal
This is really neat! I have had three new grandbabies born this year and it would be great to do one of these for each of my daughters! Thanks for the inspiration!
Hi! I followed your instructions closely and all was going well – i applied the first layer of modge podge, let it try for about 20 minutes, then applied the second thin layer and it dried completely white and cloudy. I’ve tried rewetting but I think it’s stuck this way now and I’ll have to scrap it and start over. Any ideas on how to prevent this for my next attempt? Thanks!
Hi Meghan,
Thank you for your message. Was your photo transfer completely dry before you applied the first layer of mod podge? It sounds to me like possibly there was still some paper left on your image. When it’s wet it can look like it’s completely done, but then when it dries it looks cloudy again.
I’ve never seen the image go cloudy before with a second layer of mod podge so that’s my best bet. Was it mod podge brand mod podge that you were using?
Best Wishes,
Crystal
Crystal, Perhaps that was it, I thought it was completely dry but I will make sure that’s the case next time. Yes, I used the regular modge podge brand – made sure to by the exact kind that was in the photo! Thanks for the tip,
Hi Crystal,
I followed the instructions you have given above. And, the end result looks good when the media is still wet, but when dry, the result is blurred as if covered with paper.
if there are any steps that I have not done for the final touch?
Should I do anything when the photo is still wet?
Thank you for the advice.
Hi Ramana,
If the image still looks cloudy when dried you need to do more steps of “sanding” it down, until the image looks clear when dry. Stick with it!
Thank you for visiting!
Best Wishes,
Crystal
Hi Crystal, What did you use to get the old transfer off of the wood? I’m having a hard time getting it off.The transfer didn’t turn out as good as i wanted it to.
Thank you,Carrie
Hi Carrie,
I just wet it down and scraped it all off. If you have an old credit card or something with a hard edge it makes it easier to scrape off. 🙂
Best Wishes,
Crystal
I absolutely love this idea! Your’s turned out so well, I can’t wait to try my own!
Thank you so much Lydia! It’s one of my favorite things I’ve ever made. The moment I took that photo of my sister and Bean I knew I had to do something special with it!
Best Wishes,
Crystal
Not sure if this was asked already but can this be done on finished and stained wood or does it have to be on unfinished wood?
Thanks!
Hi Norah,
Great question. I’m not 100% sure, but I think you should be able to do it on stained wood, as long as the stain is light enough that you would be able to see your picture. I haven’t tried it though so can’t say 100% that it will work. I know that you can use this method on different materials though, so I’d say it’s worth a try!
Thank you for visiting.
Crystal
Hey Crystal. I tried this method, but the wood faded away within a few months. The picture is no longer there.
Hi TG,
Hmmm that is very odd. Did you do a layer of mod podge on top? That should protect your image. A few of mine I’ve had for over 5 years and they still look the way they looked when I made them. The only other thing I can think is if you have them in an area with a lot of sun exposure, that could cause it to fade?
Best Wishes,
Crystal
Hi, Crystal! I was just wondering. Have you tried or know if Matte Mod Podge is a good sealant for this project for the final steps? There are so many mod podge selections to choose from I’m a little overwhelmed and don’t want to buy the wrong type.
Hi Melody,
Great question! It’s totally up to your preference, but Matte Mod Podge is what I use for mine. I always prefer matte photos to glossy photos. 🙂
Thank you for visiting!
Best Wishes,
Crystal
Do you print the photo or can you copy the photo on a laser copier?
Hi Leila,
Thank you for visiting. The photo needs to be on laser paper, it’s up to you if you want to print it from a jpg on your computer or do a laser copy of a physical picture that you have.
Also make sure you check out my new tutorial for an even easier way to transfer photo to wood. It can be found here:
https://hellocreativefamily.com/easiest-way-transfer-photos-wood-minutes-perfect-results-every-time-giveaway/
Best Wishes,
Crystal
Hi, I tried this with a color picture that had been printed at Walmart. It seemed like it was a plastic coat over the top of the picture when I was finger sanding it. It actually had a purpleish tint when it was done. should I be printing on a regular HP ink jet printer from home on regular paper?
Hi Mamu,
You want to be using a copy printed on a laser printer, if you don’t have a laser printer you can get this done at Kinkos or any copy place. Alternatively I’ve come up with an easier version to create the same look. You can find it here:
https://hellocreativefamily.com/easiest-way-transfer-photos-wood-minutes-perfect-results-every-time-giveaway/
Thank you so much for visiting Hello Creative Family!
Best Wishes,
Crystal
Hi!!
I am searching for the correct printer PAPER to do the photo transfer!? I tried this project and I’d like to say my first try turned out really well, but as we critique ourselves, it definitely could have been better. My first try I used 4×6 photo printer paper. (Which is what I thought you had to use) it worked, but there were 2 layers of plastic that had to come off. It was very difficult.
When I read this article, it said to use plain printer paper, is that correct? If everything depends on the printer, and I know I have the right printer, I just need advice on the paper to use for the transfer.
Any information would be greatly appreciated. I would gladly share my picture of my project via email!
Hi Leandre,
Thank you so much for visiting. You use just plain copy paper for this project. The laser printer lays the ink down on top of the paper so that’s what helps with the doing the transfer. That being said, this project is definitely a time intensive one. Since I made it I discovered a different way to transfer photos using printable tattoo paper. It’s SO MUCH EASIER. I highly recommend it. The tattoo paper is available on Amazon or at craft stores. I link to it in this post and show you how to do it: https://hellocreativefamily.com/easiest-way-transfer-photos-wood-minutes-perfect-results-every-time-giveaway/ I also did it with tiles to make coasters: https://hellocreativefamily.com/how-to-make-easy-diy-photo-coasters/
I hope that this helps!
Best Wishes,
Crystal
Great idea, this is so creative and looks vintage, but still easy. Thanks for sharing a nice post.