


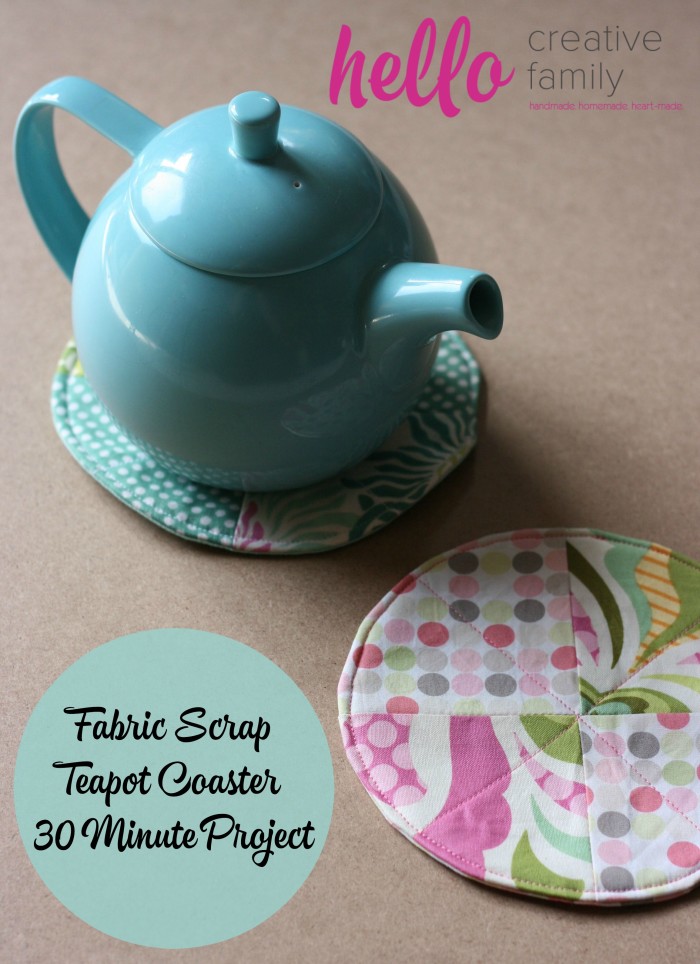
Fabric Scrap Teapot Coaster 30 Minute Project
This post and the photos within it may contain Amazon or other affiliate links. If you purchase something through the link, I may receive a small commission at no extra charge to you.
My sewing room has 2 giant bins filled with fabric scraps, this in addition to the full sized Ikea Billy Bookcase that is packed full of yardage of fabric. I have a bit of a fabric addiction. I hate to throw away small pieces of fabric because… what if a good project pops up down the road that you could make with your scraps?
There is something so satisfying about sewing up a fabric scrap project. You’re creating something from materials that most people would throw away. Plus most fabric scrap projects are quick and easy.
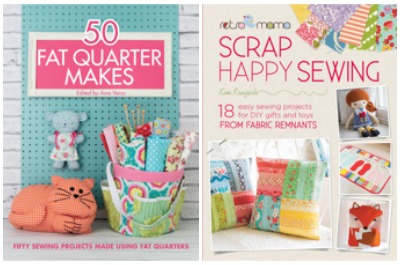
Stitch Craft Create recently sent me two fabulous sewing books, 50 Fat Quarter Makes and Retro Mama Scrap Happy Sewing. Both books are filled with wonderful photos that you can make with small pieces of fabric. I had so much fun flipping through the books, planning my next projects and playing with my fabric to see which would be the best fit for each tutorial.
Just check out these beautiful projects!


The books were so wonderful that they inspired me to create my own fabric scrap project! I’ve chatted before about how I love enjoying a hot cup of tea when creative inspiration hits. I have a vintage table in my sewing room that serves as my desk and I’ve been wanting something fun to set my teapot on to protect my table. I decided to whip up a fabric scrap teapot coaster. These coasters can be made in smaller sizes to serve as regular coasters. I love the quilted, patchwork look of these coasters and love having it on my desk underneath my aqua blue teapot!
Want to make a Fabric Scrap Teapot Coaster of your own? Read on!
Fabric Scrap Teapot Coaster Tutorial
Materials:
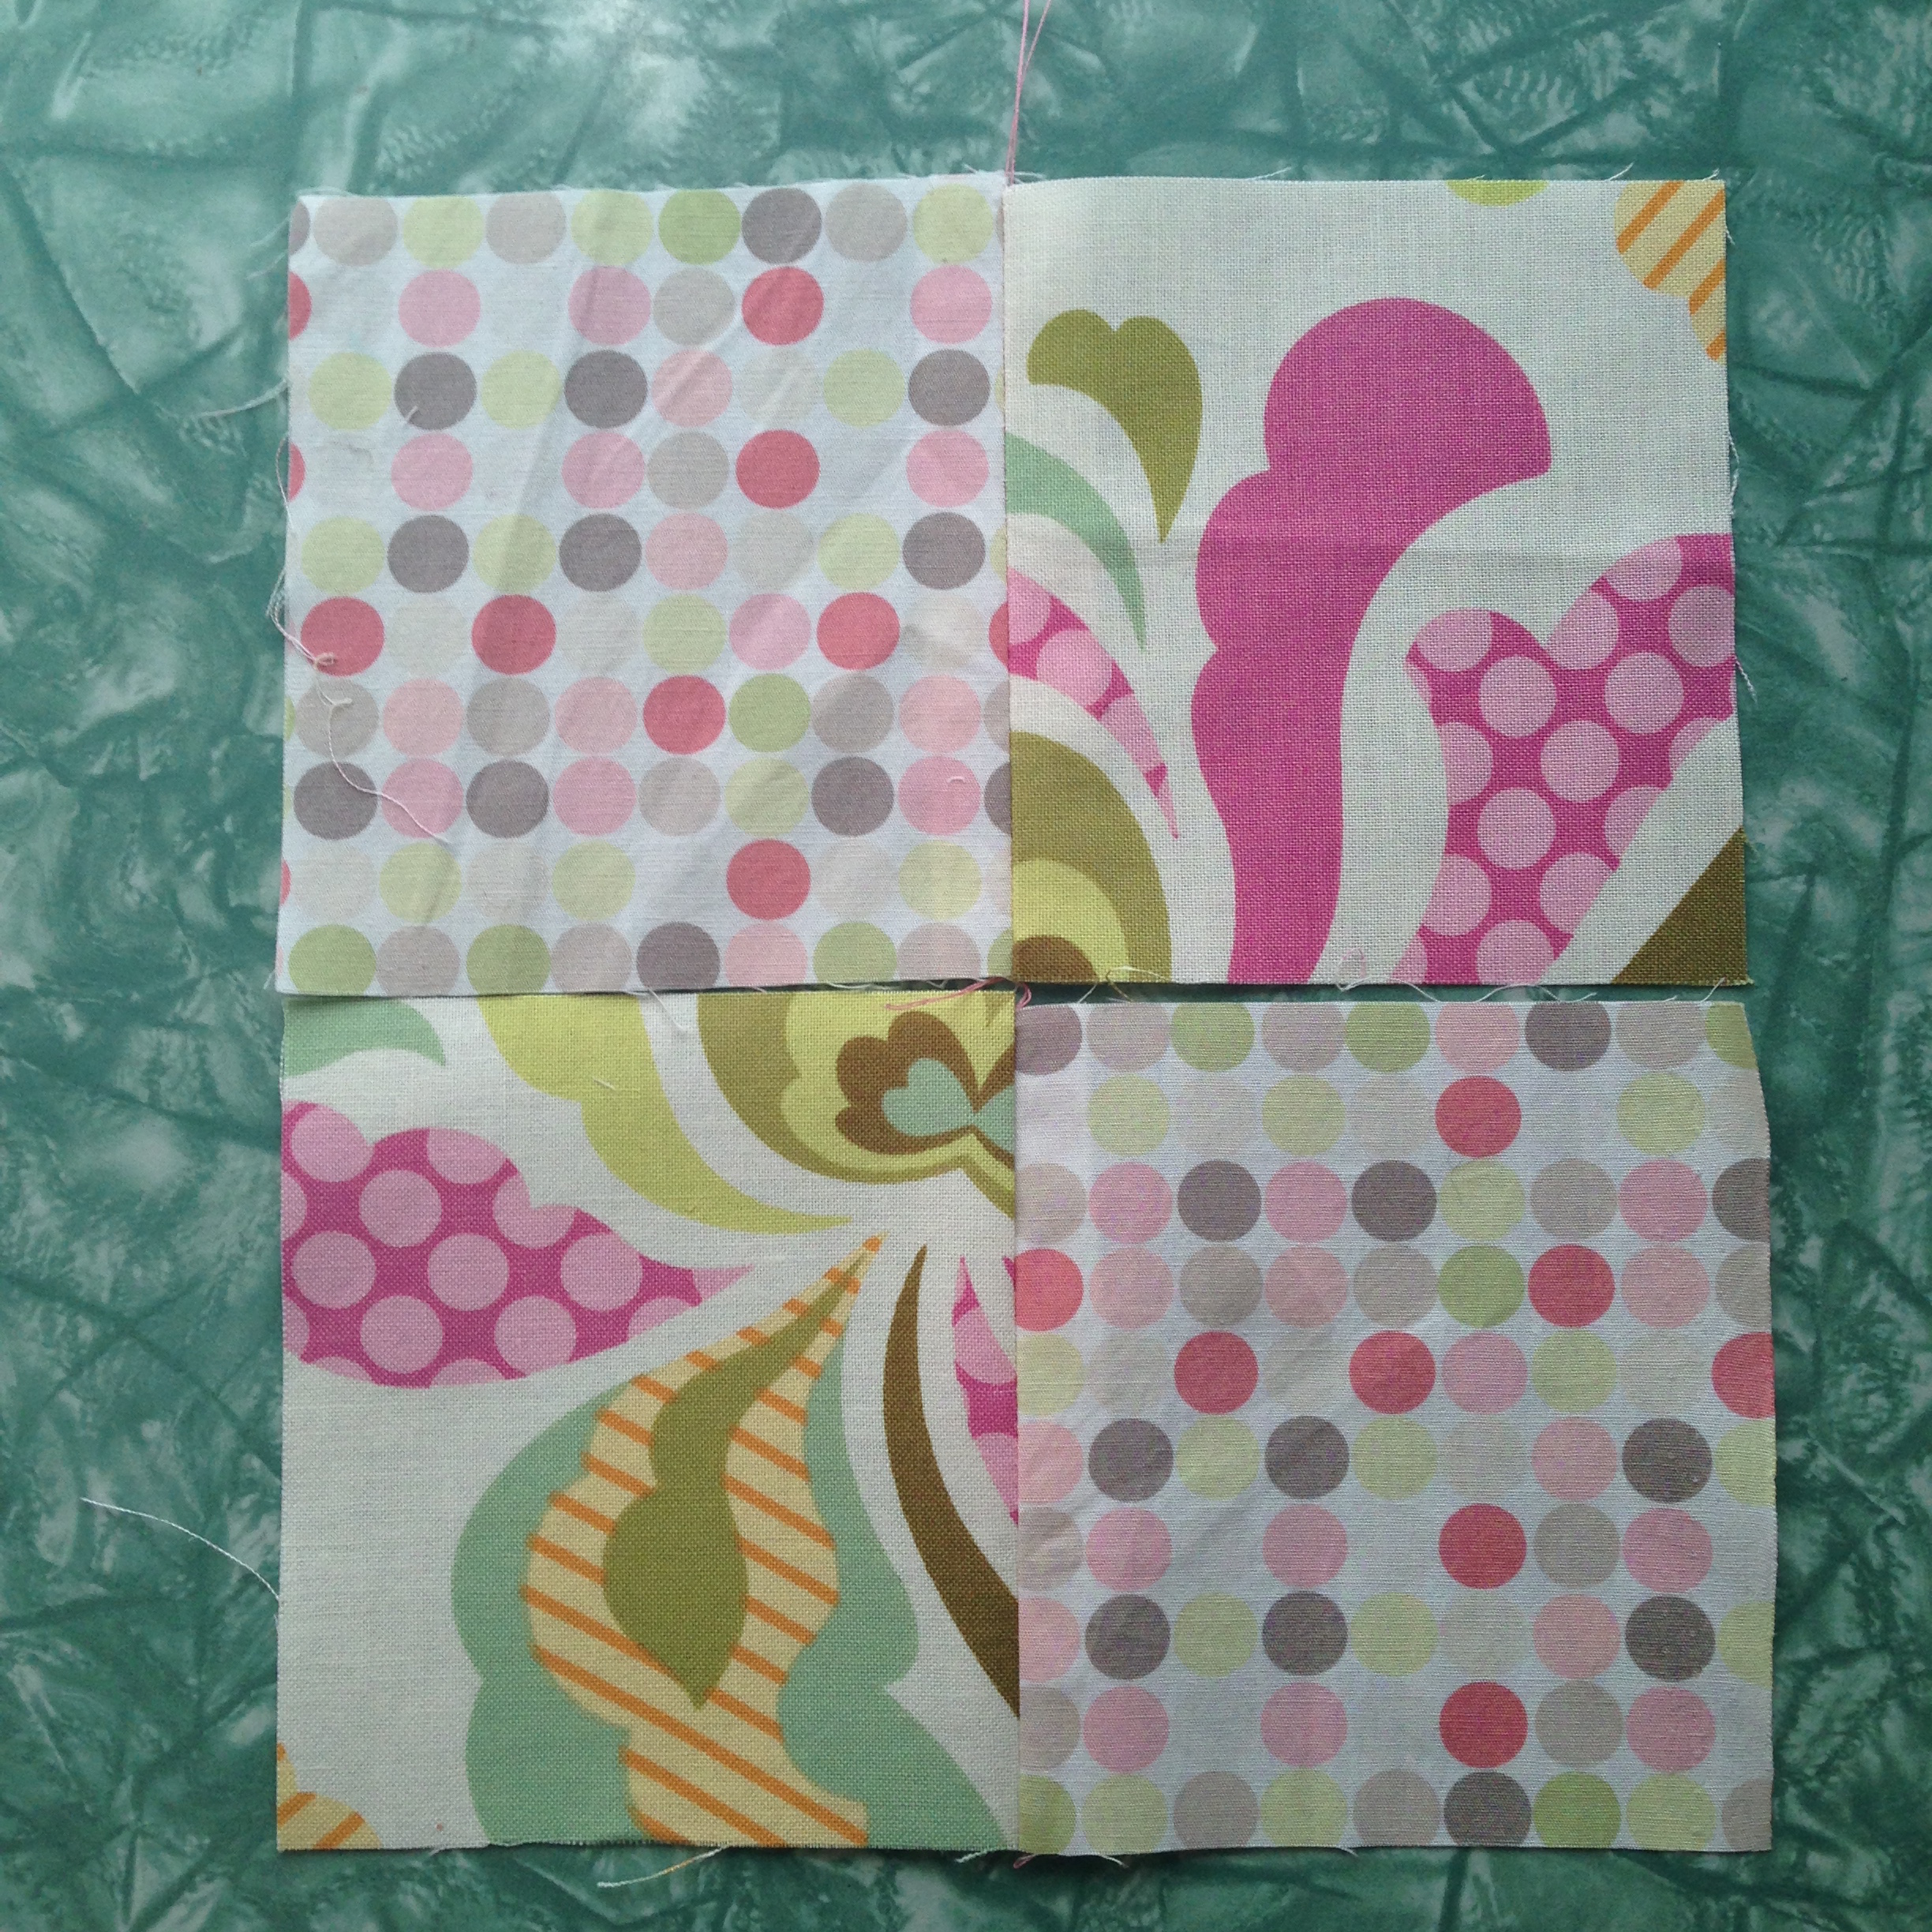
- 4- 4”X4” squares of cotton quilting fabric for the coaster front (I like the patchwork look of these coasters so I played around with different fabrics.
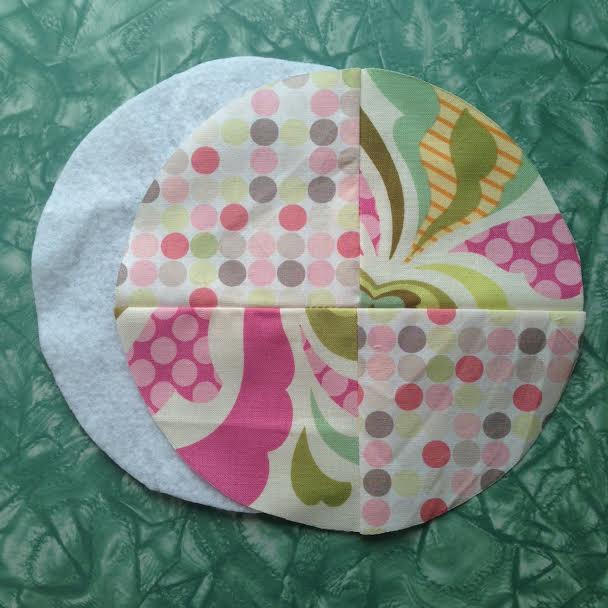
- 1- 7” in diameter circle cut from coordinating fabric for the backing
- 1- 7” in diameter circle cut from felt for the coaster center. If you are using a light coloured fabric make sure to use light coloured felt.
- Pencil or fabric pen
- Scissors
- Sewing Machine
- Pins
- Coordinating thread
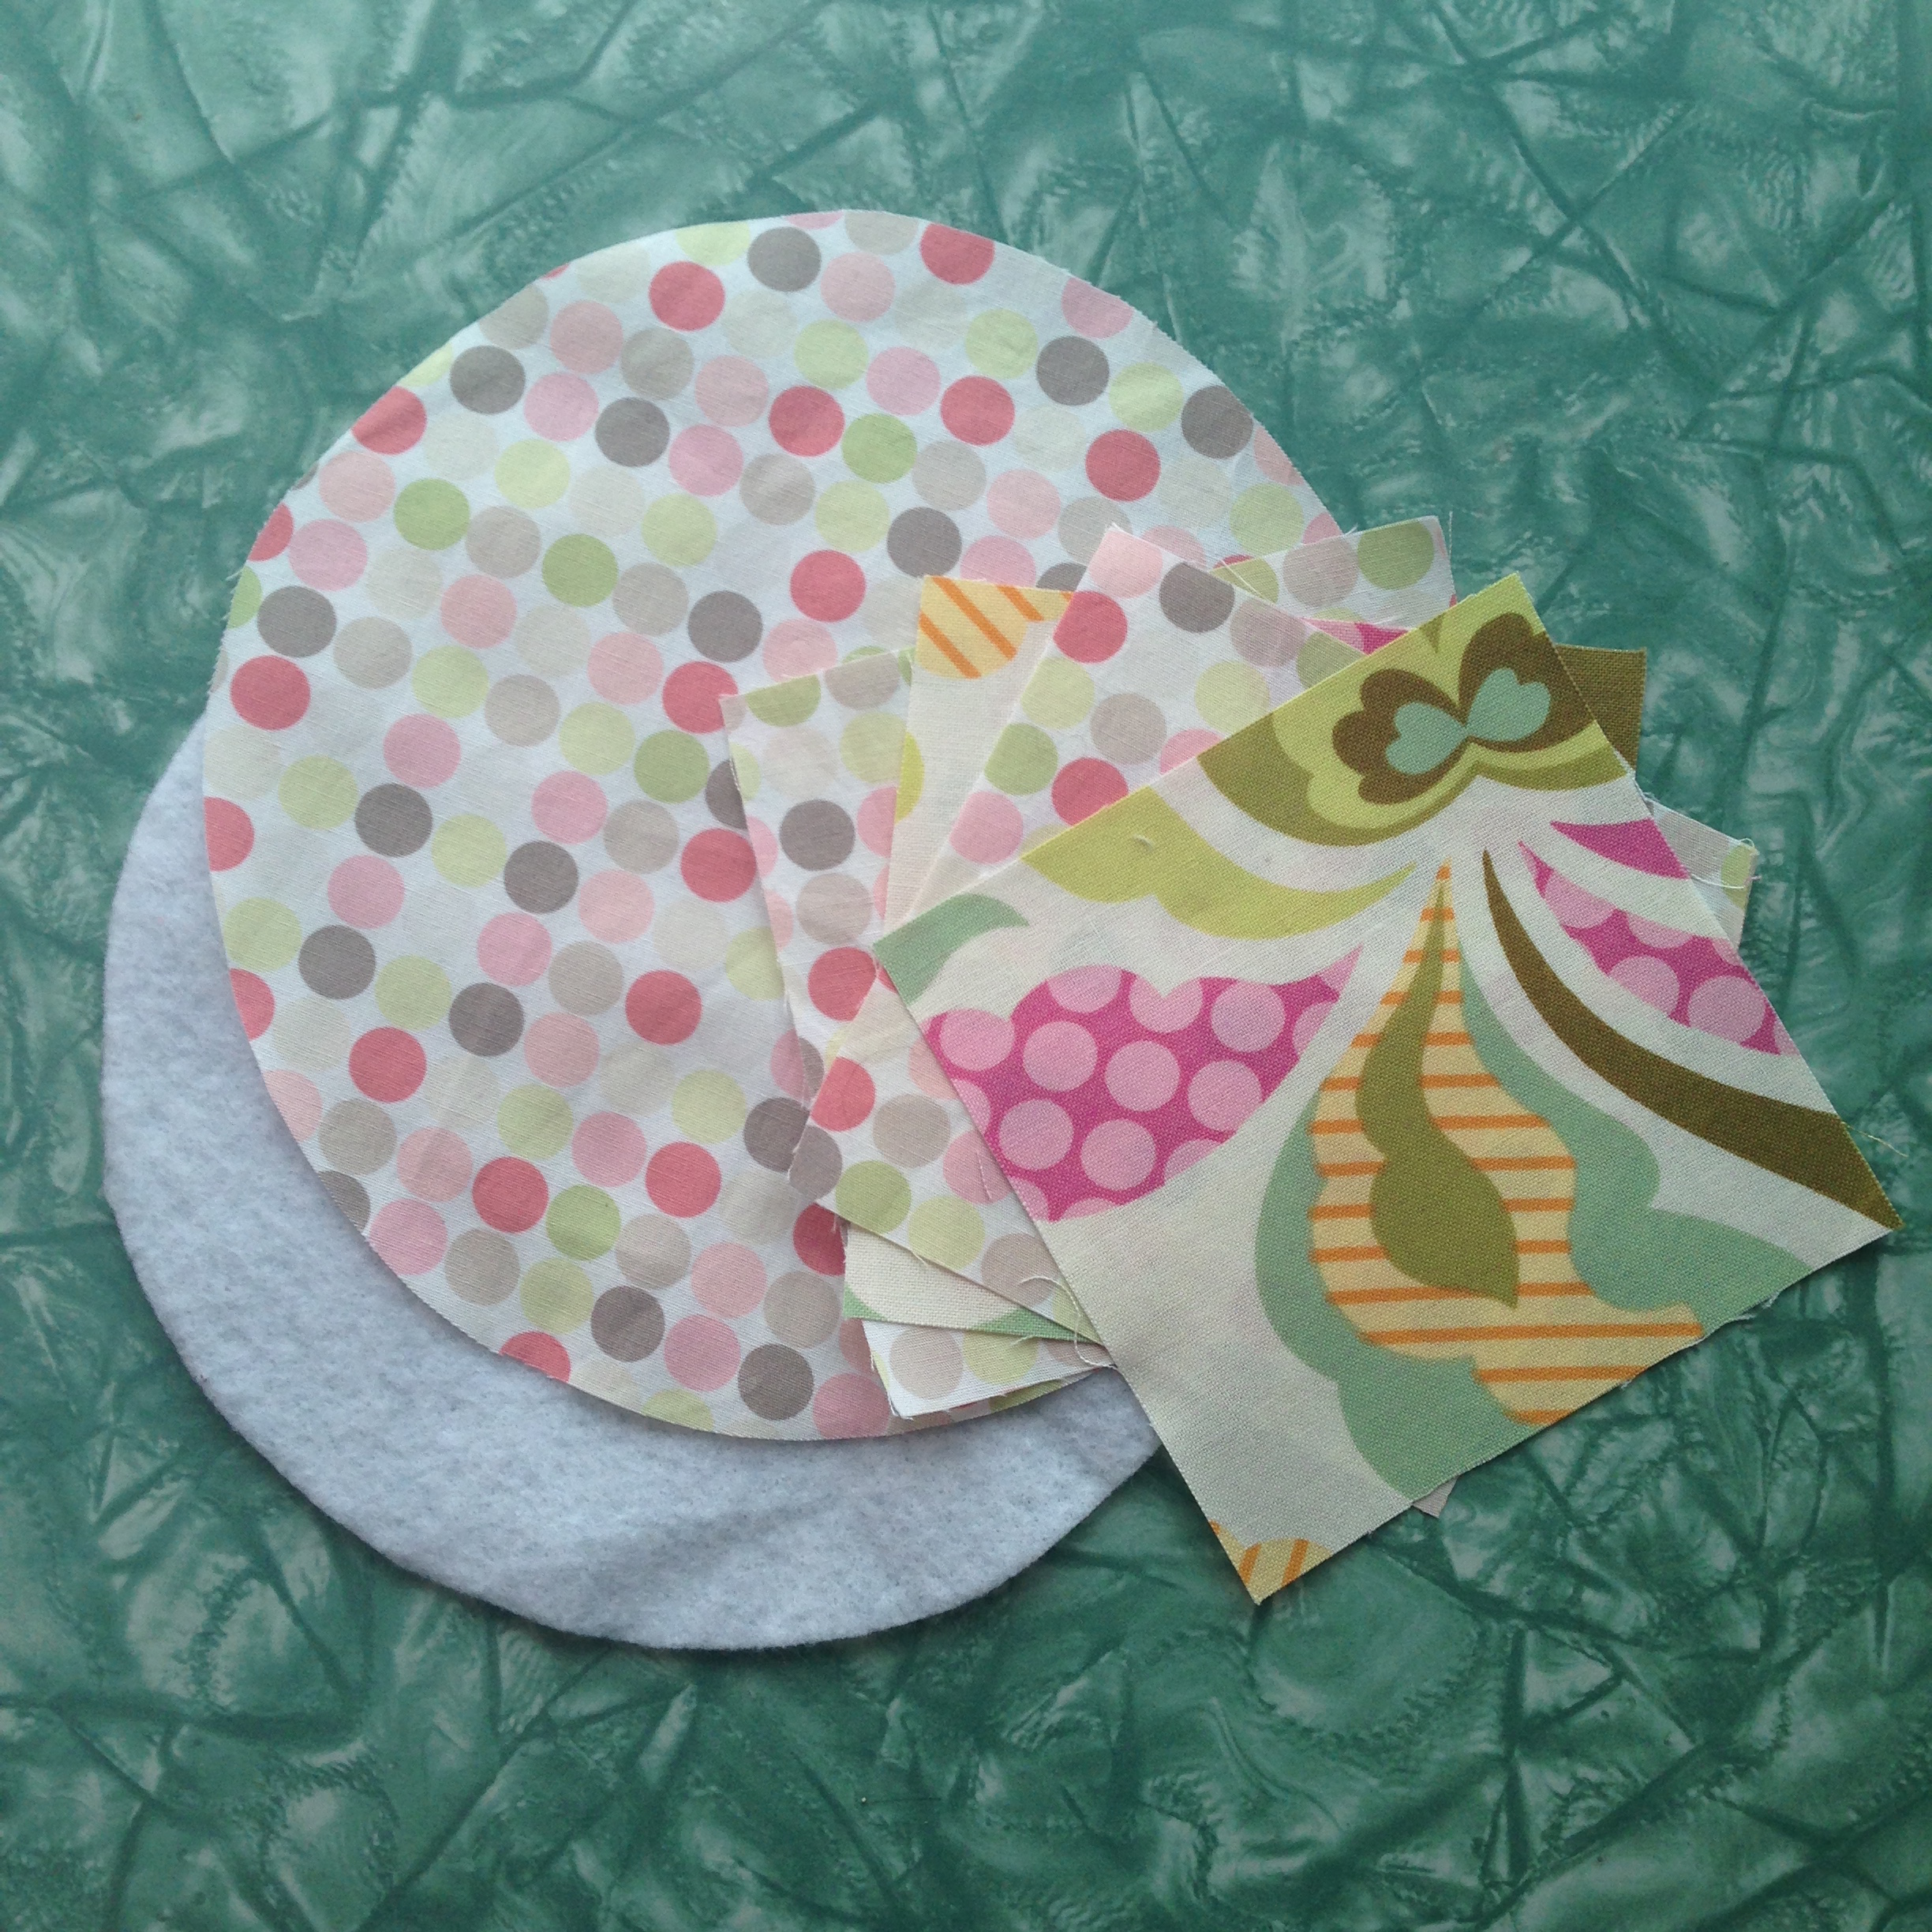
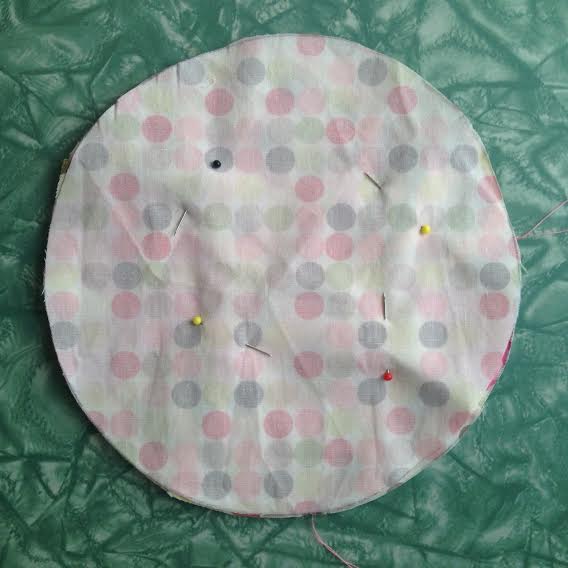
Step 1- Gather your materials. Make sure all of your fabric is cut to size. Lay out your squares on a table to see how you want your coaster layout.
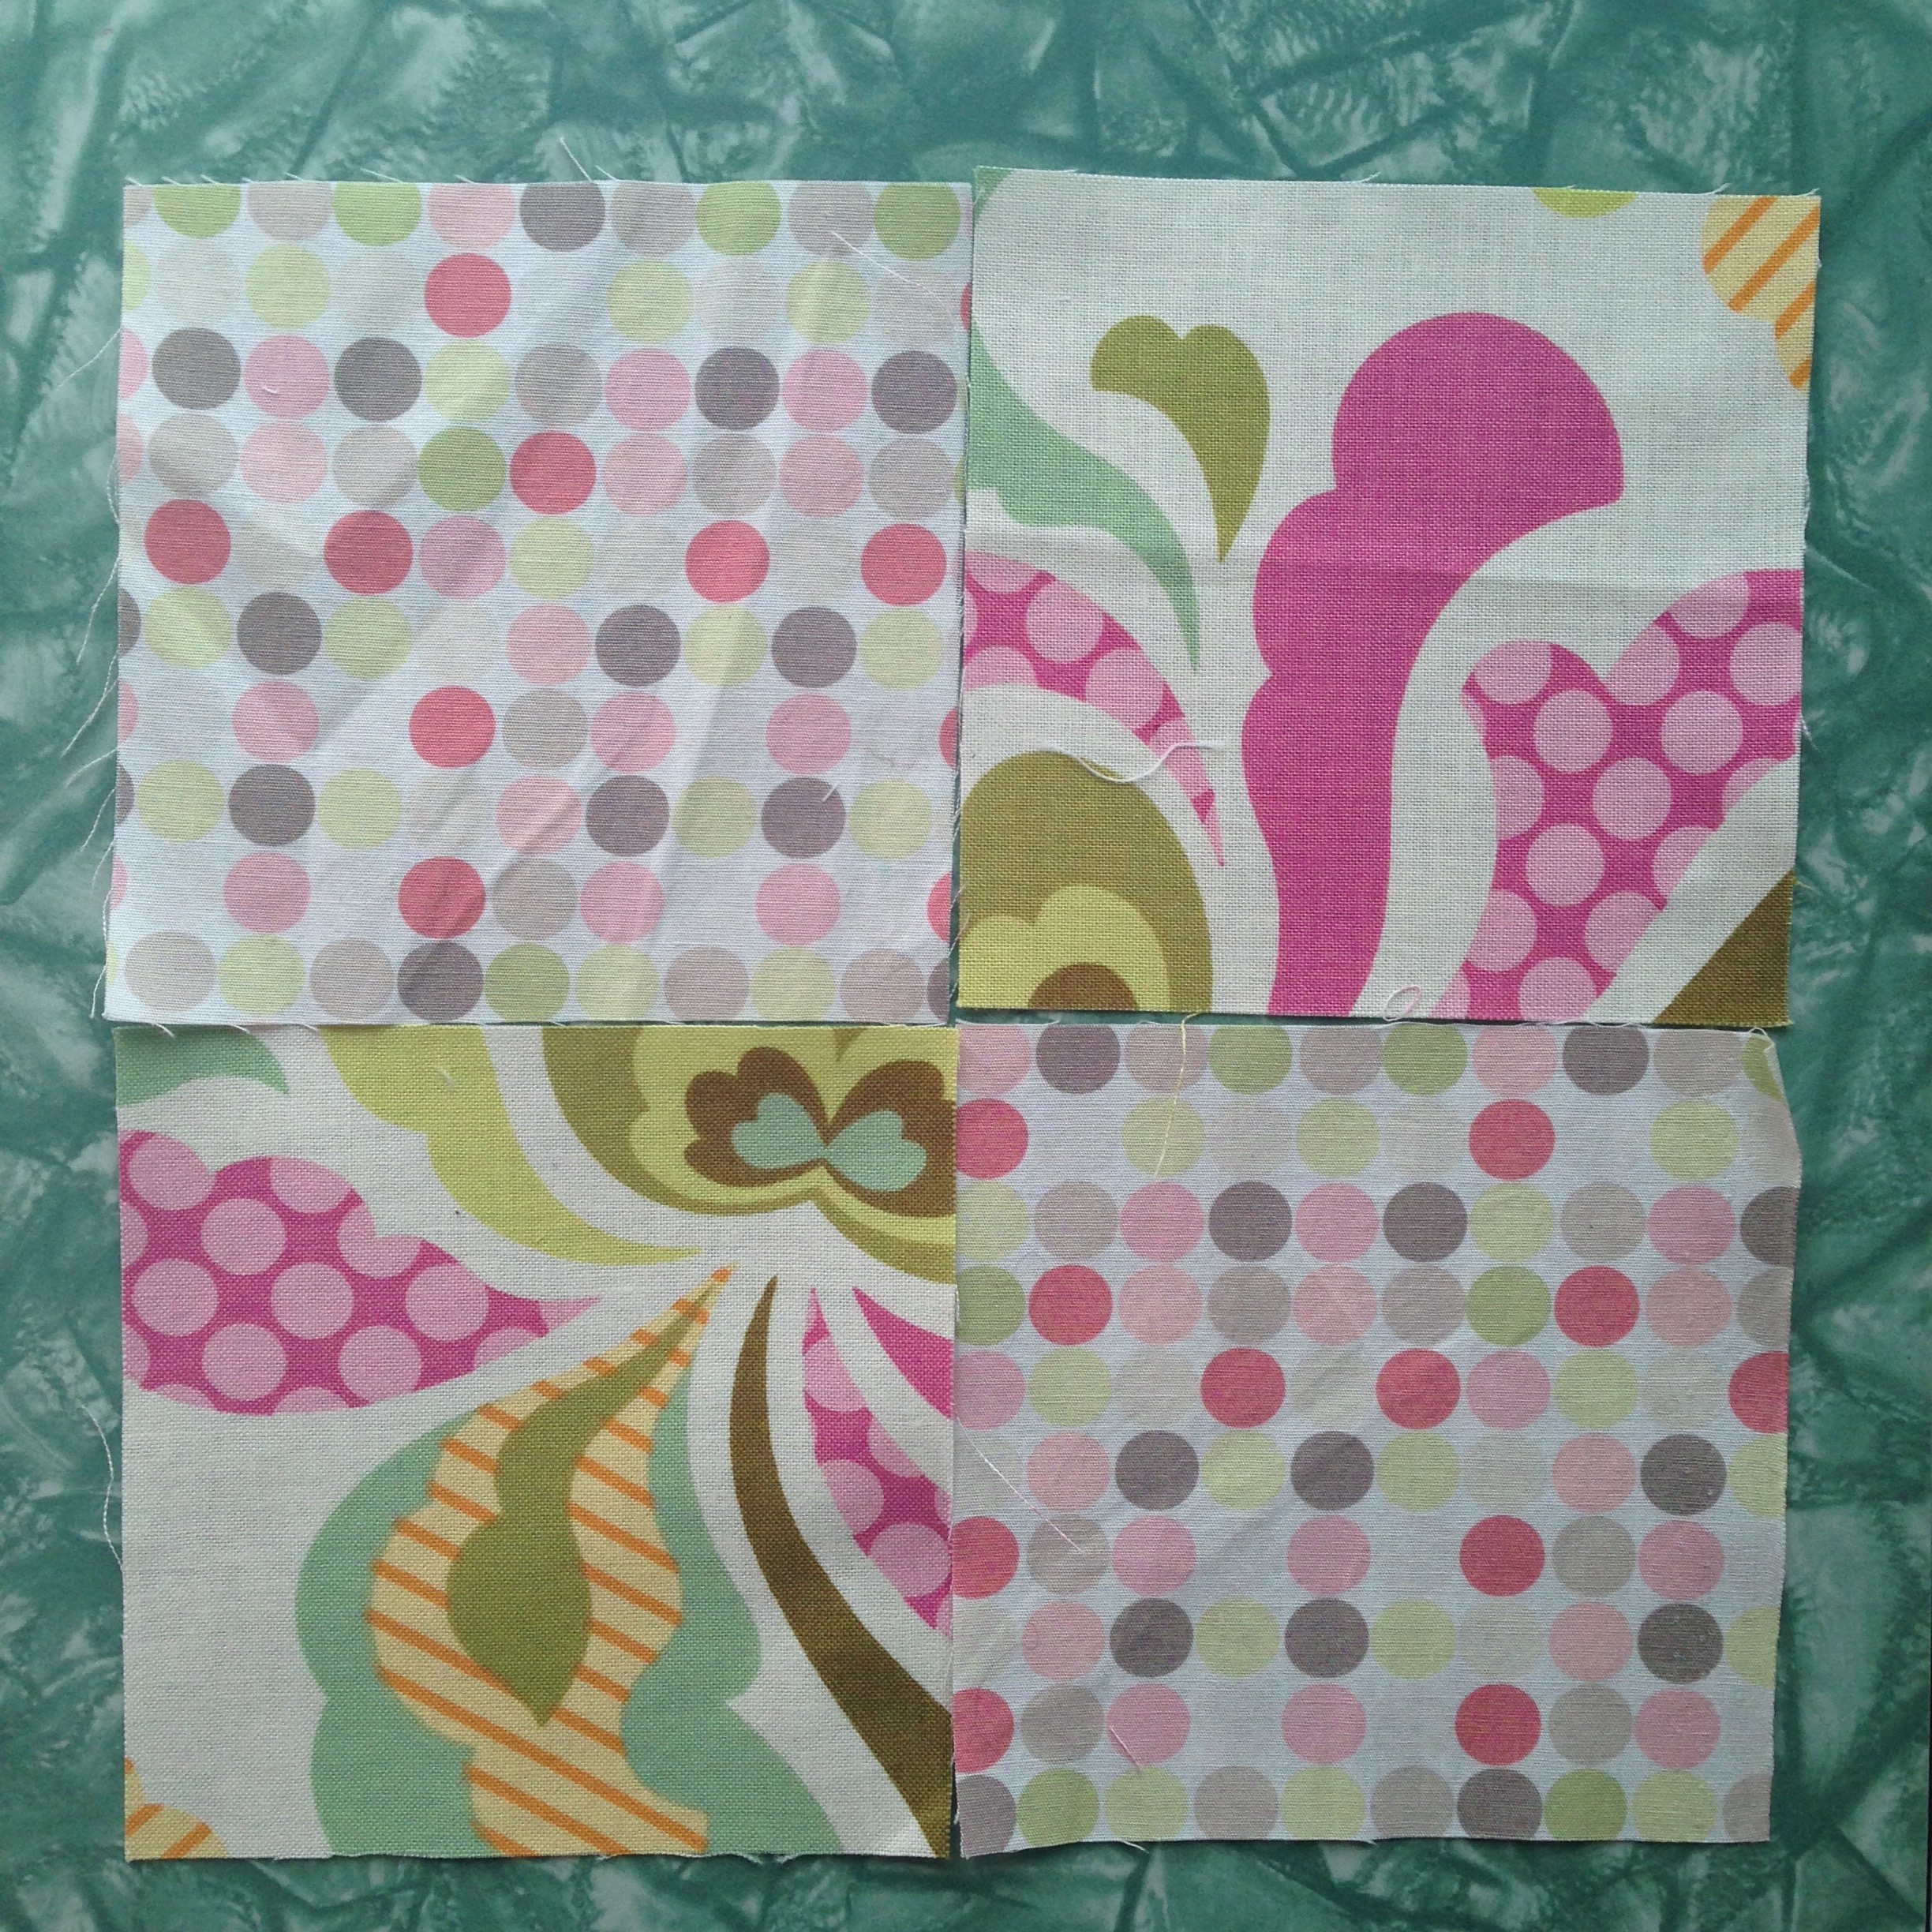
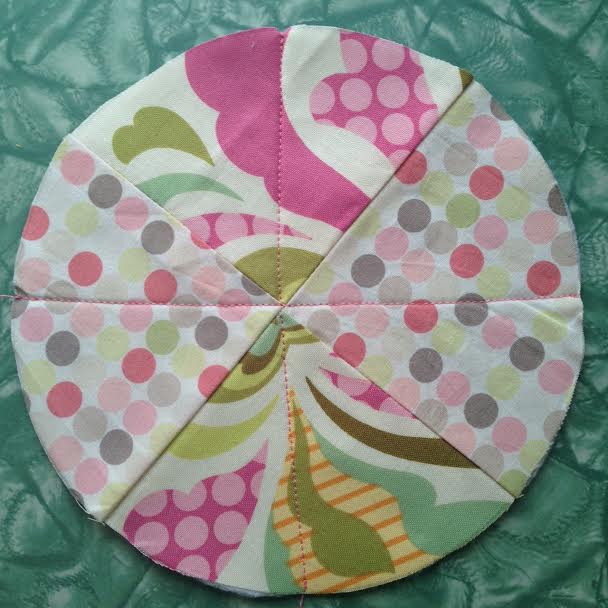
Repeat with the bottom two squares.

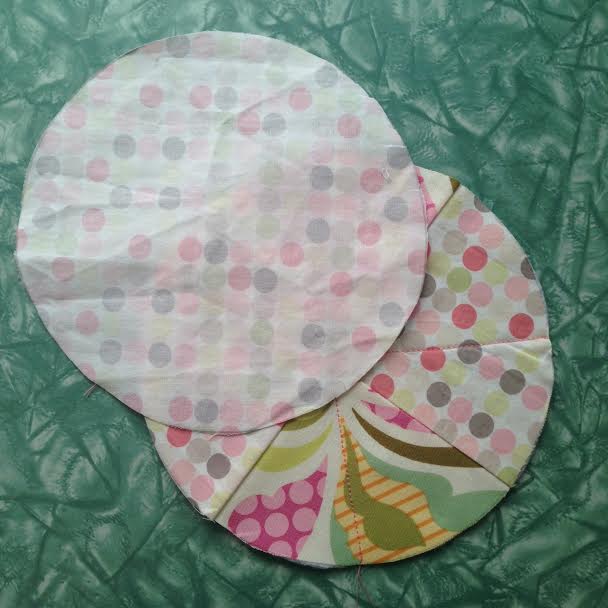
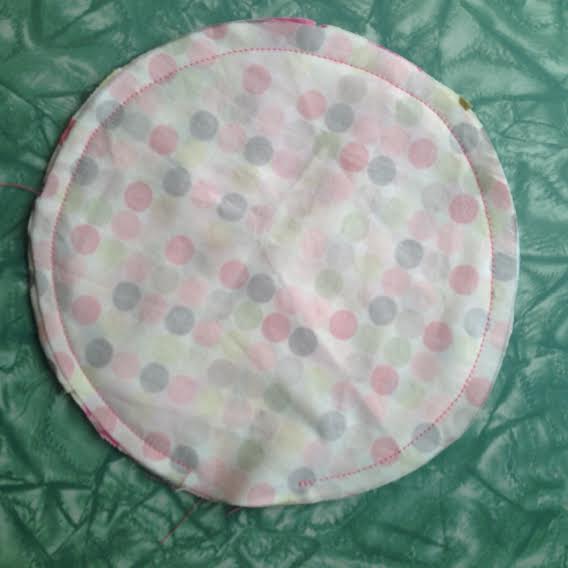
Step 10- Topstitch around your project leaving a 1/8” seam allowance, closing the gap and giving your coaster a decorative look.

You’re done! Want to make a matching coaster for your tea mug? Follow this exact same project using smaller 3 inch squares and 5 inch circles for a coaster that is 4.5 inches across or 2.5 inch squares and 4 inch circles for coasters that are 3.5 inches across.
Aren’t they cute! Which color do you like better the pink or the blue?
Want some inspiration for making your own fabric scrap and fat quarter project? Stitch, Craft, Create is going to give one lucky Hello Creative Family reader an ebooks of 50 Fat Quarter Makes and another of Retro Mama Scrap Happy Sewing! Enter below!


I love making mini quilts with my scraps. Thank you for the tutorial.
Just one favorite project with scraps? I’m afraid I can’t decide — quilts? pot holders? zip pouches? I like them all!
HELLO, I love to make dainty pin cushions for gifts!
Thanks for sharing! HAPPY SPRING !
I like to use scraps for mug rugs, paper piecing, and hexies.
Would love either of these books!
thanks
ps-pink!
I like making doll clothes with scraps.
I’m just learning to sew, so right now I have just been working on a nice pile of scraps.
I love making potholders!
I make scrappy blocks
Lately I’ve been making tiny blocks
I would love to sew a bag from the fabric!!!
I like to make pan holders out of fabric scraps
YOU’VE GIVEN ME INSPIRATION to sew quilted teapot & mug coasters from small fabric scraps! FAB idea for gift sets and give to many relatives as well as women friends. I like your selection of muted colors of print fabrics to create a circular design to place under mugs. I have lots of fabric scraps to use. Your 10-step tutorial is easy to follow with accompanying photos. Makes inexpensive gifts, but practical for sure! THANKS for sharing. Sarah in Minneapolis
very charming and functional too. I can do this! easy to follow instructions too with loads of pictures.