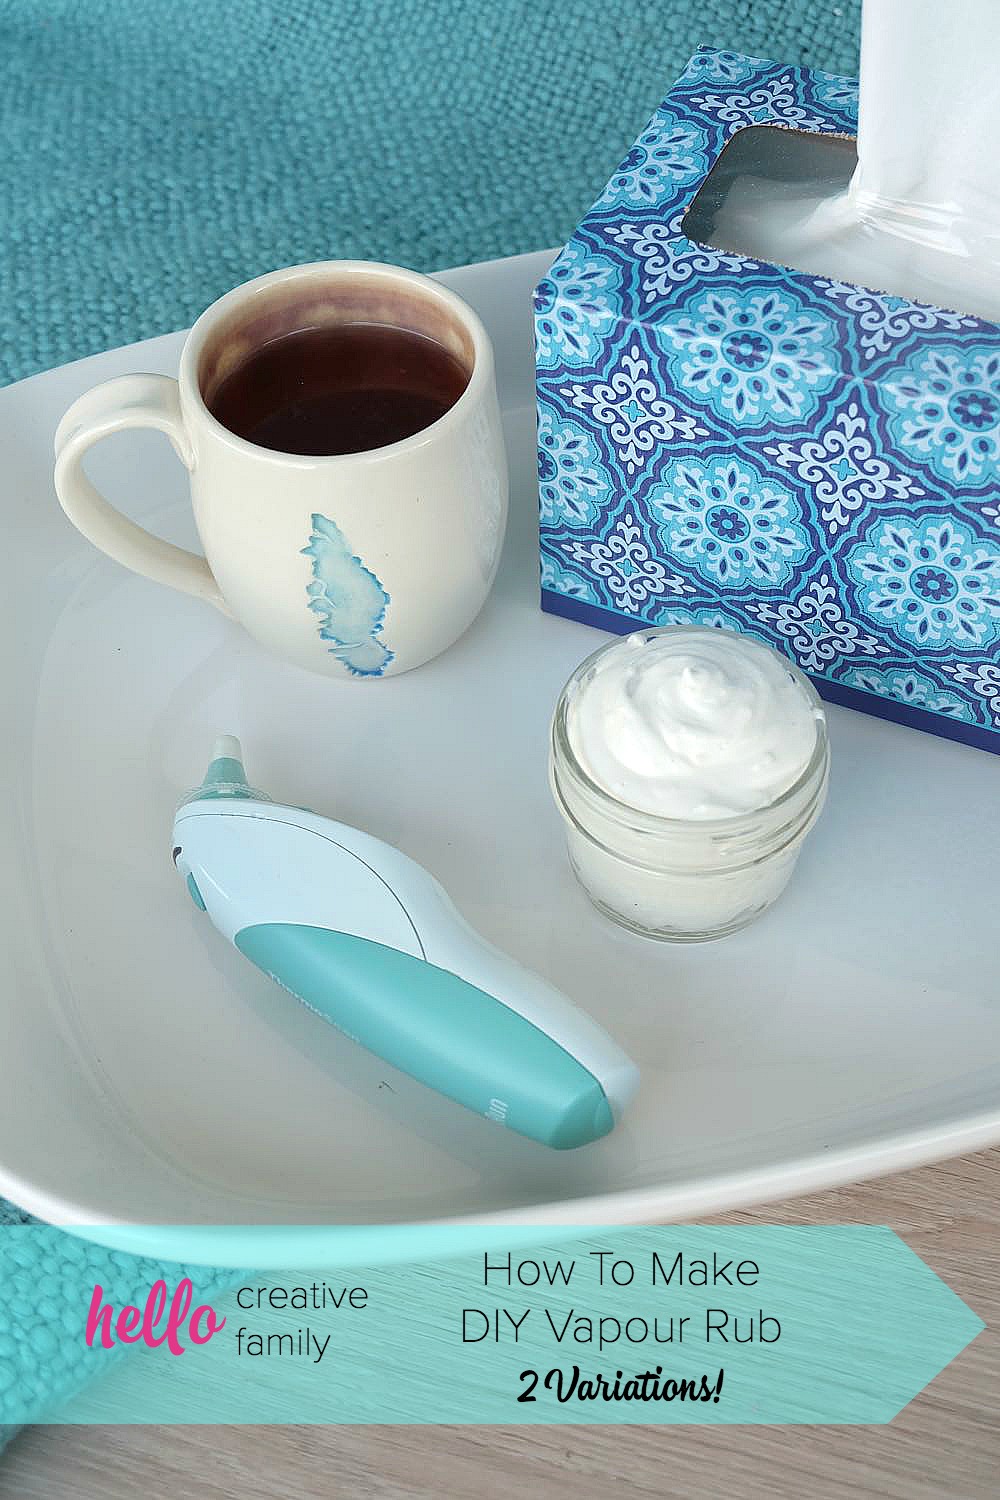
DIY Vapor Rub Tutorial With 2 Easy Variations
This post and the photos within it may contain Amazon or other affiliate links. If you purchase something through the link, I may receive a small commission at no extra charge to you.
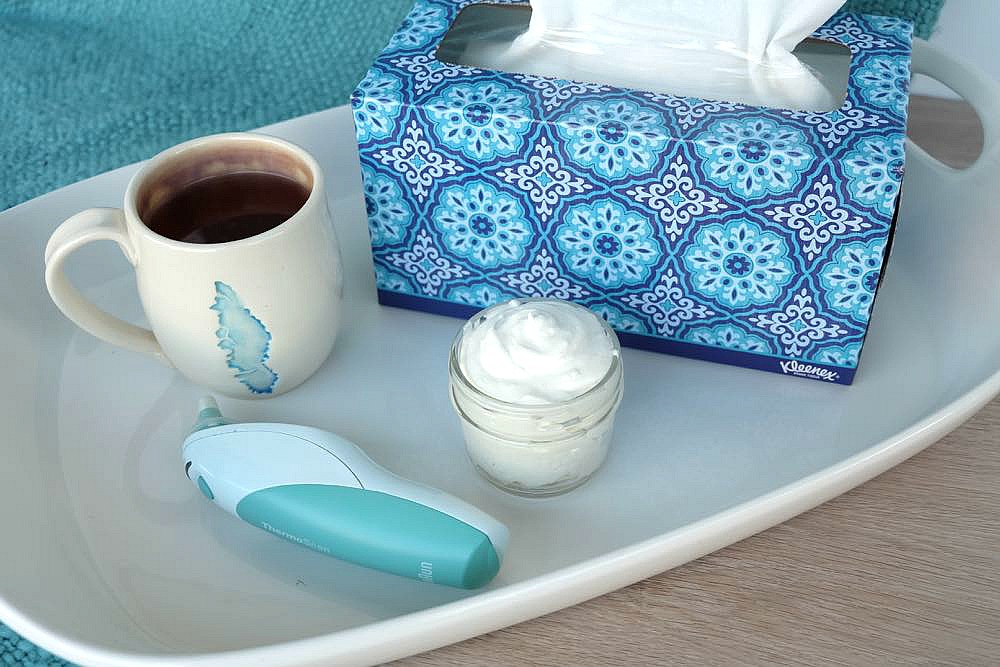
These DIY Vapor Rub recipes are made with all natural ingredients and will help soothe you and your family when you are feeling under the weather!
Hi Crafty Friends!
When I get sick, I want my mom. This probably sounds funny coming from a 37yr old, but it’s true. My mom was (and is) the ultimate caregiver. Whenever I was sick as a child, she made me tea and soft boiled eggs with toast triangles. She gave me 7-Up to sip on and “Chess Man Cookies” to munch on. And when it was time for a nap, she rubbed Vicks VapoRub on my chest and back, turned on my humidifier and wrapped a blanket around my head in the most perfect way, like I was wearing a hood. She would kiss the top of my head and call me her “little babushka”. She made me feel safe, loved, and like I would feel better soon.
I want my children to feel loved everyday in the same way my mom made me feel loved, especially when they’re sick. I want my children to tell the story of how much their mommy loves them and how she takes such good care of them.

Tea, vapor rub and blankets wrapped like a babushka scarf are three of the things I still do when I am sick. This winter, my family and I have had the flu and then a cold bug that has lasted for more than a month. Let me tell you, we’ve gone through a TON of tea.
When the first sign of a cold came on this year I went to the medicine cabinet to pull out the Vicks VapoRub to slather on all of our chests before bed, only to find we were out! Being the DIY gal that I am, I was 100% ok with this and set out to quickly make some of my own by mixing a bit of coconut oil with some peppermint and eucalyptus essential oils. I warmed the coconut oil in my hands, added a couple drops of essential oil rubbed my hands together and got slathering. It did the trick and my family loved it.
I loved that I knew EXACTLY what I was putting on my family’s skin. Since I took my Culinary Nutrition Expert course last year, I’ve become a lot more aware of what I’m put on my body and my family’s body. Our skin is our largest organ and what we put on our skin is absorbed into our bodies. I started to look closer at the ingredient labels on my bath and body products, and it was pretty scary. There were a lot of ingredients that I could barely pronounce and had no idea what they were.
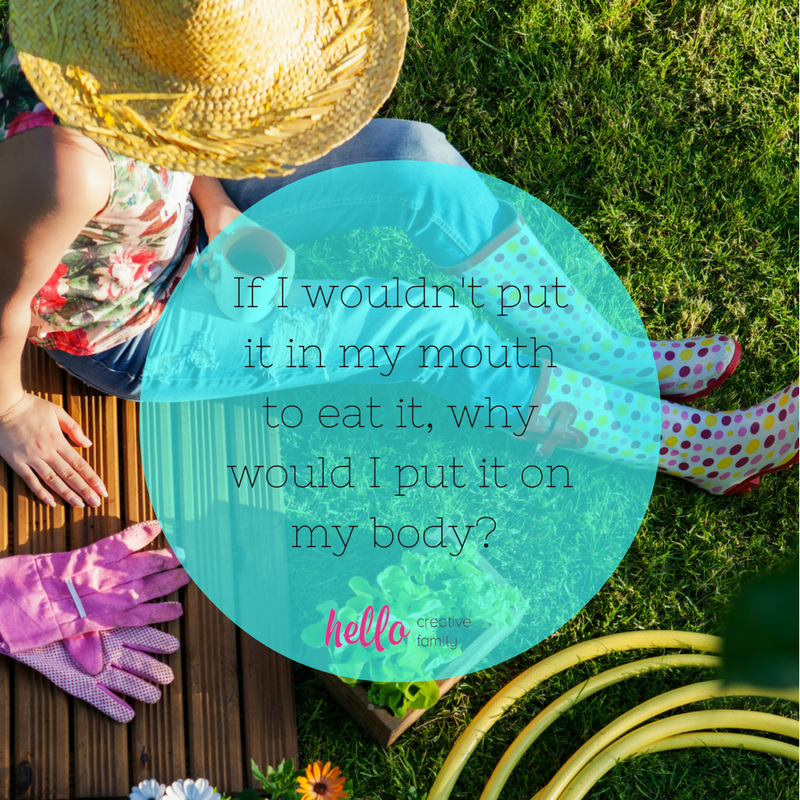
I started thinking about the idea– If I wouldn’t put it in my mouth to eat it, why would I put it on my body?
I am far from perfect at it. Do you know how hard it is to find an organic mascara that doesn’t end up all over your face? Mama likes her mascara! However, I try my best and I have switched out a lot of my body products for all natural ones (shampoo, conditioner, deodorant, toothpaste, lotions, soap, etc).
Today’s recipe is 100% natural. You can eat it if you want to (as long as you use food grade ingredients). I’ll be honest, it smells so good that I actually did eat a little bit just to see what it tasted like! I’m going to share with you two ways to make this recipe. The first way is the simplest– you just whip up coconut oil and add essential oils. This is a great alternative for vapour rub but it’s pretty oily, so I also created a second option that has more ingredients that makes the finished product feel more like a lotion or whipped body butter.
I hope that you enjoy these recipes and get a lot of use out of them in your own home! I hope they encourage you to look deeper into your own medicine cabinet to investigate some of the ingredient labels of the body products you are using in your home.
Read on for my How To Make DIY Vapor Rub Tutorial- 2 Ways!
DIY Vapor Rub Tutorial-2 Ways!
Version 1: The most basic DIY Vapor Rub Recipe
This is your most simple “natural DIY vapor rub” option. I wanted to include it for the times when you need vapor rub in a pinch and don’t have time to track down all the ingredients. It makes for an oilier rub, but my family has been using it for awhile and it does the trick!
Ingredients for basic DIY Vapor Rub
- 1 cup Coconut Oil
- Peppermint Essential Oil (I try to use food grade essential oils whenever possible.)
- Eucalyptus Essential Oil (I try to use food grade essential oils whenever possible.)
Directions for basic DIY Vapor Rub
- Put 1 cup of coconut oil in the bowl of your mixer. Make sure that your coconut oil is in it’s solid state. (If making this in the summer, put it in the fridge to solidify before making.)
- Using your wire whisk, whisk on high speedfor 8-10 minutes or until light and fluffy.
- Add essential oils and whisk for another 30 seconds to incorporate all ingredients together. I put 10-20 drops of each oil depending on how strong I want the vapour rub to be.
- Spoon into a mason jar and store in a cool dark place. At the first sign of a cold, rub your DIY Vapor Rub on chest, back, bottoms of feet and temples!
Version 2: Hello Creative Family’s Favorite DIY Vapor Rub Recipe
This DIY Vapor Rub has more ingredients to track down, but you won’t be disappointed with the results. This rub turns into a thicker lotion that glides on smoothly like a whipped body butter. It smells good enough to eat, and with the all natural ingredients, you actually can!
Ingredients for Hello Creative Family’s Favorite DIY Vapor Rub
- 1 cup Coconut Oil
- 1/2 cup Shea Butter
- 1/2 cup Cacao Butter (You can sub cocoa butter if that’s what you have available.)
- 1 ounce Beeswax
- Peppermint Essential Oil (I try to use food grade essential oils whenever possible.)
- Eucalyptus Essential Oil (I try to use food grade essential oils whenever possible.)
*Note: If you don’t have a double boiler, don’t worry! I actually don’t have one either. Instead, I fill a saucepan with a few inches of water and bring to a boil. Then I reduce the heat to low, place a heat safe bowl on top of the saucepan and melt my ingredients in the bowl. Voila! Instant double boiler! I use the bowl of my mixer to do this so I don’t have to transfer it.
Directions for Hello Creative Family’s Favorite DIY Vapor Rub
- Using a double boiler melt your coconut oil, cacao butter and beeswax. When these 3 ingredients are melted, add the shea butter. (Shea butter is more sensitive to heat and should be added at the end.)
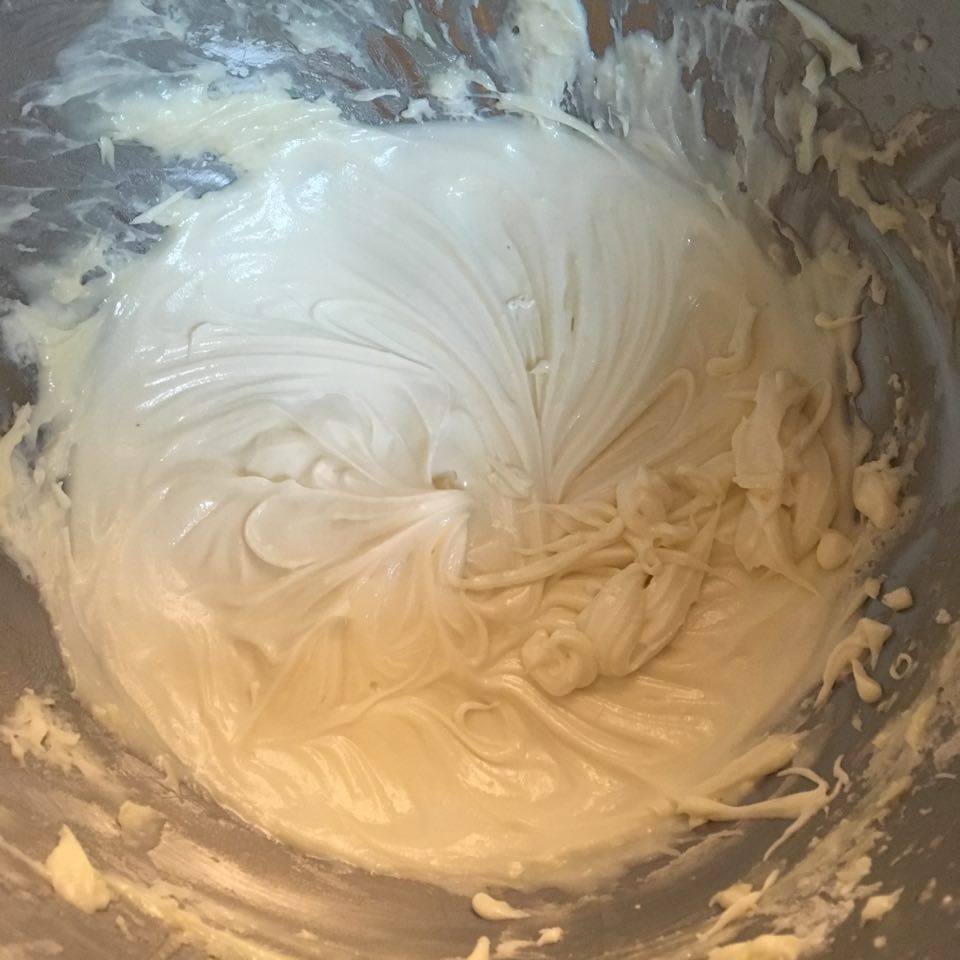
- When all 4 ingredients are melted, transfer oils to the bowl of your mixer and put in your fridge to cool for at least an hour. It’s ready to be mixed when solid and a creamy white color as in the photo below.
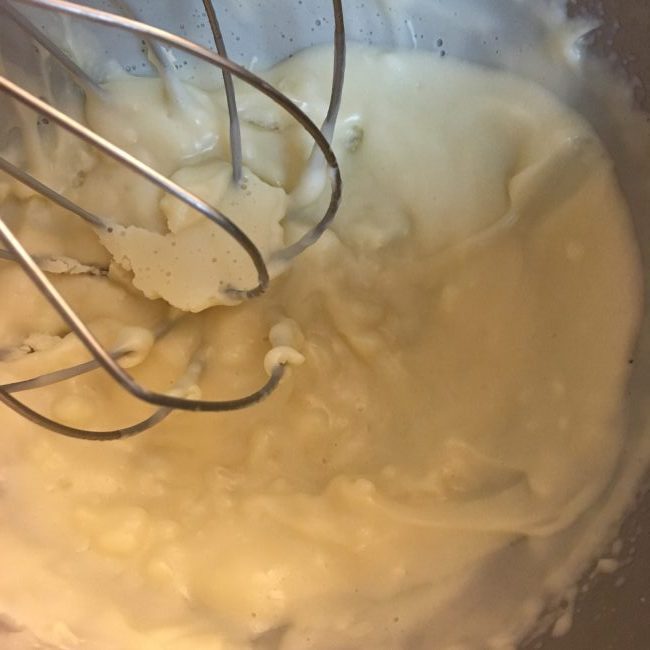
- Attach the bowl to your mixer and using the whisk attachment, whisk for 5-10 minutes or until mixture is light and drizzly (see photo below). Scrape down the sides of your mixing bowl several times during this process. Add your essential oils towards the end of whisking. I added 40 drops of peppermint essential oil and another 40 of eucalyptus, but since all essential oil bottles drop different sized drops, I suggest dropping 10 drops of each at a time and then rubbing a bit on your skin to test the scent strength.
- Spoon into a mason jar and store in a cool dark place. It will harden up a bit as it cools down. At the first sign of a cold, rub your DIY Vapor Rub on chest, back, bottoms of feet and temples (or use as a lovely body butter any time at all)!
I hope this recipe becomes a family favorite and that you get a lot of use out of it during cold and flu season.
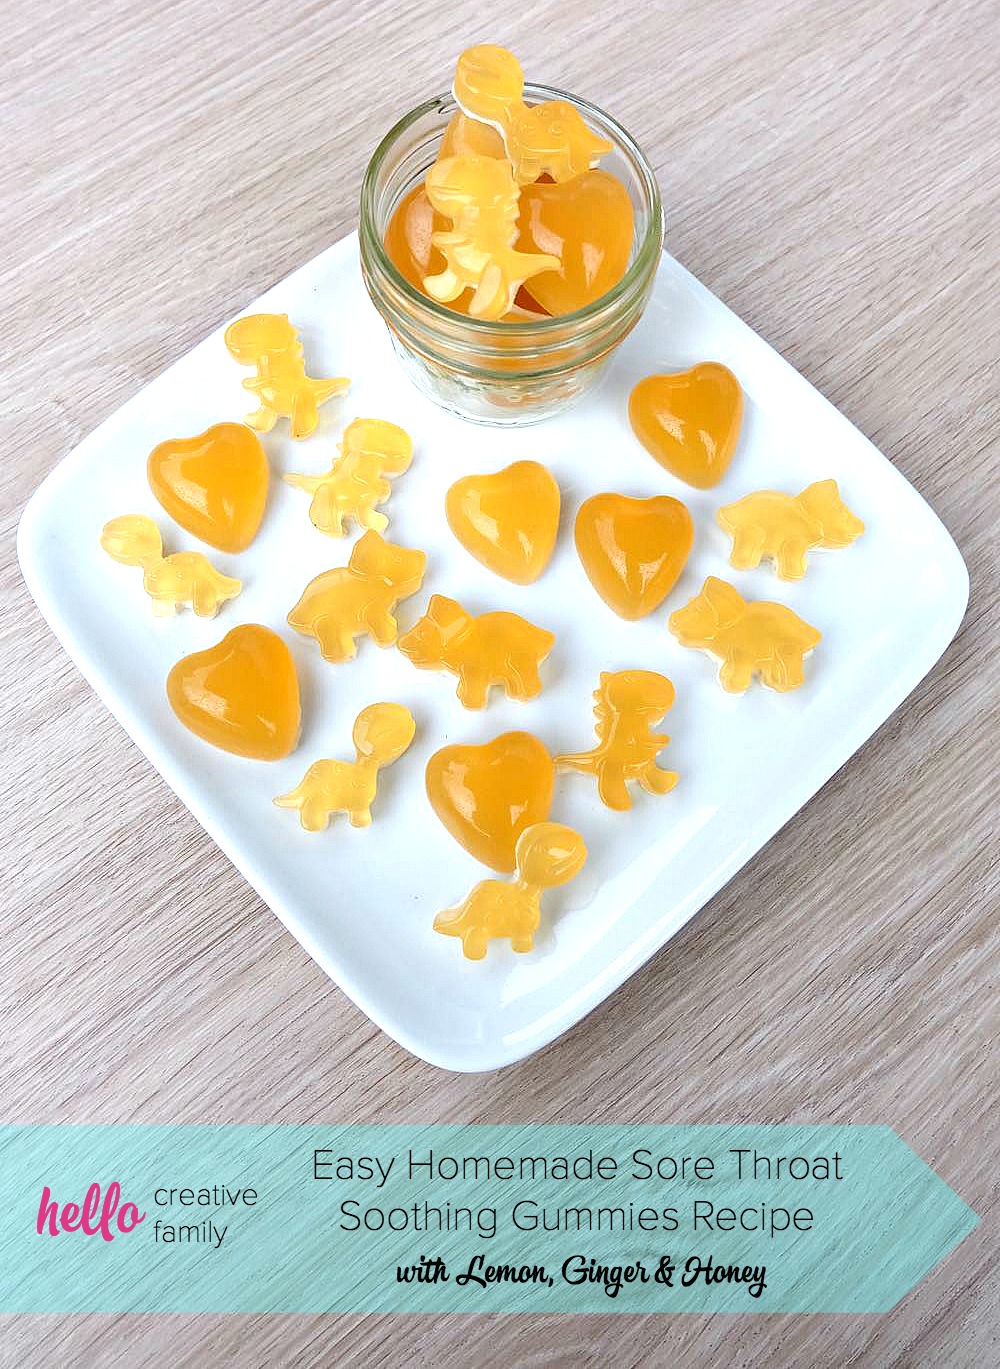
Check out another one of my family’s favorite cold and flu remedies! Lemon Honey Ginger Sore Throat Gummies!
Like this post? Pin it for later!

Tell me… What are some of your favorite cold and flu remedies? Do you DIY any of them? What DIY would you like to see us try next?
More Body Product Projects
Check out some of my other natural body product projects!
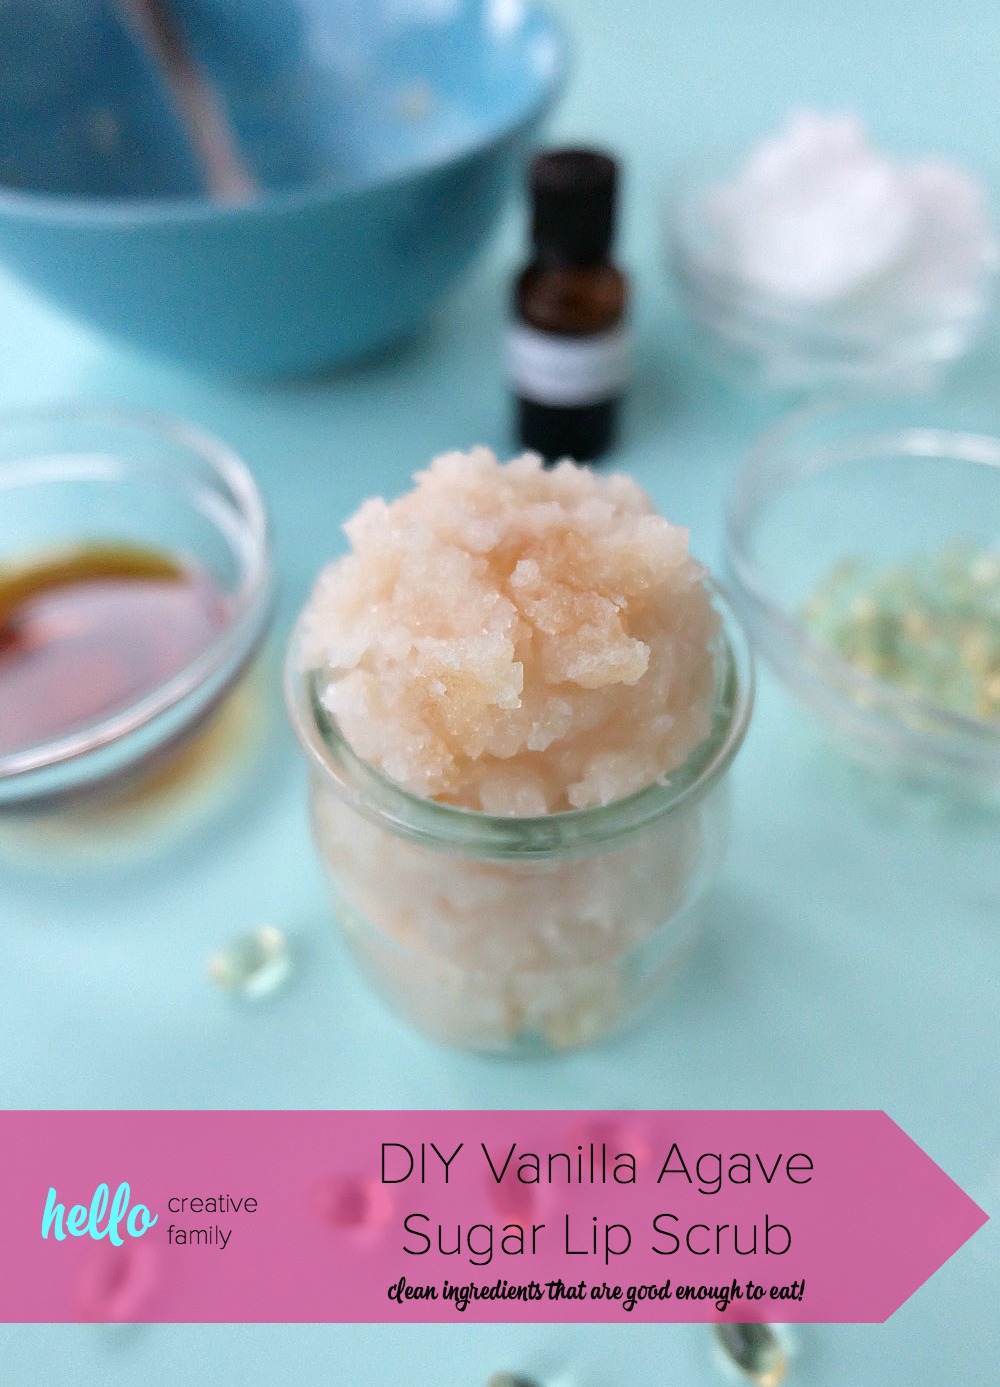
DIY Vanilla Agave Sugar Lip Scrub
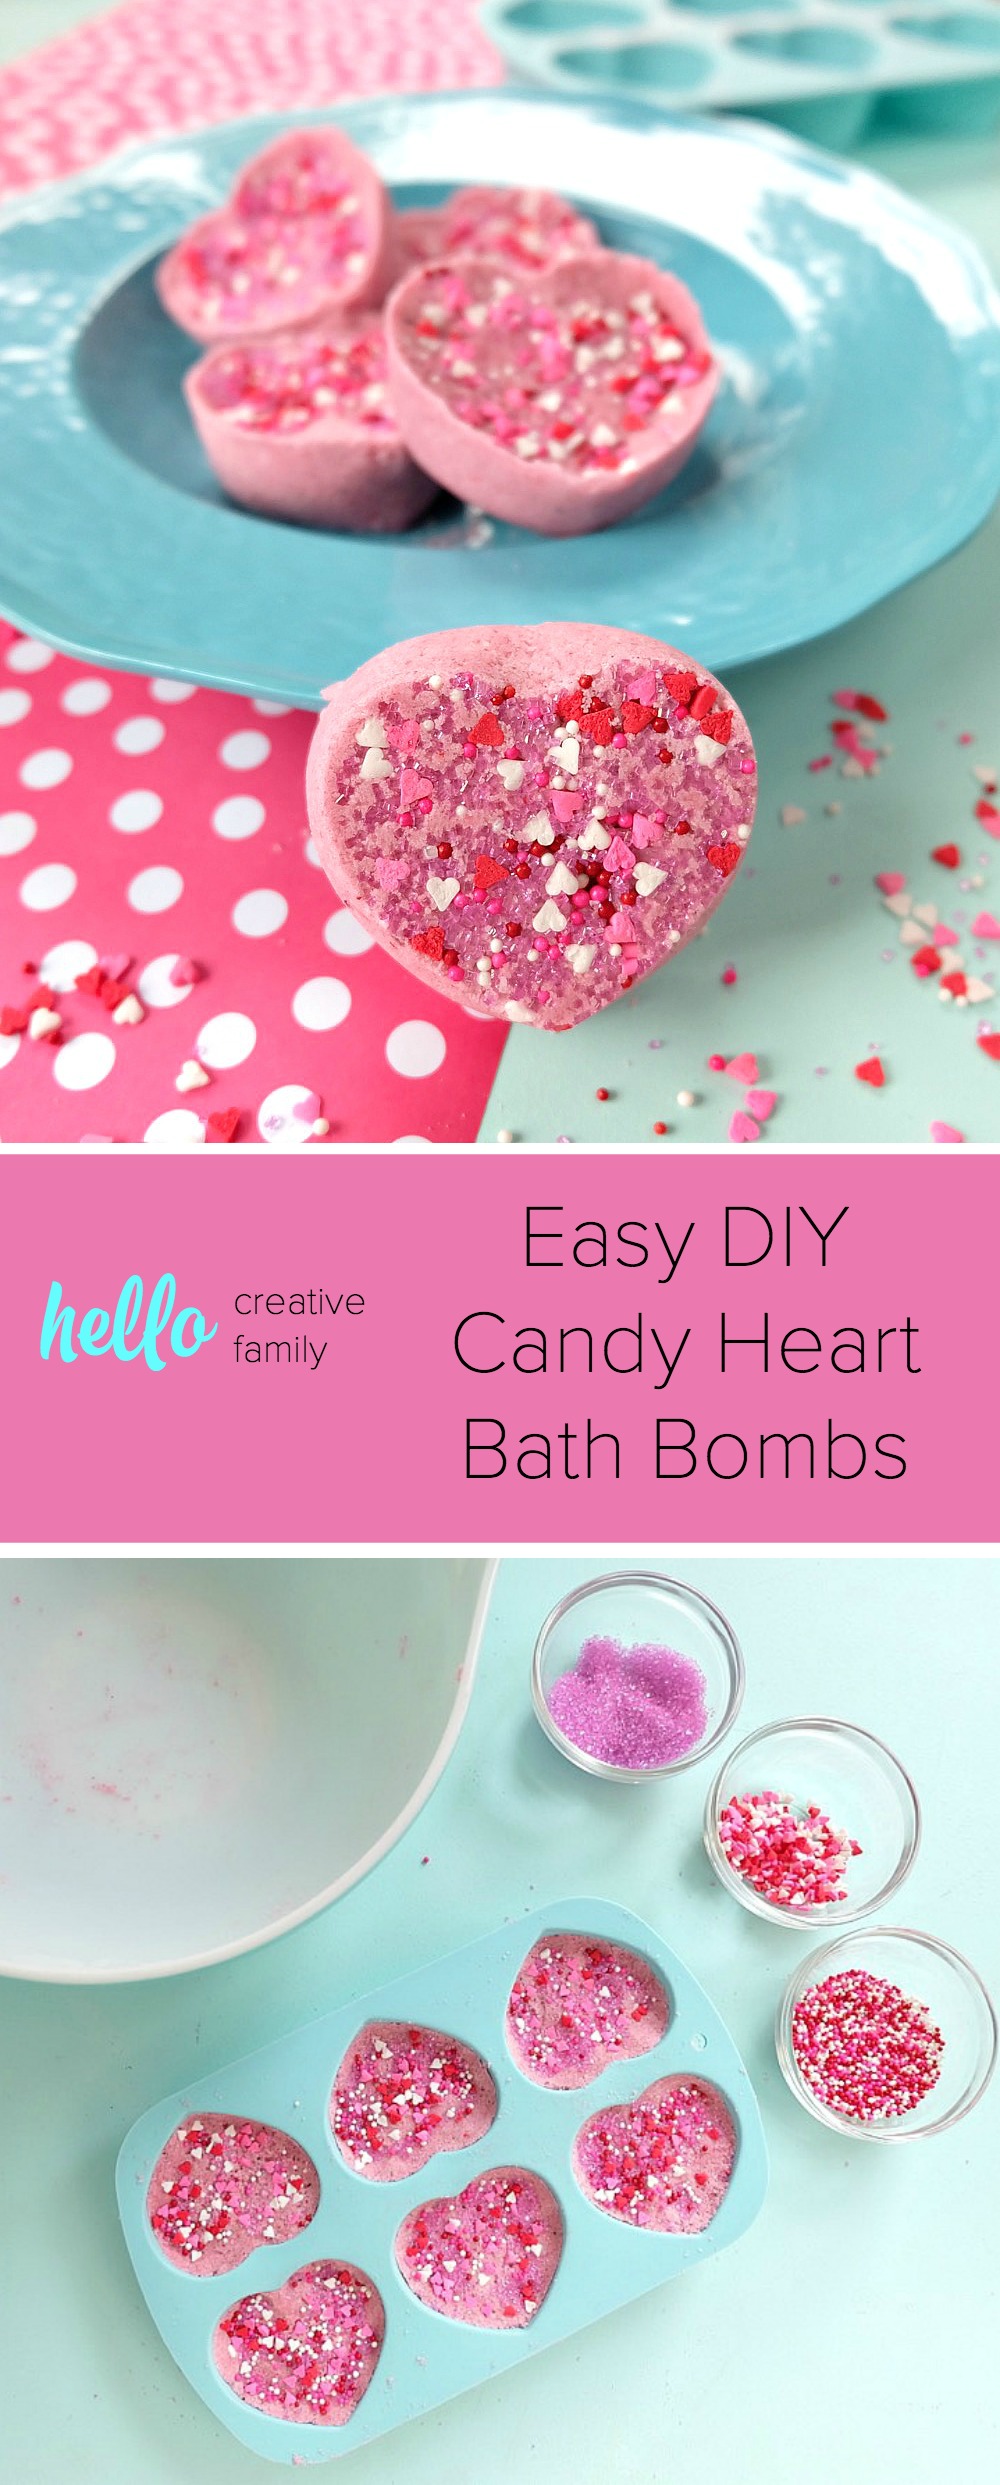
Easy DIY Candy Heart Bath Bombs

DIY Lavender Essential Oil Tincture
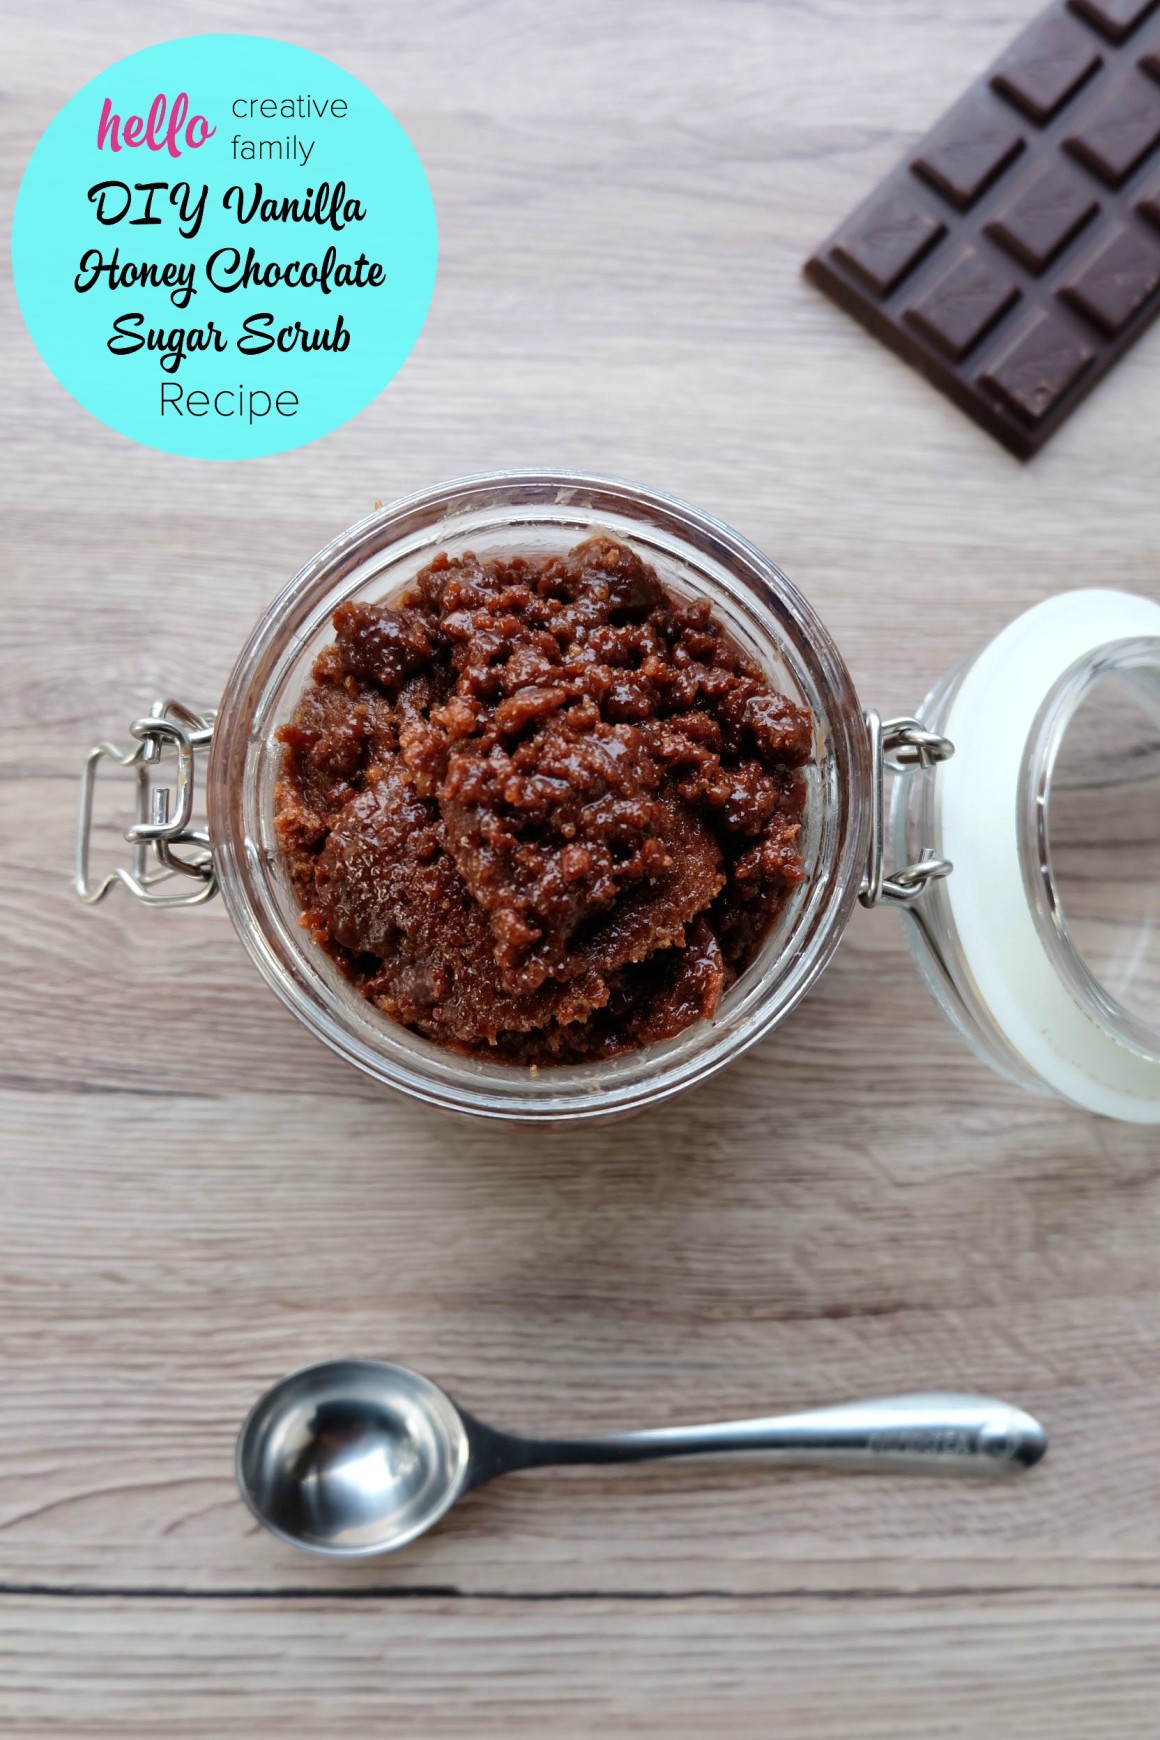
DIY Vanilla Honey Chocolate Sugar Scrub