


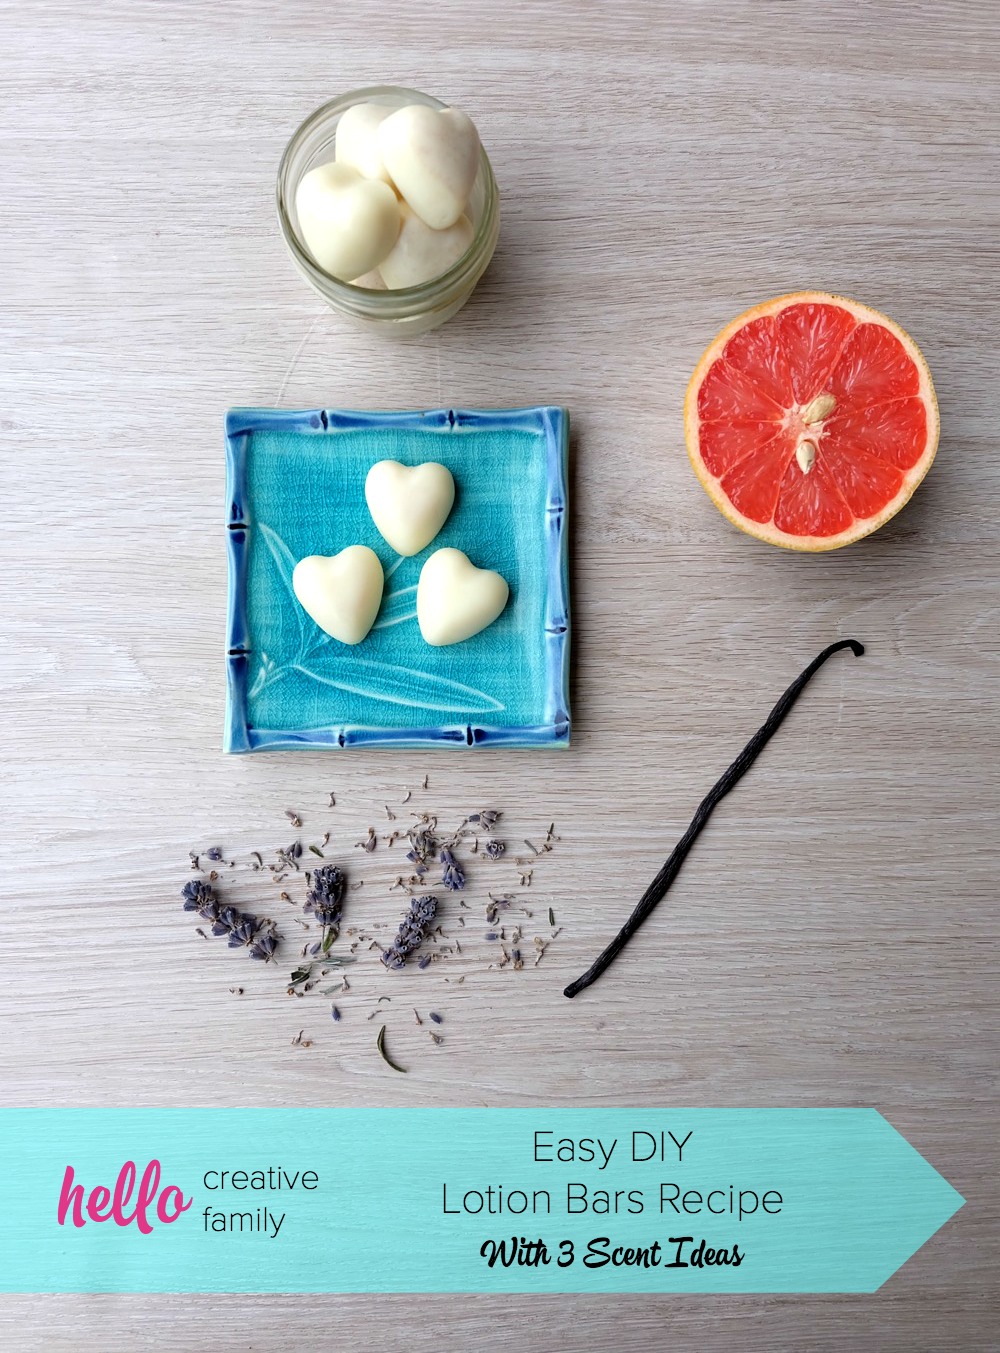
Easy DIY Lotion Bars Recipe with 3 Scent Ideas
This post and the photos within it may contain Amazon or other affiliate links. If you purchase something through the link, I may receive a small commission at no extra charge to you.


We have a nail biter in our home. Bean is a very sensitive child and a year or so ago she started biting her nails. More than biting her nails she chomps on her cuticles and the skin around her nail bed. I’m not entirely sure when the nail biting started, one day she was playing soccer and I kept seeing her putting her fingers in her mouth. When she came to the sidelines I said to her “Why do you keep putting your fingers in your mouth when you are out there? Keep your fingers out of your mouth sweetie.” After the game I asked her why she kept putting her hands in her mouth. She complained of a hangnail and when I asked to see it I realized that her finger tips were torn to shreds. Her poor little hands looked so painful that it brought tears to my eyes.
We’ve been working with her for over a year now to break the habit, but as with most bad habits, it’s a tough one to break. At first we tried putting neem oil on her fingers so that when she put her fingers in her mouth they tasted horrible. She hated the neem oil. It wasn’t even the taste that upset her. She said that the smell of the oil made her sick. She was afraid that her friends would smell it and that she would be embarrassed to admit that she bit her fingers. Every time the neem oil came out her mood instantly shifted and emotionally she turned inward.
We tried a handful of different things to stop the nail biting problem. At one point my sweet little girl asked me if I’d ask her teacher if she could wear gloves in the classroom, because she felt like it was the only way to keep her hands out of her mouth.
We eventually found, that at least for the time being, our best remedy is to simply keep her hands as moisturized and cared for as possible. For some reason, when her fingers look good and aren’t feeling dried and cracked, she’s more likely to keep them out of her mouth.
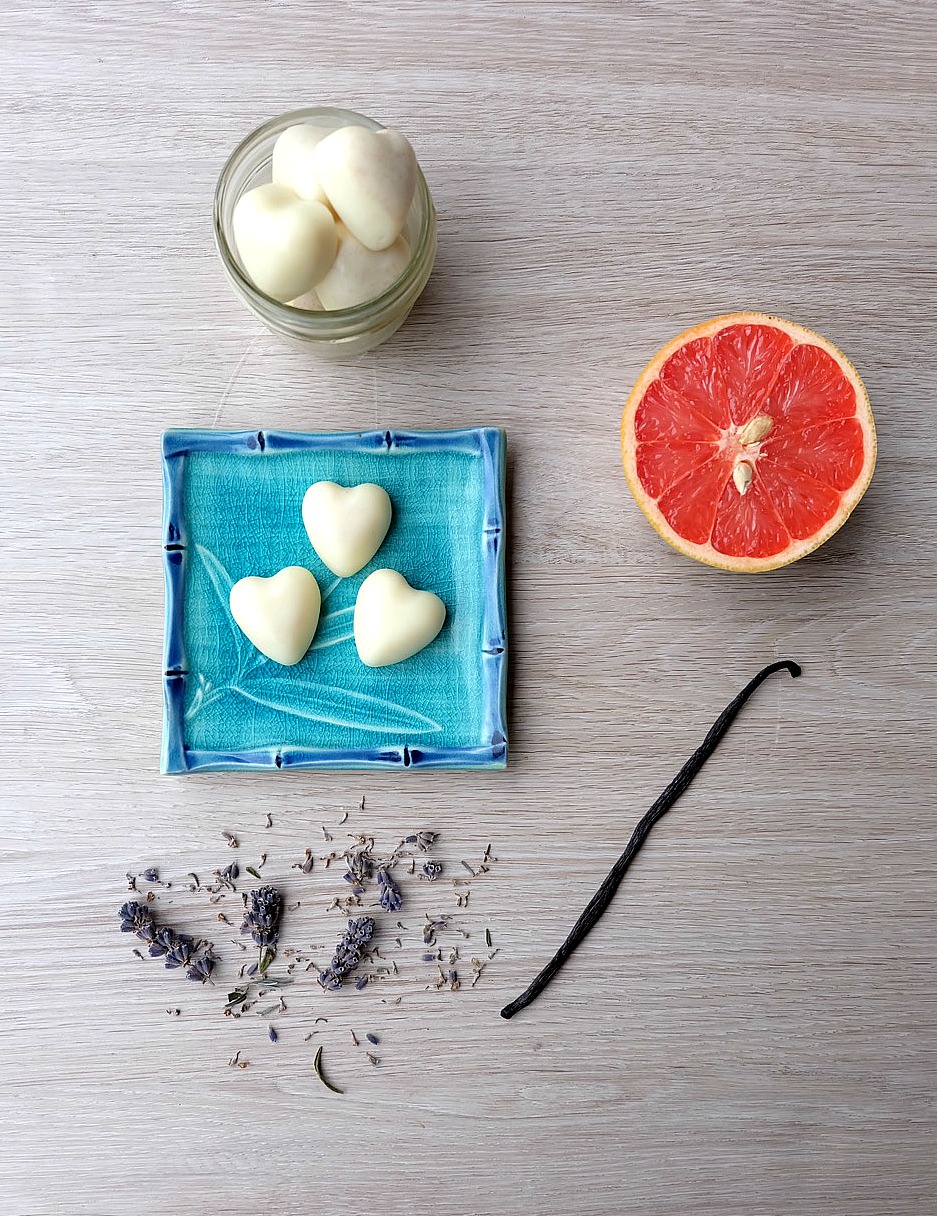
Bean likes to moisturize her hands a few times a day. I’m worried about sending a bottle of lotion to school with her and having it spill in her backpack… I’ve cleaned up one to many backup spill to want to have to face a lotion spill. As a solution, I decided to start making her DIY lotion bars. I love that the bars have all natural ingredients in them. You could eat these bars if you wanted to! They smell good, feel good being smoothed on your skin, can be used anywhere on your body and they even make an excellent lip balm.
These would also make fabulous handmade gifts! Switch up the silicone mold shape depending on the occasion and the gift recipient. Apples for teacher gifts, hearts for Valentine’s gifts, mini dinosaurs or spaceships for a mom who just had a baby boy, flowers and teddy bears for a mom who just had a baby girl, Easter eggs as none candy Easter egg stuffers… really the possibilities are endless!
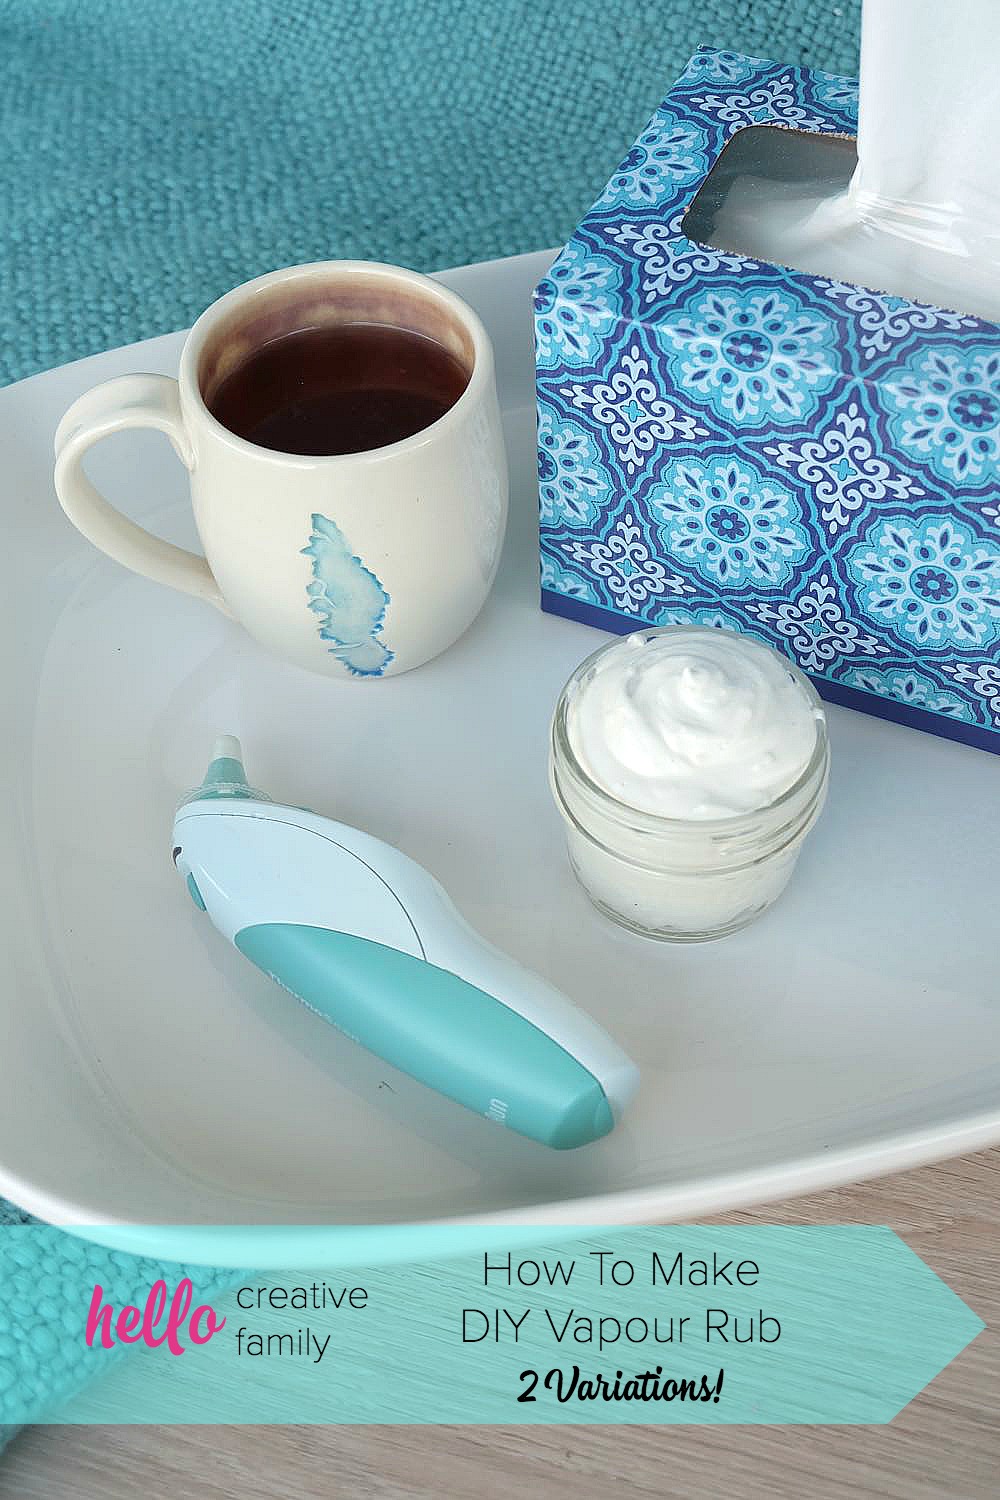
Now a note on the ingredients. A few years ago I thought to myself “Boy, i’d like to start making DIY bath and body products”, then I started looking at recipes and thought to myself “Forget that! It takes too many ingredients to make this one thing!” I finally bit the bullet last year when I was getting my Culinary Nutrition Expert Certification and bought myself some beeswax, shea butter, jojoba oil and cocoa butter. I’m so glad I did. I use these ingredients consistently over and over again. What I bought a year ago has lasted me a full year (I need to place a re-order soon) and I’ve made tons of DIY body products for my family with them from these lotion bars, to lip balm, to vapour rub, I’ve even made my own deodorant! Invest in these supplies and you’ll be one happy DIY goddess (or god) and will quickly pay for themselves.
Ready to get making? Read on for my DIY Lotion Bars Recipe with 3 Scent Ideas!
DIY Lotion Bars Recipe with 3 Scent Ideas
A few notes: One of the things I love about this recipe is that you can make as little or as much of it as you want! This recipe calls for a kitchen scale and the ingredients are weighed instead of measured in measuring cup so that you can accurately measure all of your ingredients. When I make these I put 1 ounce of each ingredient in, which is just about the perfect amount to fill up my silicone molds to make 14 small heart shaped lotion bars.
My husband hates it when I use our kitchen items for bath products (the beeswax can be hard to get off the bowls and utensils), so I use a saucepan filled with a few inches of simmering water. I lay a washcloth at the bottom of the saucepan and then stick a mason jar inside the pot with my ingredients in it to melt them. The washcloth keeps the mason jar from banging on the bottom of the pot. Make sure that you don’t let any water get into your melting ingredients. I stir my ingredients with disposable wooden chopsticks.
A little goes a long way with these lotion bars. Place the bar between your hands to gently warm the lotion, then rub on the area that you want to moisturize. Help your kids the first few times they try out a lotion bar. The first time my 4 year old tried one, I wasn’t watching and he ended up with enough lotion on his hands to moisturize himself from head to toe!
Lotion Bar Materials:
-Saucepan
-Washcloth
-Mason Jar
-Disposable wooden chopsticks
Lotion bar base:
-1 part beeswax (when I make these I use 1 ounce, you can use more or less, just make sure you use the same weight for the beeswax, cocoa butter, shea butter and coconut oil)
-1 part raw cocoa butter
-1 part shea butter (You can also substitute mango butter for shea butter if you prefer)
-1 part coconut oil
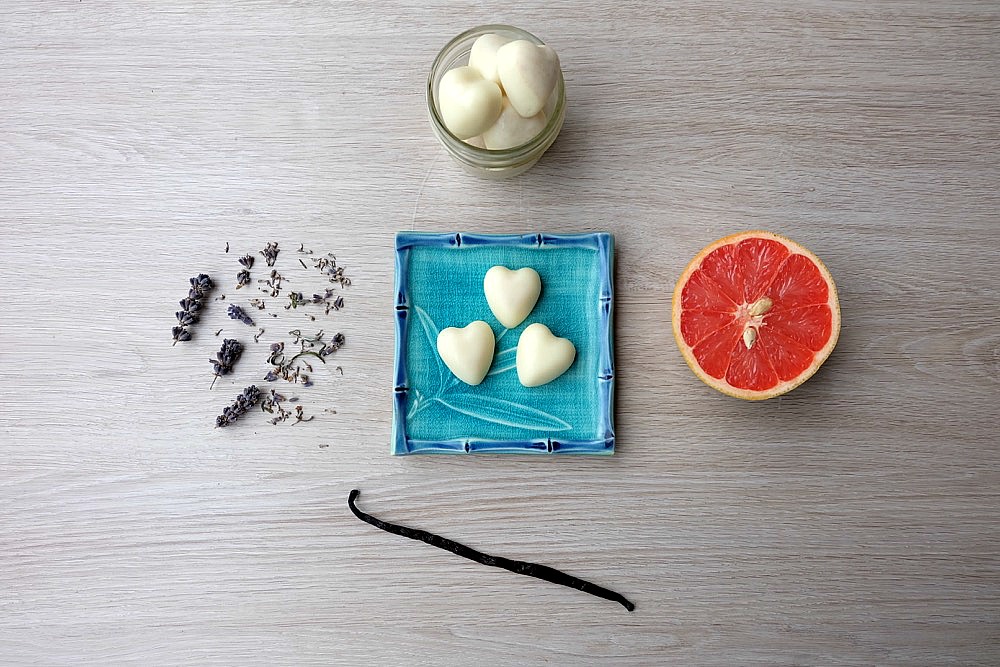
Lotion bar scent ideas:
Vanilla Grapefruit- Vanilla essential oil and grapefruit essential oil (This scent combination is sweet and bright. The grapefruit essential oils have antiseptic properties that help with sores on hands and the vanilla is soothing for the senses.)
Lavender Tea Tree- Lavender essential oil and tea tree essential oil (Lavender essential oils are known for their disinfecting properties along with easing pain. Tea tree is known for being anti-fungal, antibacterial and antimicrobial. This will help to keep your hands clean!)
Chocolate Mint- 1 teaspoon of raw cacao powder (adjust raw cacao depending on how much lotion bar you are making) and peppermint essential oil
For each of the above recipes, I suggest adding the essential oils 10 drops at a time, smelling and then adding more drops as needed.
I love using essential oils for these because of all of the positive health benefits that essential oils have but I’ve also played with using fragrance oil for these too! Monkey Farts, Creme Brulle and Coconut are three of our favorite scents.
Directions:
Step 1: Fill a saucepan with a few inches of water and bring to a simmer. Place a washcloth in the saucepan and set a mason jar on top of it (this creates your own double boiler system). Make sure not to get water into the mason jar.
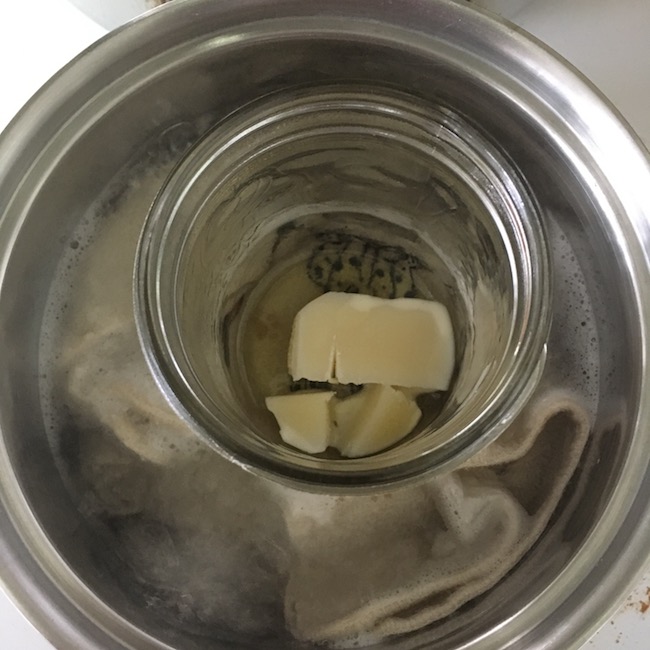
Step 2: Place your beeswax and cocoa butter in the mason jar and allow to melt. Once melted add shea butter and coconut oil and melt.
Step 3: Once all of your ingredients are melted, remove the saucepan from the heat and add your essential oils or other “scent ingredients”. Stir well and check that the scent is strong enough for your preference.

Step 4: Pour your lotion bar liquid into your silicone mold and leave to cool until the bars have solidified.
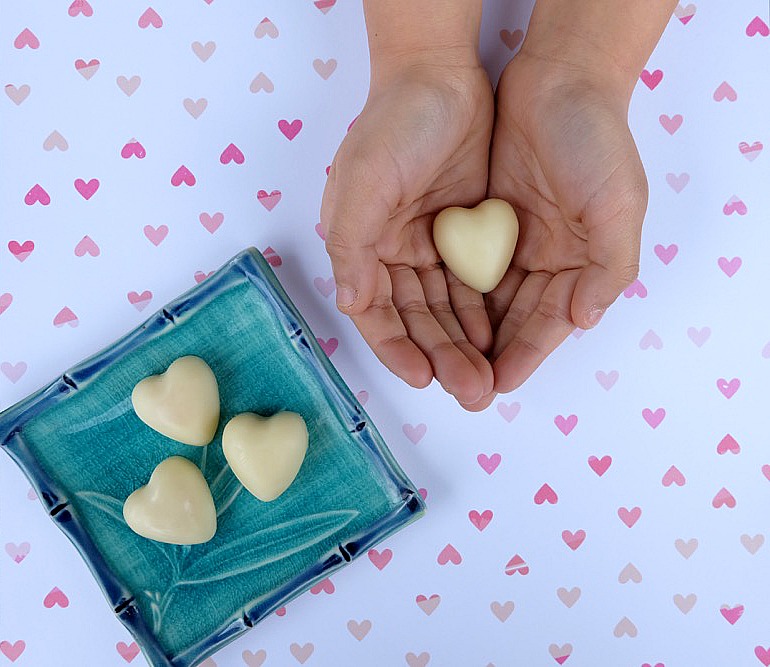
Viola! You have gorgeous lotion bars that would make lovely handmade gifts!
Tell me… What scent combinations would you try making? Can you think of an occasion that you would give these as handmade gifts for?
Pin me for later!
Like this post? Make sure to check out these other body product ideas!
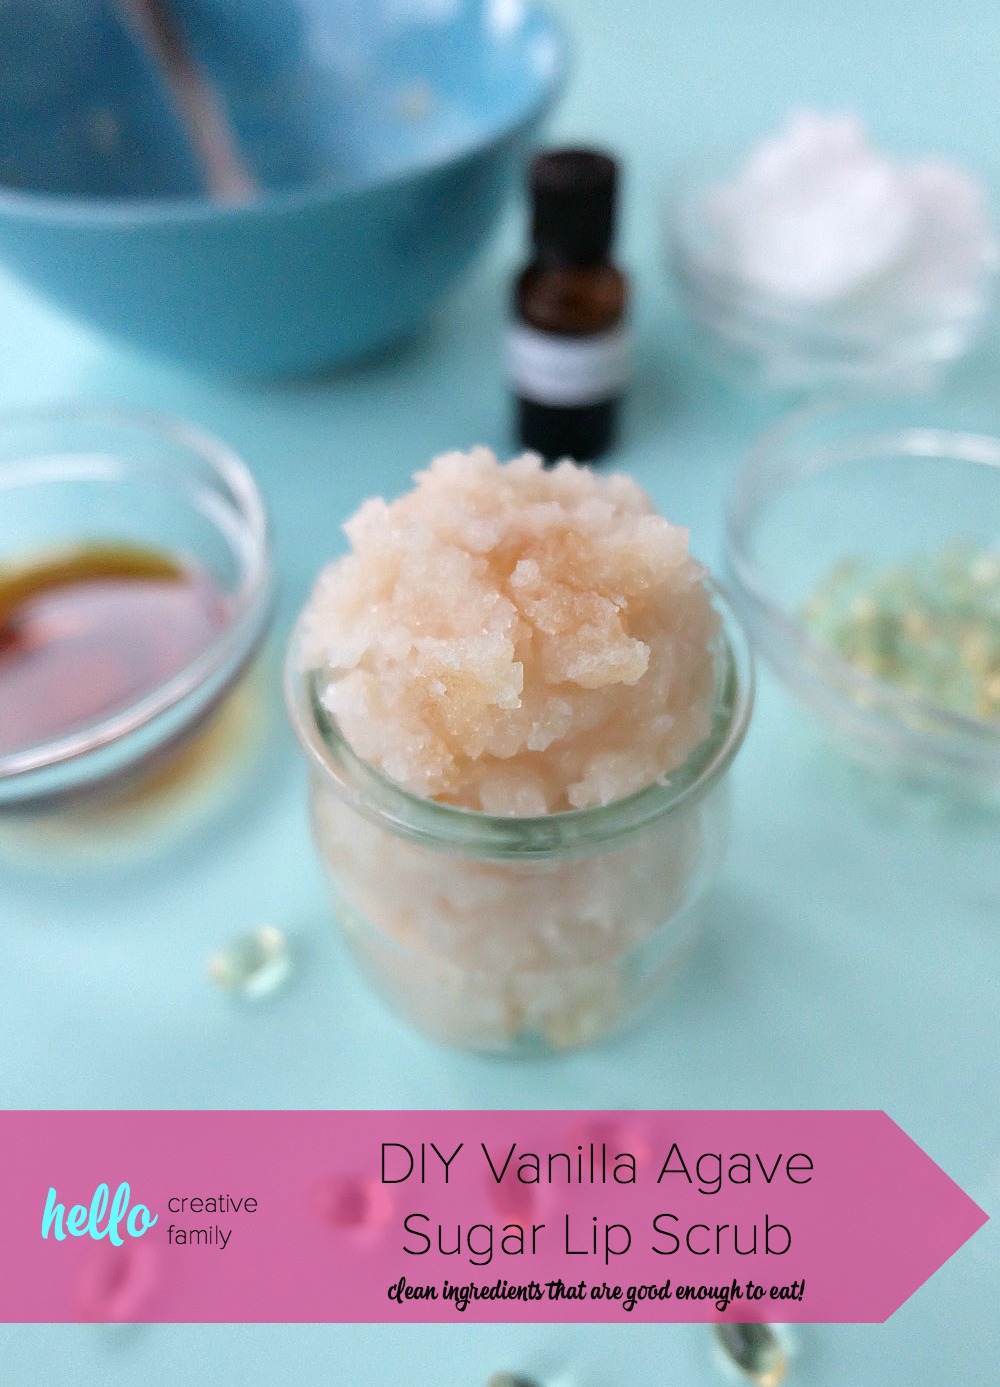
DIY Vanilla Agave Sugar Lip Scrub
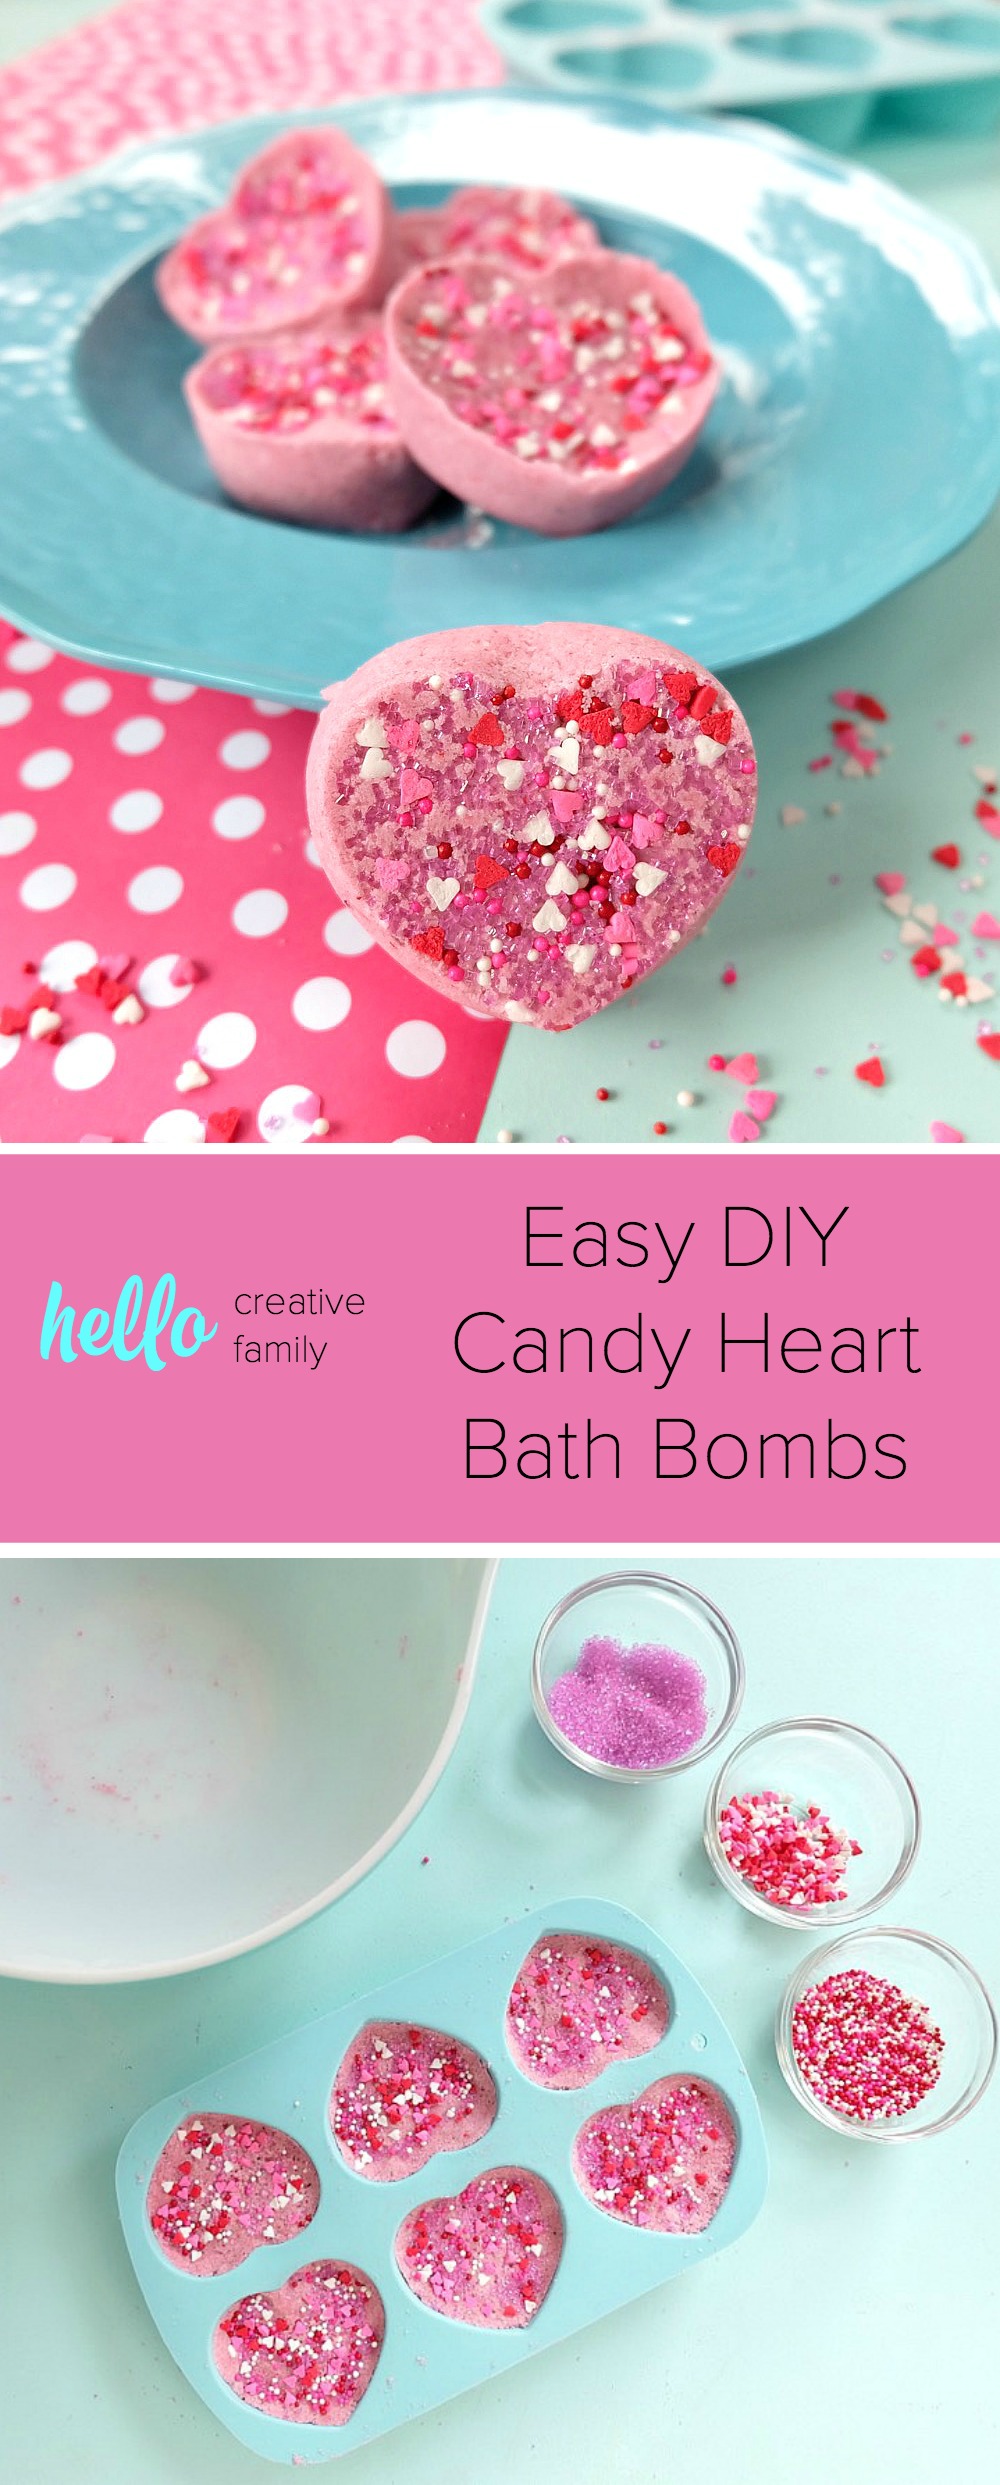
Easy DIY Candy Heart Bath Bombs
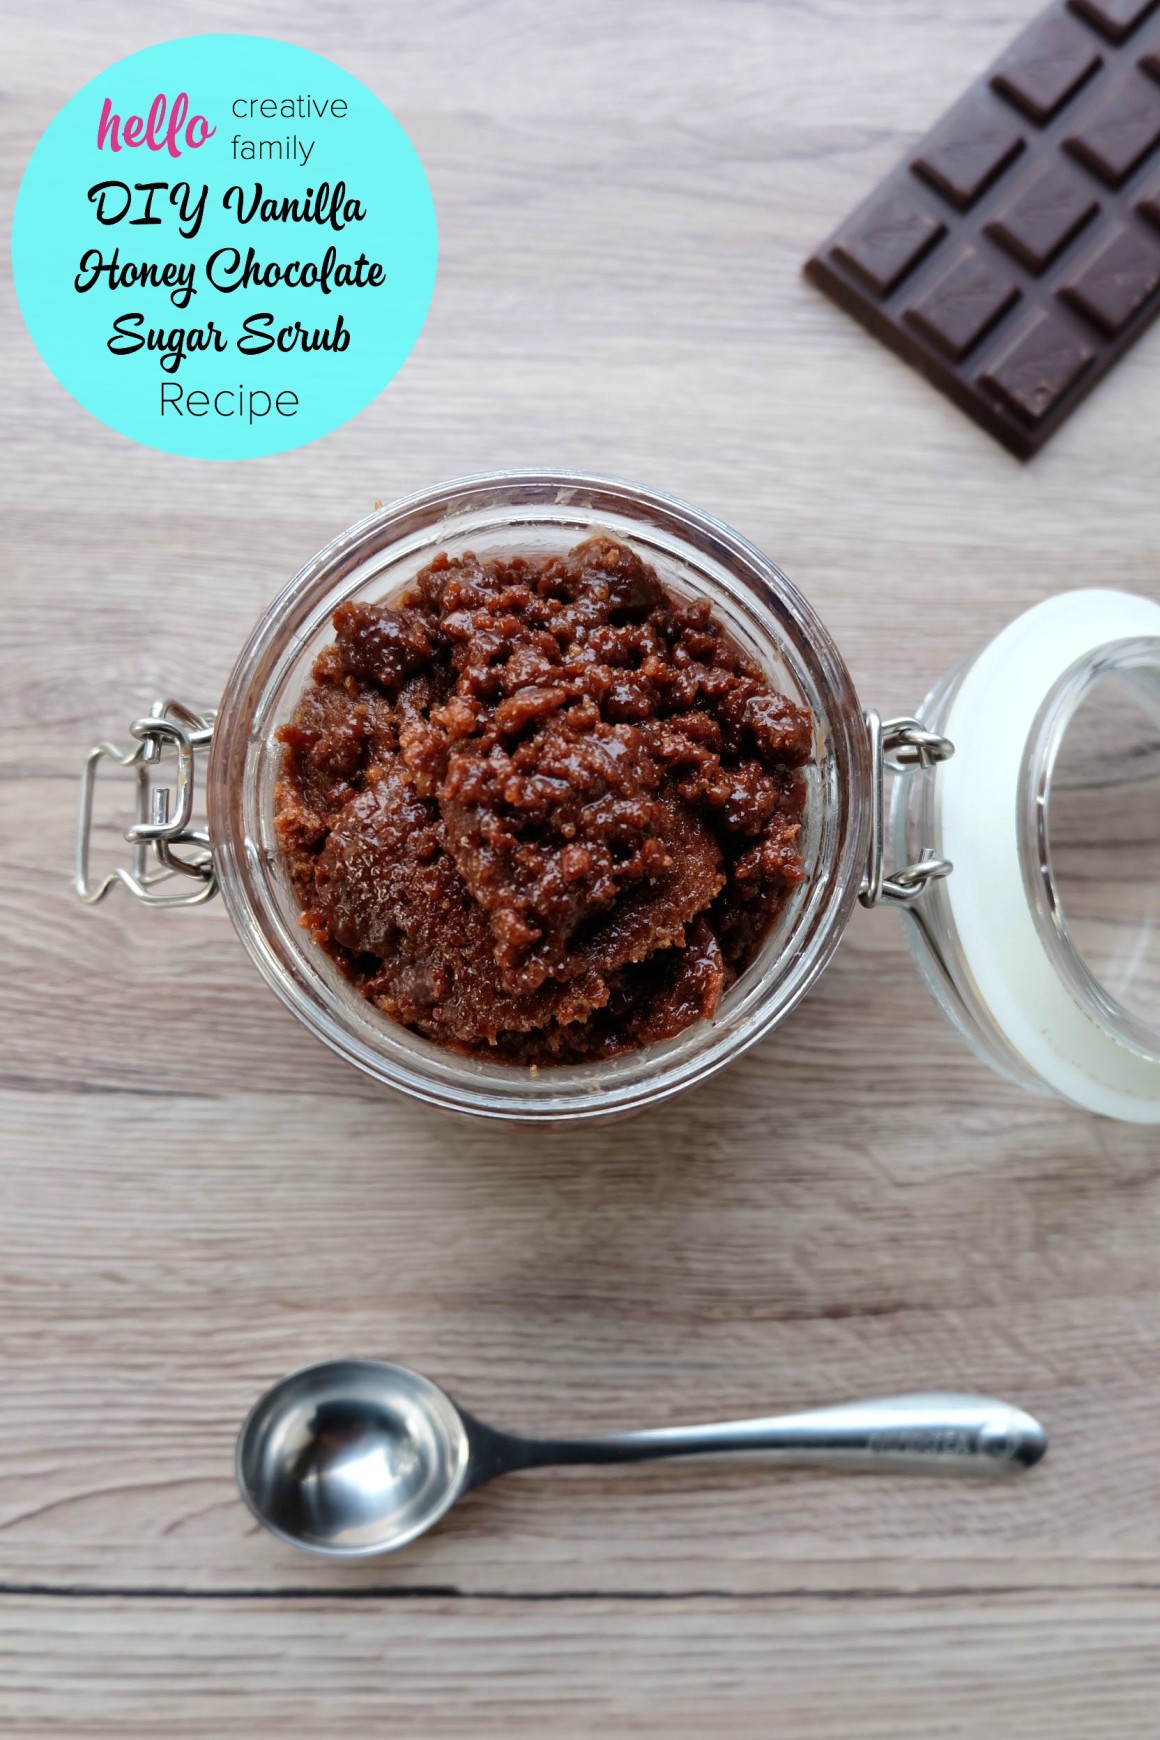
DIY Vanilla Honey Chocolate Body Scrub

DIY Lavender Essential Oil Tincture
Never miss when a new handmade gift idea is released by signing up for our Handmade Gifters Club! Every time we release a new handmade gift idea, you’ll get an email straight to your mailbox. We’ll also share with you the best places to get the supplies you need, and give you access to exclusive freebies. Best of all… It’s Free!!!
Sign up here (if you are reading this in an email, click through to the site to sign up):


These look so awesome!!
Love your Tutorial!! We have a nailbiter here too..actually know a few others too! 😉 Thank you for this info…and love the idea of using the Heart molds! I have some too..plus lil Gingerbread guys!!! 😀
I really want to try making these, however I’ve only made lotion bars once before and I’m not sure what a good amount of each ingredient is to use! I want to make about 10 of them. Can anybody give me some insight?
Hi Katelyn,
Thank you so much for visiting and for taking the time to comment! What size are the bars that you are wanting to make? What I would suggest is that you pour water into your mold and see how much liquid it holds. From there figure out how much liquid 10 bars would be.
The recipe calls for 1 part of 4 different ingredients, so let’s say you ended up finding out that your mold holds 2 cups of liquid. You would do 1/2 cup of each of the 4 ingredients. Make sense?
I hope that helps.
Best Wishes,
Crystal
Thank you for your great tutorial. I never thought to make a lotion bar but can’t wait to try making these. Love your alternate ideas for equipment purchases that don’t shatter my budget.
How long do these bars last?
Hi Rachel,
Thanks so much for visiting and for your question. I actually just found a batch of them that I had set aside a couple of years ago and they are still good… however they are susceptible to heat (My daughter had one in a plastic bag in her backpack that melted down and became “smushed” looking). Also like any product that contains oil the oil can eventually become rancid but I would say that if they are stored correctly they can easily last a year or more!
Best Wishes,
Crystal