Easy Buffalo Plaid Ornaments Made With Cricut
This post and the photos within it may contain Amazon or other affiliate links. If you purchase something through the link, I may receive a small commission at no extra charge to you.

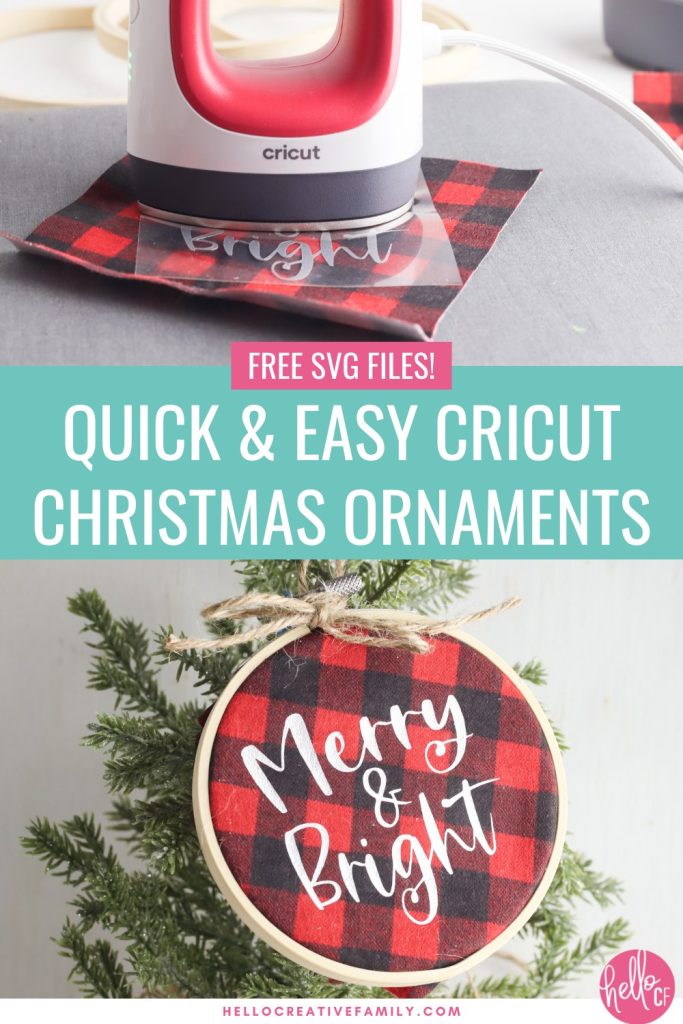
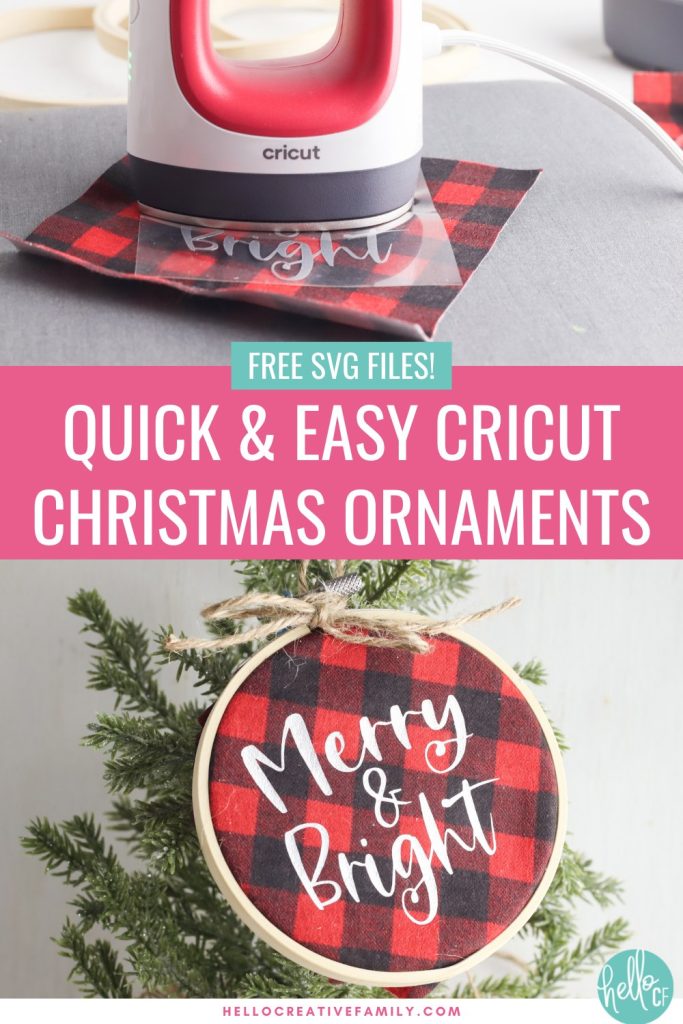
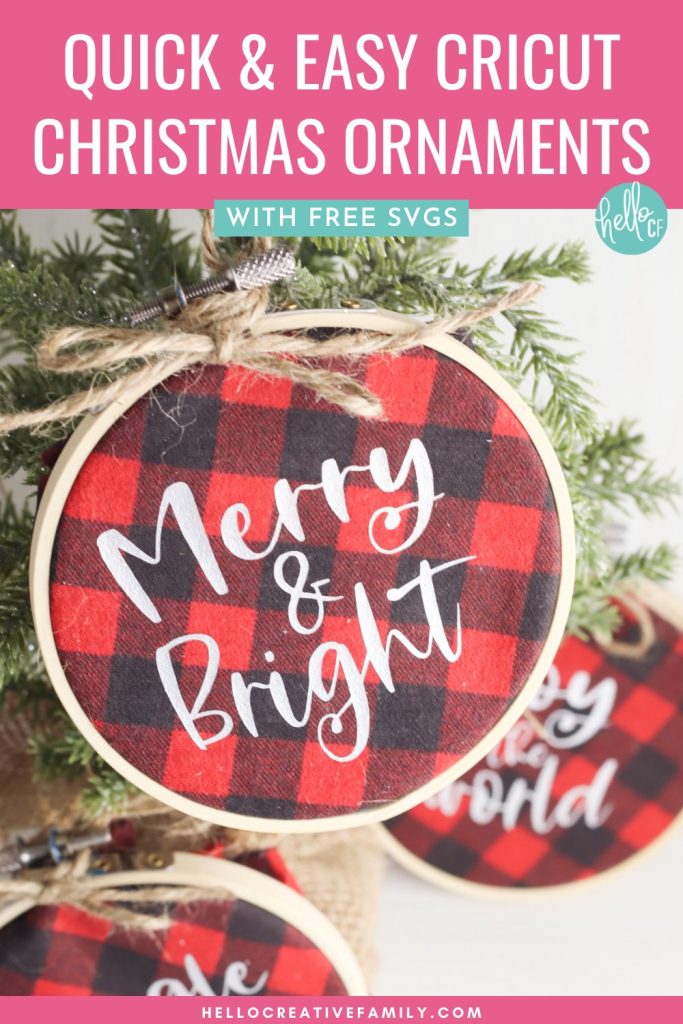
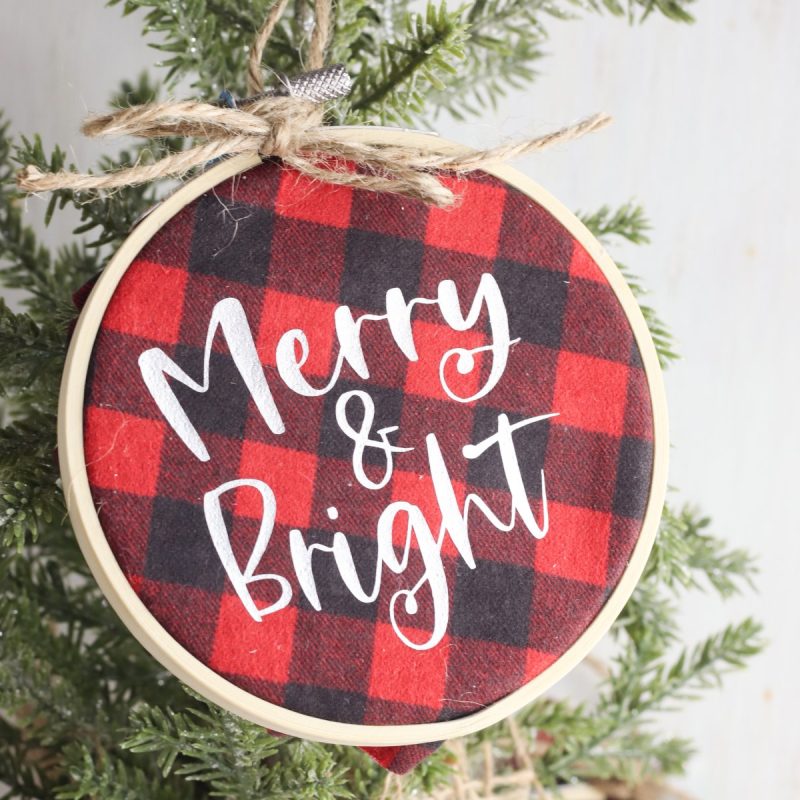
Learn how to make Buffalo plaid ornaments with the help of the Cricut Explore Air, Cricut Maker or Cricut Joy. These DIY Buffalo Plaid Christmas Ornaments combine mini embroidery hoops and HTV to make a quick and easy Christmas craft to decorate your Christmas tree! Includes three free Christmas SVGs!
Hi Crafty friends! Who is ready for the holiday season to officially begin? I know that I sure am! In Canada we typically start the Christmas season in mid November, after Remembrance Day (which is later this week). I am so ready for a bit of Christmas cheer! I can’t wait to bake Christmas cookies, trim the tree, hang a gorgeous wreath on the front door, decorate the staircases with garlands and greenery and get into the Christmas spirit!
My whole family loves Christmas. We’ve already started making our Christmas purchases and I’m ready to get crafting and make some DIY gifts and home decor! If you love plaid Christmas decor then you are going to LOVE this project.
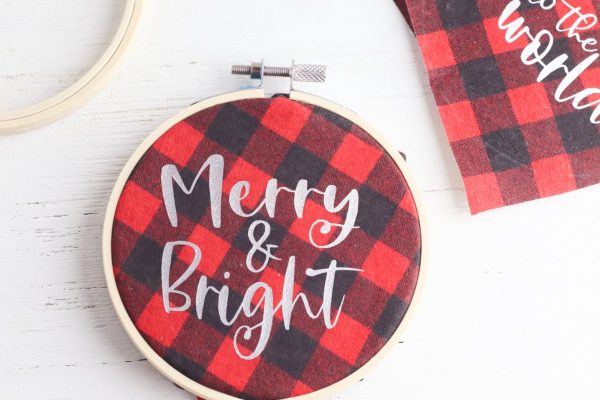
Today we are making buffalo plaid Christmas ornaments using mini embroidery hoops and our Cricut Maker, Cricut Explore or Cricut Joy.
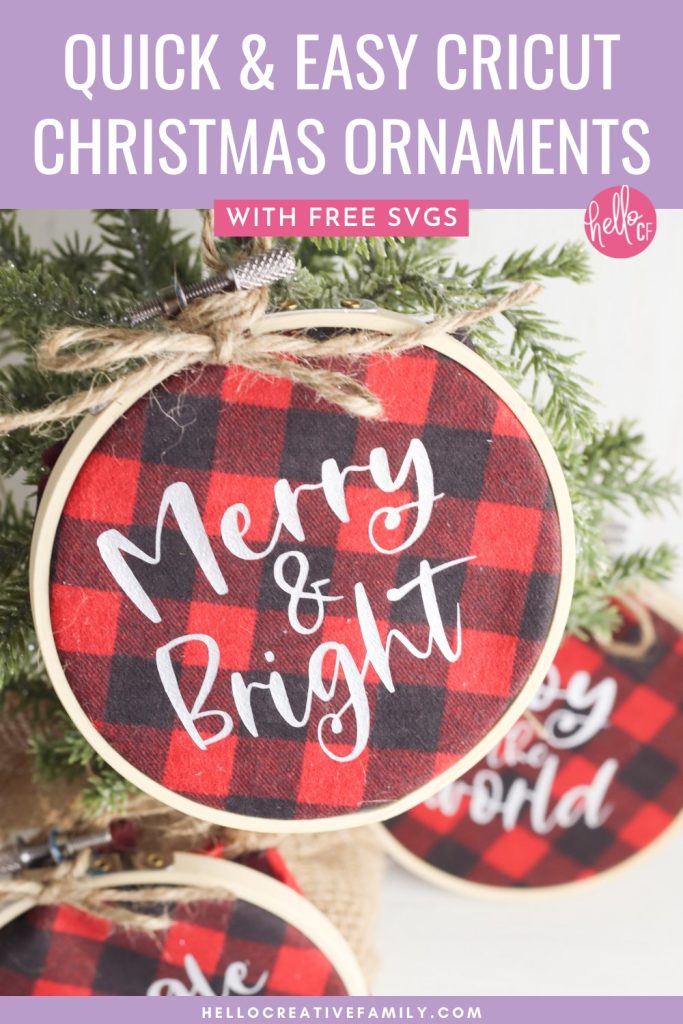
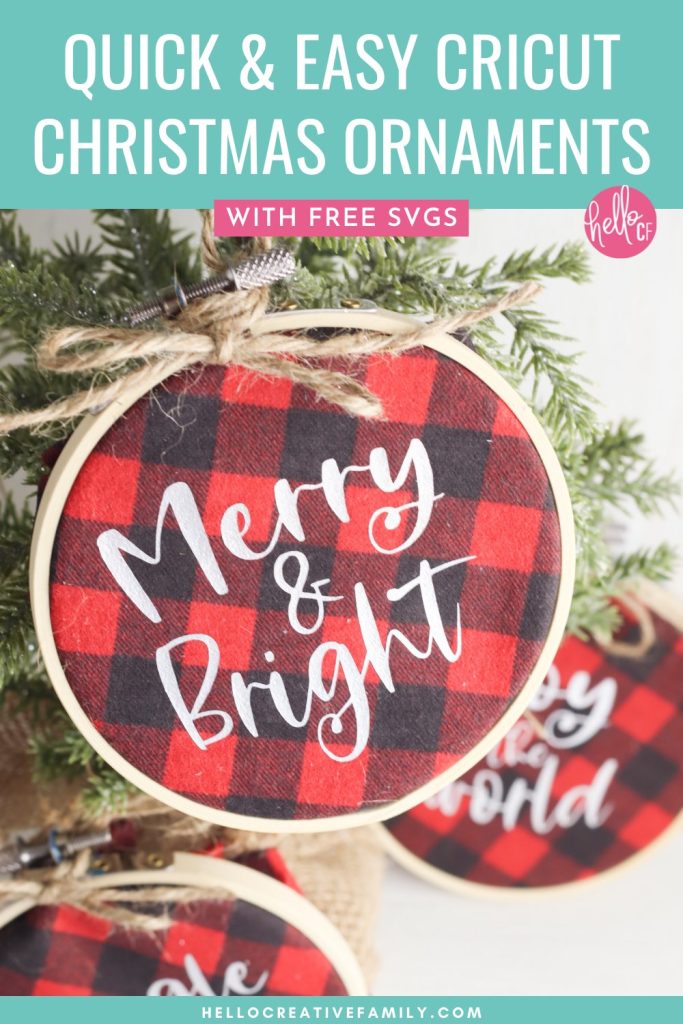
This project is so easy to make and will be the perfect addition to your Christmas tree! We’re giving you three free designs to use on this ornament, but the sky is the limit for what you could put on them. Add a name, monogram, a favorite quote, or a profession to really customize these ornaments for the recipient. They will love hanging these on their Christmas tree!
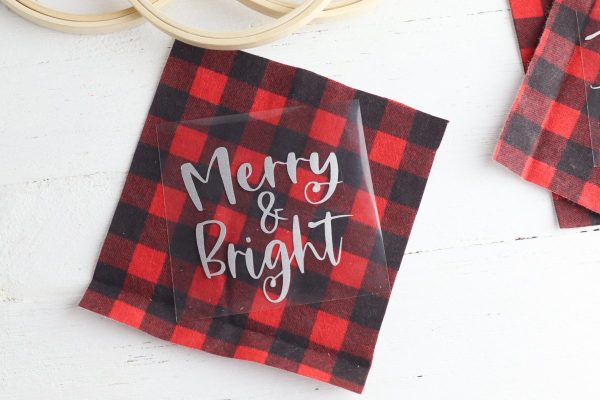
We made ours with black and red buffalo plaid fabric, but it would also look really cute in a black and white buffalo plaid! You can really use any fabric design that matches your holiday decor!
Free Christmas Quote SVGs
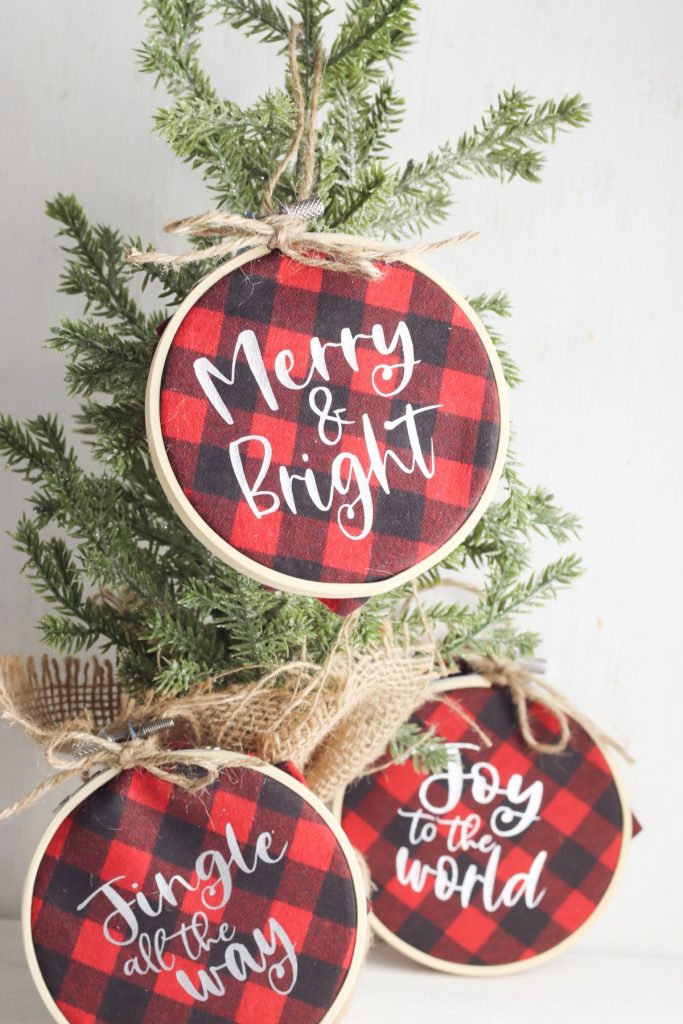
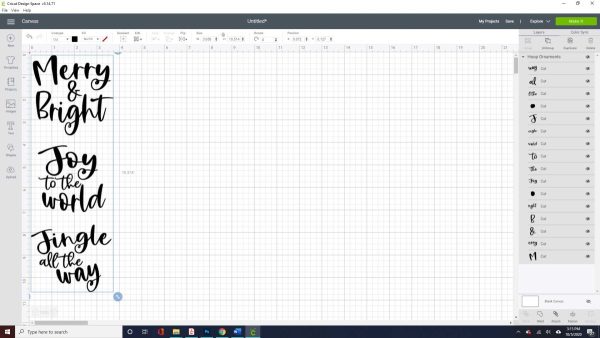
There are so many adorable options for what you could put on these ornaments. We’re providing you with a free SVG that has three different sayings– Merry & Bright, Joy To The World and Jingle All The Way. They have an adorable hand lettered look to them that I’m sure you’ll be able to use for lots of different Christmas crafting projects!
Enter your name and email address below and I’ll send the cut file immediately straight to your inbox. Accessing this free cut file will register you up for my e-newsletter and you’ll be notified when I release new free SVG files. Don’t worry if you are already subscribed to our enewsletter. You will only be subscribed once.
- This cut file is for personal use only.
- This file can be used in part or in whole for your personal projects.
- Digital reselling, sharing, redistributing of the files is NOT allowed. If you would like to share, please direct friends to the original blog post where you found this cut file.
Easy Buffalo Plaid Ornaments Made With Cricut
Buffalo Plaid Embroidery Hoop Ornaments
Supplies:
- SVG file (Download above)
- Cricut Maker, Cricut Explore or Cricut Joy
- Standard Grip Cutting Mat
- Silver heat transfer vinyl
- Weeding Tools
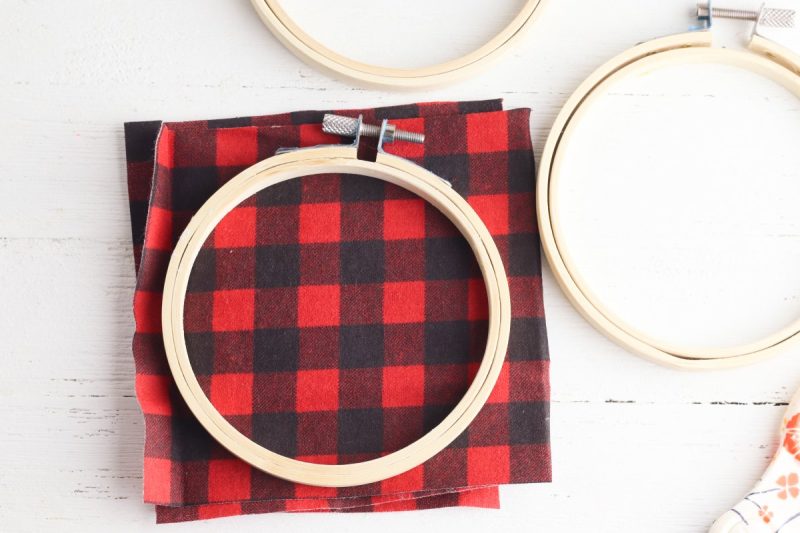
- Small embroidery hoops (I used 4-inch hoops)
- Plaid flannel fabric
- Twine or buffalo plaid ribbon
- Scissors
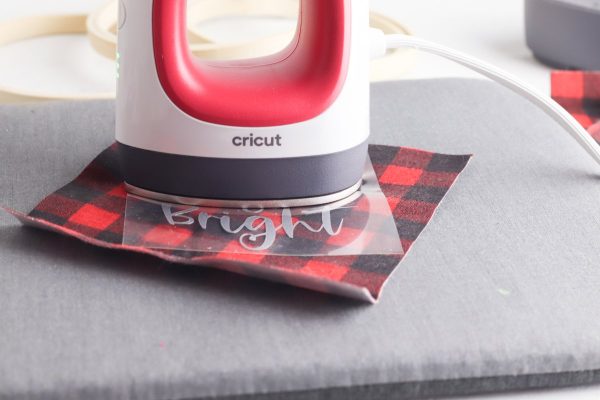
- EasyPress or iron
Instructions:
1: Log into Cricut Design Space and upload the cut file. (You can see my instructions for how to upload a cut file to Cricut Design Space here.)
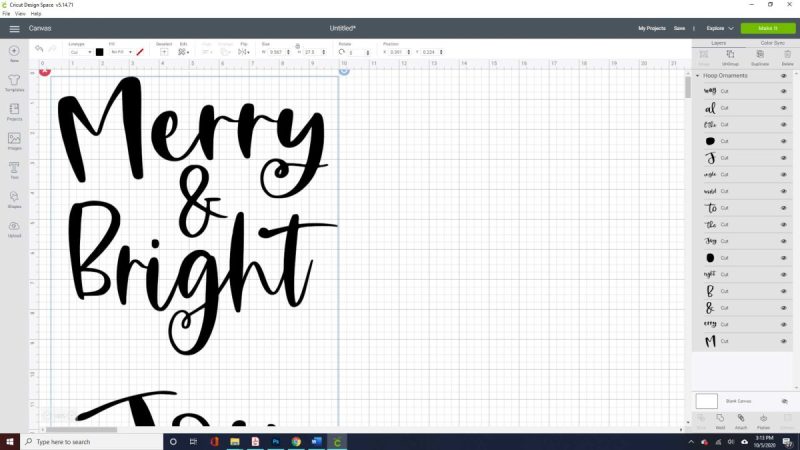
2: Measure the inside of the embroidery hoop and resize the cut file to fit inside the hoop.
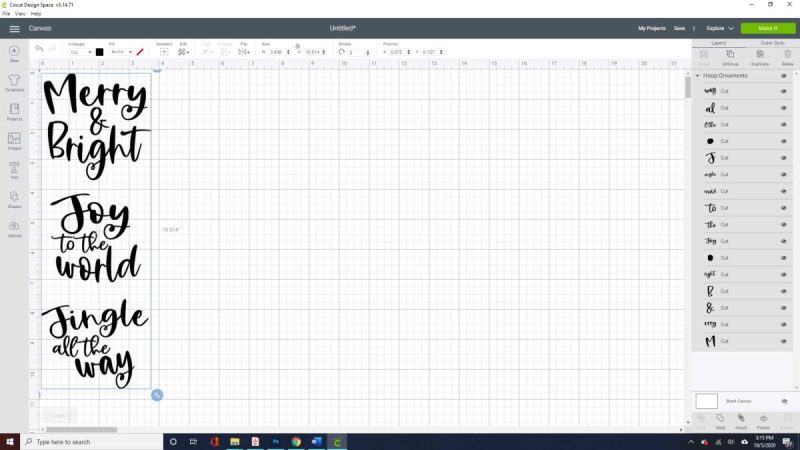
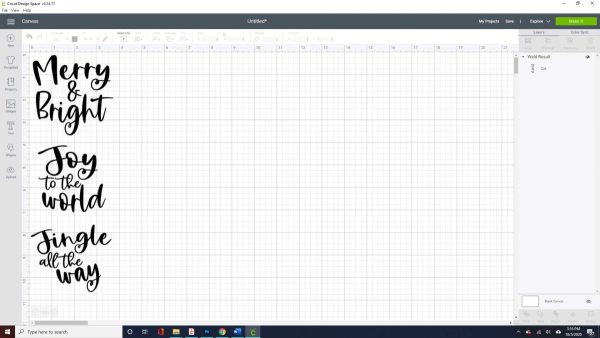
3: Select the file and weld the words together.

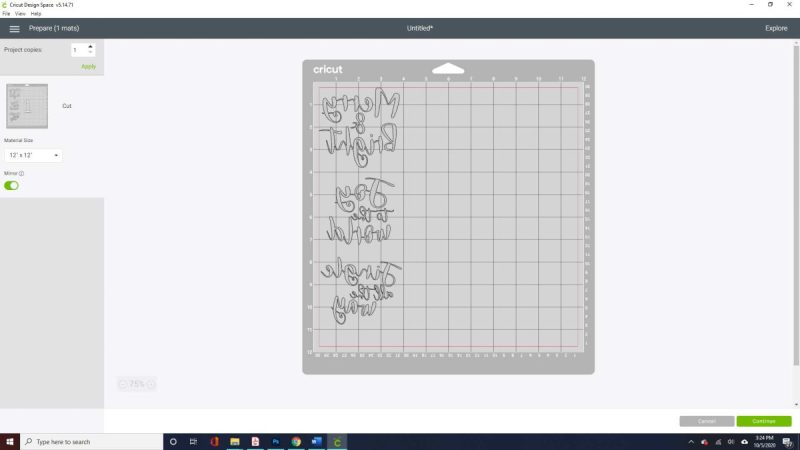
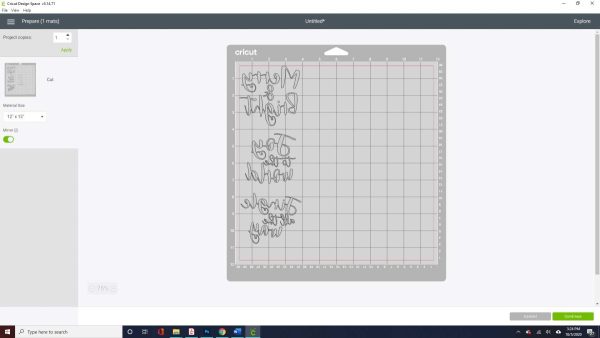
4: Click the Make it button and check the mirror option. Click Continue, select your cutting material, load your mat into your machine with the shiny side of your HTV facing down and click the flashing Cricut C to start cutting.
5: Cut a piece of flannel fabric to fit inside the embroidery hoop.
6: Weed your HTV removing the material from around your design, leaving just your design behind on the clear plastic backing.
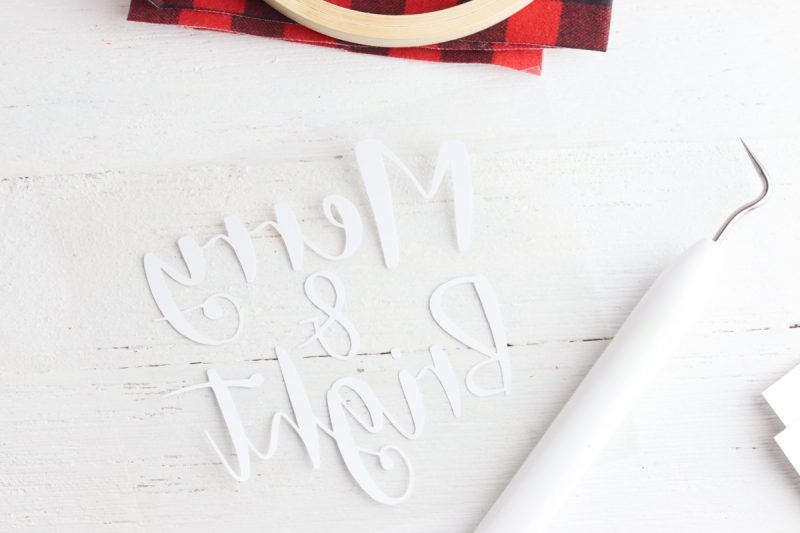
7: Place your design in the center of your piece of flannel fabric with the shiny plastic facing up.

8: Use the EasyPress or iron to transfer the HTV to the fabric. You can find the Cricut EasyPress Temperature Guide here.

9: Allow the vinyl to cool, remove the plastic protective sheet, then place fabric inside the embroidery hoop.

10: Create a loop with the twine around the top fo the embroidery hoop. Secure the twine with a bow. Use this as the hanger to hang your ornament with.

How cute would it be to use large embroidery hoops and use these to decorate your front porch with?
Printable Instructions To Make An Embroidery Hoop Christmas Ornament

Easy Buffalo Plaid Ornaments Made With Cricut
Instructions
- Log into Cricut Design Space and upload the cut file.

- Measure the inside of the embroidery hoop and resize the cut file to fit inside the hoop.
- Select the file and weld the words together.
- Click the Make It button and check the mirror option. Click Continue, select your cutting material, load your mat into your machine with the shiny side of your HTV facing down and click the flashing Cricut C to start cutting.
- Cut a piece of flannel fabric to fit inside the embroidery hoop.

- Weed your HTV removing the material from around your design, leaving just your design behind on the clear plastic backing.
- Place your design in the center of your piece of flannel fabric with the shiny plastic facing up.
- Use the EasyPress or iron to transfer the vinyl to the fabric.
- Allow the vinyl to cool, remove the plastic protective sheet, then place fabric inside the embroidery hoop.
- Create a loop with the twine around the top of the embroidery hoop. Secure the twine with a bow. Use this as the hanger to hang your ornament with.


Equipment
- SVG file (Download above)
- Silver heat transfer vinyl
- Small embroidery hoops (I used 4-inch hoops)
- Plaid flannel fabric
- Twine or ribbon
- Scissors
- EasyPress or iron
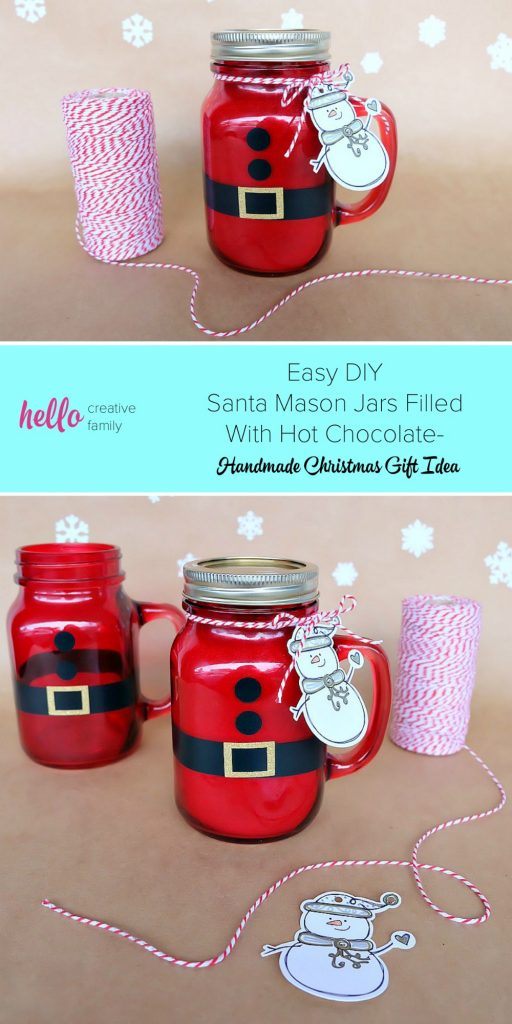
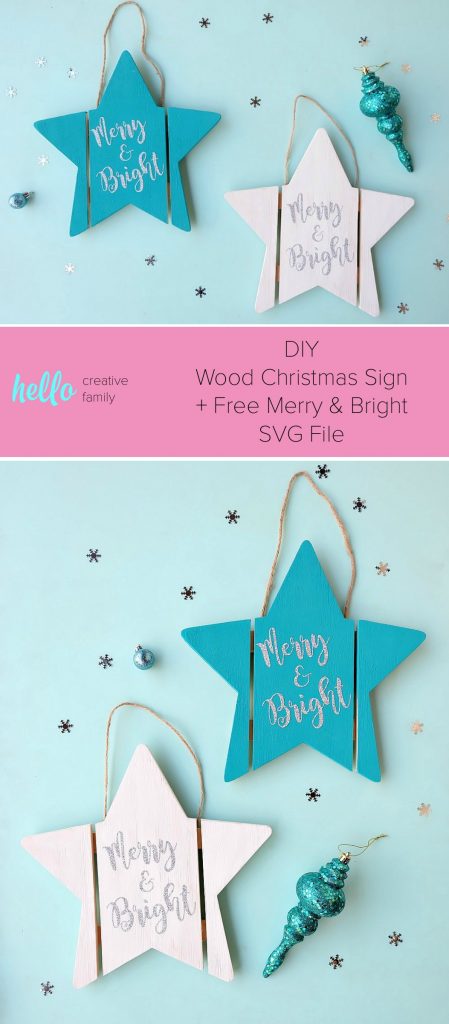
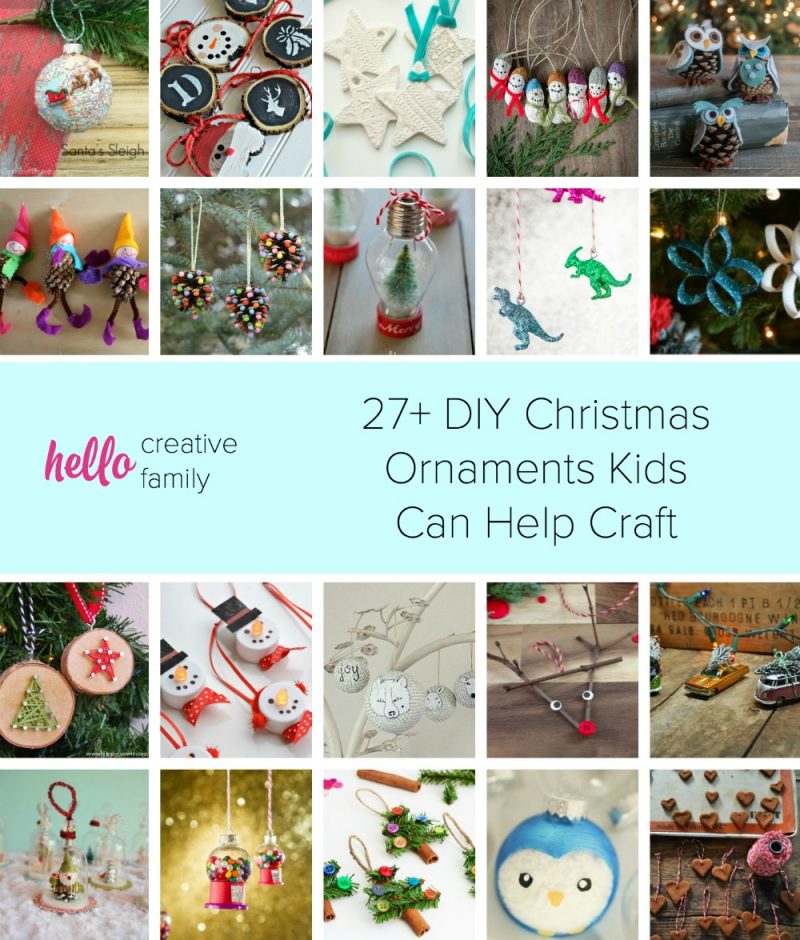
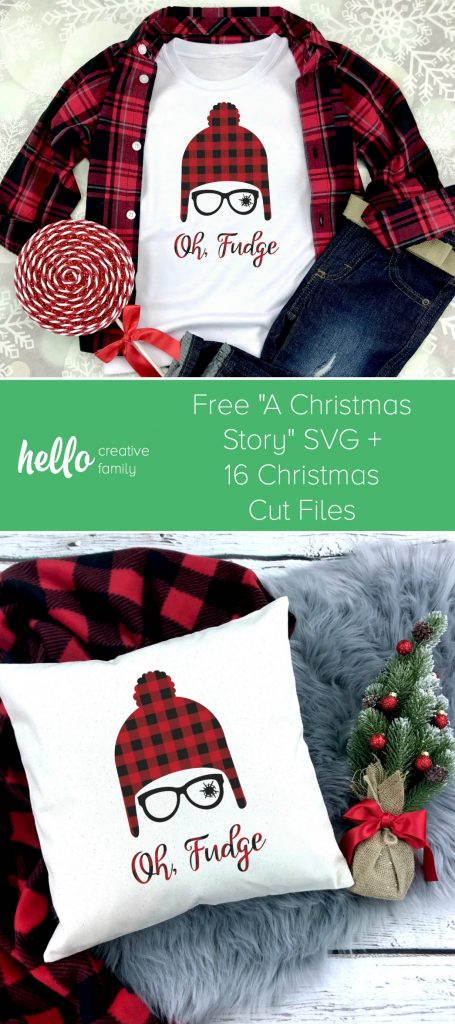
My family here at Hello Creative Family hope that you and your family have a very Merry Christmas and a wonderful holiday season. If you are looking for more Christmas crafting inspiration, then I think you might enjoy these projects too!


Tell me… Do you love Christmas crafting too? What are some of your favorite Christmas crafts?