


How to Sew Your Own DIY Nut Milk Bag- 15 Minute Sewing Project
This post and the photos within it may contain Amazon or other affiliate links. If you purchase something through the link, I may receive a small commission at no extra charge to you.
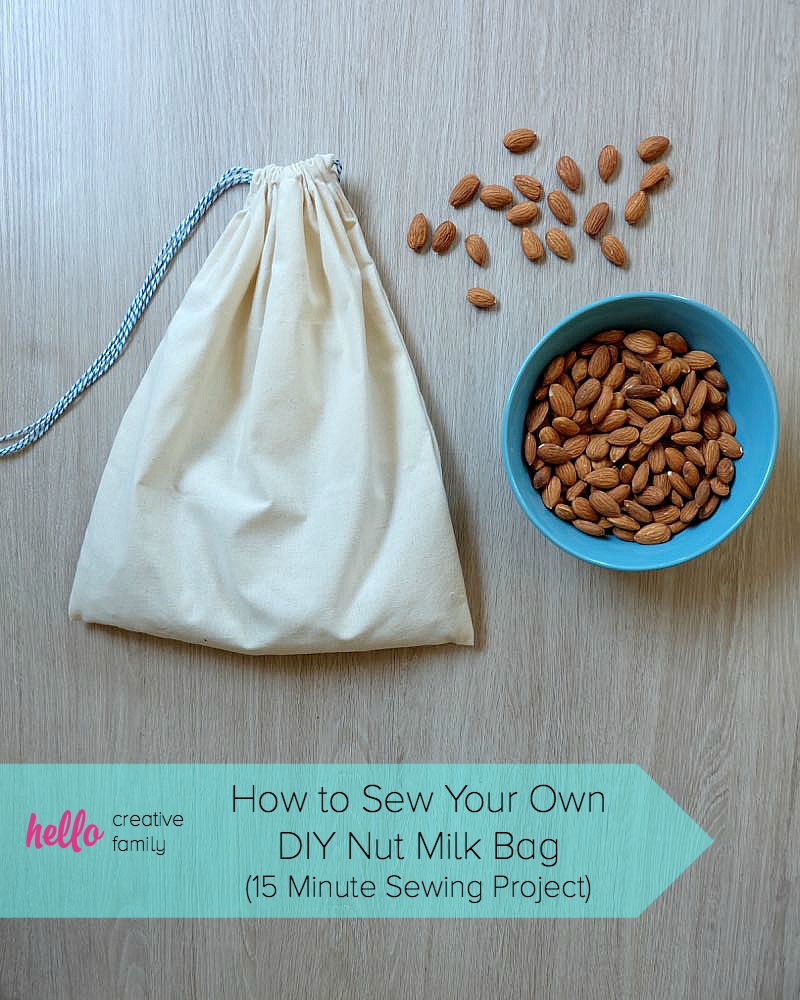
I’m so excited to share today’s post with you all! It’s been a project that I’ve had in the back of my mind for almost 6 months now and I’m so excited to finally share it with the world! Today I’m going to be teaching you how to sew your own DIY Nut Milk Bag! It’s super simple and is a 15 minute sewing project.
Last summer I started creating my own nut and seed milks. You can see my recipes (more like instructions since making nut milk is SO SIMPLE) for almond milk here, coconut milk here, and hemp seed milk here. When I started making them I asked my husband to check a couple kitchen stores at the mall for nut milk bags and he had no luck. My sister ended up picking one up for me at her local food co-op but it was made from a mesh like material and soon tore. I started using a mesh strainer to make my nut milks, which works fine, but isn’t ideal for really squeezing out ever last drop of nut milk goodness!
At Christmas time I stumbled upon my husband’s online shopping cart and noticed that he had a lovely nut milk bag that he was about to order for me. It was so sweet of him to think of, but the price tag was in the $15-$20 neighborhood. The DIY gal in me immediately started calculating the cost of muslin and how many nut milk bags I could make for $20. The answer was A LOT OF THEM!
I removed the nut milk bag from the cart, thanked him for the thought, and told him that I’d rather use the money to buy fabric and make my own nut milk bag AND show all of you how to make your own too.
The great thing about this project is that you could do it with other fabrics to make homemade gift bags or other drawstring bags.
Read on to learn how to sew your own DIY nut milk bag a 15 minute sewing project!
How to Sew Your Own DIY Nut Milk Bag- 15 Minute Sewing Project
Materials:
-One piece of muslin, pre-washed and cut 28 inches by 14 inches (This will make a 12 inch by 12 inch nut milk bag. To make a bag with other dimesnions- Double the height and add 2 inches, take the width and add 2 inches.)
–Iron
-Thread
-Scissors or a cutting mat and rotary cutter for cutting your fabric (this is my favorite rotary cutter)
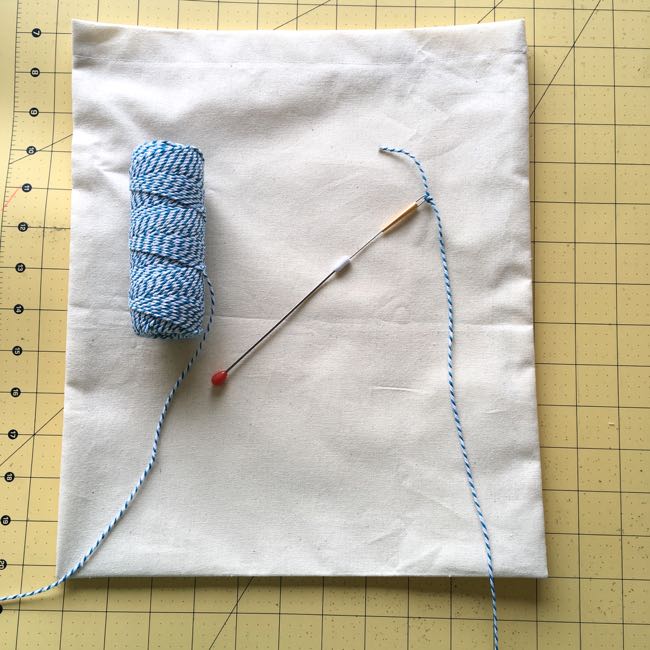
-Twine, rope, ribbon or string for the drawstrings (For a 12 inch bag I used two pieces that were 18 inches long each. I used baker’s twine for mine which wasn’t what I originally had in mind, but was what I had in my craft stash.)
-Optional: Tube turner tool
Directions:
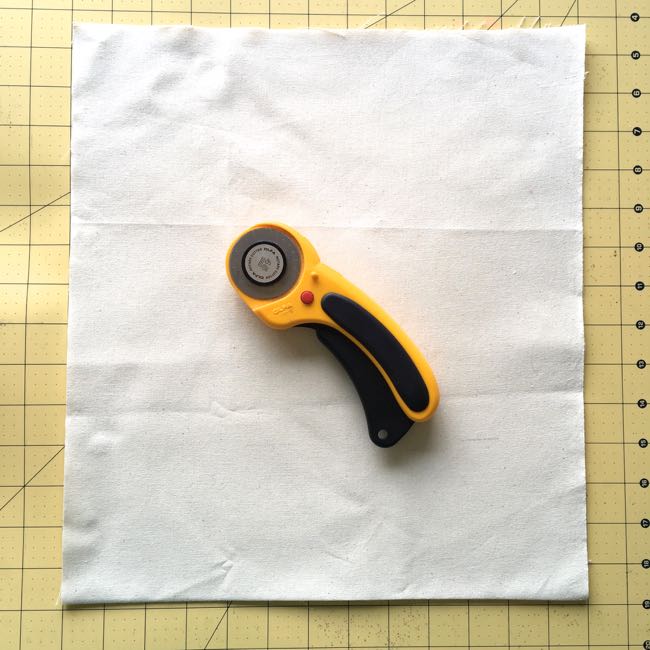
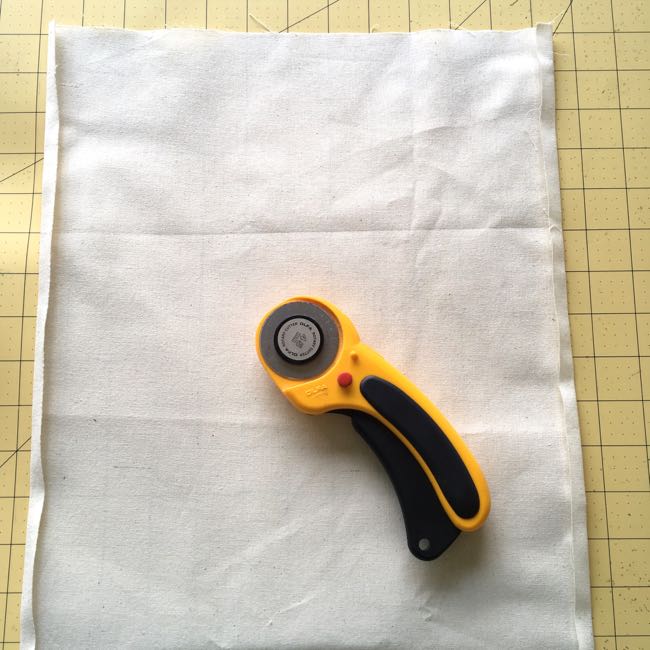
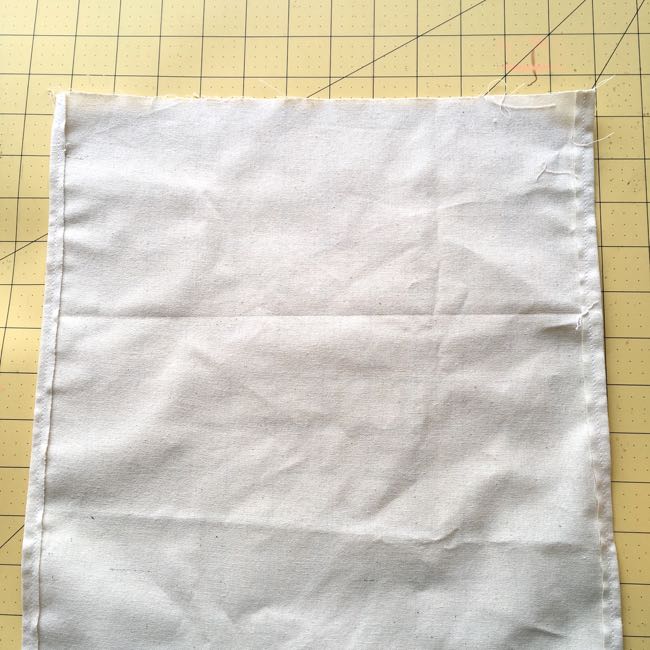
1. Cut your fabric to the desired dimensions. In this case for a 12″x12″ bag you’ll want a piece of fabric that is 28″ by 14″.
2. Fold over your edges by 1/4 inch down both sides of the 28 inch sides of the fabric. Press with your iron.
3. Using your sewing machine, stitch down both long edges, securing your hem into place.

4. Fold the top of your fabric over by 1 inch and then the bottom of your fabric over by 1 inch, folding towards the side where you just stitched your hem. Press with your iron. This will become the tube where you string the drawstring through.
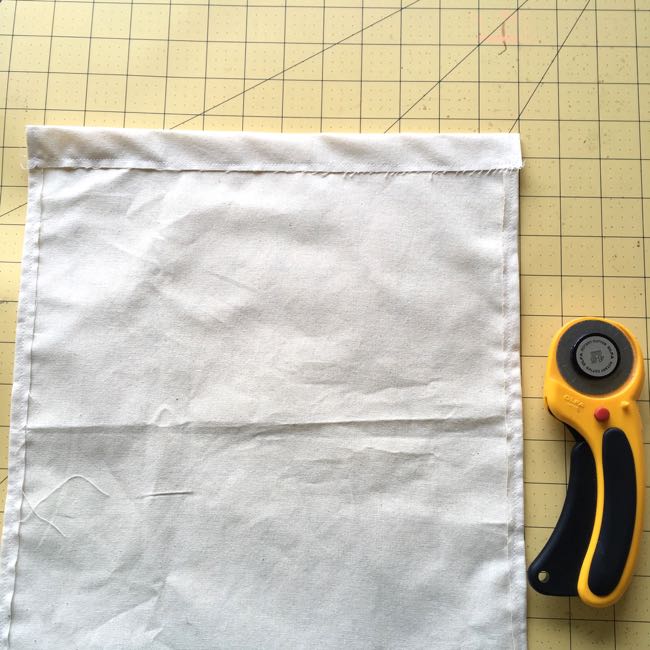
5. Stitch down your top, approximately 1/4 inch away from the raw edge, leaving 3/4 of an inch for the drawstring to go through. Repeat with your bottom hem.
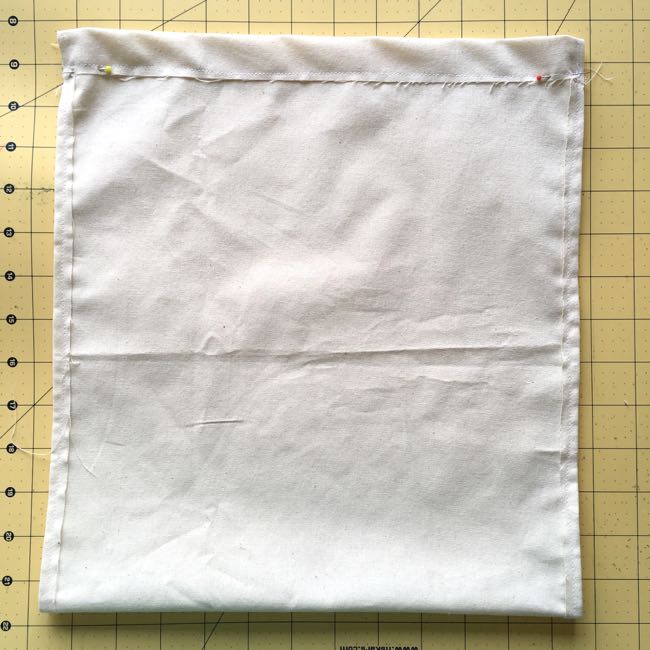
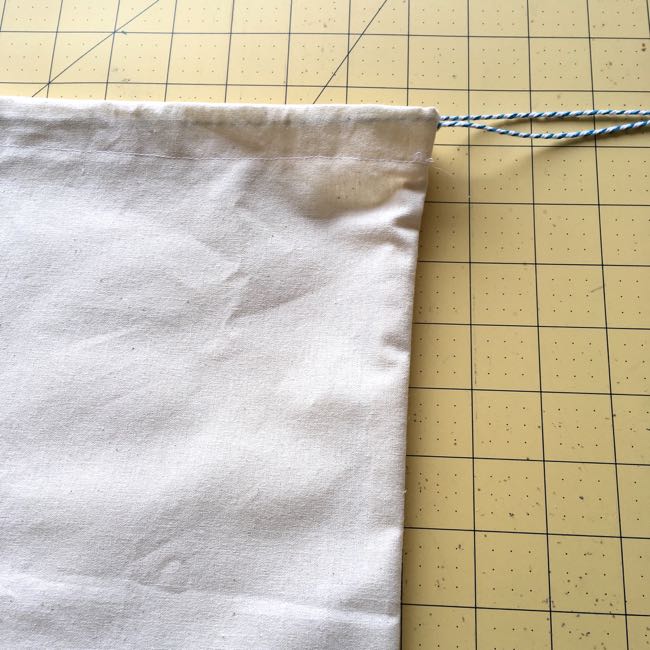
6. Fold bag in half so that all of the hems are facing the outside of the bag. Make sure that the two “tube areas” where your drawstrings will go through are lined up and that the outside edges are lined up. Stitch down the left side and then the right side of the bag, using a 1/2 inch seam allowance, making sure to start right below where the hem for your drawstring tubes are (see where the pins are placed in my photo above).
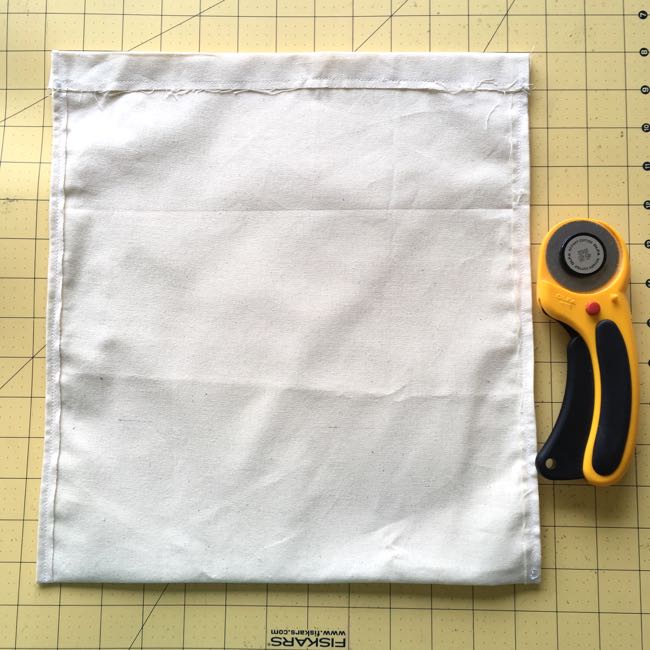
Voila! The sewing portion of your bag is all finished! Wasn’t that easy? Your bag is all sewn together! Now onto adding your drawstrings!
7. Clip all your threads and turn your bag right side out.
8. Put in your drawstrings. The first drawstring you’ll want to insert starting on the right side, through the top tube and out, then back through the bottom tube and back out so that the two strings line up. Repeat with your second piece of drawstring this time starting on the left hand side, going through the top tube and then back through the bottom tube. (I used my new favorite tool to do this task. It’s a tube turner tool that makes turning your projects right side out and pulling elastic and string through tubes so much easier. Bye bye safety pins and chopsticks!)

9. Tie knots in the drawstring on both sides.
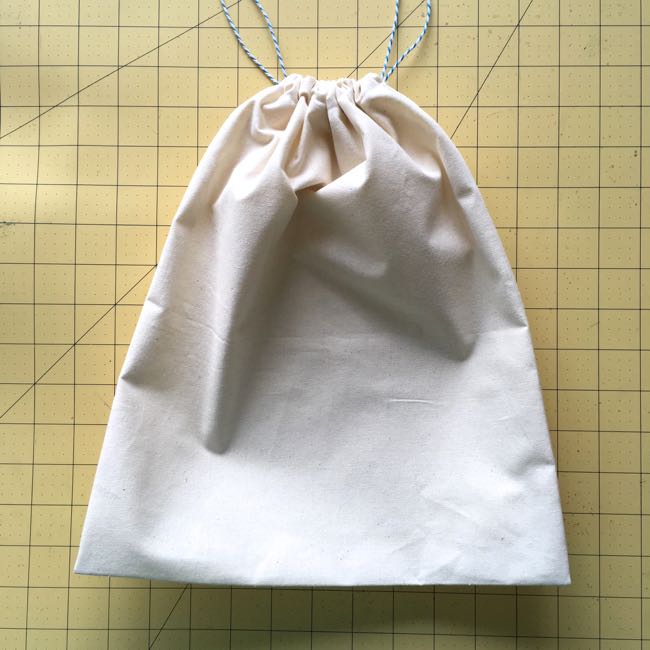
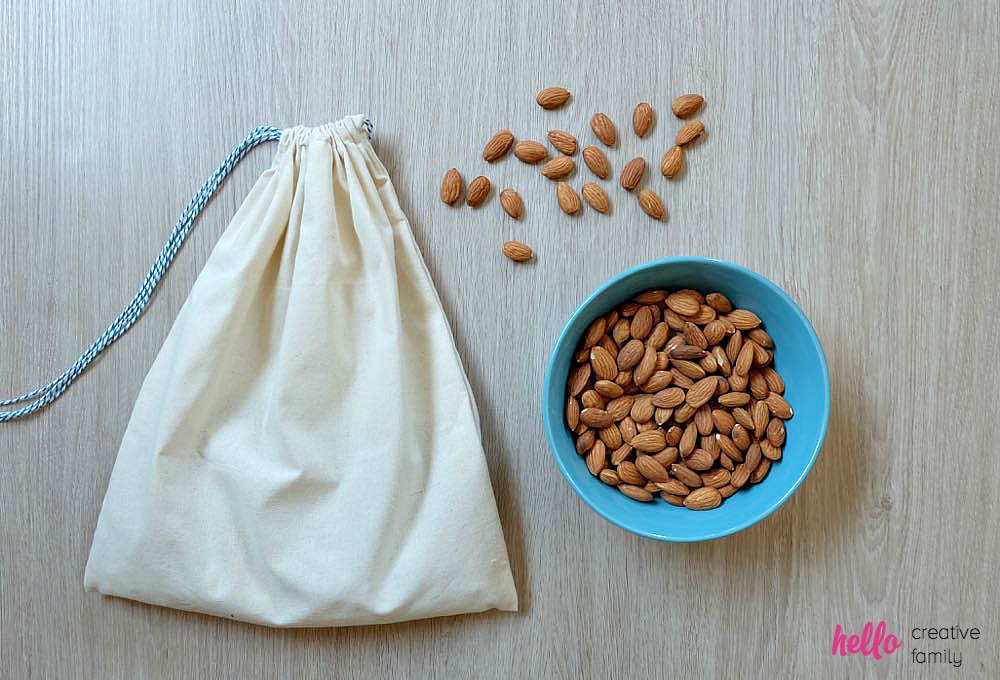
10. Pull on your drawstrings and see how fun it is to open and close your new DIY nut milk bag!
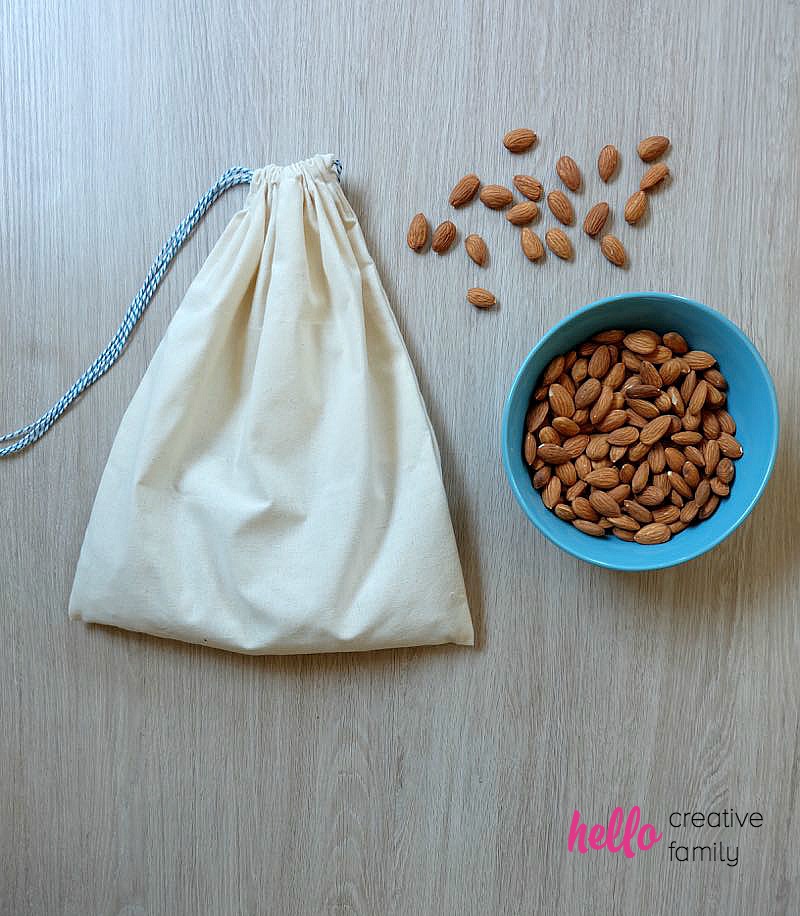
11. Get busy making delicious nut milks like the ones below. 🙂
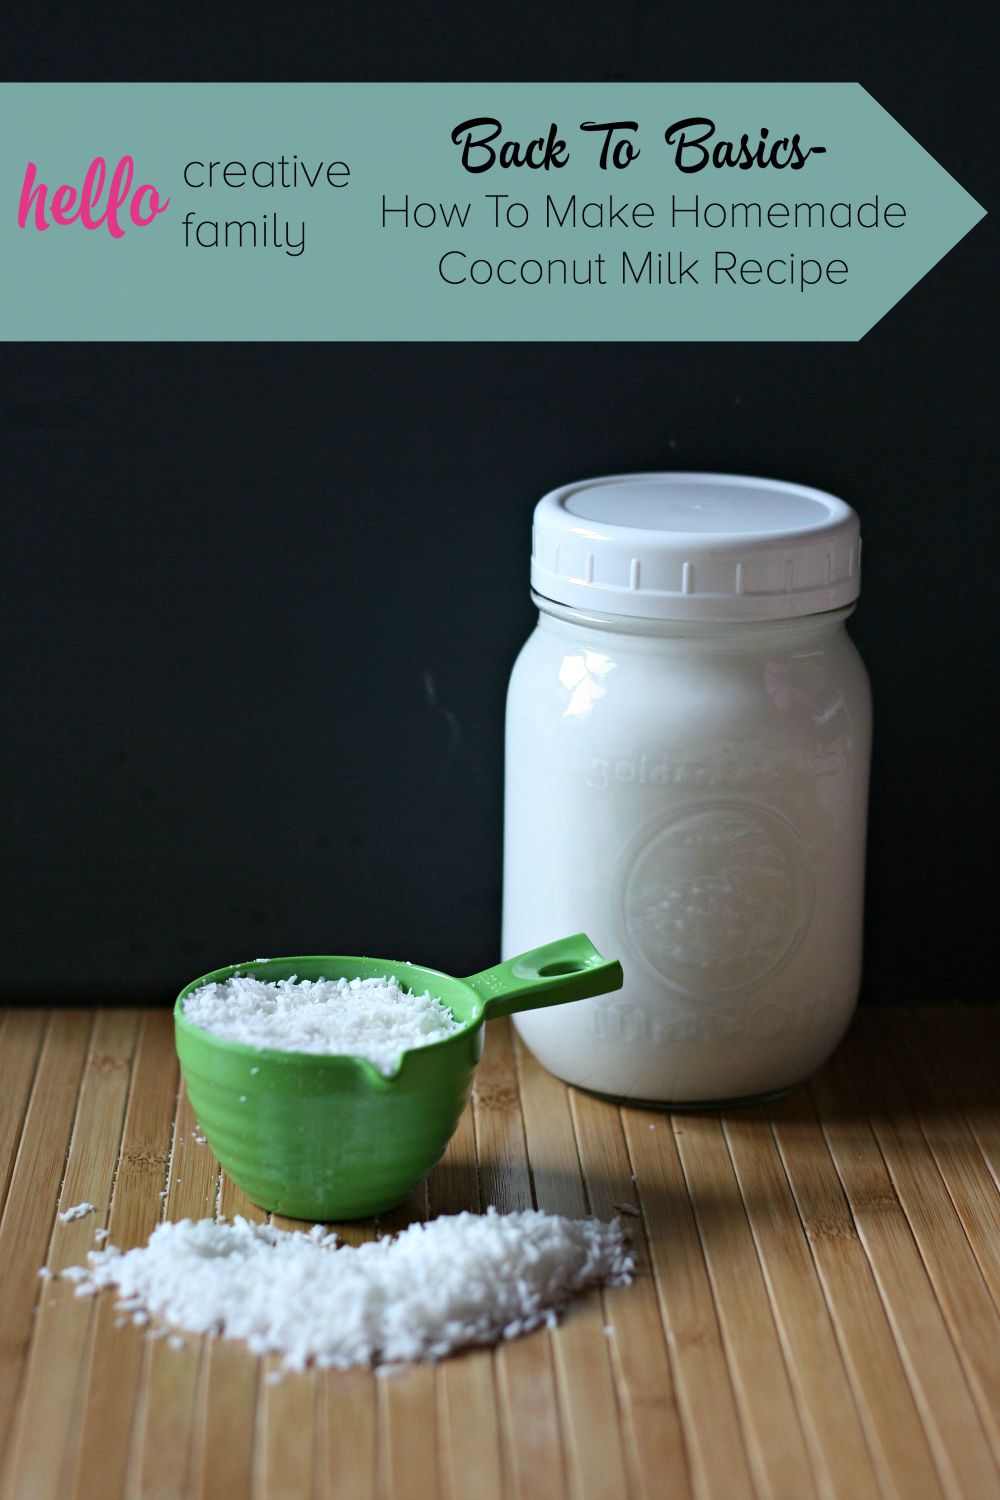
How to Make Homemade Coconut Milk
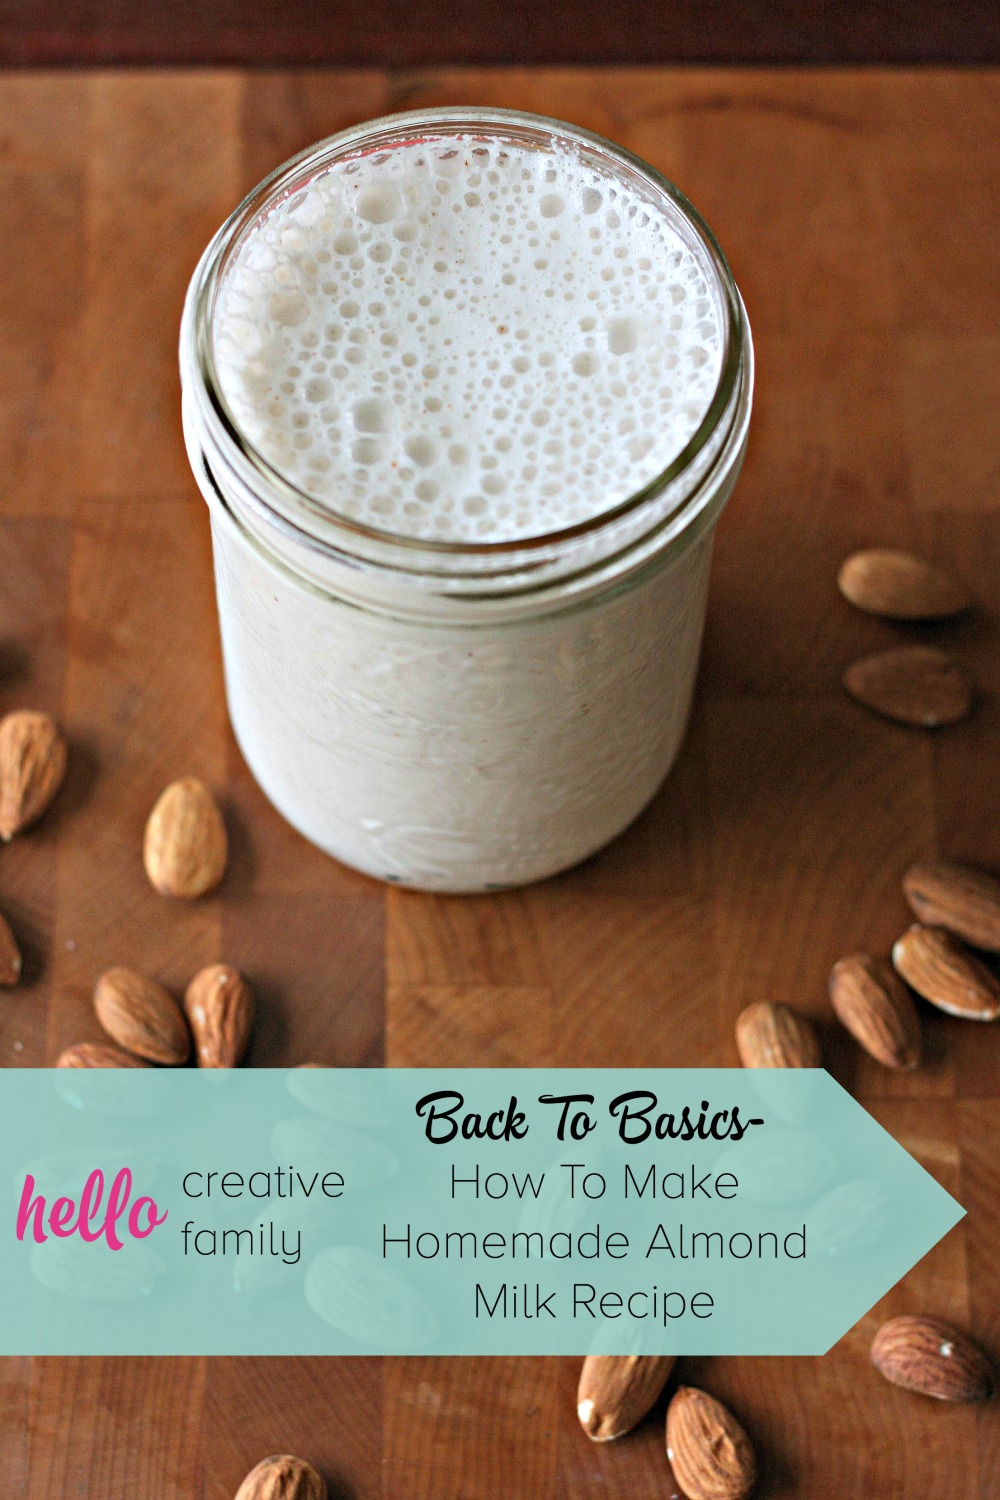
How to Make Homemade Almond Milk

How to Make Homemade Hemp Seed Milk


This is a great little project for my grandkids to help me make! Thanks for the inspiration!
Thank you for the instructions and the recipes!! I am so excited to try this, and try making almond milk!
I think I’d definitely be making my own for that price too. Yours has come out fab plus you’ve reminded me I keep meaning to have a go at nut milks
Love this simple fabulous idea! Home made almond milk is the best! It’s like drinking a milkshake! Over ice, yum!
What thread count muslin did you use to get a good strainer?
I have been thinking about trying to make my own oat milk, and didn’t even consider a bag. Happy I found this – thanks! I included it in a round up for Milk Day DIYs, https://onrockwoodlane.com/2021/05/wdorl-14-5-milk-day-diys/