


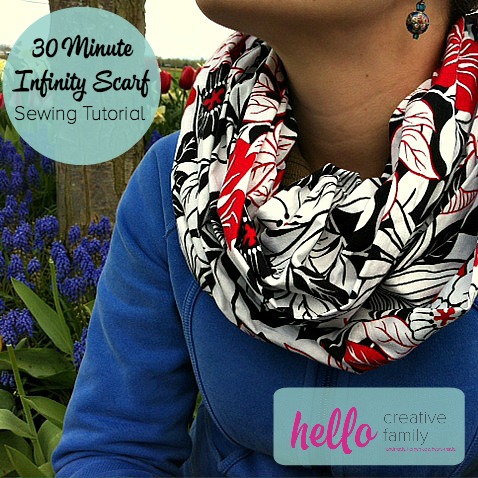
Tutorial- How To Sew An Infinity Scarf 30 Minute Project
This post and the photos within it may contain Amazon or other affiliate links. If you purchase something through the link, I may receive a small commission at no extra charge to you.
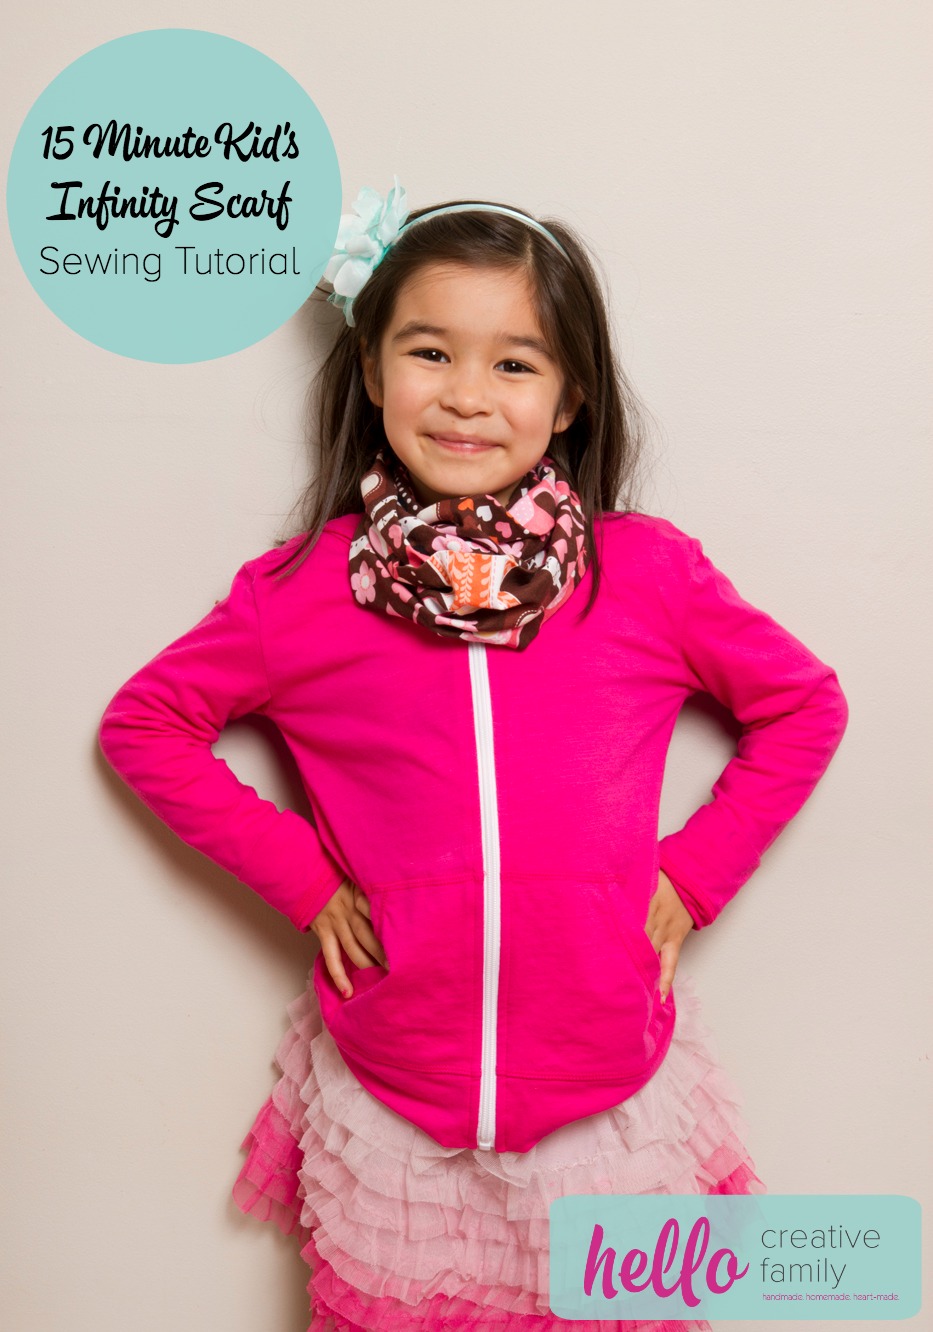
UPDATE: Check out our 15 Minute Kid’s Infinity Scarf Sewing Tutorial too and make a “mini me” version of the scarf featured in this tutorial.
You Will Need:
-2 yards of fabric (this will make two infinity scarves, or one infinity scarf and a strip of extra material)
-Thread
-Scissors or a rotary cutter (if using a rotary cutter you will also need a cutting mat)
-Ruler or seamstress tape
-Sewing machine
-Needle
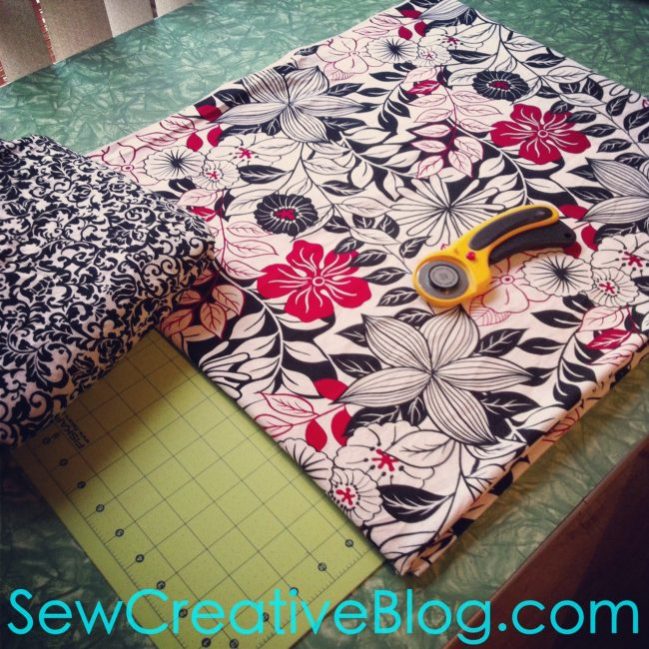
Step 1: Select your fabric. You will need 2 yards. Cut your fabric in half lengthwise so that it measures approximately 22 inches in width by 2 yards in length. I leave the selvage on the fabric as this will be hidden on the inside of the scarf.
Note: We received this comment from a reader. I haven’t had any problems with the infinity scarves that I’ve made so far, but I’m learning every day and appreciate the tips. Beverly says: “You always want to cut off the salvages (aka the long edge on both sides of the fabric. One side will usually have the name of the fabric design, the fabric designer and circles with the colors that are in the fabric… look at the photo in step 5 for a picture of the salvage edge) of cotton and woven fabrics. The fabric on the salvage is very different from the rest as it is the part that attaches the waft and loft threads to the loom. It is more tightly woven then the rest and these edges will not shrink or relax in the same fashion as the main part of the fabric. You could end up with some very wonky seams and garments if you don’t remove the salvages before creating them.”
Step 2: Fold your fabric in half lengthwise and pin right sides together (so that the pattern is on the inside). You will have a long rectangle of fabric that is approximately 11″ in width and 2 yards in length.
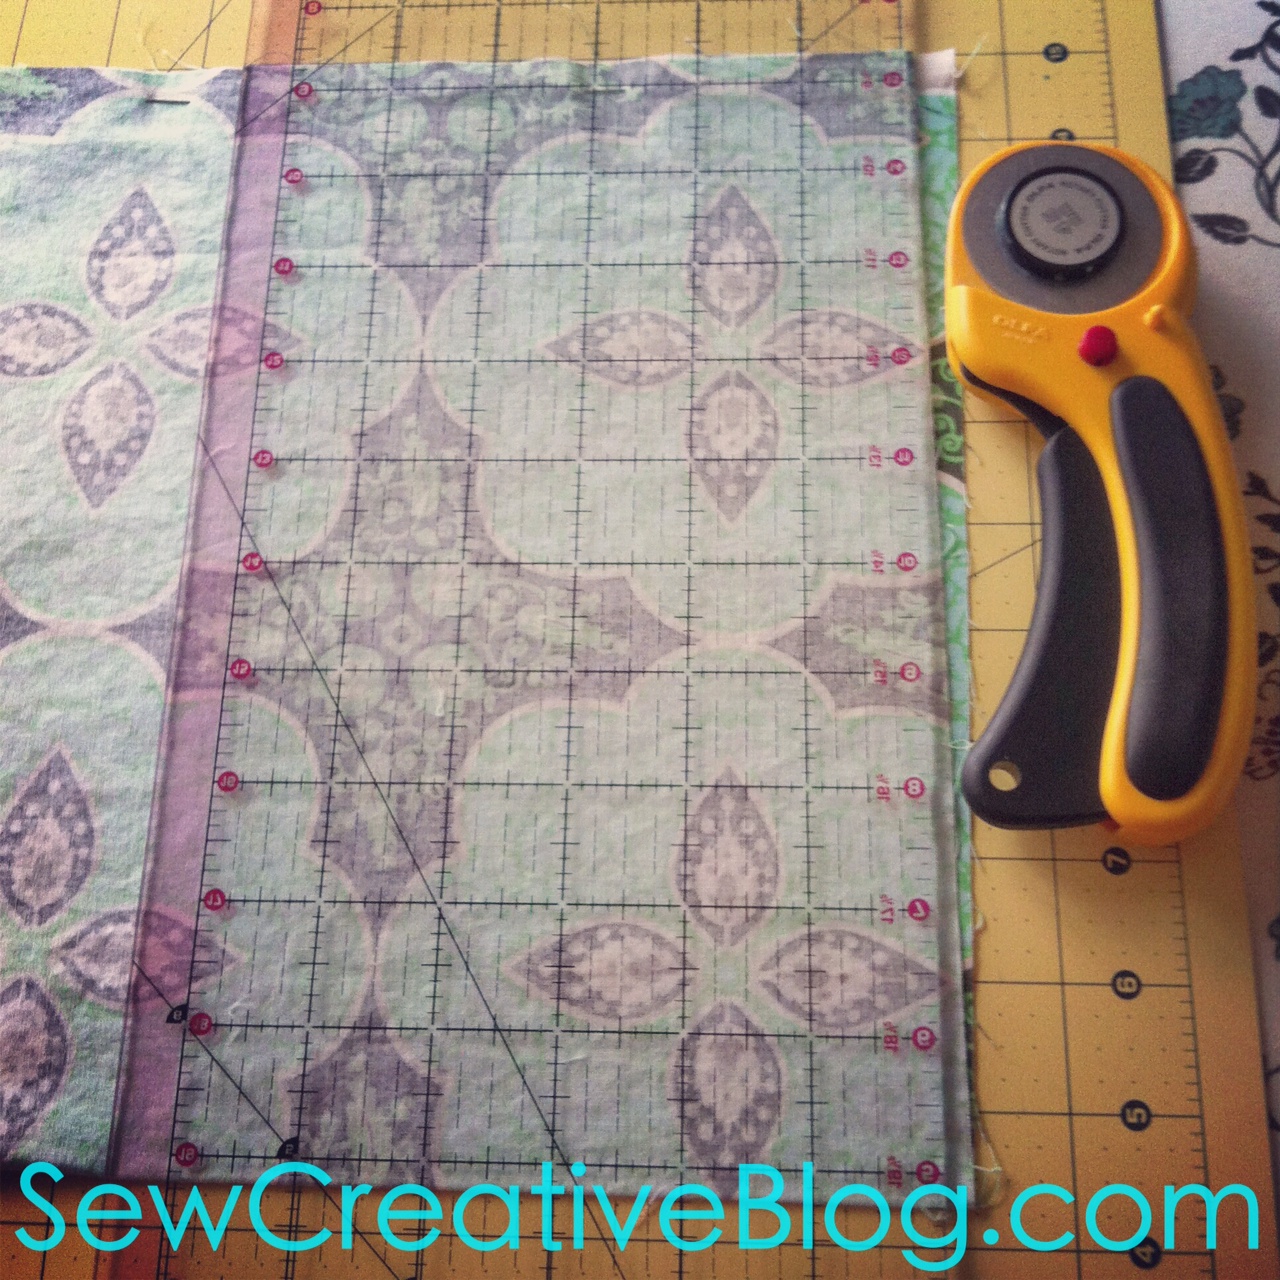
Step 3: If the ends of your fabric are uneven this is the point where you will want to square them up. You will want nice straight end pieces for when you sew the two ends together later in your project.
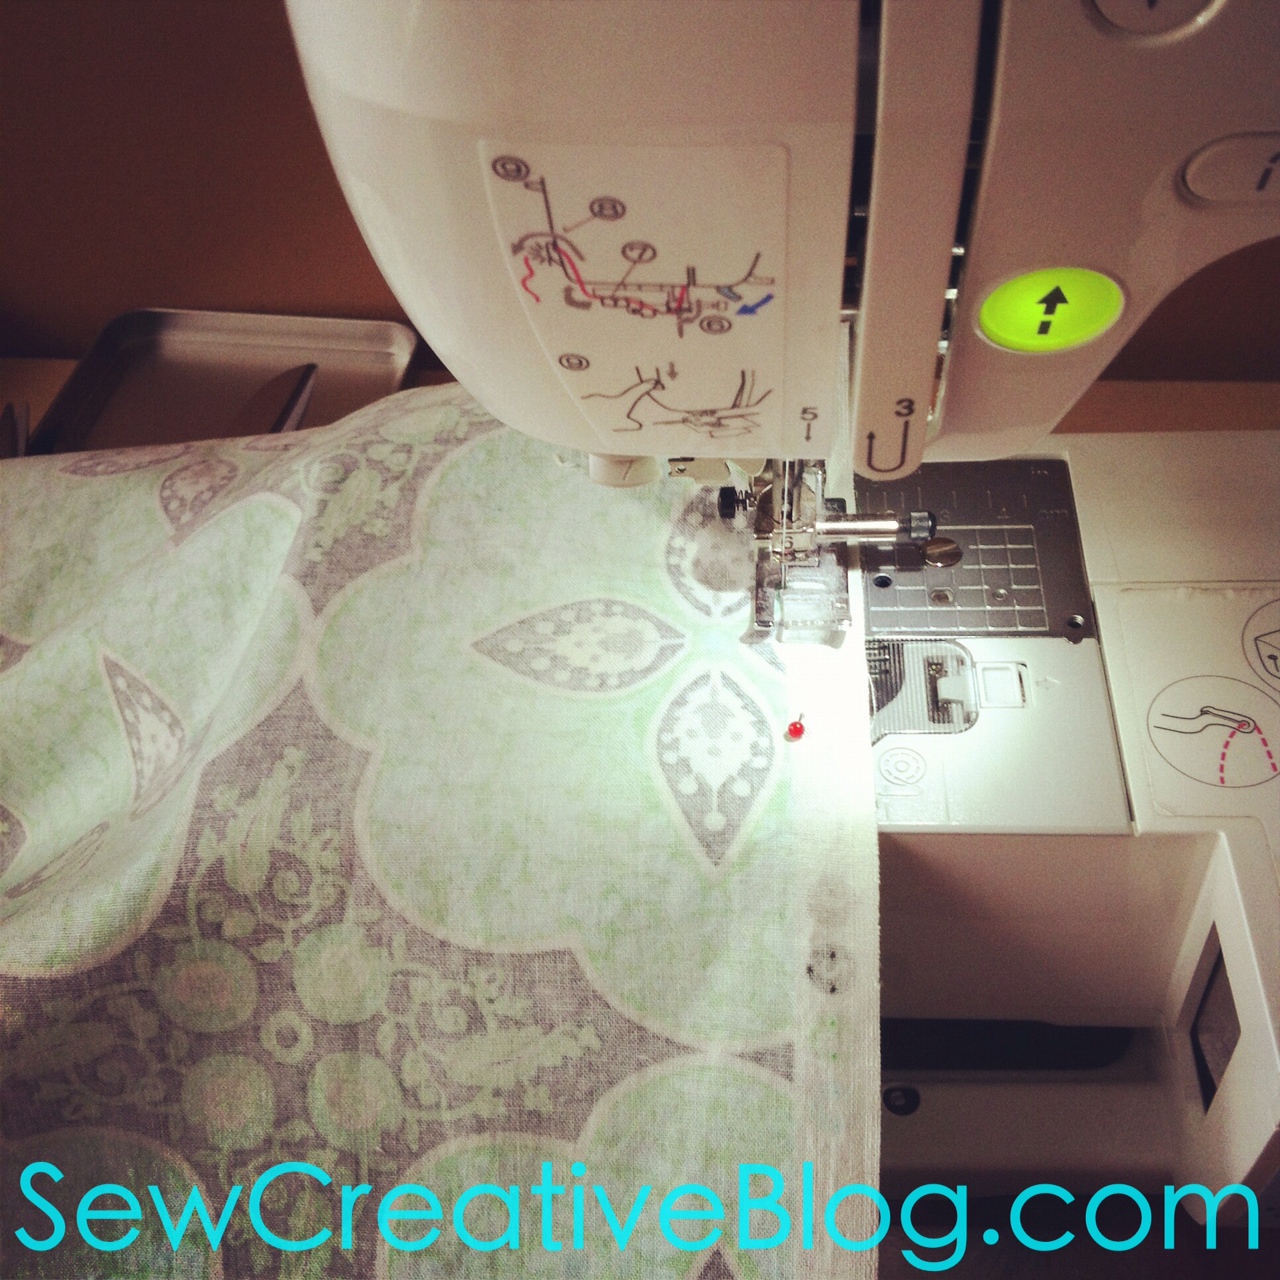
Step 4: Sew along the length of your infinity scarf where you just pinned. I use a half inch seam allowance to make sure the selvage edge is hidden within my infinity scarf. When you get to the end back stitch. (Make sure you just sew along the length of the fabric, don’t do anything with the ends yet.) When you are done you will have a very long tube.

Step 5: Lay your scarf on your ironing board with the seam in the middle of the scarf. Using the tip of your iron press open the seam.

Step 6: Flip your scarf so that it is right side out. I just stick my arm through the hole in the middle, bunch it up until I could reach the other end and pull it through.
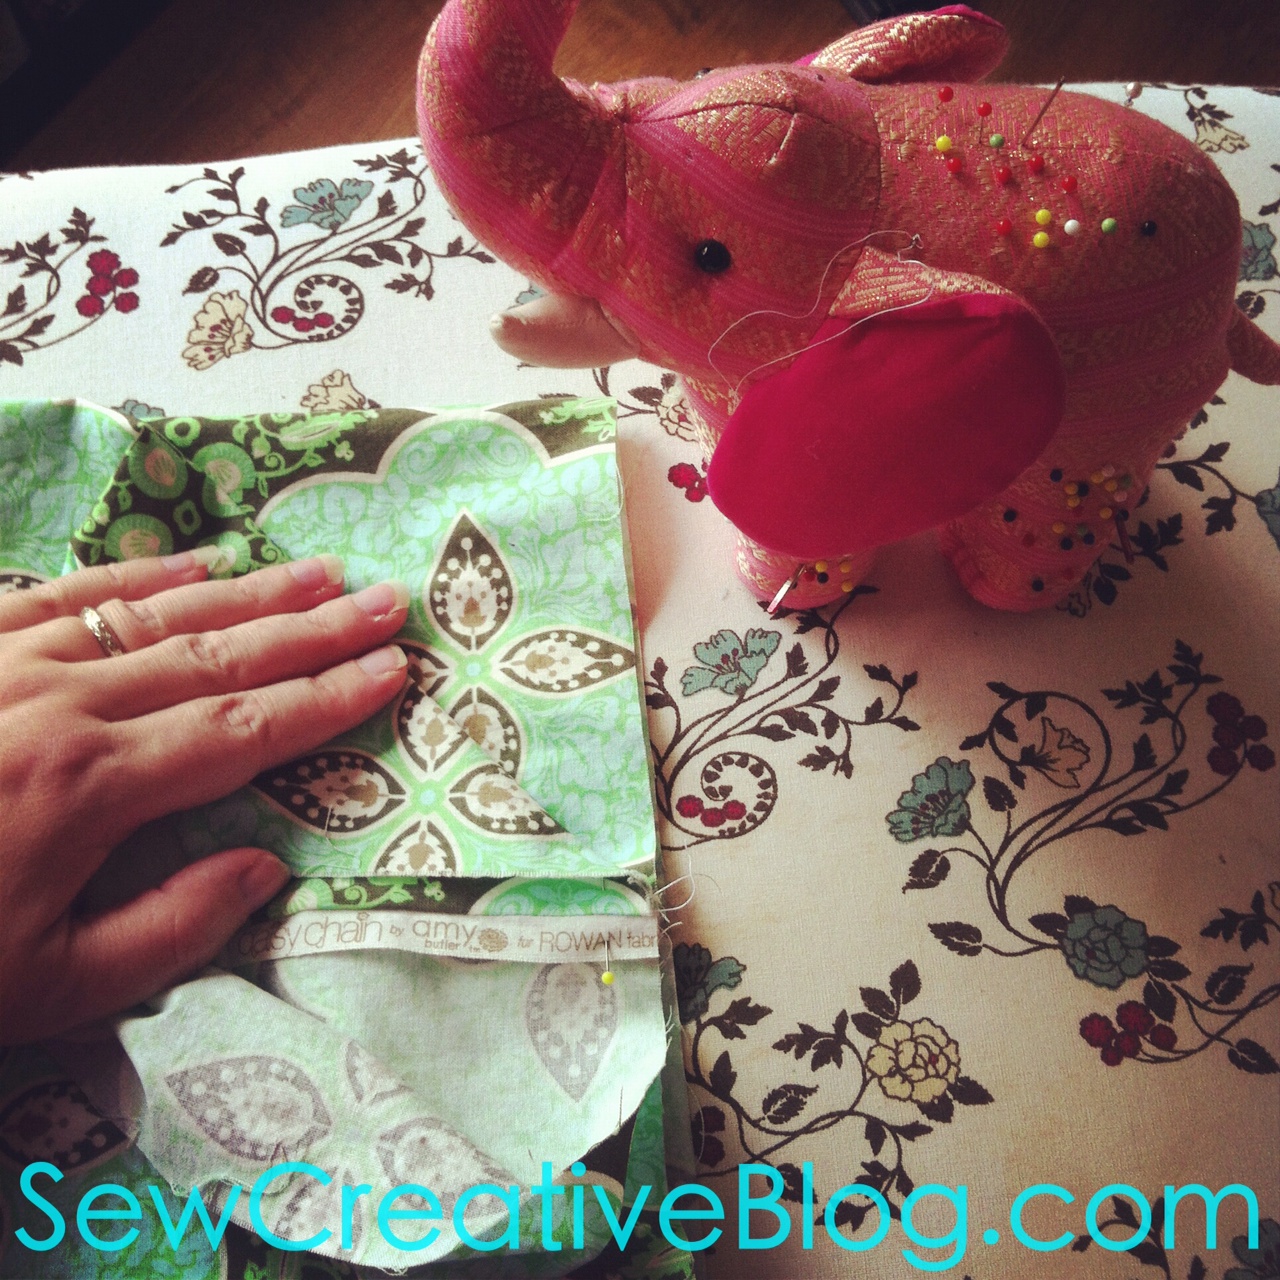
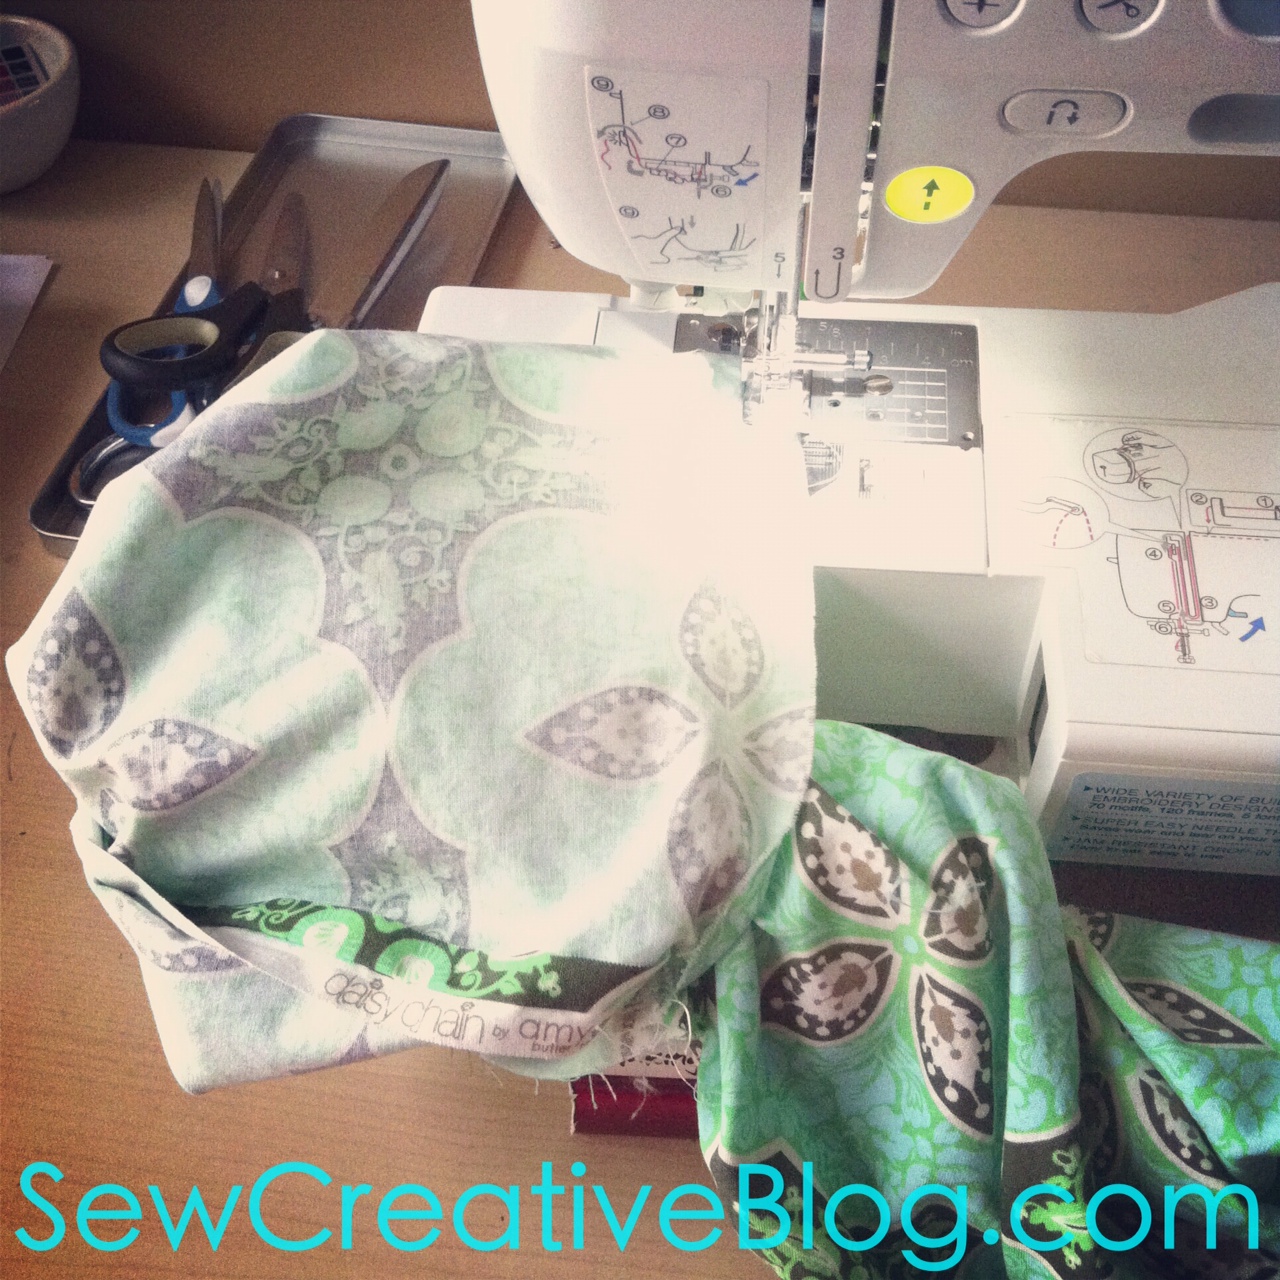
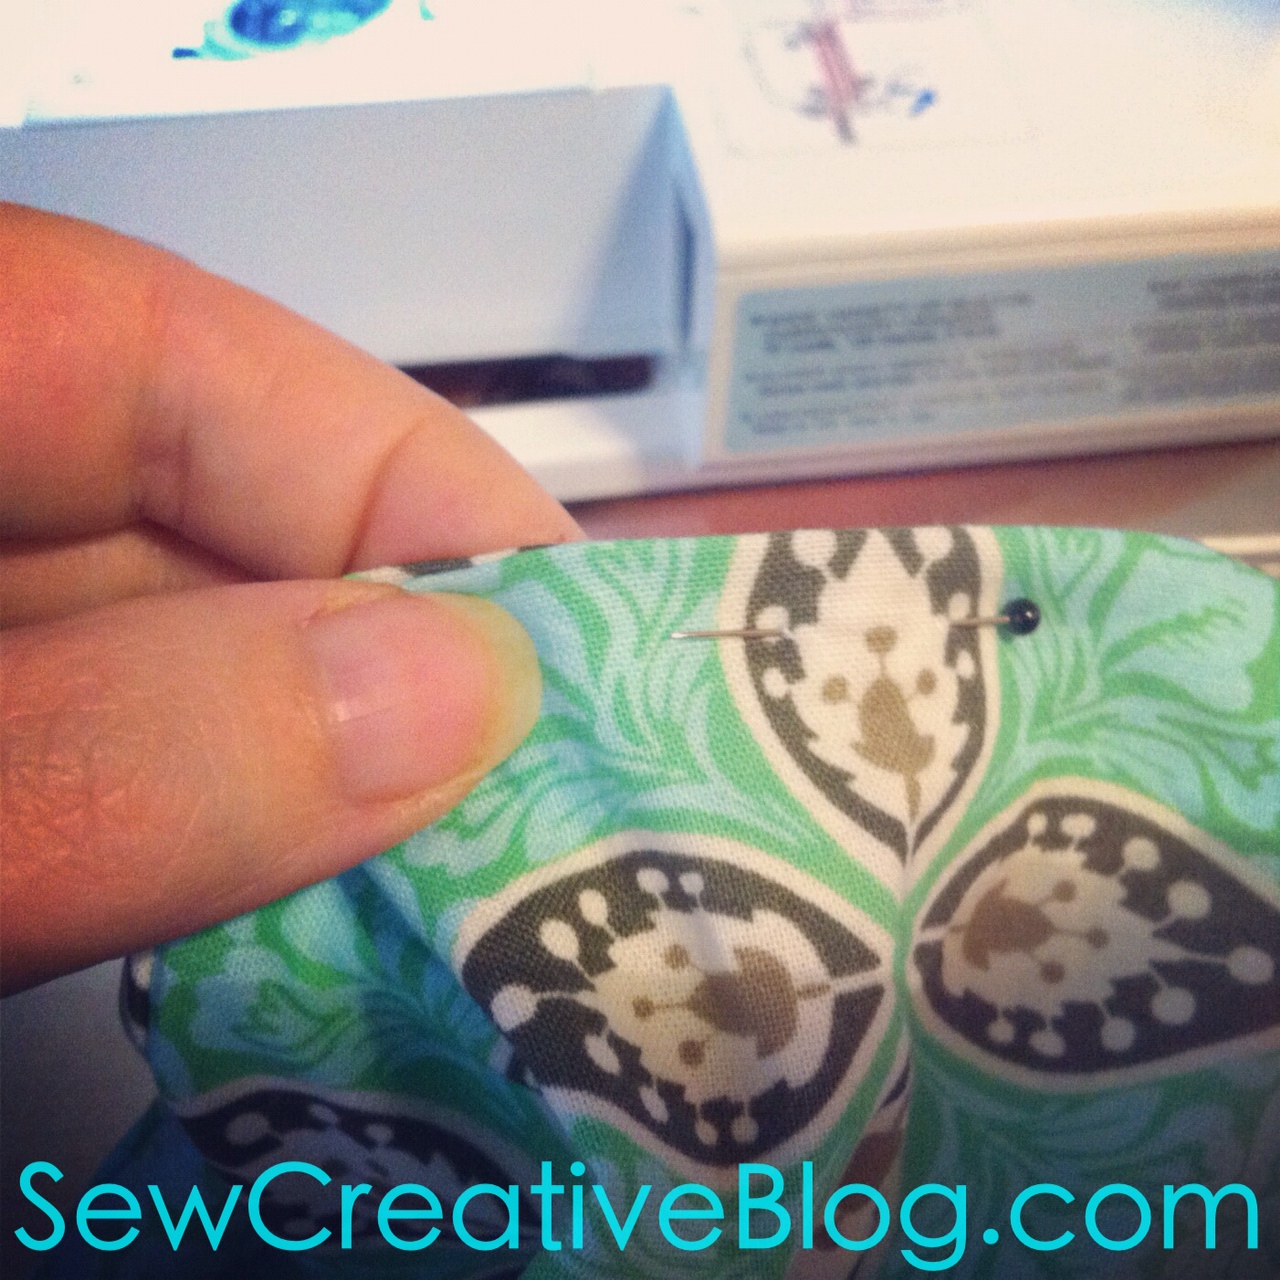
Step 7: Fold you infinity scarf in half so that the two open ends are laying on top of each other. It will now measure approximately 10″ by 1 yard. With the two ends of your scarf in your hands find the seam that you just pressed open. Pinch together so that the seams are lined up and the right side of the fabric is facing each other. Pin. Start working your way about a quarter of the way around the circle adding pins as you go. Bring to your sewing machine.
*Joining the two ends of the scarf together is the most confusing part. You can do it! Once you do it once it will be so easy.*
At this point it will look something like this:
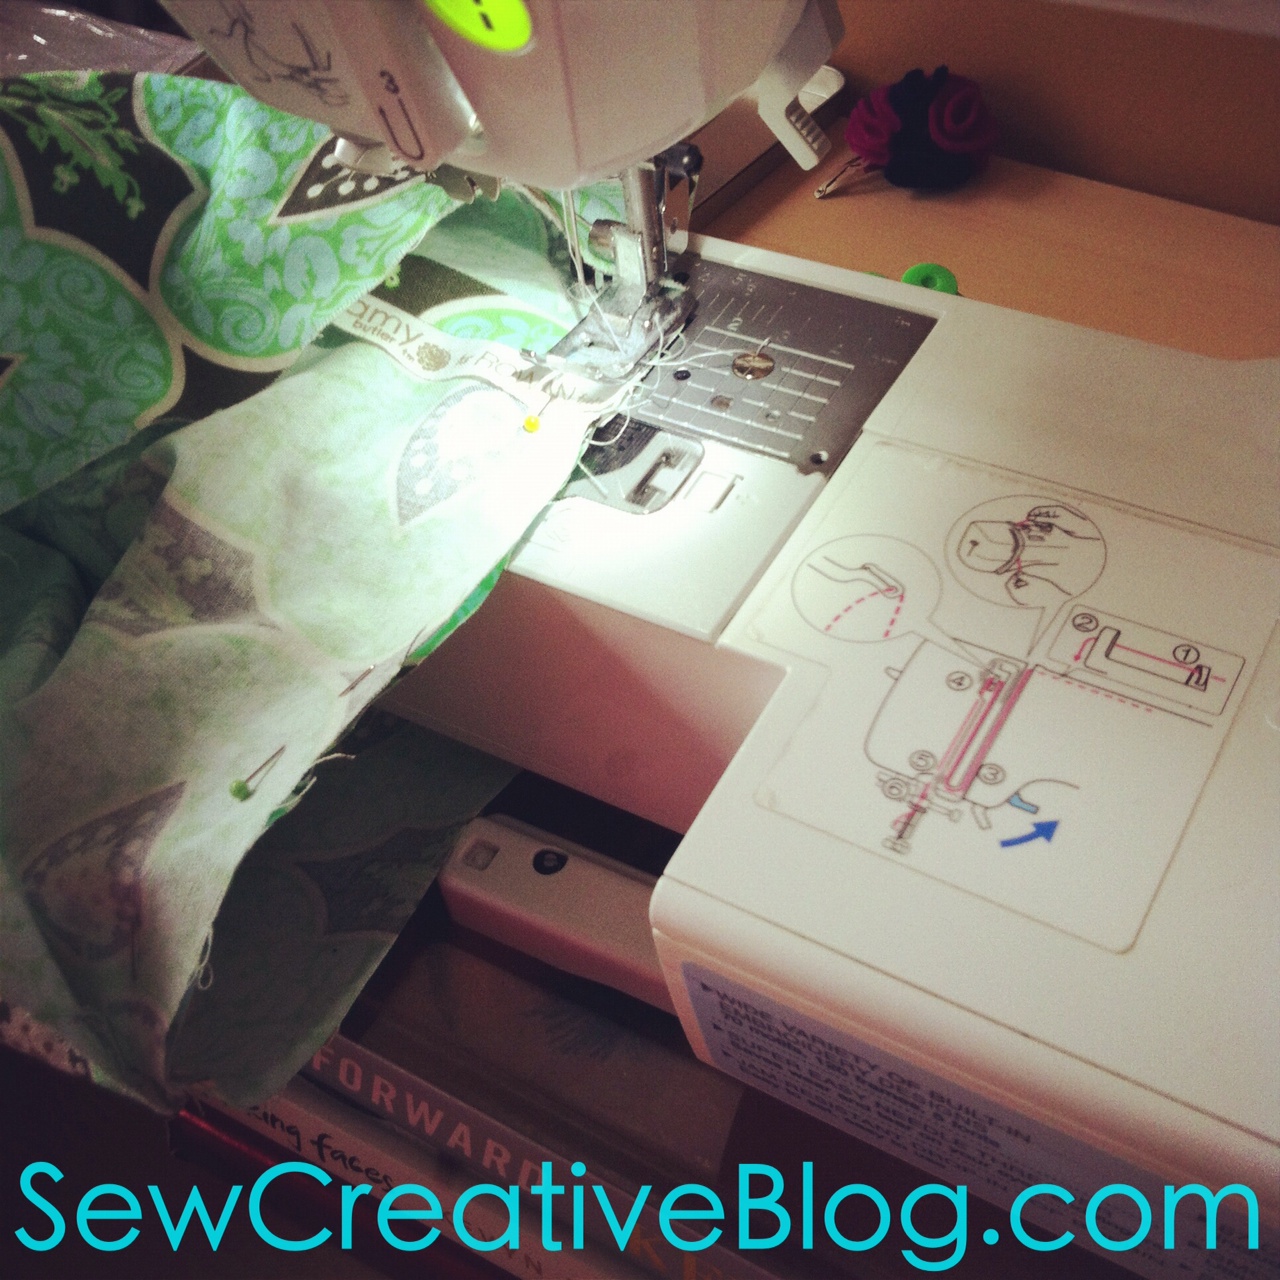
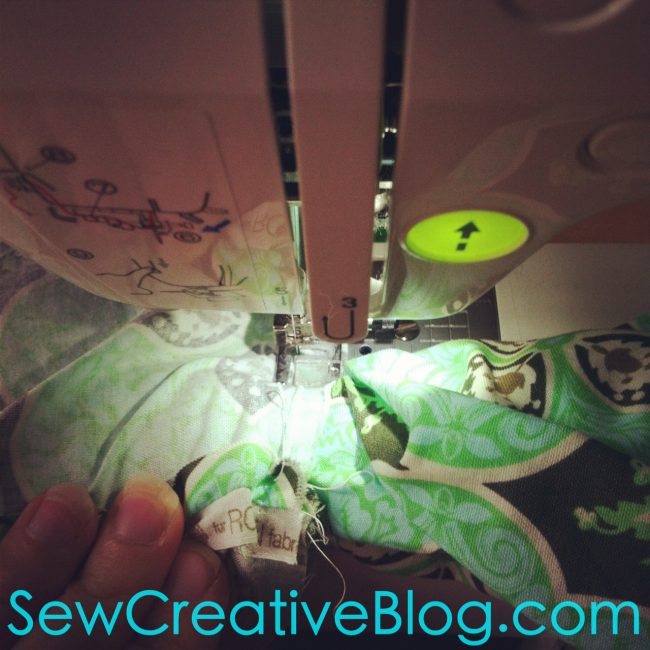
Step 8: You are now going to be sewing the two ends of your scarf together. You will be sewing through two layers of fabric. I loop the bottom circle of the scarf around the bottom of my sewing machine and leave the top circle free. Start stitching around the circle leaving a half inch seam allowance.
*I find it works best if my right hand is in front of my sewing machine keeping the two pieces of fabric neatly lined up and pinched together, while my left hand was behind my machine guiding the fabric through.*
Step 9: Keep sewing around the circle slowly, making sure your edges are matched up. Once you get a little bit past half way around the circle the loop around the bottom part of your sewing machine will get too tight to continue sewing. Slip it off of the bottom of your sewing machine. Take your top section of fabric. Flip it inside out so it makes a little pocket and put the top section of scarf inside it. Bunch that part of the scarf down (where the bottom of my picture is) so it takes up as little room as possible.
*If you get confused look at the above picture, it really helps.*
Keep sewing your seams together until you are about to hit the part of the scarf you have in the pocket. (This should leave you a couple of inches to flip the scarf back right side out and hand stitch the remainder.) Backstitch, remove from sewing machine and pull scarf out of pocket.
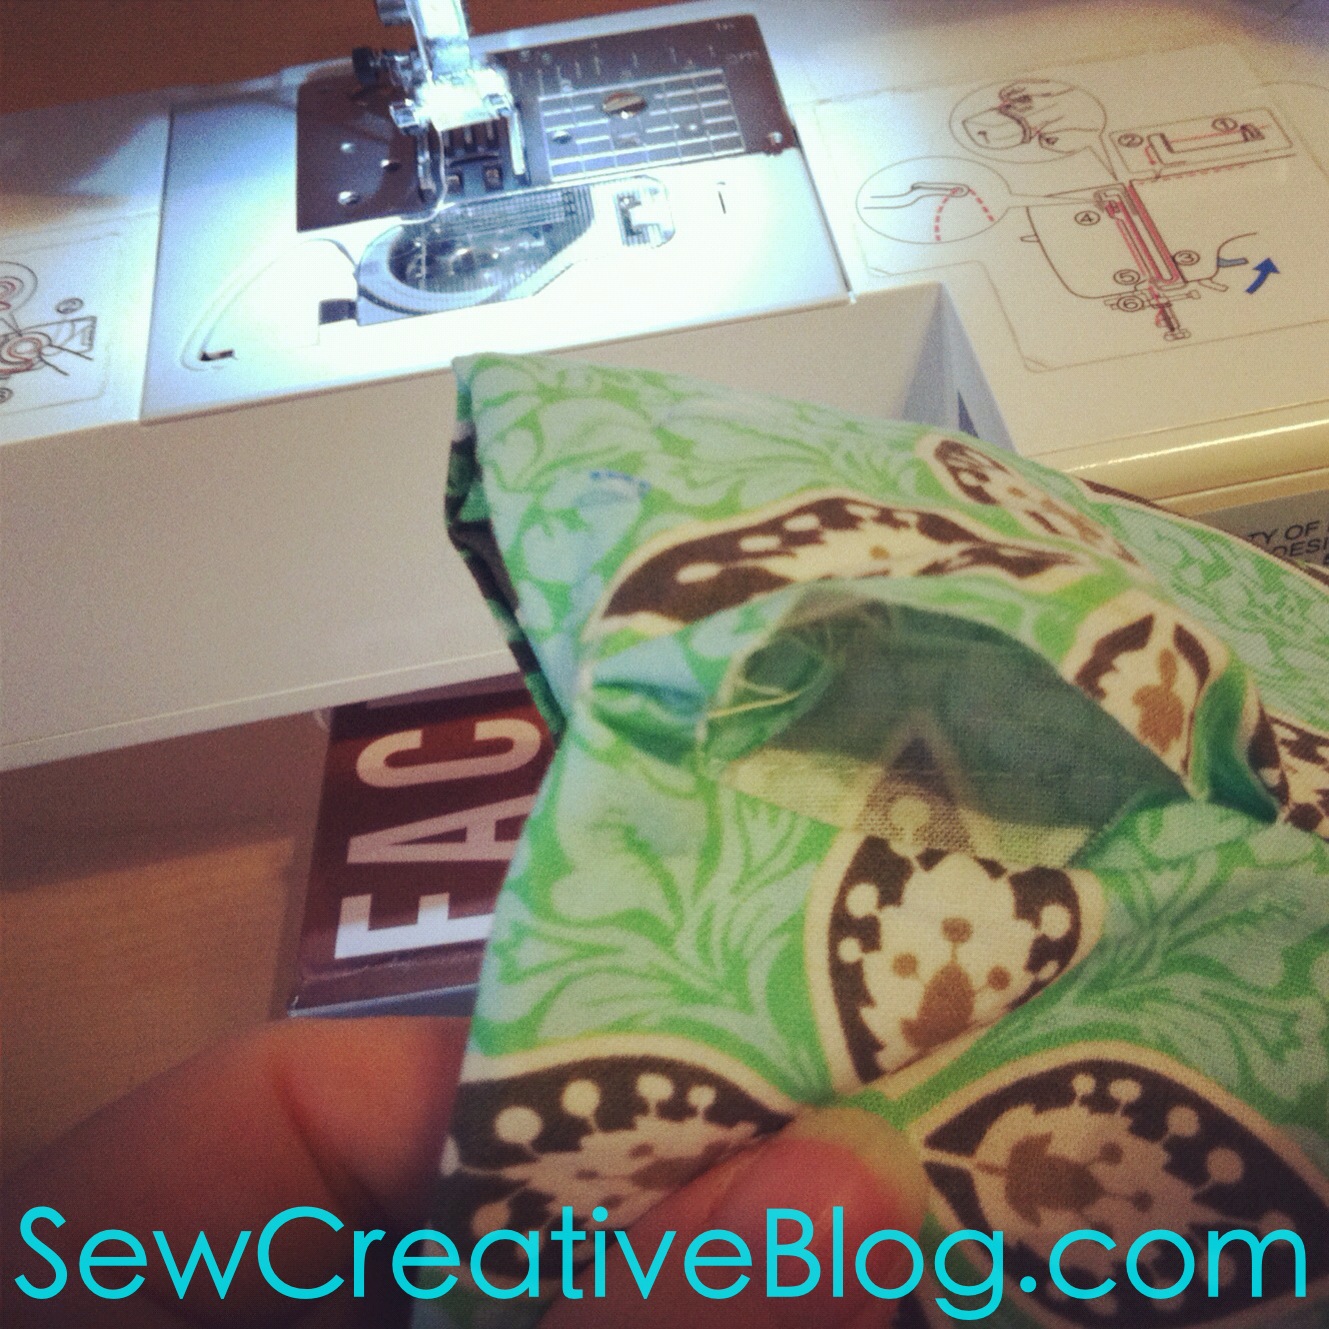
When you take it off of your machine it will look something like this. Yay! The sewing machine part of this project is over.
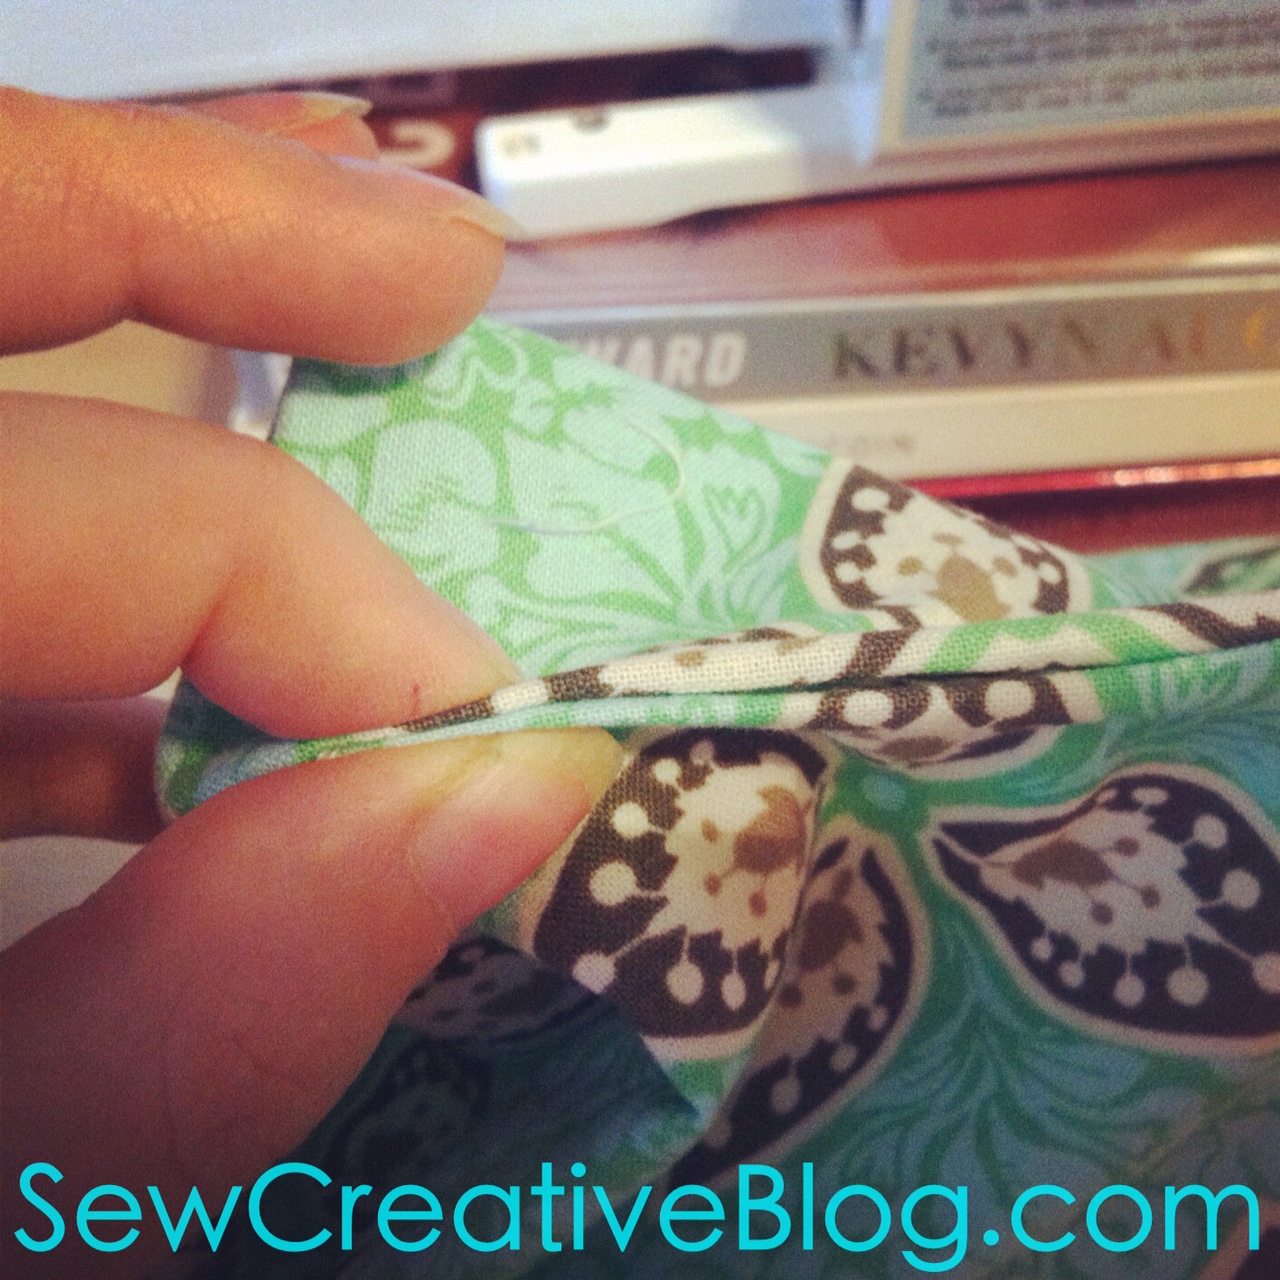
Step 10: Tuck the raw edges inside the hole and pinch together.
Step 11: Pin.
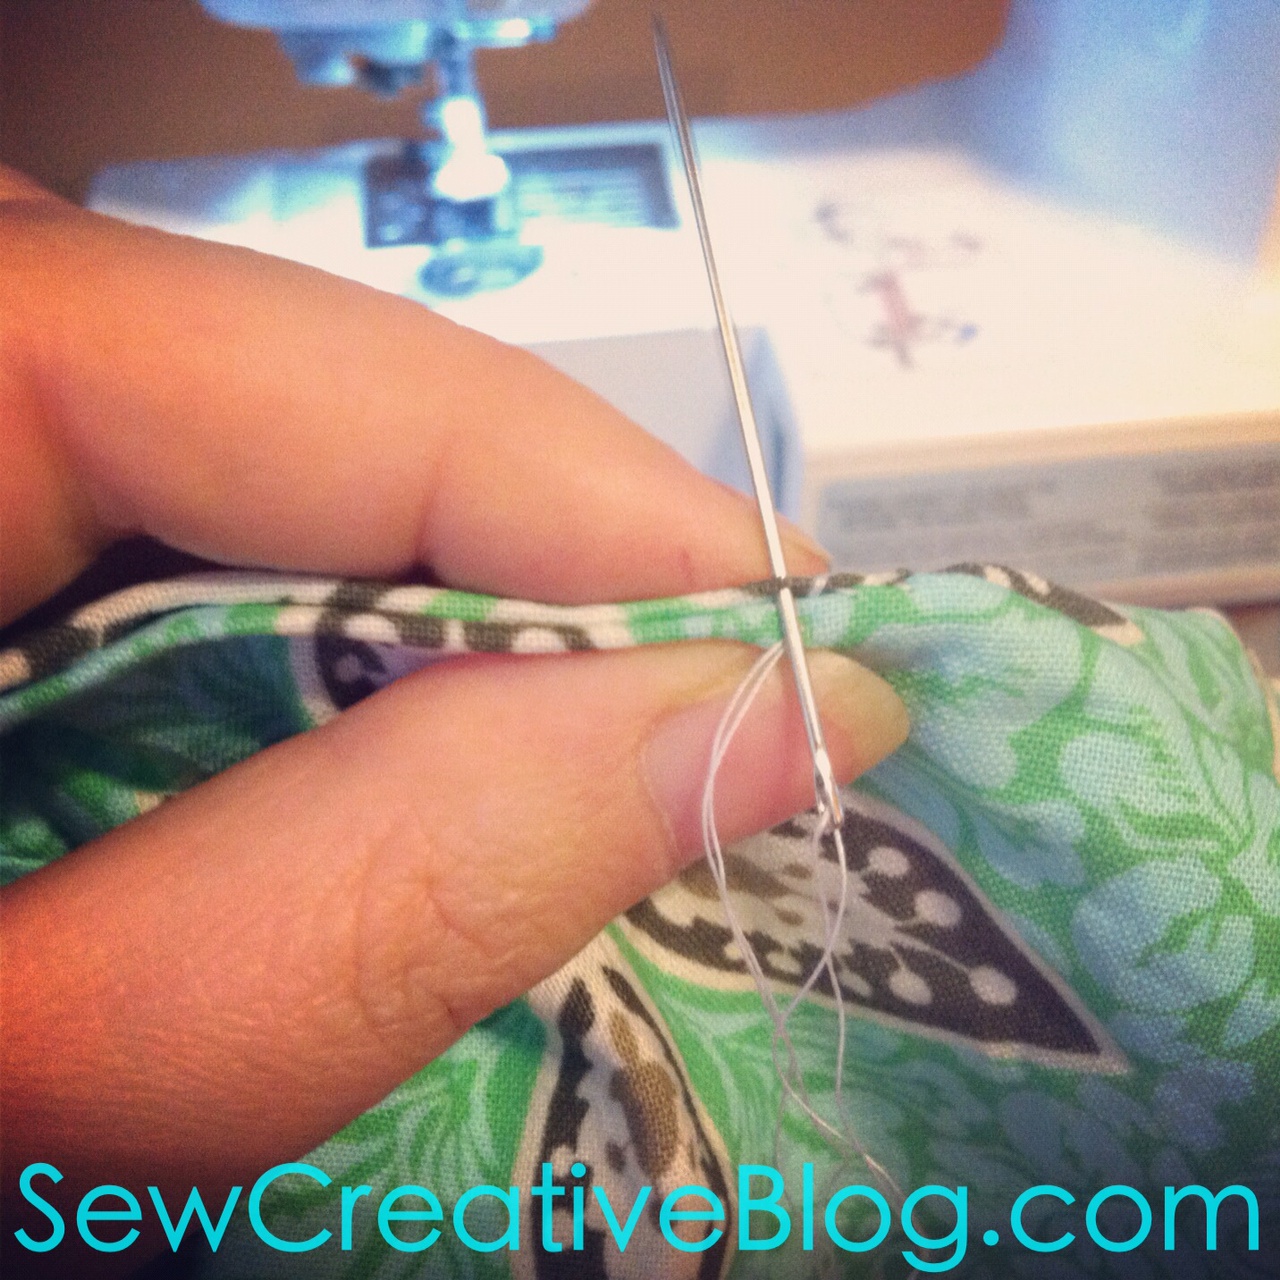
Step 12: Hand sew the hole closed using a hidden stitch.
And voila! You have a beautiful infinity scarf! (I realized afterwards that I didn’t get a photo of the infinity scarf I was wearing above when it was all finished! Doh! I gave it away as a gift before I realized, so here is another one that I made.)

I hope that you have loved this Sew Creative Infinity Scarf Tutorial! Please let me know if you have any questions and I will do my best to help.
Make sure to check out our other Tutorials.


Love this scarf! Such a perfect idea for gifts, can’t wait to make some!
Thank you Christina! You’ll have to send me a pic when you make one. 🙂 They do make fabulous gifts. Child sized ones would be adorable too!
I absolutely love this tutorial and thank you so much for showing how to make these beautiful scarves. I only have a few questions though. What is the best type of fabric to use? Polyester faux satin or silk maybe? Or would 100% cotton work well? Thanks hon. I can’t wait to make a bunch of these.
Karen
Hi Karen,
Really you could use any kind of fabric. The one in the photo is a 100% cotton fabric. One person commented saying that she made it with cotton and found it too stiff for her liking.
I think it would be great with some kind of stretchy jersey fabric… but alas my sewing machine hates it. 😉
I think the best suggestion would be to play with the fabrics at the fabric store and see what you like the drape of best.
Happy scarf making and thanks so much for visiting!
Best Wishes,
Crystal
Crystal have you tried using ball point needles with jersey? I really had no idea how much nicer it was to sew with the proper needle! I thought you just left the same needle in for everything! Newbie here huh? I am so looking forward to sewing one of these scarves!
I absolutely love these scarfs. .can’t wait to make some for my twin daughters and me. .
This looks great! Thanks for sharing, I’m going to pin it! I just inherited a really nice sewing machine and after I learn a few basics this is the first that I’m going to try!
Thanks for visiting and for the pin! This is such a great beginner sewing project. As long as you can sew a straight line you have it! Please let me know if you get stuck anywhere along the way. 🙂 I’d love to see a picture when your done.
This is the kind of project I can get behind! I somehow always trap myself into projects that last a couple days. Haha!! I have a ton of fabric stashed with no purpose, so I may have to try this soon.
Thank you so much for stopping by Jessica! 30 minute projects are my favorite. I like instant gratification when I’m sewing. Dig into your fabric stash and make yourself a scarf! I’d love to see a picture when your done. 🙂
Hi Crystal,
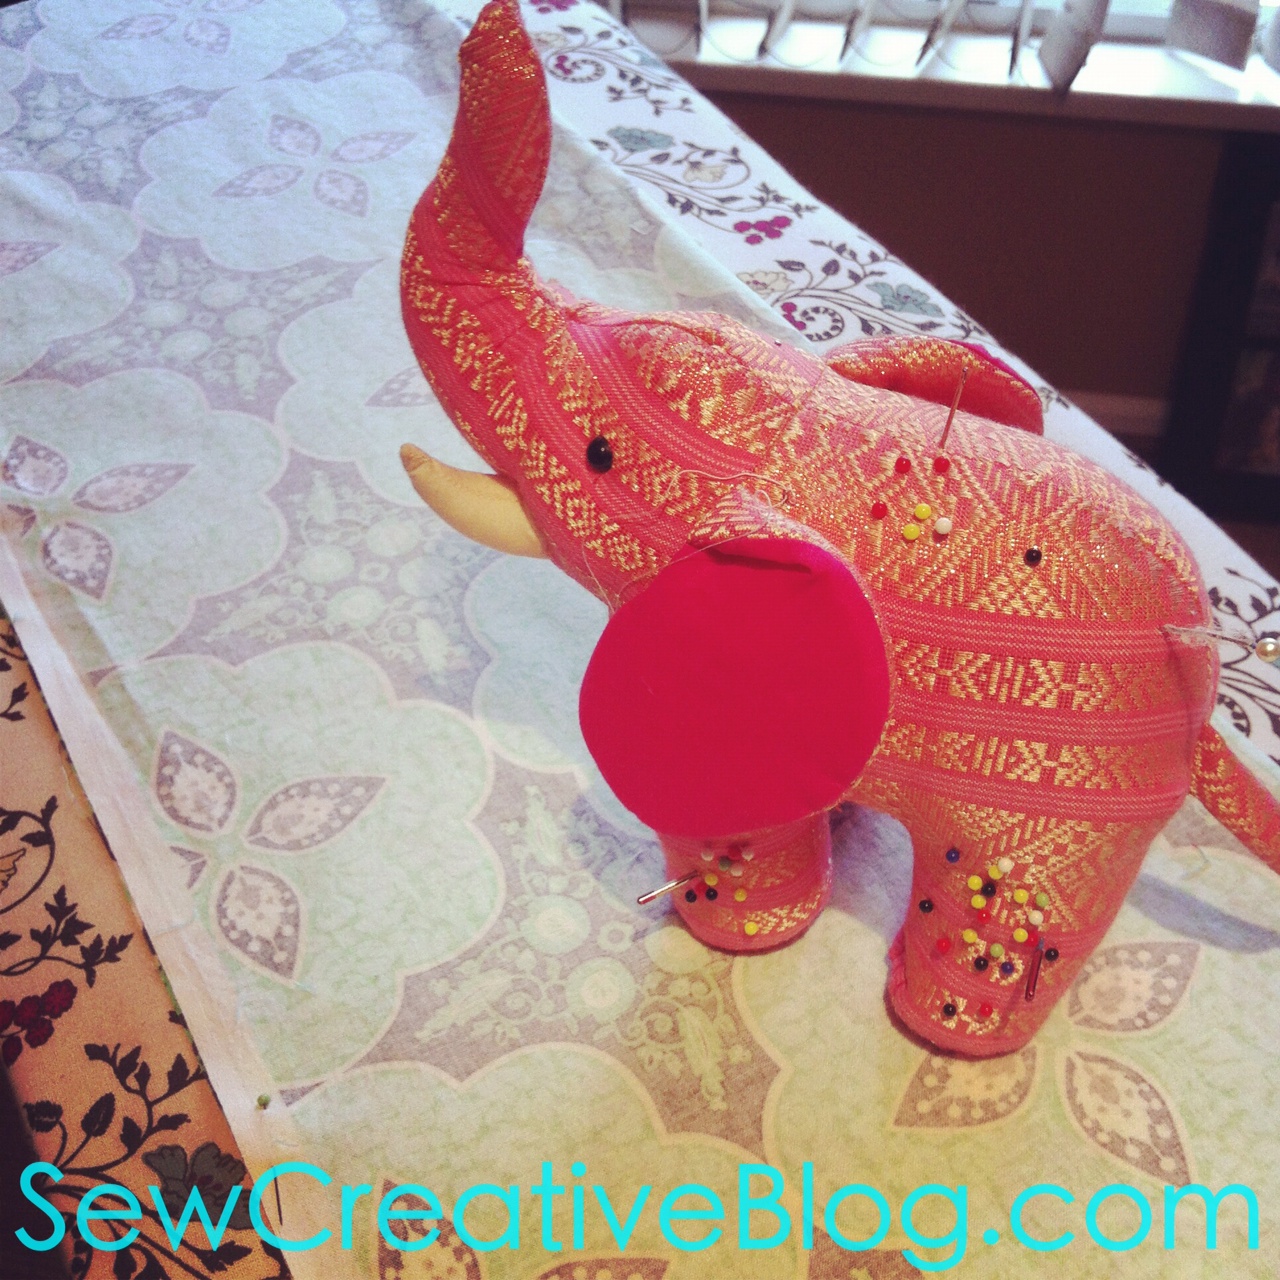
I really like your cute elephant and this scarf is gorgeous.
I would like to thank you for joining the fun at Linkin’ with my Ladies Blog Hop. I followed you via Twitter, liked your FB and Pinterest.
All the best to your blog and see you around.
Judy (Co-host)
http://www.pursuitoffunctionalhome.com/
http://www.kusinaniinday.blogspot.com/
Thanks so much for hosting and for stopping by Judy. Isn’t the elephant fabulous? I found him at a garage sale. He was bought in Thailand and is supposed to be a children’s toy. I had been looking for a new, fun pin cushion and the moment I saw him I knew I had to have him.
I’m glad I found your blog through Friday Fun Blog Hop (Created by Laurie). I love your creations. This tutorial is perfect!!! I leave the link to my blog, I hope you’ll visit me and if you like I invite you to follow me.
New follower here with bloglovin and pinterest!
http://passionetcouture.blogspot.ca/
Have a nice day.
Marisa
Thank you so much for stopping by Marisa! I’m going to go take a look at your blog. 🙂 I really appreciate the follows.
I think you nailed the tutorial! Well done. It looks great. Thanks for sharing. I think this is something my daughter would love to try.
Happy Sharefest. I hope you have a lovely weekend.
Thank you so much Robin. This is my first sewing tutorial so I hope it’s easy enough to follow along with. If you daughter tries it I’d love to hear about how it turned out and see pictures of her project!
Wonderful diy!
Thank you so much!
I’ve knitted a lot of scarves but I’ve never sewed one with fabric, I need to try this! I like the patterns you chose, and thanks for explaining about puffing out the scarf 🙂
Thank you so much for stopping by and commenting Kate. 🙂 The thing I love about using fabric for a scarf is that is that it can go from season to season so easily. I always get funny looks when I wear my knit scarves in the heat of summer. 😉 The infinity scarf is becoming an accessory staple in my wardrobe.
really nice infinity scarf, thank you for the tutorial!
huggies♥
rea
Thank you so much Rea!
Crystal,
I love the fabric you chose for this infinity scarf. Thank you for the simple tutorial. I’m loving all the pictures!
Last night was my first night hosting a linky party at redflycreations(dot)com! I would love to have you link up this tutorial. Thank you so much for sharing all your wonderful creative ideas!
Melissa
redflycreations(dot)com
Done and done. 🙂 Thanks for the invite Melissa.
This is really pretty! And we have the exact same machine- so that means you get a follow so I can check out what you whip up with it. I could use the inspiration! 🙂
How fun that we have the same machine! Off to check out your blog. 🙂 Thank you for stopping by.
Such a fabulous post! I’ll have to try this 🙂 Stopping by from the SITS Sharefest. Have a great weekend!
xo,
Stephanie
Diary of a Debutante
http://www.stephanieziajka.blogspot.com
Thank you so much for stopping by! I love your blog. Such great fashion advice. 🙂
So lovely!!! Love the idea and the fabric! Thanks so much for sharing the great tutorial! Would love to have you visit me sometime.
Have a fabulous week!
Hugs from Portugal,
Ana Love Craft
http://www.lovecraft2012.blogspot.com
Off to visit your blog. Thank you so much for stopping by and for your lovely compliments.
I am hoping to get more sewing time this summer. I’ll have to come back to this one. Happy Sharefest!
Hey – this is great! I just made an infinity scarf out of a pashmina.. Like your tutorial and steps! Found you over at Sew Much Ado,
Thank you so much for stopping by Marni! I’ll make sure to check out your site. 🙂
I love the black, white, and red fabric! Gorgeous scarf! And that elephant pin cushion is awesome! I love elephants!
Navy Wifey Peters @ Submarine Sunday Link Party
http://usscrafty.blogspot.com/2013/04/submarine-sunday-26.html
Thank you so much T’onna! I picked up that elephant at a kids swap meet. They were selling him as a kids toy. The moment I saw him I knew he had to be my pin cushion. They brought him back as a souvenir from Thailand!
Thanks so much for posting this tutorial. I’m a beginner at sewing, so instead of taking me 30 minutes, it took about 2 1/2 hours. hahah I added a zipper, which added extra time. I also was confused on the “end” part. I figured it out, and I am happy with the result. I think I might make another one, without the zipper. I would hope that it might take me closer to 45 minutes! Here’s hoping! Thanks again!
Oh my goodness! I’m so excited that you tried it. I would love to see a picture. Is the zipper functional or decorative? I would never have thought to put a zipper in it. 🙂
Best Wishes,
Crystal
Visiting from SITS…what a great project for my teens to do this summer–they love these scarfs! Great tutorial, great photos–you’ve inspired me to get my sewing machine out!
I have a sewing machine I haven’t pulled out in years. This seems like a great project to try for someone with limited sewing-machine abilities! Happy SITS day 🙂
Visiting from SITS. This looks like so much fun! It’s too bad that I can’t sew very well or I’d have a field day!!!