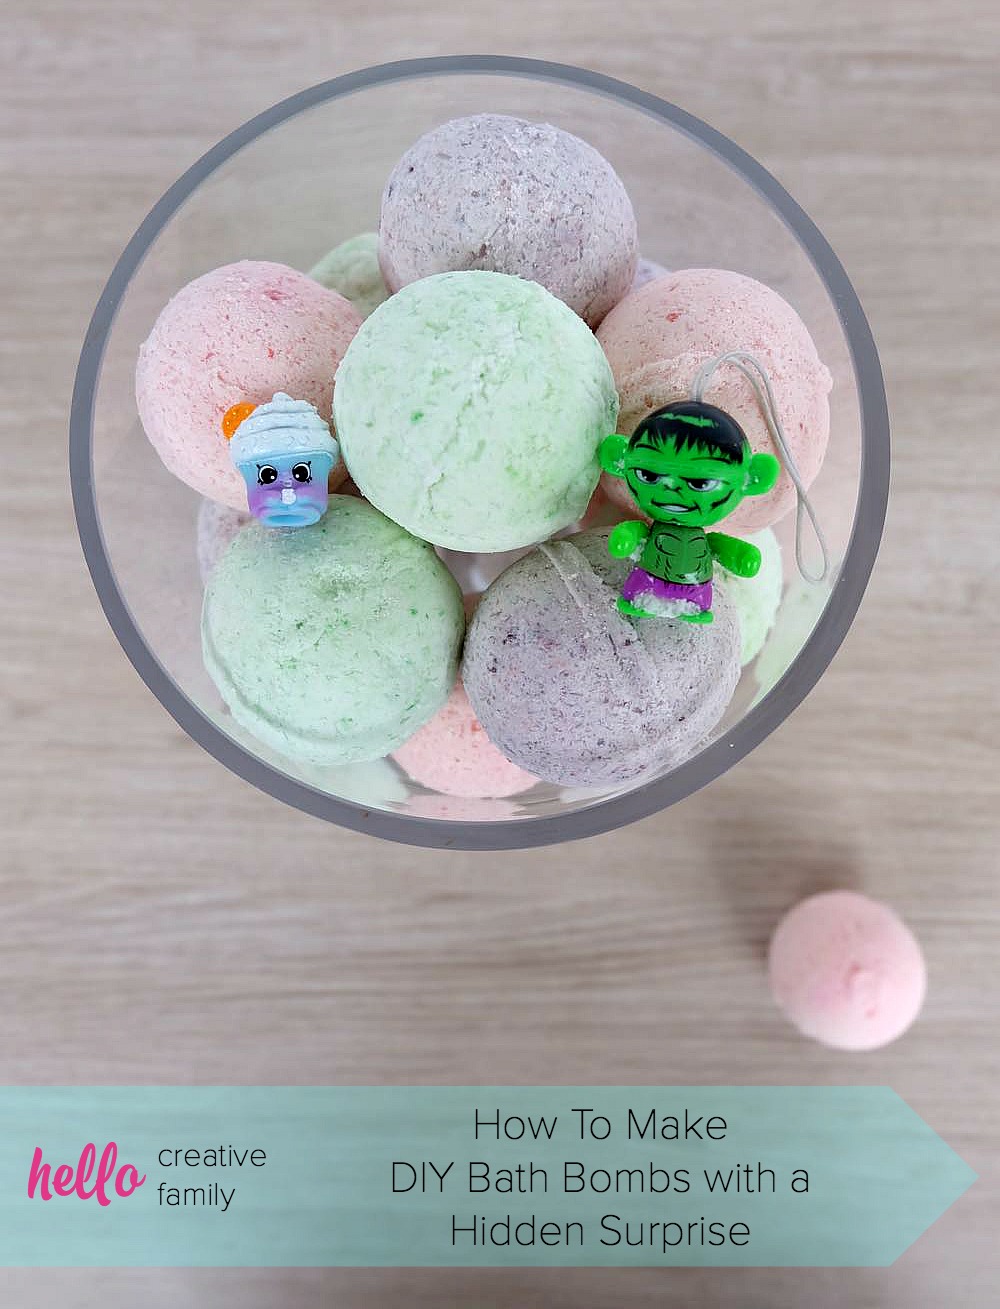
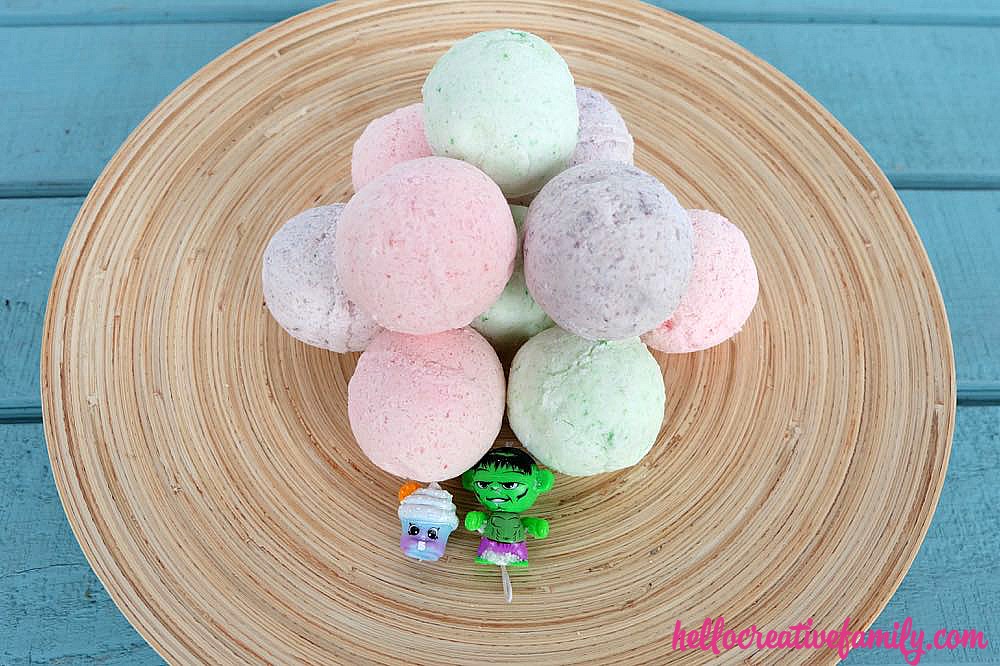
How To Make DIY Bath Bombs With A Toy Hidden Inside
This post and the photos within it may contain Amazon or other affiliate links. If you purchase something through the link, I may receive a small commission at no extra charge to you.
This DIY project has been percolating in my head for quite awhile now, and I’m so excited to share it with you! It’s a fun craft project to do with kids—perfect for a rainy day or a “home from school sick” day. It also makes a fabulous handmade gift (stocking stuffers, teacher gifts, Mother’s Day, birthdays, hostess gifts…I could go on and on!) Today I’m going to share with you how to make DIY Bath Bombs.
When I first told Bean that we would be making this project together she said to me, “Can we hide little toys inside of them? I’d love to make some Shopkins bath bombs!” I immediately loved her creative spin on this DIY project! The idea of hiding a toy inside a bath bomb is so much fun (doesn’t it remind you of Kinder Eggs?). My kids always bring a bunch of toys into the tub with them, and I love the idea of a bath bomb that leaves behind a little surprise.
This DIY came about because Today’s Parent asked us to make a fun craft video with an idea that you could do with your kids on a day when they are home sick from school. I immediately thought of a “Mean Green Cold Fighting Machine” bath bomb that was green in color, had an Incredible Hulk toy hidden inside, and was scented with peppermint and eucalyptus essential oils that are known for being great for clearing stuffy noses and congested chests. I thought it would be a fun project to make together and then your sick kid could jump in a warm bath and enjoy the healing properties of their bath bomb! I came up with a couple of other equally fun scents as well!

[hr gap=”30″]

DIY Bath Bombs With A Hidden Surprise
Bath Bomb Base:
Every bath bomb you make is going to start out with the same bath bomb base. How you color and scent the base is where the fun and creativity comes into play!
The ingredients in our bath bomb base are:
-1 cup baking soda
-1/2 cup citric acid
-1/2 cup epsom salts
-1/2 cup corn starch
Bath Bomb Fragrance Options:
Here are three options of how you can scent your bath bombs. Always start with 4 tablespoons of coconut oil, but then add any colors or essential oils that you like to your bath bomb! Let your imagination soar!
Mean Green Cold Fighting Machine Bath Bomb Scent Ingredients:
The peppermint and eucalyptus essential oils in this bath bomb make it ideal for clearing stuffy noses and congested chests!
-4 tablespoons coconut oil
-4-8 drops of green food coloring (depending on the intensity you want)
-10 drops eucalyptus essential oil
-10 drops peppermint essential oil
Sweet Citrus Cupcake Bath Bomb Scent Ingredients:
Filled with drool-worthy citrus scents, this bath bomb will leave you feeling energized and smells good enough to eat!
-4 tablespoons coconut oil
-4-8 drops of pink food coloring (depending on the intensity you want)
-10 drops bergamot grapefruit essential oil blend (or your favorite citrus essential oil)
-10 drops vanilla essential oil
Sleepy Time Lavender Bath Bomb Scent Ingredients:
With the soothing scents of lavender and vanilla, this bath bomb will send little ones off to dreamland!
-4 tablespoons coconut oil
-4-8 drops of purple food coloring (depending on the intensity you want; if purple food coloring isn’t available, combine red and blue)
-10 drops lavender essential oil
-10 drops vanilla essential oil
You’ll also need:
-Mold for forming your bath bomb: You have many options here. You can buy metal bath bomb molds, plastic bath bomb molds, plastic Christmas ornaments that come in half, plastic Easter eggs, or soap molds. My personal favorite is meat ball tongs. I find that the little hole in the tongs makes it easier to get the bath bombs out of the mold.
-Shopkins, action figure or other small toy
-Witch Hazel or water in a spray bottle, to add moisture if needed.

Directions for assembling bath bombs:
Step 1: Put dry ingredients for the bath bomb base into a large mixing bowl. Stir until all ingredients are mixed together.
Step 2: Decide which scent you are going to prepare, and place bath bomb scent ingredients into a microwave-safe measuring cup or small bowl. Microwave until coconut oil is melted (approximately 30-60 seconds).
Step 3: Slowly pour melted bath bomb scent ingredients into the dry bath bomb base ingredients. Stir constantly with a whisk or a mixing spoon, as you pour. As ingredients start to come together you might want to use your hands to really work the coconut oil into the dry ingredients. Grab a handful of the bath bomb mixture and squeeze. It should have the texture of wet sand and stick together. Depending on the humidity where you live, you may need a bit more moisture. You can very slowly spray witch hazel or a bit of water into your bath bomb mixture if it’s too dry. Make sure you spray a little bit at a time and mix as you spray because you don’t want your bath bomb mixture to get too wet, or it will fizz up!
Step 4: Grab your bath bomb mold and pack it half full of bath bomb mixture, place your toy in the center and then add more bath bomb mixture overtop. Close the bath bomb mold and press firmly to pack the ingredients tightly into your bath bomb shape. Carefully open the mold and remove your bath bomb. If it starts to crack, remove, turn it sideways, and re-pack it into the mold. I find that if a bath bomb cracks, it’s usually down the middle, so packing it once, giving it a twist in the form and then re-molding it usually eliminates this problem.
Step 5: Once you’ve removed your bath bomb from the mold, lay it out to dry for 24 hours. Seal in an airtight container or airtight bag until you’re ready to use them.
Can’t wait for the bath bombs to dry?
If your kiddos just can’t wait to have a bath with their new bath bombs, feel free to use one before the drying process is complete! The bath bombs will fizz beautifully in a bath right after they’re made—they will just store better after they’re completely dry.
Tell me… What scent of bath bombs would you create?
Disclosure: Thank you to Today’s Parent for working with us on this post. As with every article on Hello Creative Family, all thoughts and opinions are 100% our own.
Don’t forget to pin this post for later!
Like this post? Subscribe to our Handmade Gifter’s Club mailing list