


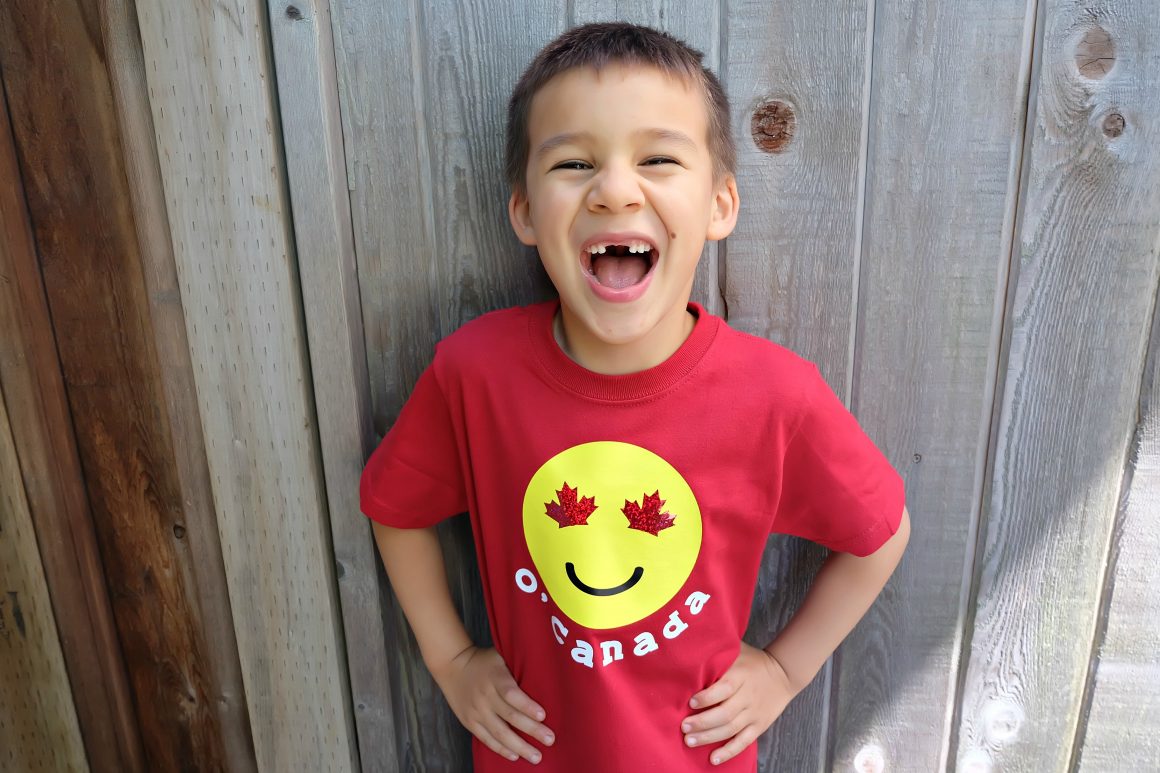
DIY Canada Emoji Shirt- Perfect for Canada Day
This post and the photos within it may contain Amazon or other affiliate links. If you purchase something through the link, I may receive a small commission at no extra charge to you.
Celebrate your Canadian Patriotism and your love for emojis with one super cute shirt! This DIY Canada Emoji Shirt has maple leafs for the eyes and is perfect for Canada Day. Includes easy step by step instructions and photos along with the cut file. Perfect for making with your Cricut Explore Air or your Cricut Maker. Get crafting!


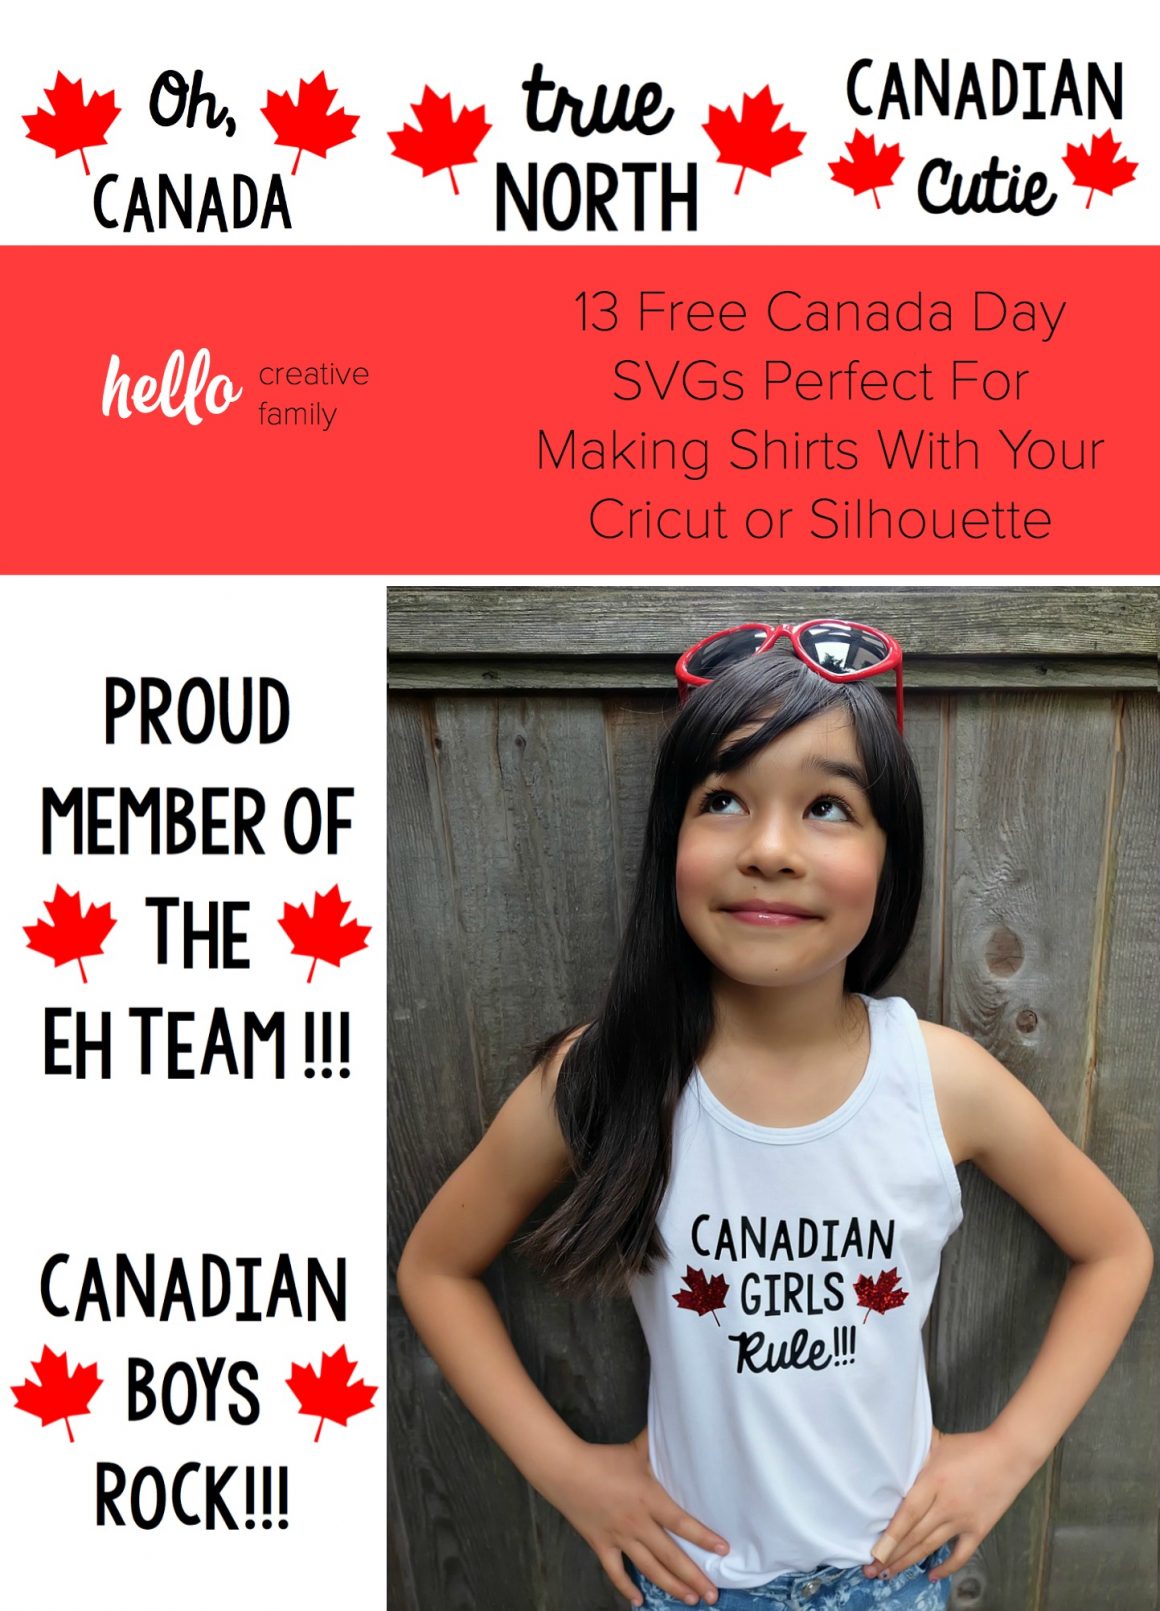
I love making special shirts for my kids for different holidays, but I hate to make clothes that are worn just one day a year. Last week I shared 13 Free Canada Day SVG files that you can use to make Canada pride shirts for your friends and family. Today I’m adding to your DIY Canada pride wardrobe with an adorable DIY Canada Emoji Shirt.
My kids are crazy for emojis. One of their favorite emoji designs is the heart eyes emoji. As I was designing my Canada Day SVG Files and adding maple leafs to each one I thought to myself “wouldn’t it be cute to do a heart eye emoji with maple leafs for the eyes instead of hearts?” I got to work in Cricut Design Space and within minutes I had this adorable design created.

My original plan had been to place one of my Canada Day SVG files underneath the emoji, but once I was in Cricut Design Space I started playing with the Cricut’s new curved text option and it just looked so dang cute curved around the bottom of the emoji. Feel free to play with my design file and add a saying of your own, or to use one of my Canada Day SVG files instead… or leave it as is because it’s super cute!
If you have kids who love emojis as much as mine do, here are a couple more projects that they will love!
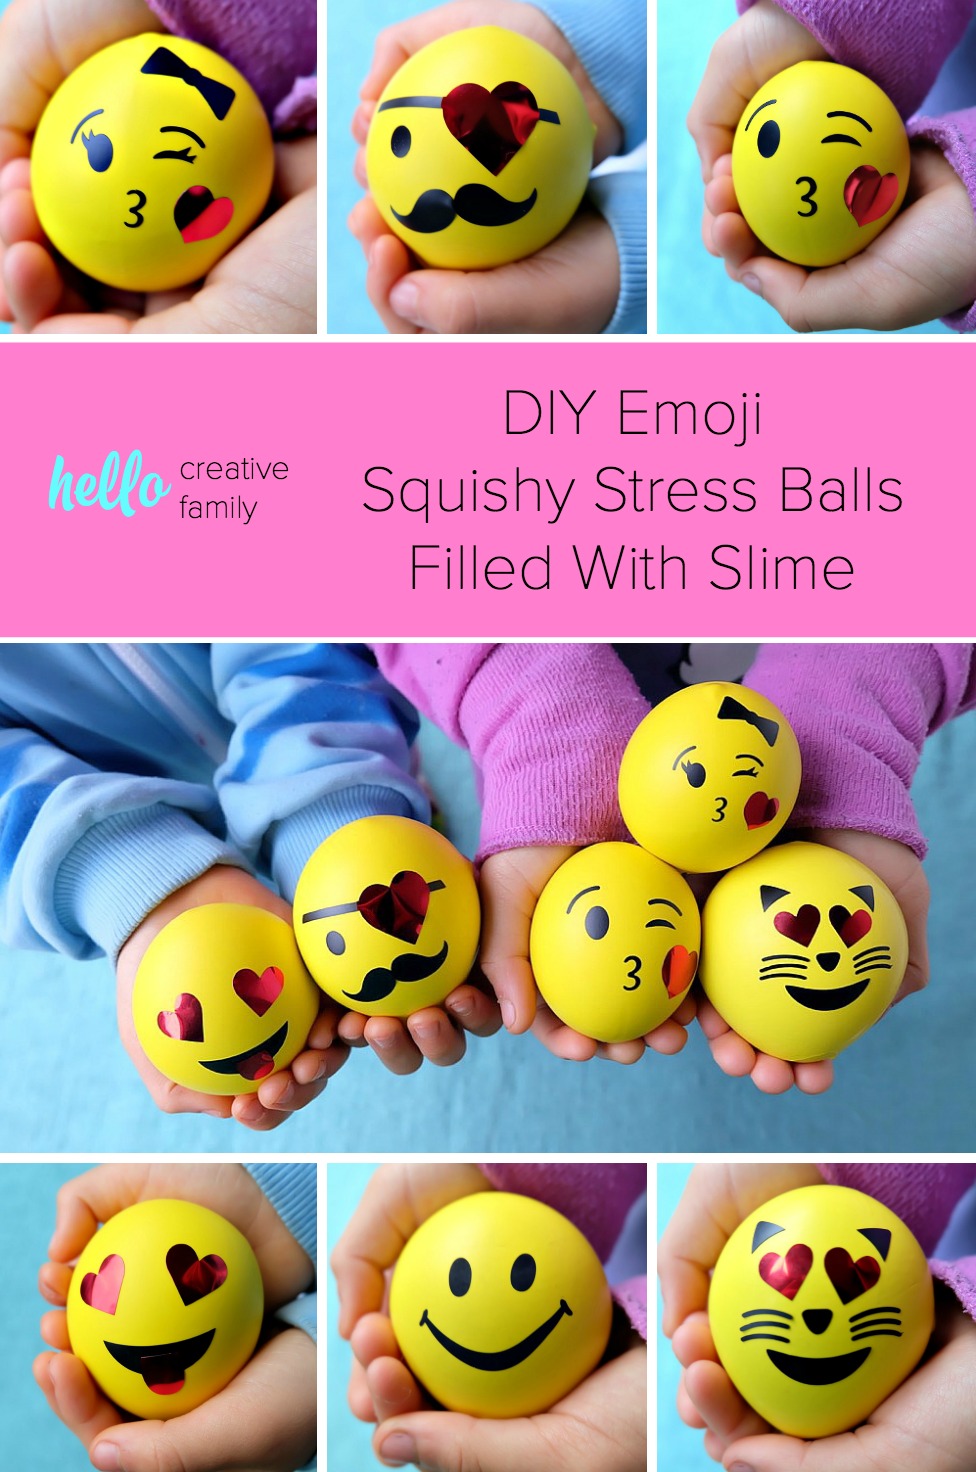
DIY Emoji Squishy Stress Ball Filled With Slime

His and Her DIY Emoji Door Hangers
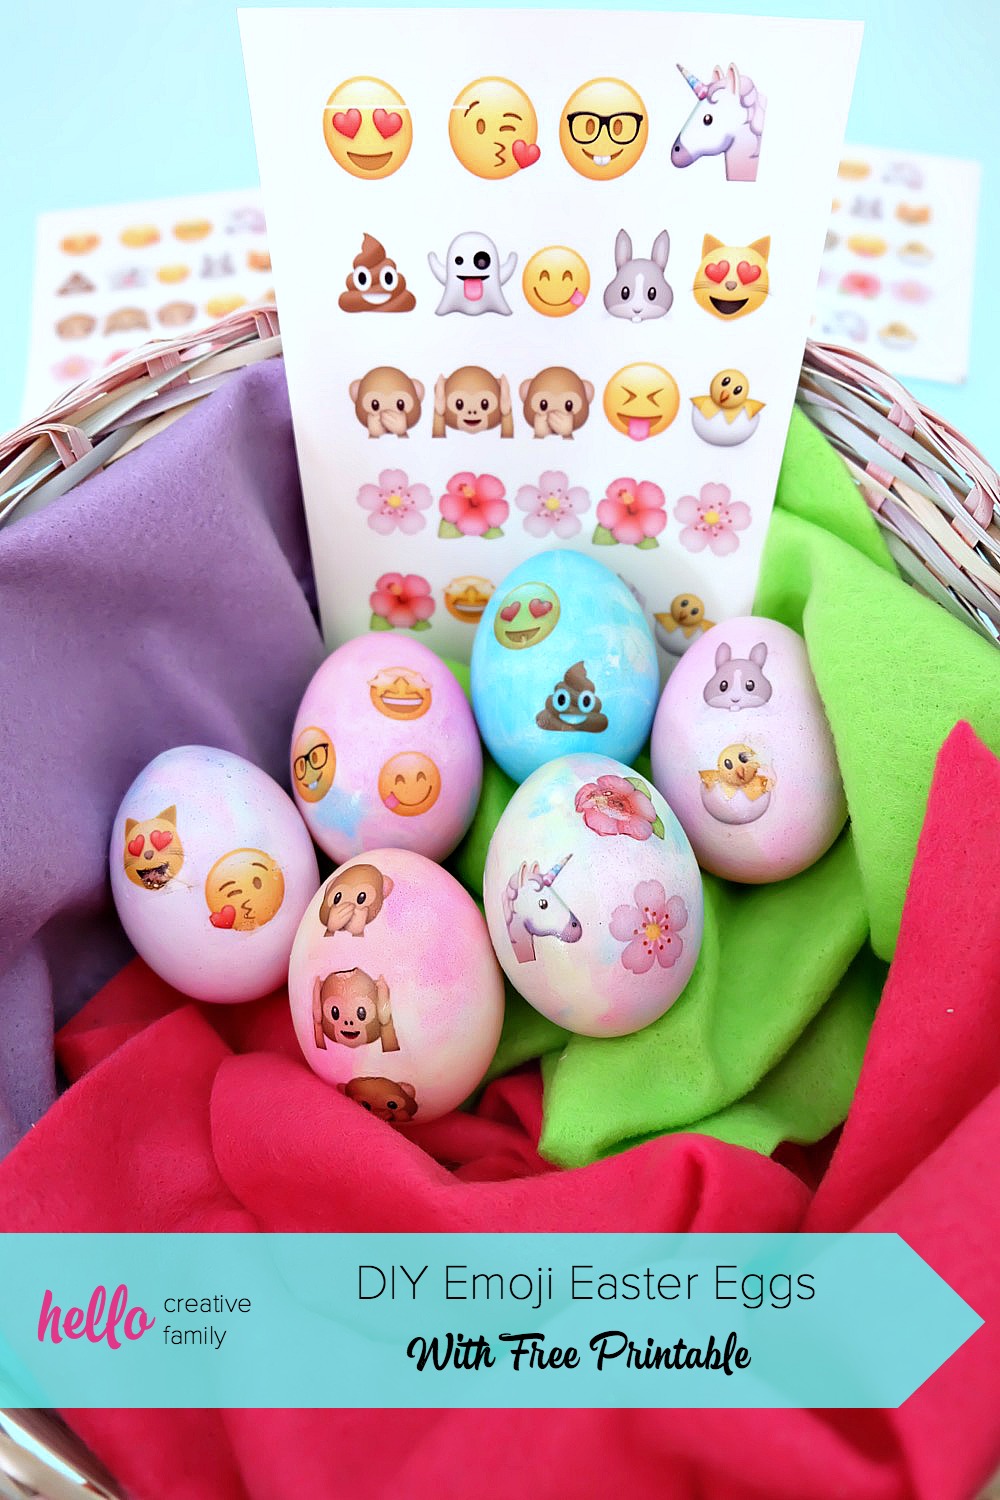
DIY Emoji Easter Eggs With Free Printable
Ready to get started making shirts? Read on for my DIY Canada Emoji Shirt!
[hr gap=”30″]DIY Canada Emoji Shirt [hr gap=”30″]
Materials:
-Shirt
-Measuring tape (I used the one from the Cricut Sewing Kit)
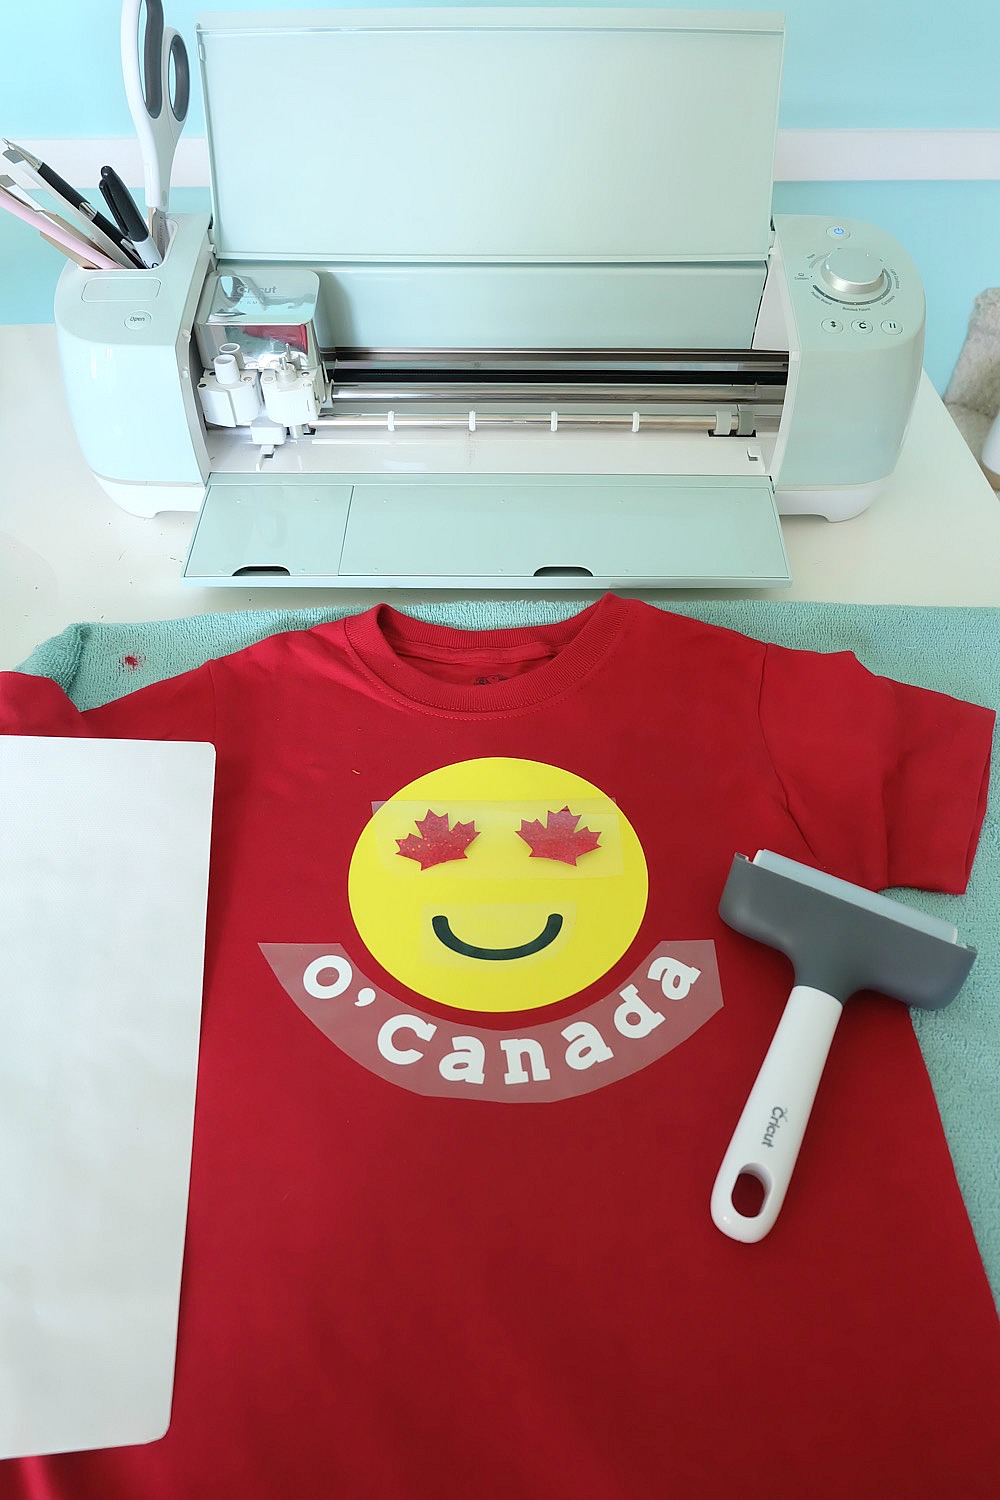
–Cricut Iron-On in your favorite colors and types (I used Cricut Iron-On Lite in yellow, white and black for the emoji face, mouth and O’ Canada and Holographic Sparkle Iron On for the maple leaf eyes.)
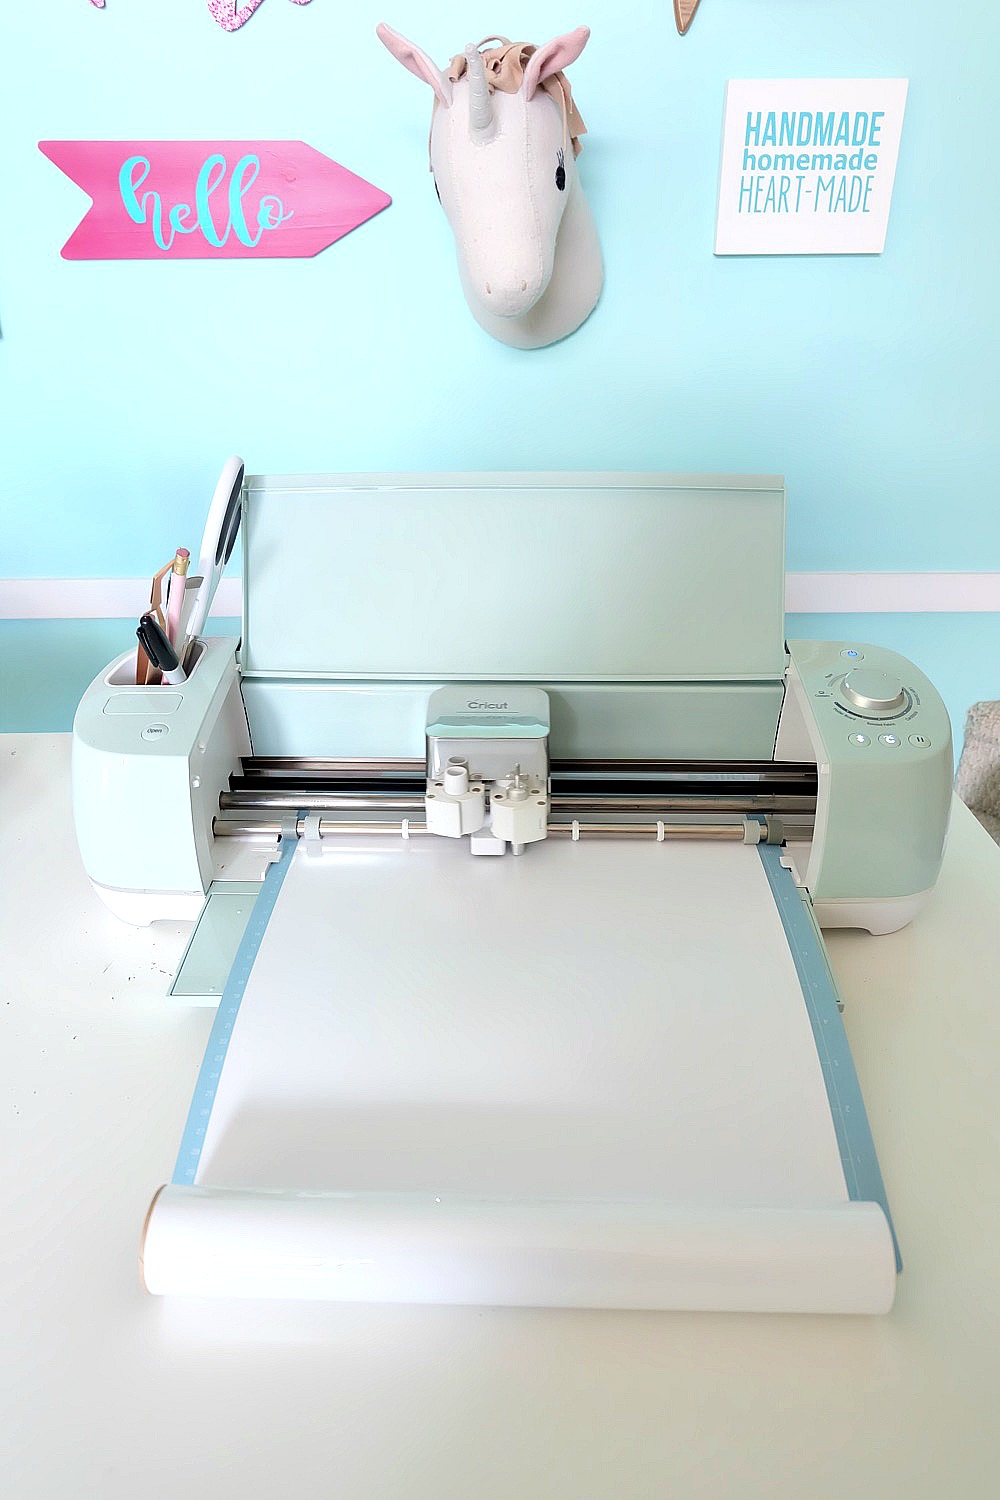
–Cricut Maker or Cricut Explore (prefer shopping on Amazon? Find the Cricut Maker here and the Cricut Explore here)
–Cricut Iron-On Protective Sheet (I find this invaluable when using Iron-On especially when layering vinyl)
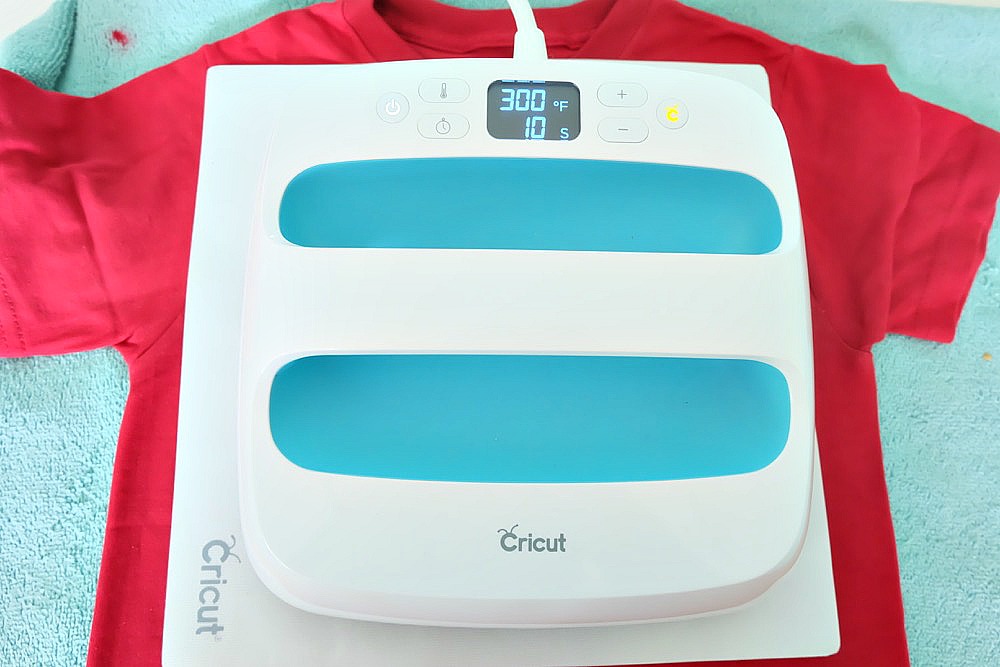
-Iron or Cricut EasyPress (prefer shopping on Amazon? Find the Cricut Easy Press here)
Optional: Cricut Bright Pad for weeding, Cricut Brayer Tool (this is my other tool that I LOVE for making shirts. I rub the brayer over my design after the first press to really make sure that the design is adhering to the fabric. Also, my son crumpled up his shirt after he took it off and the design got all wrinkled. I laid the shirt out, put my Iron-On Protective Sheet on top and re-pressed it using my Easy Press. There were a few wrinkles left in the iron-on so while it was hot I rubbed the brayer tool back and forth over the design pressing down with firm pressure. The wrinkles came right out.)
Directions:
Step 1: Log into Cricut Design Space and then open my Canada Emoji Design File. Measure your shirt to decide how large you want the design to be. Adjust the size of the design and then click “Make It”.

Step 2: Click the “Mirror” button on your cutting mat with your O’ Canada text.
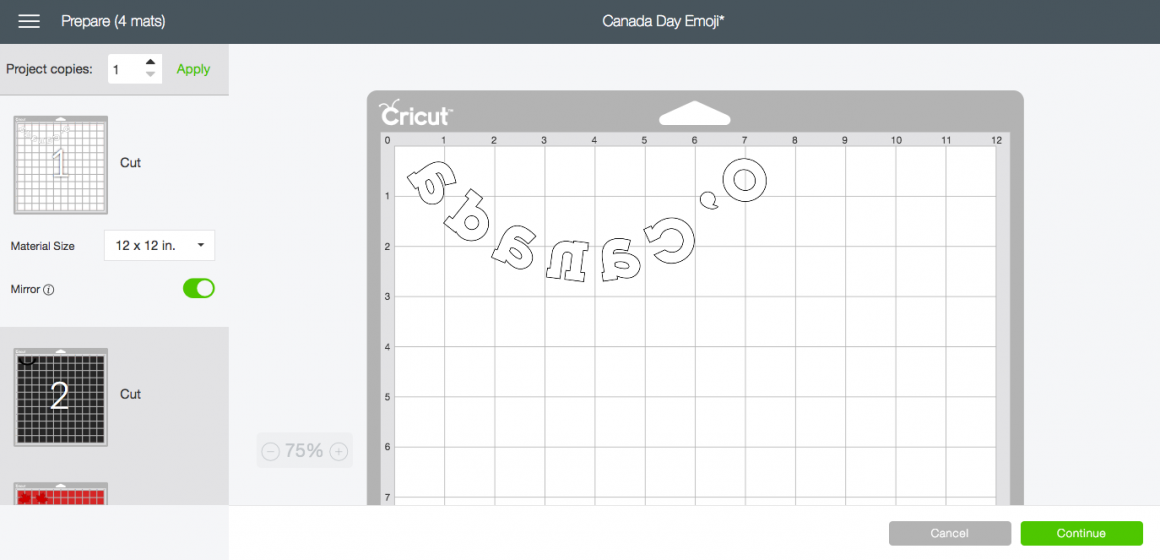
Click “Continue”. If using a Cricut with a dial (aka not the Cricut Maker) set the dial to the correct iron-on material that you are using if using the Cricut Maker select your material from the menu on your computer screen.
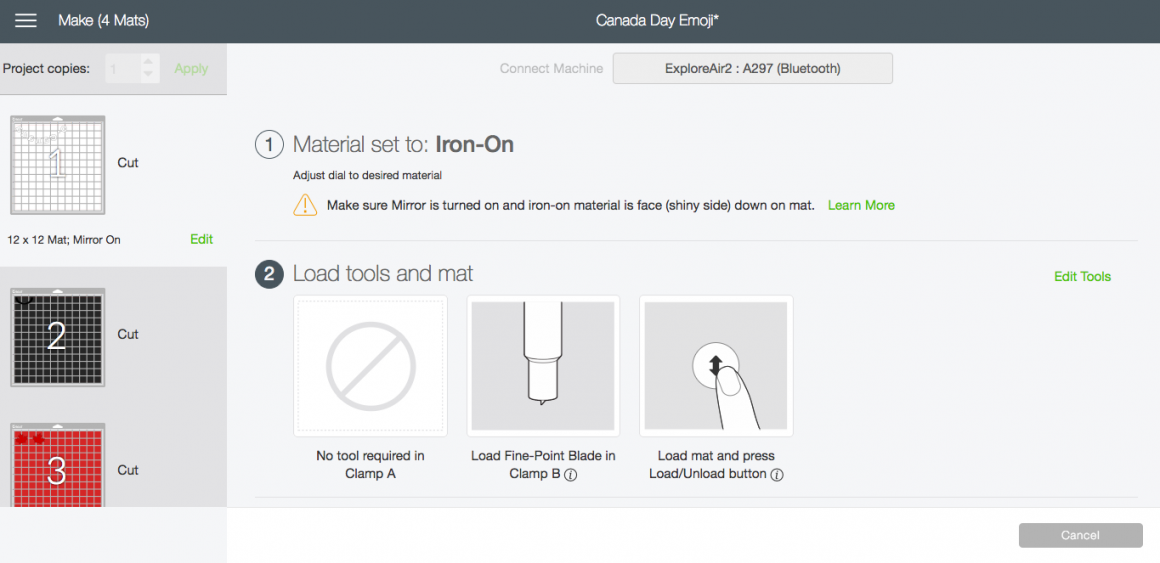
Place your Iron-On material on your cutting mat with the shiny side facing down. Load your Cricut with the mat and then click the cute little Cricut C to start cutting!
Step 3: Use your weeding tools to weed away the excess iron-on material around your design.
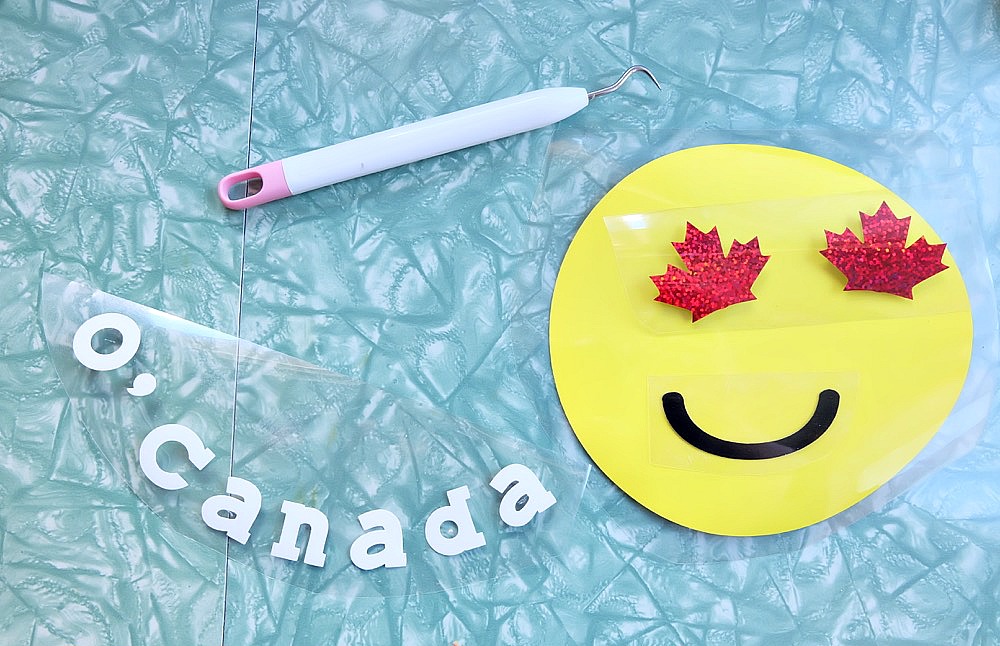
Step 4: Apply your design to your shirt using an iron or Easy Press. Apply the yellow circle and text first followed by the emoji eyes and mouth.
I love using the Cricut Iron On Protective Sheet and Cricut Brayer Tool when applying iron-on to clothing. The protective sheet is especially valuable when layering iron on and the Cricut Brayer Tool is great for really pushing your design into the fibers of the clothing.
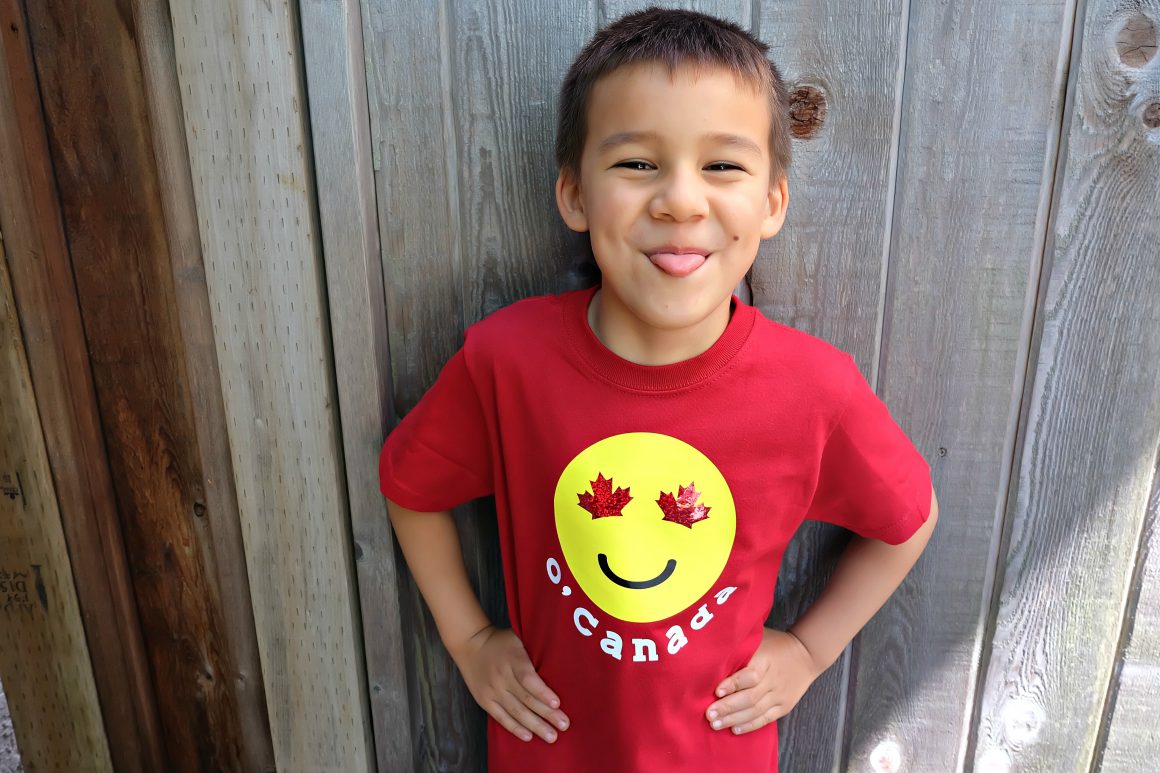
Viola! Your DIY Canada Emoji Shirt is done! Wear it with pride this Canada Day and all year long!
[hr gap=”30″]Tell me… Are your kids as crazy for emojis as mine are? What saying would you like to see us put on a shirt next?[hr gap=”30″]
Like this project? We’d love for you to pin it for later!

Looking for more shirts for Canada Day? You won’t want to miss this:


This is such a cute one!